Search for a picture
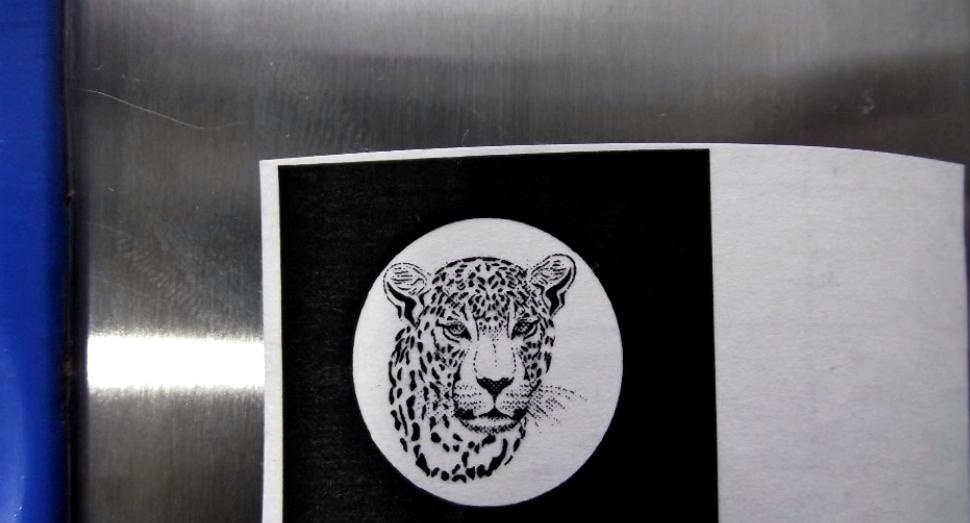
To work, we need an image that we will transfer. It is easy to find it on the World Wide Web. But there are certain requirements - it must be monochrome, black and white, without smooth transitions, only clear edges. If you haven’t found such a drawing on the Internet, you can bring it to this form using a photo editor.
Printing a drawing
For printing we need special paper. Ideally, a backing from an adhesive film, which is usually thrown away, would be suitable. It has a coating, such as wax, to which the adhesive film itself does not stick. At worst, you can use the pages of glossy magazines. Anyone who has ever etched boards themselves should understand without any problems.
In general, we cut out a format suitable for an “A4” or “A5” printer from such a substrate and insert it into the printer.The printer must be laser, with powder paint.
We print the drawing at maximum quality, with the ink saving function disabled. After printing, cut off the excess edges of the paper.
Transferring a picture to metal
To transfer, you will need a regular iron. It is good because it accurately maintains the set temperature, which is very important. Turn it over and set it to 130-150 degrees Celsius.
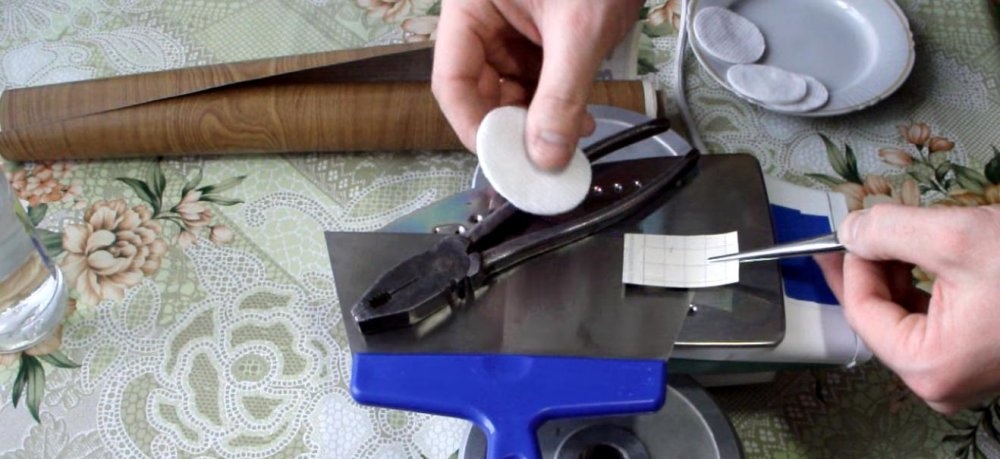
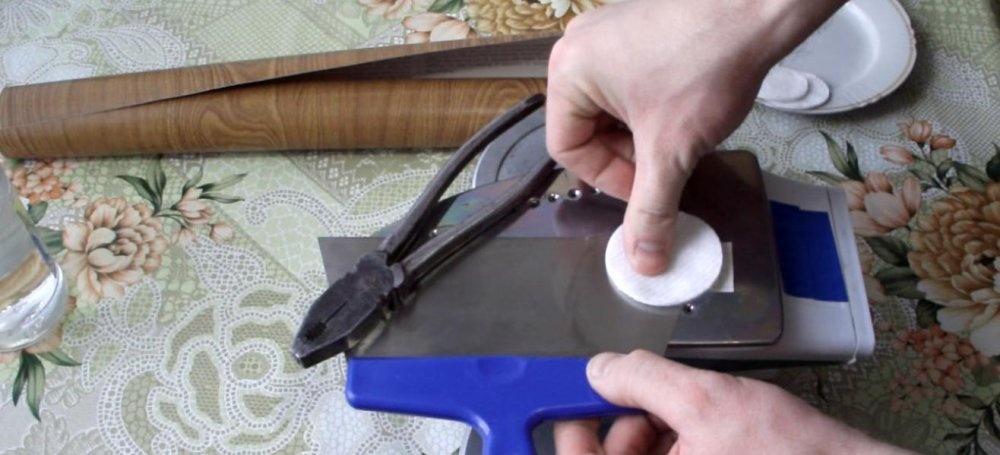
While the iron is heating up, degrease the metal surface where the picture will be applied. This can be done with a cotton swab soaked in acetone, alcohol or gasoline.
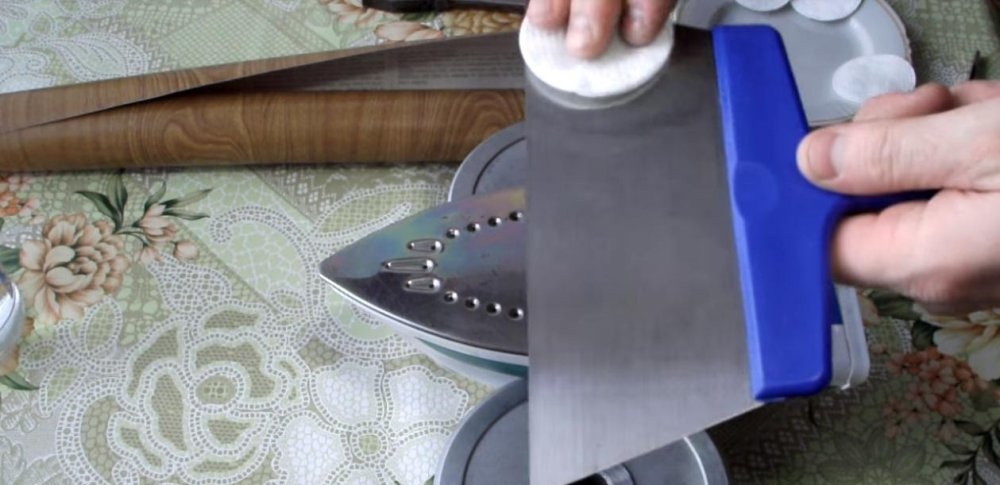
After this, place the spatula on the iron and wait a bit until it heats up.
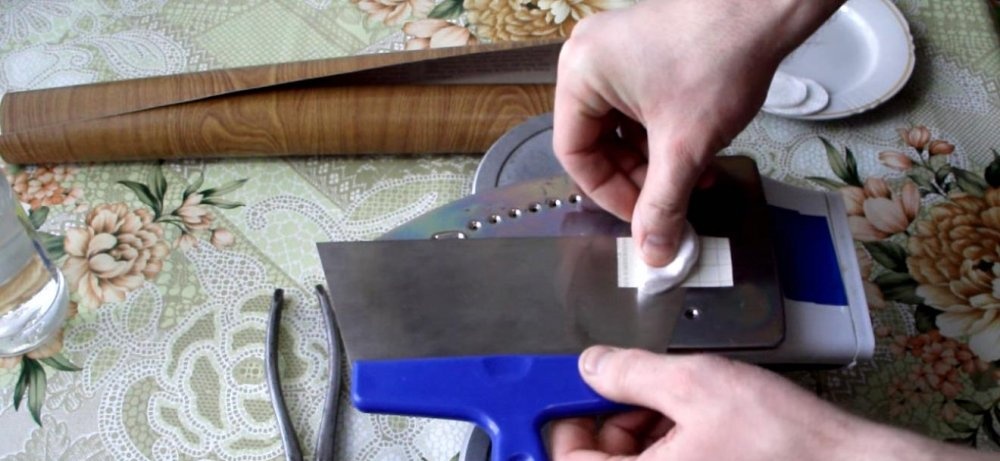
After a few minutes, we apply the image to the place. This must be done very carefully, without smearing the drawing.
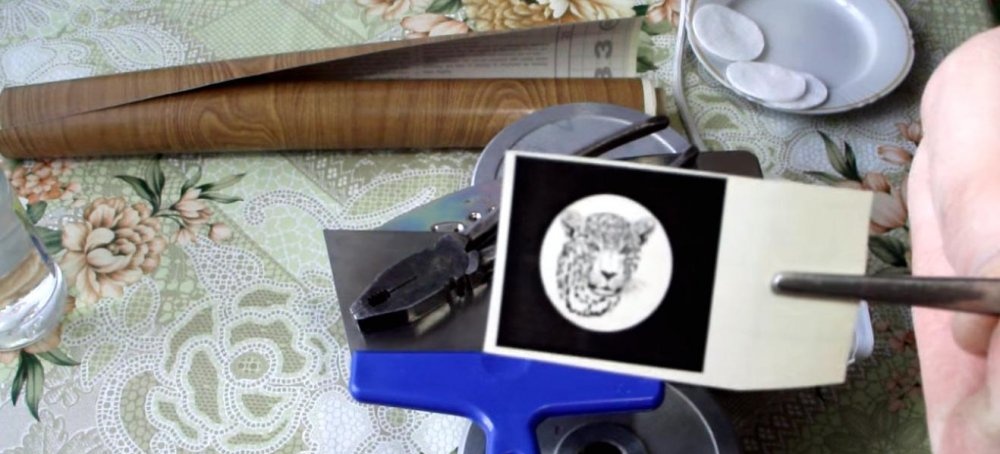
The temperature melts the ink and sticks to the metal.
Carefully smooth out the picture using a cotton swab. There is no need to press hard - there is a danger that the paper will move off and smear everything. Iron everything for about 1-2 minutes. Be careful - don't get burned.
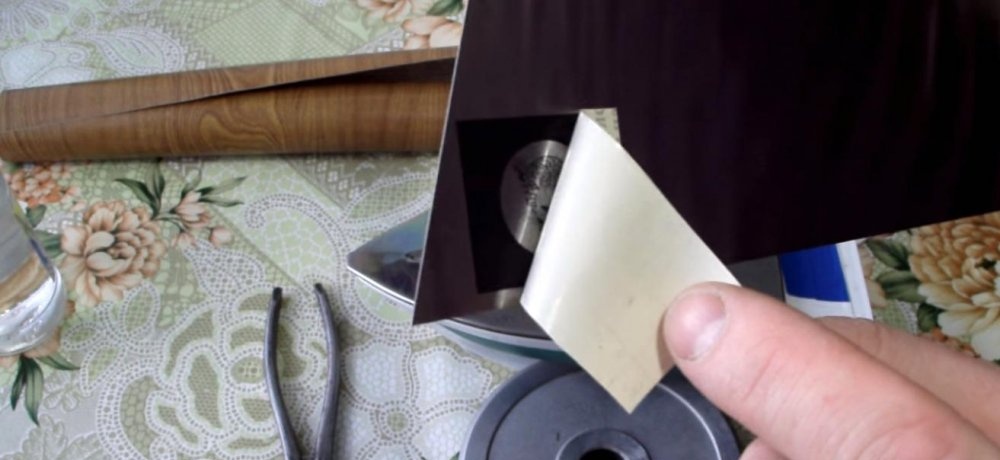
Then remove the spatula to the side and wait until it cools down. After cooling, carefully peel off the paper. If you used a glossy magazine, soak it in water for a while and then gently peel it off.
You should get a clear picture on the metal. If there are melts or thickenings, you can erase the ink with acetone and repeat the operation again.
Electrochemical etching of the pattern
In order not to etch too much, I will make a kind of barrier for the solution out of plasticine. I also covered the surface around the drawing with tape so as not to etch too much.
Let's prepare a saline solution.
Solution composition:
- - water 50 ml.
- - salt, regular kitchen salt - half a teaspoon.
We will also need a rechargeable battery or a 12 Volt power source.We connect the positive terminal to the spatula. I glued it with tape.
Pour in saline solution.
And with a negative electrode (I use a regular self-tapping screw), we etch it, immersing the electrode in the solution. The etching time is short: 20-30 seconds. According to my observations, increasing the etching time does not have a very good effect on the drawing.
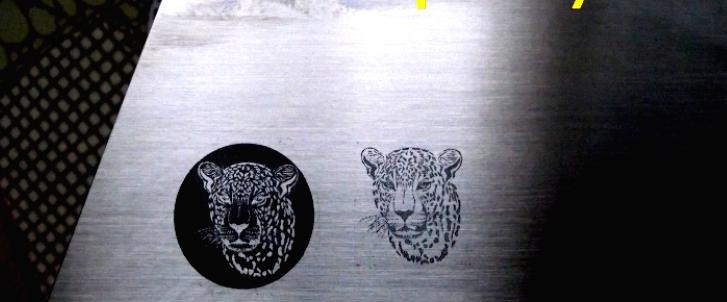
Then, we remove the plasticine barrier and see that everything has turned black.

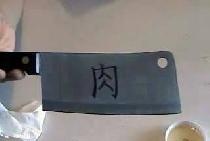
Use a cotton pad soaked in acetone to remove printer ink. And we see that we got an excellent engraving. Very clear, since I already have quite a lot of experience in this. You can even see the animal's whiskers!
I also made a drawing, but reversed the black and white in the editor.
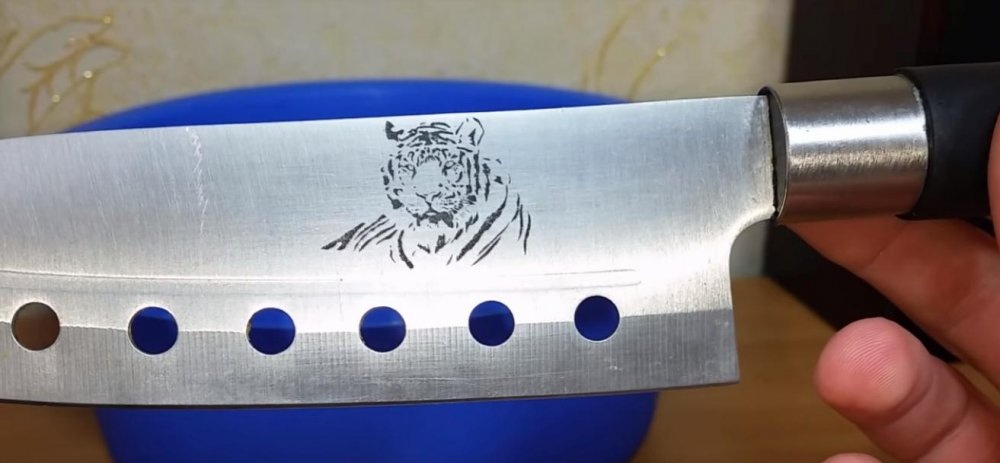
The result of transferring a design to metal
I'm pleased with the result, the quality is excellent. Making a gift knife now won’t be difficult, for example.
Afterword
Etching can be carried out without electricity, using a different chemical solution.
Etching can also be carried out without any plasticine barriers, by simply soaking a cotton swab with saline solution and applying an electrode to it, directly affecting the metal. But I don’t like this method, since the contact is direct, which can erase small details of the ink.
Watch the video of the process - HERE
If you didn't manage to do everything the first time, don't worry. Try again, it's not difficult.