Projector advantages:
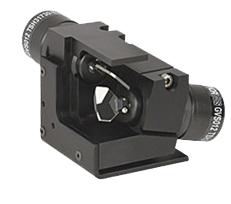
- Scanning is carried out using mirrors in X and Y.
- 2x 35mm stepper motor with 0.9 degree steps - 400 steps/rev. - 5 V.
- Automatic mirror calibration.
- Remote control (via bluetooth optional).
- Auto mode.
- Remote control application with graphical interface.
- Open source.
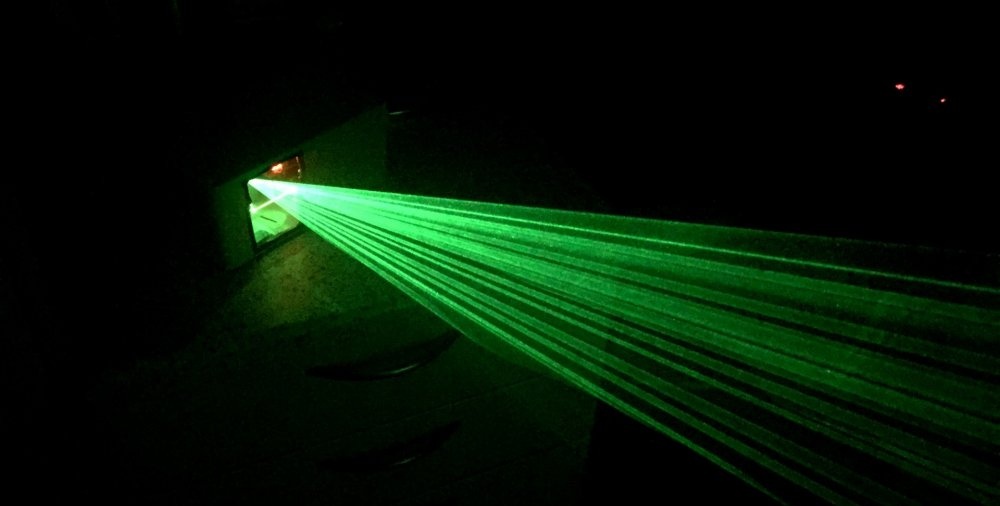
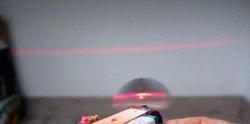
Laser projectors can be divided into two main categories. Either they use diffraction glass/foil to project the pattern, or they have a system that moves the laser beam in the XY directions, i.e. the classic sweep of CRT TVs. The second option always has great advantages because you can program the pattern that will be projected. While in the first case the laser beam projects a static image, in the second the laser still consists of a single beam that moves very quickly, thereby drawing the image. If the laser beam moves very quickly, then we perceive the image as a single whole.Typically this scanning is done using two perpendicular mirrors, each of which is capable of moving the laser beam along its own axis. By combining, we will be able to place the beam wherever we want.

Professional projectors typically use galvanometric scanners. They can position the laser beam to 60,000 different locations in 1 second. This creates a truly smooth projection without the strobe effect. However, such projectors are very expensive. I used stepper motors in my projector. They are, of course, not as fast, but they are cheap.
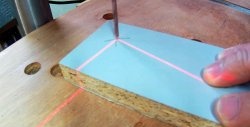
The laser draws the design by rotating along the lines over and over at a very high speed. Sometimes there are several parts of a template that are not related to each other. In this case, each letter is separated, however, when the laser moves from one letter to another, it creates an unwanted line. This can be solved by turning off the laser for a short period. The whole idea is that the laser switches as it goes from one to the other. This is done using a high-speed control unit that must be synchronized with the scanning system.
To put it simply, stepper motors rotate at a given synchronization speed, passing through the entire projection area. And the laser turns off and on alternately, projecting the desired areas.
In the list below you can find the components I used and links to the store where I bought them.
- Arduino Uno - AliExpress
- Adafruit Motor Shield V2- AliExpress
- Laser module green - AliExpress
- 2x 35mm stepper motor 0.9° - 400 steps/rev. - 5 V - AliExpress
- Light-emitting diode 3 pieces - AliExpress
- Module HC-06 Bluetooth Serial Module - AliExpress
- Photodiode - AliExpress
- Transistor BC547B - AliExpress
- 2K variable resistor two pieces - AliExpress
- Switch - AliExpress
And then some materials and tools that you will need.
- The mirror is two-way (the best metal mirror, such as HDD).
- Aluminum sheet (or iron).
- Hot glue.
- Wires.
- Pliers.
- Drill.
- Distribution box.
Projector assembly
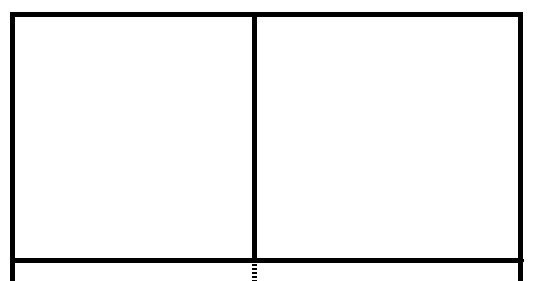
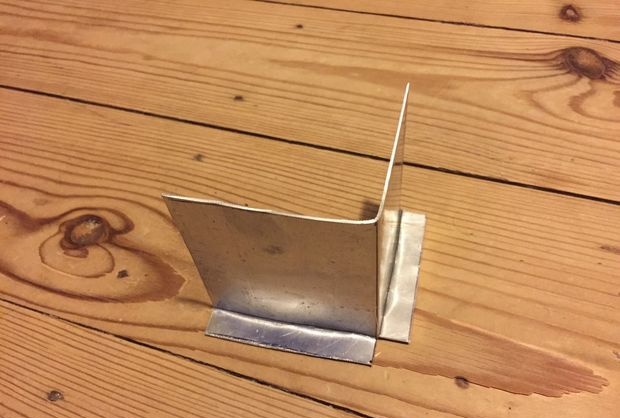
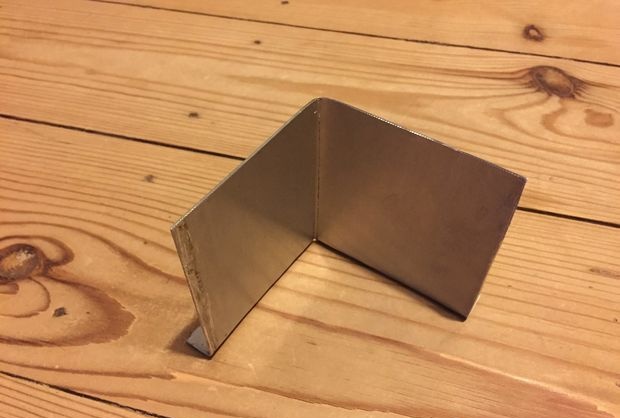
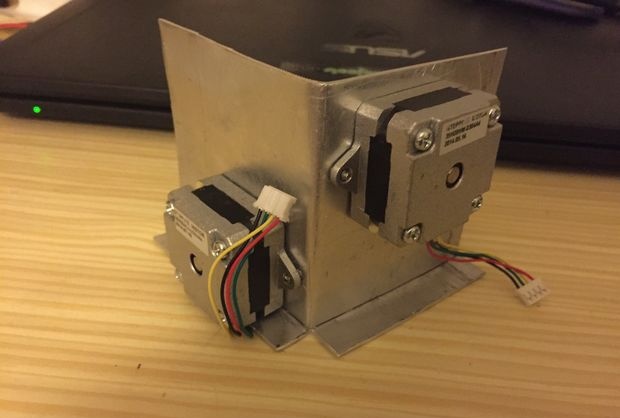
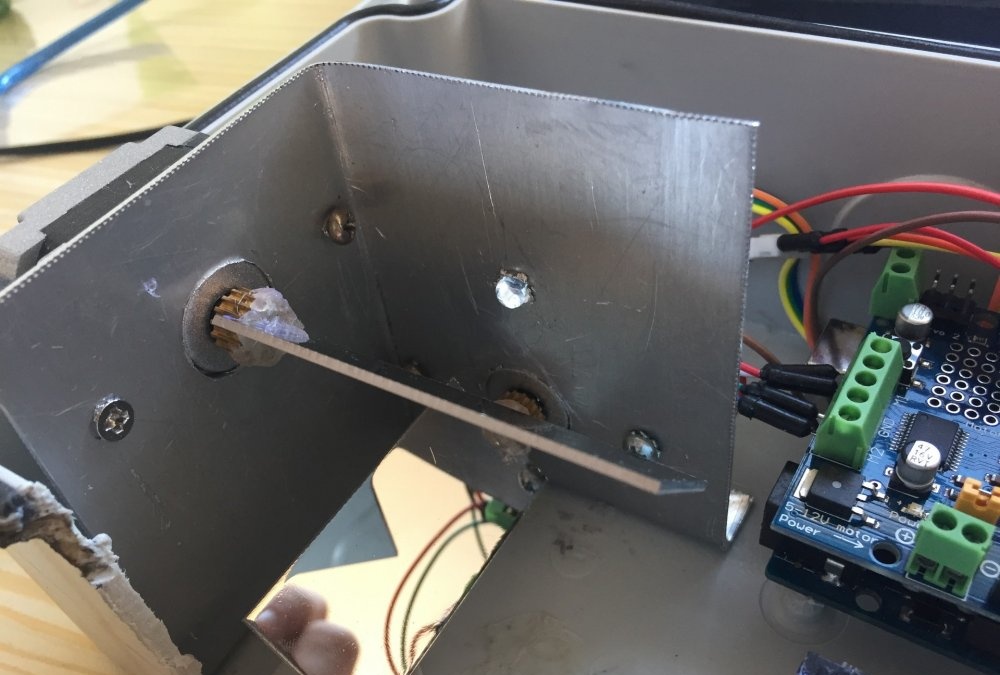
Let's start assembling the “heart” of our projector - the side of the beam sweep. To do this, we need to use metal scissors to cut an “L” shaped stand for stepper motors from an aluminum sheet (or from tin).
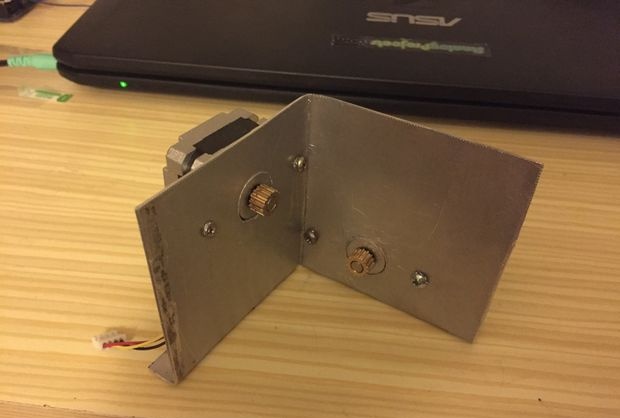
We drill a hole and install stepper motors. Stepper motors must be strictly perpendicular, but offset in height.

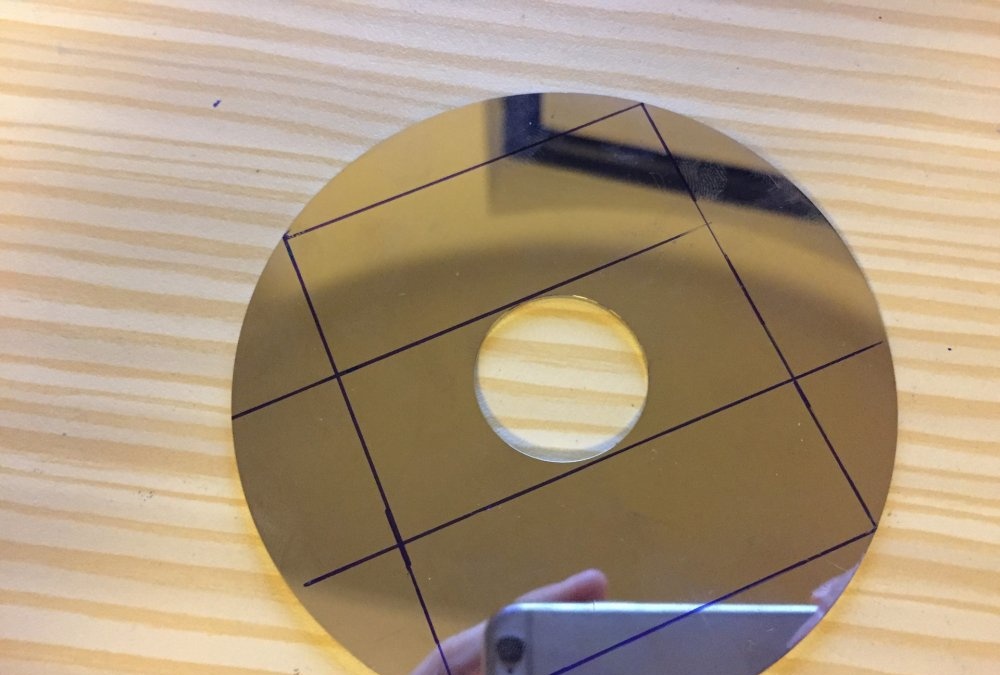
We make mirrors.
To make mirror elements we need to take a disk from a broken hard drive. Why not a simple mirror? - you ask. A simple mirror will not work, since it is mirrored only on one side, and as you probably remember, the mirrors in the projector rotate in a circle. You can also use regular laser discs, but they do not reflect as well and some of the brightness will be lost.
The hard drive disk needs to be cut, preferably with a grinder.
We glue the resulting mirrors with hot glue onto the stepper motors.
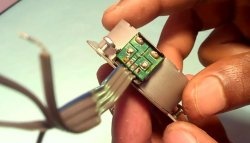
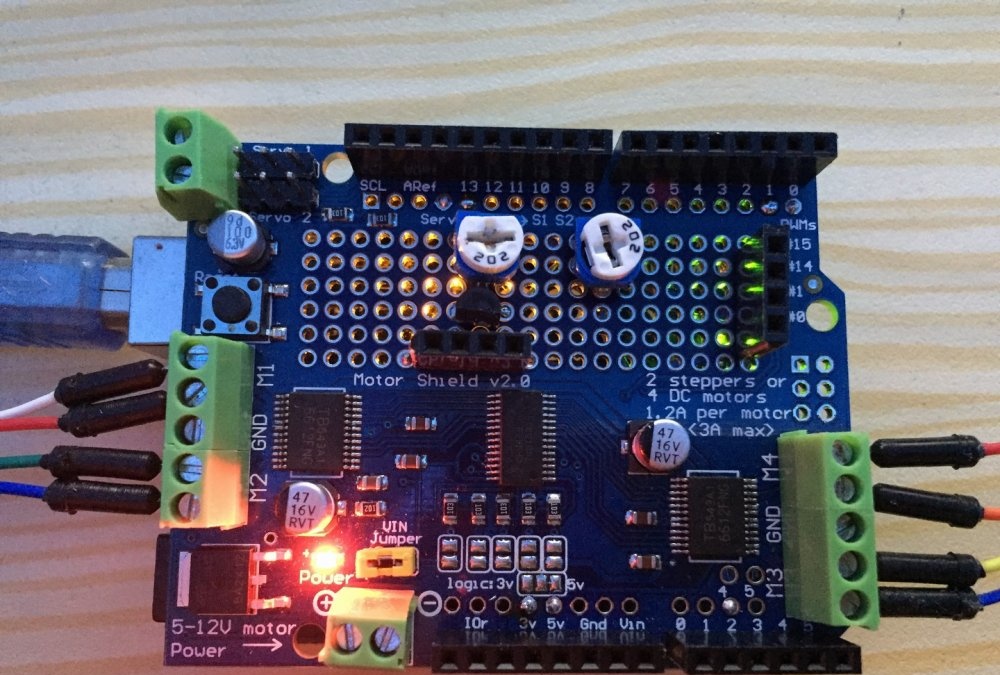
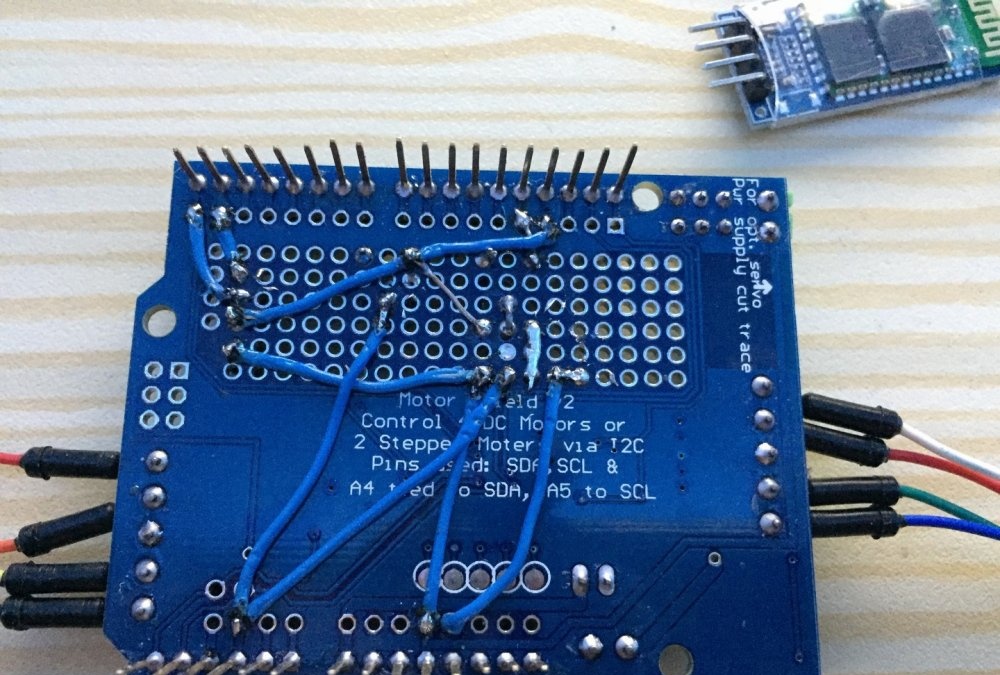
Electronics
The projector is controlled by an Arduino Uno plus a stepper motor driver from the same company. Control is carried out via Bluetooth, but it can also be done directly via a uart adapter.
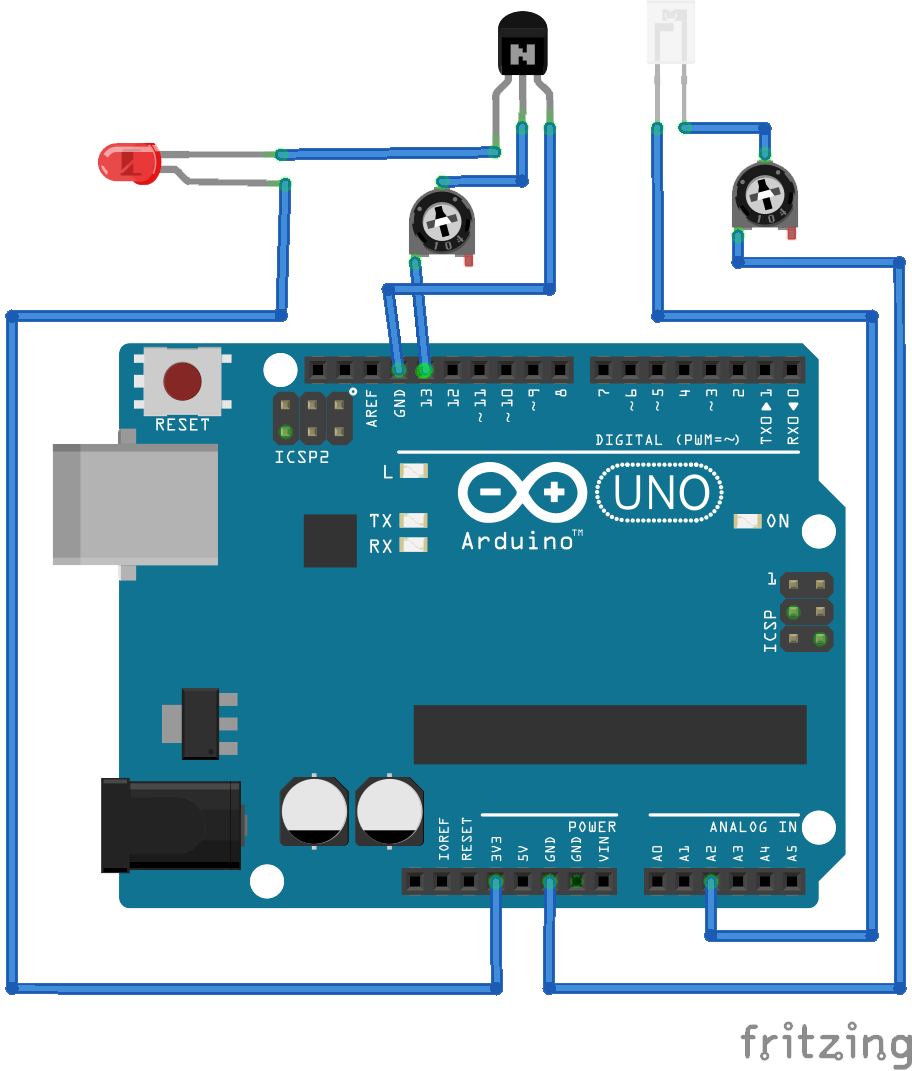
For those who have at least once worked with Arduino, I think there is no need to explain how to connect what, but for those who have not worked, I don’t see the point.
The laser diode is also powered through an Arduino with brightness adjustment. Additionally, I will show you where the photo diode is connected. This photo diode is needed for initial calibration of the projector.It is installed perpendicular to the upper motor, pay attention to the hole above the lower motor.
Calibration
After you have assembled and debugged everything, you need to calibrate the projector. To do this, we will use a photodiode placed in a hole on the center axis directly above the X-axis stepper motor. To obtain more accurate measurements, a variable resistor circuit was required. In calibration, we read the values from the photodiode and when the value exceeds a certain value (the laser shines directly into it), the motors stop and return to their original position.
Code, calibration programs.
pseudo code for calibration
// 1step = 0.9° / 400steps = 360° = full rotation
laserOn();
for (int a=0; a<=400; a++) {
for (int b=0; b<=400; b++) {
photodiodeValue = readValue();
if (photodiodeValue >= photodiodeThreshold) {
laserOff();
returnHome();
}
stepY(1,1);
}
stepX(1,1);
}
laserOff();
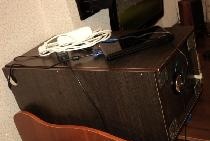
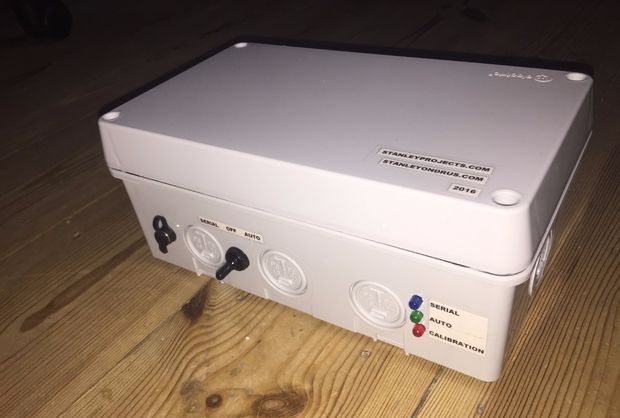
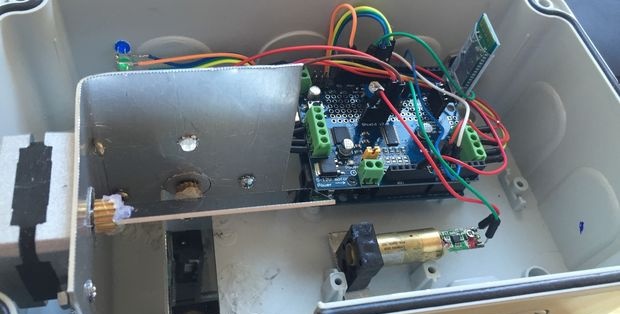
unsuccessfull();Final assembly
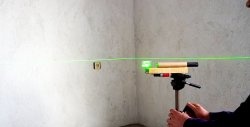
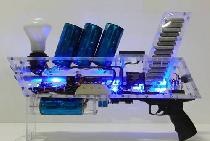
The entire projector was placed in a plastic junction box and tightened with screws. The projector is portable, just plug in the power source, flip the switch, and you have your own laser show.
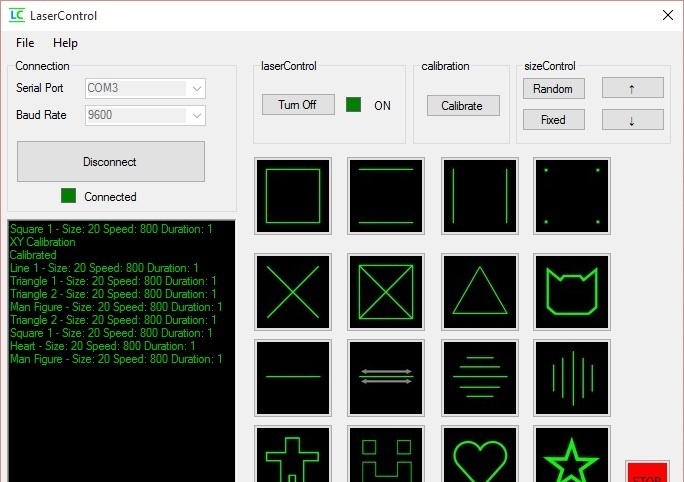
Laser Control Application
The control application was created in C# and allows you to switch between templates, adjust speed and see current actions.
Program and similar code with firmware
You can download it here.
Make sure you have .NET framework 4.5.2 installed on your computer which is required to run the application.
Video of the projector working
Original article in English