Do it yourself
Life hacks, master classes, useful tips, recipes.
home » Electronics » DIY electronics » Mini soldering iron battery powered
The main advantage of this mini soldering iron is that it is powered by a 3.7 V battery. It is not connected to the network and you can easily take it with you. Of course, its power is not great, but it is quite enough to solder wires or solder some fallen radio element.
Mini soldering iron battery powered

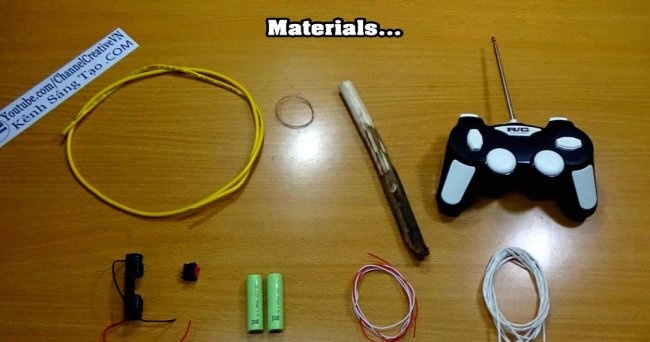
So, what do you need to make a mini soldering iron?


  • Single-core wire with a core diameter of 2 mm.
  • A piece of a telescopic antenna.
  • Nichrome, wire 0.2 mm. 10 cm long.
  • Reinforced fiberglass cambric.
  • Rechargeable battery 3.7 V.
  • Battery compartment for this battery.
  • A piece of round wood.
  • Switch.
  • Thin single-core wire 0.3-06, diameter (multi-core can be unraveled).

Mini soldering iron battery powered

Making a mini soldering iron


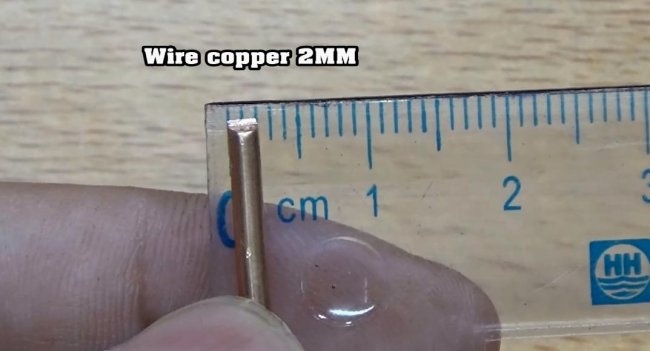
Let's take a thick single-core wire with a cross-section of 2 mm in diameter. We will remove the insulation using a clerical knife or another method.
Mini soldering iron battery powered

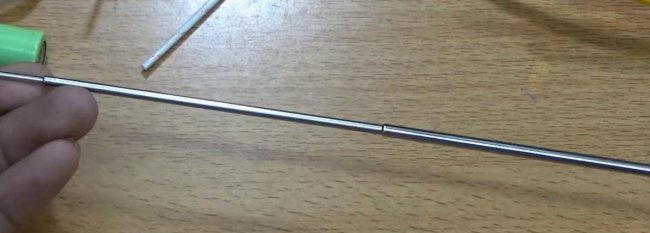
Then we take a telescopic antenna from any receiver, joystick or walkie-talkie and disassemble it. We need to find a tube into which our core from the wire will fit tightly. Once the antenna elbow is selected, the remaining parts can be removed.
Mini soldering iron battery powered

Mini soldering iron battery powered

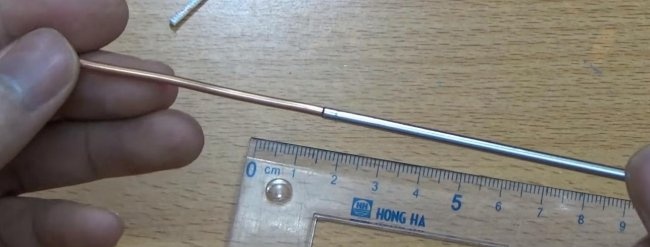
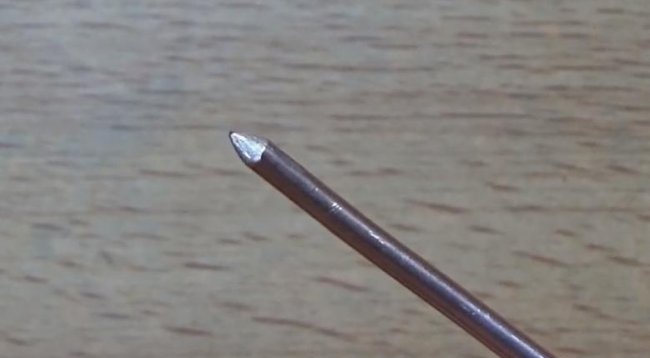
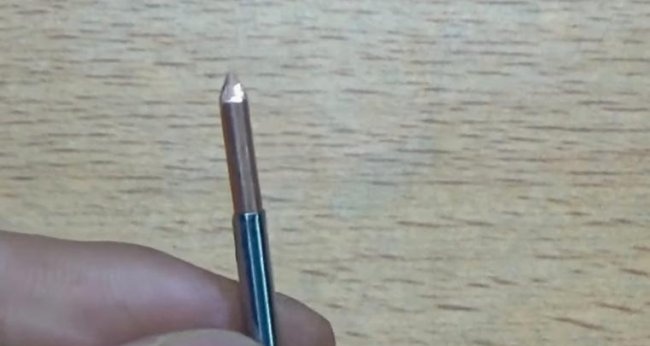
Using a machine or manually with a file, we sharpen a thick strand of wire into a cone - this will become a soldering tip.
Mini soldering iron battery powered

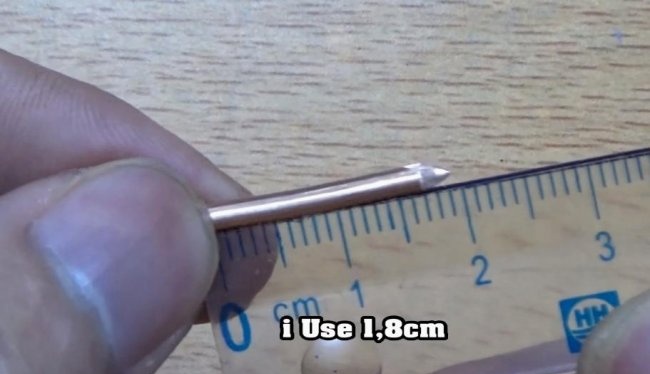
Cut about 1.8 cm with a hacksaw.
Mini soldering iron battery powered

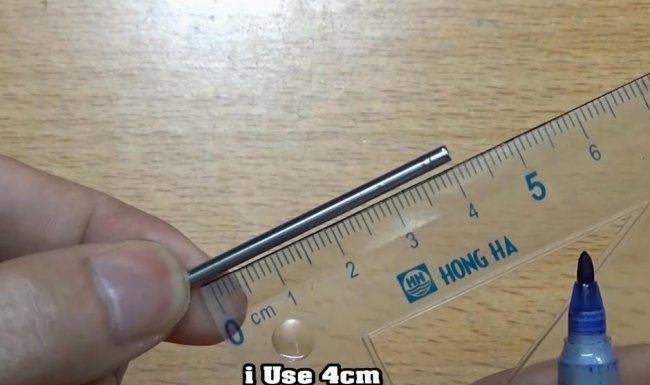
We cut off about 4 cm of the tube that we took from the antenna.
Mini soldering iron battery powered

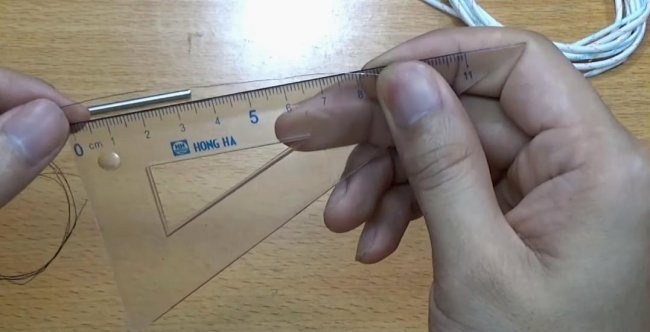
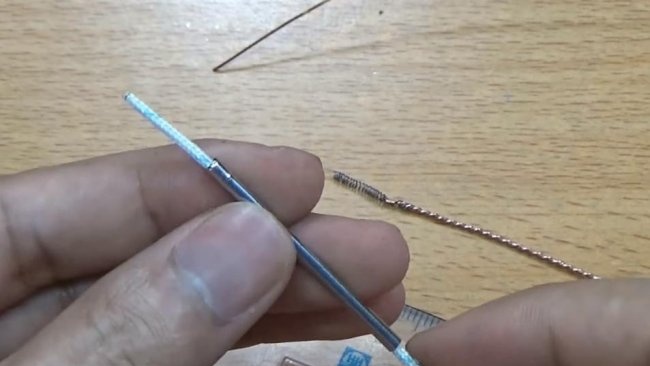
We take nichrome wire and measure 10 centimeters, cut off the rest.
Mini soldering iron battery powered

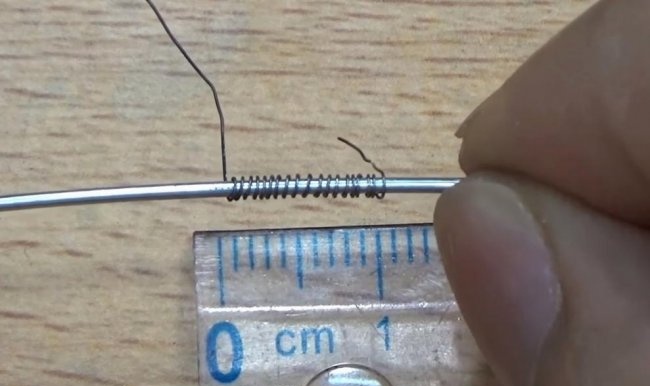
Let's take a wire with a diameter of 1.2-1.8 mm. It is only needed for winding the coil; we will not need it later. The material doesn't matter. We wind the nichrome wire, leaving the ends about 1 centimeter.
Mini soldering iron battery powered

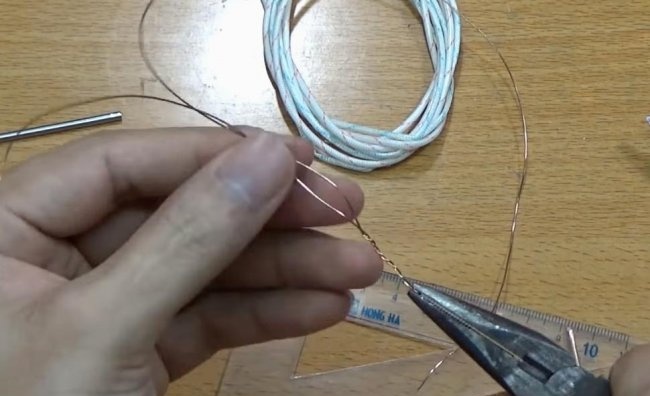
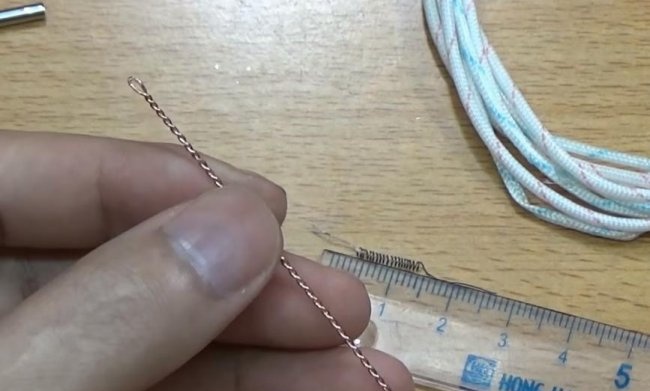
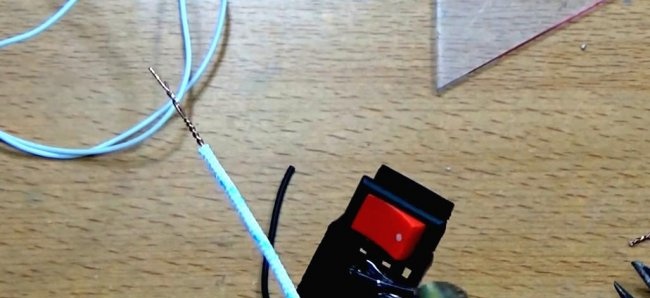
Then take a thin strand from a copper wire, fold it in half and twist it with wire cutters.
Mini soldering iron battery powered

Mini soldering iron battery powered

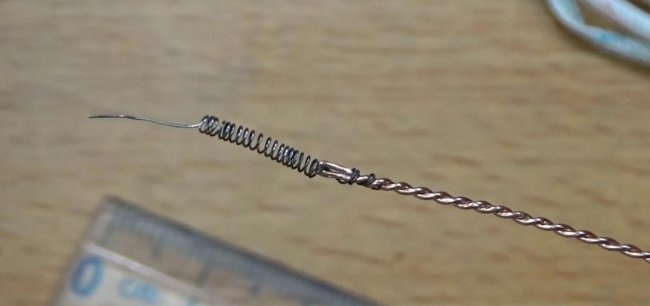
We will thread the nichrome wire into the resulting eye and twist the end around the copper wire. And let's put it aside for now.
Mini soldering iron battery powered

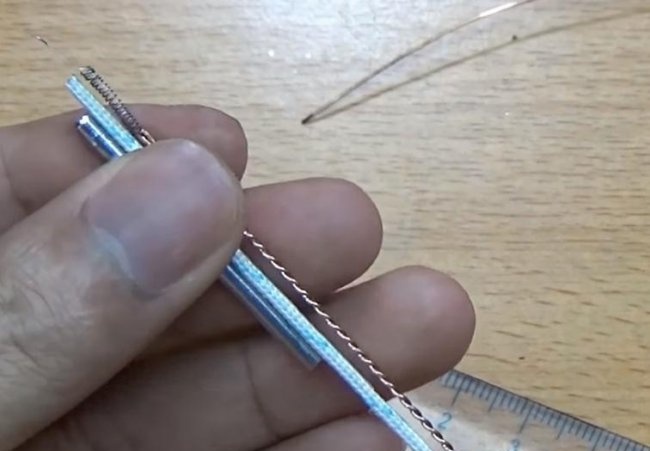
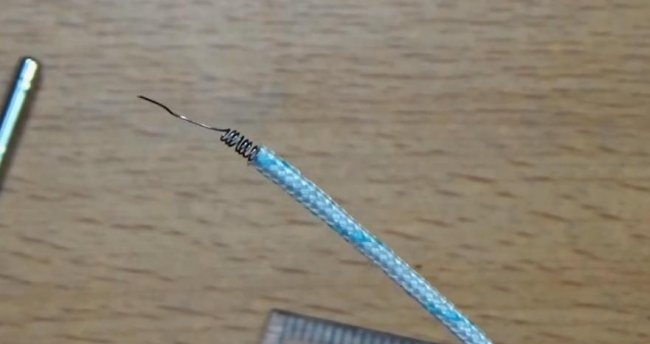
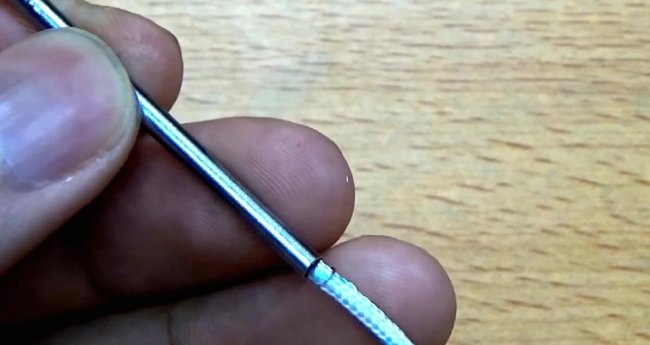
Let's take the tube from the antenna and thread the reinforced fiberglass casing inside the tube. If your cambric turns out to be larger in diameter, you can make a longitudinal cut and adjust it to the diameter of the tube.
Mini soldering iron battery powered

We take everything together and put it together.
Mini soldering iron battery powered

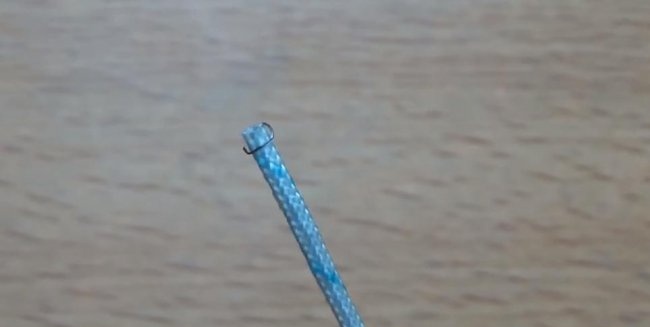
We thread a nichrome coil with wire into the cambric so that only a 1 cm long wire sticks out from the outside. From this centimeter we make a turn around the thermal insulation. This will be a thermocouple.
Mini soldering iron battery powered

Mini soldering iron battery powered

We take our tip and insert it into the tube from the antenna.
Mini soldering iron battery powered

On the other hand, we insert our thermoelement all the way.
Mini soldering iron battery powered

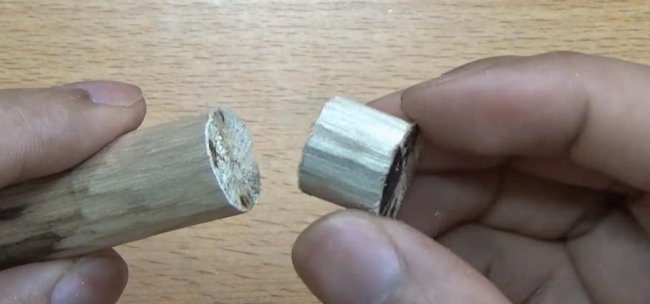
Take a round piece of wood and cut off about 2-3 cm.
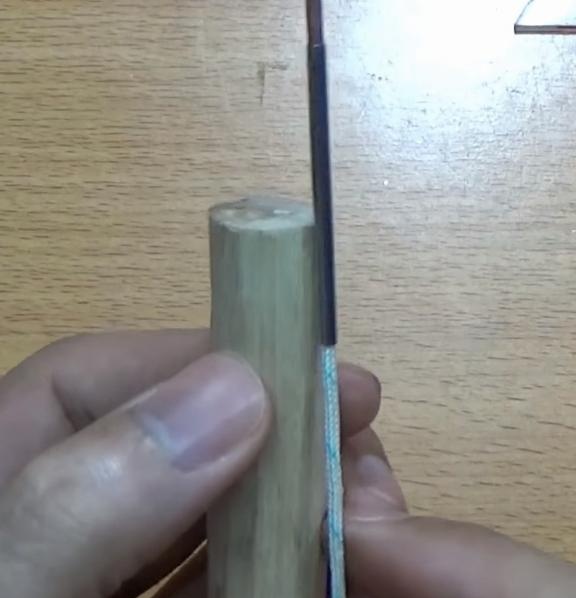
Mini soldering iron battery powered

Mini soldering iron battery powered

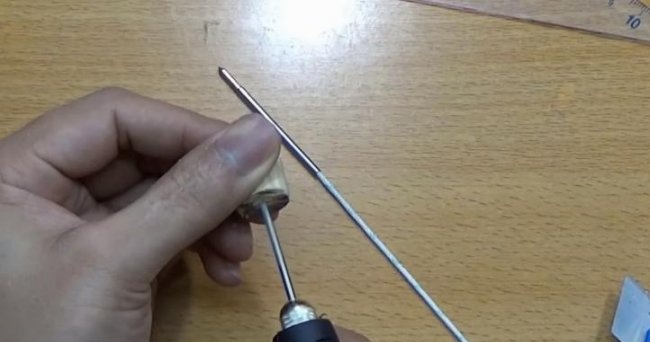
Drill a hole in the center for the soldering element.
Mini soldering iron battery powered

We mill a groove from this hole using the same drill, see photo.
Mini soldering iron battery powered

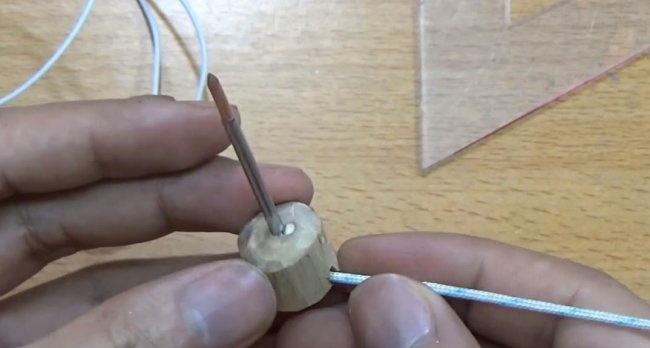
Insert the soldering tip with the thermoelement assembly. And bend the tail into the groove.
Mini soldering iron battery powered

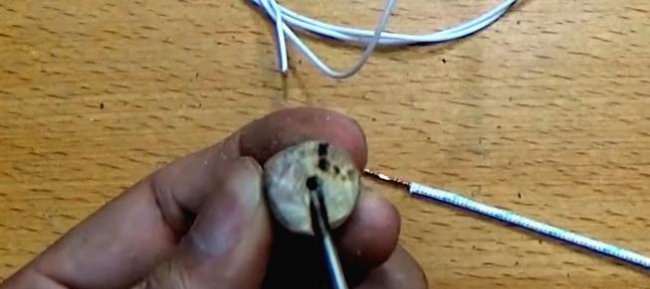
We drill more holes, but with a smaller diameter and a little further from the center.
Mini soldering iron battery powered

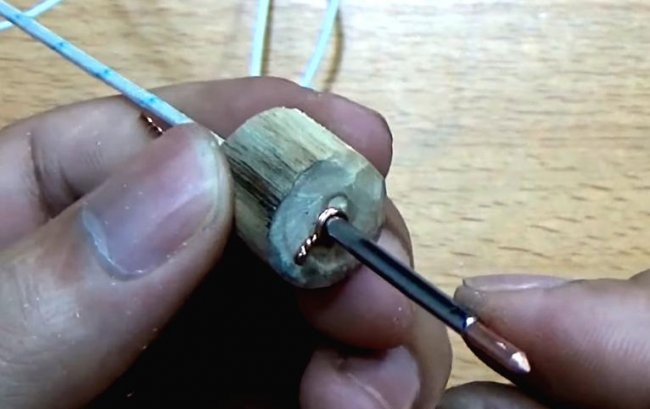
We take a thin copper wire and make a loop on the tube and bend it. This will be the second contact.
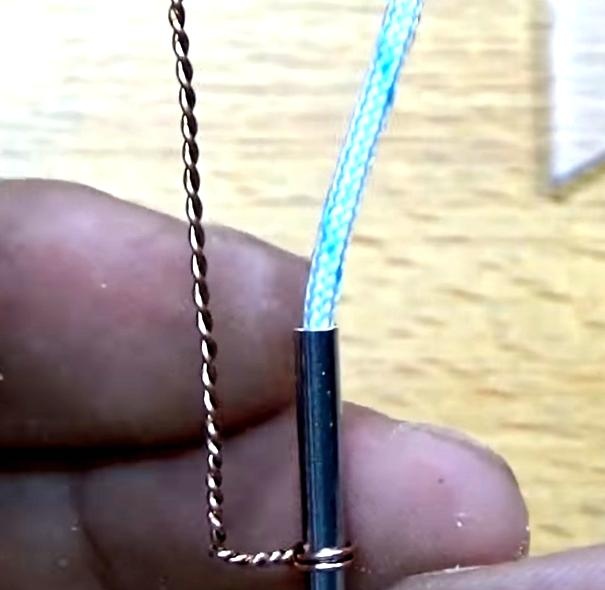
Mini soldering iron battery powered

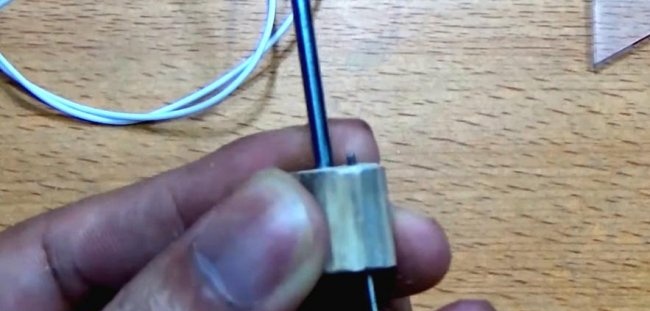
We insert everything into a round piece of wood.
Mini soldering iron battery powered

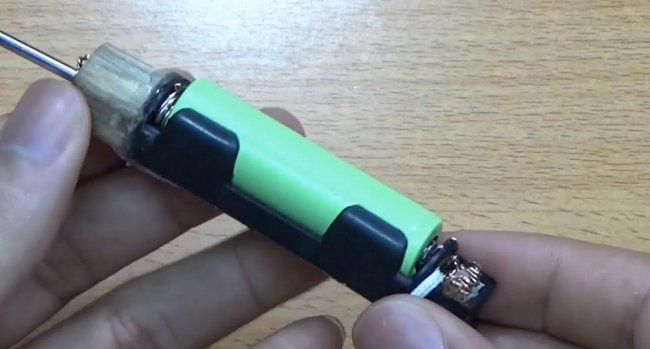
Fix the bent conductor with hot glue. And glue the battery compartment. Polarity doesn't matter.
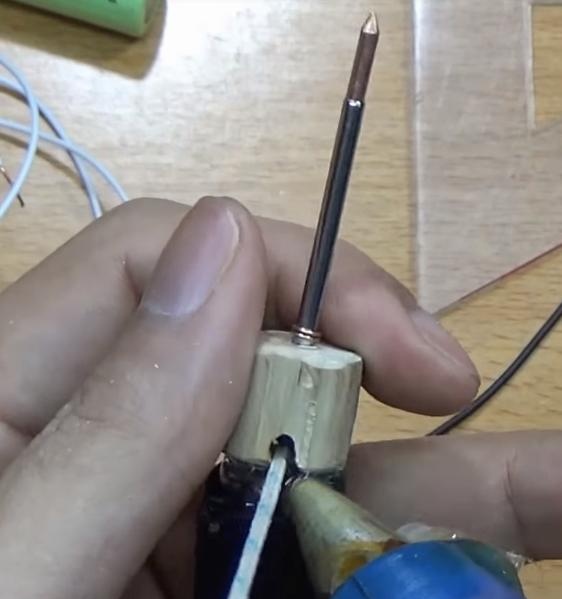
Mini soldering iron battery powered

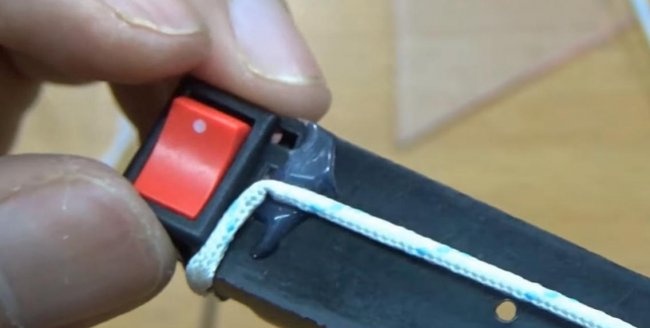
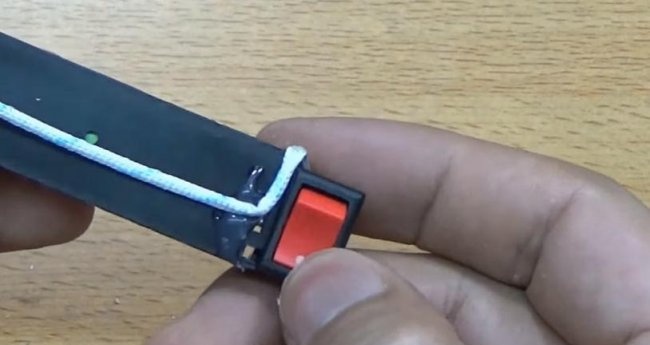
On the other hand, we glue a switch to the battery compartment. We also fix the conductors with glue. We connect everything in series: thermocouple, switch, battery.
Mini soldering iron battery powered

Mini soldering iron battery powered

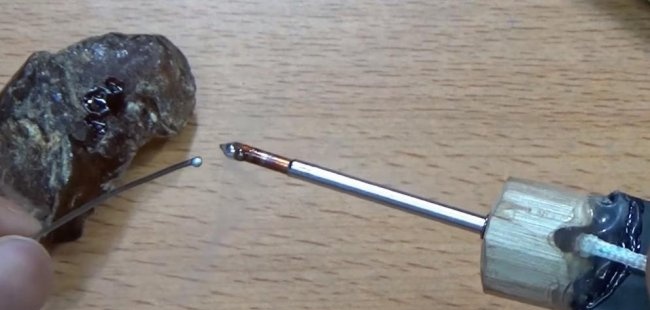
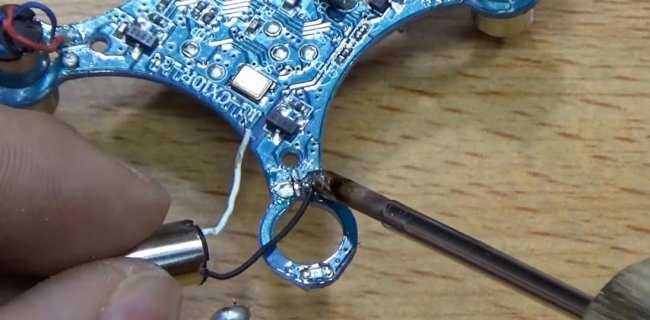
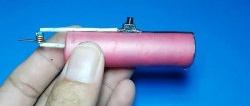
That's all - the mini soldering iron is ready. We insert a charged battery, turn on the switch and try soldering.
Mini soldering iron battery powered

Mini soldering iron battery powered

Heats up almost immediately. This soldering iron is very good for soldering small SMD elements or other small items.
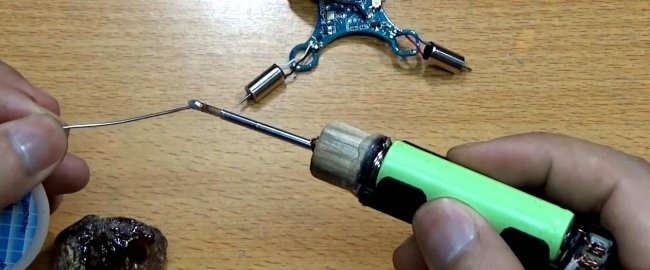
Mini soldering iron battery powered

Mini soldering iron battery powered

Watch the video of making a mini soldering iron with your own hands


come back
Comment
  • bowtiesmilelaughingblushsmileyrelaxed relaxedsmirk
    heart_eyeskissing_heartkissing_closed_eyesflushedrelievedsatisfiedgrin
    winkstuck_out_tongue_winking_eyestuck_out_tongue_closed_eyesgrinningkissingstuck_out_tonguesleeping
    worriedfrowninganguishedopen_mouthgrimacingconfusedhushed
    expressionlessunamusedsweat_smilesweatdisappointed_relievedwearypassive
    disappointedconfoundedfearfulcold_sweatperseverecrysob
    joyastonishedscreamtired_faceangryragetriumph
    sleepyyummasksunglassesdizzy_faceimpsmiling_imp
    neutral_faceno_mouthinnocent
4 minus one =
Comments (2)
  1. Uktam Mustafakulov
    #1 Uktam Mustafakulov Guests 8 May 2019 13:45
    2
    THIS IS A SOLDERING IRON WHAT ARE THE PARTS
  2. smotrelkin
    #2 smotrelkin Guests 9 September 2023 19:59
    0
    The heater warms the tube, and the tube warms the tip? And that's enough??

Sand painting | Do it yourself

Memorial ribbon for Radonitsa | Do it yourself

How to wrap a nail around the stem of a glass

DIY case made from profile scraps

«Do it yourself - with your own hands» - a site of interesting homemade products made from scrap materials and items at home. Step-by-step master classes with photos and descriptions, technologies, life hacks - everything a real master or just a craftsman needs for needlework. Crafts of any complexity, a large selection of directions and ideas for creativity.

We recommend reading

Washing machine error codes