Do it yourself
Life hacks, master classes, useful tips, recipes.
home » Electronics » Cordless soldering iron made from a resistor
Cordless soldering iron made from a resistor

You can make a mini cordless soldering iron yourself in literally 15 minutes. Put it in your pocket and go soldering where there is no electricity. The main heating element is a 4.7 Ohm resistor. A 3.7 V 18650 series element is used as a battery. Its capacity is more than enough for a long operating time.

Will need


  • Resistor 4.7 Ohm (0.25 W).
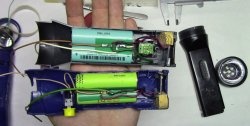
  • 18650 battery at 3.7 V.
  • Momentary button.
  • Heat resistant tube.
  • A piece of wire.
  • A piece of copper wire 0.9 mm in diameter.

Making a mini soldering iron
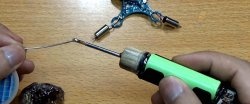

We take a resistor.
Cordless soldering iron made from a resistor

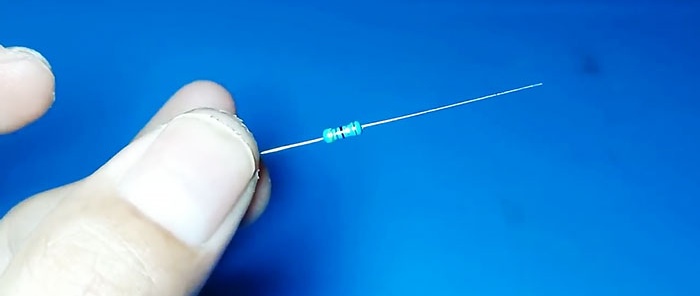
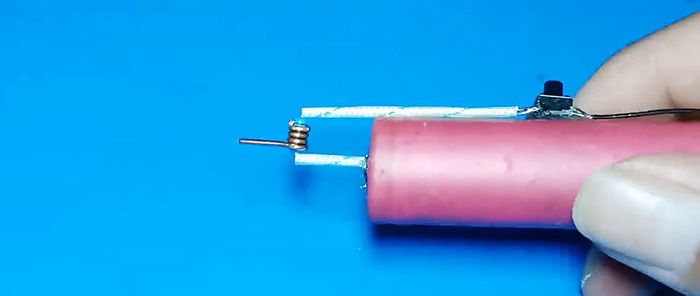
We wind copper wire around its middle, three turns. If the wire has varnish insulation, it must be removed using acetone or mechanically using sandpaper.
Cordless soldering iron made from a resistor

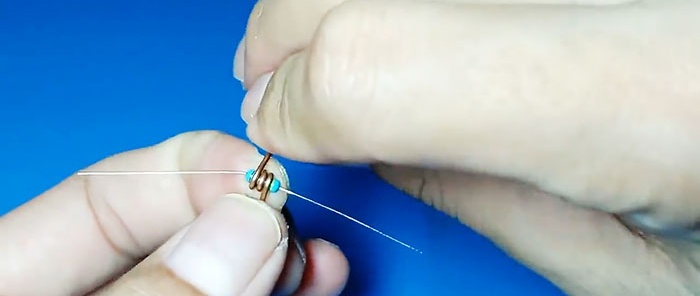
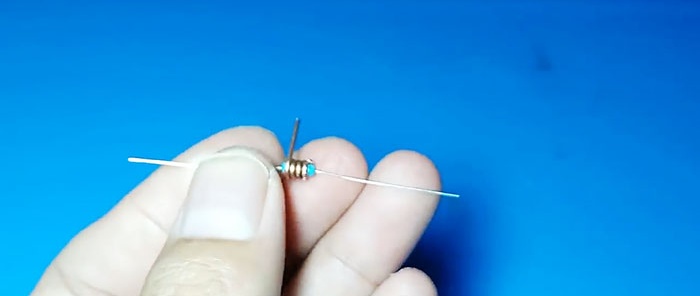
We press all the turns tightly together with pliers. We bite off one end of the wire closely, and the other at a distance of 0.8-1 cm.
Cordless soldering iron made from a resistor

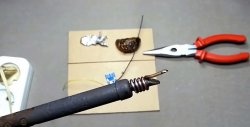
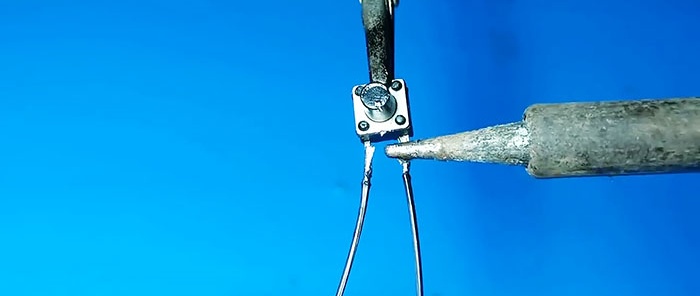
We take the button and solder the wires to its contactors.
Cordless soldering iron made from a resistor

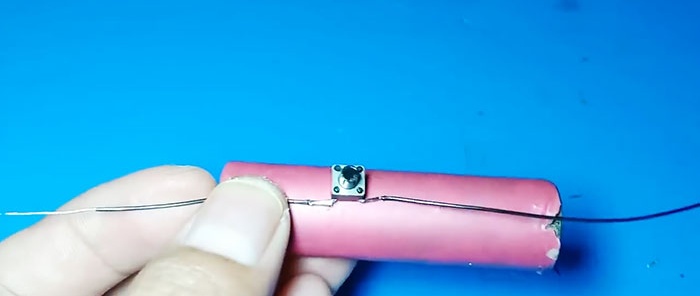
We bend the contacts and glue it with hot glue to the battery body.
Cordless soldering iron made from a resistor

We put a piece of heat-resistant tube on one leg of the resistor.
Cordless soldering iron made from a resistor

Solder to the battery pole. Polarity doesn't matter.
Cordless soldering iron made from a resistor

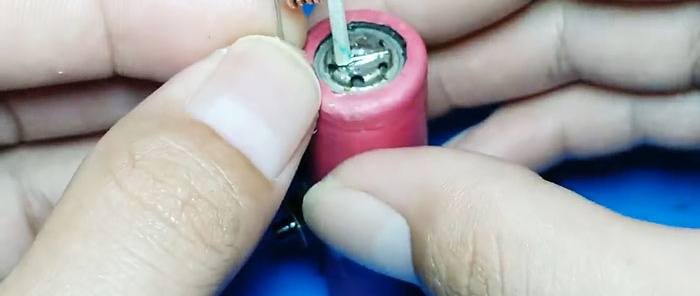
We solder a wire to the second terminal, also put on a heat-resistant tube and solder it to the button contact.
Cordless soldering iron made from a resistor

We solder the second lead from the button to the second pole of the battery.
Cordless soldering iron made from a resistor

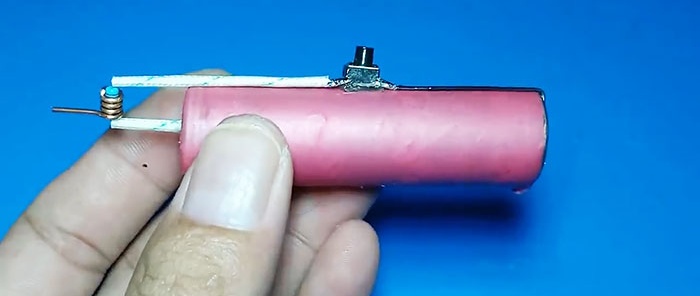
The soldering iron is ready.
Cordless soldering iron made from a resistor

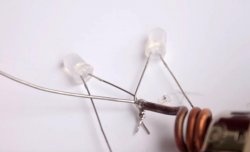
We press the button. We wait a couple of seconds to warm up.
Cordless soldering iron made from a resistor

And we start soldering.
Cordless soldering iron made from a resistor

This is how easy, quick and simple it is to make a cordless soldering iron for soldering small elements in conditions without electricity.

Watch the video


come back
Comment
  • bowtiesmilelaughingblushsmileyrelaxed relaxedsmirk
    heart_eyeskissing_heartkissing_closed_eyesflushedrelievedsatisfiedgrin
    winkstuck_out_tongue_winking_eyestuck_out_tongue_closed_eyesgrinningkissingstuck_out_tonguesleeping
    worriedfrowninganguishedopen_mouthgrimacingconfusedhushed
    expressionlessunamusedsweat_smilesweatdisappointed_relievedwearypassive
    disappointedconfoundedfearfulcold_sweatperseverecrysob
    joyastonishedscreamtired_faceangryragetriumph
    sleepyyummasksunglassesdizzy_faceimpsmiling_imp
    neutral_faceno_mouthinnocent
5+two=
Comments (7)
  1. Anton Pankratov
    #1 Anton Pankratov Guests 11 November 2019 17:57
    2
    two points are very confusing: 1) the power dissipated there is about 4 W (4.7 Ohm at a maximum voltage of 4.3 volts gives a current of slightly less than 1 ampere), and at the same time the resistor in the photo is 0.25 or 0.125 watts. 2) the button on the photo is on the current is about 0.05-0.15A and the current there is 0.8-0.9 amperes!
    1. Guest Evgeniy
      #2 Guest Evgeniy Guests 11 November 2019 20:19
      1
      Two points are very confusing: 1) the power dissipated there is about 4 W (4.7 Ohm at a maximum voltage of 4.3 volts gives a current of slightly less than 1 ampere), and at the same time the resistor in the photo is 0.25 or 0.125 watts. 2) the button in the photo is the current is about 0.05-0.15A and the current there is 0.8-0.9 amperes!

      The resistor withstands due to heat removal by copper wire, the button is of course weak, but from practice it will work for a while because you don’t have to solder it all the time.. this is a homemade product for 15 minutes of quick work if there is no other option.
      1. Dmitriy
        #3 Dmitriy Guests 12 November 2019 22:53
        3
        You just need a soldering iron to make it)
        1. Konstantin Viktorovich Kazachkov
          #4 Konstantin Viktorovich Kazachkov Guests November 16, 2019 10:24
          2
          Do it when there is electricity and keep it for an emergency. Or you can add another box for 18650 and put the battery in there. Mobility will suffer slightly.
  2. Guest Vasily
    #5 Guest Vasily Guests 5 December 2019 16:16
    0
    I wonder how long the button will last?
  3. Termi28a
    #6 Termi28a Guests 25 January 2020 13:07
    0
    In order to make a ironing iron you will need a ironing iron
  4. David Edgarovich Khalatyan
    #7 David Edgarovich Khalatyan Guests 4 December 2022 13:30
    1
    How to make this ironing iron if there is no ironing iron

Eggless mayonnaise with green pea brine

How to remove a weld seam in a profile pipe

How to convert a regular meat grinder into an electric one

Hard drive - last chance | Do it yourself

«Do it yourself - with your own hands» - a site of interesting homemade products made from scrap materials and items at home. Step-by-step master classes with photos and descriptions, technologies, life hacks - everything a real master or just a craftsman needs for needlework. Crafts of any complexity, a large selection of directions and ideas for creativity.

We recommend reading

Washing machine error codes