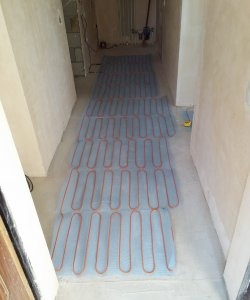
The fall weather takes many people by surprise. Thus, a change in the temperature outside has a direct proportional effect on the microclimate in the room, this is especially noticeable during the off-season, when the central heating has not yet been connected. Everyone is trying to resolve this issue as quickly and inexpensively as possible. The most rational option, where there is a combination of reasonable price and good heat transfer, are electric heated floors. But if you need a quick solution to the problem, you should give preference to infrared film floors, which are mounted directly under the laminate or linoleum and do not require a cement-sand screed. The cable floor is laid directly under the tiles, and full commissioning of the system is possible no earlier than 14-18 days, until the tile adhesive has completely dried.
Do-it-yourself infrared film floor installation
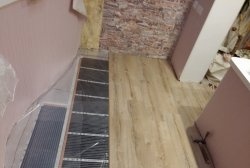
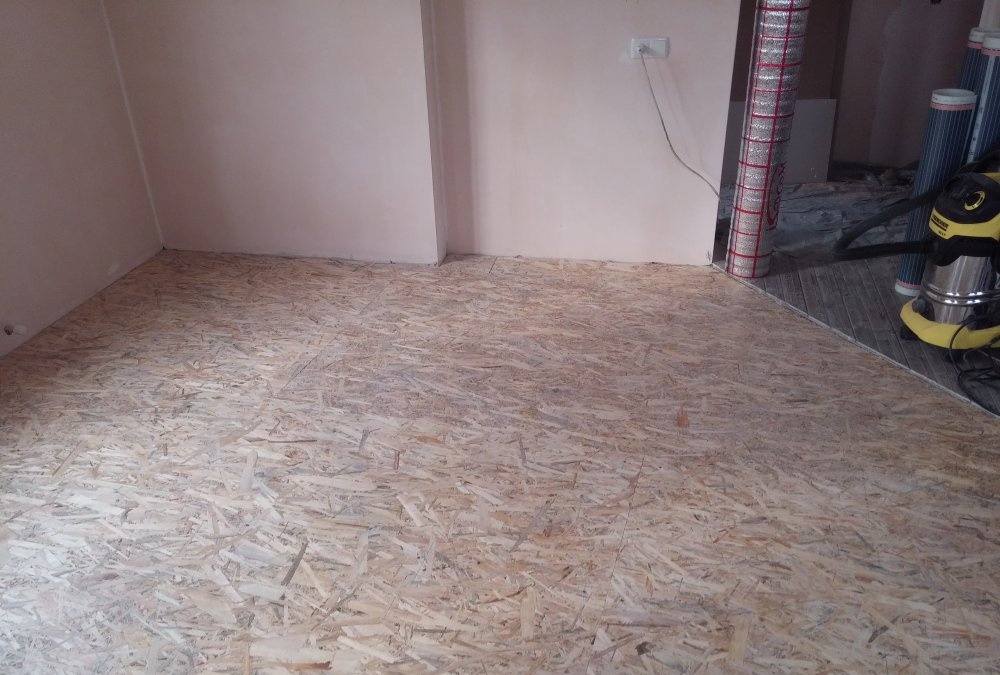
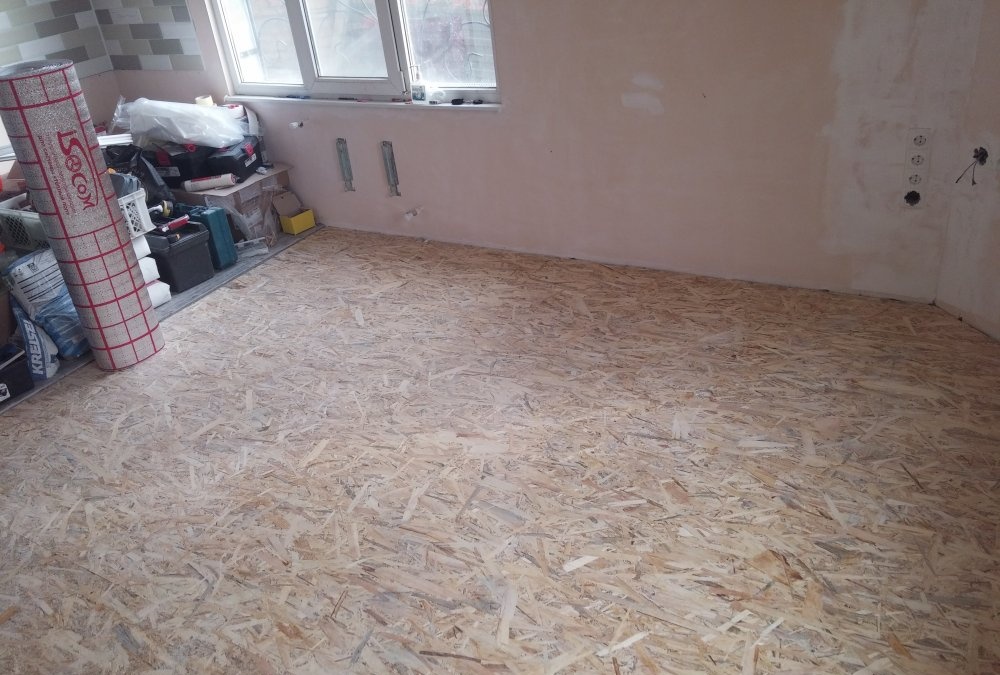
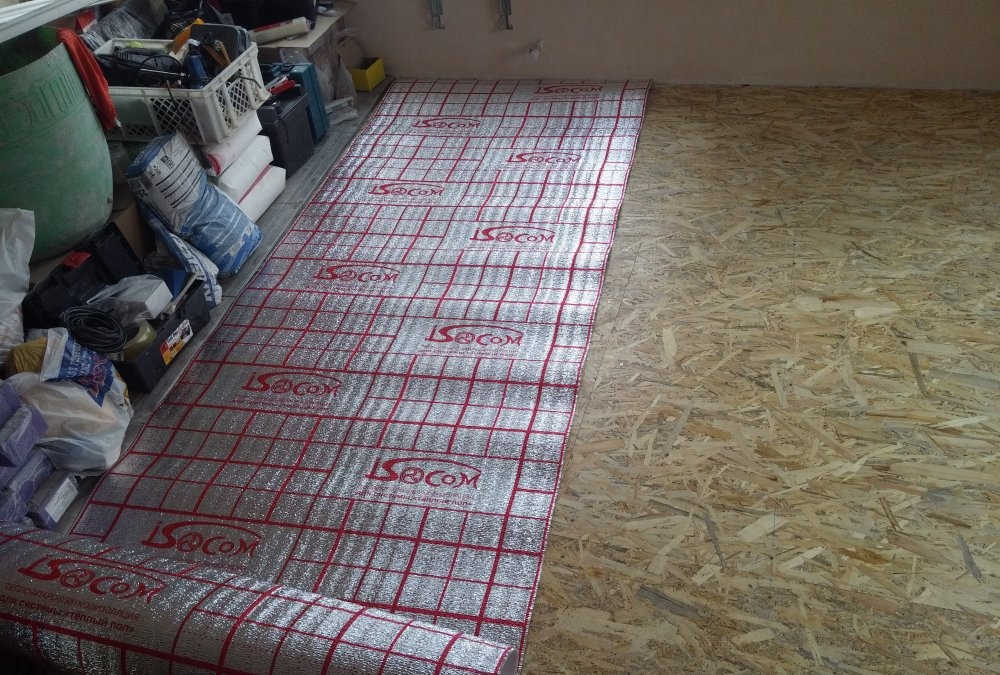
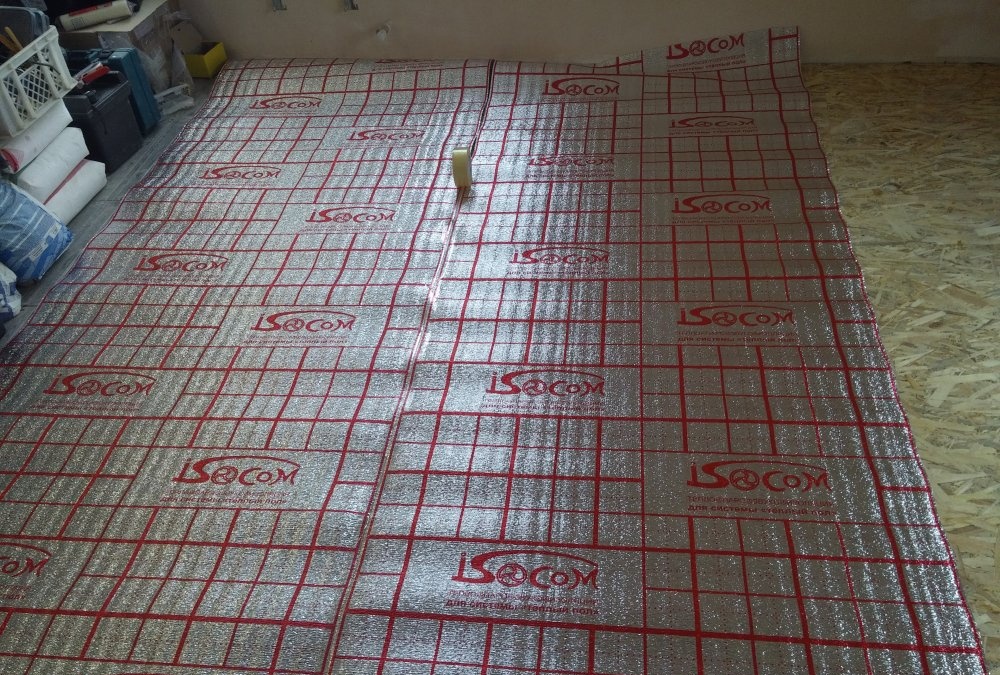
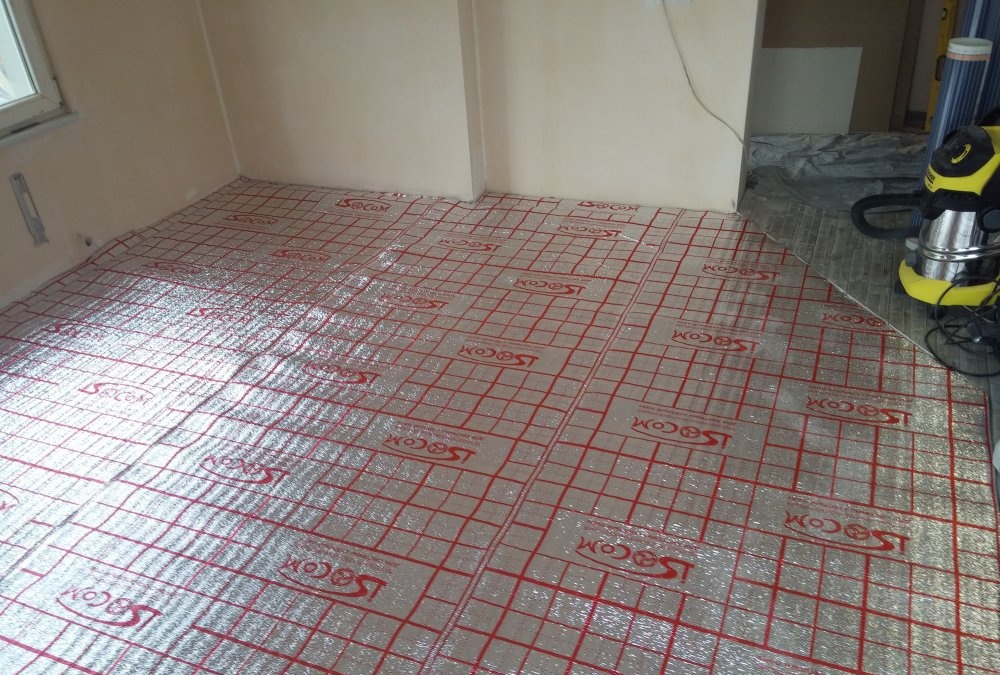
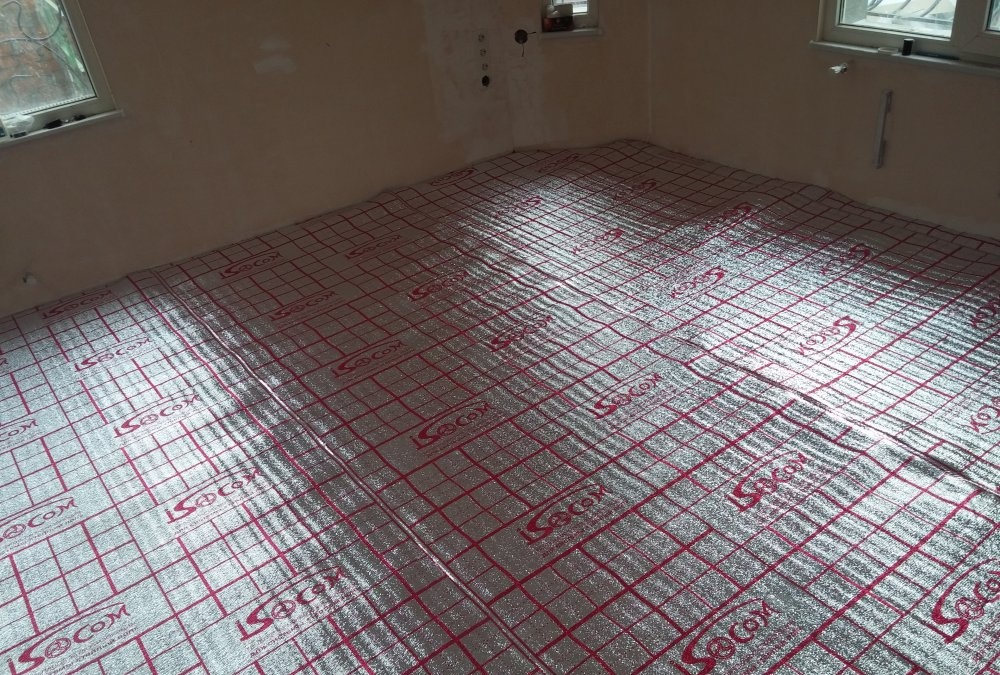
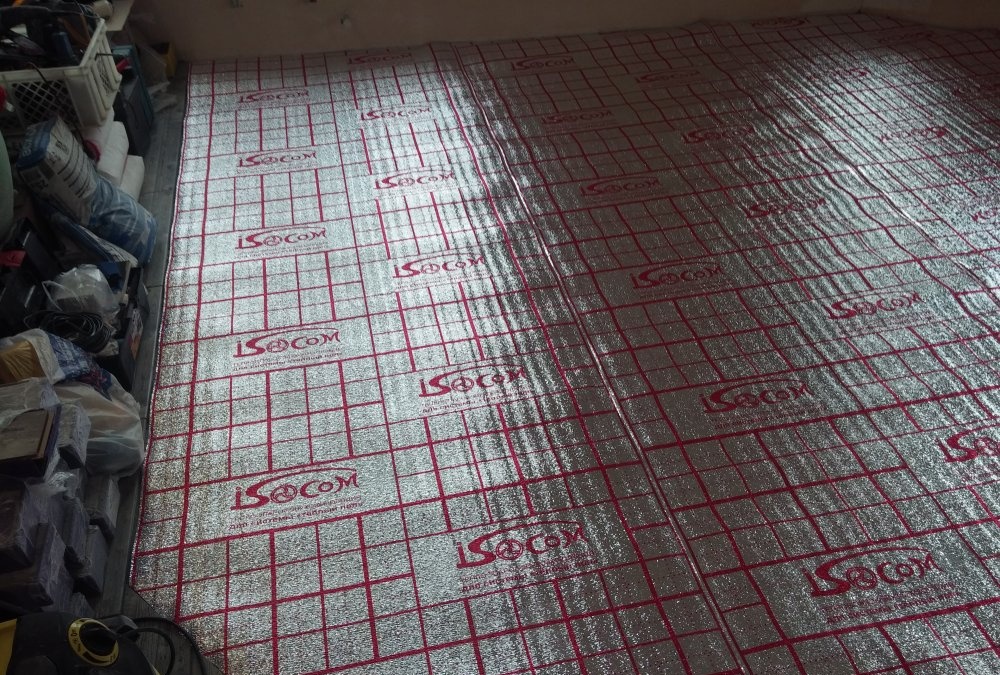
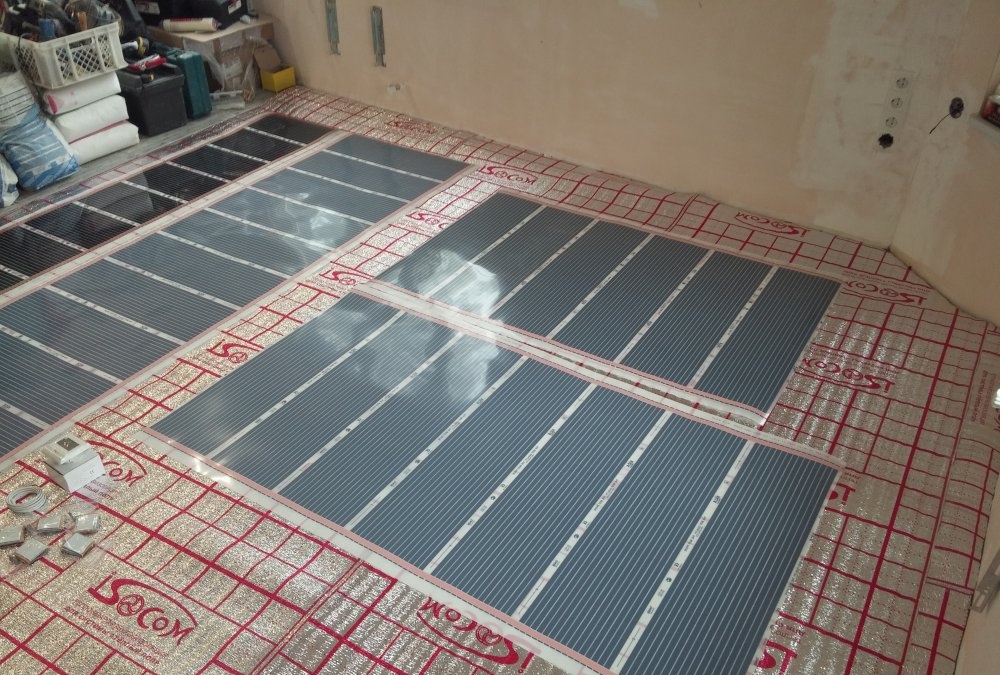
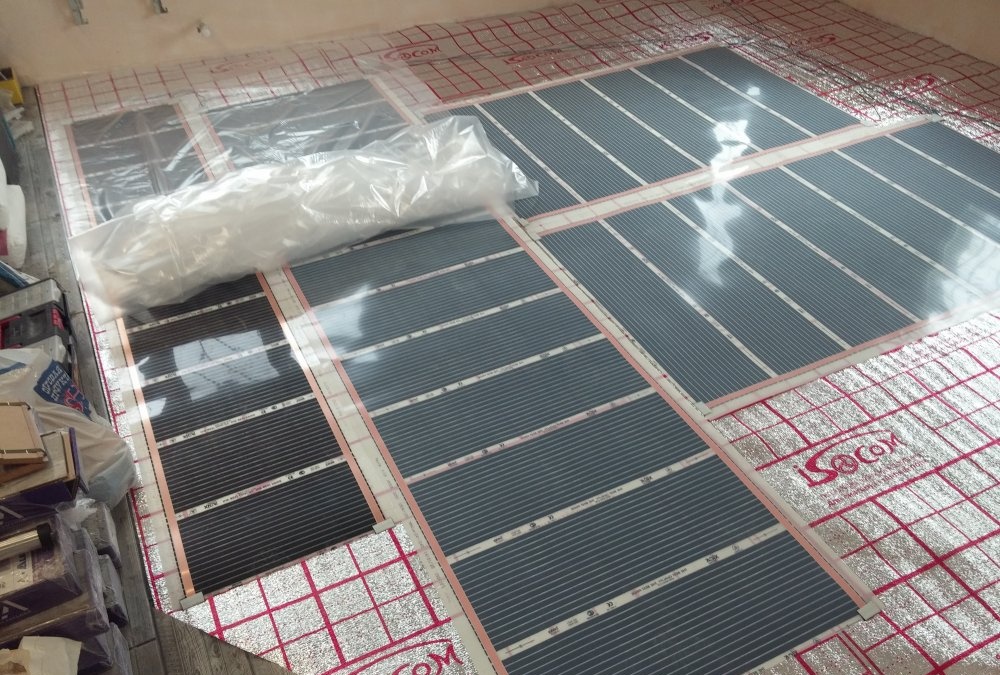
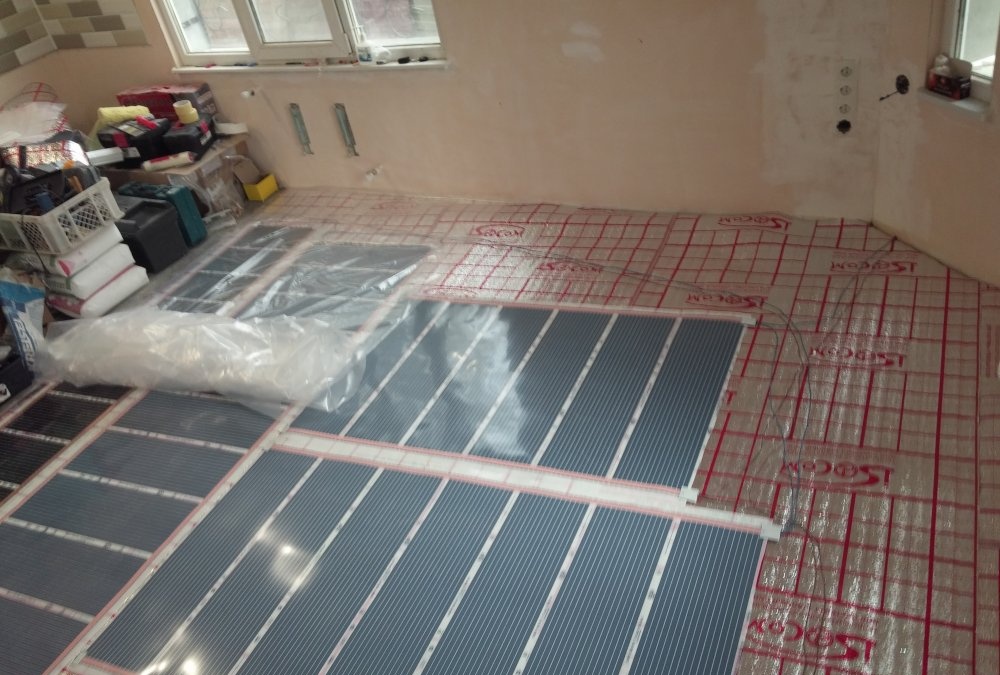
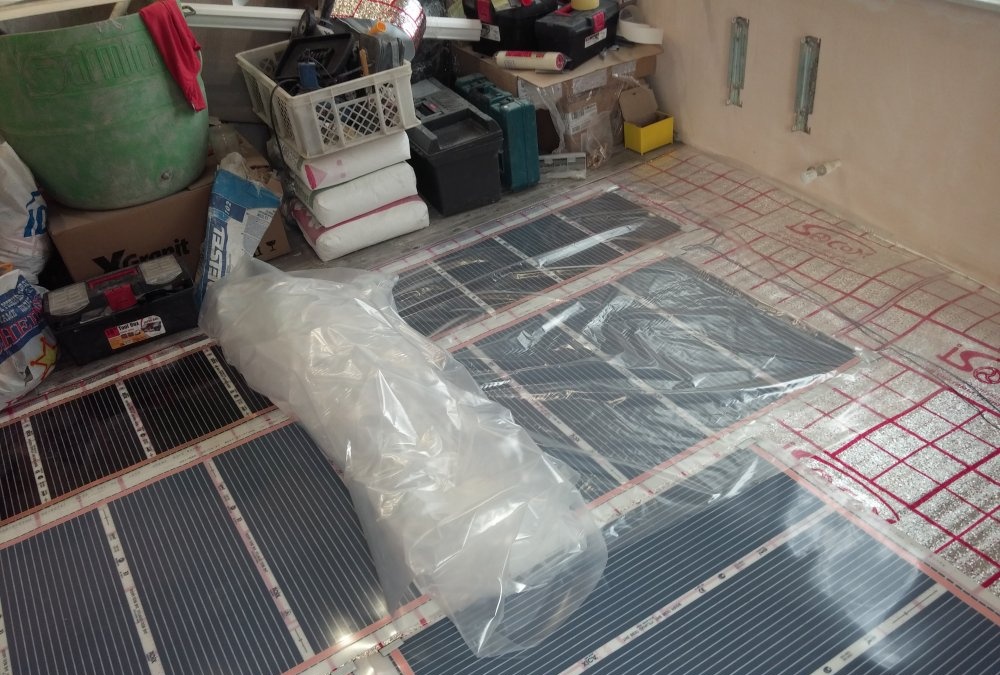
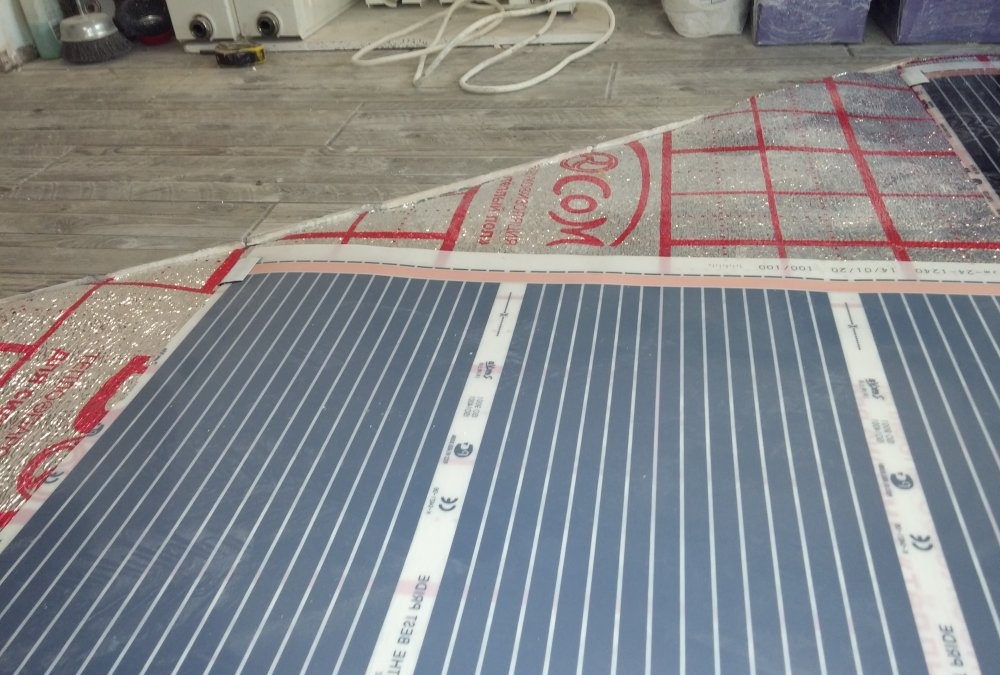
Installation of film flooring (linoleum, laminate and carpet) is as fast as possible and allows you to put the system into operation immediately after the installation of the floor covering is completed and looks like this:1) The subfloor must be relatively flat, clean, and dry. The underlay is spread over the entire area of the room, and not just under the heated floor, to avoid changes. It is advisable to give preference to high-quality thermal insulation, designed specifically for underfloor heating systems. It must have a protective coating and withstand a high temperature range, since when putting the system into operation for the first time at the beginning of the season, manufacturers recommend setting the temperature on the thermostat close to the maximum. Accordingly, the infrared film heats up about 47-50 degrees. A low-quality substrate simply will not withstand such heating of the floor; it will melt and become unusable.


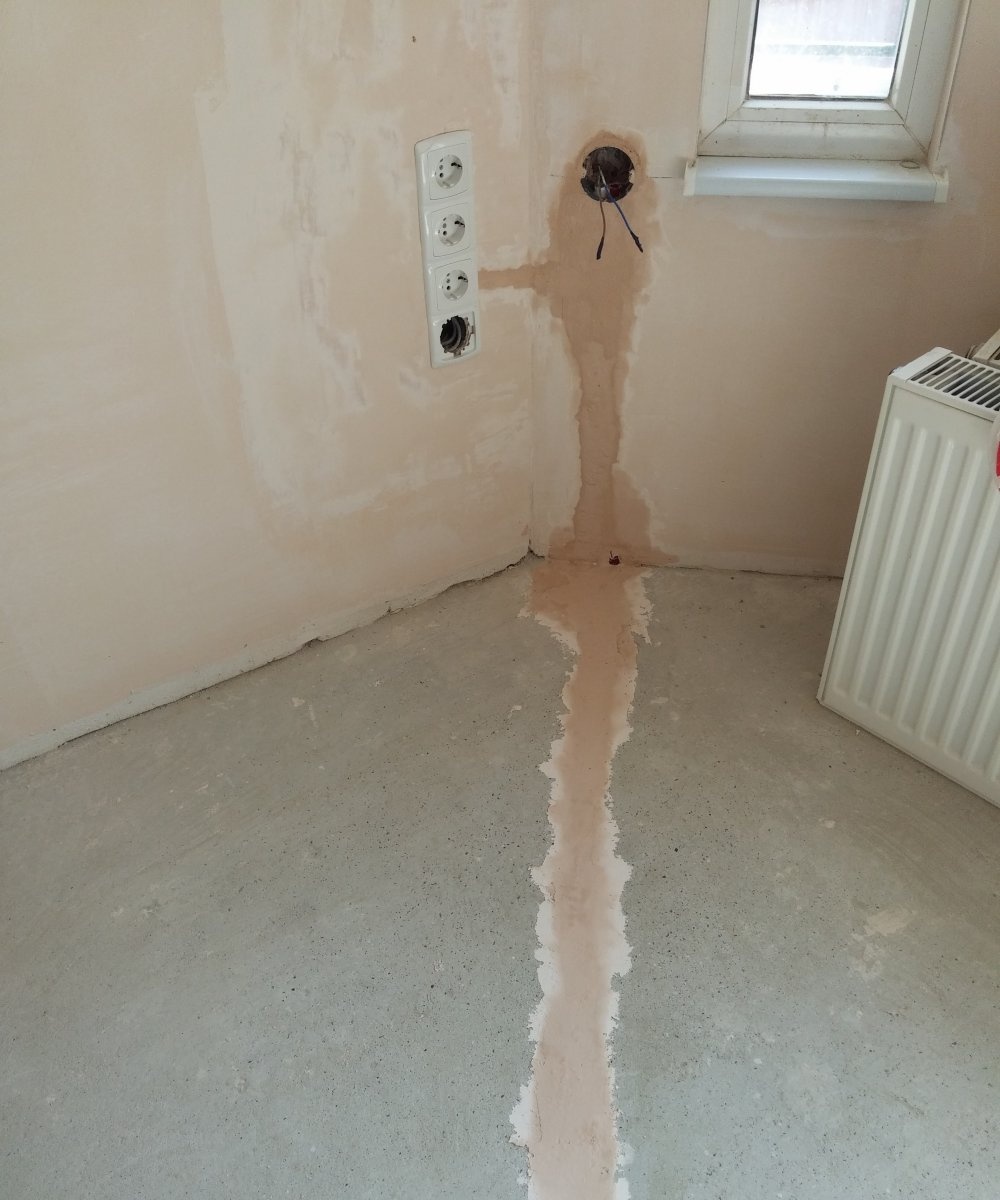
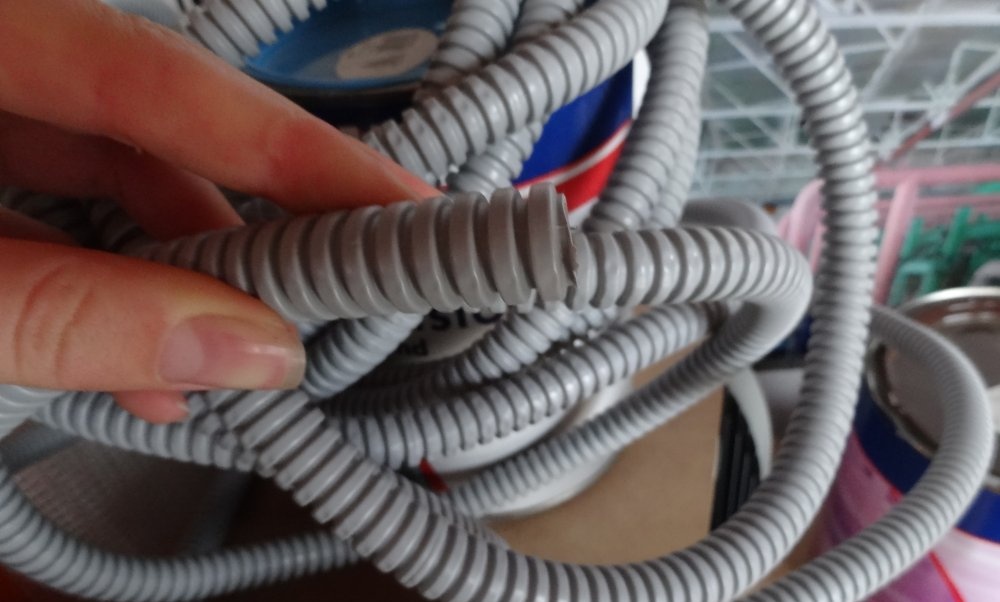
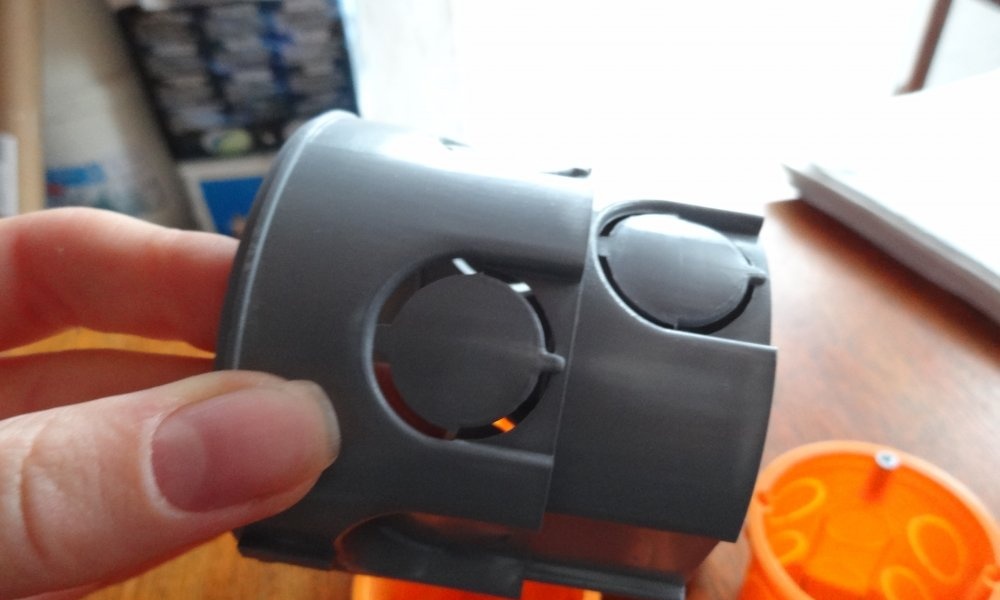
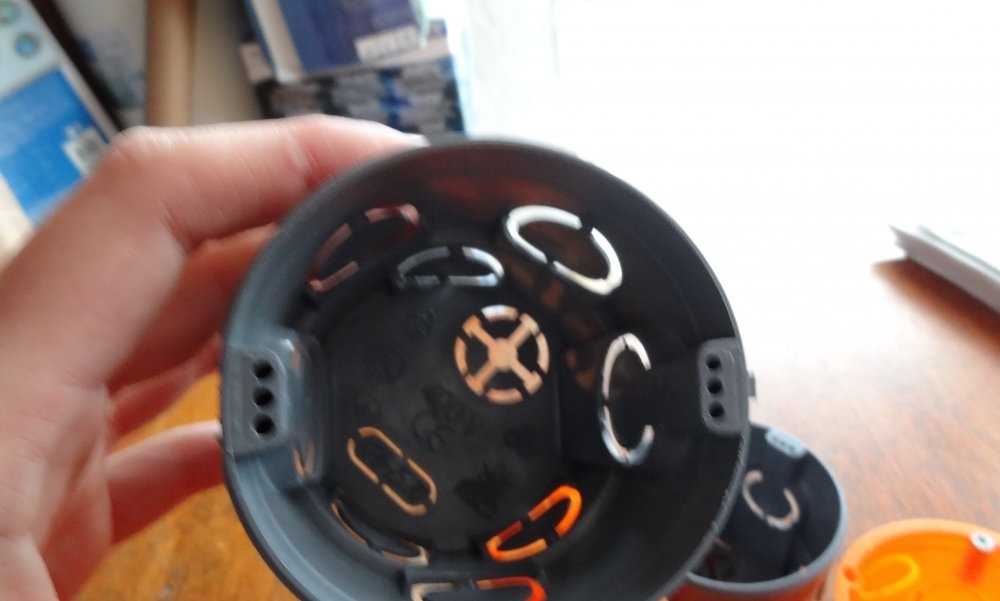
2) A place is prepared in advance for the thermostat, which is installed in an area not subject to drafts and a place protected from direct sunlight, otherwise its determination of the temperature regime will not be correct. The installation height is determined according to the manufacturers' recommendations from 30 to 120 cm. A canvas is cut for the floor sensor, a corrugation is placed into it, into which the floor sensor is inserted. The length of the sensor depends on the distance to which the heating film is located. He must go under it strictly in the middle of one of the segments. A special dose box is used for the thermostat; it is deep and has a large diameter. This is due to the presence of a large number of connecting wires that will not fit into a standard socket box as needed.
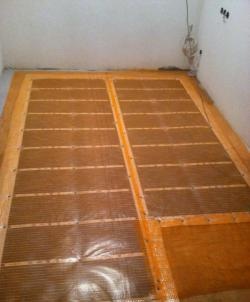
2) Floors are installed in a space not occupied by furniture. Installation of heated floors under furniture is allowed, provided that it has legs of at least 10 cm. The strips are connected to each other with a two-core copper cable, the thickness of which depends on the total power of the system.The cable is connected using special connecting terminals (included with the film floor), which are then carefully insulated with a bitumen insulator.


3) The thermostat is installed simultaneously with the infrared heated floor according to the attached connection diagram. As a rule, all thermostats, regardless of the manufacturer, are connected to the power source and the heated floor according to the same circuit.
4) At the final stage, the system is tested and the degree of heating of all underfloor heating strips is checked. This will take at least 5-10 minutes. A layout diagram is drawn.
5) To protect against moisture, many manufacturers of film flooring recommend covering it on top with medium-density polyethylene film.
After laying the floor covering, which is linoleum, laminate or carpet, you can immediately put the warm floor system into operation. But it is worth considering that to fully warm up a room, a heated floor, depending on the temperature conditions outside and inside the room, the quality of the substrate and the squaring of the infrared floor, may require from several hours to a day.