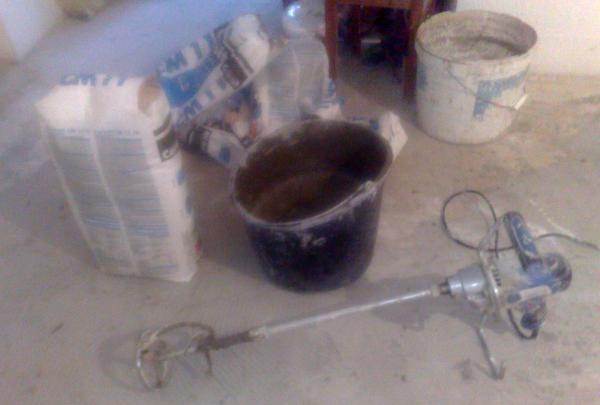
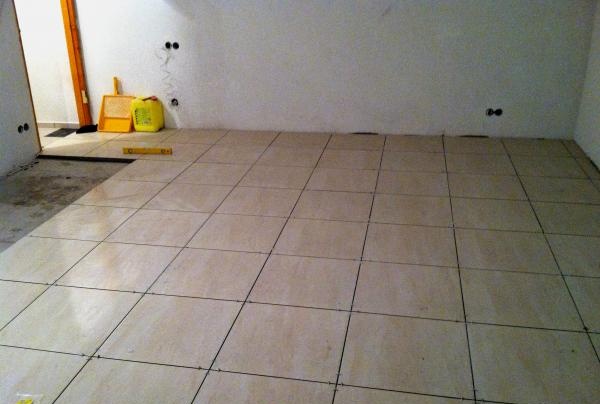
1) At the initial stage, it is worth deciding on the method of work and preparing all the working tools: tile cutter, comb, level, construction hammer, bucket, construction mixer, trowel, grinder, pencil or marker.

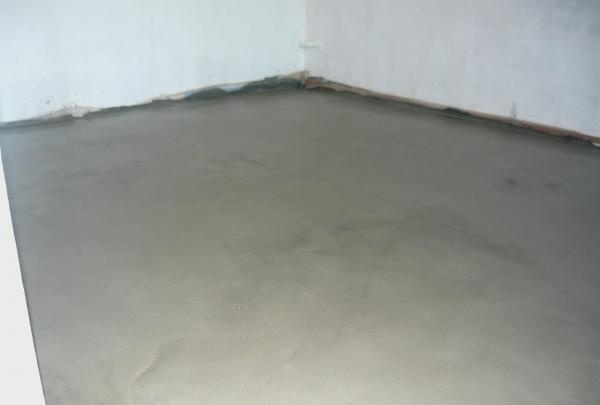
2) First option. Film floors are evenly covered with heat-resistant glue or a self-leveling mixture (provided that it can withstand heating temperatures of up to 50-60 degrees) with a thickness of 8-10 mm. Only after complete drying can you begin further work on laying ceramic tiles. But there is one drawback: if the base is initially uneven, there will be a very large consumption of material.Therefore, when choosing this method, before installing the film floor, it is necessary to level the screed as much as possible.
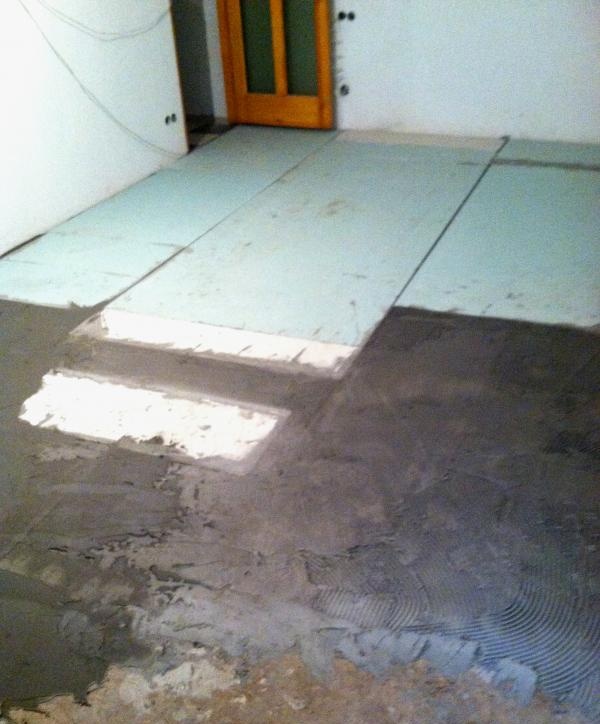
3) Second option. Heat-resistant tile adhesive (diluted to a thick creamy mass) is applied to the heating film using a 7-8 mm comb, which is covered on top with the thinnest sheets of moisture-resistant drywall; it is usually green in color. It is important that there is no air gap, otherwise the plasterboard sheet may subsequently move away from the base. At the same time, you must remember to work with the level as much as possible. After complete drying, depending on the room temperature, on average 1-3 days, the entire plasterboard surface is treated with concrete contact. This will prevent the tiles from moving away from the base. And only after this the work with the tiles begins. There are no further special features.
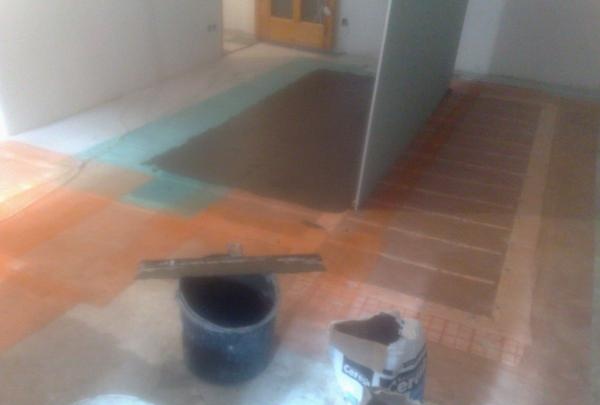
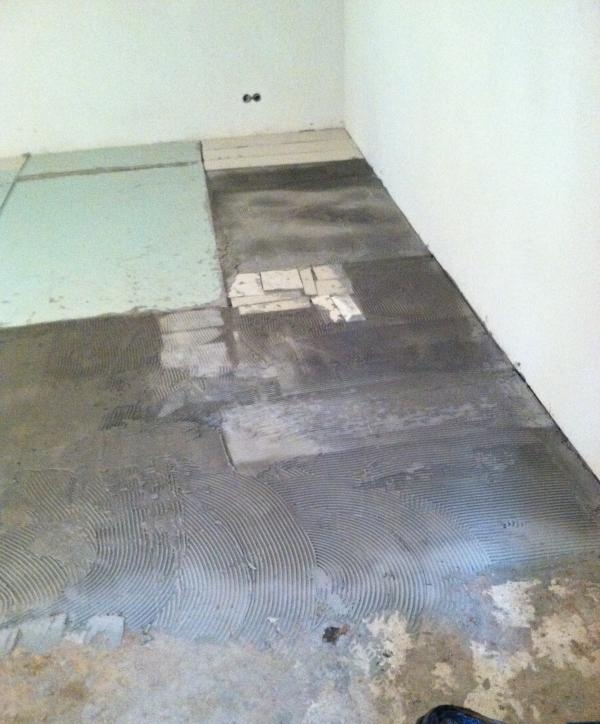


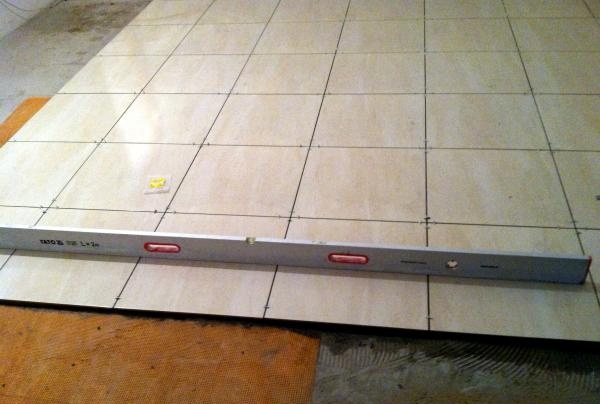
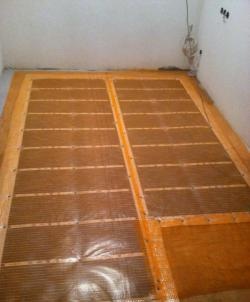
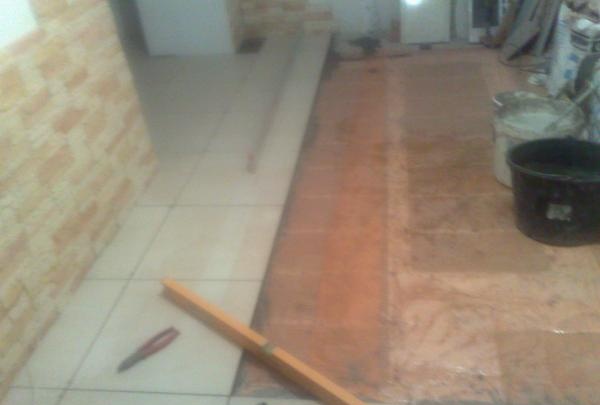
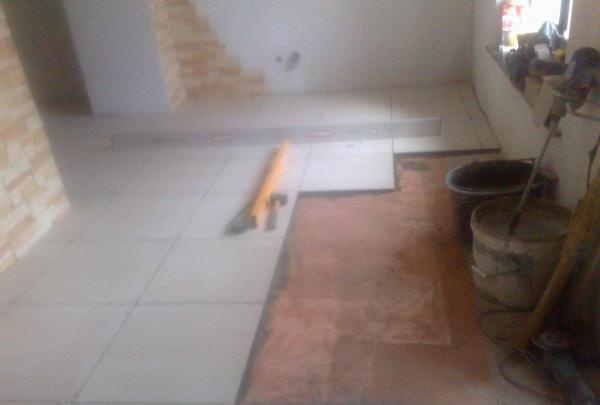
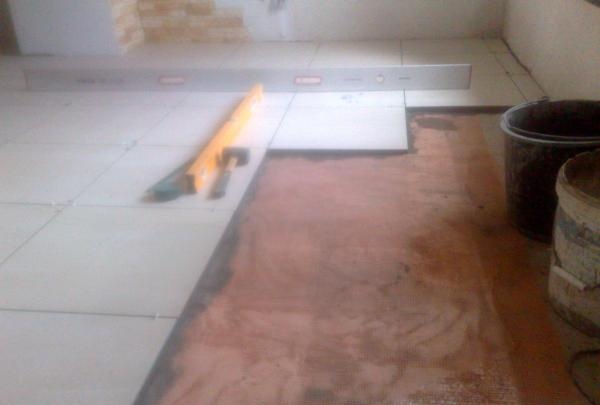
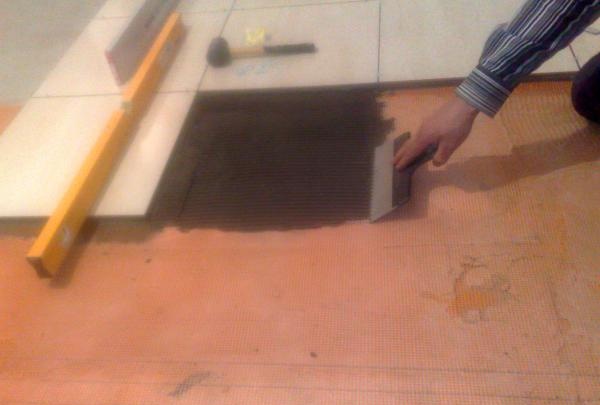
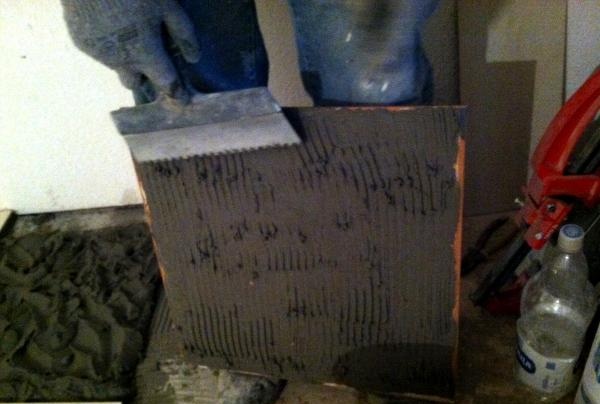
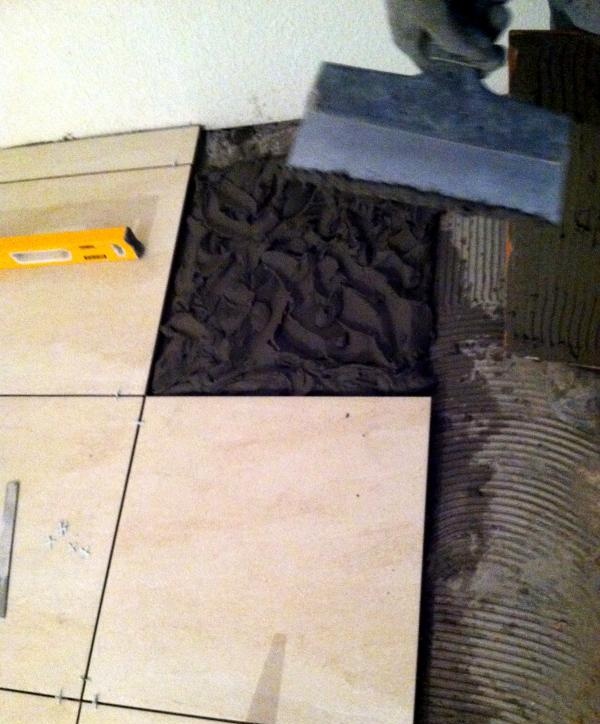
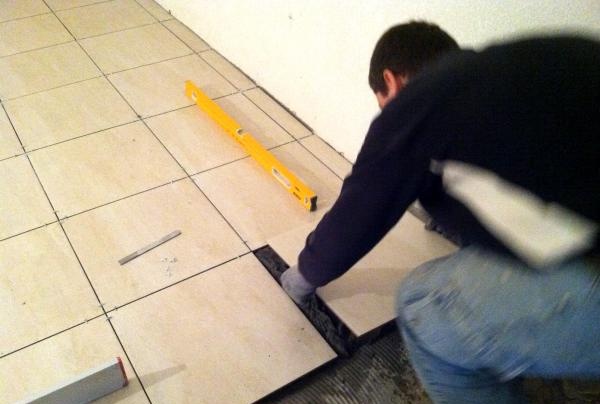
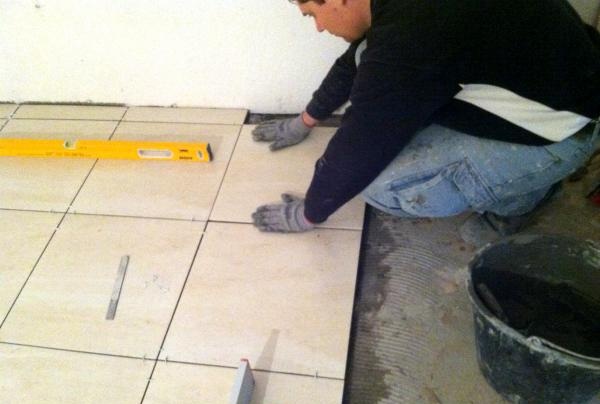
4) Third option. The tiles are placed immediately on film floors, but the maximum thickness of the tile adhesive is used. Tile adhesive is applied in a thick layer using a comb of at least 10-12 mm onto an infrared film, previously prepared in accordance with all standards (substrate, film floors, waterproofing film, sickle mesh). Then, with the same comb, glue is applied to the ceramic tile, which is applied to the base and tapped with a construction hammer in order to remove air and all excess glue. Everything must be adjusted to the level. After finishing work, you cannot walk on the finished surface for at least 3-5 days, depending on the temperature.
Regardless of the choice of working method, it is worth remembering a number of important points:
- heat-resistant glue must be used, ideally based on epoxy resin. The glue must withstand temperatures of about 50-60 degrees;
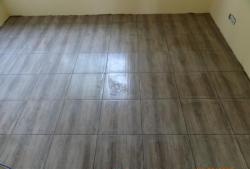
- it is better to abandon porcelain tiles, giving preference to classic ceramic tiles, which are the best conductor of heat;
- you should work carefully at the initial stage so as not to break the connecting wires, otherwise the system will fail;
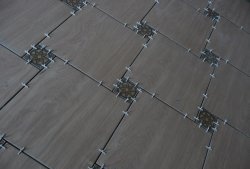
- the tiles are placed strictly under the comb, as much as possible, excluding the formation of any air layers;
- heated floors are turned on only after the tile adhesive has completely dried, after at least 28 days or more, depending on the temperature in the room and the thickness of the layer.