The entire installation process can be divided into a number of points:
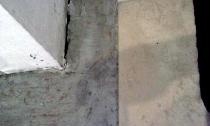
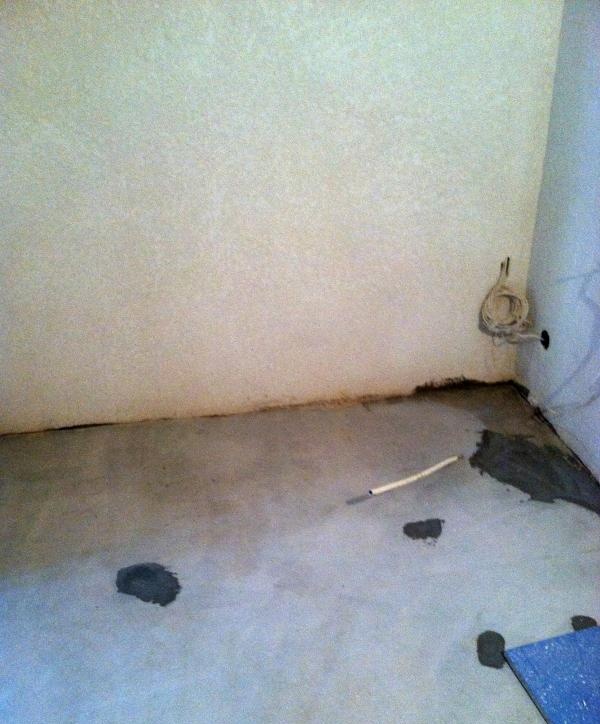
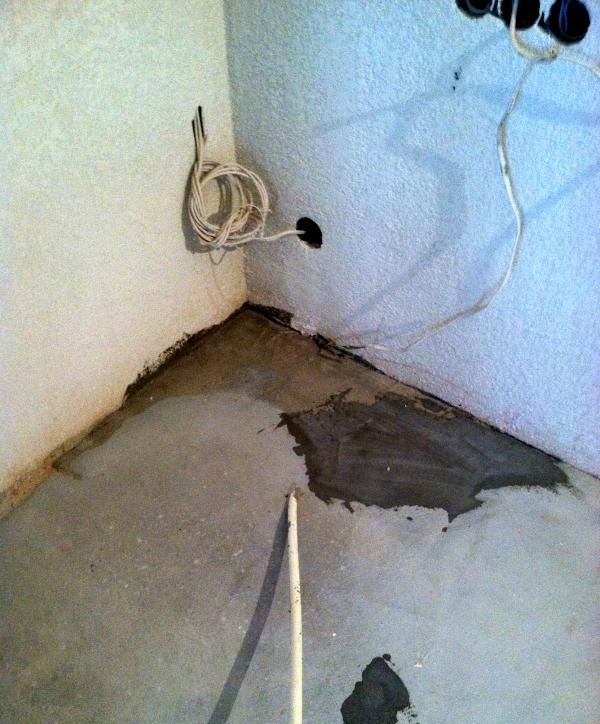
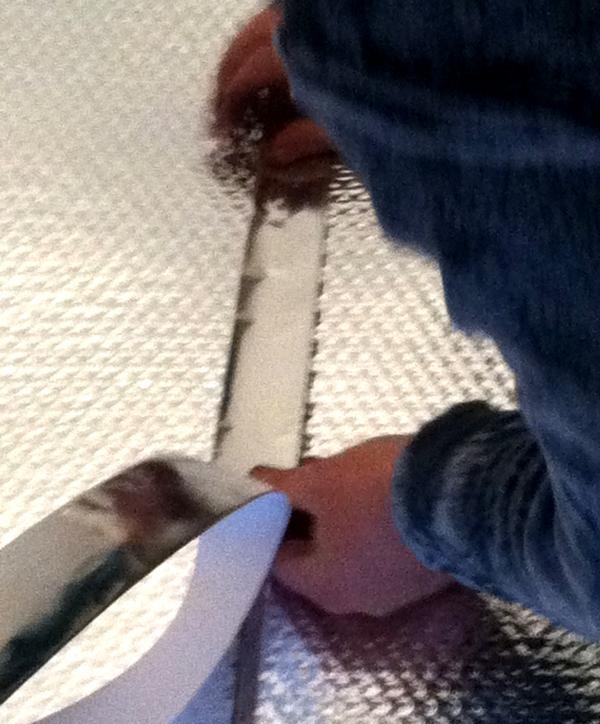
1) When connecting an infrared heated floor under the tiles, it is worth preparing the work surface. It should be dry, clean, without obvious depressions and bumps. You can pre-install a special socket box (deeper and wider, otherwise the connecting wires will not fit) under the thermostat at a certain height of 0.3-1.20 m.Cut a canvas in the wall and on the floor, where the corrugation is mounted under the floor sensor from the thermostat. The fact is that during voltage surges, the thermostat takes on the entire load, thereby protecting the heated floors from combustion. In some cases, the sensor that regulates the heating temperature of an electric floor may fail. It is interchangeable. That is why it is mounted in a corrugated or metal-plastic pipe with a diameter of about 16 mm, so that it can be easily removed and replaced in case of failure.
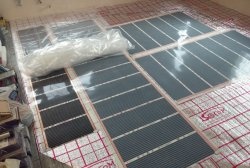
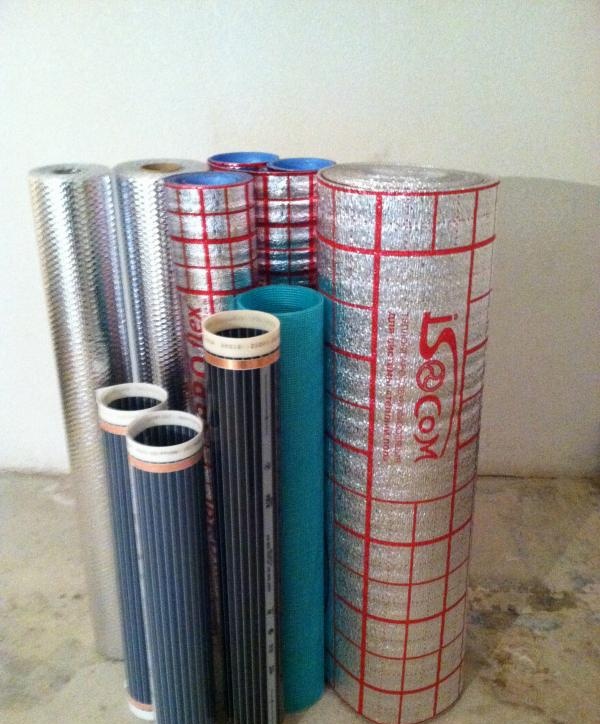
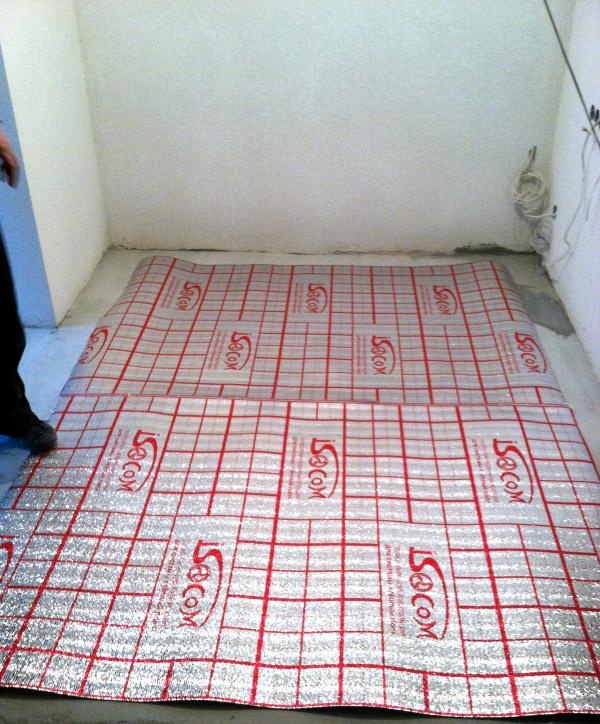
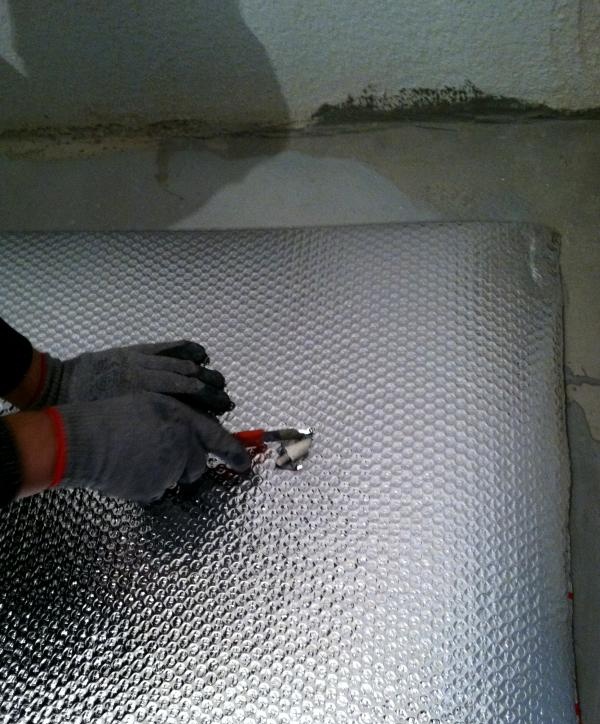
2) The heating film heats from both sides, therefore, to minimize heat loss and energy, a high-quality reflective substrate is required that can withstand a heating temperature of at least 50 C and is covered with a special protective layer that does not conduct current. You can use several substrates, it won’t make things worse. It is advisable to fasten them together with reflective tape; in the absence of such, you should use stationery tape. A small hole is cut into the substrate for the floor sensor so that it responds more accurately to changes in temperature.
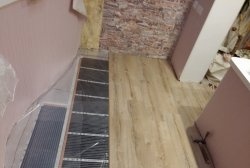
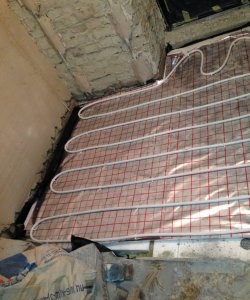
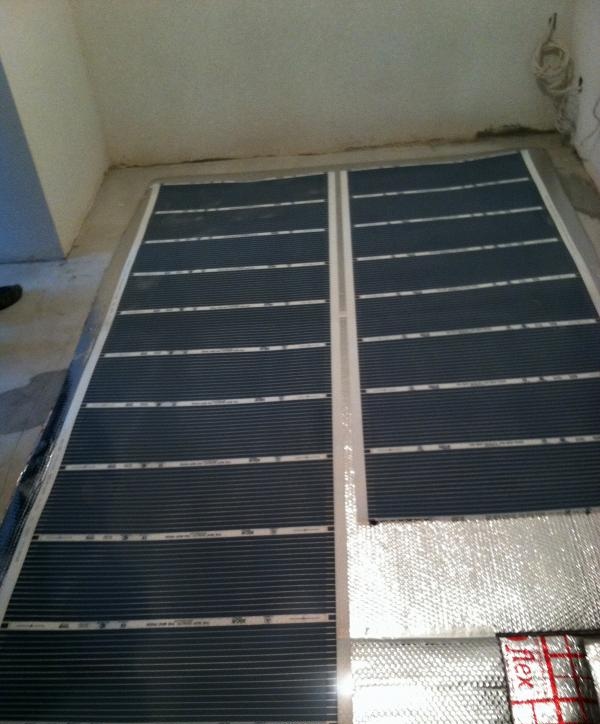
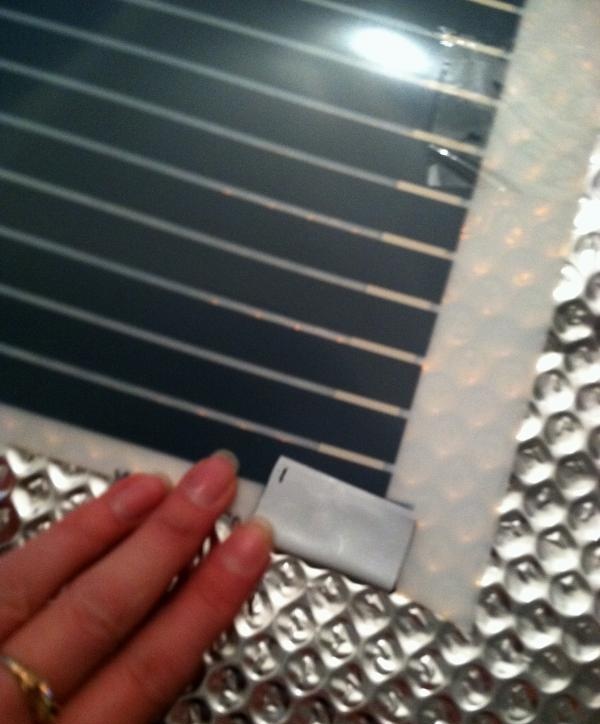
3) Heating strips are installed in any order; the only thing that is prohibited is to overlap them, under solid furniture and near heating devices. For connection, special sets of clamps with insulating elements are used. It is important to seal the opposite ends with an insulator. The cable cross-section depends on the size of the heated floor. As a rule, a section of 1.5 is sufficient for home use; it can withstand 3.5 kW or 12-15 sq.m. heating film. The length of the cable depends on the number of underfloor heating strips and their location.
4) After this, according to the thermostat connection diagram (included), the film floor is connected to the power source.It should work for at least 10-15 minutes. Only after this can you move on to the next stage.
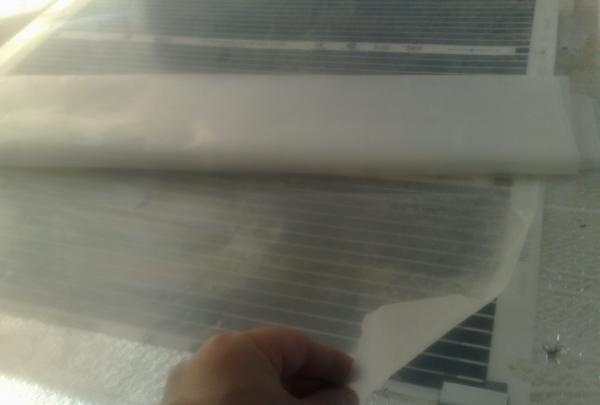
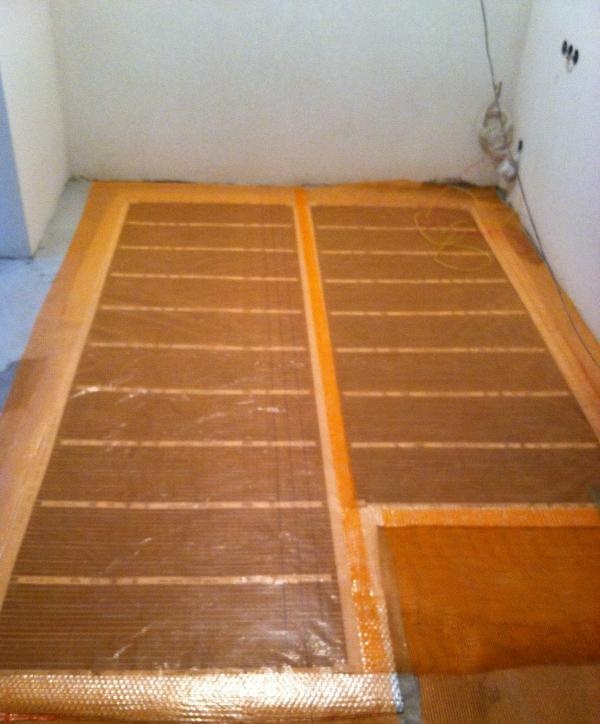
5) Since the floors are installed under tiles, they must be “isolated” from the effects of tile adhesive with ordinary greenhouse film 90-100 microns thick.
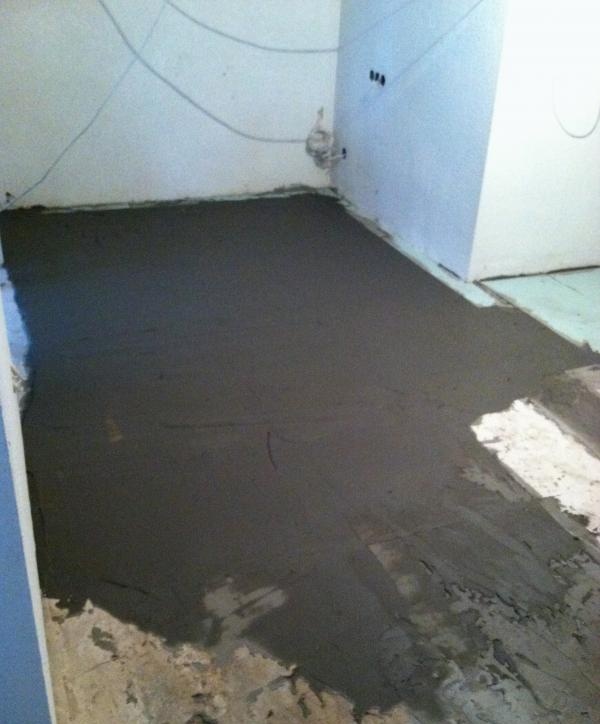
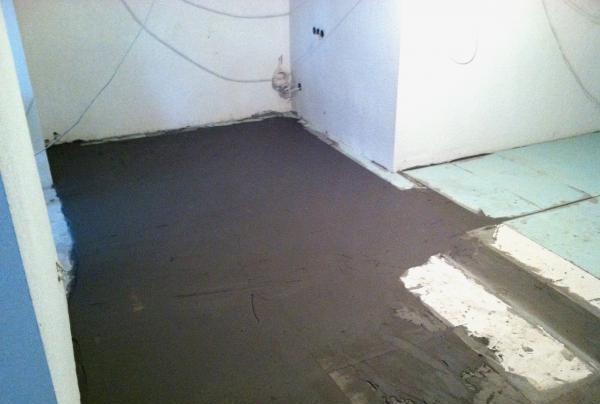
6) For adhesion to the tiles, a rigid serpyanka mesh is used (the use of metal mesh is strictly prohibited). It should completely cover not only all film floors, but also extend beyond them by at least 20-30 cm, and overlap about 10 cm at the joints. The larger the mesh, the better the fixation with the base of the floor; the mesh also prevents the formation of consequence of cracks.
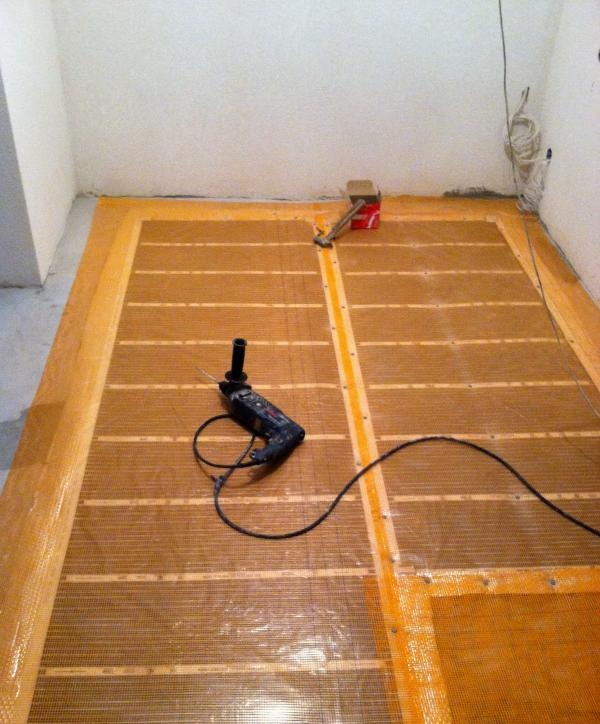
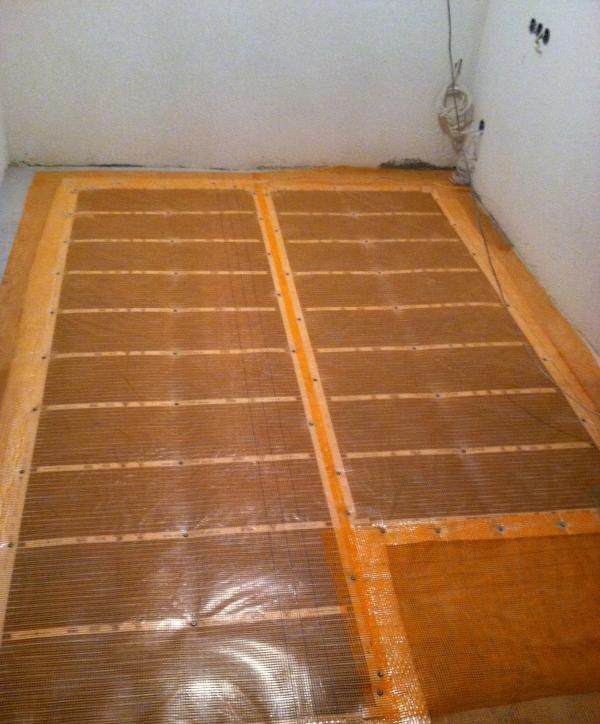
7) To ensure that the entire structure holds and does not move from the desired place, dowels 5-6 cm long are used. Wherever there are white stripes on the heating film, you can drill. Everyone calculates the number of dowels independently (it is advisable to use at least 10-12 pieces per 1 sq.m.).
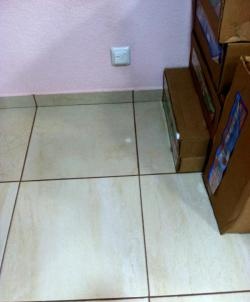
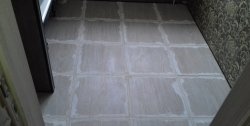
8) At the final stage, the system is tested. Only after this can you begin laying ceramic tiles.
The entire installation process, depending on the size of the floor, takes on average 3-7 hours or more. Don’t forget to make a schematic drawing of the location of the underfloor heating strips, indicating their length, width, maximum power and location of the floor sensor.