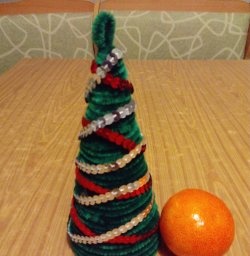
Such small Christmas trees can be safely given not only to relatives, but also to colleagues - the souvenir will take pride of place on their work or New Year’s table.
Preparing materials for making a tabletop Christmas tree
For the little fluffy beauty we will need a small set of source materials.
Search your craft store and personal supplies for:
1. foam cone for the base of our Christmas tree;
2. paints and brush to tone the base:
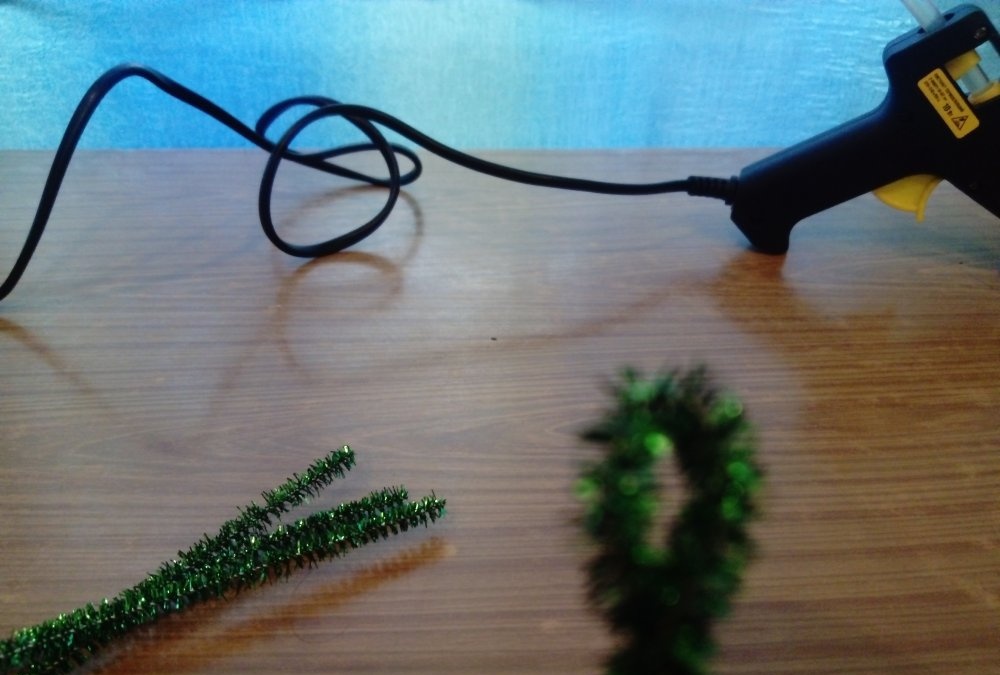
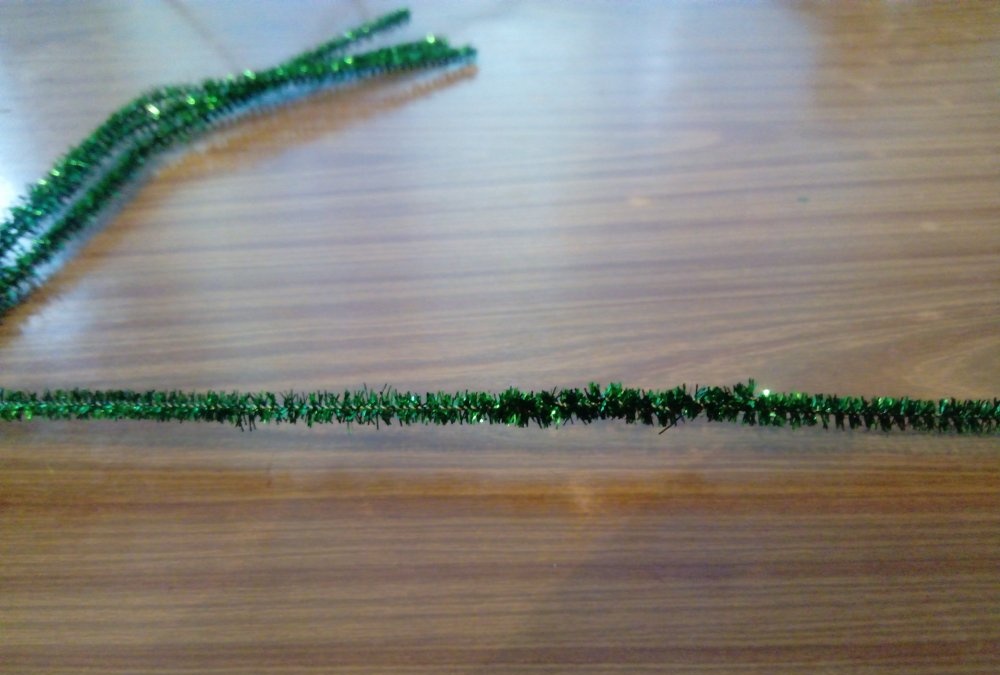
3. a set of flexible wires wrapped in tinsel or soft fleecy material (the first option is sold at a very reasonable price on the FixPrise network, and the second can be found in handicraft stores or from sellers on Ali Express);
4. hot glue sticks and a gun for using it;
5. decorative details to your taste: ribbons, stars, beads, crystals, sequins:
6. a skewer or something else that imitates a trunk;
7. floral sponge;
8. jute twine;
9. loose cardboard.
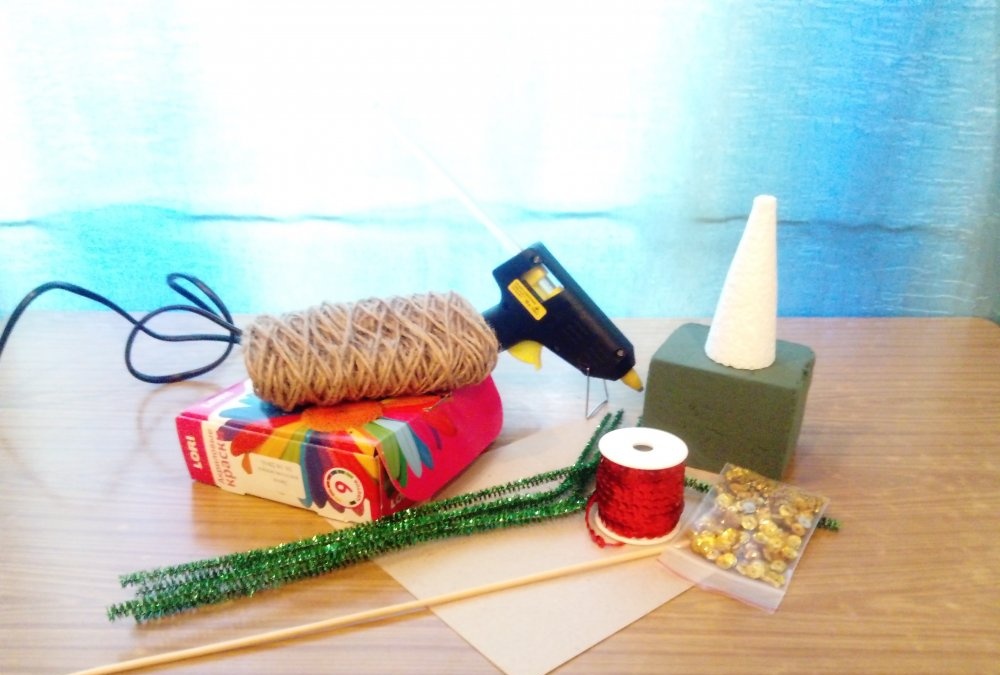
The last three components are optional, as they go to the base for our craft. And it can be made of other materials; Suitable, for example, is a circle of foam, a cap from eau de toilette or a glue stick.
Creating a Christmas tree
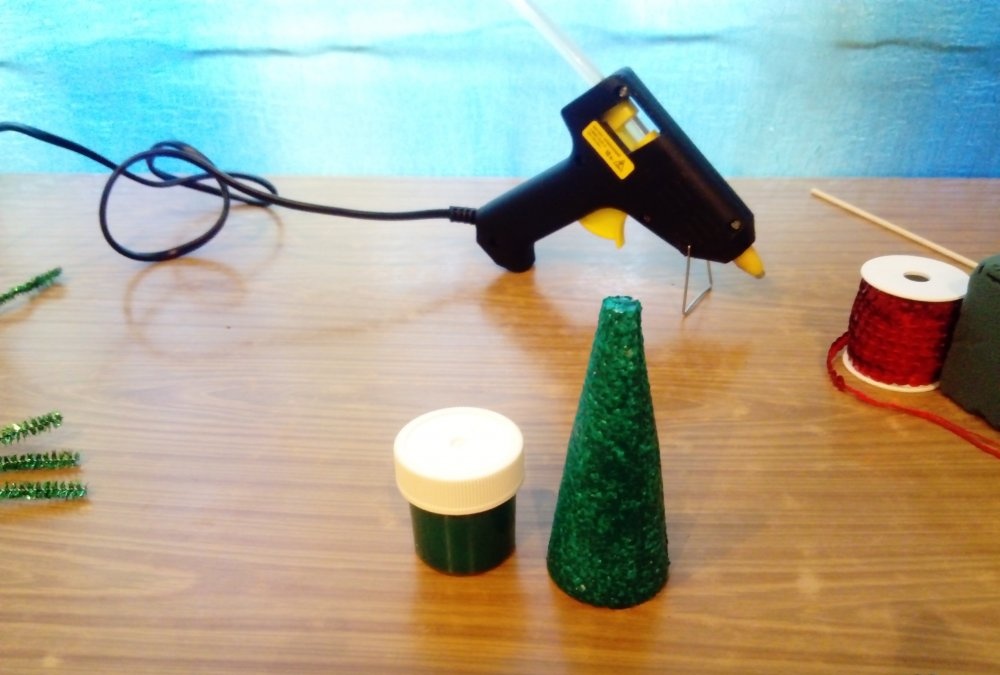
Let's start by coloring the base cone. This is an important stage, because if the turns of wire do not lie very neatly, then the foam underneath them will not be noticeable. In addition, our Christmas tree stands on a leg, and the white base of the cone will not look aesthetically pleasing.
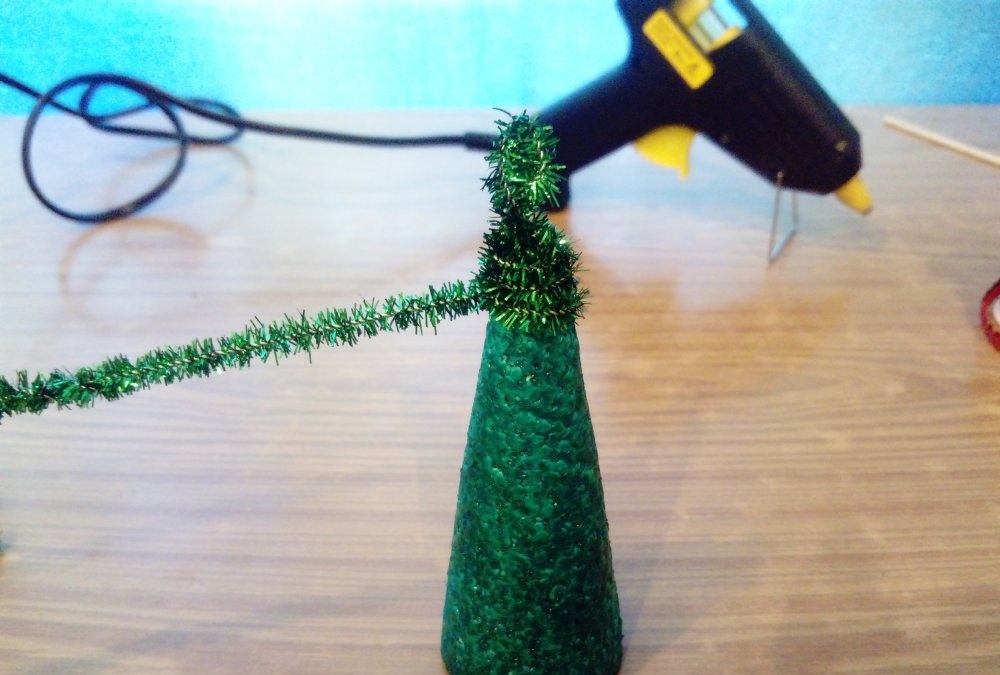
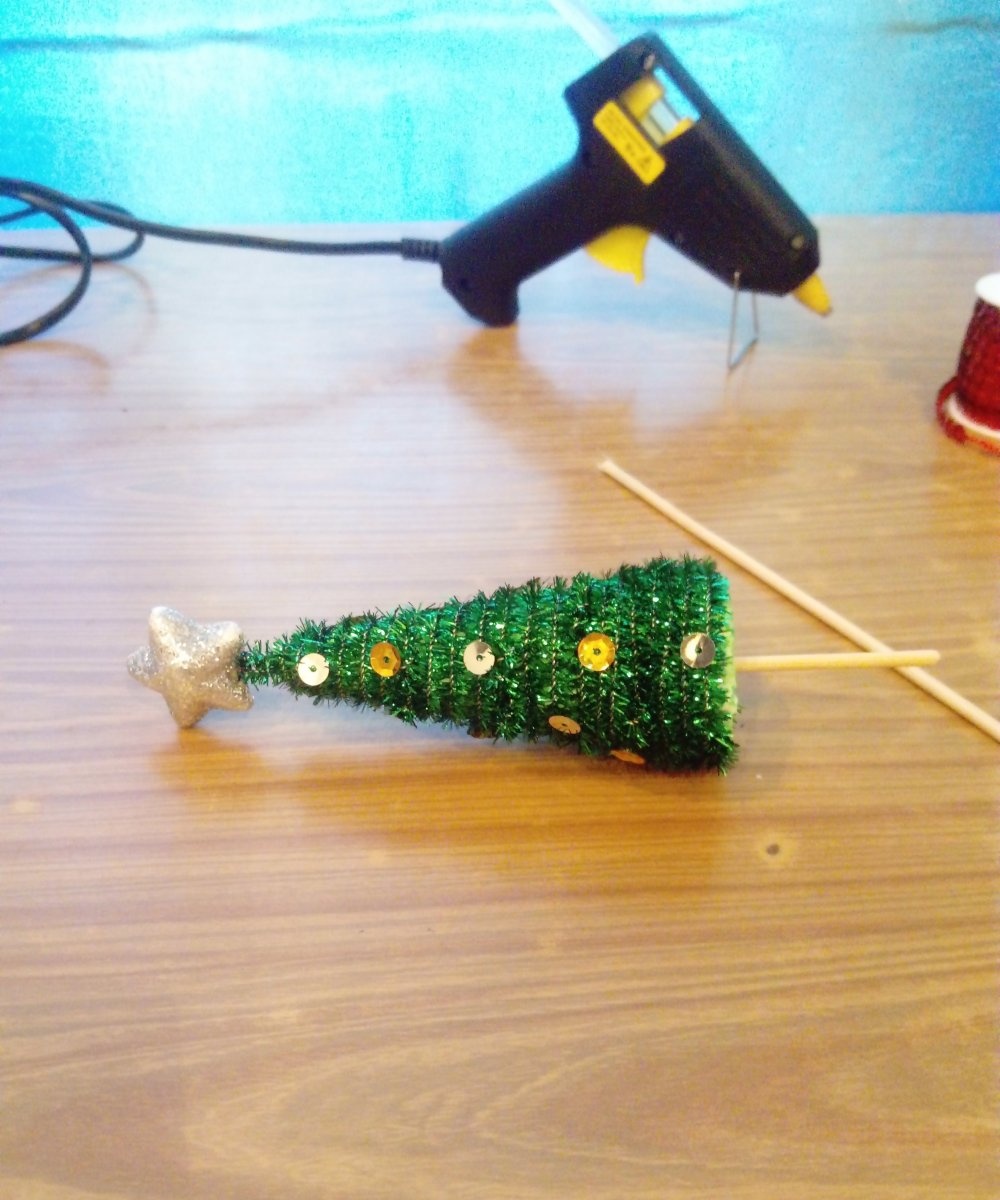
After the workpiece has dried, you need to take one of the wires and twist the tail loop. It will become the top of the tree, on which you can later place a star or bead.

Before you start wrapping the wire around the cone, it is recommended to first extend it with several twigs. To do this, the ends of the two wires need to be slightly overlapped (by 1.5 - 2 cm) and twisted together.

Tip: for your convenience, you should increase the twigs gradually, for example, 2 pieces at a time, otherwise the long wire will simply get in the way. For a small Christmas tree, as in the photo, it took 7 rods 20 cm long.
Now the loop must be carefully applied to the top of the tree (if it is pointed) or carefully inserted into the cone (if it is truncated) and made a couple of tight turns around it.
Tip: The wire fits well and holds firmly, but to be sure, you can drop a little hot glue, and when it hardens along with the loop, continue working.
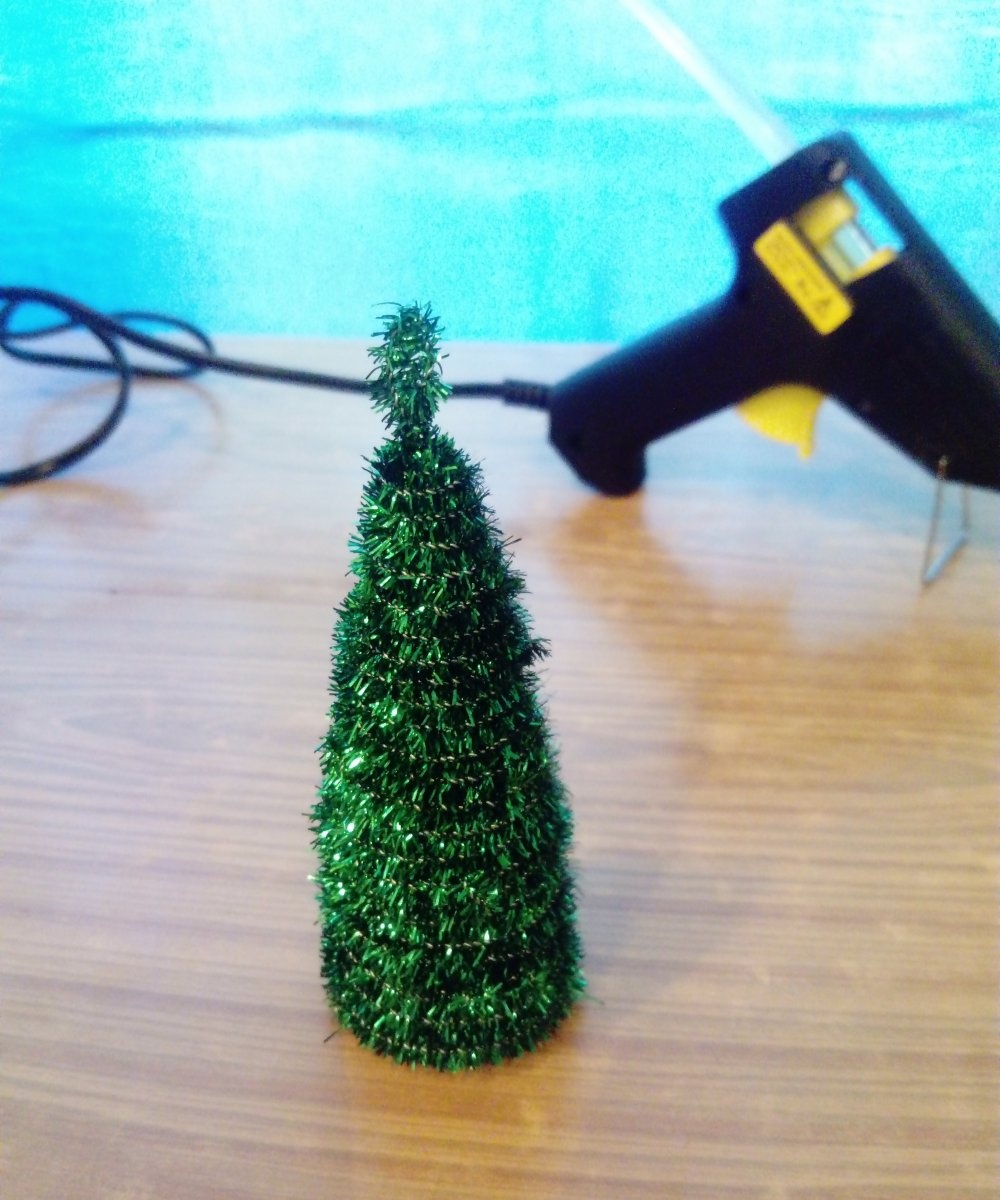
Now all that remains is to continue winding the wire with tinsel, lubricating the cone with glue as necessary.
Tip: It is not necessary to use a glue gun at this stage if the souvenir is intended for adults.But the kids will be curious to look at the green beauty from all angles, so the glue will guarantee that the gift will at least survive New Year’s Eve.
The tail of the wire easily sticks into the foam, firmly fastening there. This is what you should end up with:
While our tree is stable, we begin decorating. The star on the top can be purchased (from an old Christmas tree decoration) or made from salt dough. Using hot glue, place a star or bead on the top.
If you wish, you can hang garlands made of beads on the Christmas tree. In this version, there are “balls” made of rhinestones on the branches (they can be replaced with small half-beads). To make working with rhinestones more convenient, take tweezers; they can easily pick up small parts.
Tip: Hot-melt adhesive can be replaced with Moment glue. Gradually squeezing the composition out of the tube, dip the rhinestone in it and “plant” it on the Christmas tree.
This Christmas tree is also good in a minimalist style - decorated only with a star.
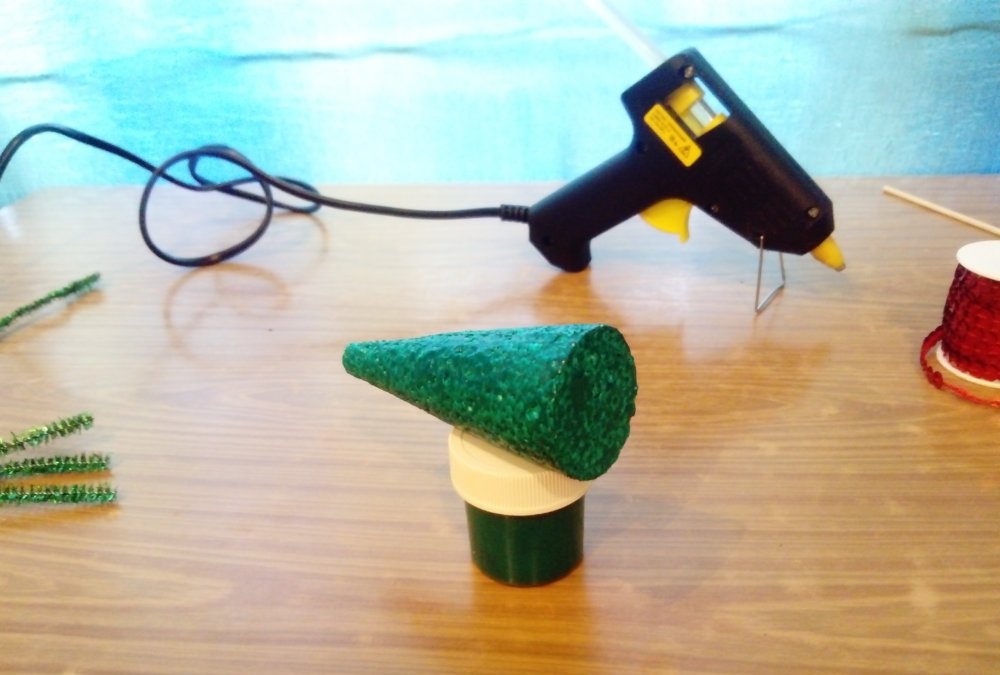
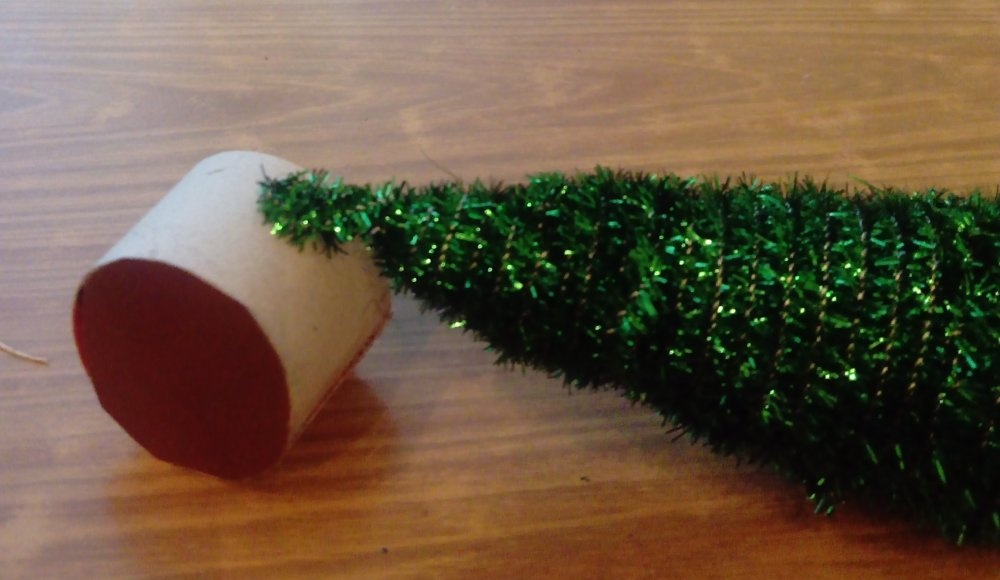
Now we take our trunk, which, if desired, can be painted brown, and stick it into the center of the base of the cone. In this state, our miracle tree will wait until a worthy pedestal is prepared for it.
A small diameter foam circle can be used as a stand. The toothpick barrel is simply stuck in the center, and the space around is decorated with cotton wool placed on PVA glue. You will get a wonderful snow-covered meadow, and under such a Christmas tree you can put a small gift, for example, a keychain with the symbol of the coming year.
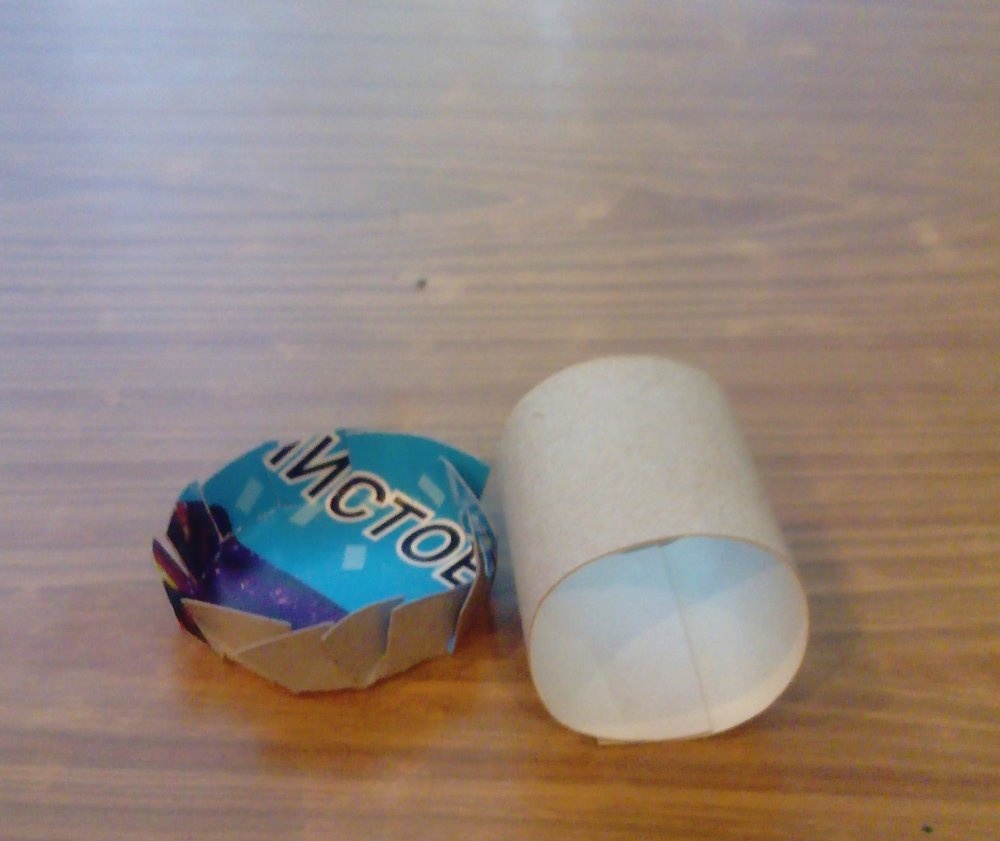
Another equally effective option is to “plant” our Christmas tree in a bucket or tub. You can make it from:
- deodorant cap;
- a small medicine bottle;
- glue cap;
- paper or loose cardboard;
Tip: You can create a square basket by cutting off cardboard packaging from toothpaste or medicine. You can cover it with white paper and then paint it, imitating the weaving of willow branches, or draw boards. You will get a wonderful box in which small gifts or candy will fit.
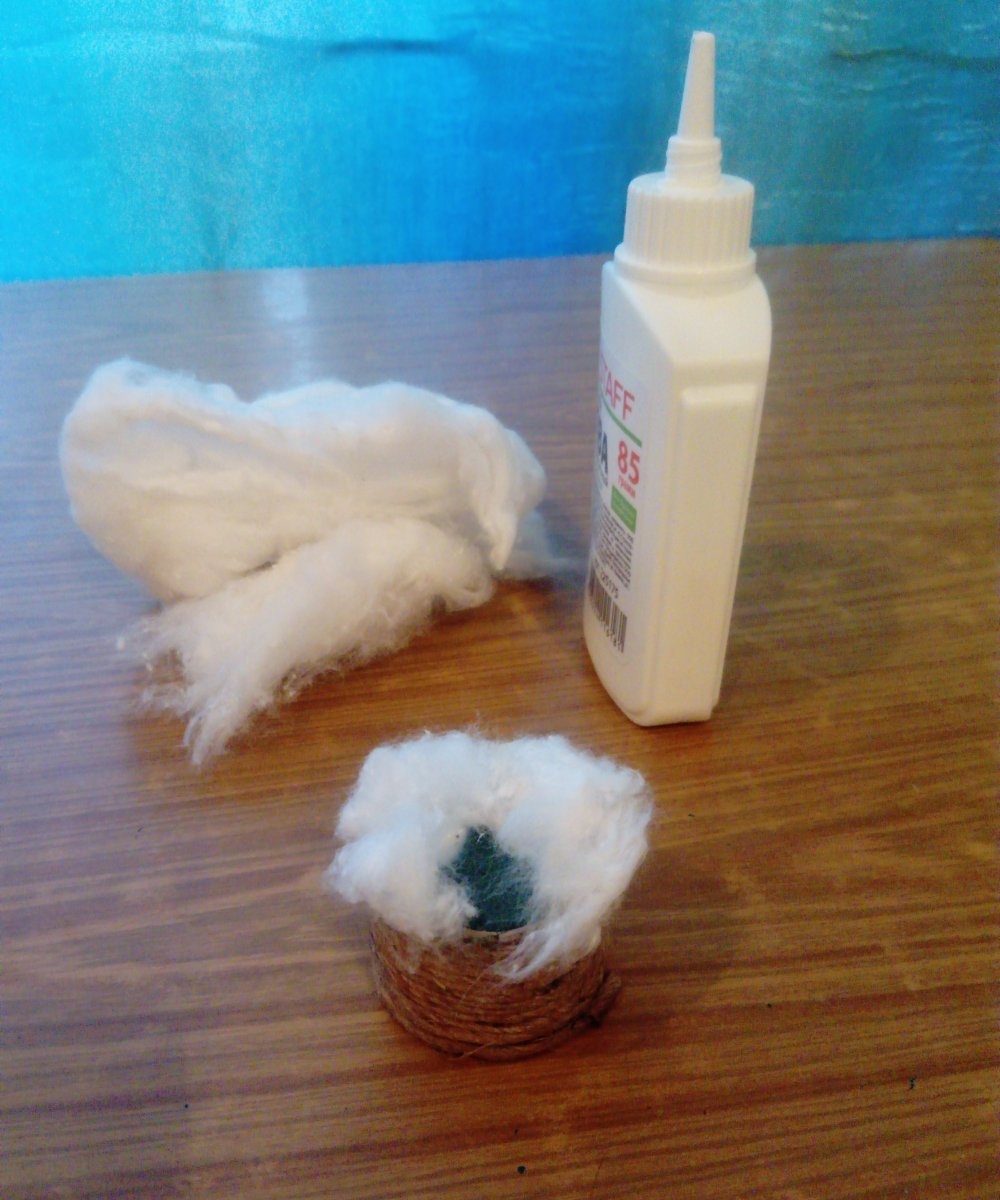
Let's consider the option when the stand is glued together from cardboard and decorated with twine. We will need:
1. loose cardboard;
2. scissors;
3. PVA glue;
4. cotton wool,
5. jute twine,
6. floral sponge or any other filler so that the Christmas tree holds well.

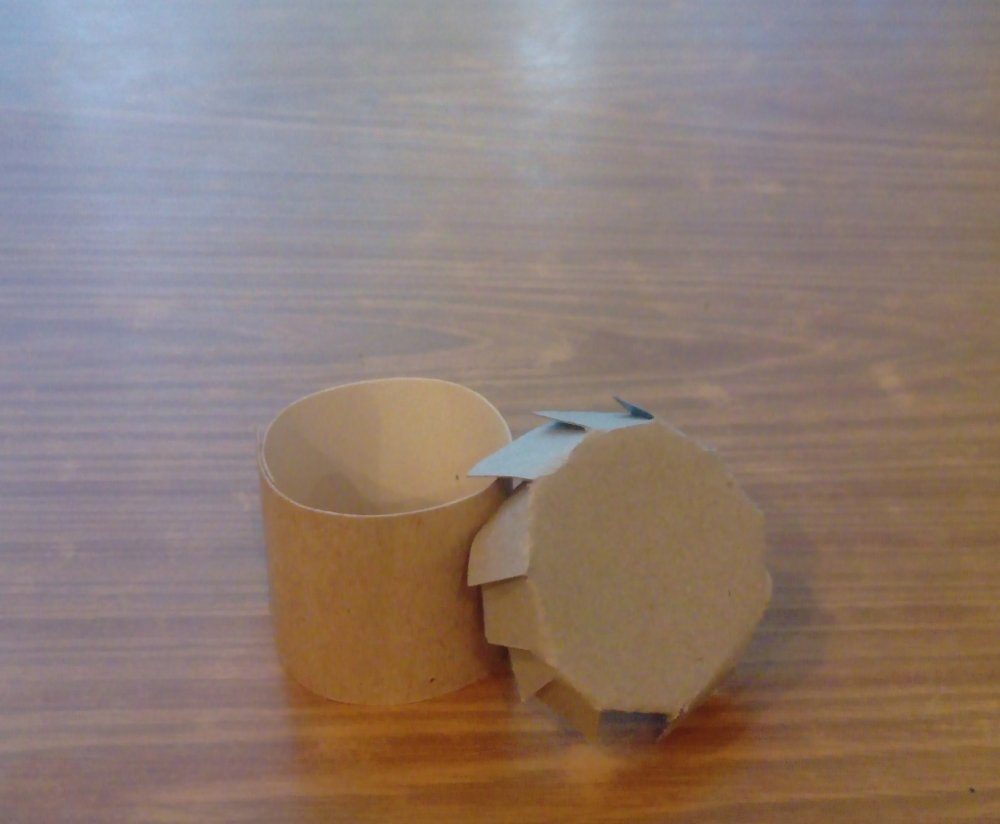
The blanks for the bucket will look something like this:
And this is the result after “assembly”:

After gluing with twine:
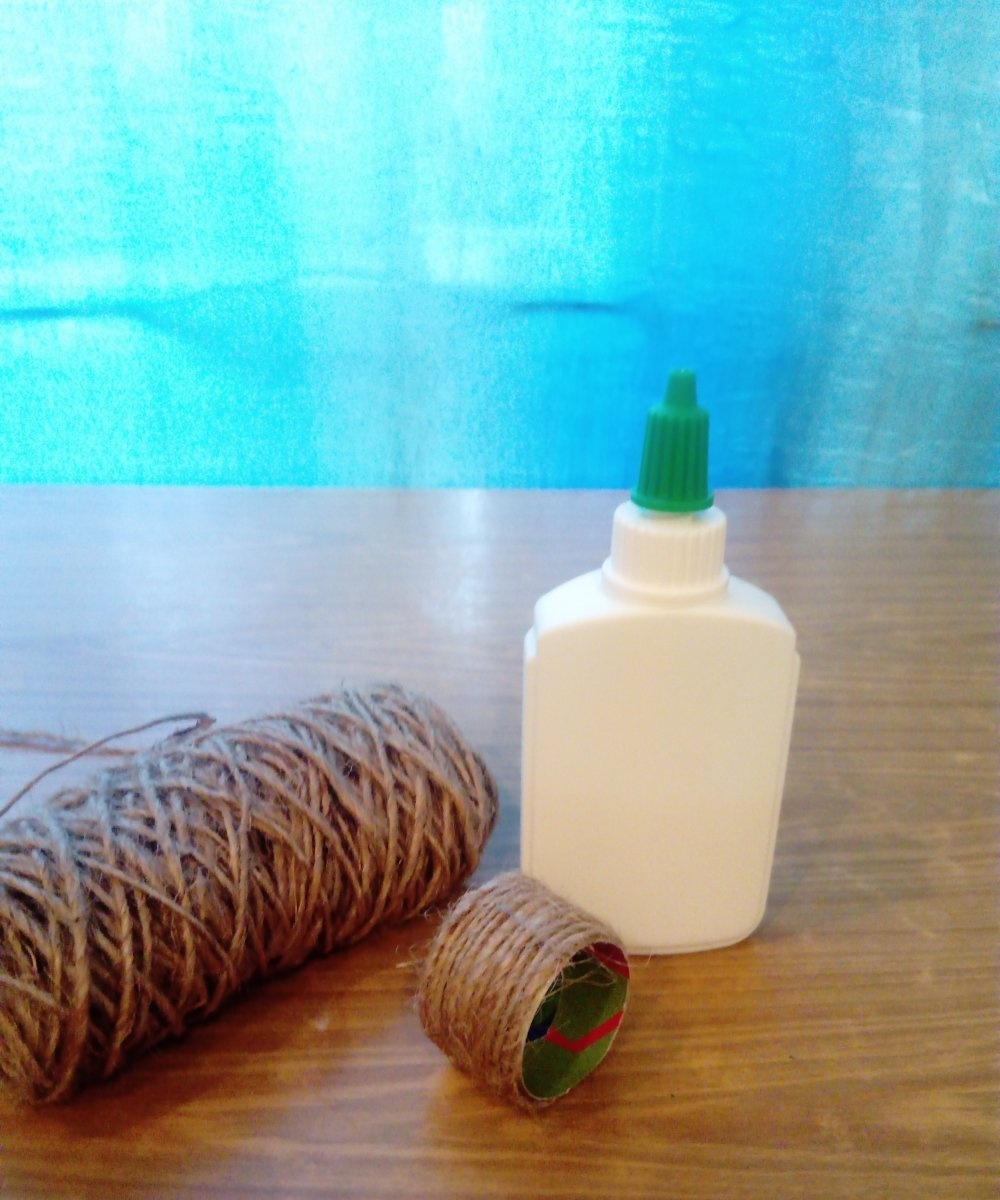
Tip: jute sticks well not only to PVA; Glue - a pencil also works well to secure the twine to the cardboard base.
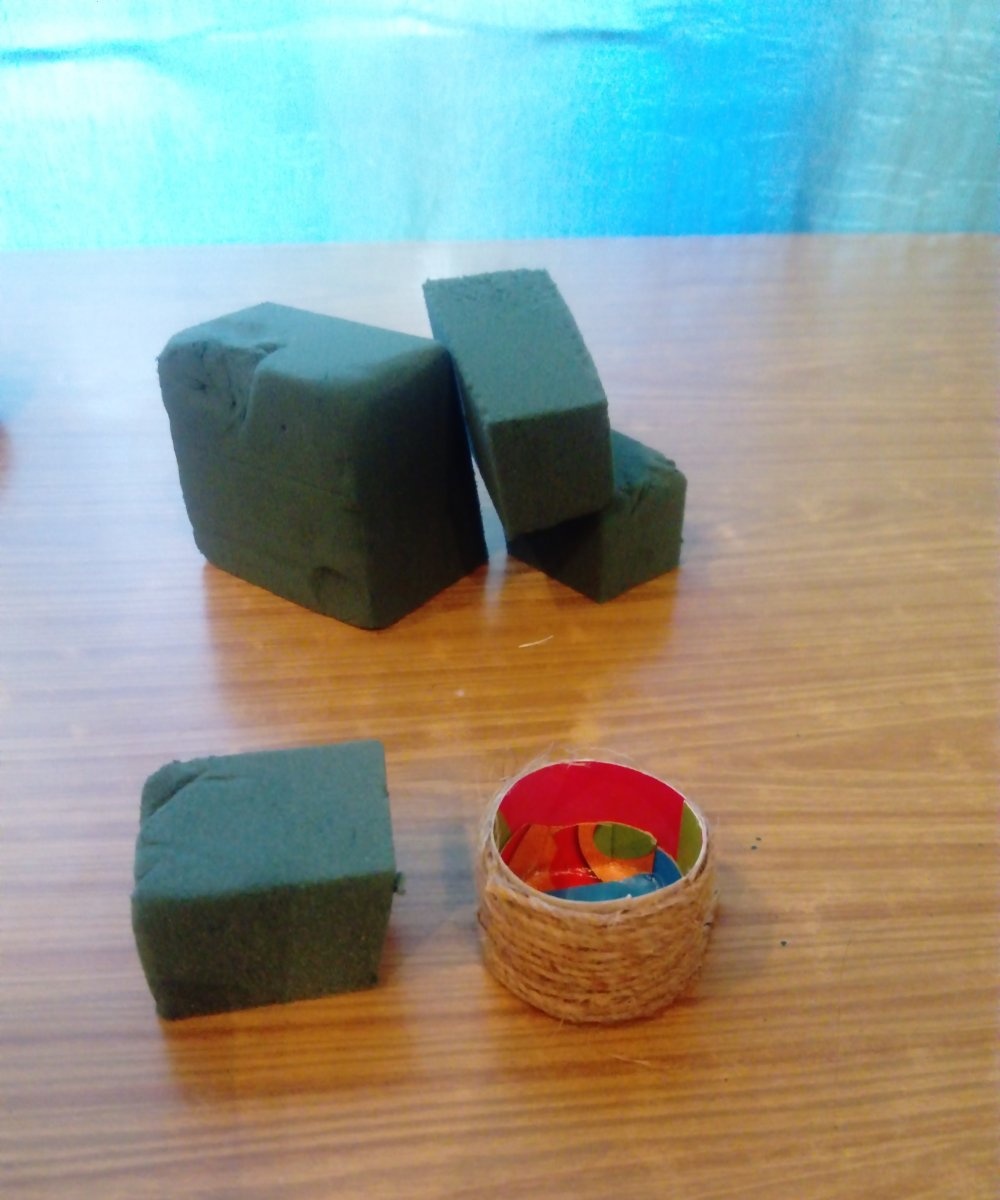
Here's how to fill the stand with floral sponge:
1. The sponge should be cut with a knife into bars slightly larger than the cardboard “bucket”.
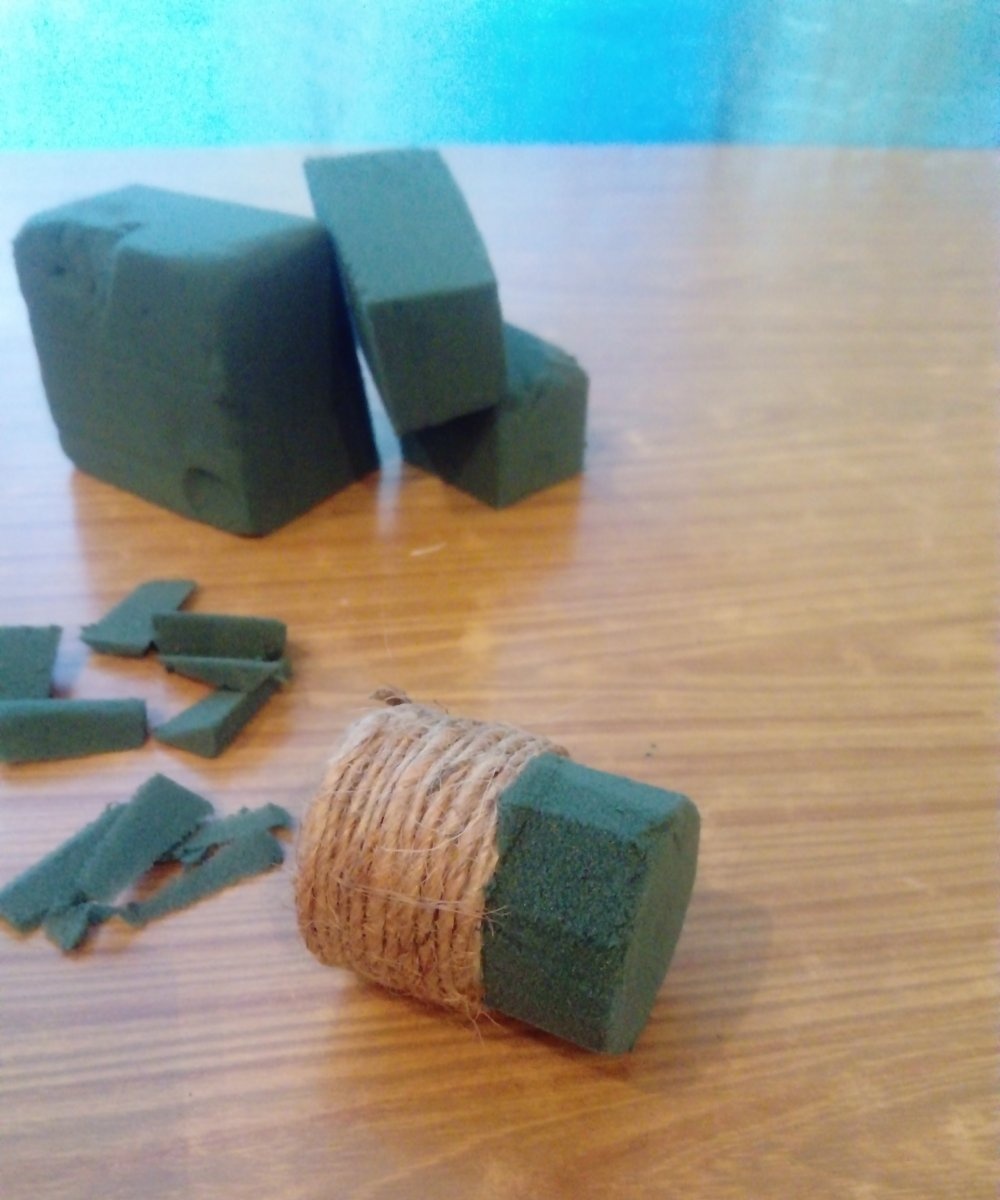
2. Carefully trim the workpiece, rounding the corners.
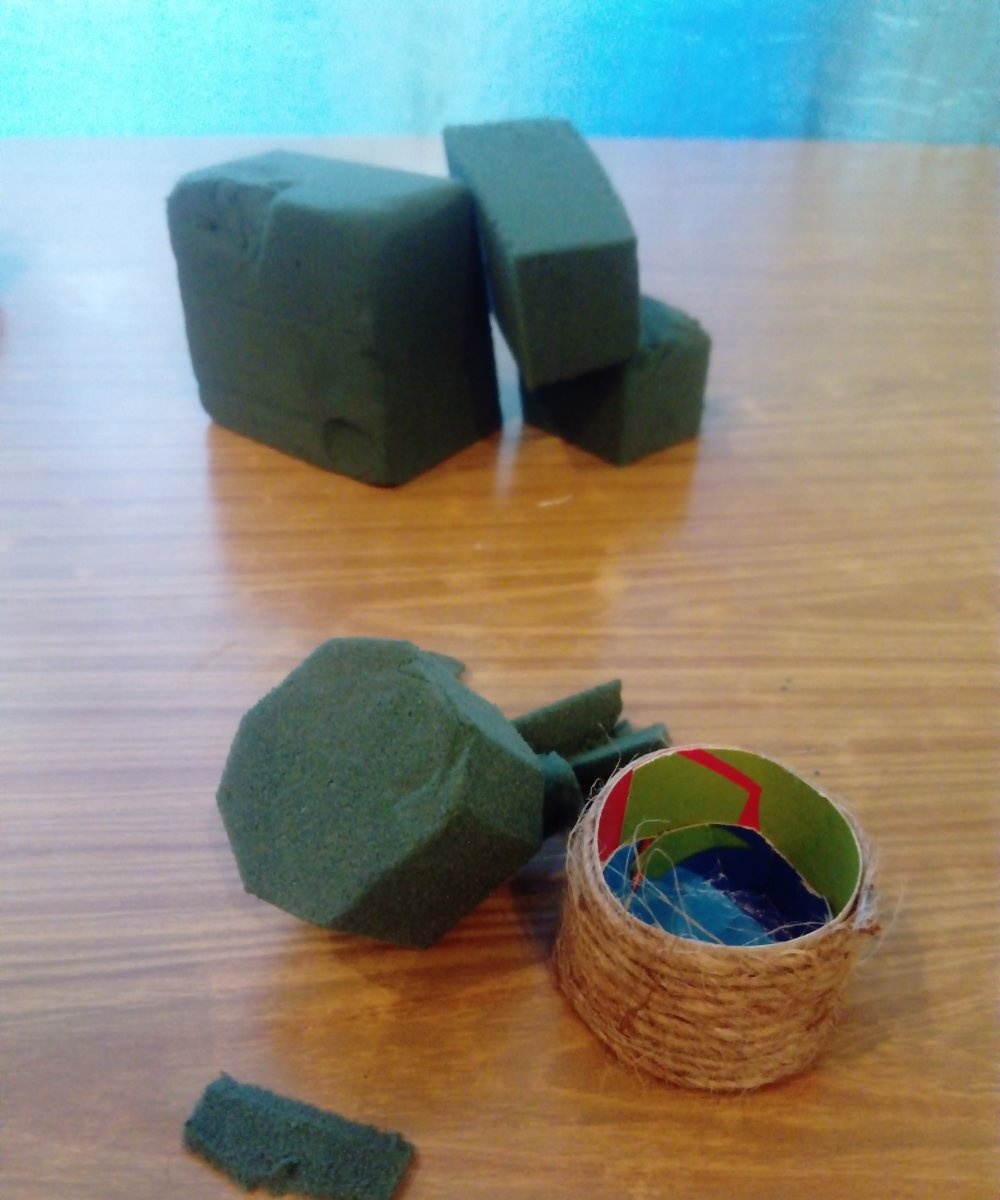
3. Now you can insert the sponge block into the stand with light force; the excess material will crumble and be squeezed out of the “bucket”.
As a result, this should look like this:

Now it’s time to add a little winter ambiance - glue pieces of cotton wool onto the side of the makeshift bucket using PVA glue, covering the floral sponge.
Tip: if you have hairspray with glitter, you can spray our “drifts” with it. Sparkling snow looks even more magical, and the varnish will additionally hold the cotton wool together.
Final stage: We put the Christmas tree in a bucket and prepare heartfelt congratulations for presenting the gift!