This is my first master class and I am very proud of it. I would like to share something really interesting. This project is quite flexible, and if you have some extra time for it, you can always do something neater or better.
Note: In my version, the illumination turns on when the general light in the room is turned on, and not vice versa. For example, I don’t like a lot of light when I’m getting ready to sleep, so it automatically goes out.
And it is not necessary to include a lighting regulator in the electrical circuit; you can simply set it to turn on and off. It all depends on your preferences. Assembly time takes approximately 5-6 hours.
What you will need
Materials:
- - a mirror or a set of mirrors;
- - 2.5 m square dowel (10 x 10 mm);
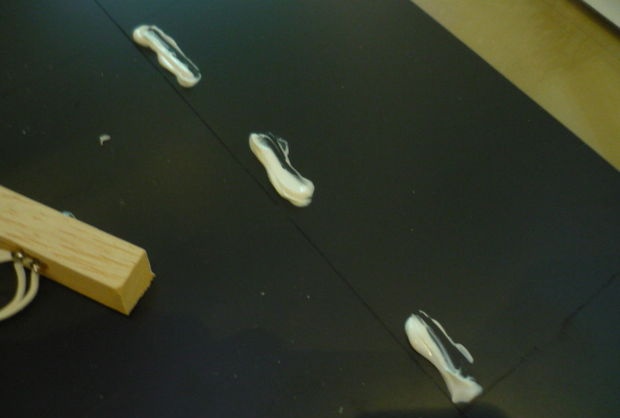
- - assembly adhesive;
- - the material on which the mirror will be attached.
From electrical components:
- - LEDs – preferably two times smaller in size than the thickness of the dowel. I used 20 pieces with blue glow. Depending on the design of your mirror or your preferences, you can take more or less of them;
- - the wires are not thick and can withstand a voltage of 20 V. Usually wires for connecting the speaker system are suitable for these purposes;
- - power unit. I used a 4.5V adapter with 400mAh;
- - solder.
- - fee;
- - transistor;
- - photoresistor.
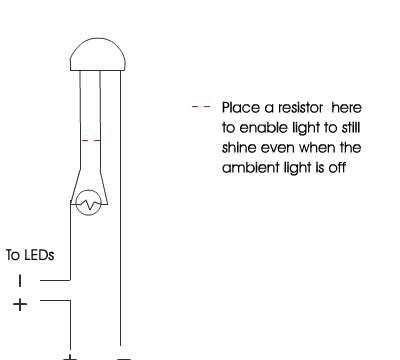
If you want the mirror illumination to glow a little when the main lighting is turned off, then you need a resistor. I had to try a lot of resistors before I found one that would work. I'm not very good with electrical components, so I tried everything in a simple way until I got the desired result.
We begin production

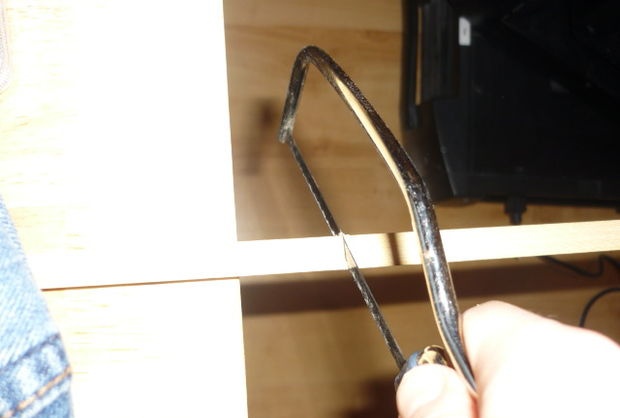
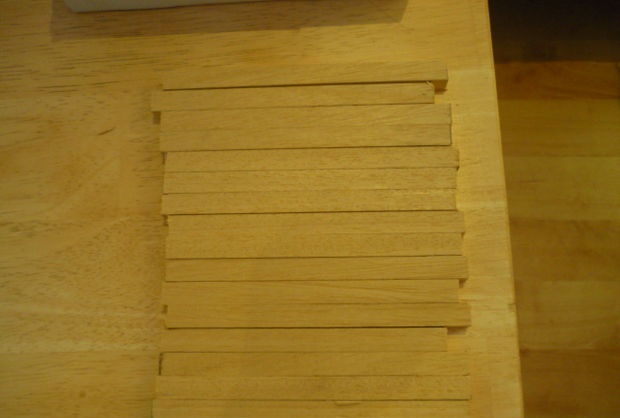
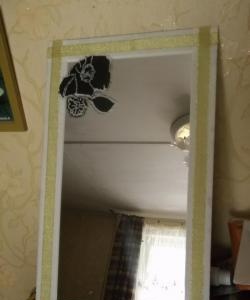
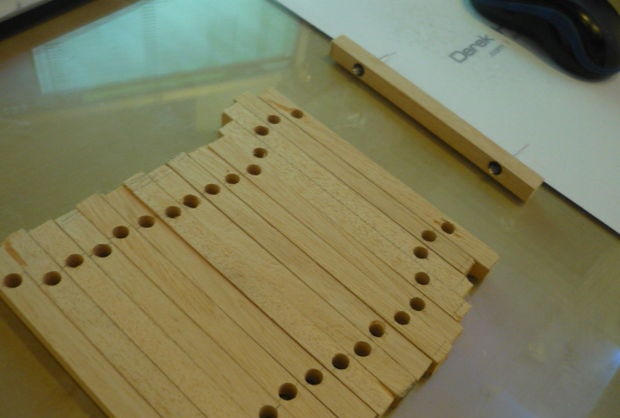
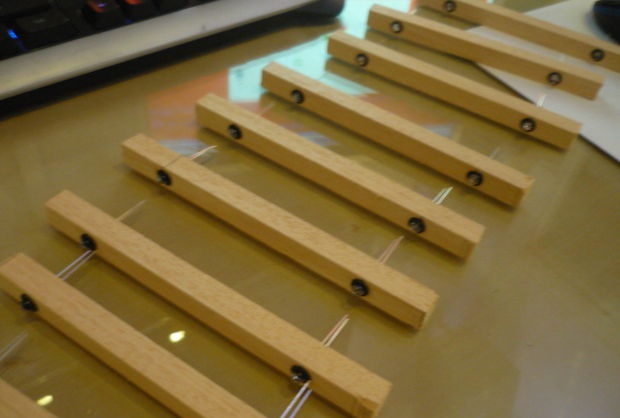
First, cut the dowel into 10 separate pieces. My mirrors are approximately 30 cm in size, so I made sections of 15 cm each.
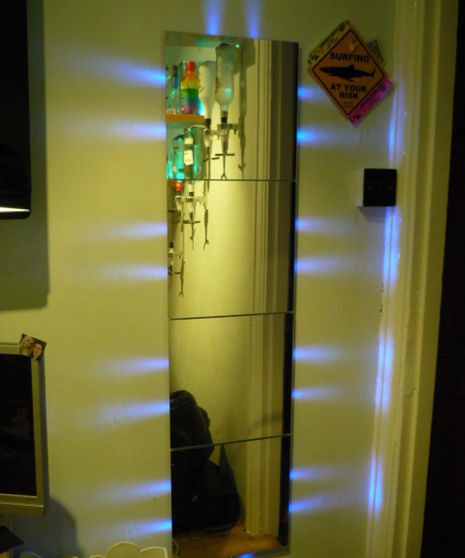
I worked with 4 mirrors. The top one had two side dowel elements and one top one. The two mirrors below each had only two side mirrors, because the light would not be visible if it was pointed upward at the adjacent mirror. And the bottom mirror will have two side elements and one bottom.
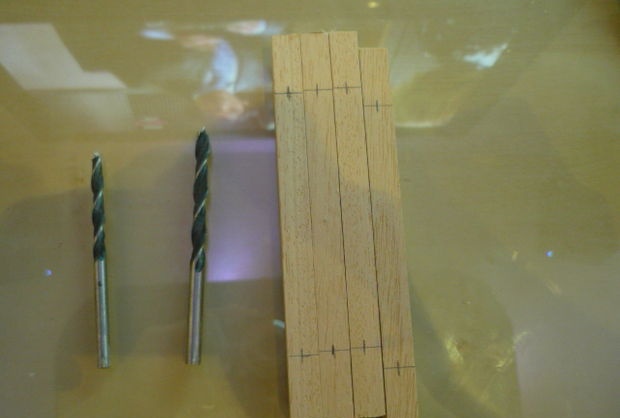
Ideally, you need to mark the cutting location and at what angle you will be cutting.
If there is time, the dowel should be cut at an angle of 45 degrees so that they adjoin each other perfectly.
Drill holes and insert LEDs


Now, if your light bulbs have some kind of frame, then you can use it. If not, then the normal option would be to insert LED lamps into the tree.
Clue: Do not glue them until you are sure that the light is distributed correctly, otherwise you will end up with an ugly picture.
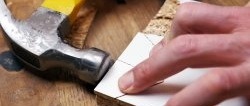
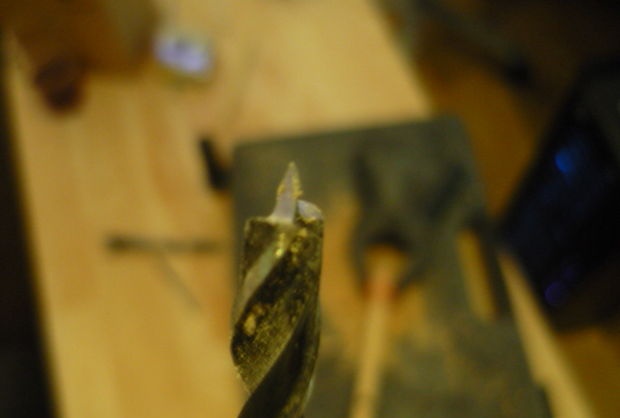
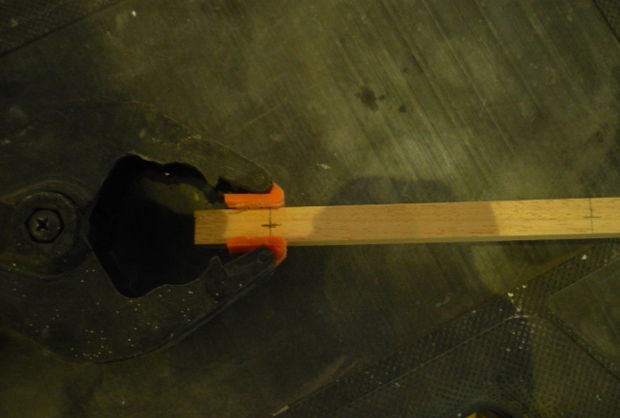
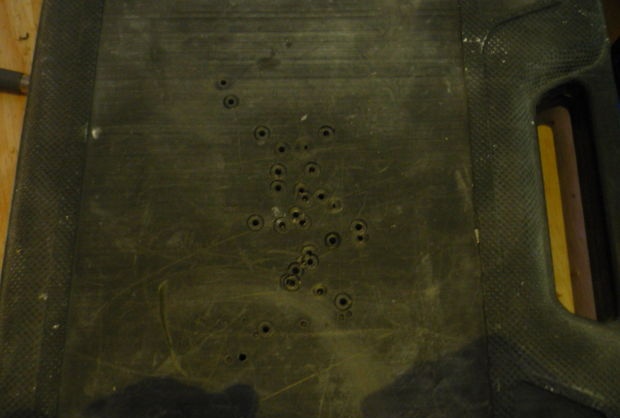
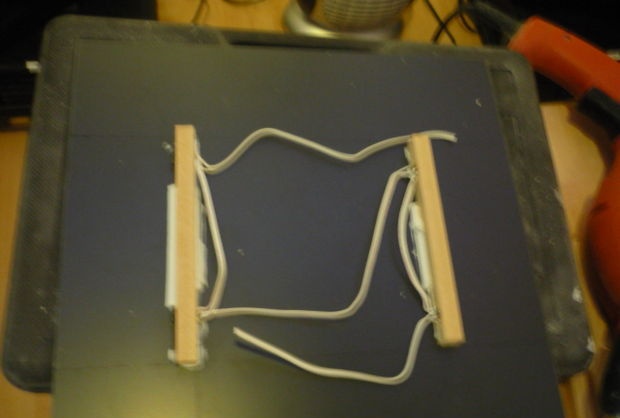
Now we drill holes in the wood, they should be symmetrical. Don't forget to put something under it, otherwise you'll end up with a drill bit in your favorite table.I used the electric drill box.
To ensure that the dowel was securely fixed during operation and did not rotate, I tightened it with a clamp.
After making the holes, insert into them LEDs.
But it’s too early to glue!
Important: I forgot to take a photo of this, but you will need another hole in the middle for the wire from the power supply, and another one nearby for installing the photoresistor. Based on aesthetic preferences, I ran the power supply wire in the center and the photoresistor wire to the side.
Clue: How to solder LED lamps without cutting the wires
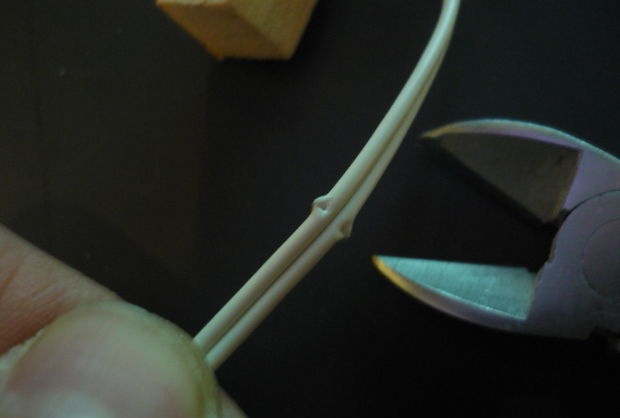
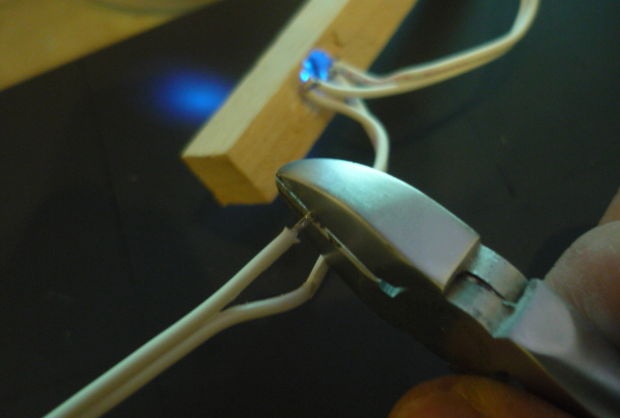
Cut the plastic insulation of each wire, but without disturbing the integrity of the wires.
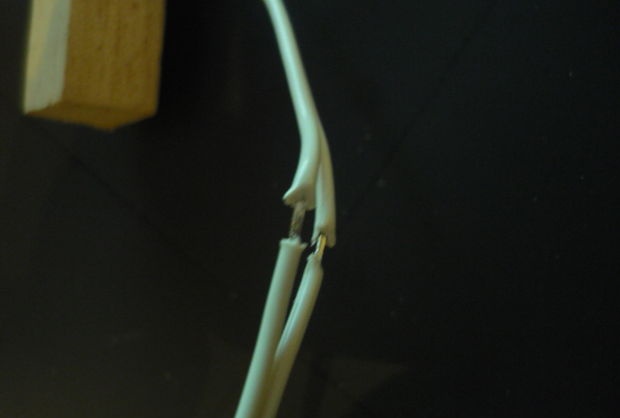
Using your fingernails (if you have them), forcefully push the plastic apart at the cut site, thereby exposing a short space of veins.
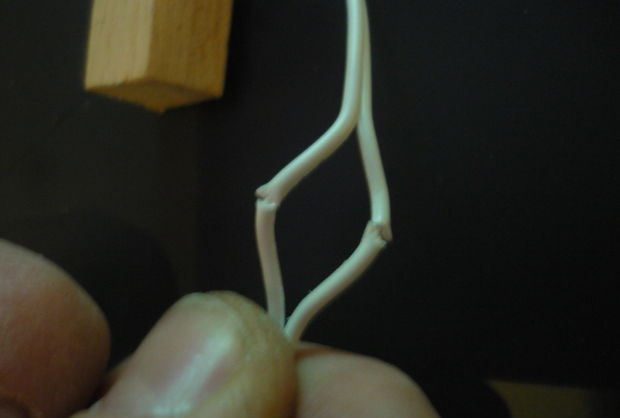
Grab the inside of the electrical wire with wire cutters.
Without biting the core, pull it out a little.
This job can make you sweat. For me, this method of parallel connection seemed to be the fastest and best.
Solder LEDs.
Remember: LED lights only work with a specific connection, so make sure everything works before soldering.
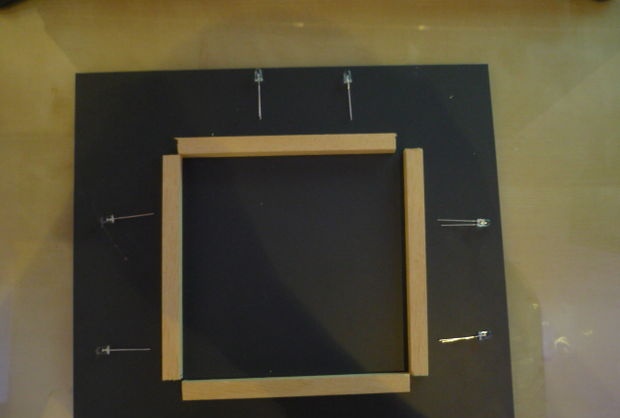
Soldering lamps and gluing wood
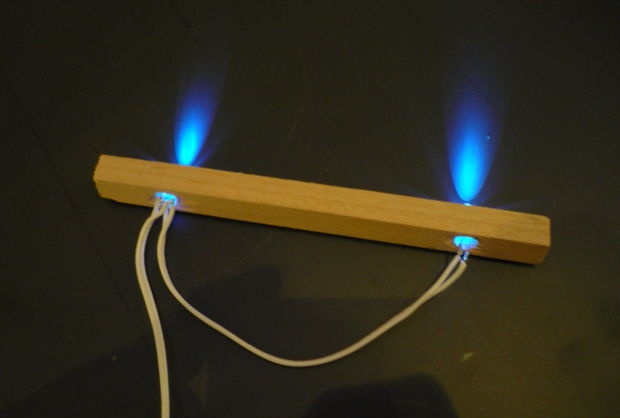
Make a mark at what depth you will place the bulbs. They should not stick out from under the mirror. I secured them 7cm deeper than the edge.
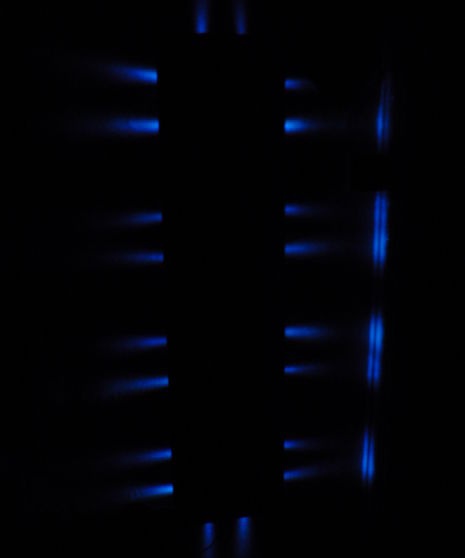
This work may seem tedious, but once you turn on your favorite composition, you won’t notice when everything is already done. Don't forget to test the lighting performance, paying attention to the angle of incidence of the rays from the lamps.
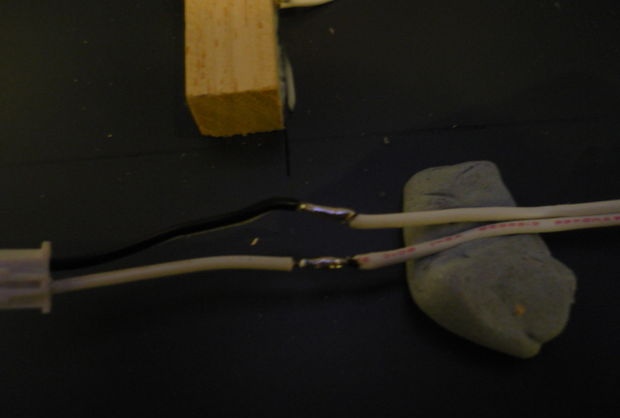
If you have wires of the same color, then you can make some marks on one to distinguish it. U LEDs one lead is longer than the other, this is how you can distinguish the cathode from the anode.
You can come up with something like a rule: “the wire with the strip goes to the long terminal of the diode.”
Although you can't see it in the photo, I had writing on one of the wires.
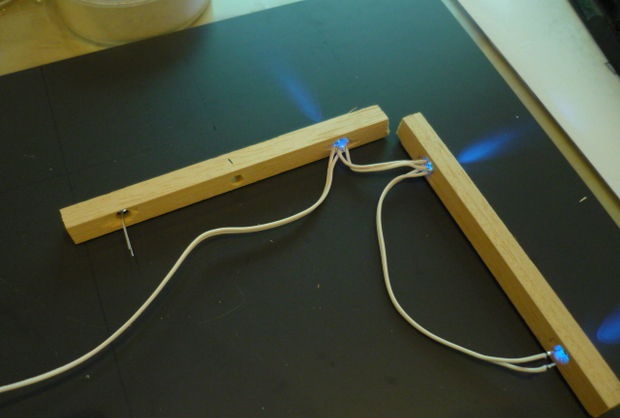
When applying glue, do not pour a lot of it, as when pressed, the wooden structure may float. To press the wooden frame down, I placed other mirrors on it. Meanwhile, I continued to solder for them LEDs.
The wire should go from one mirror to another.
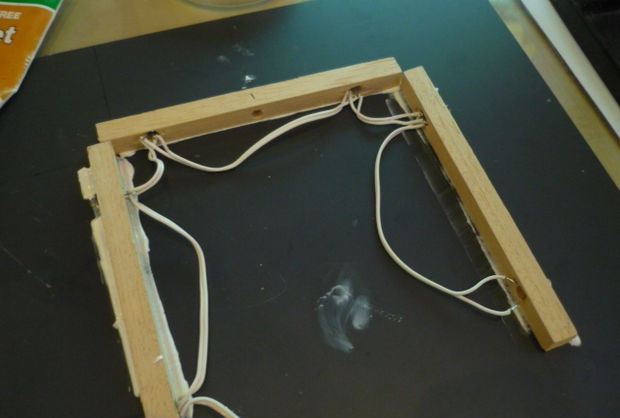
Adding connection elements
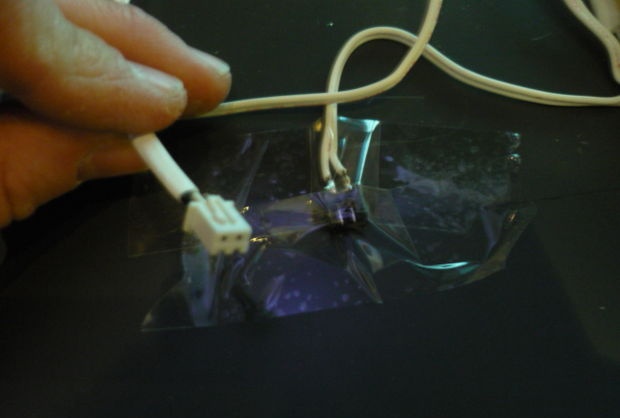
Perhaps someday you will need to remove the mirror from the wall, then don’t let it take long. To be able to attach the mirrors one at a time, they must be connected to each other using connectors.
For convenience, I glued one of the connector elements to the mirror.
Examination


We've done most of the work on the project, so it's time to check how everything works. Check the power supply on one light element. If suddenly the power supply turns out to be too powerful, then not all the lamps will burn out.
How to know if the adapter power is too strong?
If the light is bright at first and then dims, then most likely you have damaged the lamp.
If light is emitted at first and then the lamp goes out, it means it has burst. In this case, the LED may become hot, blacken, or its casing may be damaged.
If the light stays bright, then everything is fine, but if the LED lamp gets hot, then you are overloading it. The heat emitted by such light elements should be negligible or unnoticeable.
If you build an electrical circuit with a smooth dimming element, then the brightness level of the lamps may drop by 20-30%. This needs to be taken into account.
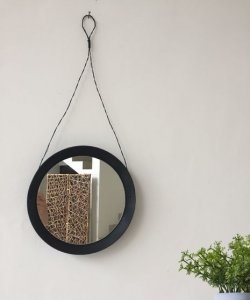
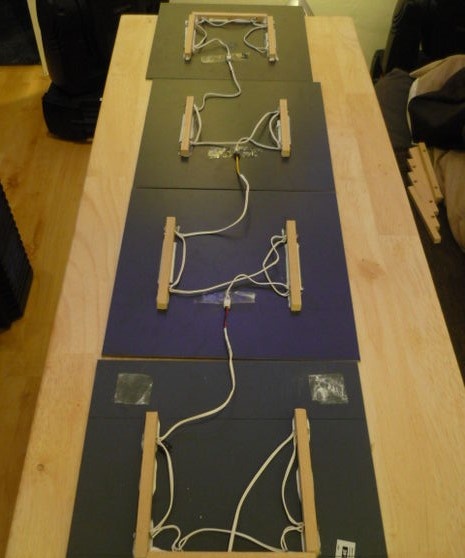
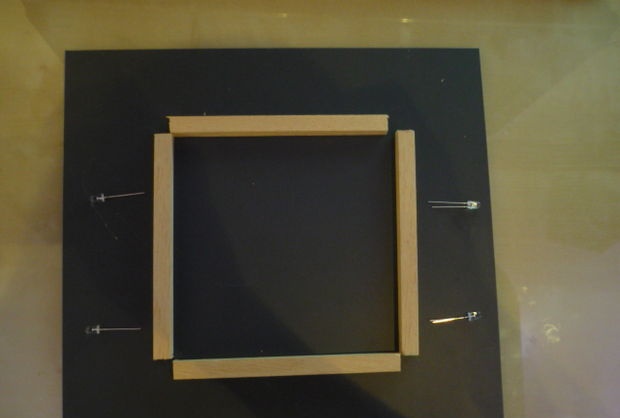
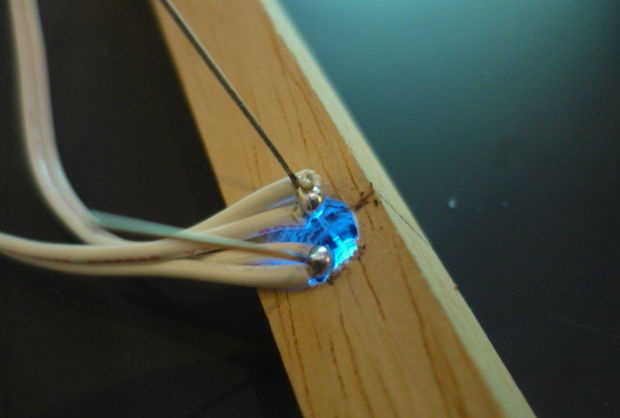
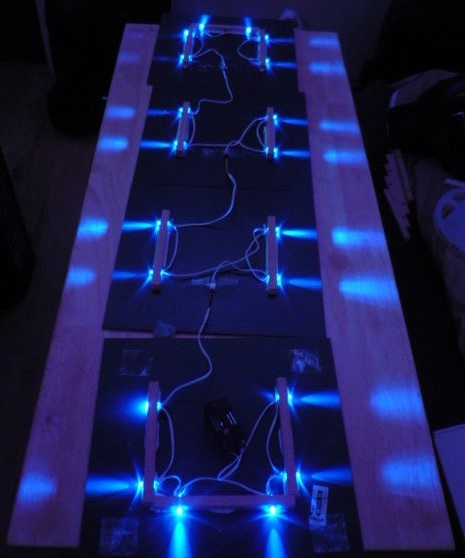
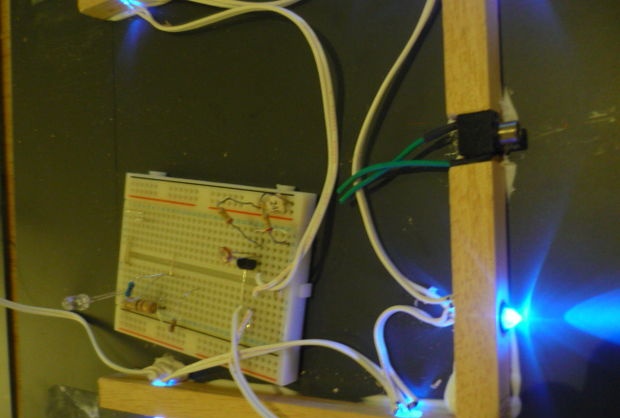
Below is a photo of how everything should look. Notice how the connection is made from one mirror to the other.
So, after everything is soldered and glued, we move on to the next stage.
Power and circuit
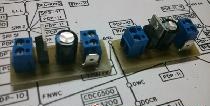
My scheme:

And this is the reverse action, it turns on when it darkens.
Now, if you don’t have any problems, let’s move on to more complex work. You don’t need to be very familiar with the diagrams, but I needed basic knowledge, because I didn’t really like the mirror in this design.
But, if you are happy with everything, add a switch and connect the power supply. Use double sided tape or screws to secure the mirrors and that's it.
But if you want to make a simple diagram, continue reading.
You will need a transistor, various resistors and a photoresistor. I spent a long time with this scheme. Through trial and error I found the appropriate settings. Here's what to remember:
- in bright daylight or artificial light, you need to carefully experiment with the power supply so as not to burn the lamps.
- if you want to set a very slight glow in the dark using resistors, when adjusting the room should be completely darkened from other light sources.
Final part
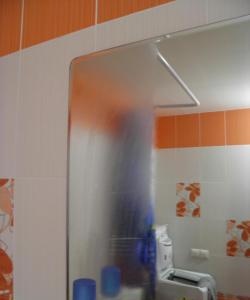
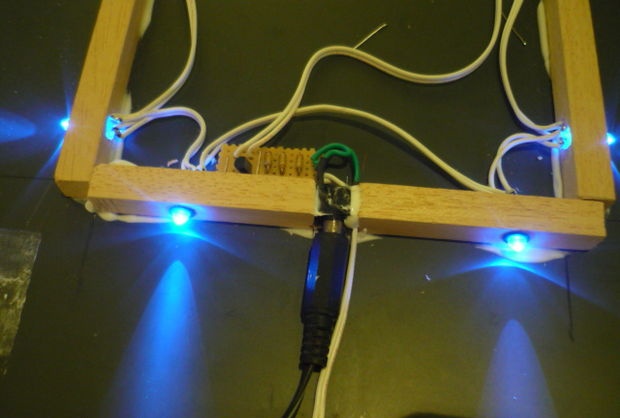
To respond to external light sources, a photoresistor was glued to the base of the mirror. I would have preferred to place it on top, but the connectors I used were not designed for three pins. There are ways around this, but I decided to keep things less complicated.
Now that the bulk of the work is done, all that remains is to fix the mirrors on the wall. I used double sided foam tape.
Obviously, before attaching the mirrors, you need to check the lighting again. All.
Original article in English