A smart solution is to create a garland with your own hands
- Firstly, it will be a 100% original product.
- Secondly, the configuration of the decoration will be exactly as you need.
- Thirdly, this is a real money saving.
- And finally, you can safely say to family members, and especially children: “Daddy can do it!”
The greatest difficulty is lighting the Christmas tree. Actually, there are only two options: wind a standard garland in a spiral, or try to arrange it vertically, in the form of a pyramid. We choose the second option, especially since the lines can be made to the required size: according to the height of the tree.
The concept is as follows: wires are stretched from the top to the lower branches, LEDs arranged at equal intervals, as if creating tiers.
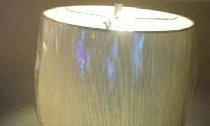
The light must be dynamic: a control controller will be required. Simple LEDs They shine beautifully, but the point lights do not create volume. This means that lampshades are needed for each LED element.
The calculation of the garland starts from the power supply. The option is purely individual: I used an unnecessary power supply from a laptop. Estimated quantity LEDs - no more than 100 pieces, when using standard 5 mm LEDs, the total current consumption (20 mA * 100) is 2 A at maximum brightness. For a series connection of 6 diodes (the voltage drop across each is about 3 volts), the power supply voltage is 18-20 volts.
General calculation of garland power supply:
We collect 5 lines. Each "thread" consists of 18 LEDs 6 pcs. per channel (RGB option). 18*5 = 90 pcs., total current 1.8 A. Thus, a power supply for a laptop with the parameters: 19 volts, 4 amperes is suitable. At the same time, a double power reserve is provided.
Selection of necessary materials:
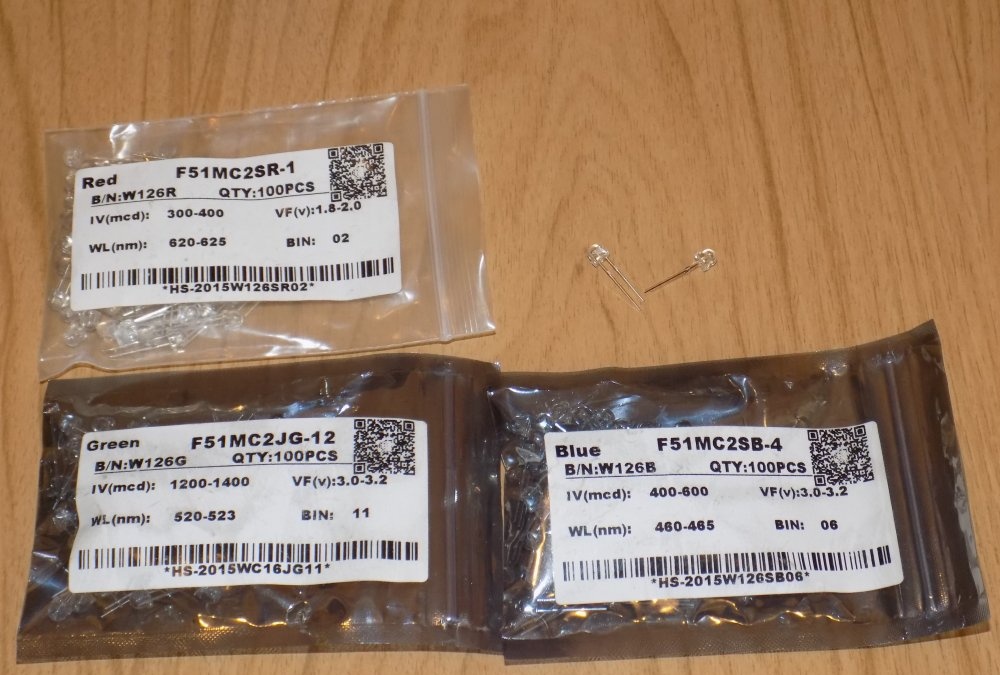
1. LEDs. I ordered at Aliexpress: 3 packs of 100 pieces red, green and blue LED elements of the “straw hat” type, dispersion angle of 120 degrees.
2. Controller from Aliexpress. Let's look at this element in more detail. If you don’t want to waste time making your own circuit (there are many options, the cheapest of them is Arduino), you can take a ready-made controller for an RGB strip. All circuits work on the same principle: 3 controllable channels, the turn-on sequence and the brightness of the light are set. Actually, three colors are conditional here; you can connect 3 channels of identical LEDs and enjoy the lighting effects.
To power the 19-volt channels, I chose a controller with a universal voltage of 12-24 volts.The control circuit is powered by any voltage in this range, at the output we get voltage power supply: in my case 19 V.
A prerequisite (for my scheme) is the presence of a remote control mode control.
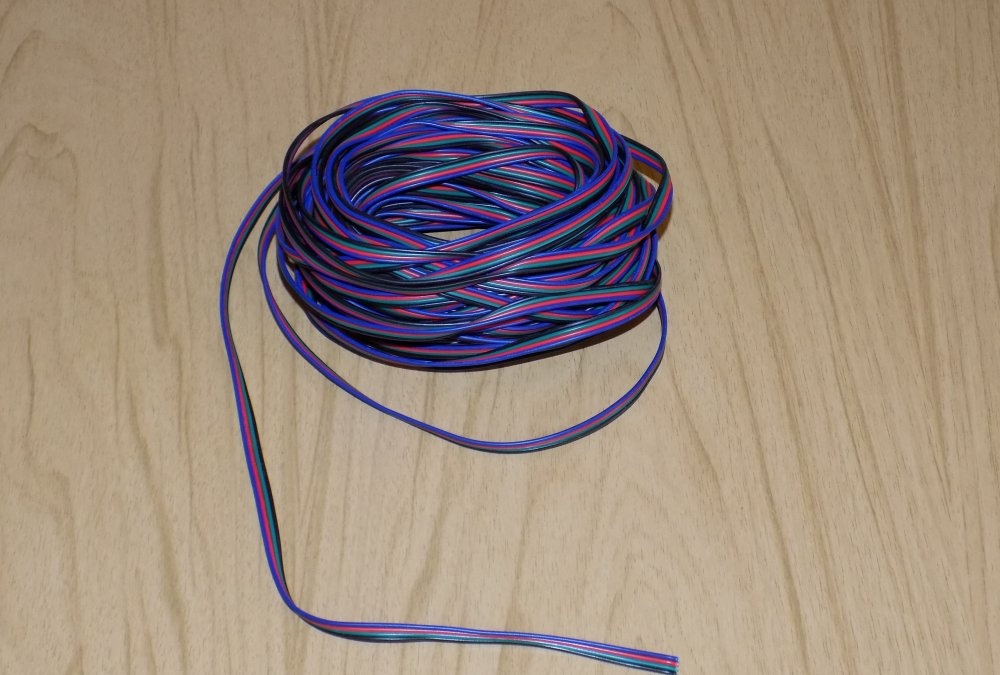
3. Instead of a wiring harness, I chose RGB cable (3 channels + 1 common).
4. Heat shrink tubing different colors.
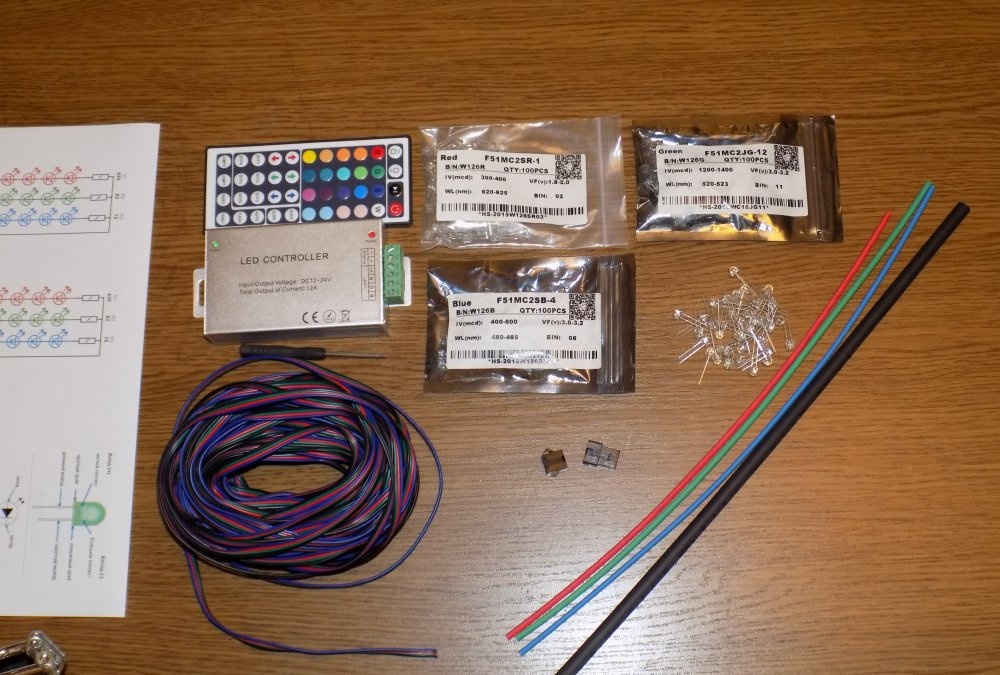
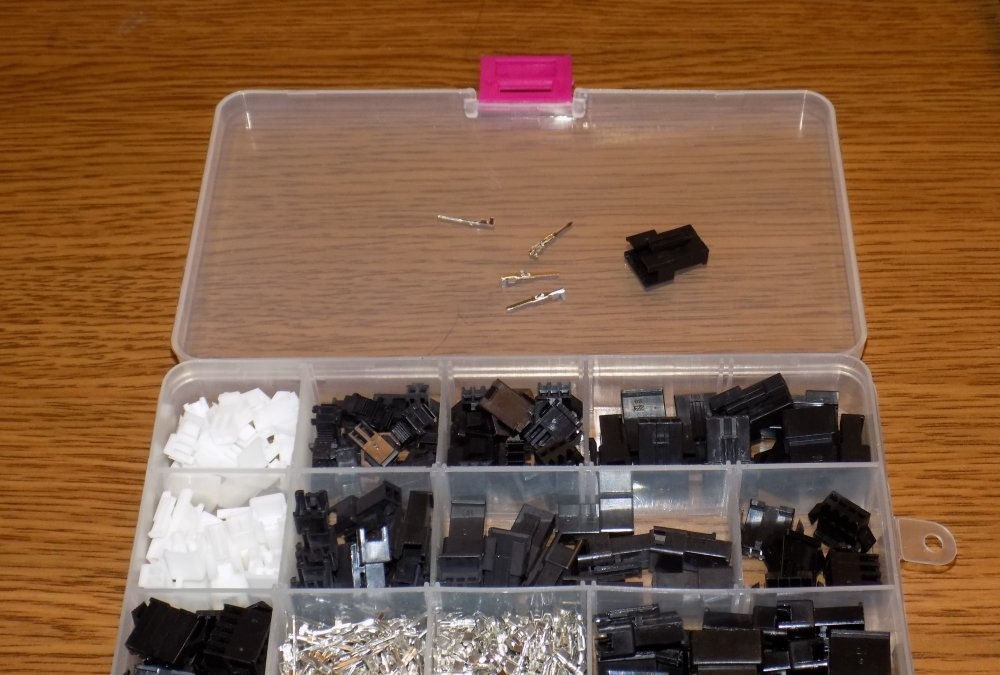
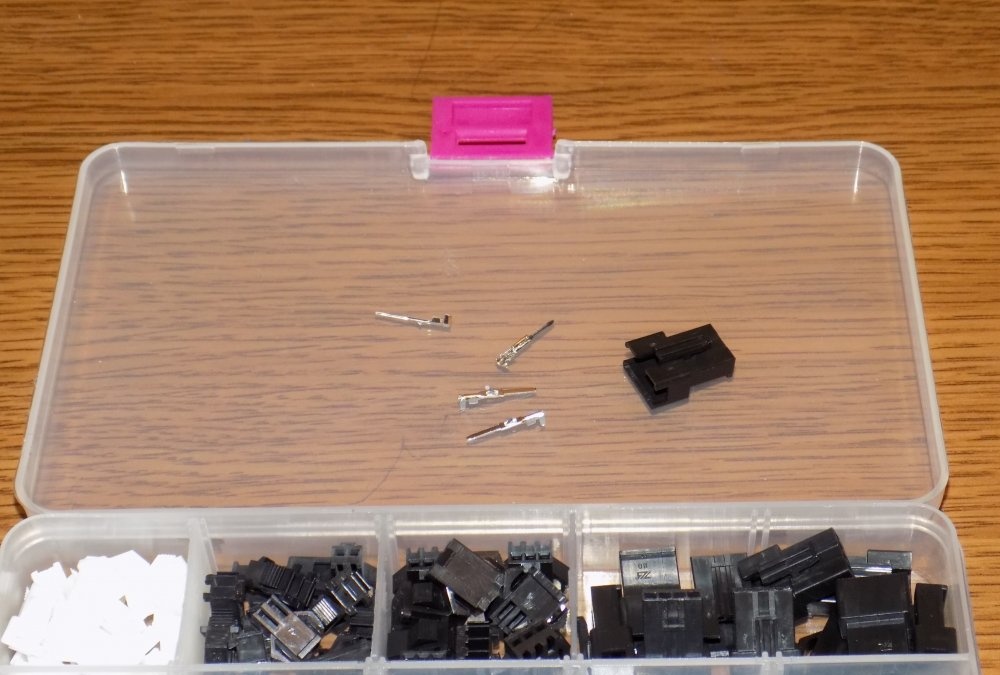
For ease of installation, I used 4 pin dupon type connectors (pitch 2.54 mm). The corresponding set was purchased a long time ago from the same Chinese, an excellent help for various electronic crafts.
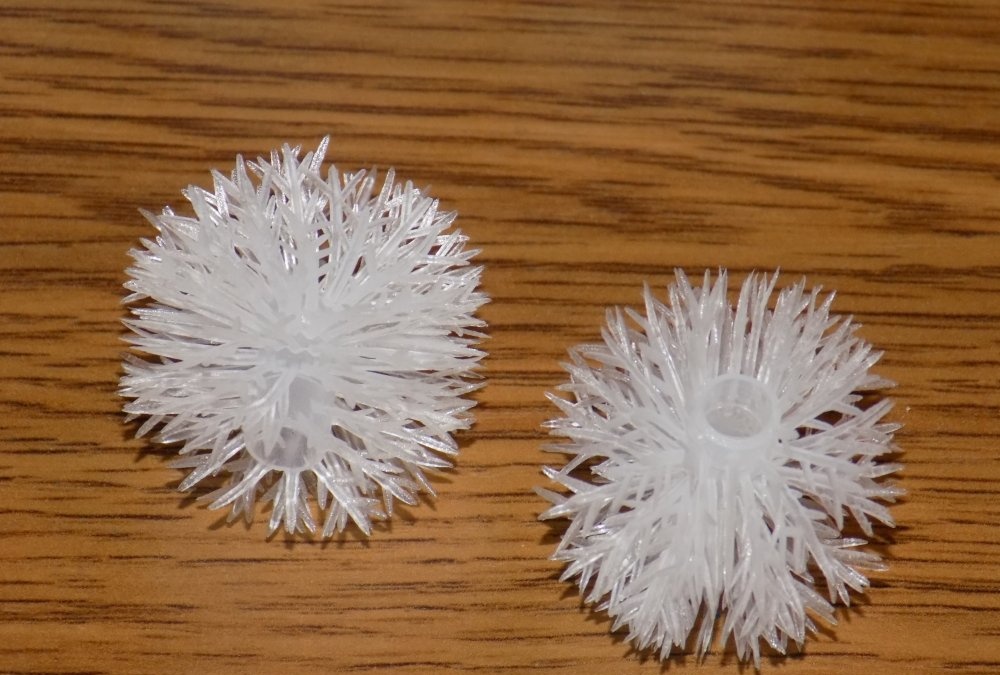
Since I planned to hide the LEDs in the lampshades - I bought it on Aliexpress packing 100 pcs. snowflakes for garlands. Bore diameter 5 mm.

Calculation of connection diagram
LEDs, even when connected in series (in my case, 6 diodes), are connected through a current-extinguishing resistor. Parameters of LED elements on the packaging:
The resistor is calculated using a formula or an LED calculator. I used the online service: http://cxem.net/calc/ledcalc.php
- For the RED channel (voltage drop 1.8-2.0 V) resistance is 420 Ohms.
- For GREEN and BLUE channels (voltage drop 3.0-3.2 V) the resistance is 82 Ohms (green) and 75 Ohms (blue). The green LED element shines brighter, so the resistor has a higher value to equalize the overall picture.
Block diagram (together with the schematic diagram) in the illustration:
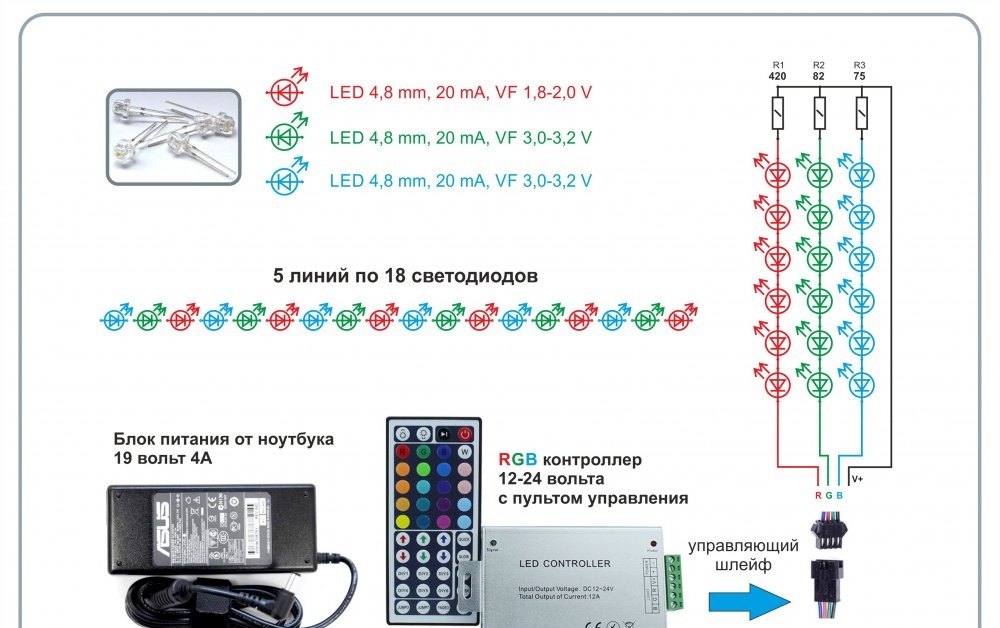
I bought a controller for RGB LEDs with a common anode. That is, a minus is supplied to each channel, and a plus is supplied to the common wire.
Assembling the garland
You can use twisted wires, like on factory garlands. I liked the design on the train better.
We make a reinforced leg for each LED element. To do this you will need toothpicks and heat shrink.
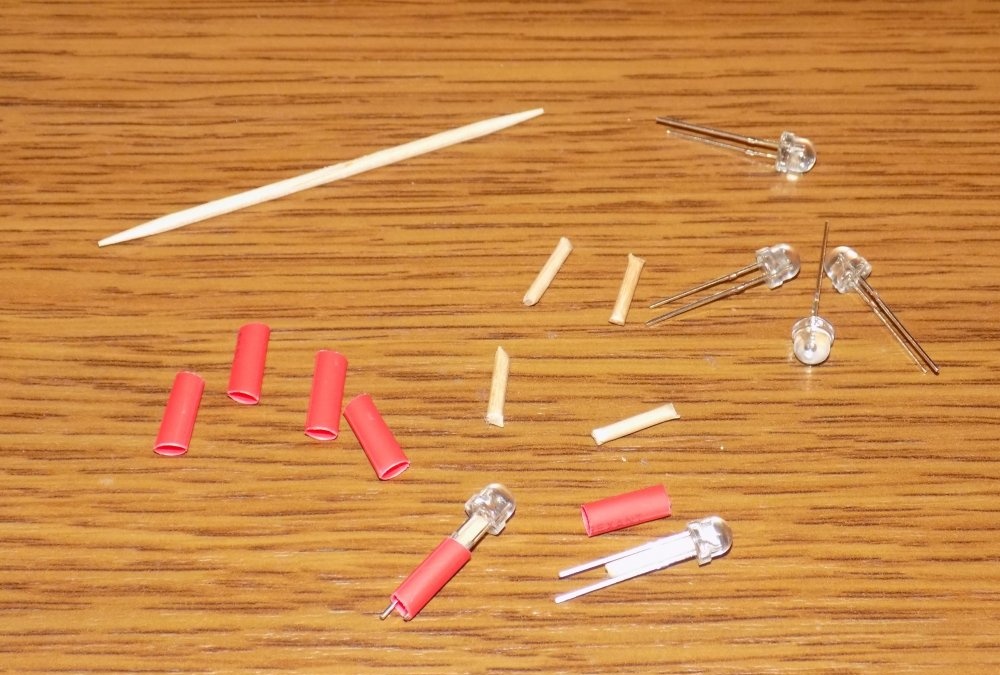
We assemble and warm it with a hairdryer.
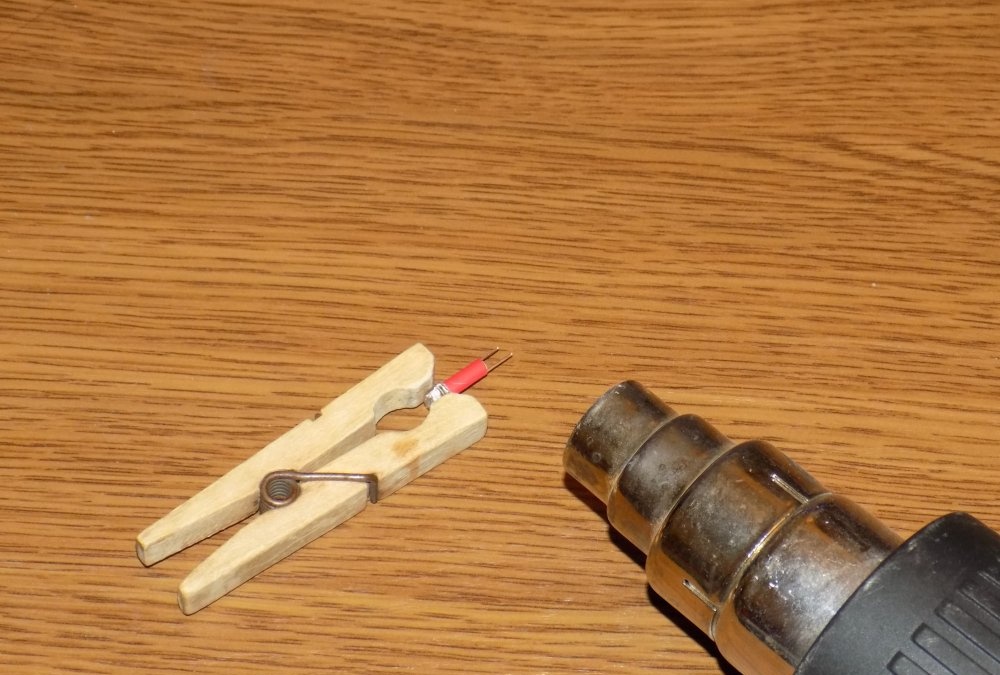
This results in a design like this:
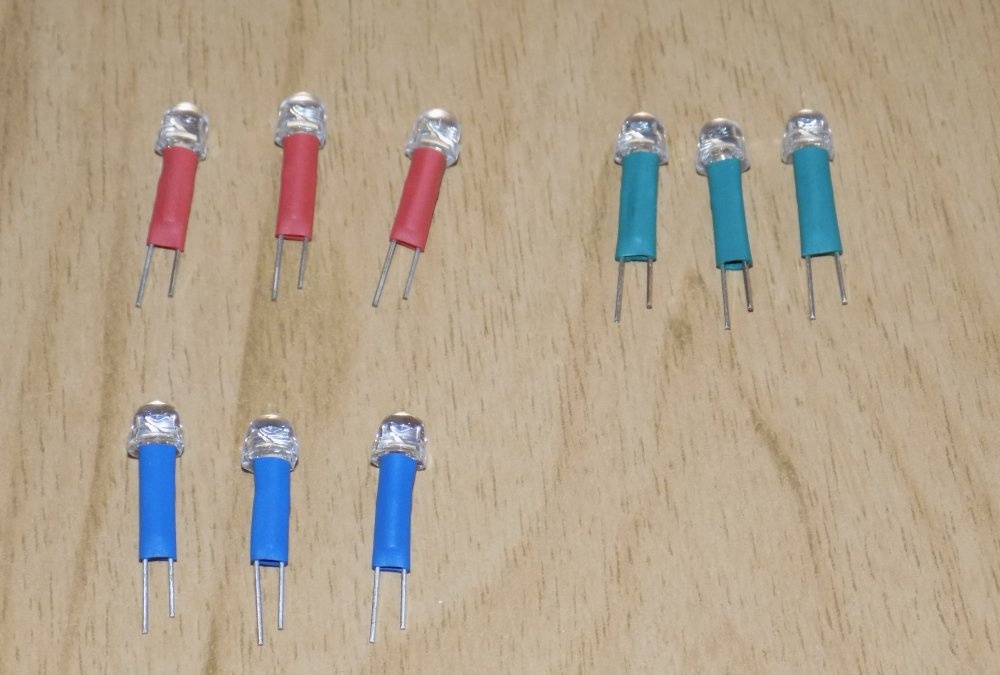
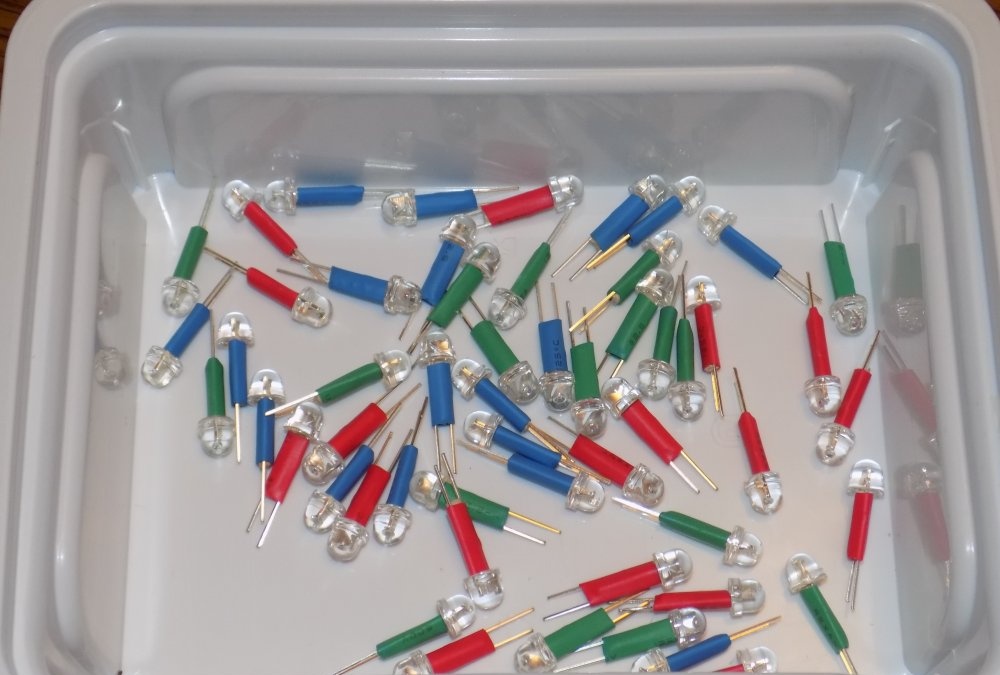
It makes sense to immediately prepare and test all 90 LEDs.
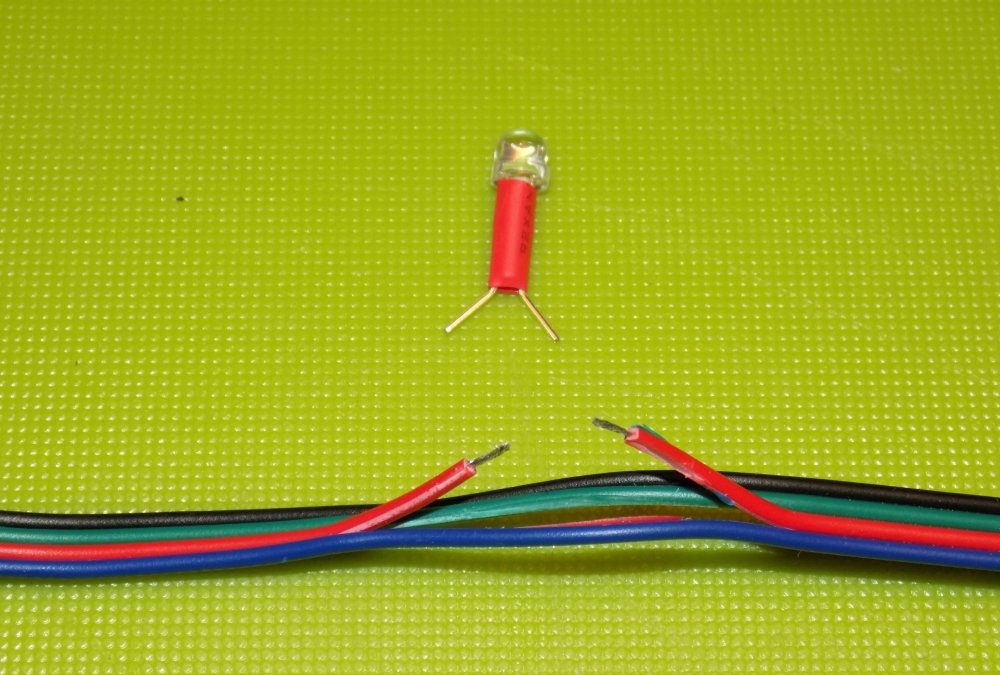
Then we mark the cable, determining the installation locations of the diodes at equal distances. I made neat cuts along the cable on the wires of the desired color, cut them and tinned the mounting points.
After assembly, each LED looks like this:
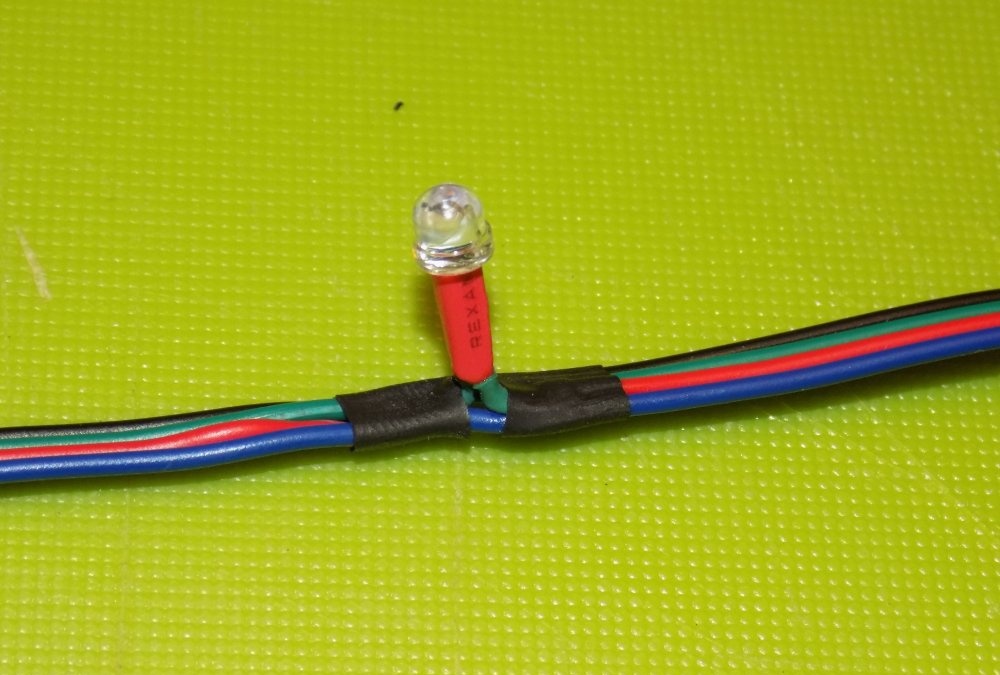
It turned out neat and reliable.
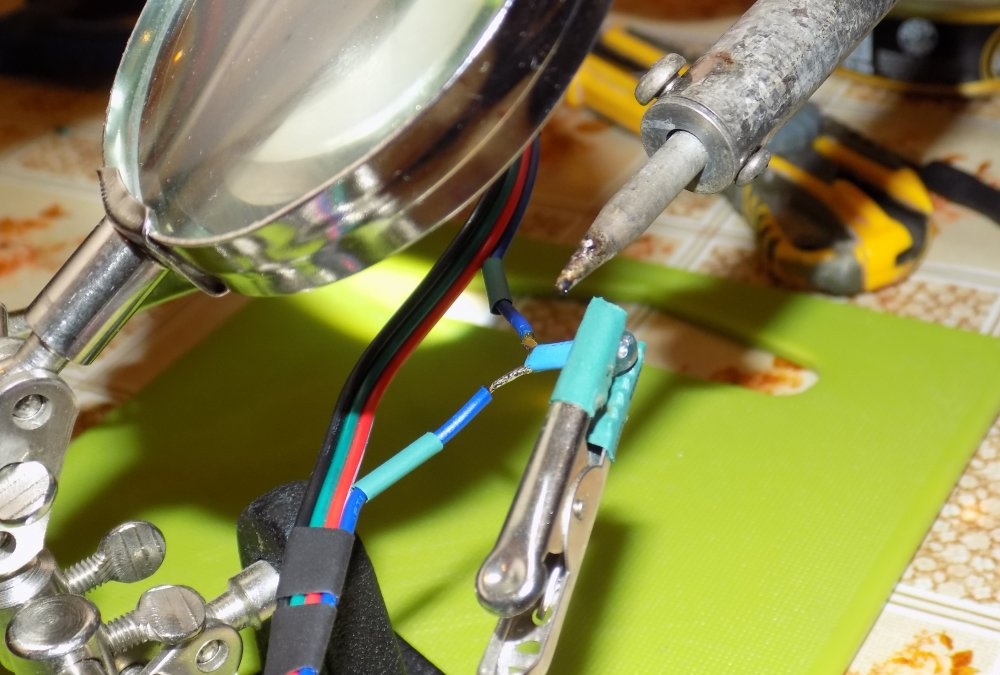
It is convenient to solder on a device with a magnifying glass, which is called the “third hand”.
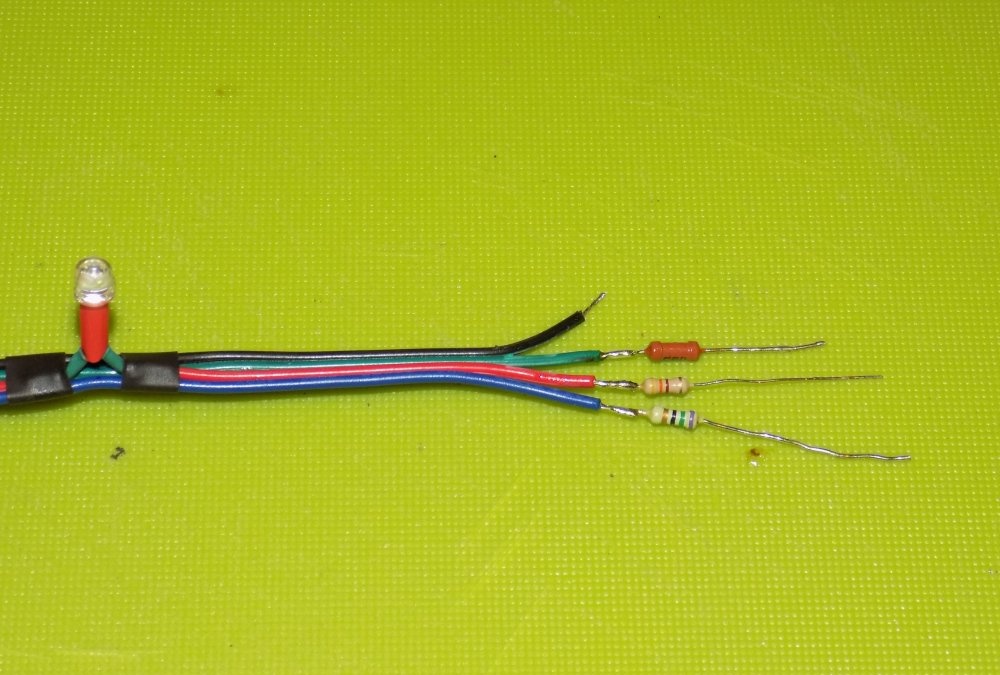
Next, we connect the supply wire (common “+”) to the channels through resistors.
We insulate the parts with heat shrink.
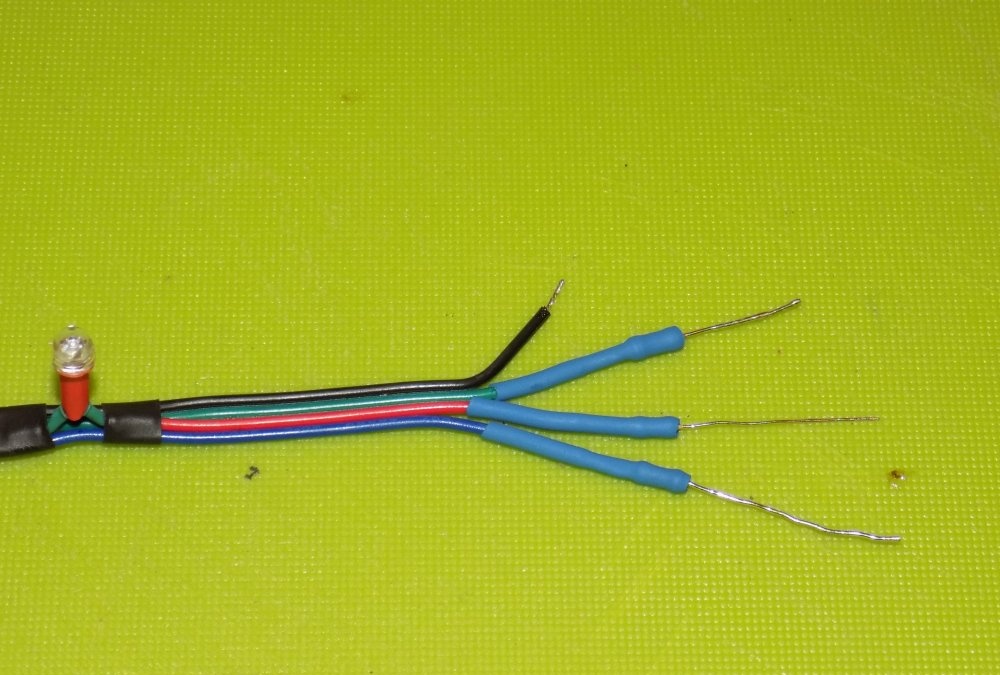
And connect it to the “plus”.

We cover this loop with large diameter heat shrink.
We mount connectors on the opposite end.
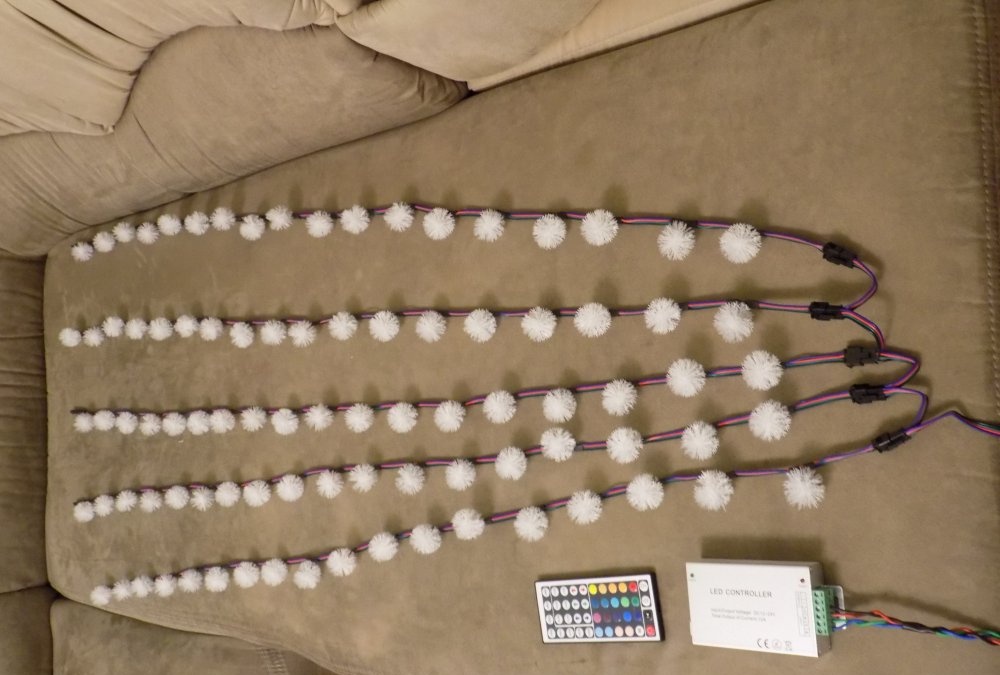
The result was 5 identical three-channel lines of 18 LEDs each.

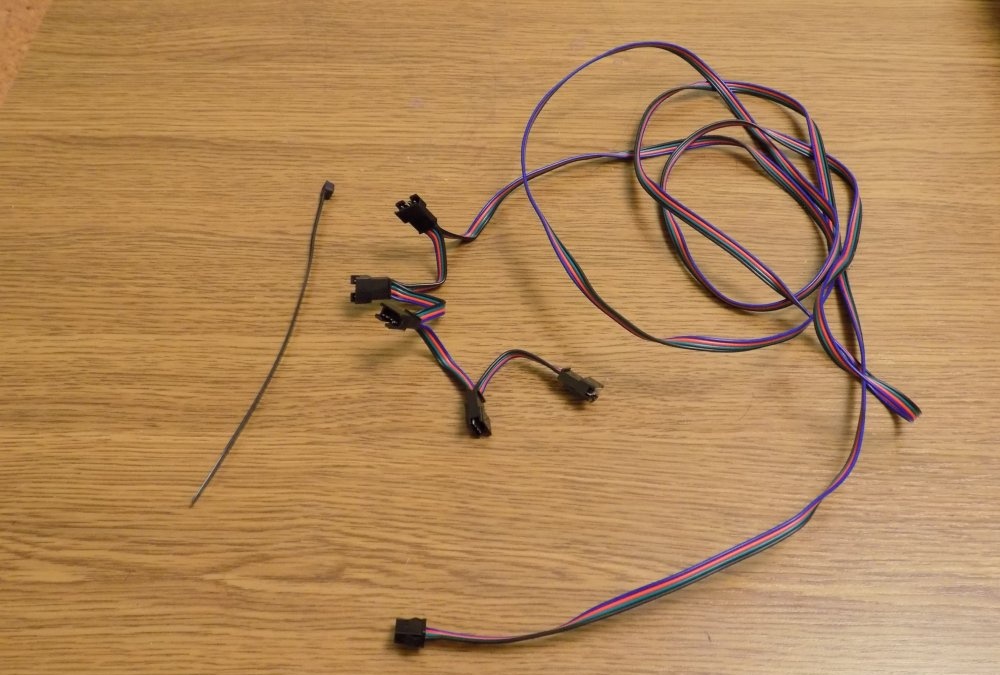
We assemble the connection unit: 5 mating connectors with a common control cable.
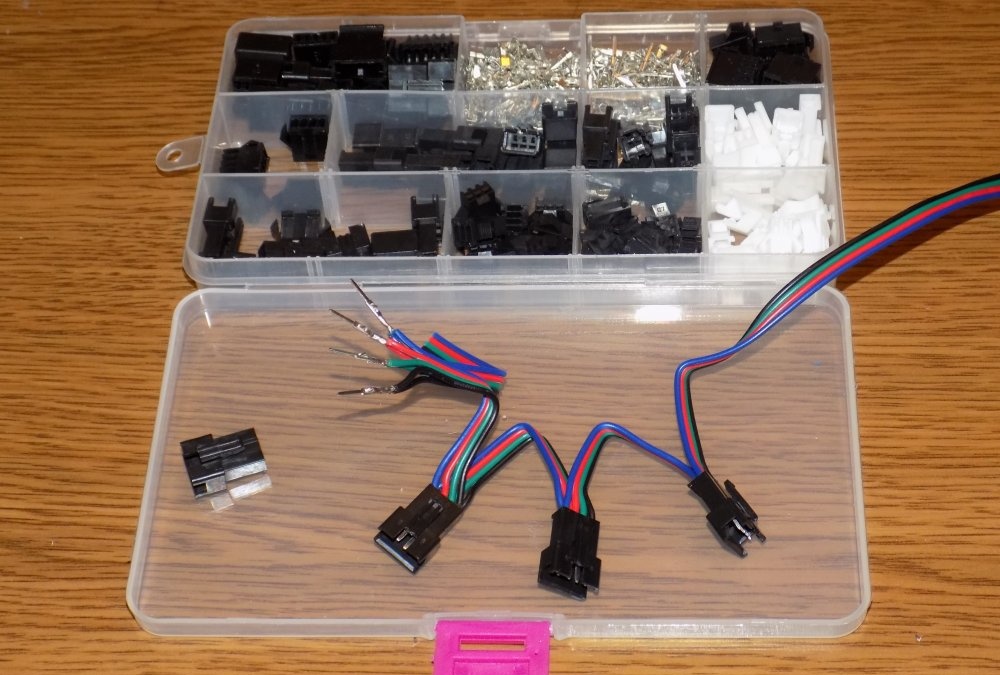
The result is a cable like this: on one side there are 5 connectors for lines with LEDs, on the other side there is a connector for connecting to the controller. When securing the knot to the tree, I used a tightening clamp.
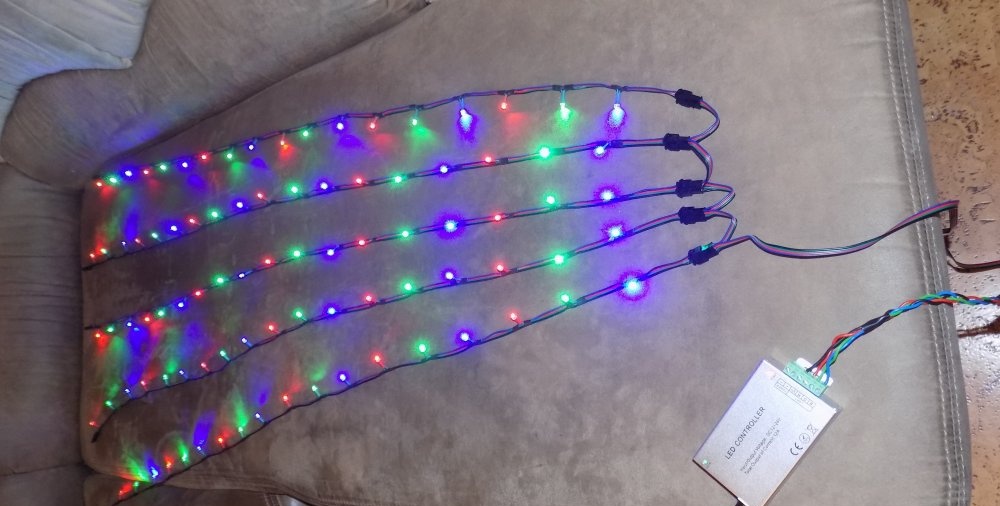
We connect the lines, check all controller modes.
Then we put snowflake lampshades on the LEDs.
The task is not easy (after all, 90 pieces!), but exciting.
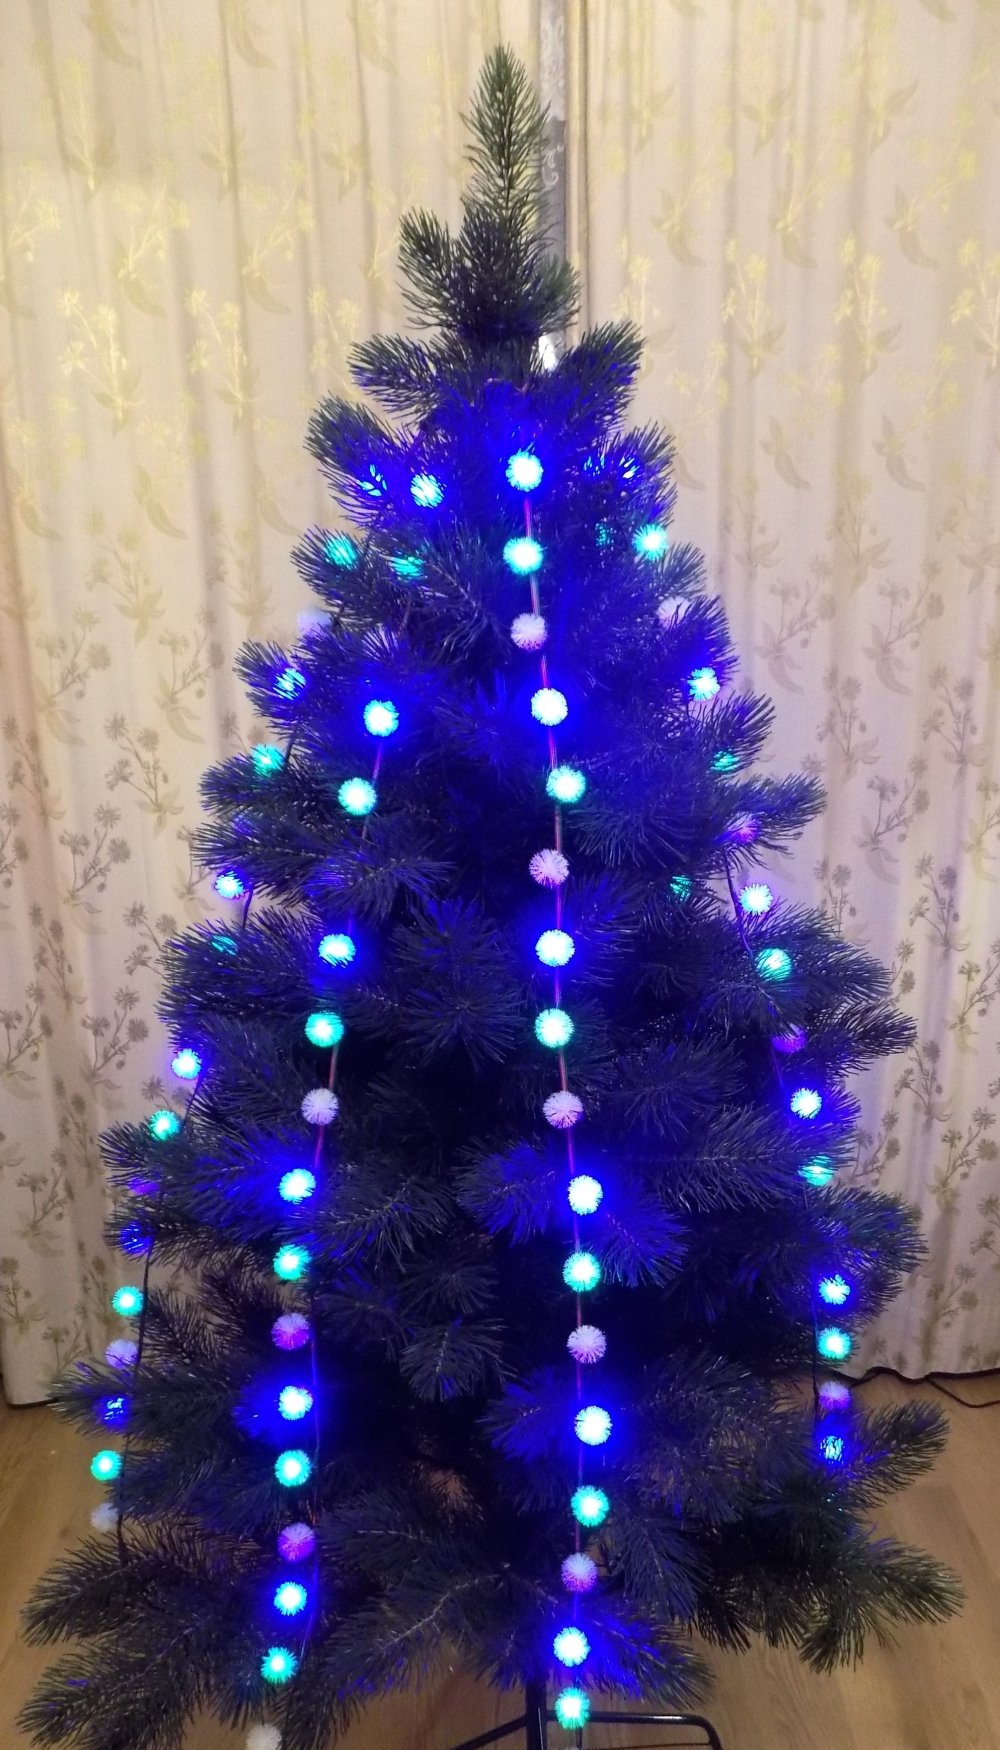
Let's check again. The effect is amazing.
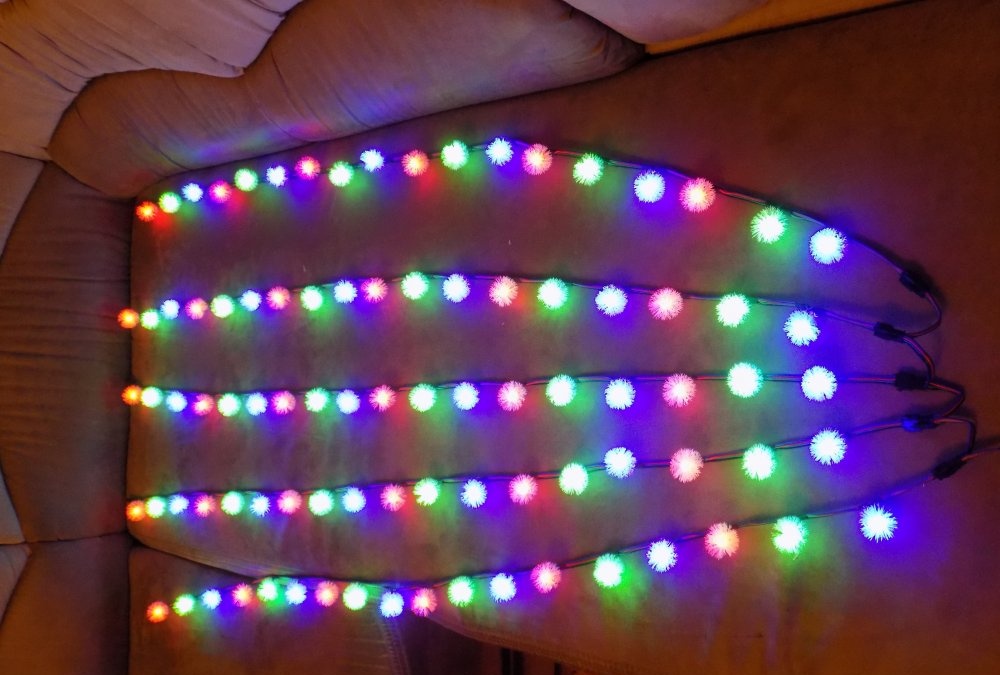
Note: Working LEDs do not look good in photographs, so the image is significantly worse than the original.
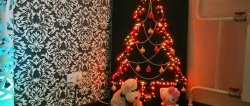
All that remains is to mount the garland on the Christmas tree and invite the children to admire their father’s work.
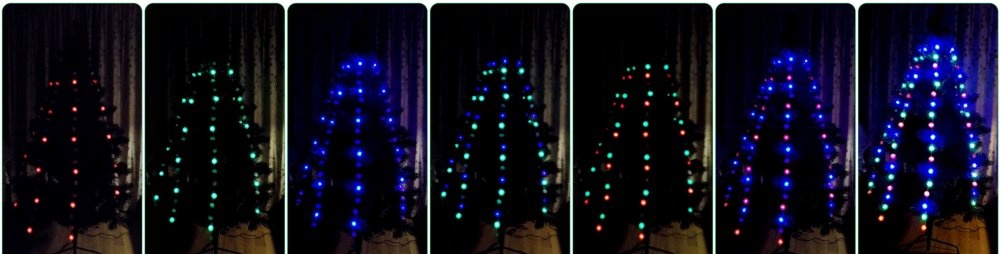
Result:
The total financial costs for the garland are no more than 1000 rubles. The main consumable part is the finished controller. The power supply is shareware. Diodes and wires cost mere pennies. Additional costs: 300 rubles for snowflake lampshades. The option is not mandatory, but it significantly increases the attractiveness of the garland.
I don’t regret the time spent (4 full weekends): it was interesting to work, and the result is worth it.