Many people know this feeling when, in the midst of repairs, a portable incandescent lamp falls and fails. The words are different, but for some reason they are all not quite printed. To keep your nerves in order, you are invited to construct with your own hands an indestructible, unsinkable, completely safe and generally almost eternal lamp, which will cost you pennies, but will serve for many years. It will take a few minutes to make it, not counting the search for materials.
Making an LED Carrying Case
To make such a necessary thing, you will need a plastic bottle with a volume of half a liter, but if you want a large lamp, then you can take a liter, or even one and a half, and a very luxurious lamp will turn out from a two-liter container. This is optional. You need to drink the contents of the bottle first, don’t get carried away with beer, you don’t need a lot of carrying. Then, if the bottle is from a sweet soda or even beer, you need to rinse it inside with clean water, remove the labels and dry it so that there is no moisture left in it. The cap from this bottle is also in use.

Next, to connect power to the lamp from the battery, you need a cable and it must be copper with a core cross-section of at least 1.5 mm square. If the wire cross-section is larger, then this is welcome. You determine the length of the cable yourself, depending on how many meters you plan to move away from the car, but you need to take into account that the longer the cable, the greater the voltage drop across the LEDs and, therefore, the weaker the light. Therefore, try not to swing with the long one. More than 3 - 4 meters will be unnecessary. If you plan to use this carrier in winter conditions, then choose a cable with rubber insulation. A plastic cable, as you yourself understand, cannot be bent in winter.
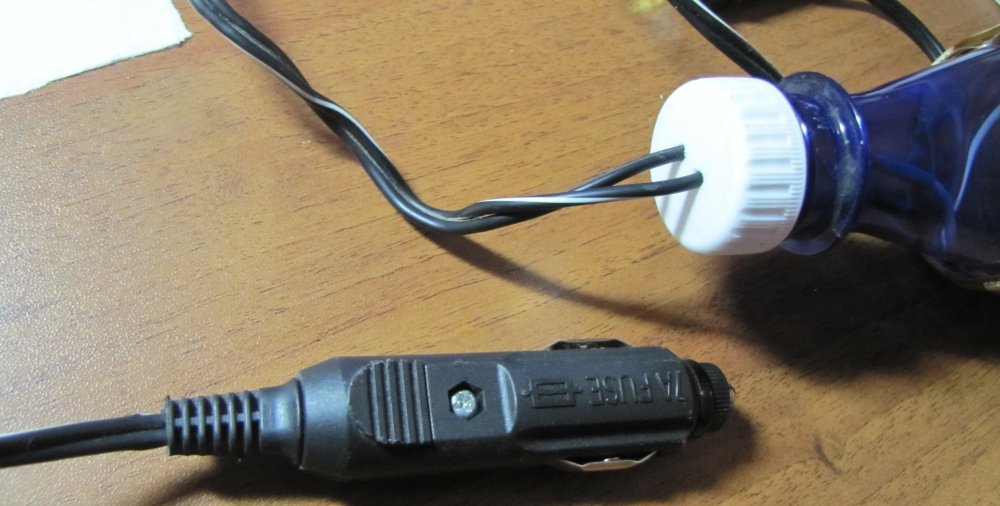
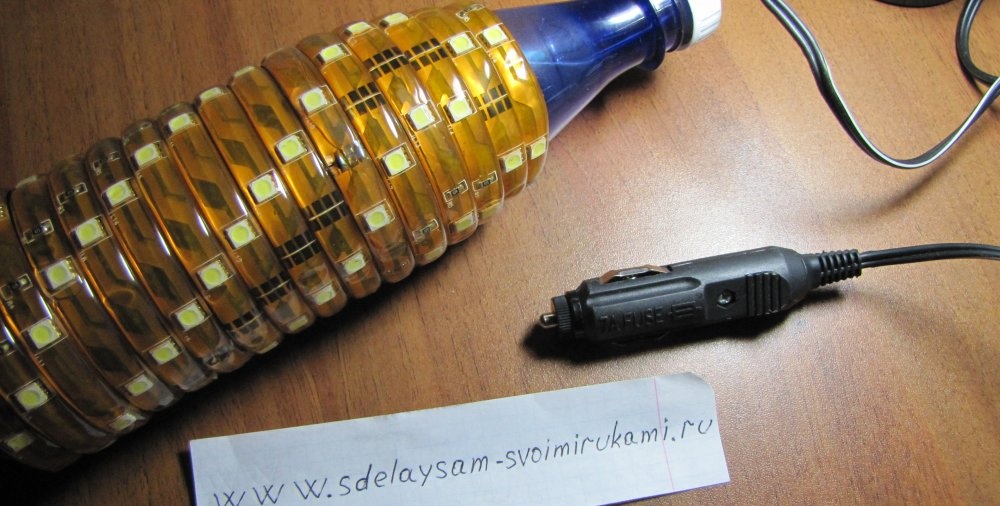
To connect the cable to the battery you need crocodile clips or a cigarette lighter connector, as you decide, to make it convenient.
Also, for convenience, a locking button wouldn’t hurt, but you can do without it.
Any magnet that can hold our work in a suspended state will also be very useful. You stick a magnet in any place on the car that needs additional lighting, and you work comfortably. Moving the lamp does not cause any problems.
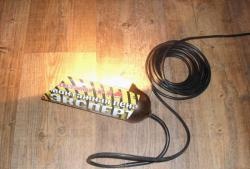
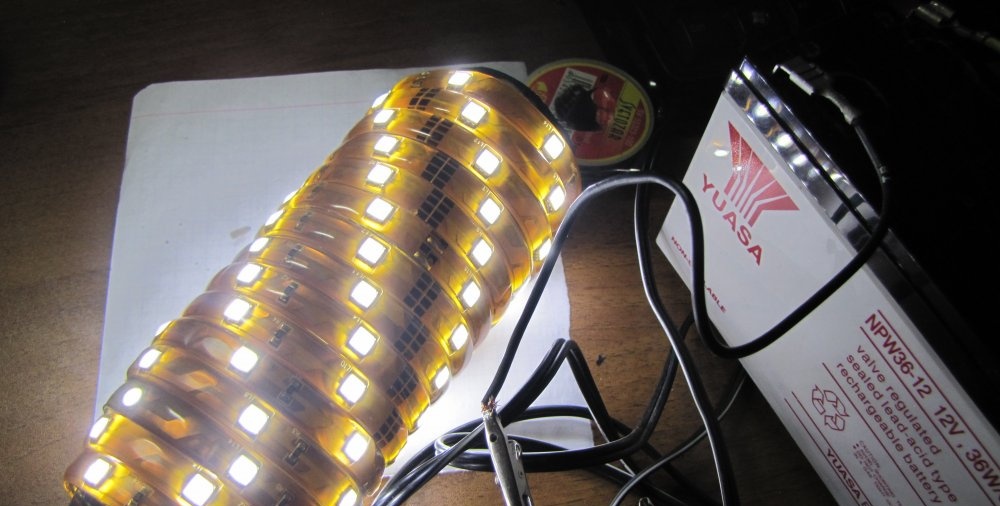
And finally, the most important component of our lamp is 12 volt dc led strip. The length of the tape is determined experimentally; it is directly dependent on the “caliber” of the bottle.
The materials have been collected, it’s time to get to work.
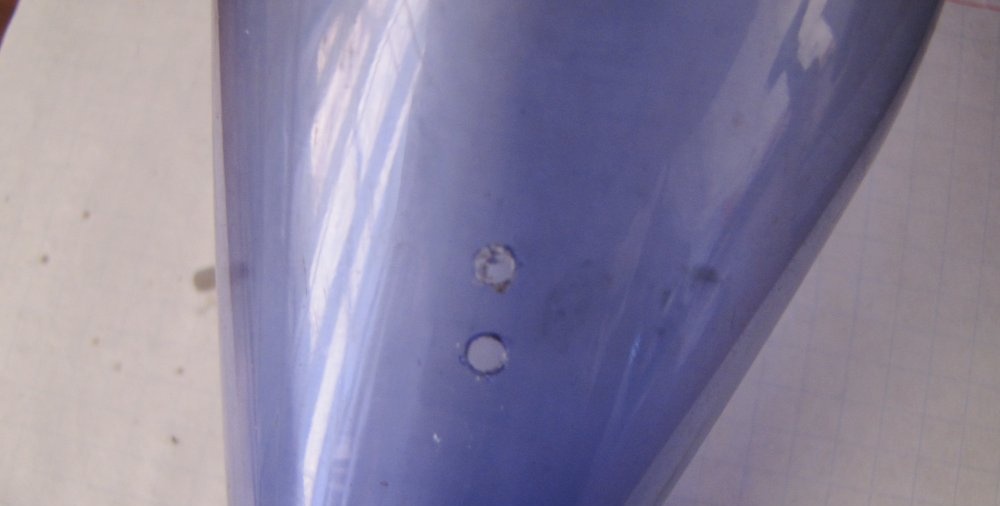
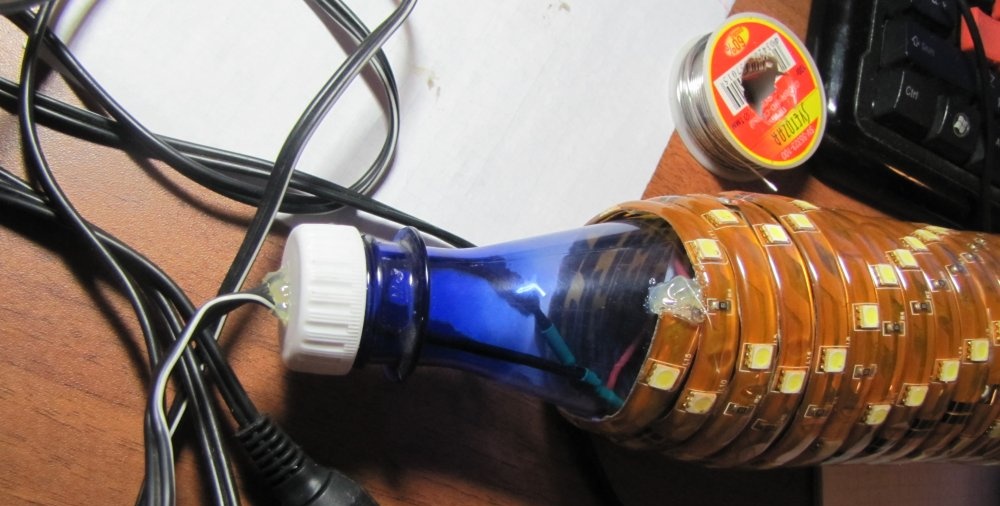
In the neck of the bottle you need to make, drill, burn, small holes so that two wires that are soldered to the tape can hardly fit through them.
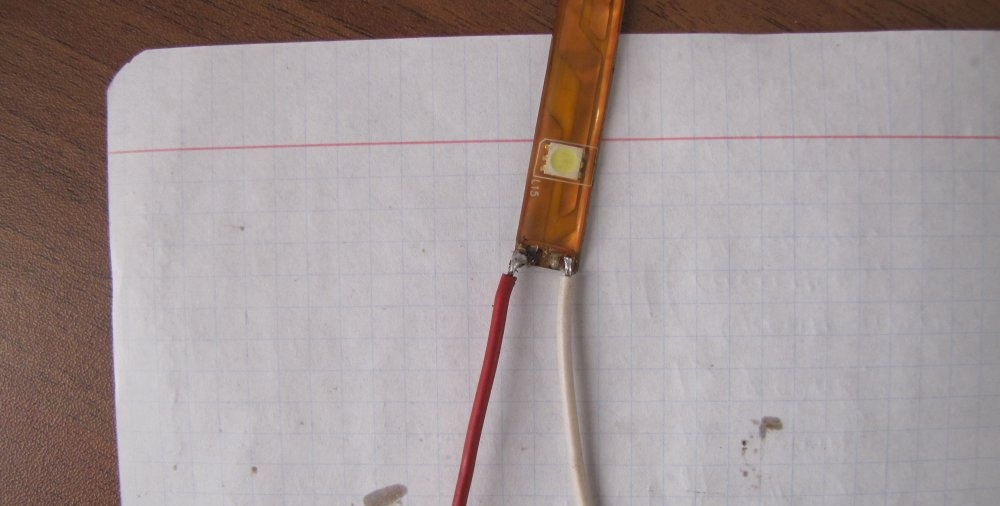
If the wires on the tape are short or there are none, then you need to solder 10 centimeters. Push the wires into the bottle so that their ends stick out into the neck. We secure these wires so as not to accidentally pull them out while winding LED strip onto the bottle and get down to the responsible business.
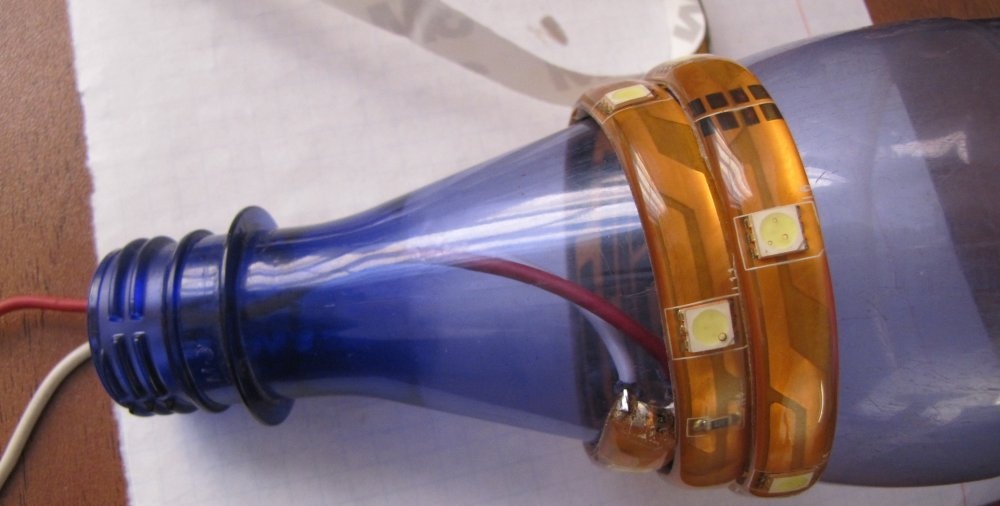
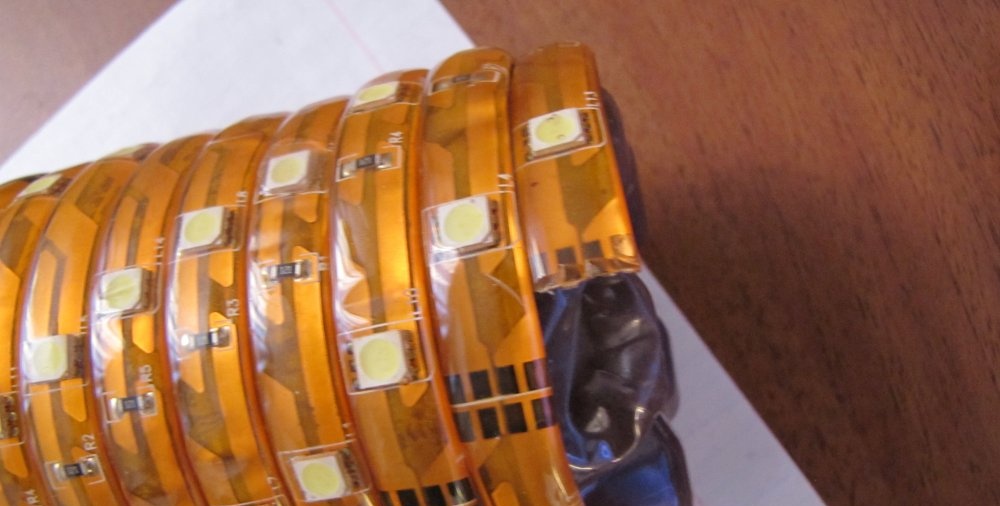
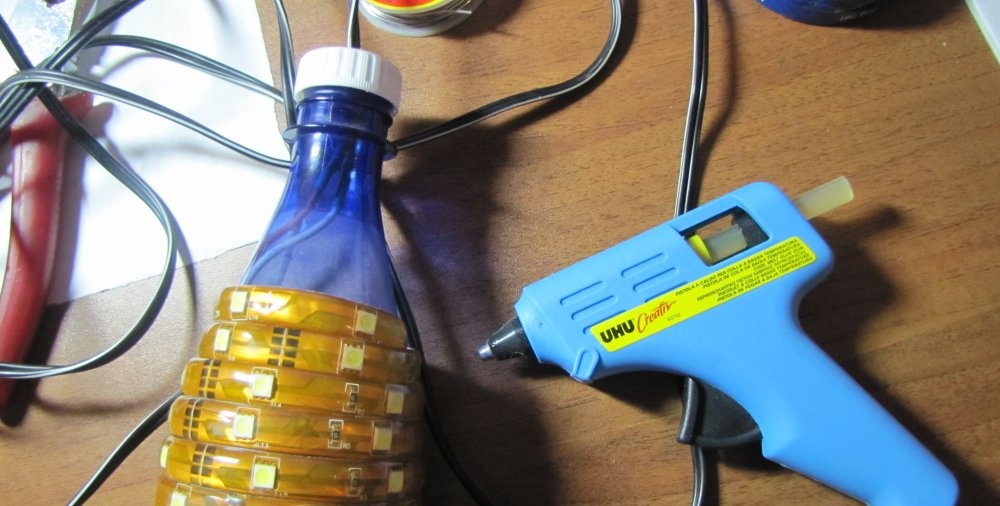
Remove the protective tape from the adhesive layer and carefully, turn to turn, tightly stick the tape onto the surface of the bottle from neck to bottom.
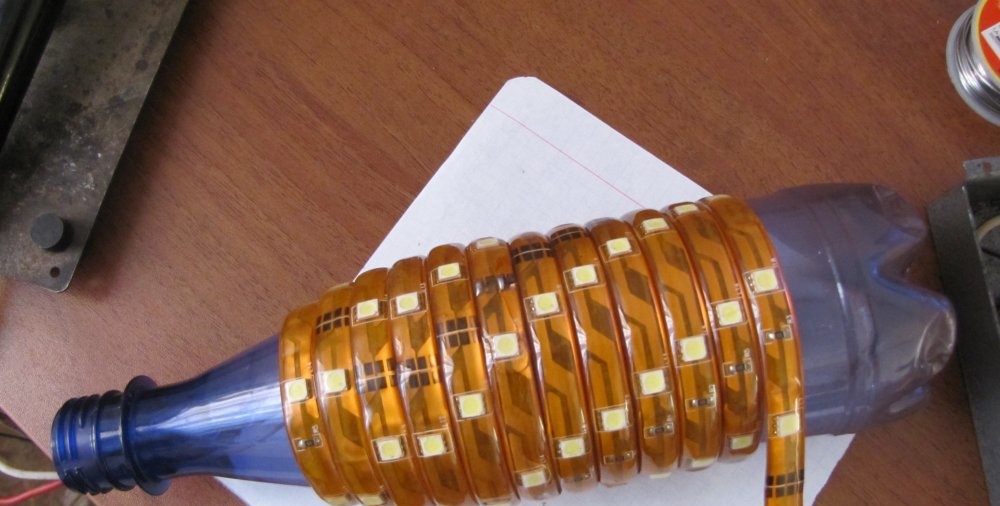
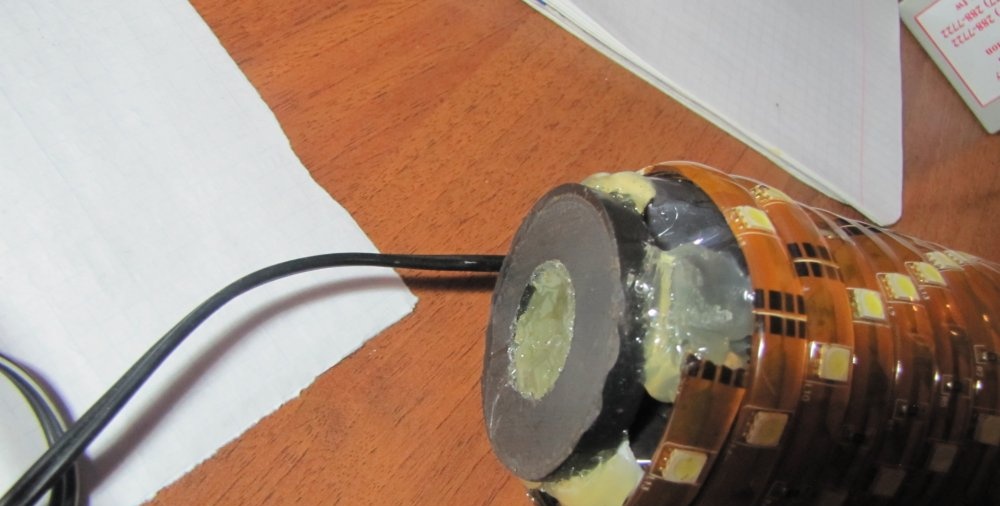
Near the bottom we slow down and look for the nearest sign on the tape that looks like a pedestrian crossing of the street. At the “transition”, the tape can be cut and this place can be sealed with a glue gun so that the exposed contacts do not short-circuit if they accidentally touch the metal and to stop the access of moisture.
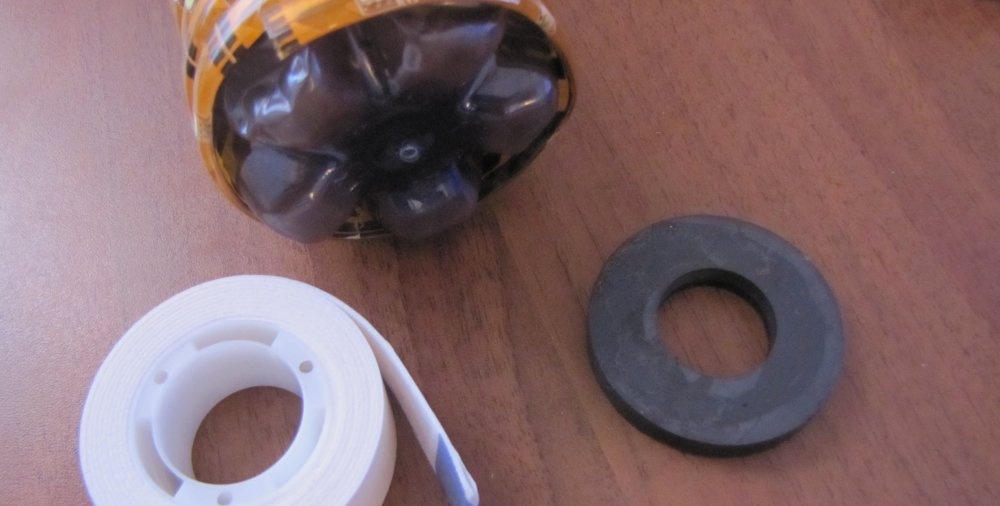
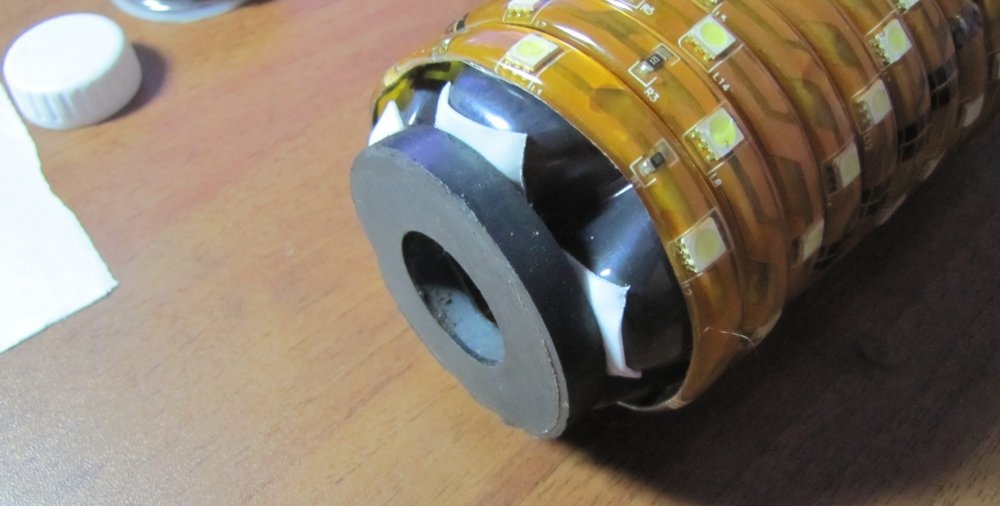
While the glue gun is still hot, we immediately take a magnet “I have a magnet from a Soviet-made speaker” and glue it to the bottom of the bottle more securely so that it does not fall off.
All that remains is to connect the cable.
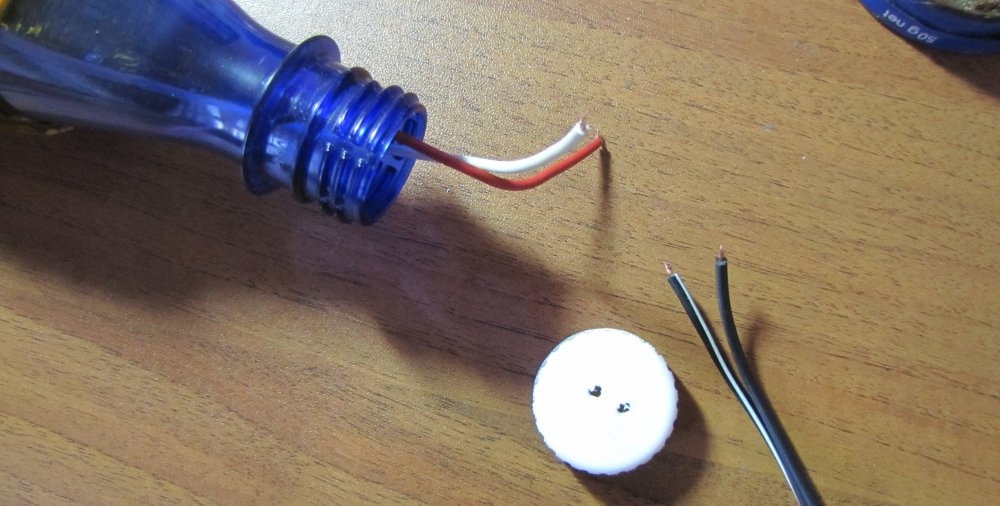
If you decide to install a button to turn on the lamp, then you need to take a drill the diameter of the button and drill a hole in the cover so that you can also drill a hole next to it for the power cable. Insert the button into the hole, tighten the nut, insert the cable and use a glue gun to seal the cable and the button in the cap so that it screws onto the bottle.
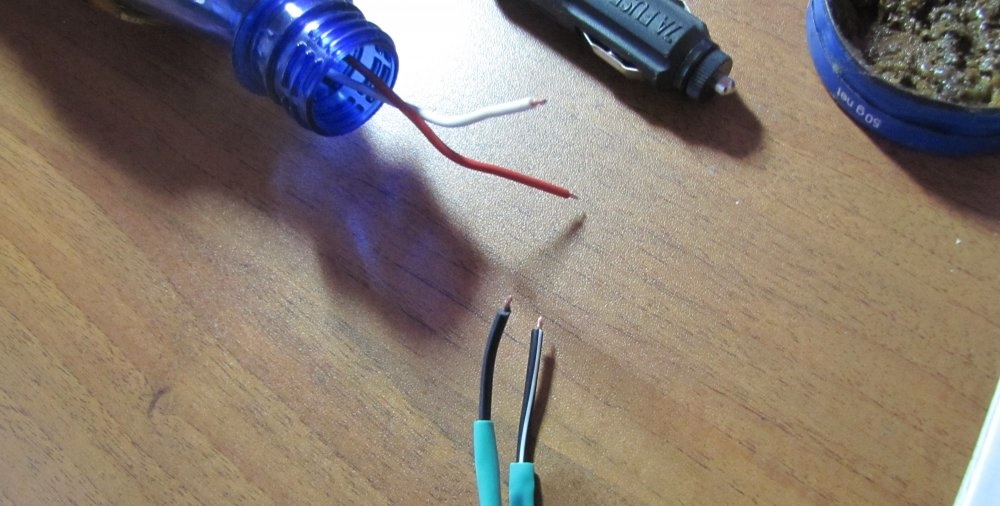
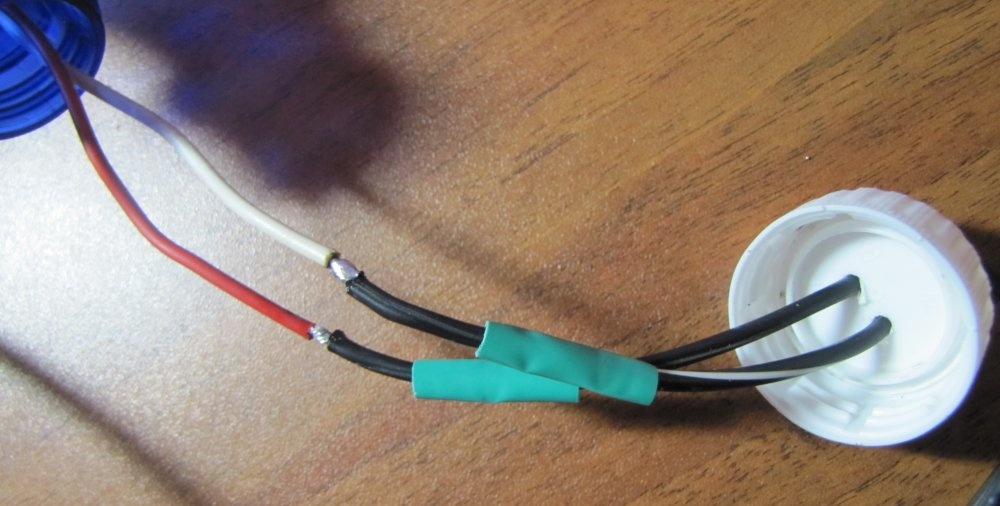
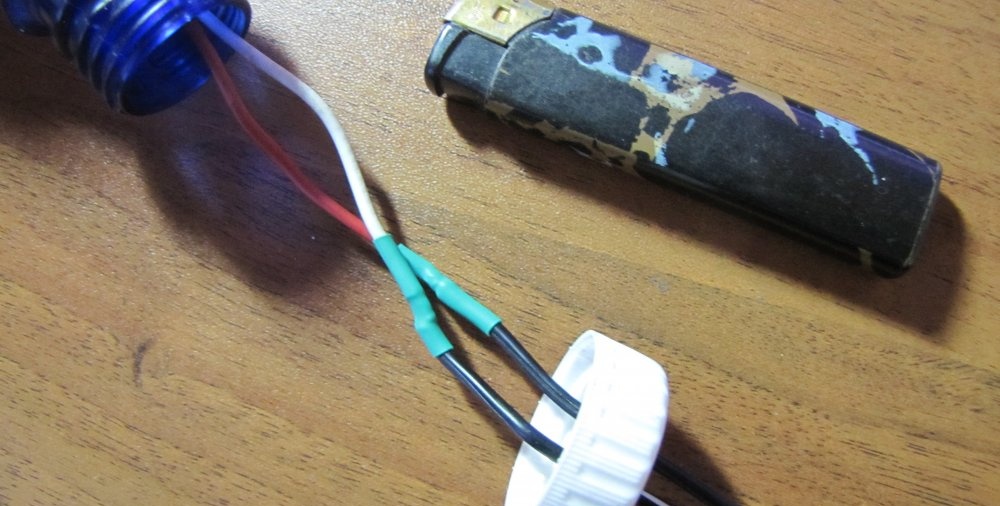
Now we solder the cable connections to the button and LED strip, not forgetting to put heat-shrinkable tubing over the soldering areas for insulation. You can shrink the pipe using a simple lighter.
Before tightening the plug, rotate it counterclockwise 5 turns and screw it into place (so that the cable is not twisted).
We connect the product to the battery, and if there is no light, then we swap the terminals.
That's all! Please use it.