Today we offer an improvised version of such miracle insoles with electric heating. Their design will help keep your feet warm for quite a long time. They dry literally in a matter of minutes, and maintaining a stable temperature will prevent ordinary insoles from getting wet from small cracks in the shoes.
Operating principle of heated insoles
In his invention, the author decided to make do with a heating element based on varnished copper wire, used for windings of transformers and various inductors. Having experimentally calculated its length relative to the supplied battery voltage, a heating platform was made under the main covering of conventional insoles.The insulation layer between the layers of the insole is made of hot glue. A button-switch with batteries is attached in the area of the laces on the tongue of the shoe.
Necessary elements and tools for homemade work
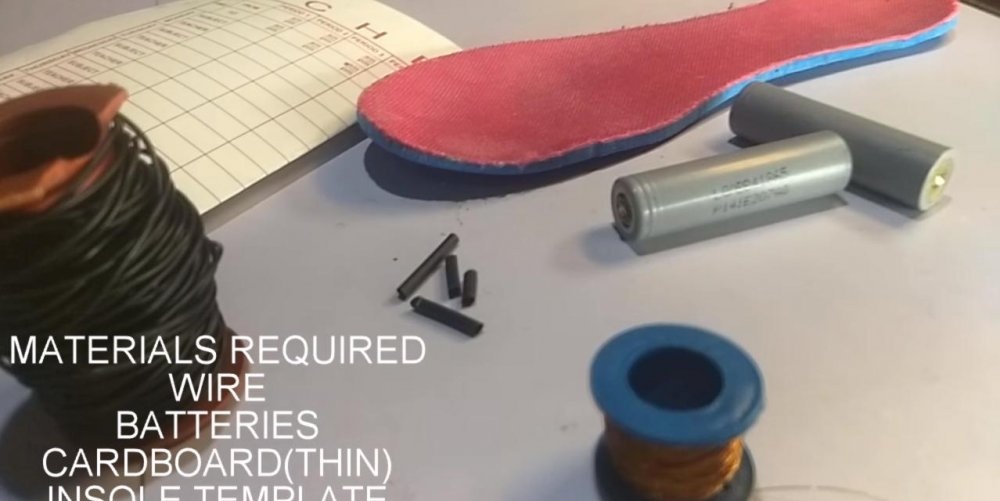
Materials:
- Copper wire;
- Insole template;
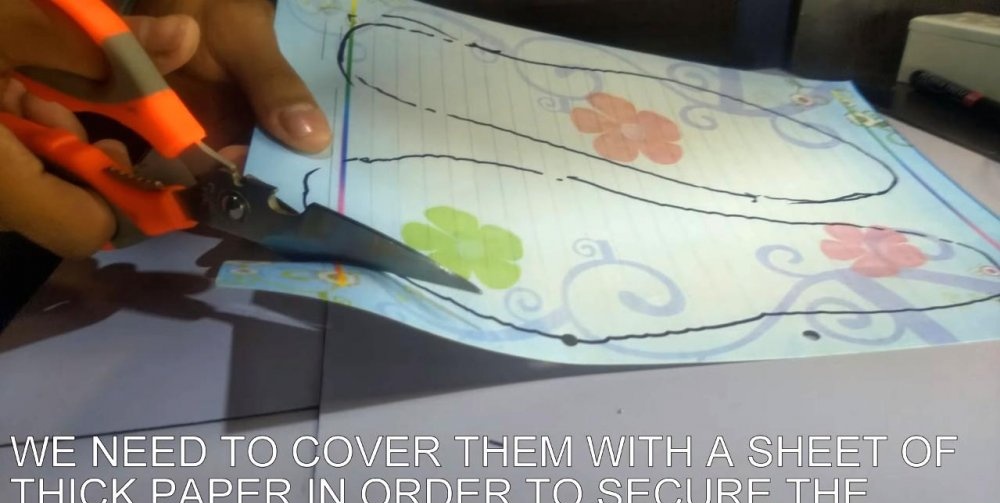
- Thin cardboard, paper;
- Batteries – 2 pcs;
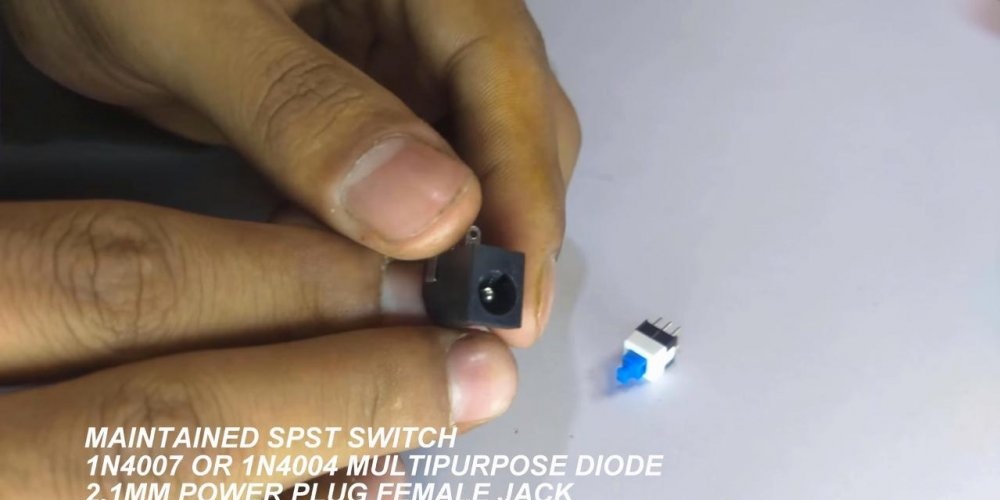
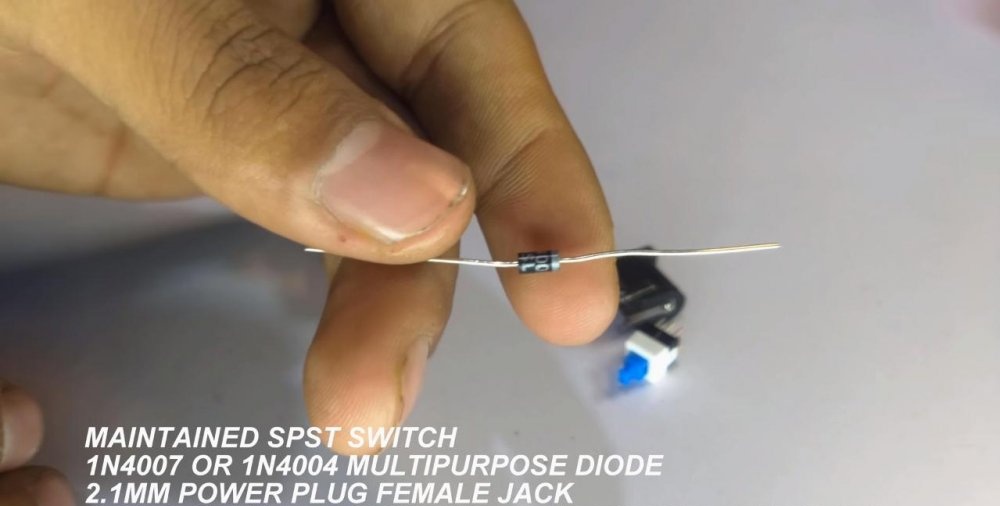
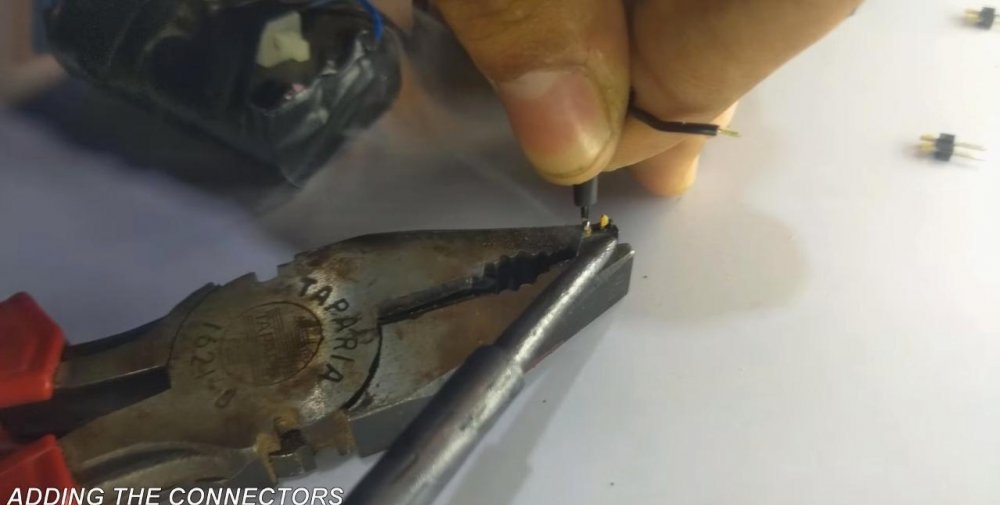
- Connector - socket for power connection;
- Wire cutter and stripper;
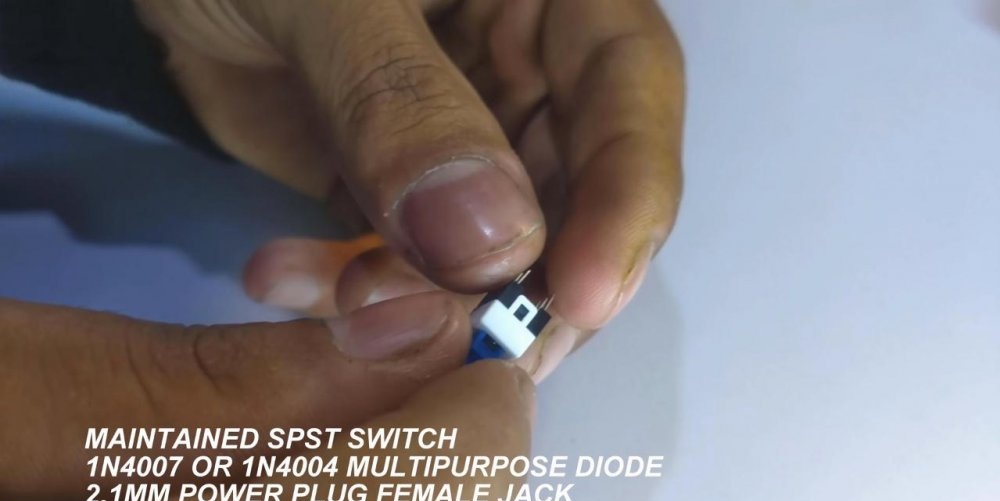
- Switch button;
- Universal diode;
- Wires, small heat-shrinkable tubes, electrical tape.
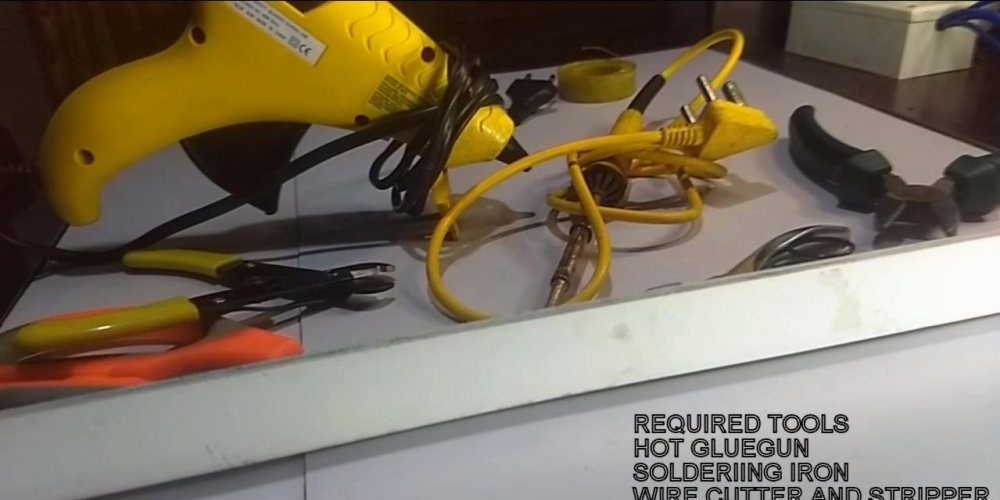
Tool:
- Soldering iron;
- Hot glue gun;
- Scissors;
- Wire cutters.
Insoles manufacturing process
Cutting out the insoles
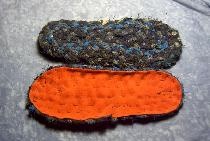
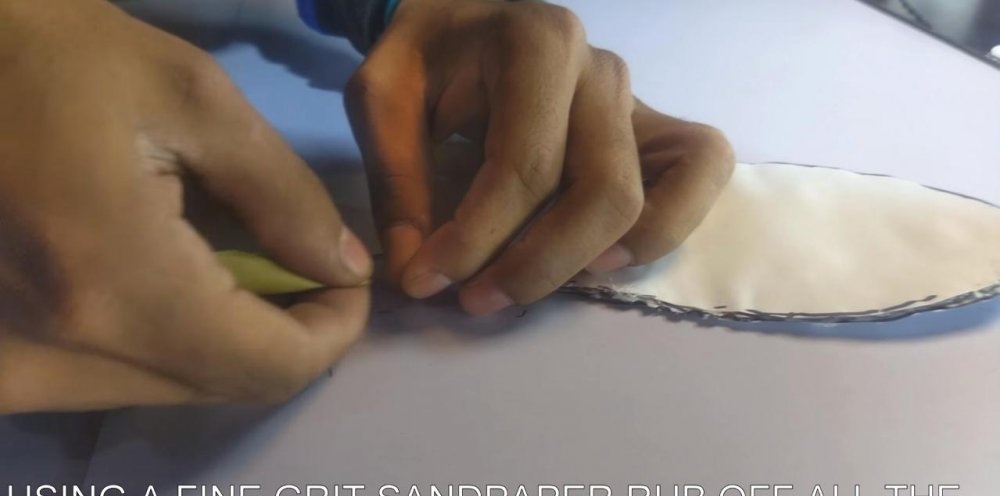
The device is a multilayer insole, the lower part of which is a heating platform. For it we need thin thick cardboard. It should be able to withstand walking, so it's best to choose something more abrasion-resistant.
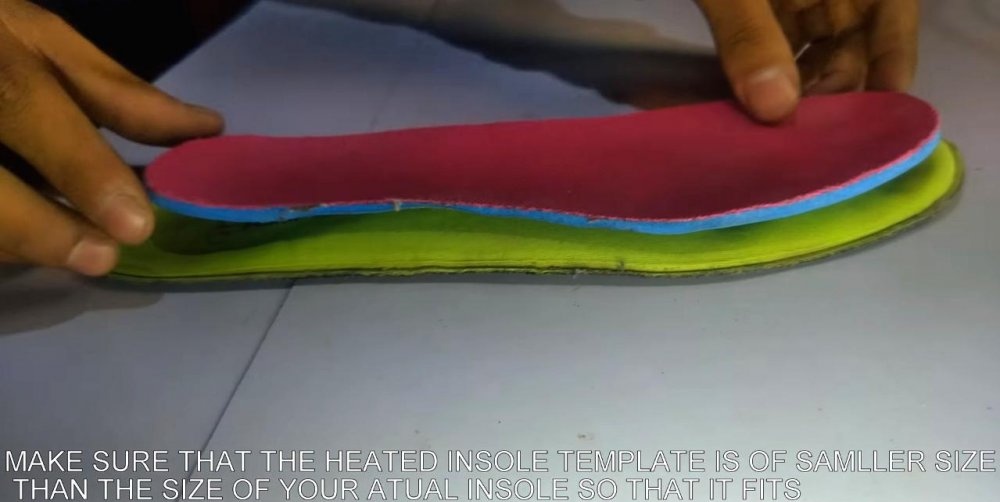
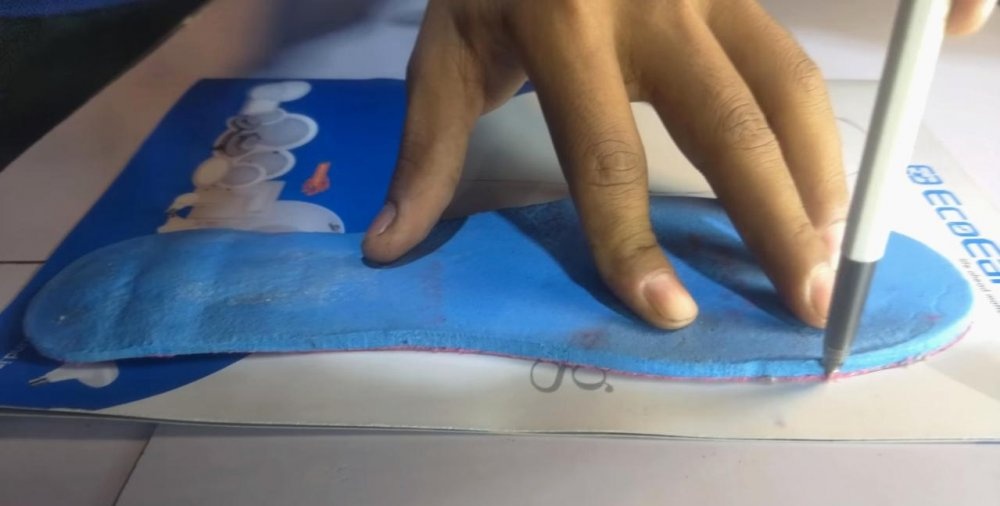
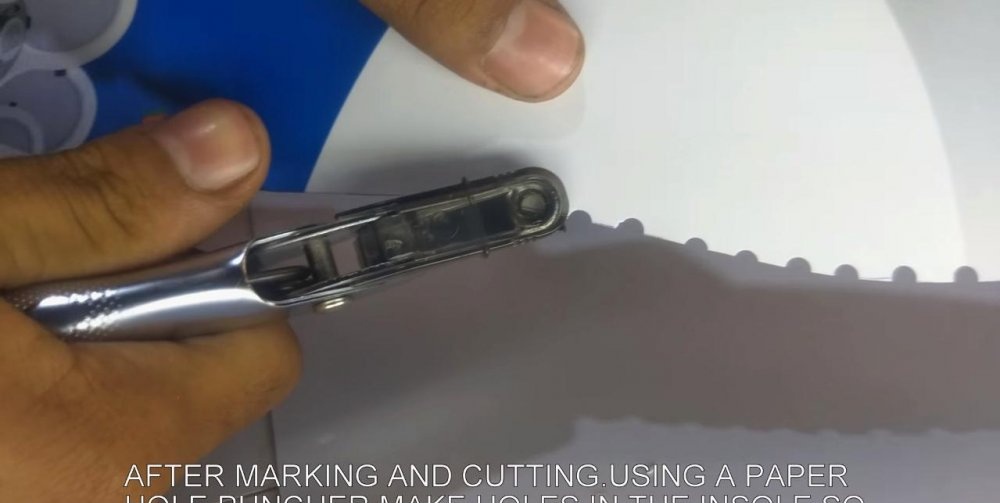
We take the template of our insole and mark the platform according to it. It should be approximately one size smaller than regular insoles. We process the edges of this insole platform with a hole punch along the entire perimeter. This will additionally secure the heating element and prevent it from slipping while walking.
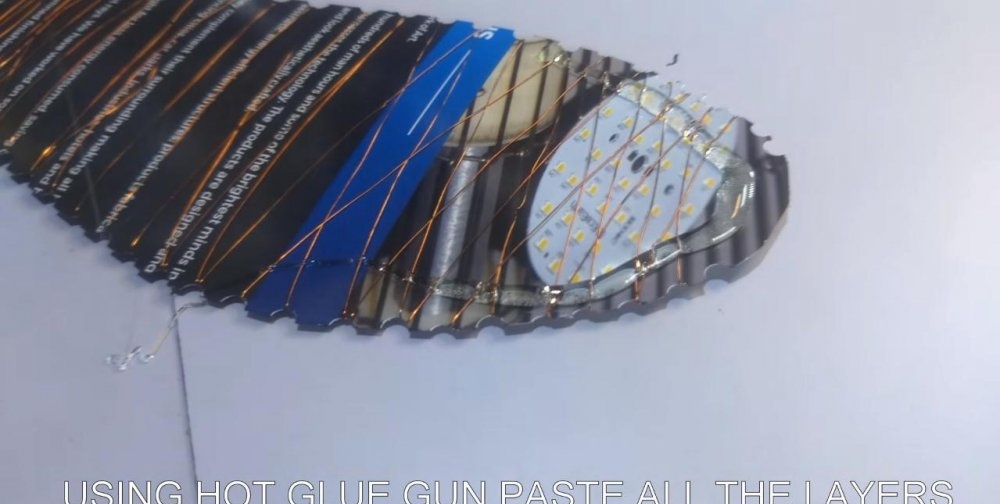
Winding the heater winding
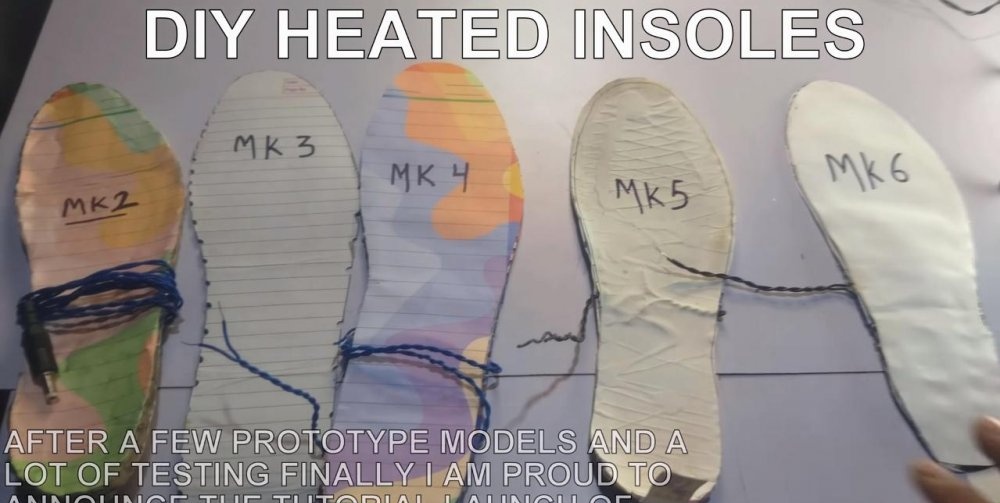
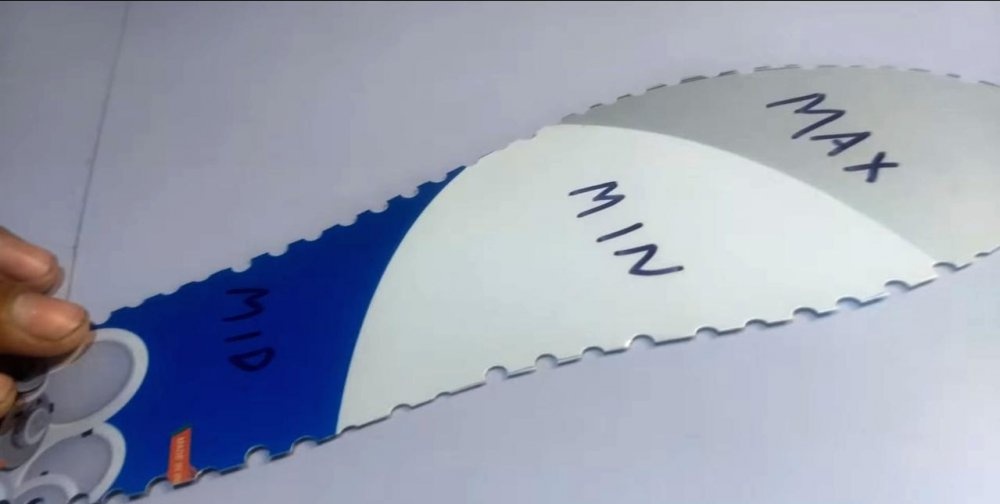
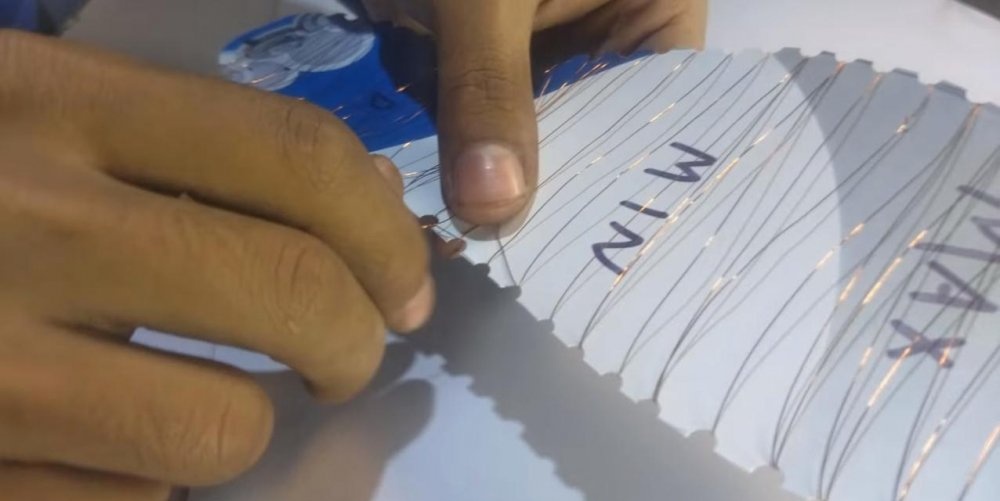
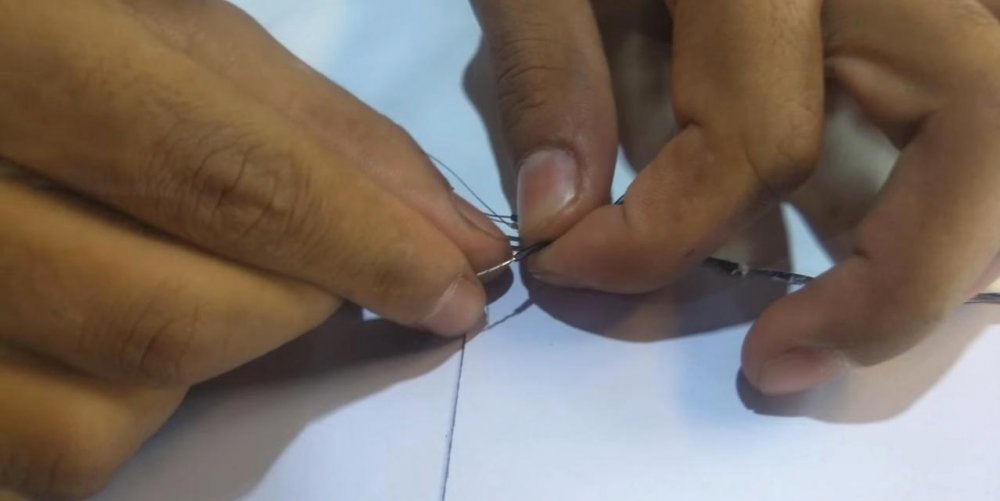
The intensity of the wire winding regulates the amount of heating of a specific zone of the insole heater, and it can be calculated individually. The author has marked the insole so that the maximum heat is on the toe, the average heat is on the heel area, and the lowest heat is in the middle of the foot. In accordance with the chosen scheme, we wind the turns of the heater winding, measuring the length of the wire to 10 m.
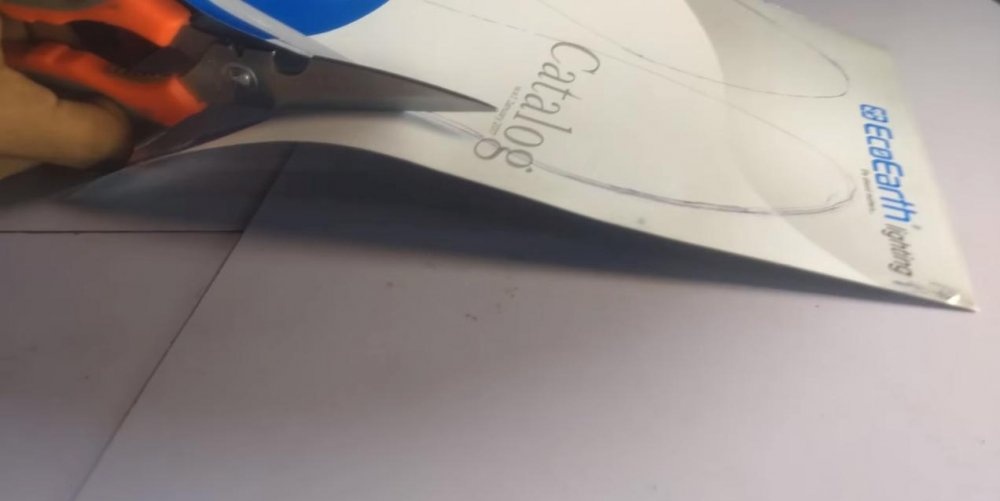
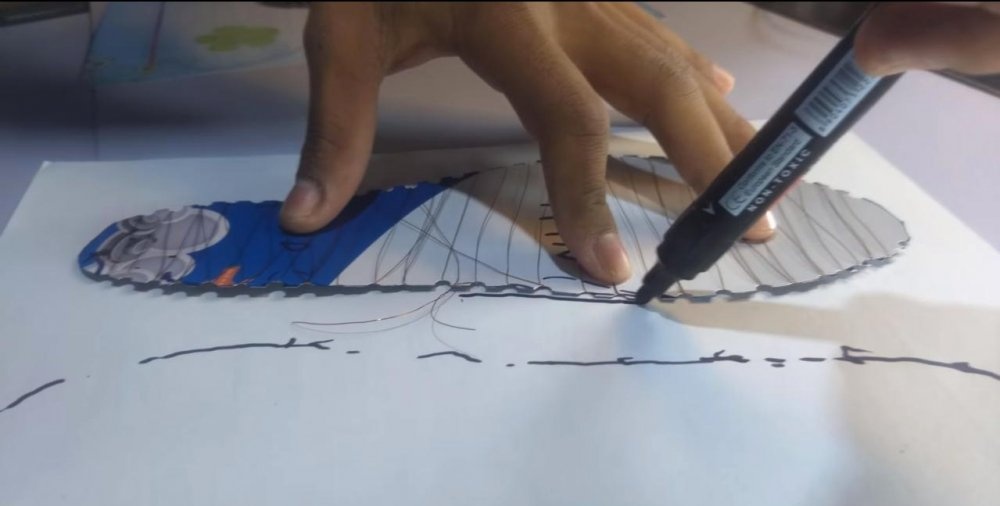
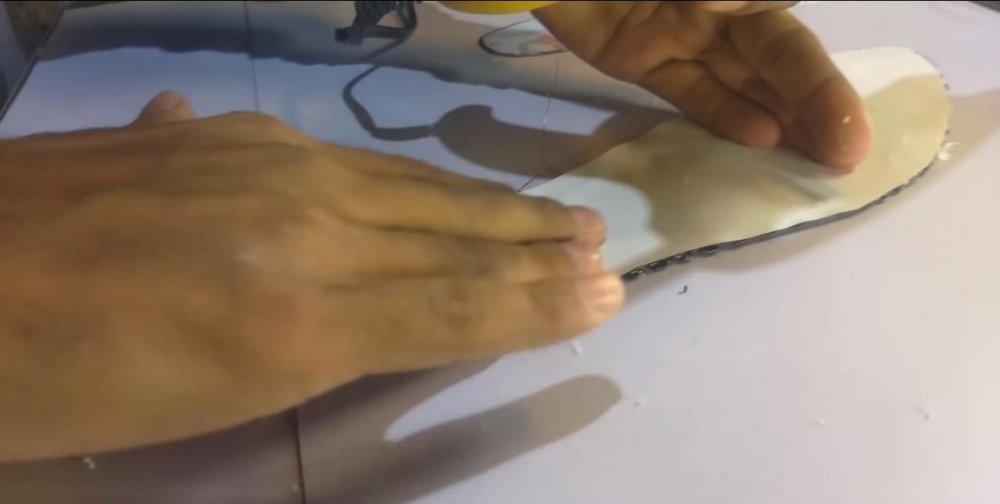
We mark the protective layers of the heater on plain paper according to the template and cut them out. We glue the heating platform on both sides with paper insoles using hot glue.
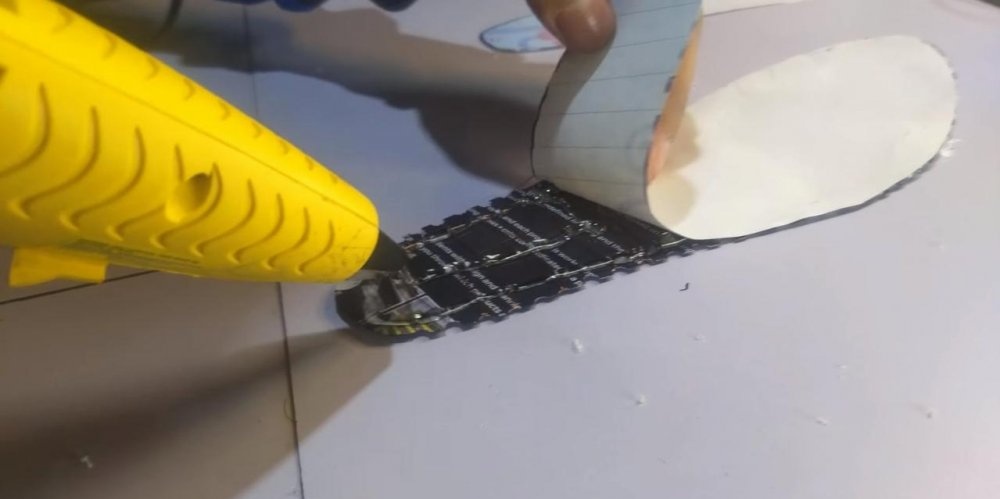
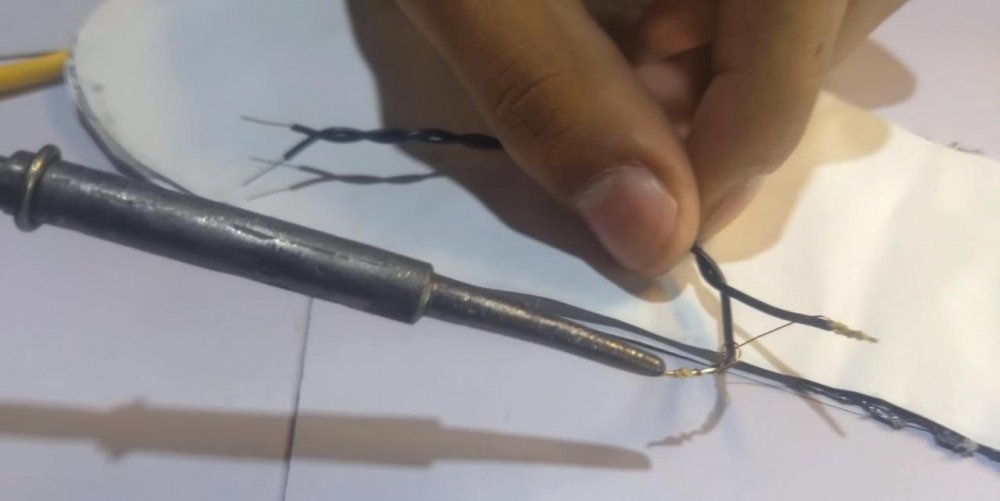
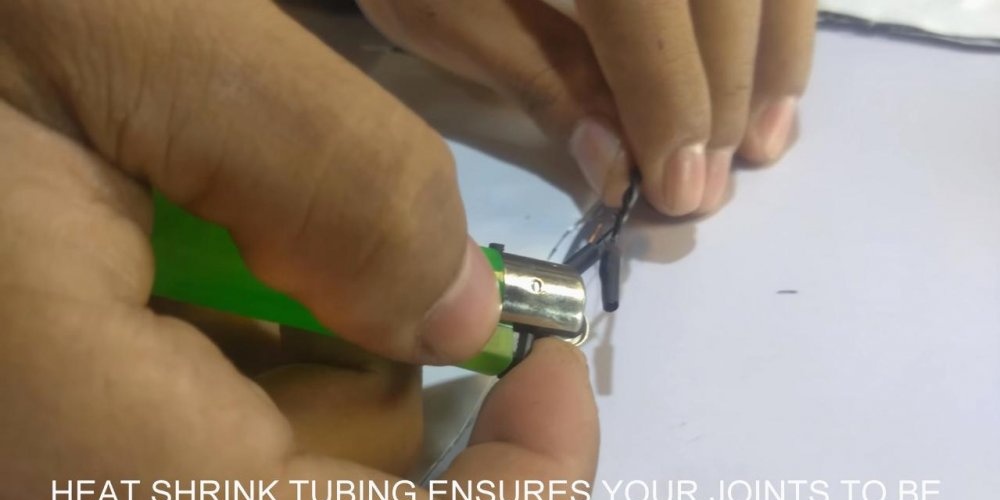
Don’t forget to bring the ends of both winding contacts out.We connect them with insulated wires, solder the connection and seal it with heat-shrinkable tubes.
We supplement the circuit with batteries with a power socket and a button
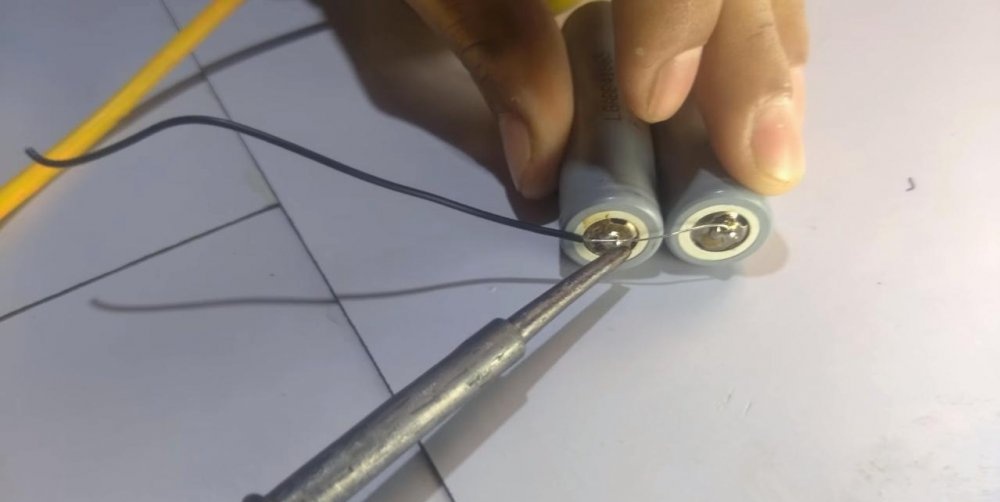
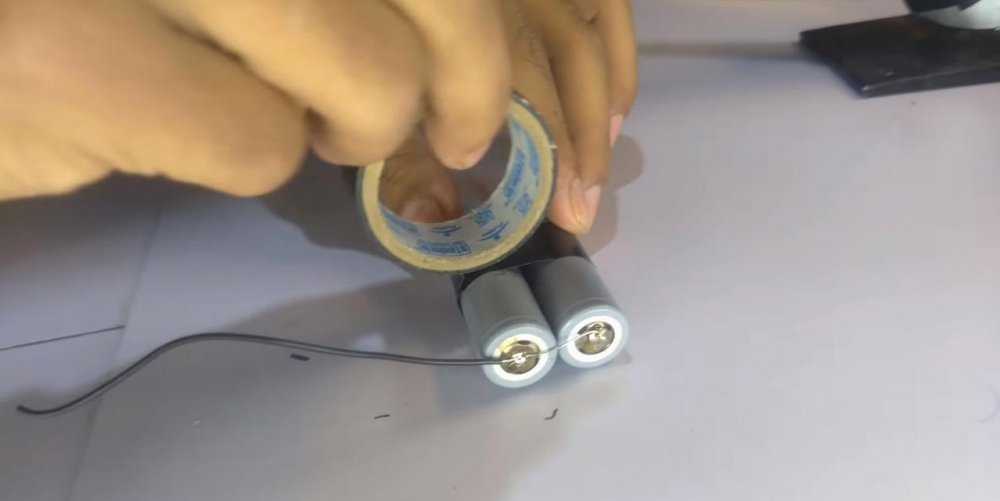
We connect the batteries by connecting them in parallel with soldered contacts. We glue the battery cases with electrical tape.
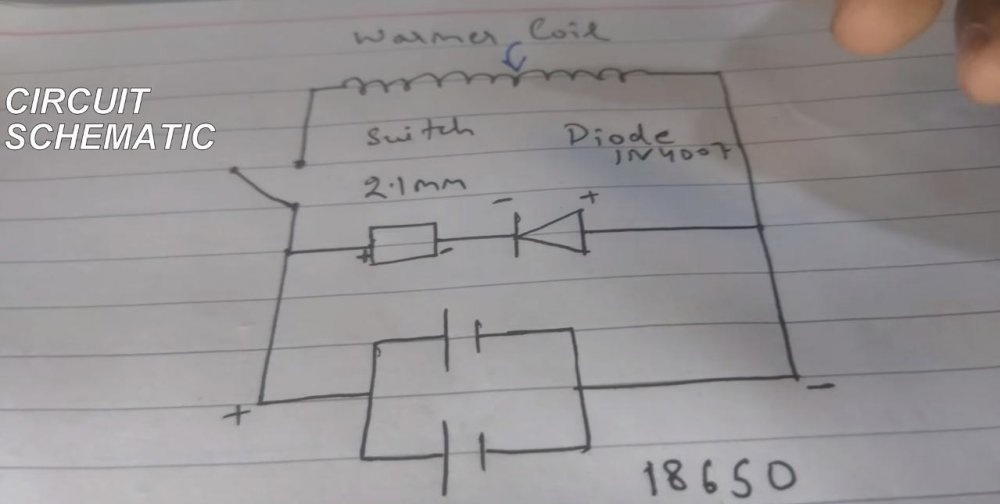
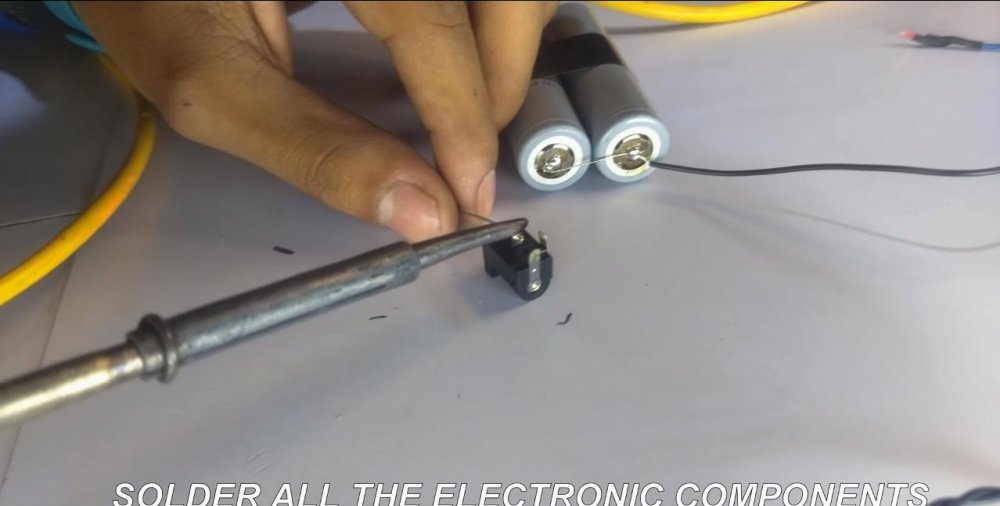
We solder the switch button with a diode and a power socket according to the diagram (photo 2). We place them on the battery case and hide them with several layers of electrical tape.

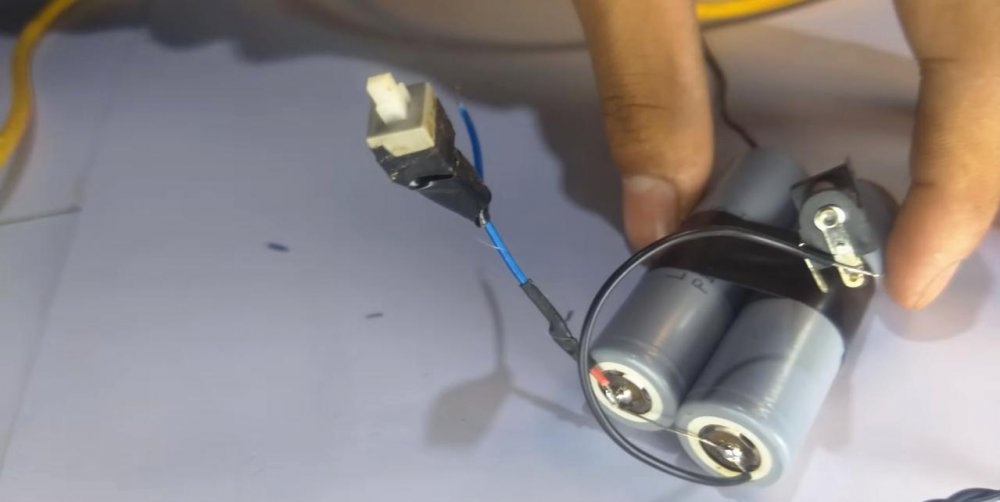

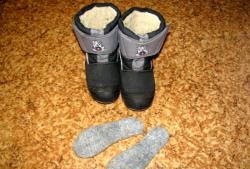
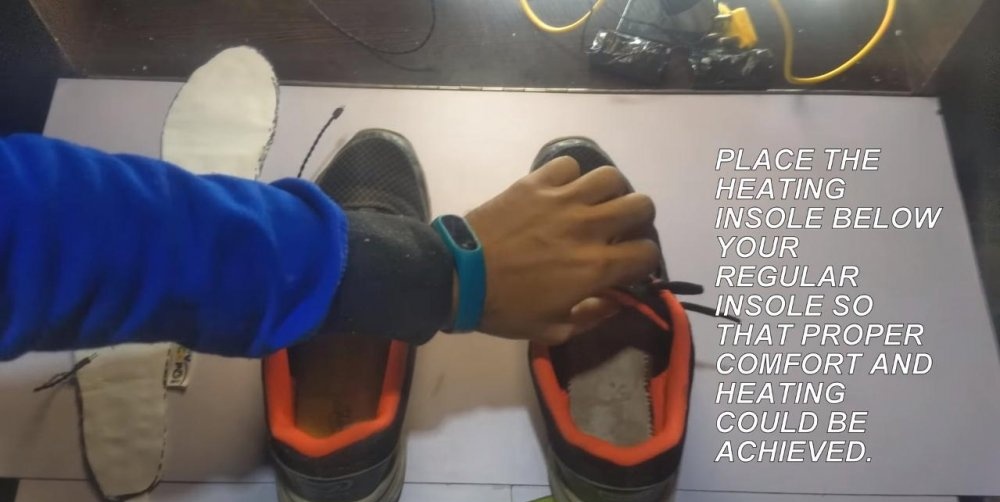
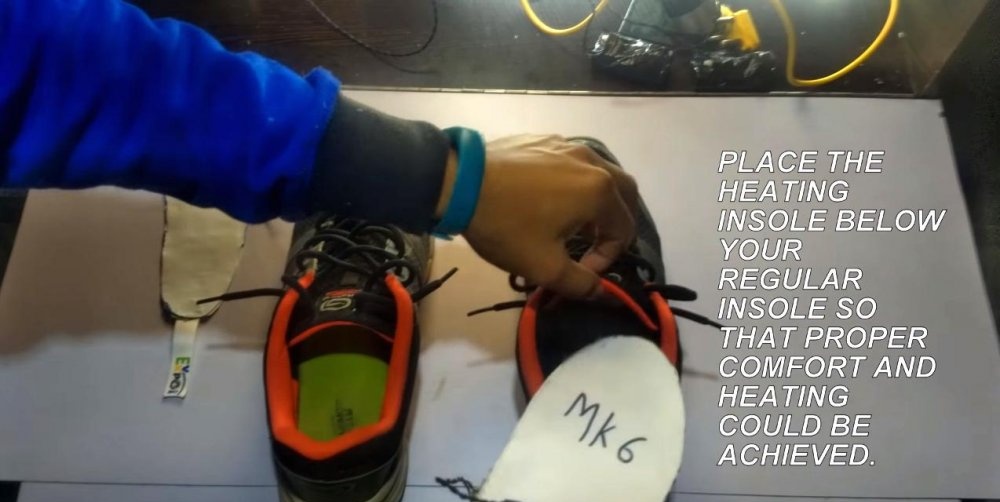
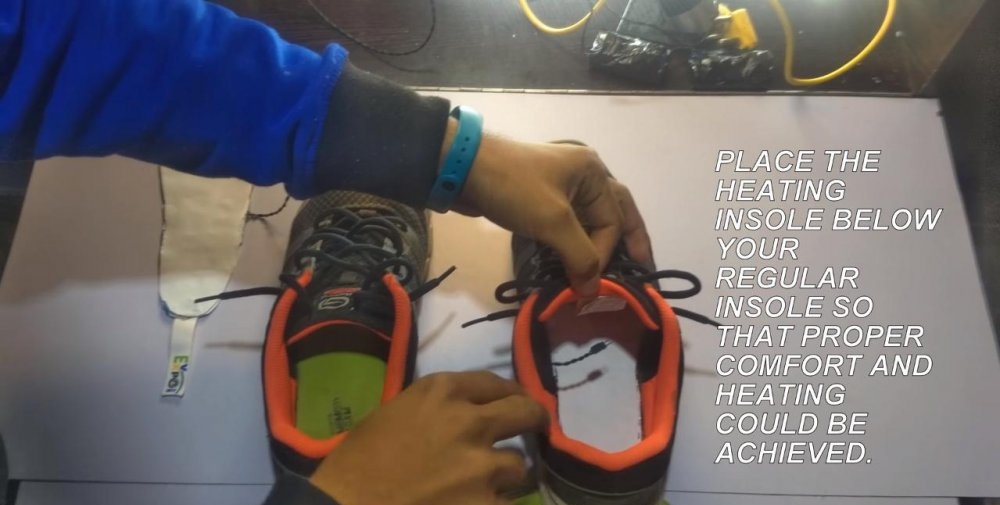
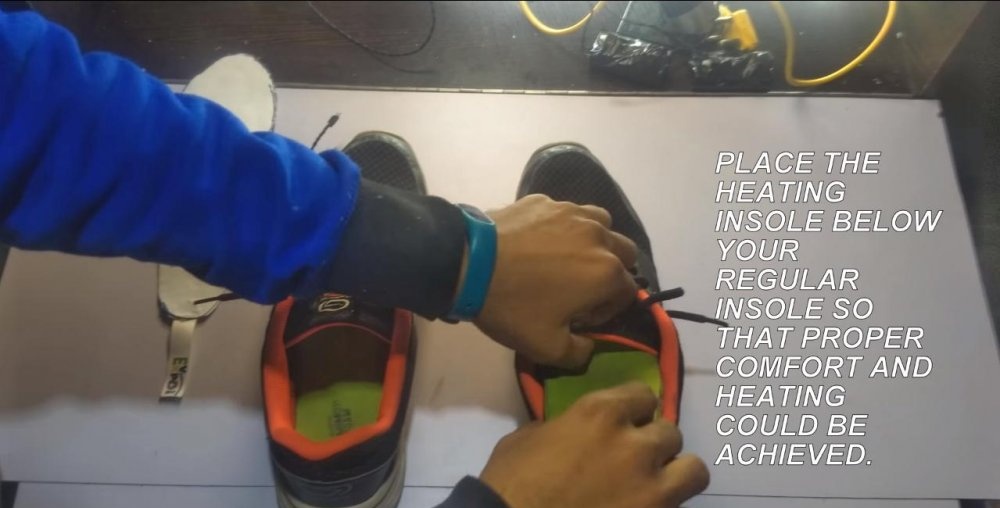
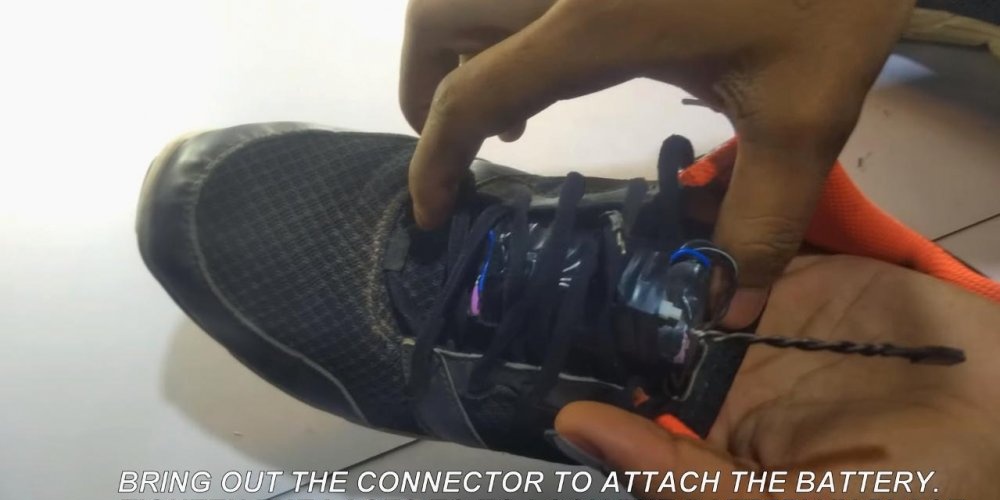
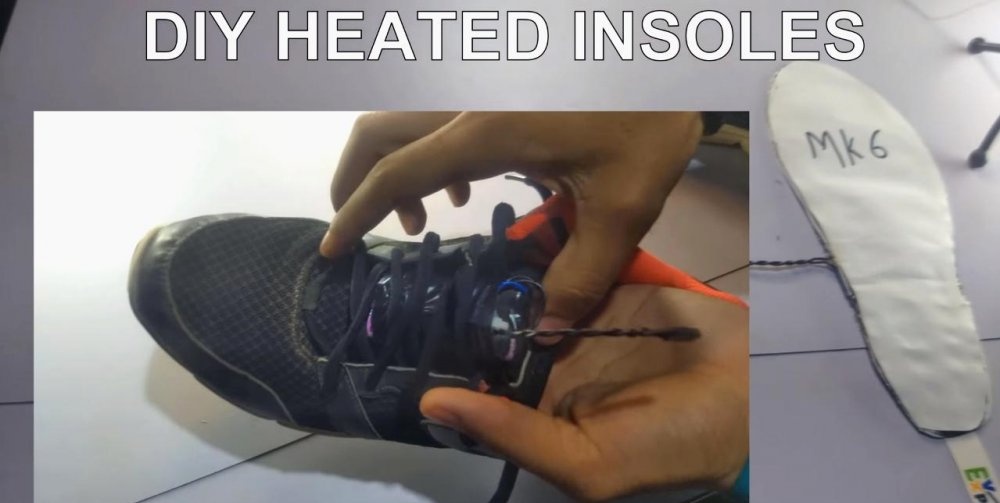
We insert the heating platform into the shoes and cover them with regular insoles. The author suggests hiding the battery housing between the laces and tongue of the sneakers.
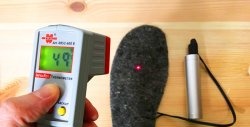
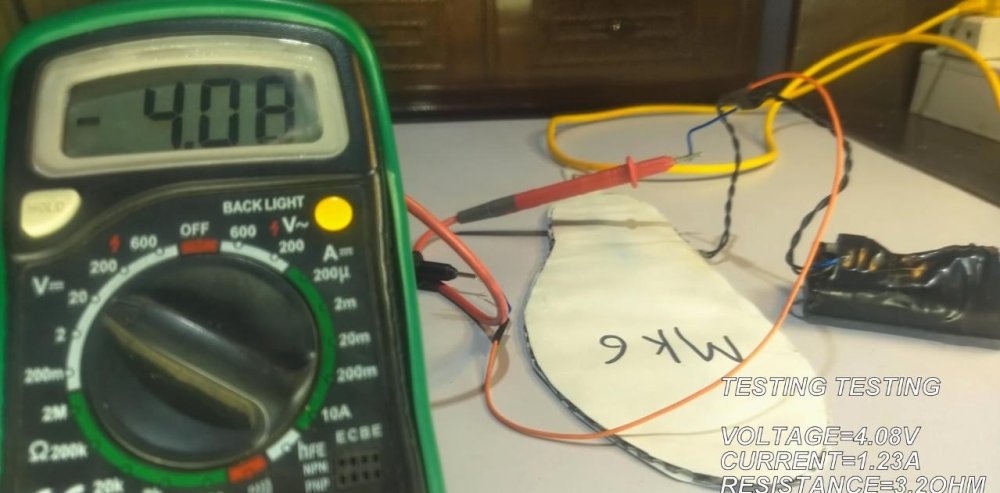
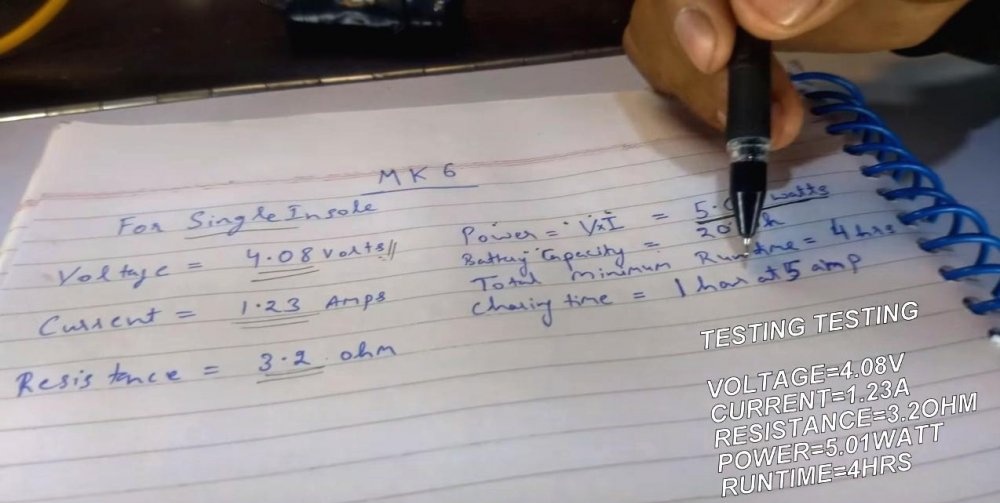
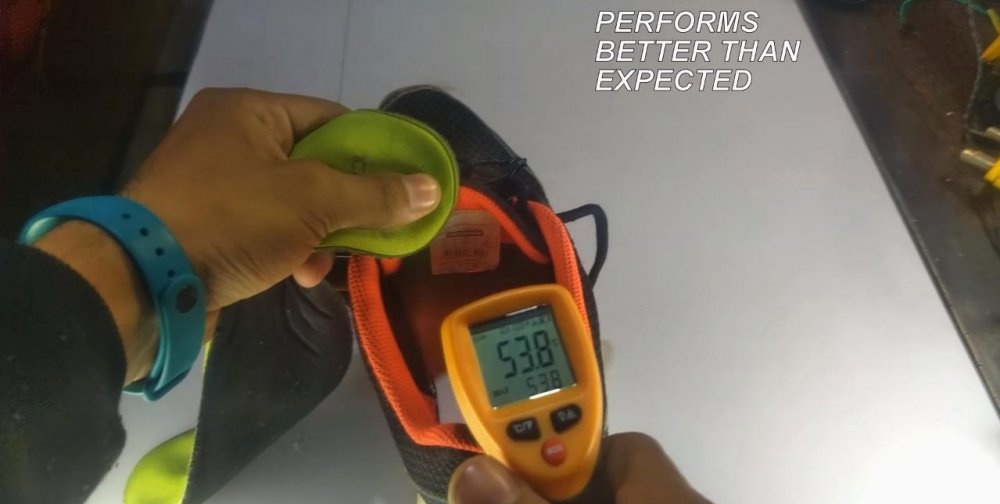
Control measurements
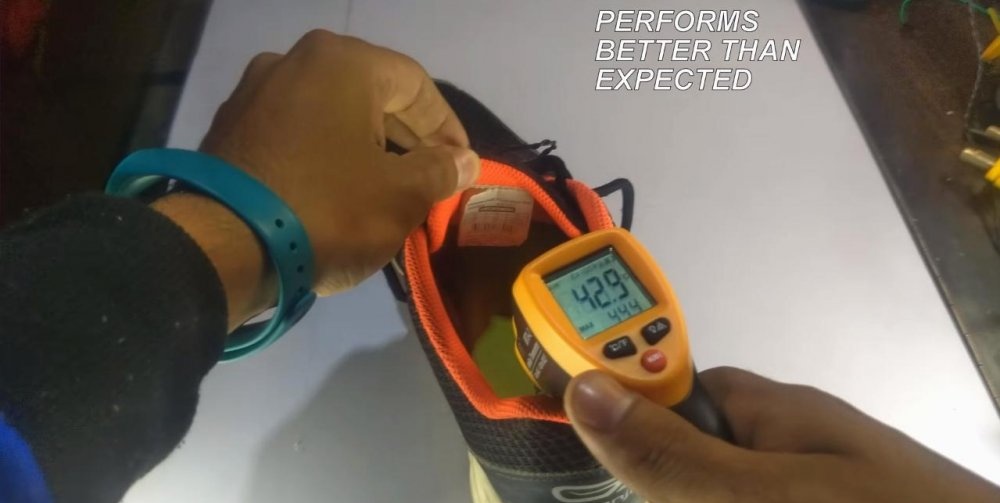
As practice shows, the device is capable of producing pretty good performance. For a heating element that can warm up shoes without harming the foot or material, this is more than enough.
The heated insoles are ready, you can safely take them on hikes in the cold season without fear of freezing your feet and damaging your shoes.

Practical advice
The value of any invention lies in its long-term use, and for an insole heating element, thin cardboard and paper are not a very good basis. Chinese analogues based on copper foil also do not shine with durability, breaking at the folds due to constant bending.
This is due to the weak base and fragility of the heater.
These materials can be replaced with artificial leather, felt, lavsan, etc. And instead of copper wire, use nichrome or carbon thread for heated floors. Insulation of the heating element will also not hurt, and the batteries, the ability to adjust and turn off the heating, can be brought closer to your hands. In general, there is something to work on.
Such homemade products are valuable for those who like to make things with their own hands.They can be remade, modified and changed at your discretion, based on the principle of the device. Otherwise, every home craftsman has a free path to creativity and his own discoveries.