Do it yourself
Life hacks, master classes, useful tips, recipes.
home » Electronics » Simple circuits » Two-band tone block

Many modern audio systems, be it a stereo system, a home theater, or even a portable speaker for a telephone, have an equalizer, or, in other words, a tone block. With its help, you can adjust the frequency response of the signal, i.e. change the amount of high or low frequencies in the signal. There are active tone blocks, built, most often, on microcircuits. They require power, but do not weaken the signal level. Another type of tone blocks are passive; they slightly weaken the overall signal level, but do not require power and do not introduce any additional distortion into the signal. That is why in high-quality sound equipment, passive tone blocks are most often used. In this article we will look at how to make a simple 2-way tone block. It can be combined with a homemade amplifier, or used as a separate device.

Tone block circuit

Two-way tone block

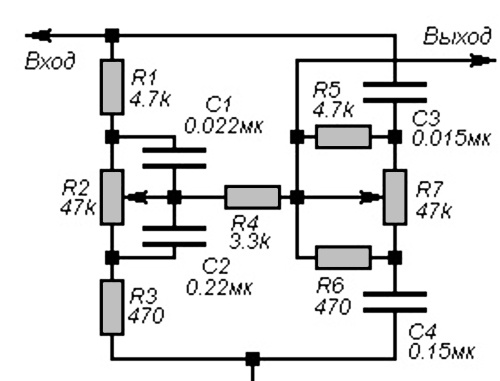
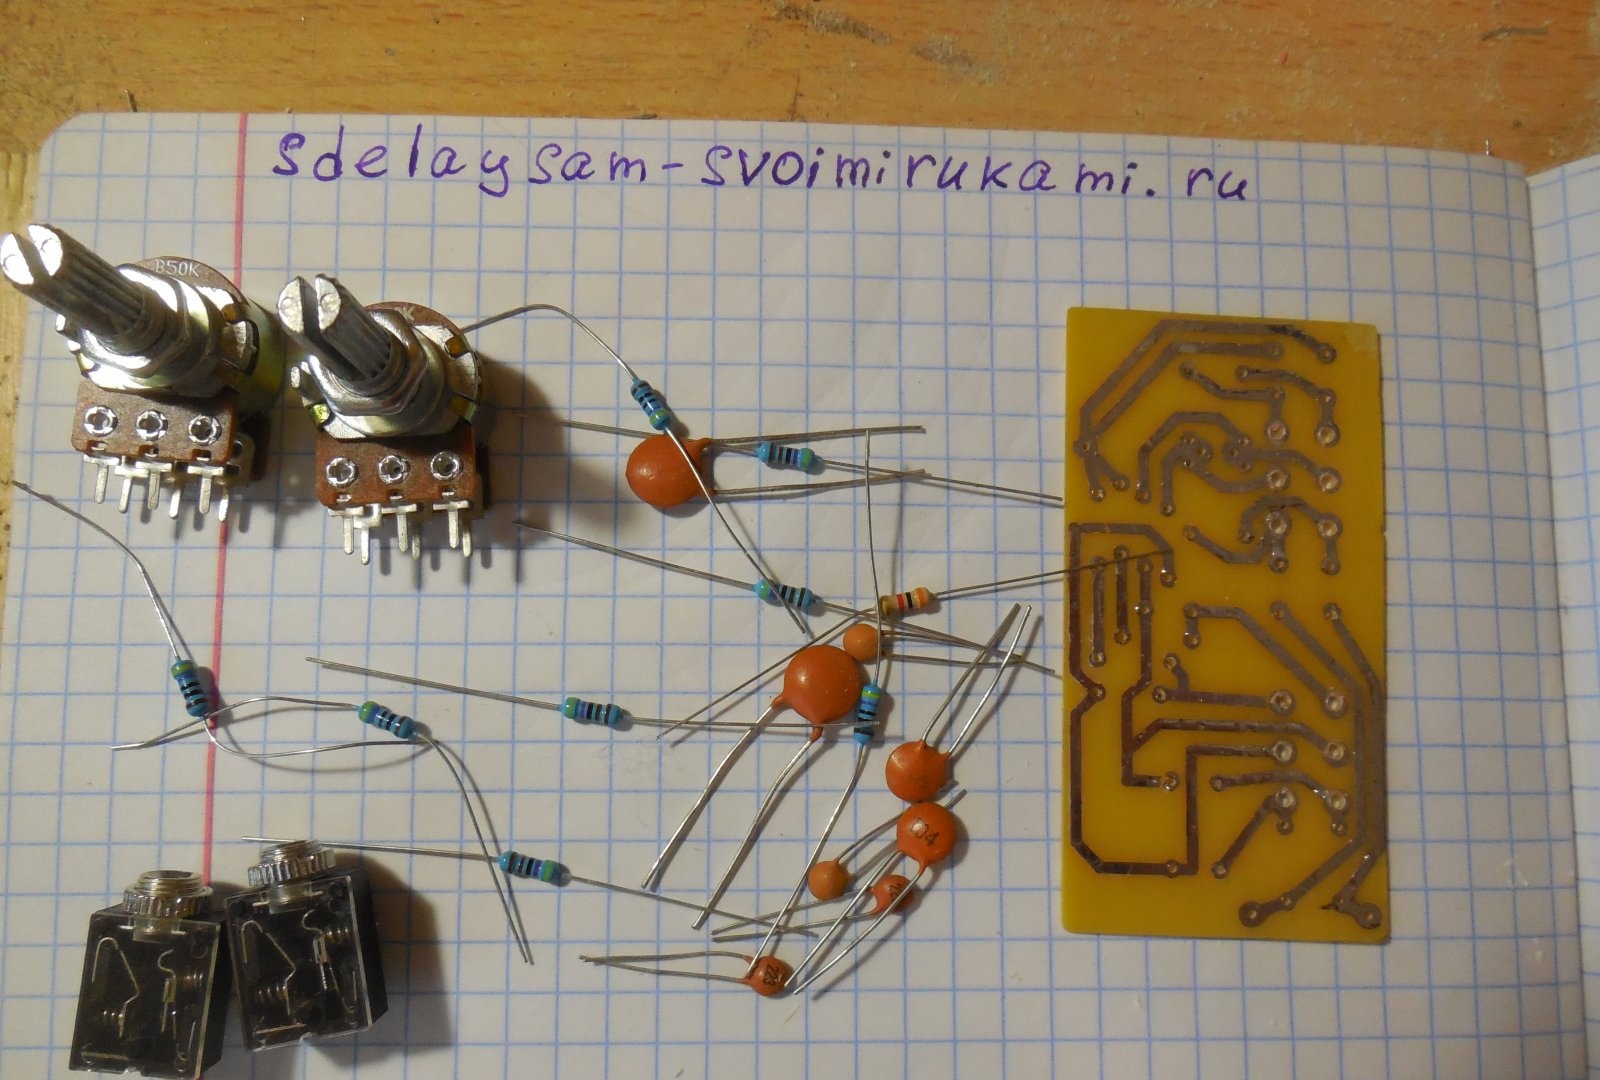
The circuit contains only passive elements (capacitors, resistors). Two variable resistors are used to adjust the level of high and low frequencies. It is advisable to use film capacitors, however, if you don’t have any at hand, ceramic ones will also do.For each channel you need to assemble one such circuit, and in order for the adjustment to be the same in both channels, use dual variable resistors. The printed circuit board posted in this article already contains this circuit in duplicate, i.e. has input for both left and right channels.

Download the board:
pechatnaya-plata.zip [14.13 Kb] (downloads: 1707)

Making a tone block

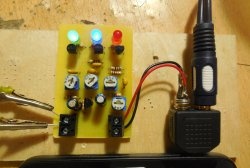
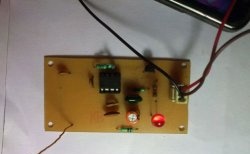
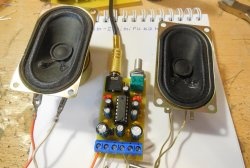
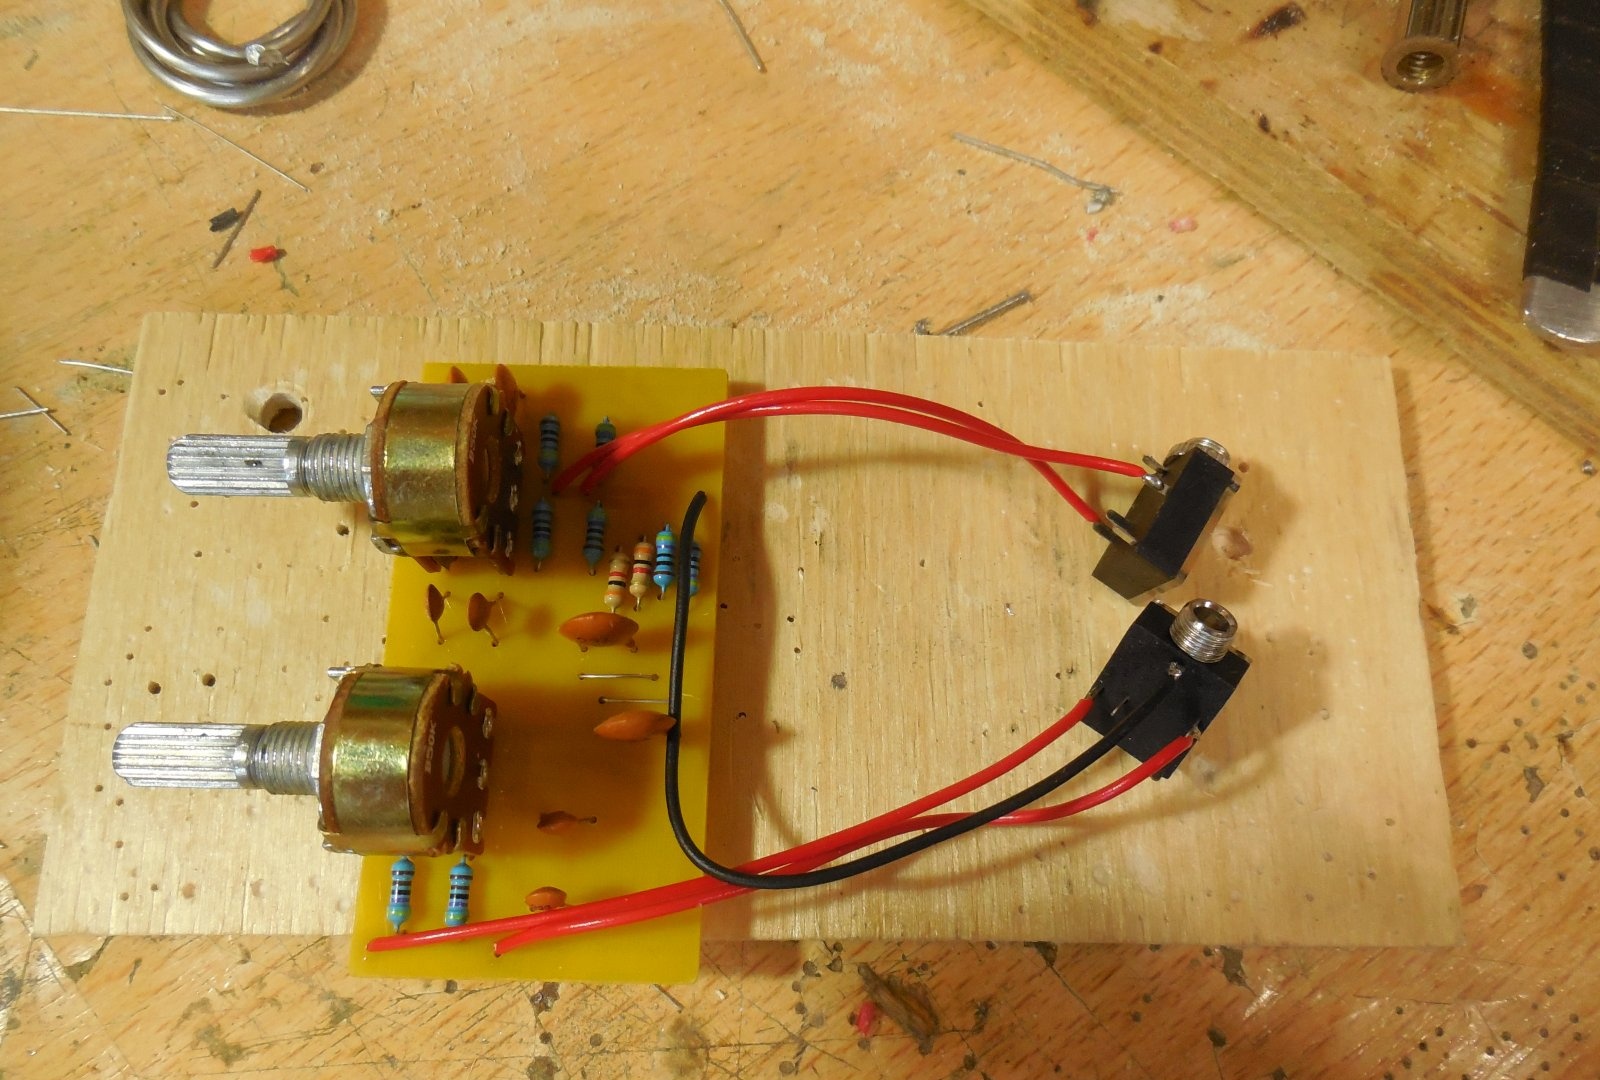
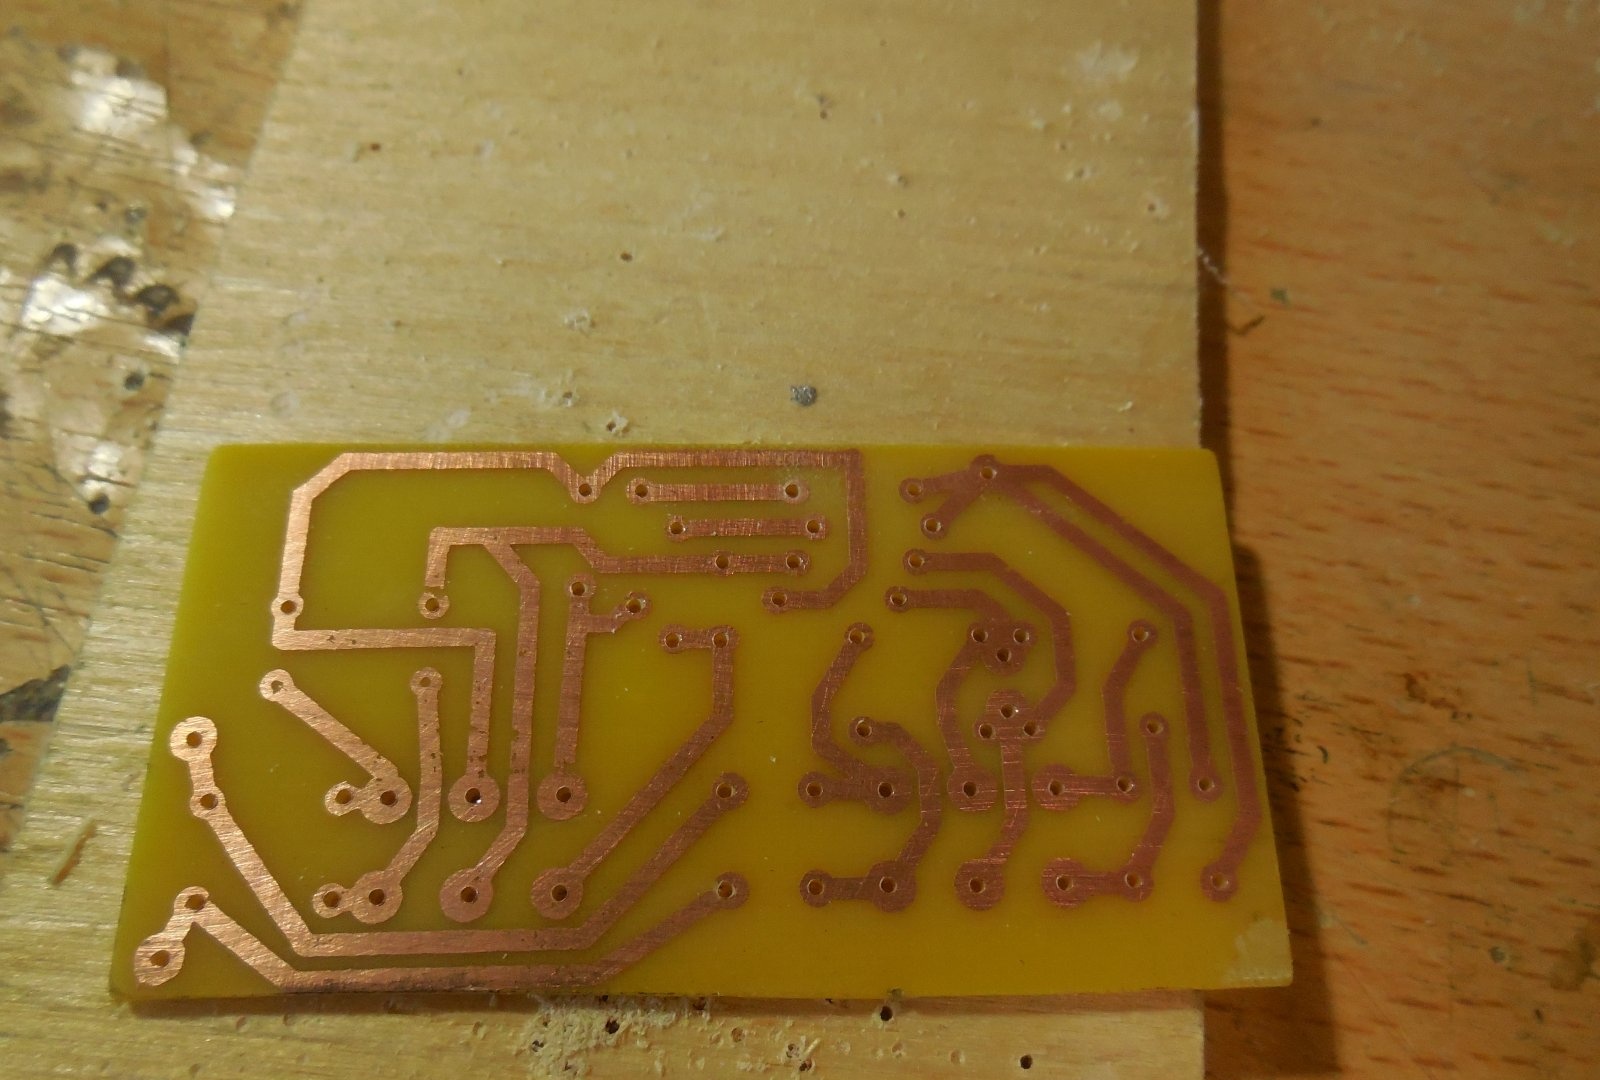
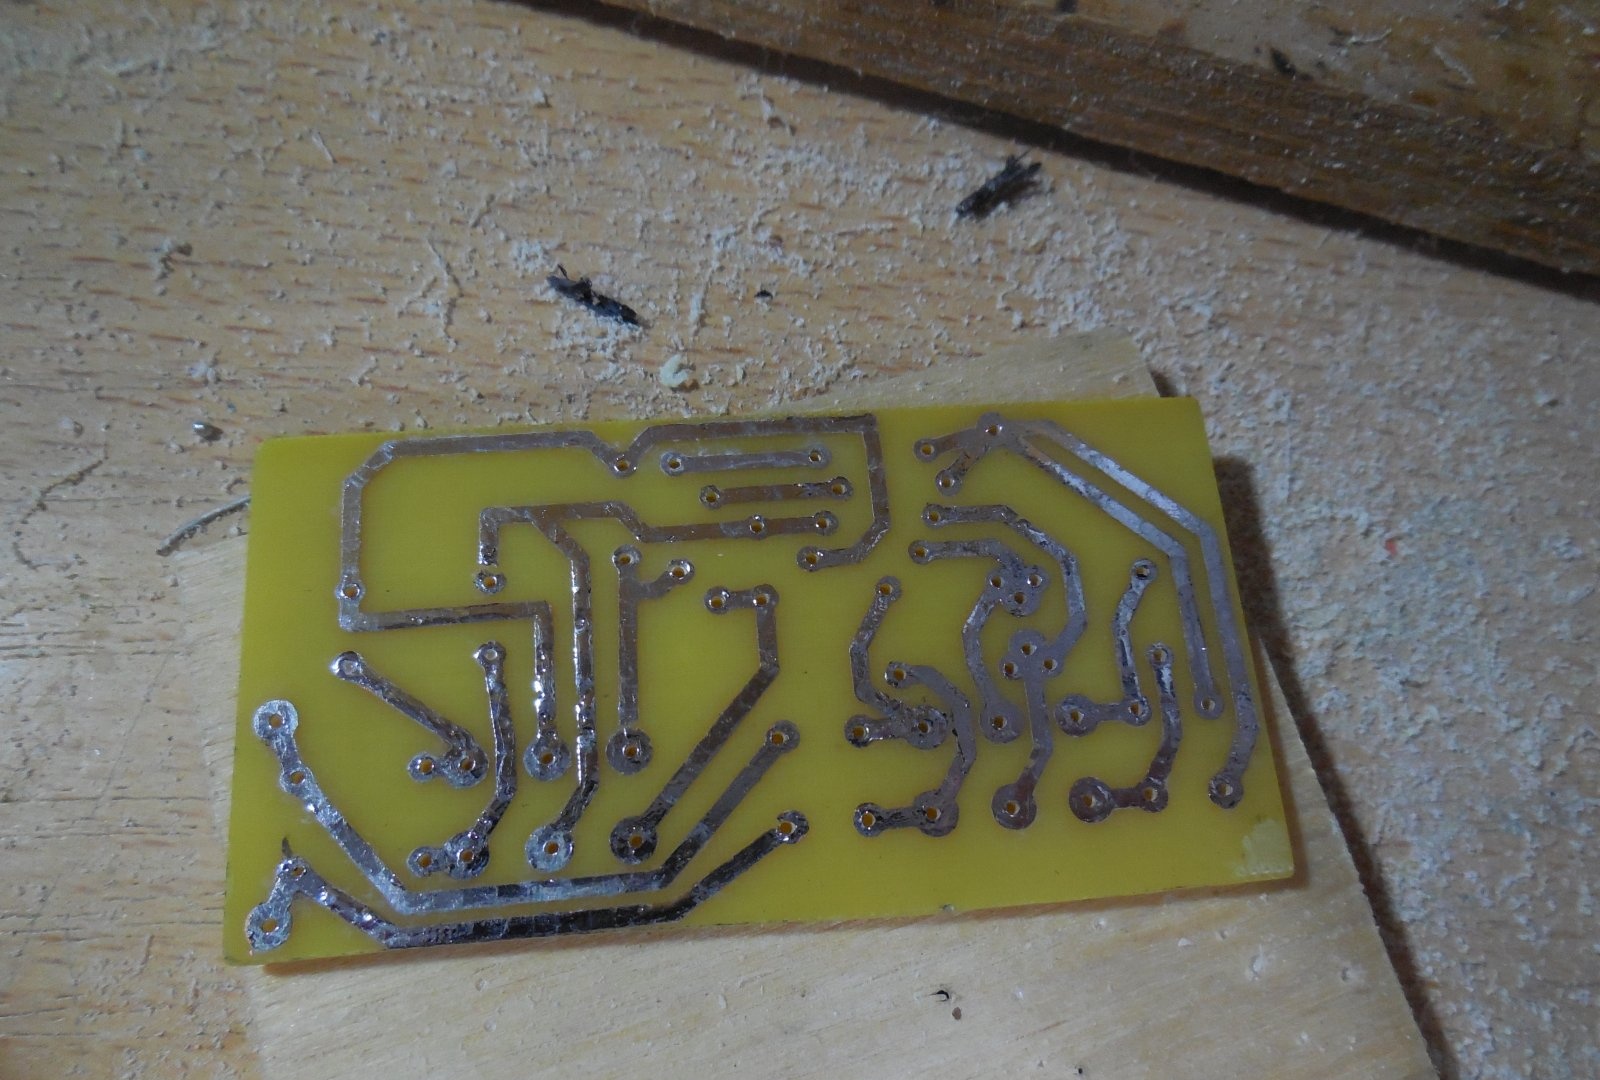
The circuit does not contain active components, so it can easily be soldered by surface mounting directly at the terminals of the variable resistors. If you wish, you can solder the circuit on a printed circuit board, as I did. A few photos of the process:

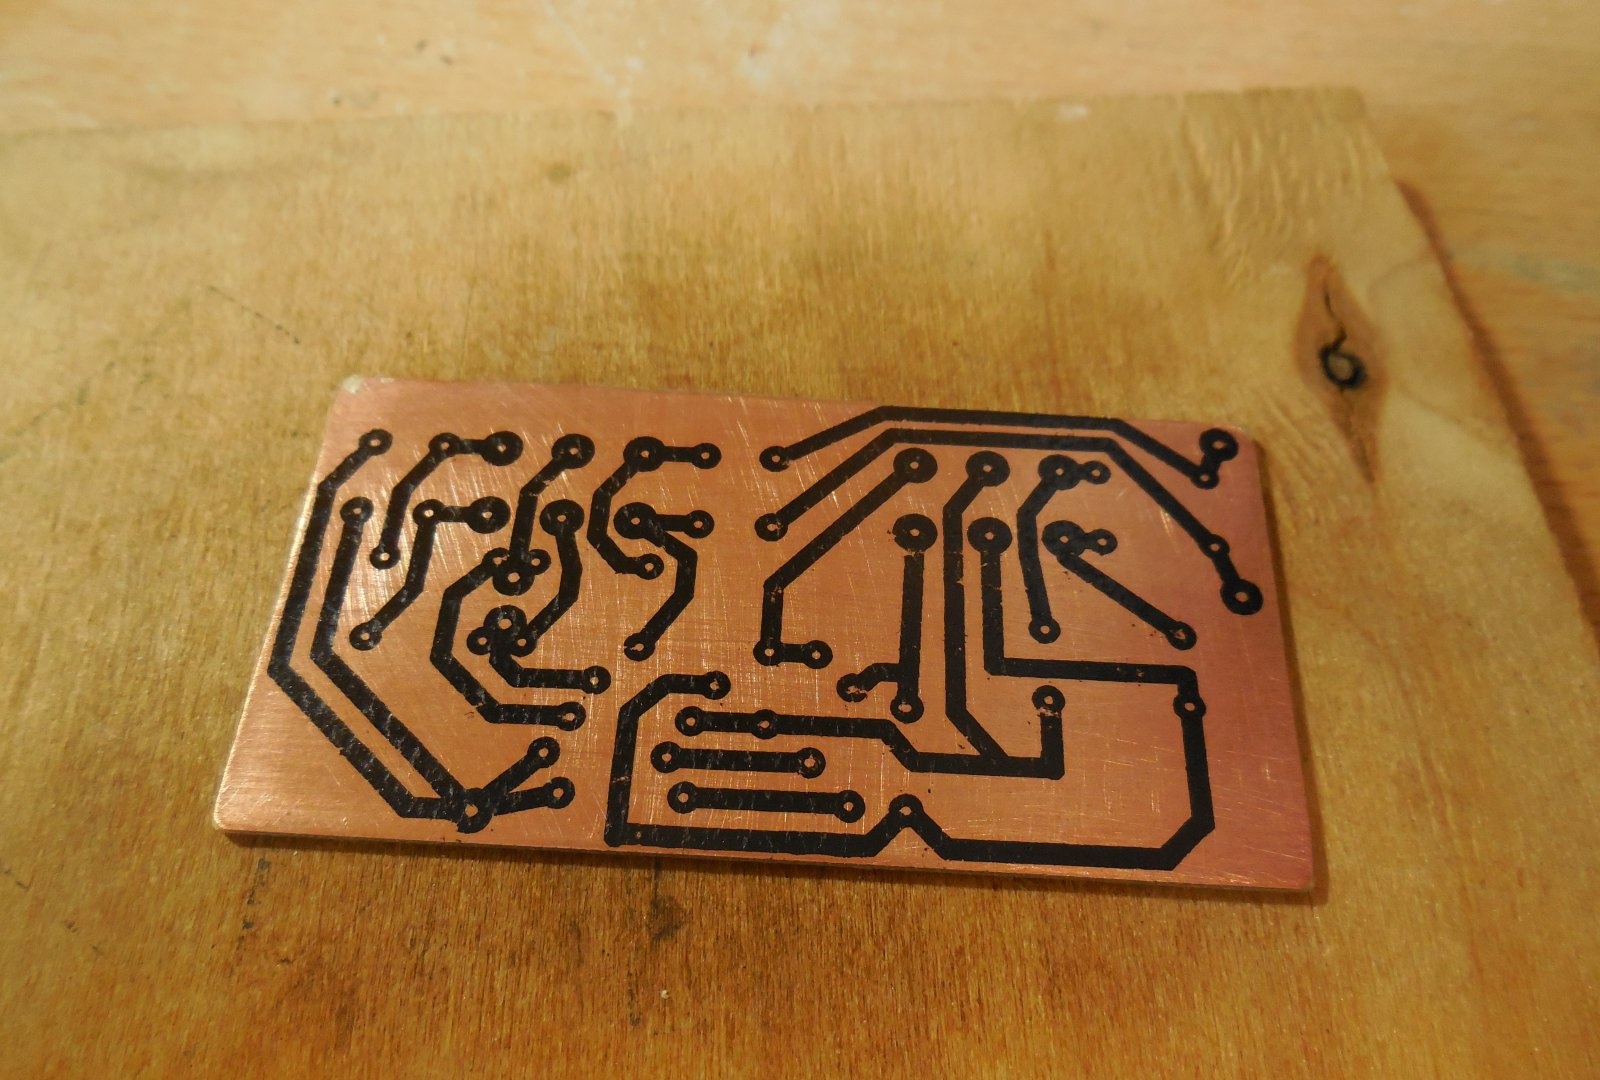
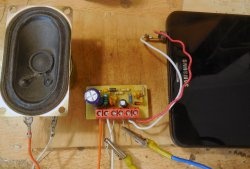
After assembly, you can check the operation of the circuit. A signal is supplied to the input, for example, from a player, computer or phone, the output of the circuit is connected to the input of the amplifier. By rotating variable resistors you can adjust the level of low and high frequencies in the signal. Don’t be surprised if in extreme positions the sound is “not very good” - a signal with completely weakened low frequencies, or, conversely, too high, is unlikely to be pleasant to the ear. Using a tone block, you can compensate for uneven frequency response of an amplifier or speakers, and select the sound to suit your taste.

Case manufacturing

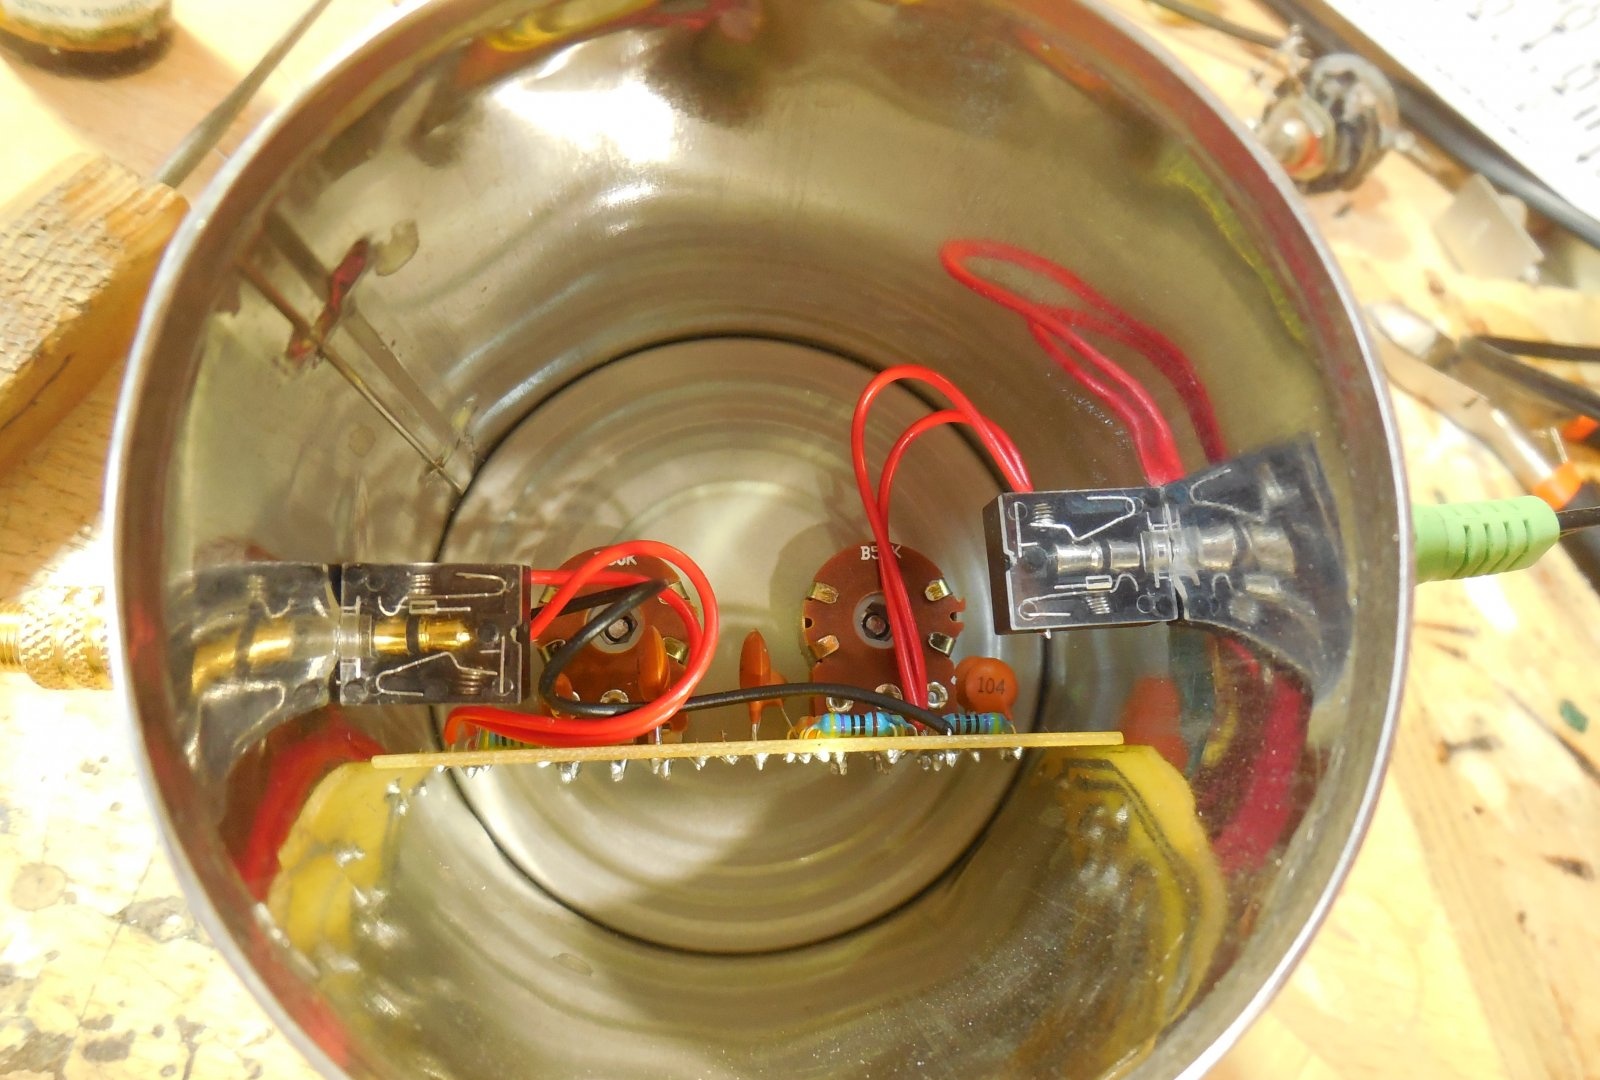
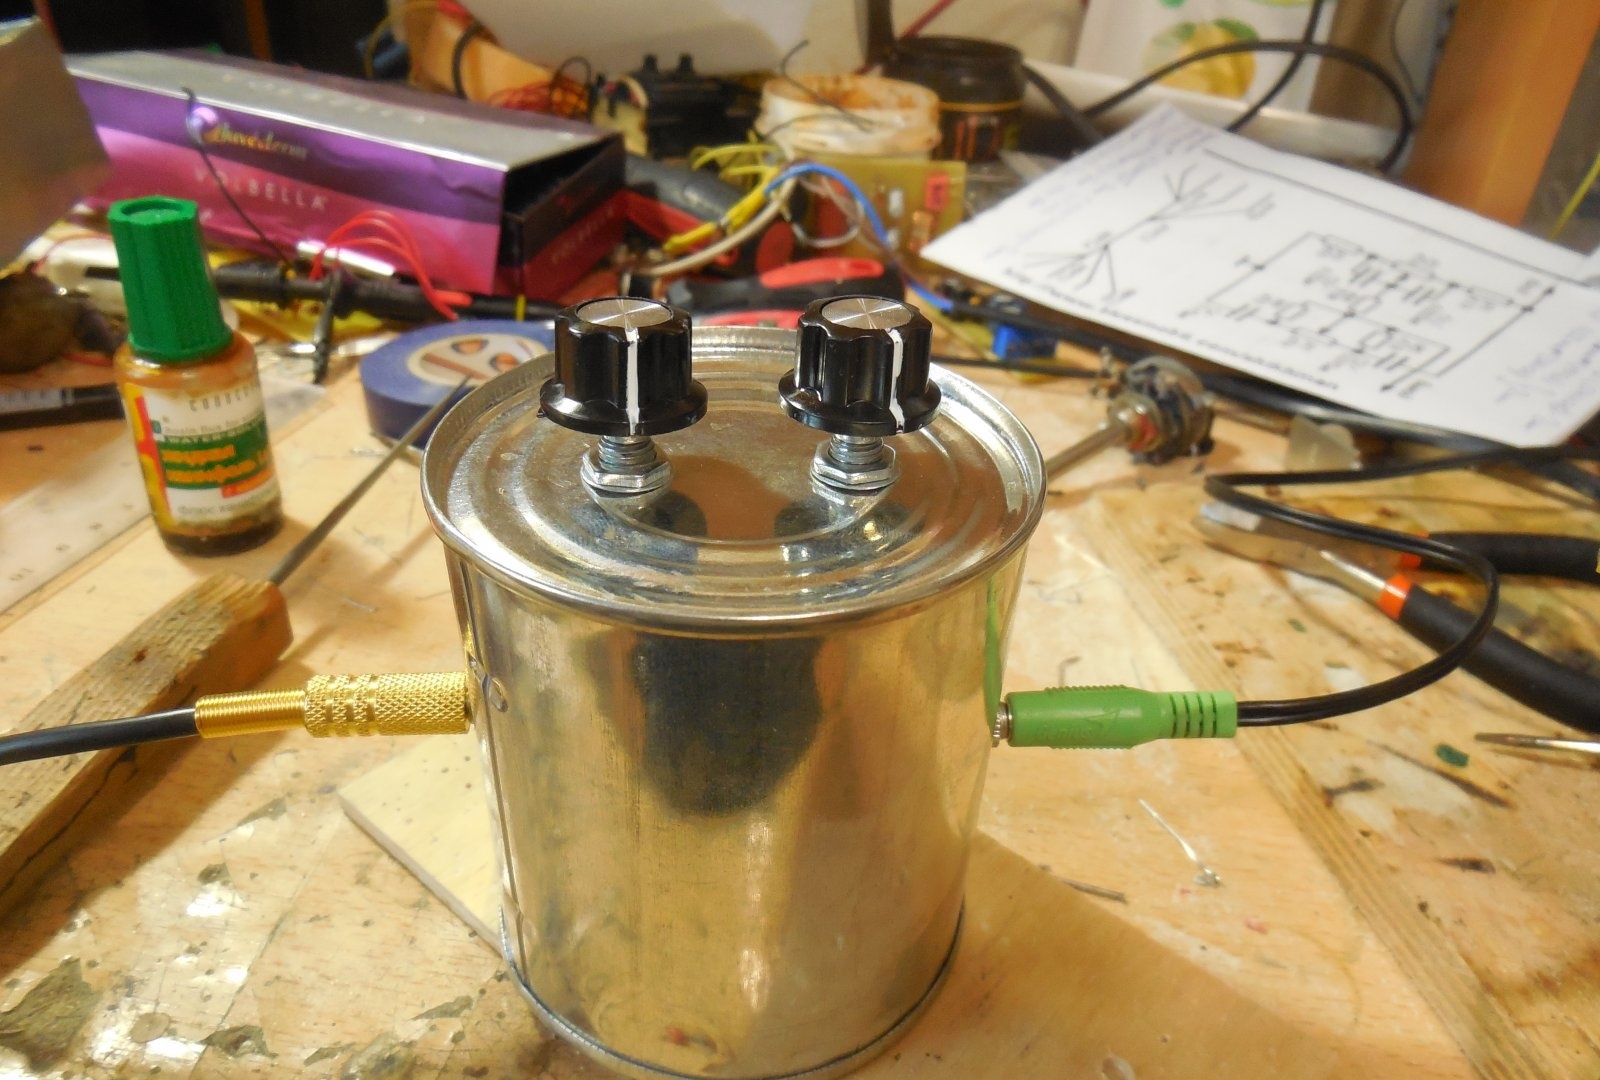
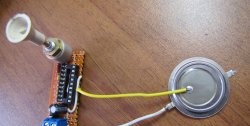
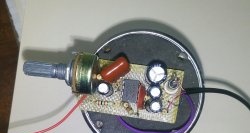
The finished tone block circuit must be placed in a shielded case, otherwise the background cannot be avoided. You can use a regular tin can as a body. Bring the variable resistors out and put handles on them. Be sure to install jack 3.5 connectors at the edges of the can for audio input and output.

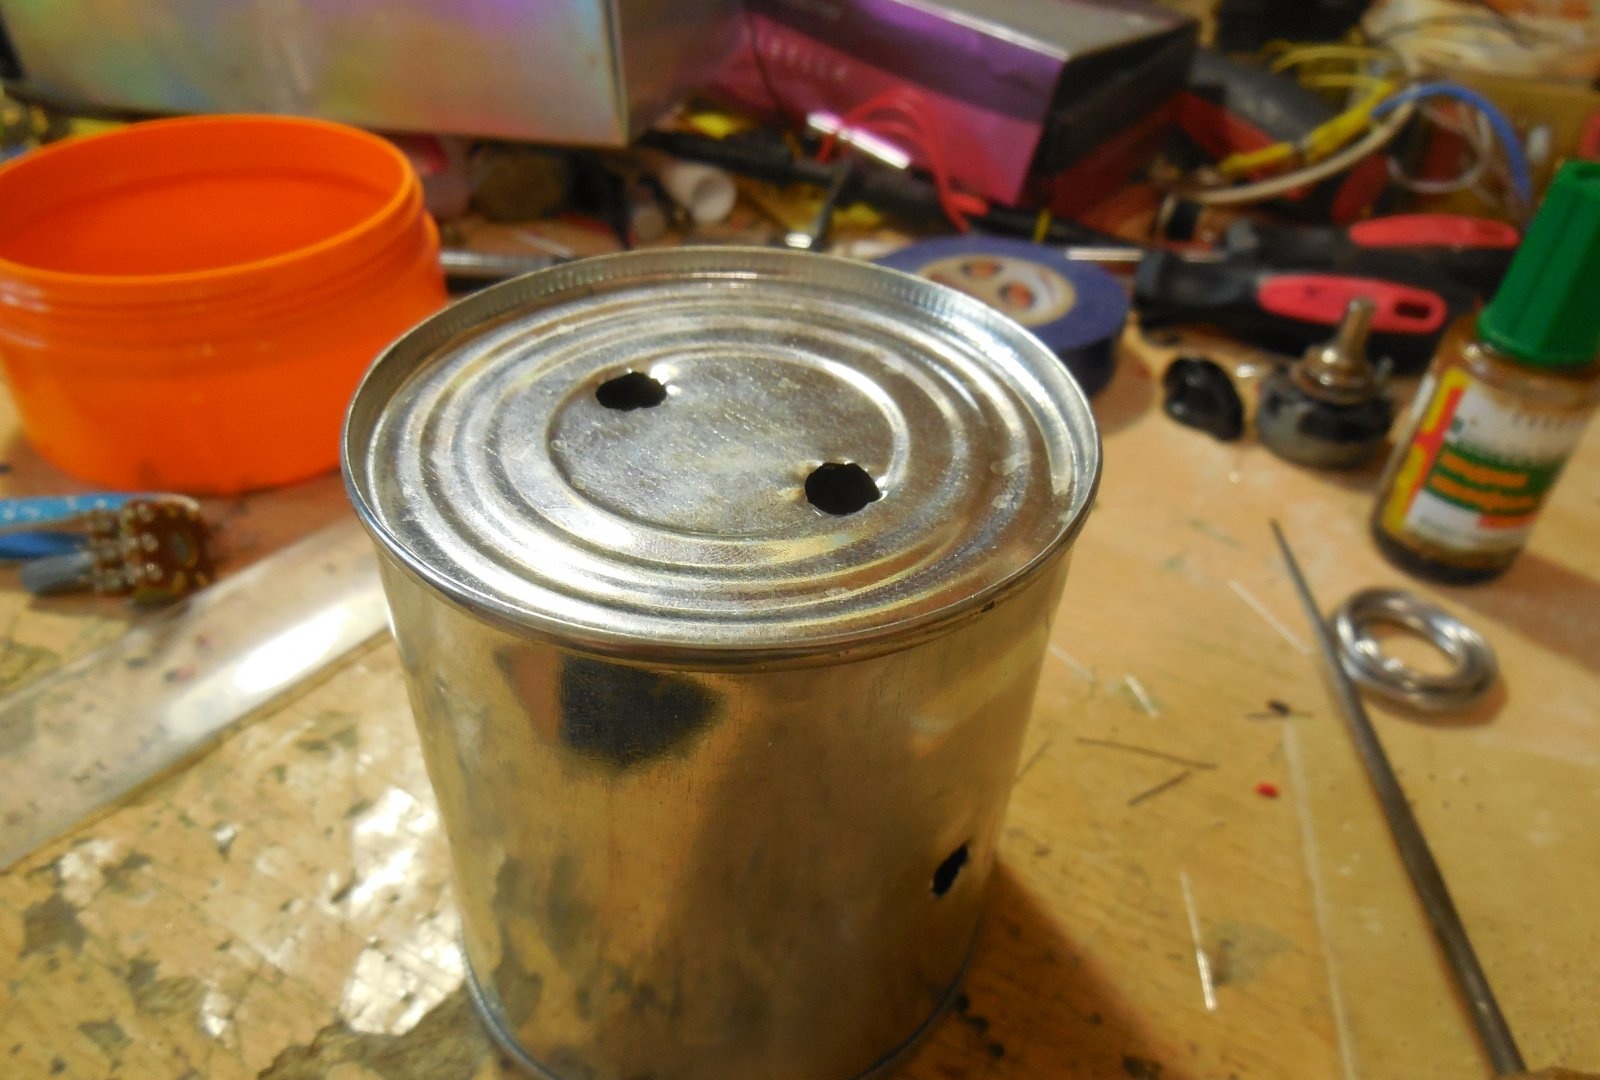
The can itself should be connected to the minus of the circuit to create a protective screen, then the signal wire will not pick up external interference.The case can be plastic, but in this case it must be covered from the inside with aluminum tape, which is also connected to the negative of the circuit.

come back
Comment
  • bowtiesmilelaughingblushsmileyrelaxed relaxedsmirk
    heart_eyeskissing_heartkissing_closed_eyesflushedrelievedsatisfiedgrin
    winkstuck_out_tongue_winking_eyestuck_out_tongue_closed_eyesgrinningkissingstuck_out_tonguesleeping
    worriedfrowninganguishedopen_mouthgrimacingconfusedhushed
    expressionlessunamusedsweat_smilesweatdisappointed_relievedwearypassive
    disappointedconfoundedfearfulcold_sweatperseverecrysob
    joyastonishedscreamtired_faceangryragetriumph
    sleepyyummasksunglassesdizzy_faceimpsmiling_imp
    neutral_faceno_mouthinnocent
3+three=
Comments (8)
  1. Guest
    #1 Guest Guests 6 November 2018 14:59
    0
    where is the parts list? and where to solder what?
  2. 555
    #2 555 Guests March 1, 2019 00:35
    8
    The tin can is tin)))
  3. Guest
    #3 Guest Guests 8 March 2019 19:01
    4
    Collective farm...
  4. Maksim
    #4 Maksim Guests 12 April 2019 14:36
    7
    The scheme is not working. It is necessary to remove R5 and R6. They simply bypass the R7 regulator. HF control will improve!!!
  5. Max
    #5 Max Guests 25 August 2019 22:52
    0
    Thank you very much for the diagram and the signet, it was just right for my project of a powerful (honest 15 watts per channel, two tda2004 in a bridge connection work on Soviet 6AC2) bluetooth media center, as it is not respectable to call a unit weighing about 8 kg a speaker or a boombox. True, I changed your signet to suit my components; I installed films and filled the common wire; as a result, there is no background and without continuous shielding.
  6. Good Donkey
    #6 Good Donkey Guests December 26, 2019 12:16
    4
    I assembled it for one channel, strictly according to the circuit ratings. What I heard:
    1) The volume decreased by 2 times.
    2) Adds bass noticeably, normally.
    3) The timbre only removes the existing highs, does not add. Very useless - it will discolor the sound.
    Conclusion: it is better not to place “this” on the path between the sound source and the amplifier, because it “strangles” the signal.

    P.S. I tried the recommendations from post #4. If you remove R5 and R6, the tone control really becomes wider and makes sense, but the Bass control disappears (the lows are barely added). This, of course, is not suitable, because that was the hunt for bass.

    my materials (mono version): https://yadi.sk/d/WsfLUE22OdNgLQ
  7. Good Donkey
    #7 Good Donkey Guests 15 September 2020 11:23
    1
    https://yadi.sk/d/wtBtwdhvPotdIg
    signed denominations in LAYke
  8. Guest Vladimir
    #8 Guest Vladimir Guests 18 February 2021 19:17
    1
    Where is the printed circuit board, what the hell is in this file

Simple Ceiling Light | Do it yourself

How to deliciously pickle herring at home with your own hands

Cushion for working on a computer | Do it yourself

3 useful ideas for your home using a plastic bucket

«Do it yourself - with your own hands» - a site of interesting homemade products made from scrap materials and items at home. Step-by-step master classes with photos and descriptions, technologies, life hacks - everything a real master or just a craftsman needs for needlework. Crafts of any complexity, a large selection of directions and ideas for creativity.

We recommend reading

Washing machine error codes