When carrying out welding work, moments arise when it is necessary to simultaneously grip a part and hold it at a certain angle. This work requires two people or a special tool. The most commonly used is a clamp. With its help, the part is fixed in the desired position. However, the clamp has a lot of disadvantages. Therefore, you need a special magnetic holder that will help you do this work quickly and without unnecessary hassle.
Advantages of a magnetic corner for welding
- Capable of holding both metal parts, freeing your hands to do the main work.
- It does not block access to the connection point, which makes it better than a clamp.
- Allows you to create several angle options.
- Easy to use.
- Does not require large production costs.
Magnetic corner manufacturing process
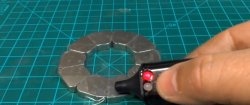
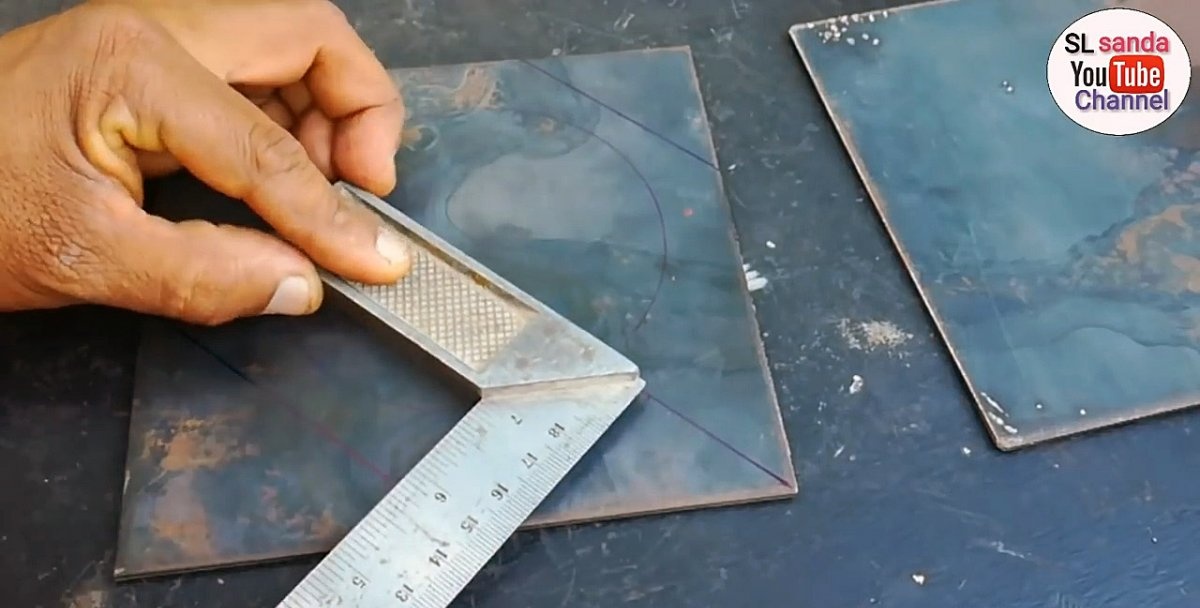
First, we need a magnetic disk with a diameter of ~15 cm and an internal diameter of ~5 cm. We also need to have squares of sheet metal 3 mm thick, with a side of 20 cm. It is very important that the sides of the square are perfectly even.It is advisable that the thickness of the magnet does not exceed the material most used in the work. The best option is 1-1.5 cm.

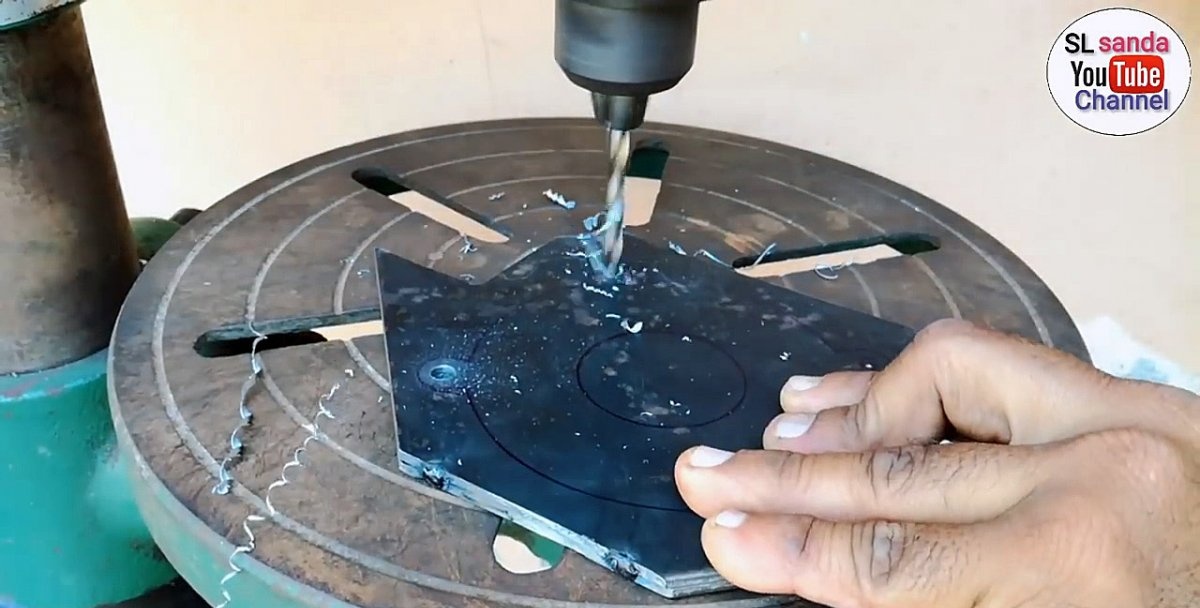
Place the magnet in the center of the square and trace it with a marker to create a marking. Next, we apply cutting lines to the metal that need to be made to create the pattern.
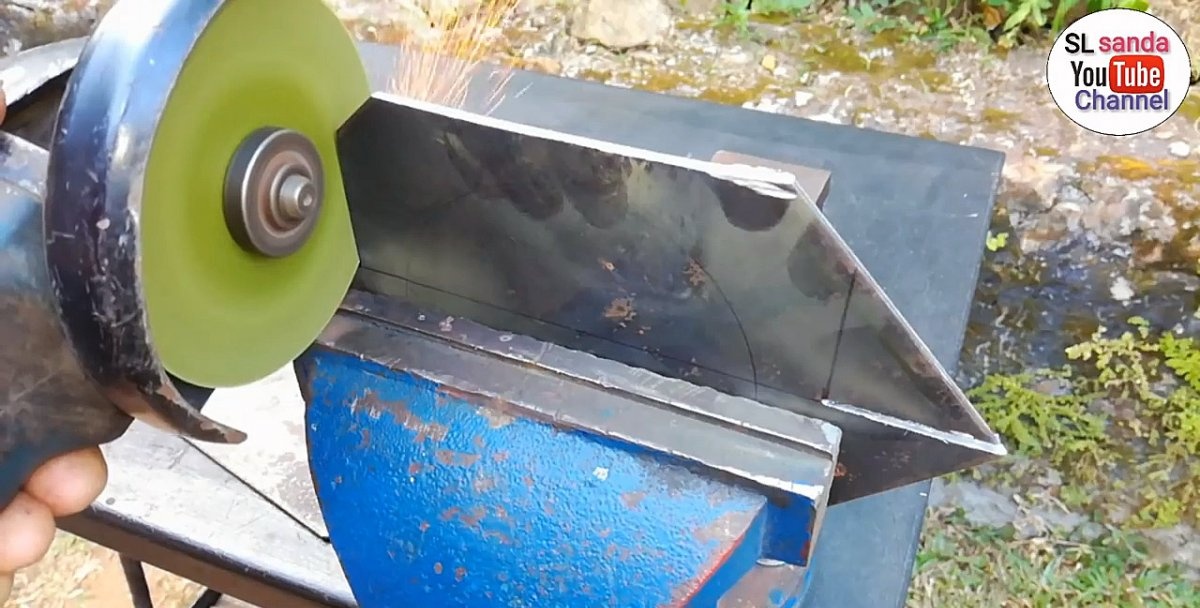
We clamp the workpiece in a vice, and use a turbine to cut off the excess elements.
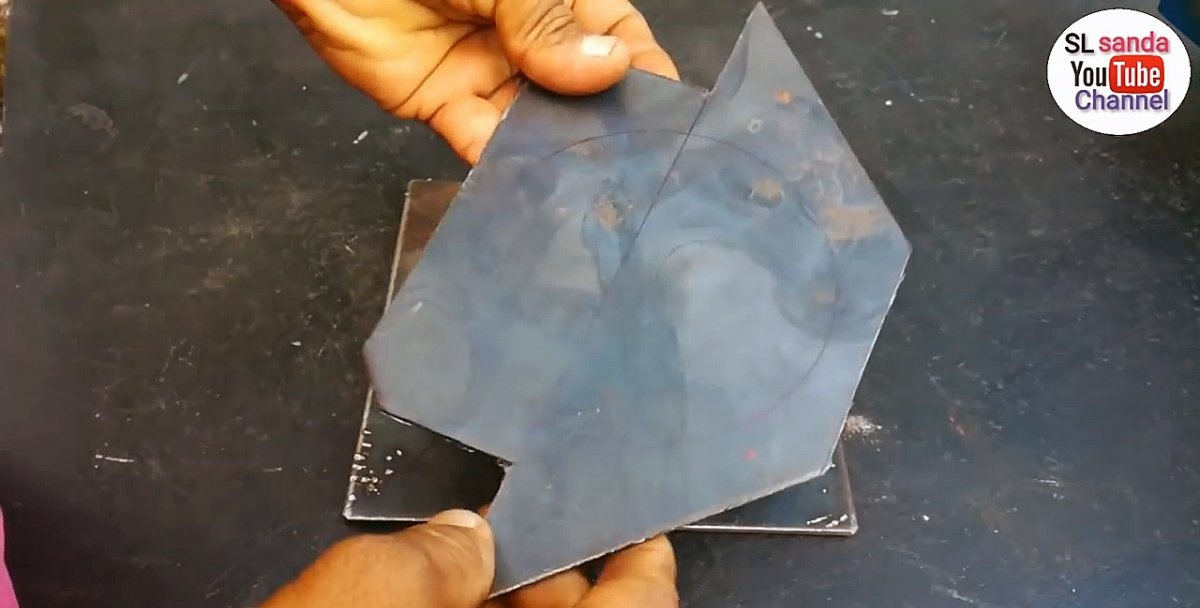
We apply the resulting part to the second square to outline its contours. Next, we also remove the excess from it with a turbine.
We connect the two resulting blanks together and secure them by welding. Now we can perform one operation on two parts at once.
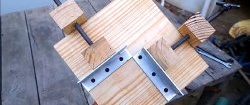
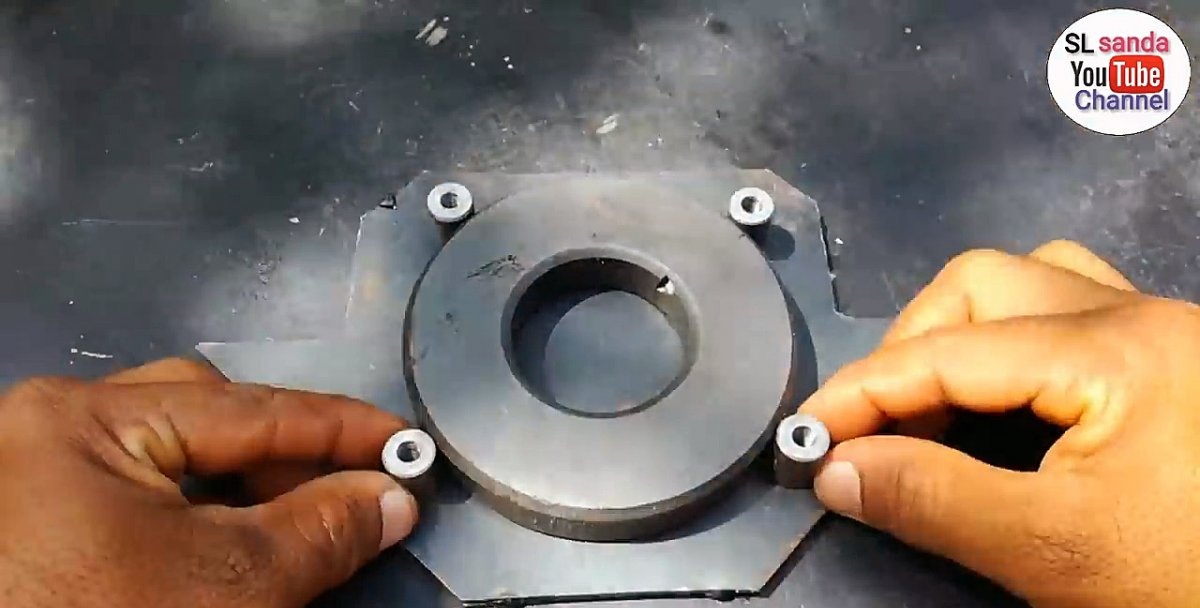
Next we need two threaded couplings. We install a magnet on the workpiece, applying it to the previously designated location. Then we distribute the couplings along its perimeter, at the same distance from each other. We mark their position with a marker.
We remove the couplings. We mark holes in the center of the location of the couplings. Next, using a drill corresponding to the diameter of the hole in the coupling, we make holes in our workpiece. It is through them that the bolts for fixation will be installed.
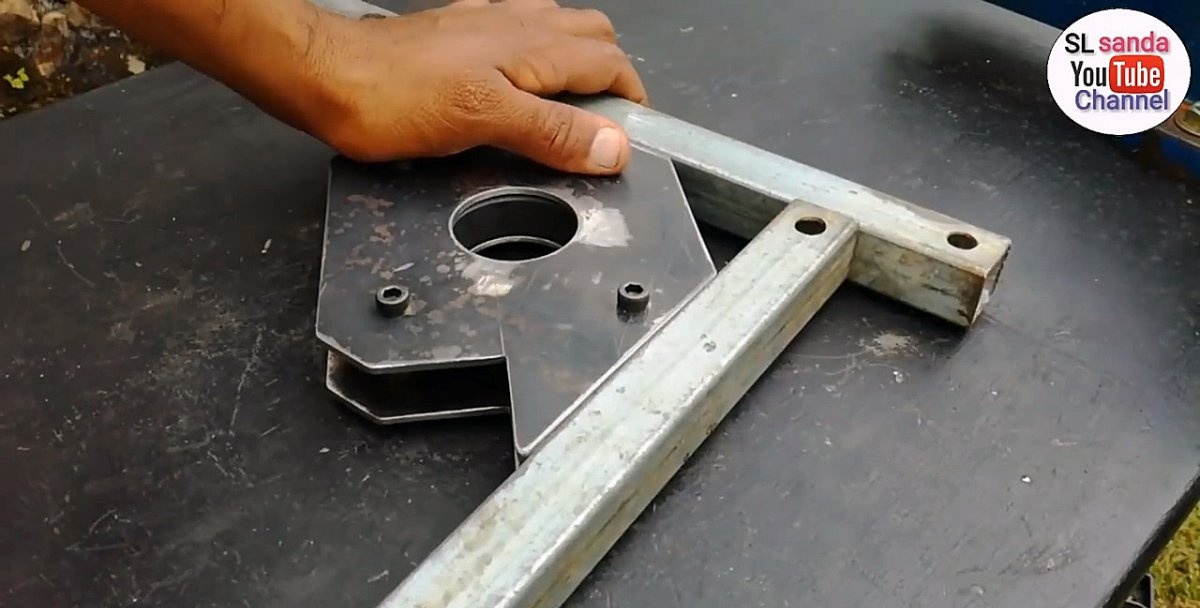
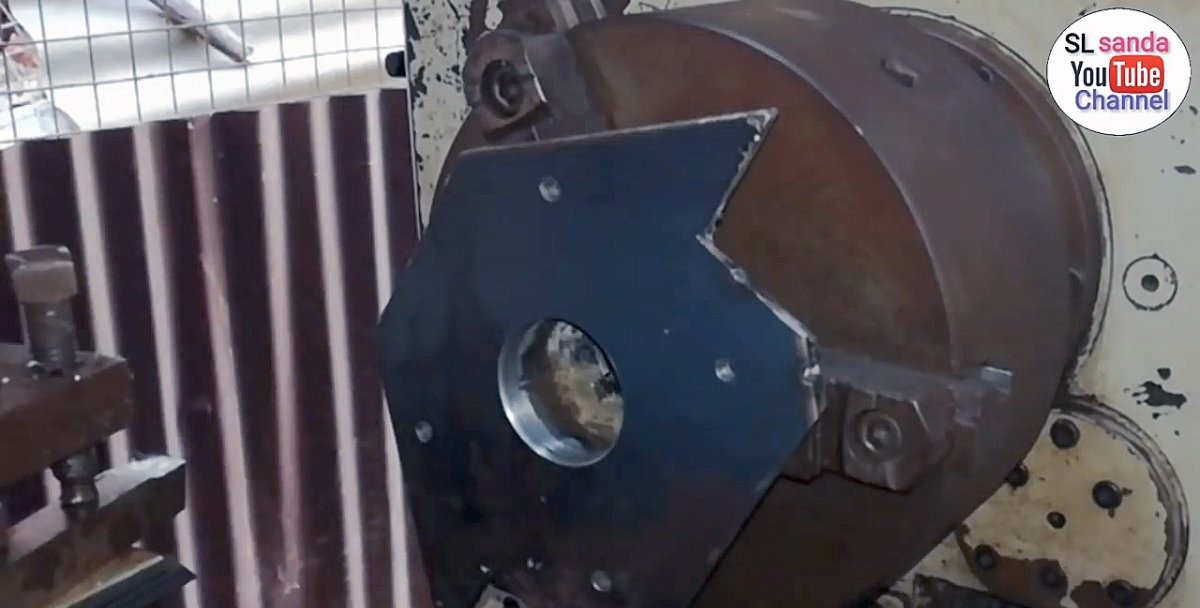
After this, we weld a piece of pipe to the workpiece, the diameter of the internal hole of the magnet. We fix it exactly in this place. As a result, we got a part that can be clamped in a lathe chuck.
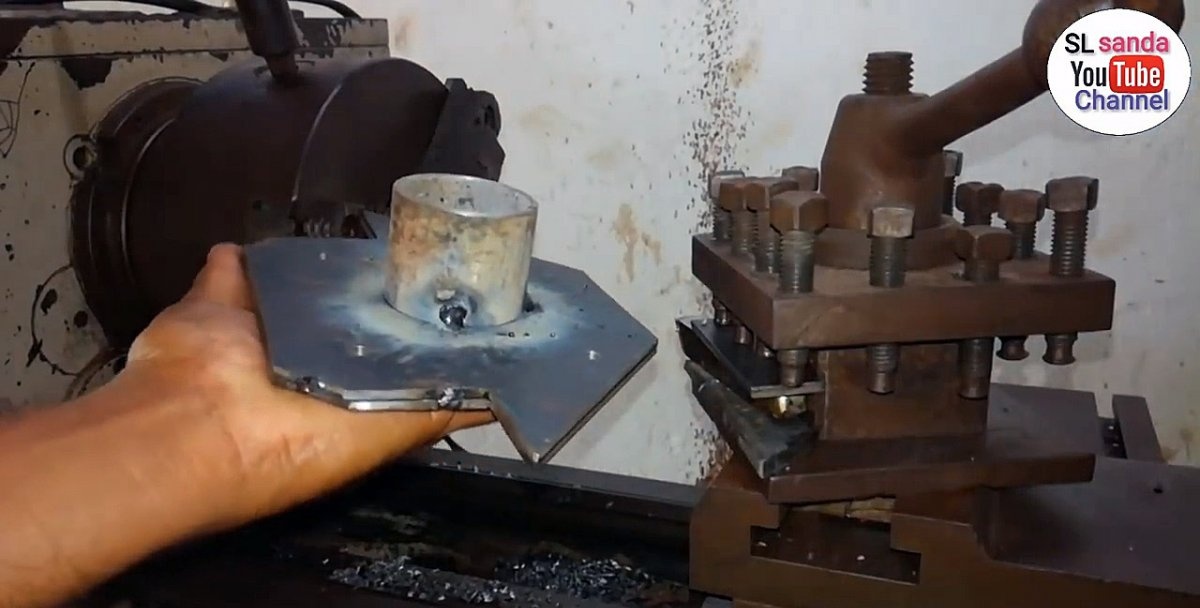
Using a drill and cutter on a machine, we create a hole equal to the inner diameter of the magnetic ring.
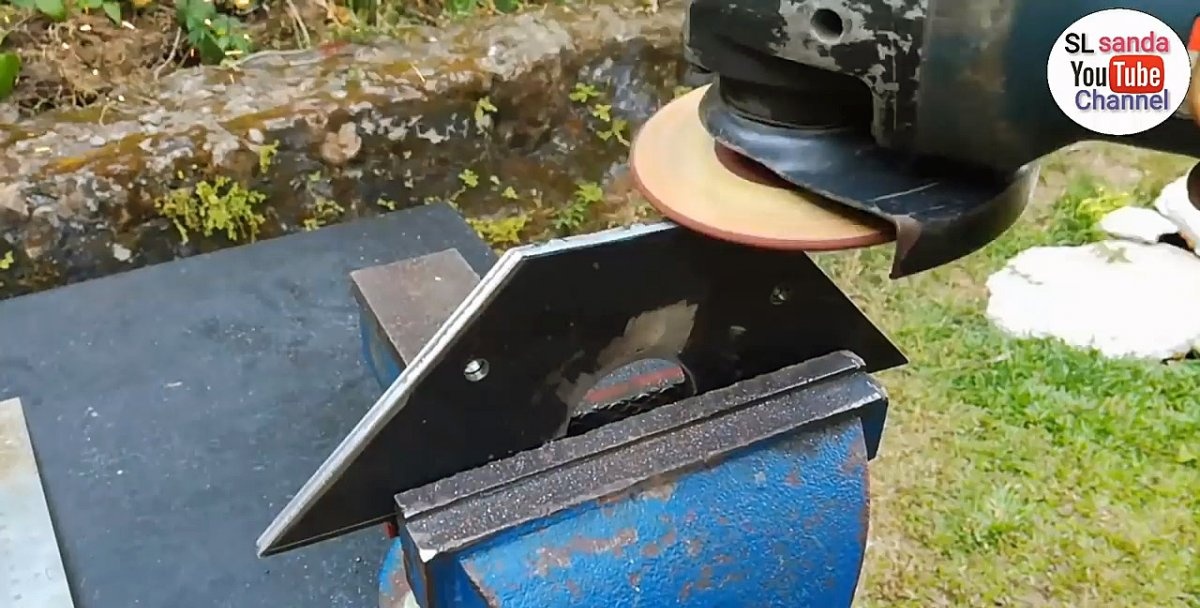
We remove the welded pipe and clean our part. In this case, it is very important to obtain perfectly smooth edges while maintaining compliance with the corners. Therefore, you will have to work not only with a grinding machine, but also with a file. We are making a kind of measuring instrument, which means that the accuracy of the work must be at its best.
At the next stage we will need couplings and bolts for them.
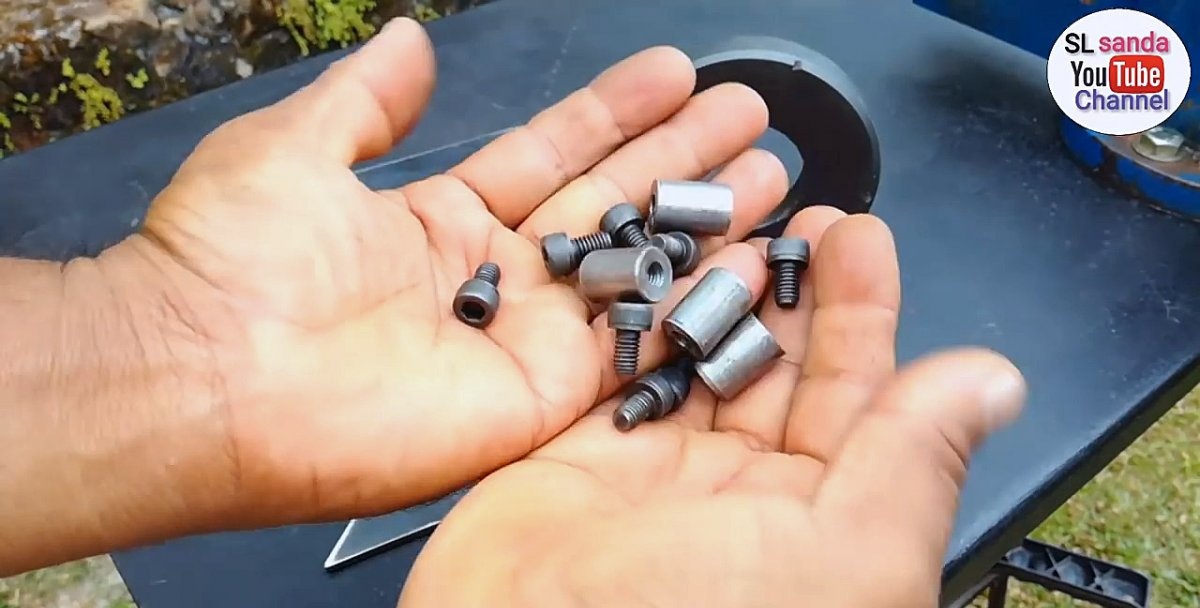
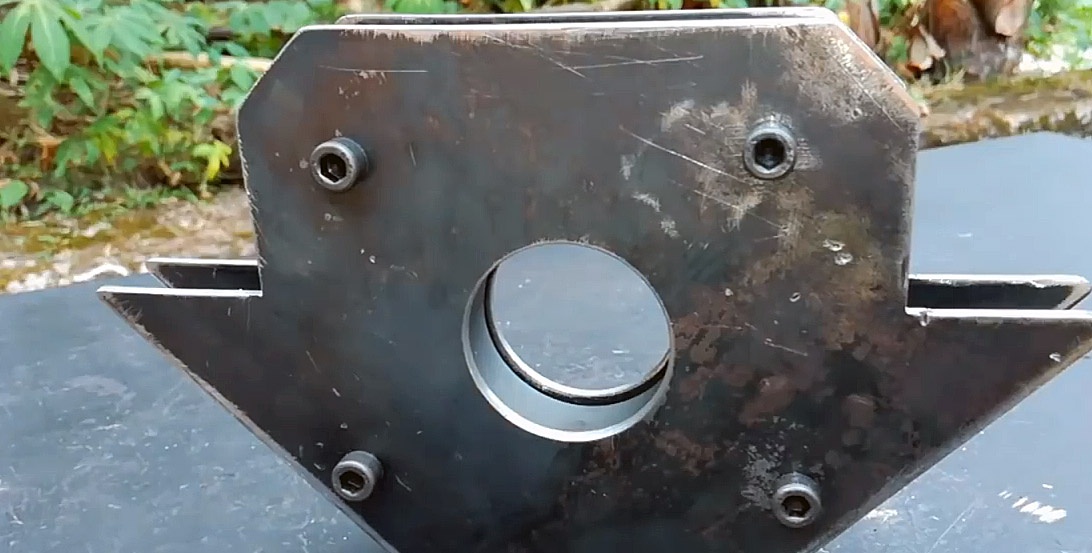
The workpieces are separated and cleaned. Next, install a magnet and couplings on one of them.

They are covered with a second blank on top, fixing the location with bolts through the couplings, but without tightening them completely.
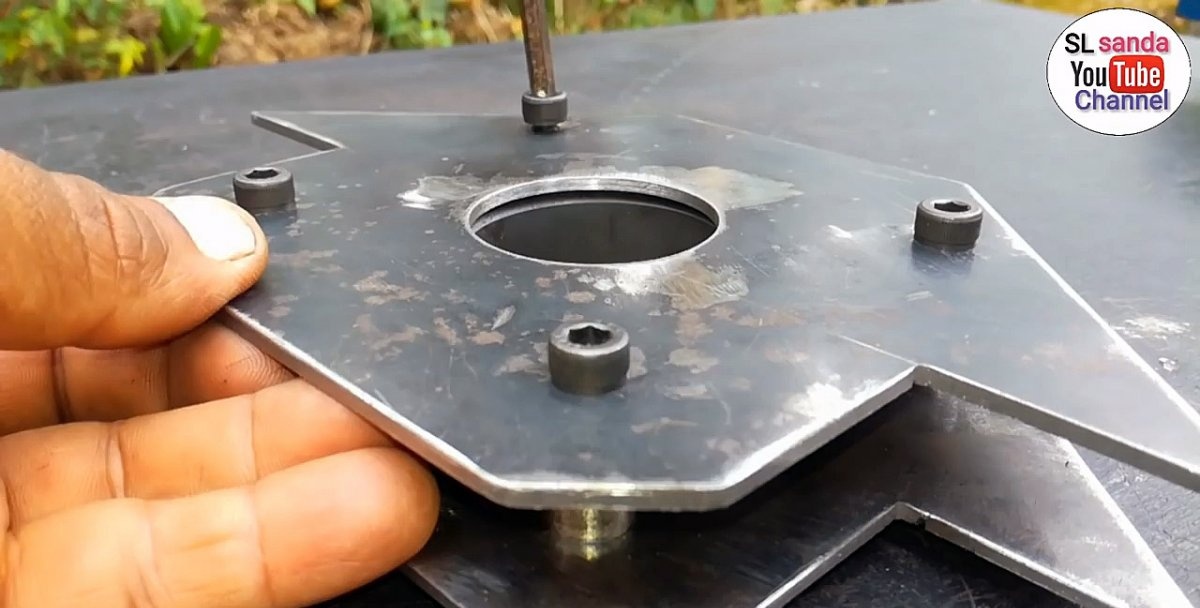
At the final stage, the structure is leveled and checked for compliance with the angles. Only after this the bolts are tightened. The magnetic template is ready for use.