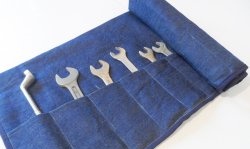
Who hasn't experienced the irritation of searching for a particular wrench in a bench drawer or special box where they are usually located in a chaotic mess? There is an opportunity not to spoil your mood, improve your work culture and not waste time searching for the right tool.
To do this, it is enough to acquire a suitable wooden beam, for the processing of which you will need some simple tools. The entire job will take approximately no more than one hour. By making this simple but effective open-end wrench holder, you will no longer have to swear while looking for the wrench you need at the moment.
Required Tools
To ensure that the work goes smoothly and does not require too much physical effort, I suggest the following set of tools (of course, they can be replaced with others, in particular manual ones, the main thing is the high-quality execution of the relevant operations):
- electric jigsaw;
- belt grinder (grinder);
- tabletop drilling machine;
- mechanical cutter;
- hand screwdriver;
- metal ruler and pencil;
- protractor-ruler for drawing inclined parallel lines.
Required materials
In order for the device to last longer, the timber of the appropriate cross-section must be made of hard wood: birch, oak, maple, ash, elm, etc. You will also need two cambric or plastic inserts and two suitable screws of comparable sizes.
In principle, the holder for open-end wrenches can be impregnated with oil, varnished or simply painted with any oil-based paint. This will give them more strength and improve their appearance, which is also important in our aesthetic age.
Manufacturing process
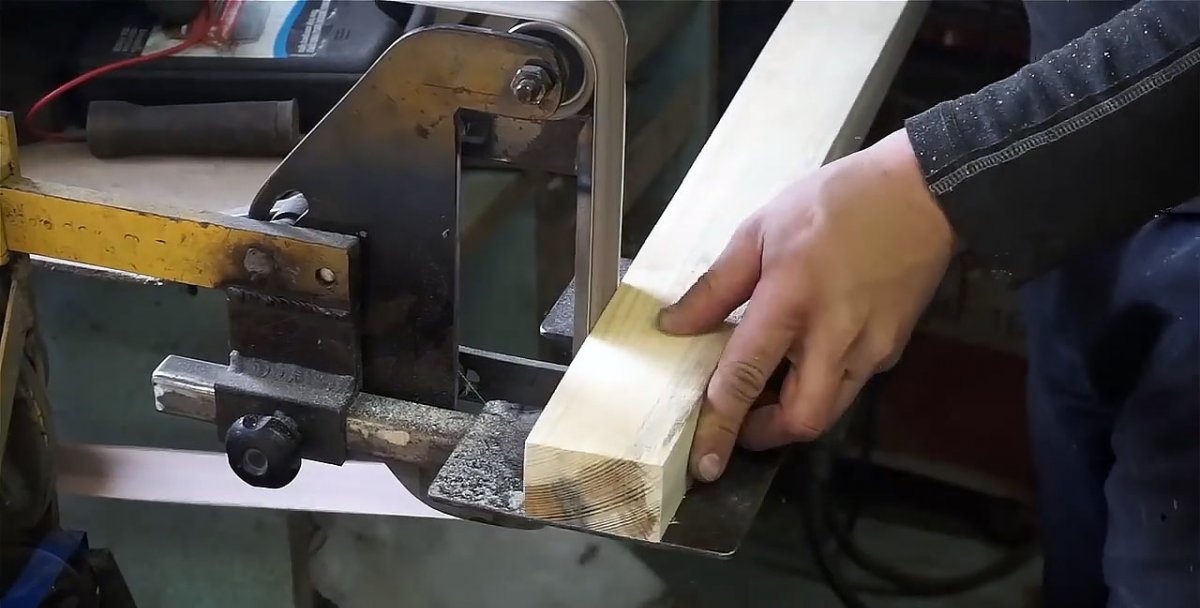
We begin the work by cutting out a blank for the future wrench holder using an electric jigsaw from a wooden beam or thick board of suitable cross-section and length.
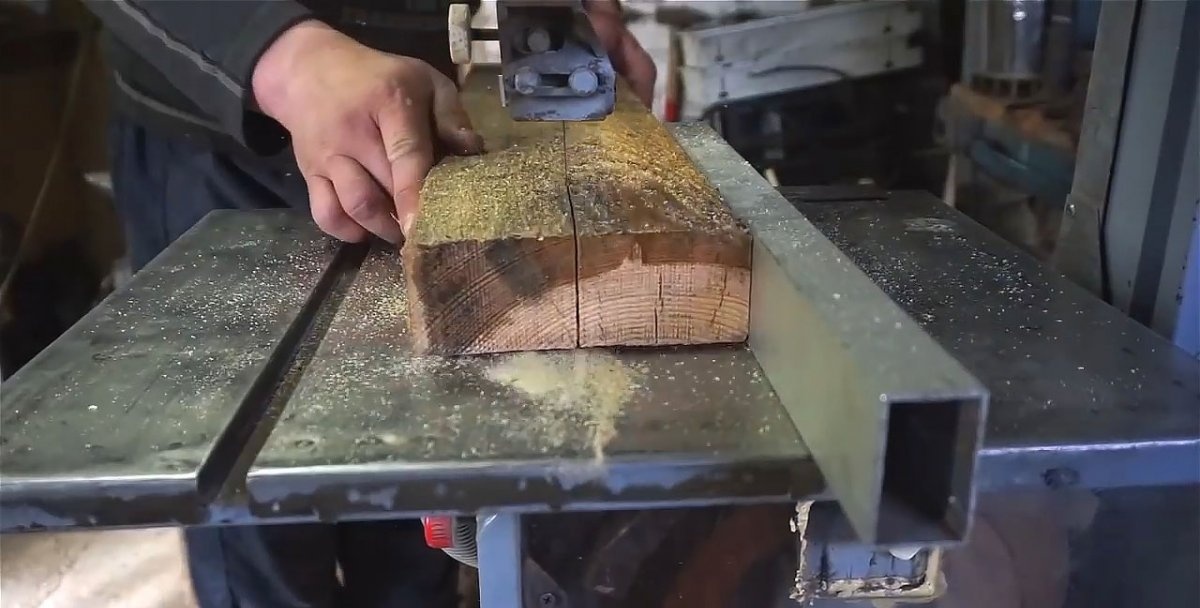
Then we process all the edges of the workpiece on a belt grinder, which is also called a grinder. For the back side of the workpiece, this is the final operation, so it must be done fairly well.
Now you can start marking the wooden beam.
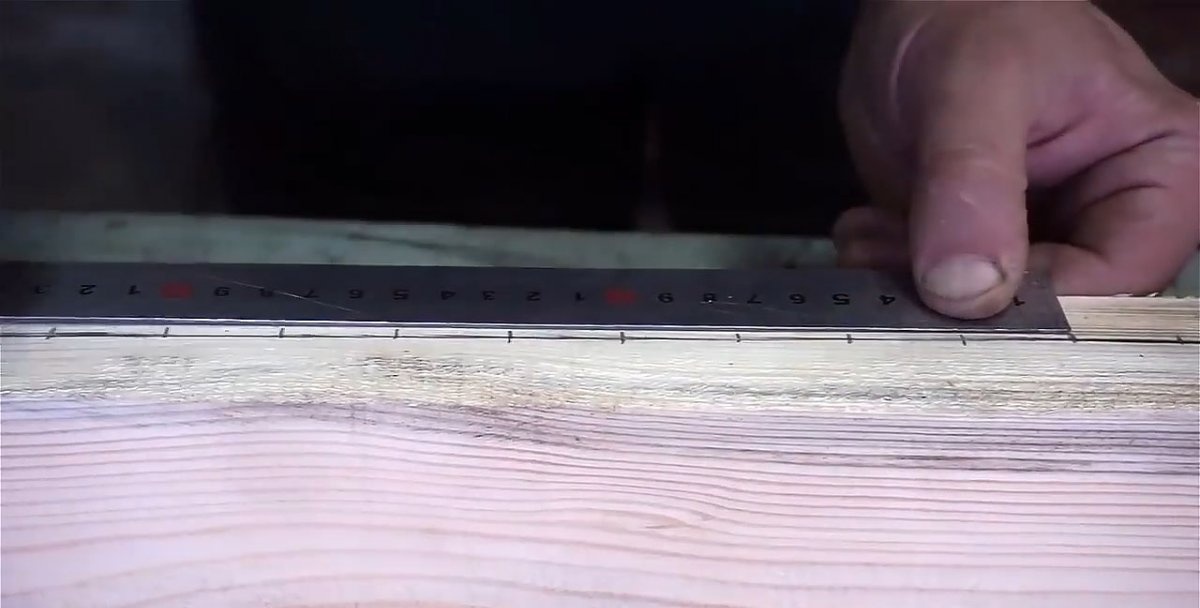
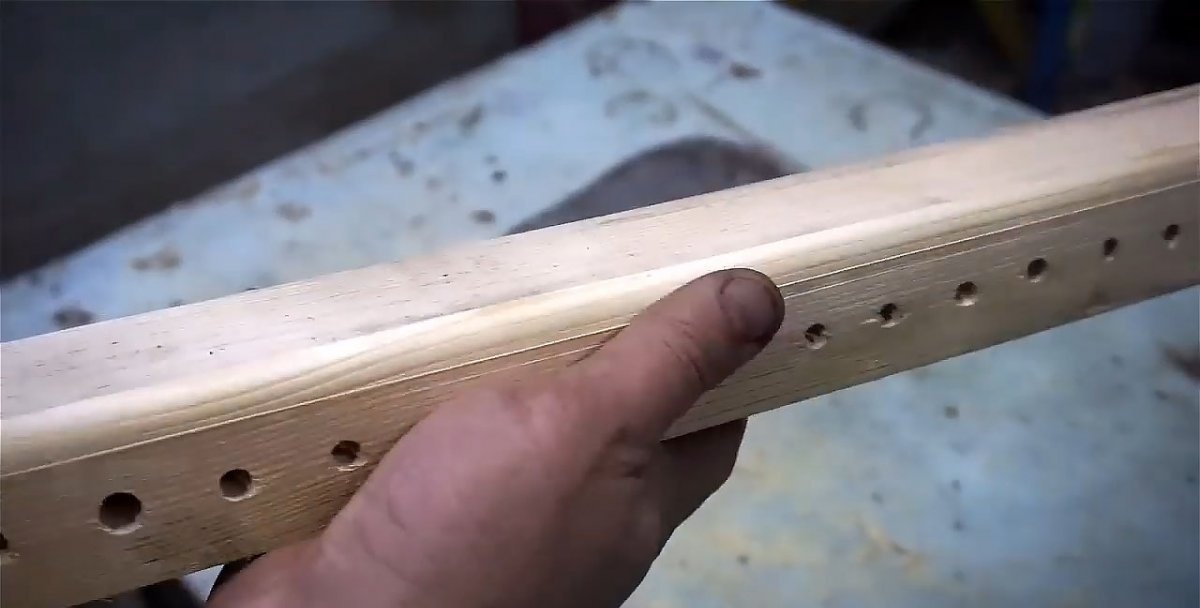
To do this, on its narrow side, using a metal ruler and a simple pencil, draw a line in the center along the entire length of the workpiece. Then we make marks on the drawn line every 25 mm at an equal distance. These are the centers for drilling through holes - the lower bases of the key sockets.
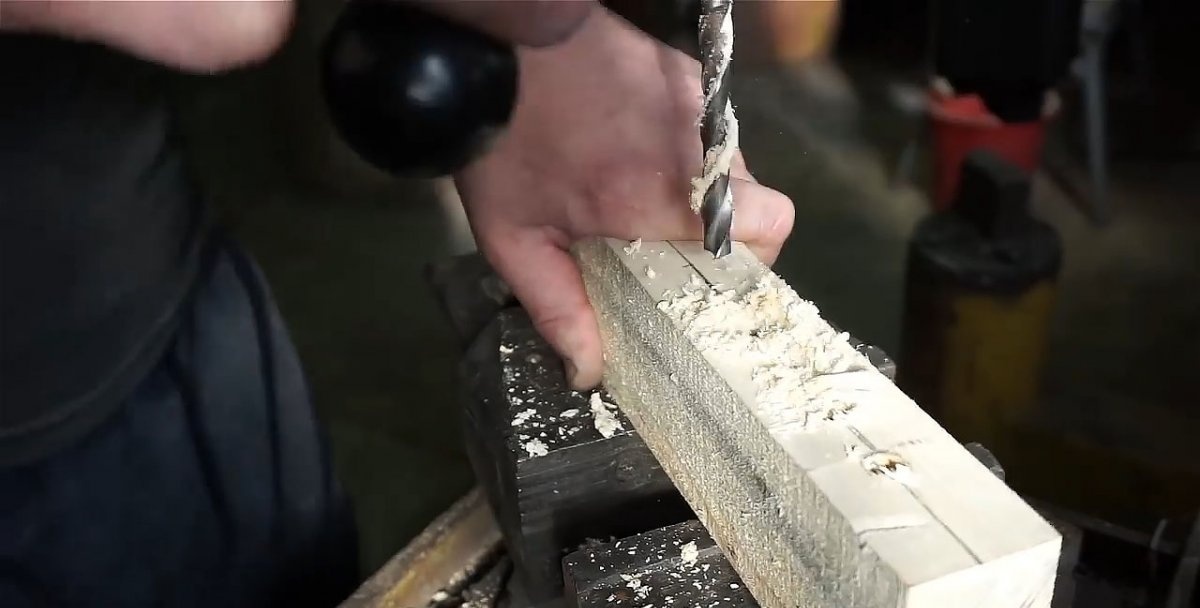
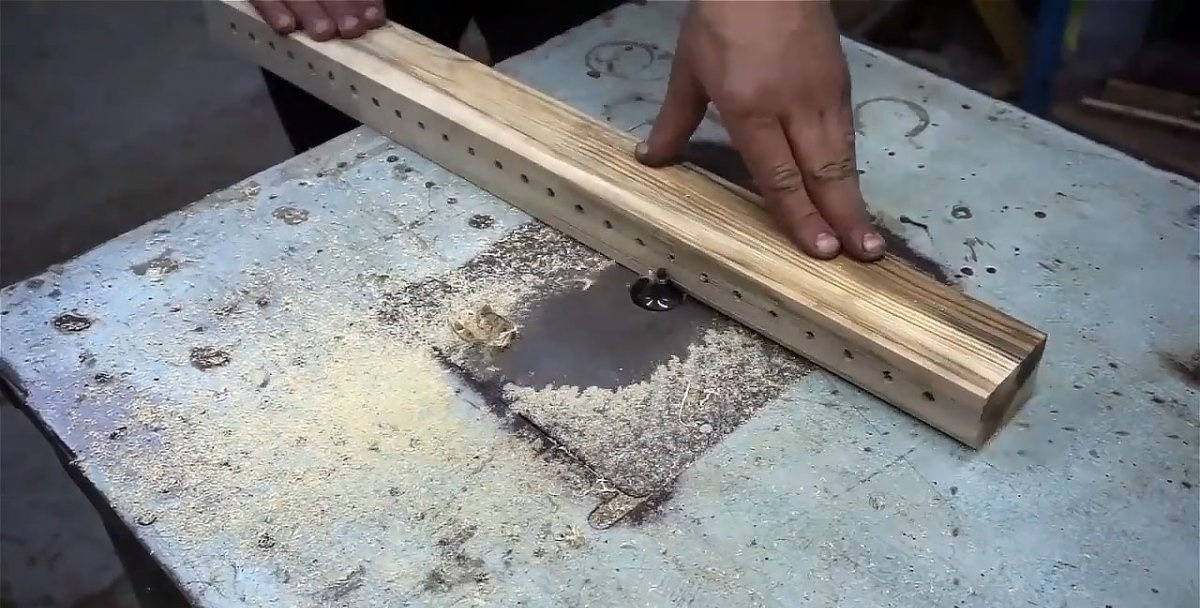
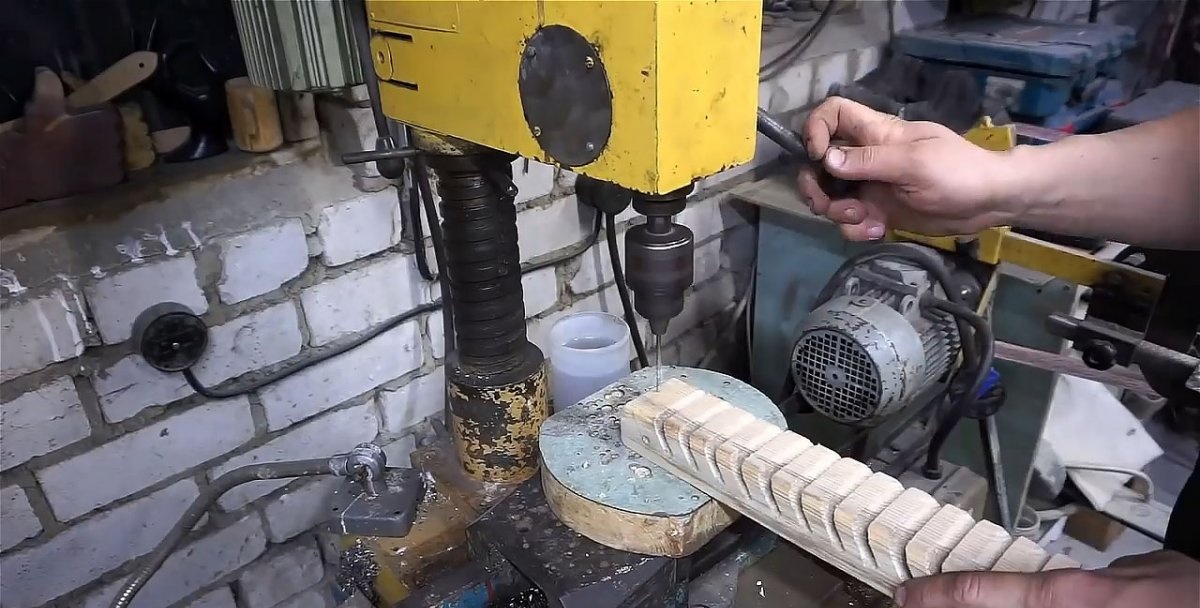
We drill holes in the beam one after another, without missing a single mark, on a tabletop drilling machine. The main thing in this operation is to maintain verticality and parallelism of all holes in relation to each other.
To make the future device aesthetically pleasing and safe to use, we round all the front edges with a milling head of the appropriate profile, which is driven by an electric motor.
Then, using a protractor-ruler, having previously set the required angle of inclination, draw two parallel tangents to each hole along the entire length of the beam with a pencil.
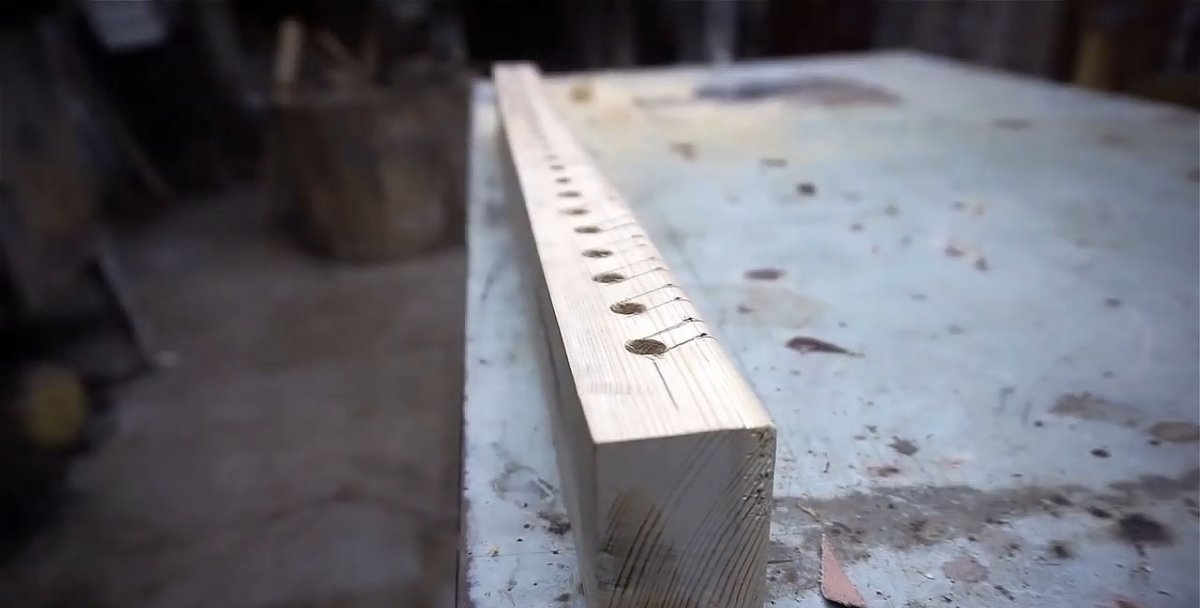
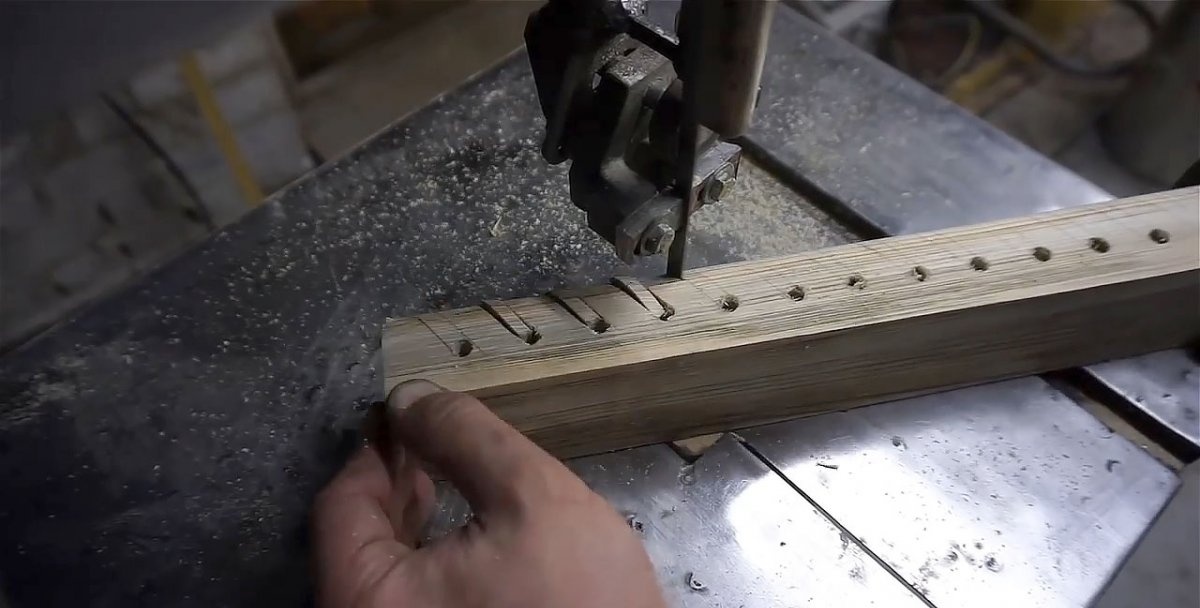
Next, using an electric jigsaw, we make sequential cuts to all the holes along the previously outlined lines and remove the resulting blocks. The open-end wrench sockets are ready!
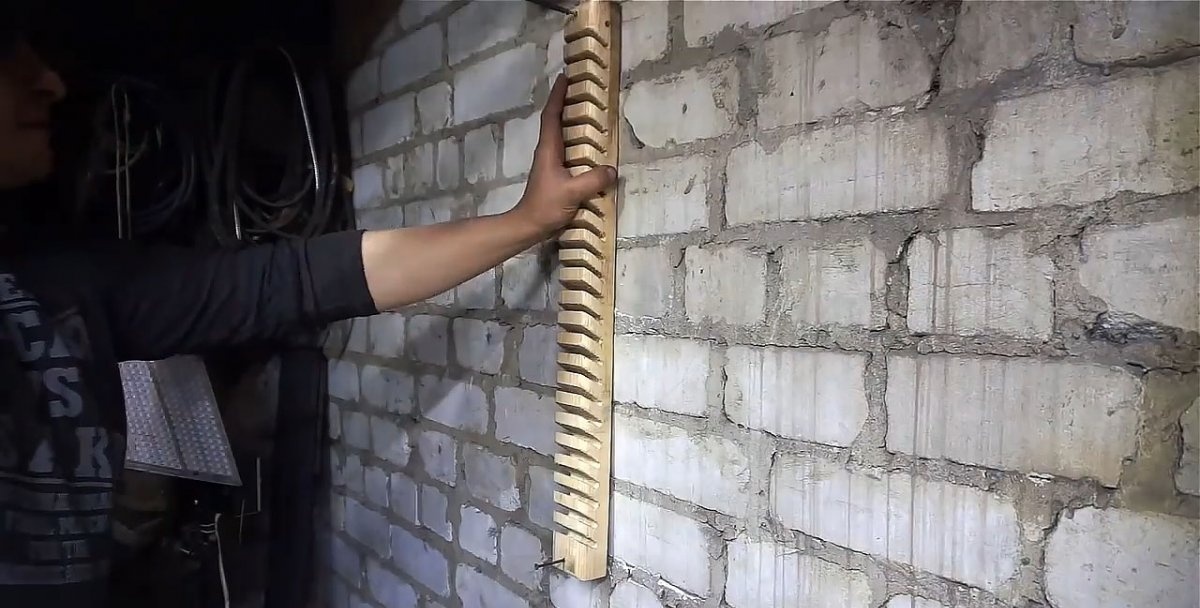
All that remains is to drill small through holes at both ends to hang the device on the wall of the garage or workshop. To do this, insert cambrics or ready-made plastic inserts of the required cross-section into pre-made holes in the wall.
All that remains is to align the holes on the fixture and in the wall, and tightly screw in the large-headed screws using a hand screwdriver. The device for storing open-end wrenches is ready!
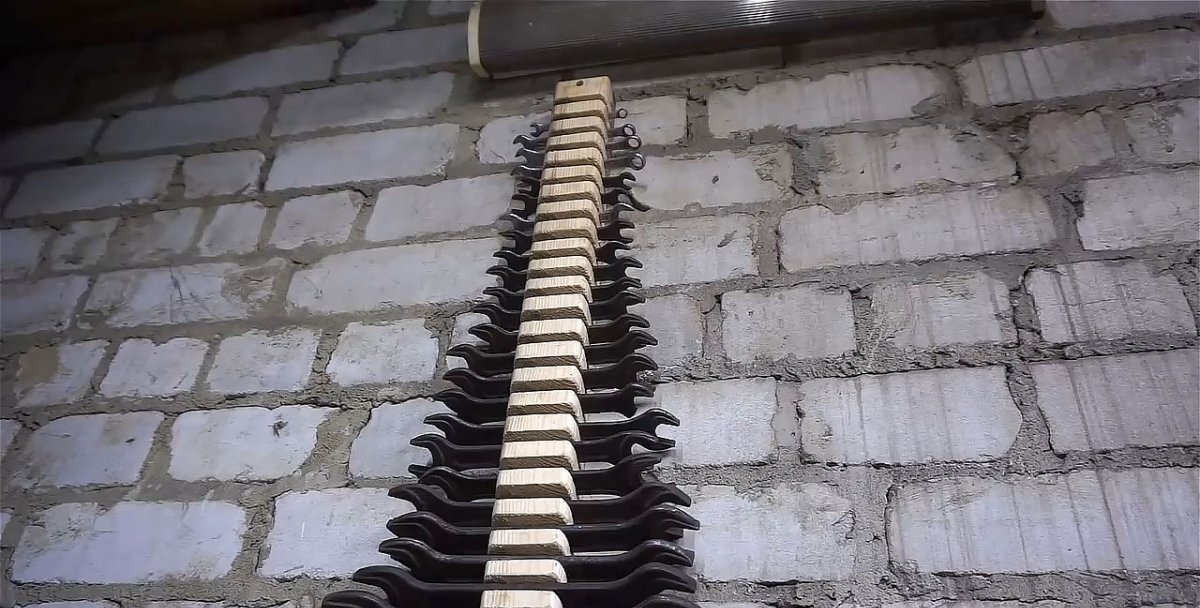
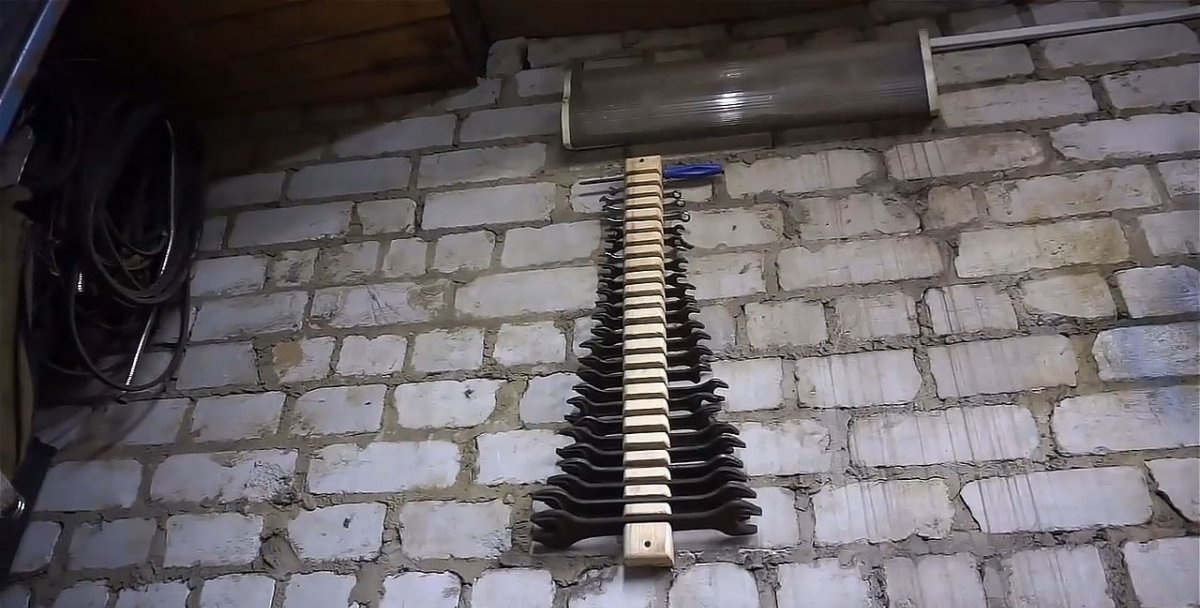
All that remains is to carefully insert the keys into the resulting grooves in a certain sequence: large ones at the bottom, small ones at the top. As you can see, the device looks not only functional, but also quite aesthetically pleasing.
Improvements and alternatives
In principle, this key holder can simply be cut out using a small, well-sharpened, hand-held hacksaw, knocking out the sawed plates with a carpenter's chisel or a flat-head screwdriver with a strong handle. With some care in work, the required functionality of the product and sufficient aesthetics will be ensured.
Instead of a wooden block, you can use two metal plates, connected to each other on the back side by welding with 2-3 jumpers. The slits can be made using a grinder.
It is easier and more convenient to make a key holder to use a rectangular, square and even round pipe or a U-shaped ready-made profile of the appropriate size. It is possible that the reader reading these lines will offer his own version of the turnkey device.