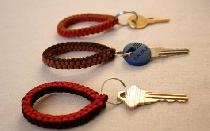
It’s another matter when their number reaches ten or more. Carrying them with you becomes not very convenient. And some kind of organization would not hurt: looking for the right key in a large bunch, especially in the dark, is not a very pleasant task.
If for some reason you are not satisfied with factory key fobs, think about the Swiss Army knife. After all, keys can be collected and systematized in the image and likeness of this famous product.
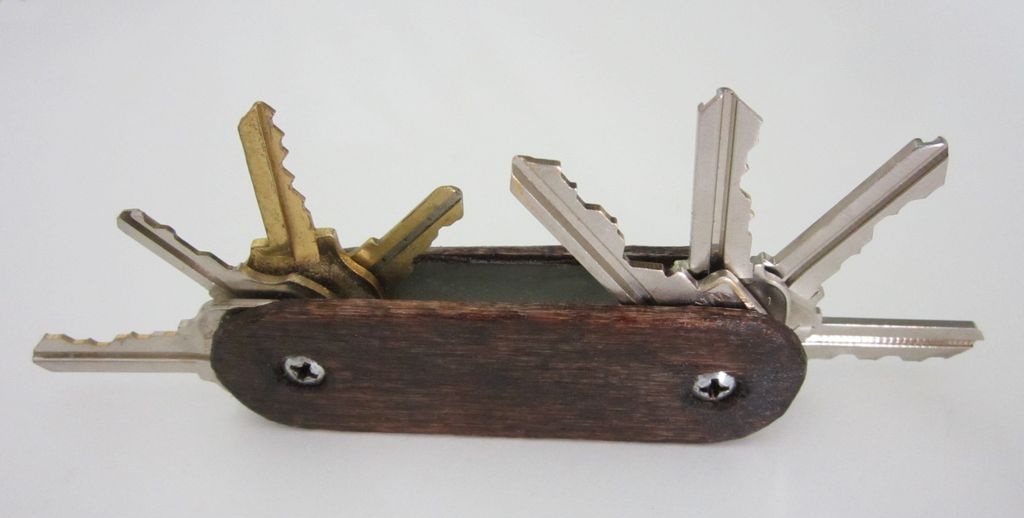
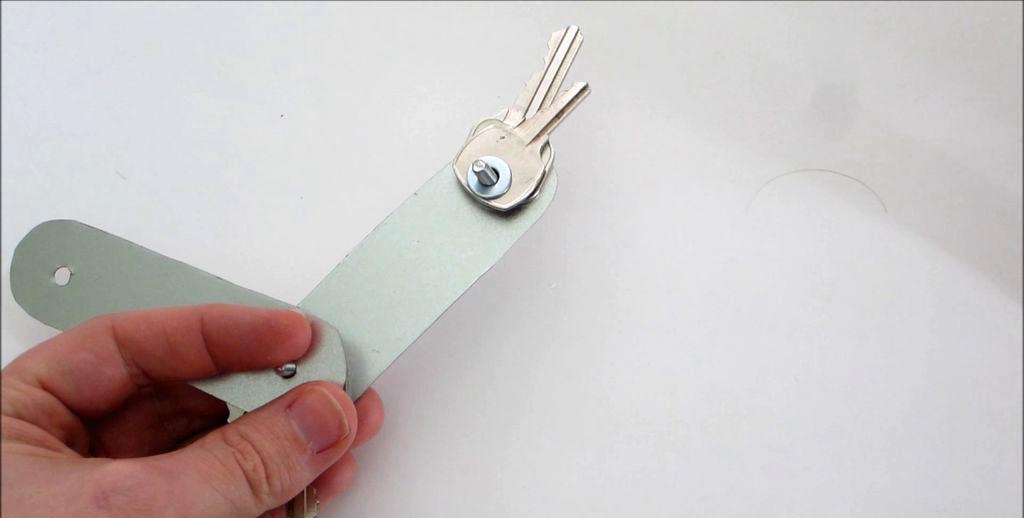
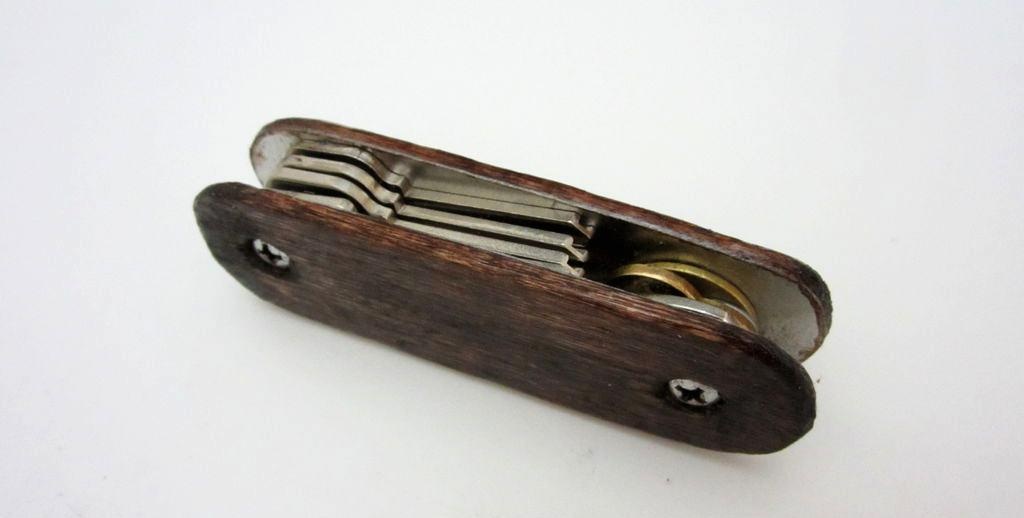
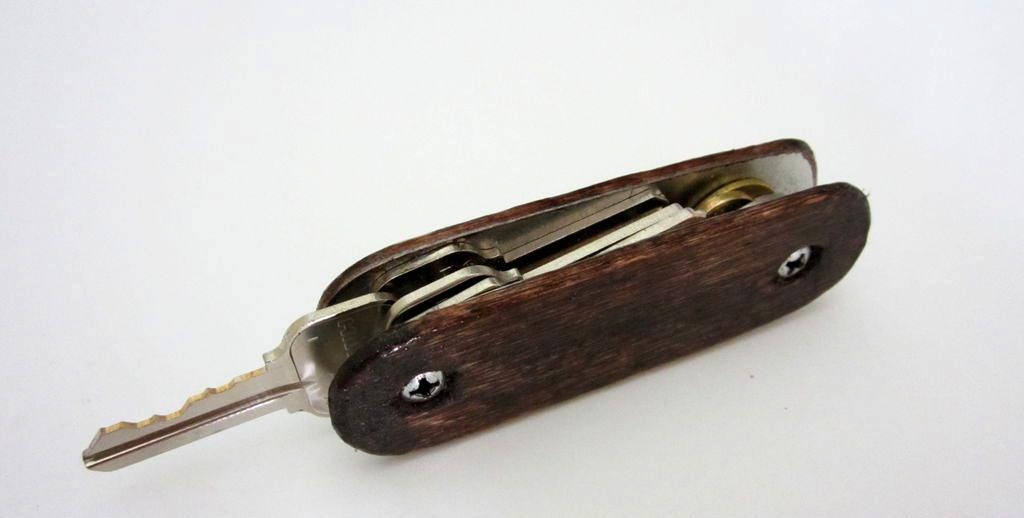
Such a keychain consists of a hollow handle formed by two side plates, which are fastened on both sides with bolts, which simultaneously act as axes for two sets of keys. They can be turned into a handle for compact storage or pulled out to open the lock.
Required materials and tools
Since our item will be quite compact, mentioning the materials, we will immediately give their dimensions. This will allow you to avoid making adjustments during assembly, which will not have the best effect on the functionality and aesthetics of the product.
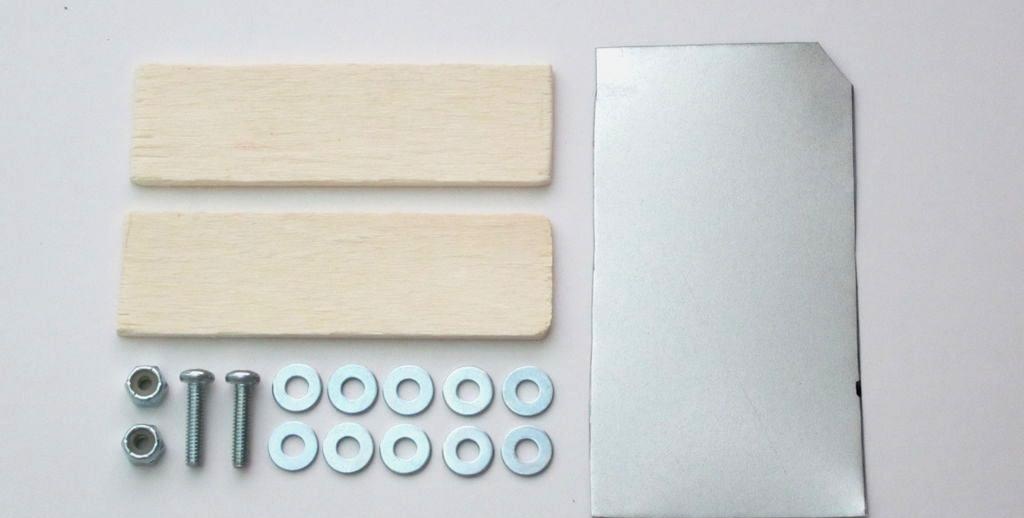
Materials:
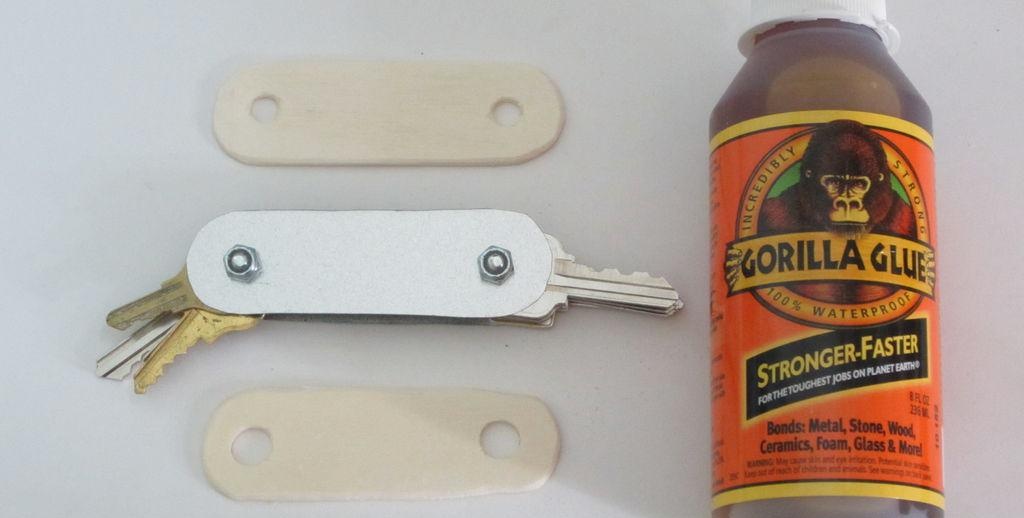
- Two wooden planks (height × length × thickness) – 25 × 95 × 3.2 mm.
- Two metal plates – 25 × 95 × 0.5 mm.
- Two pairs of “bolt-nut” – M8, bolt length – 20 mm.
- 10 flat washers for M8 bolt.
- Glue for gluing wood to metal.
Tools:
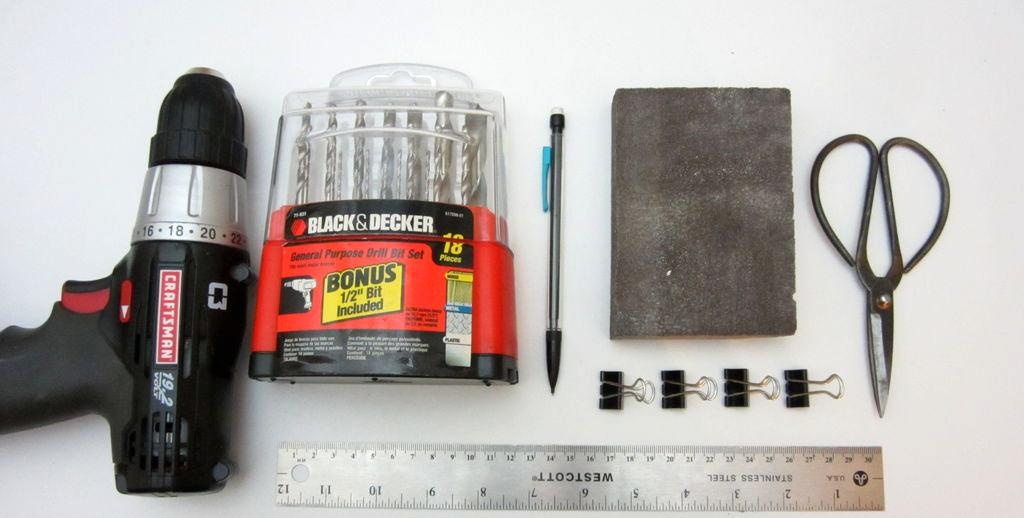
- Drill with a set of drills.
- Metal scissors.
- Sandpaper or sanding wheel.
- Several small clips.
- Ruler, pencil.
Making a convenient key holder
We will adhere to the following algorithm:
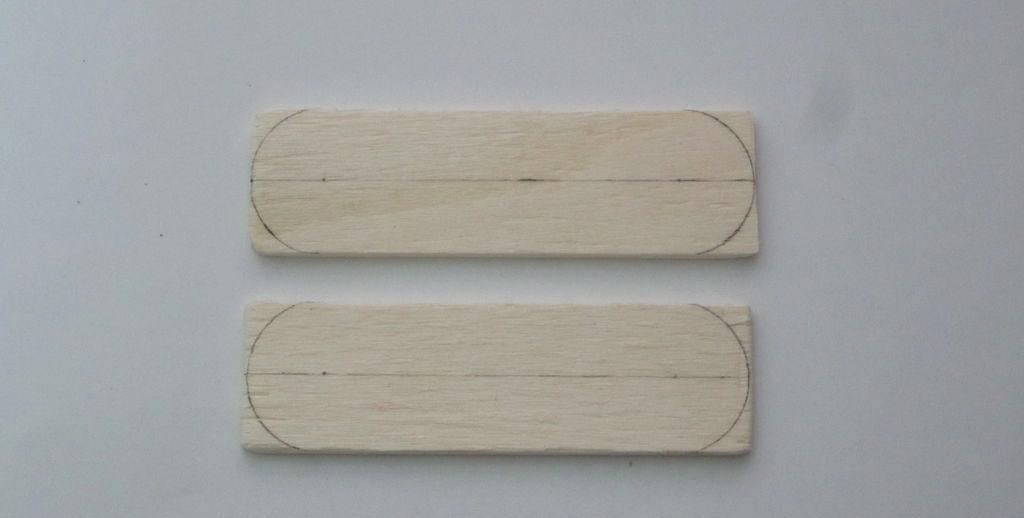
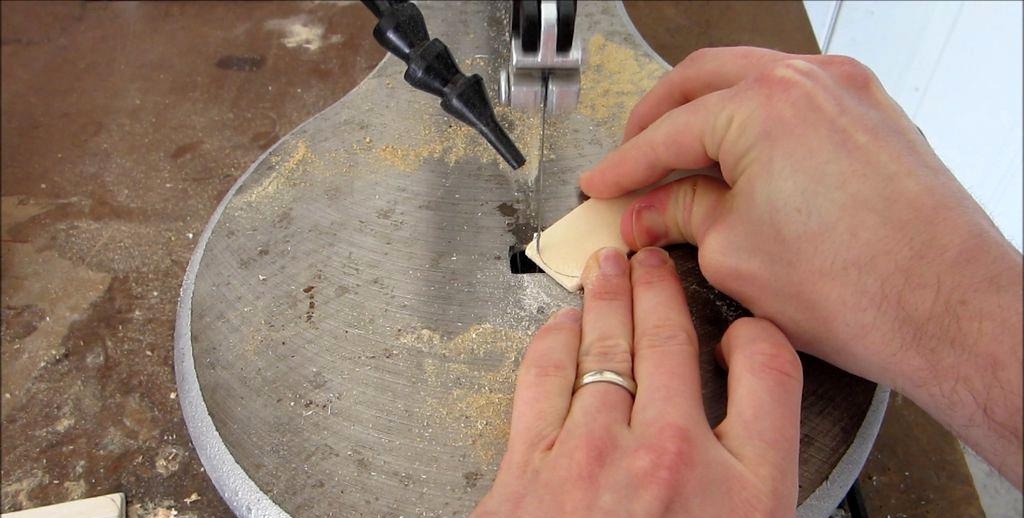
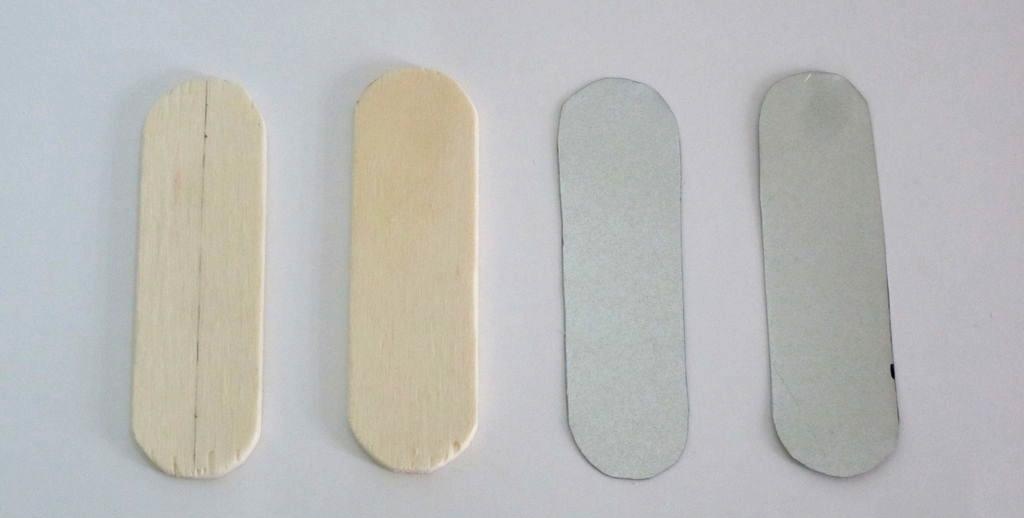
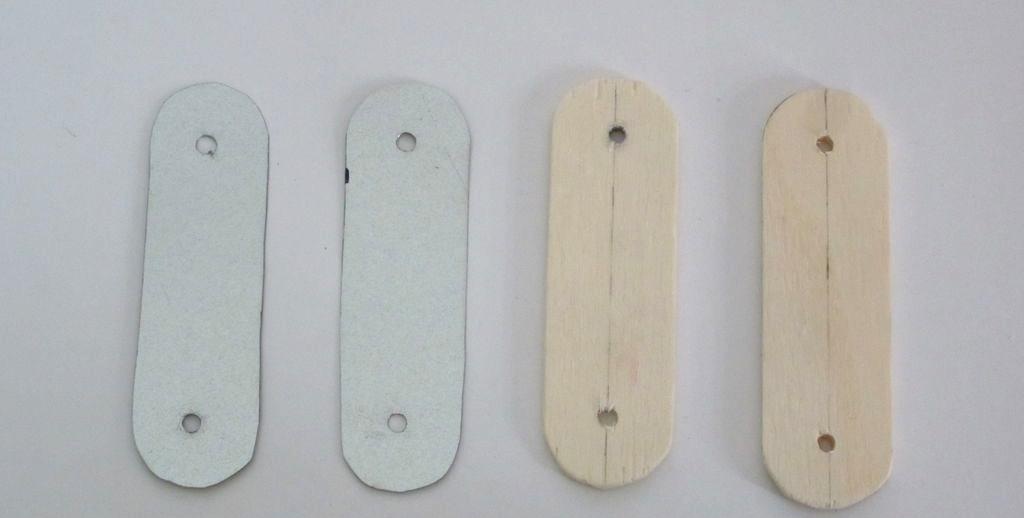
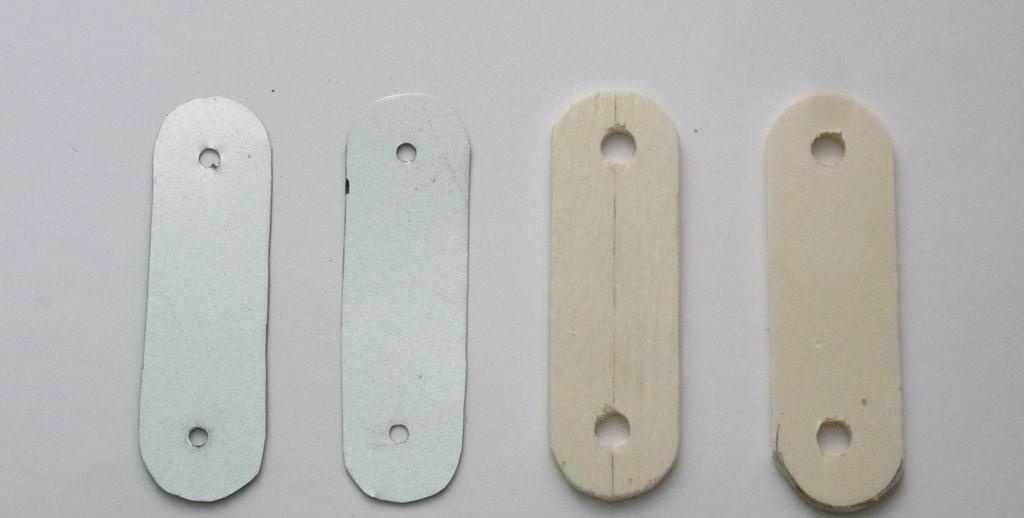
Using a suitable round object, we mark the ends of the wooden overlays in the form of a semicircle. Using a jigsaw we give them their final shape.
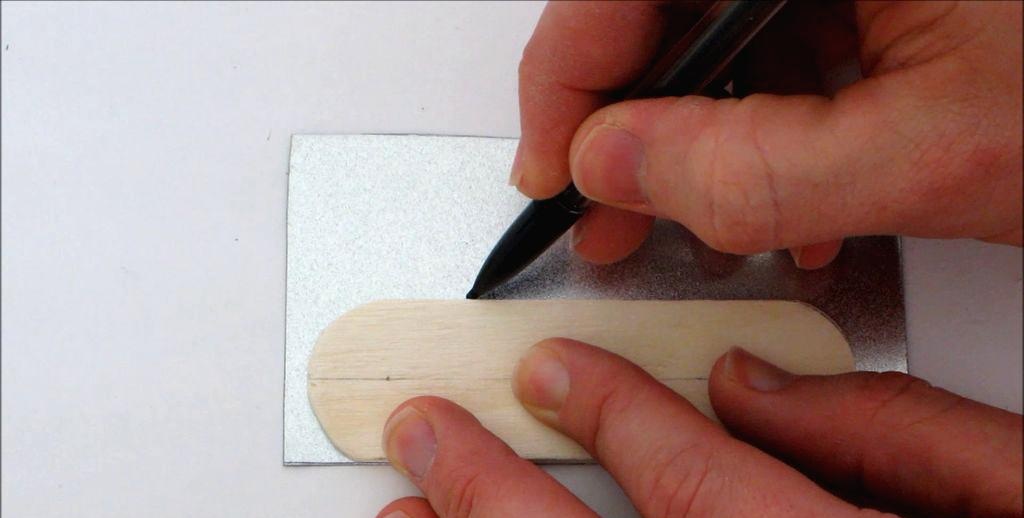
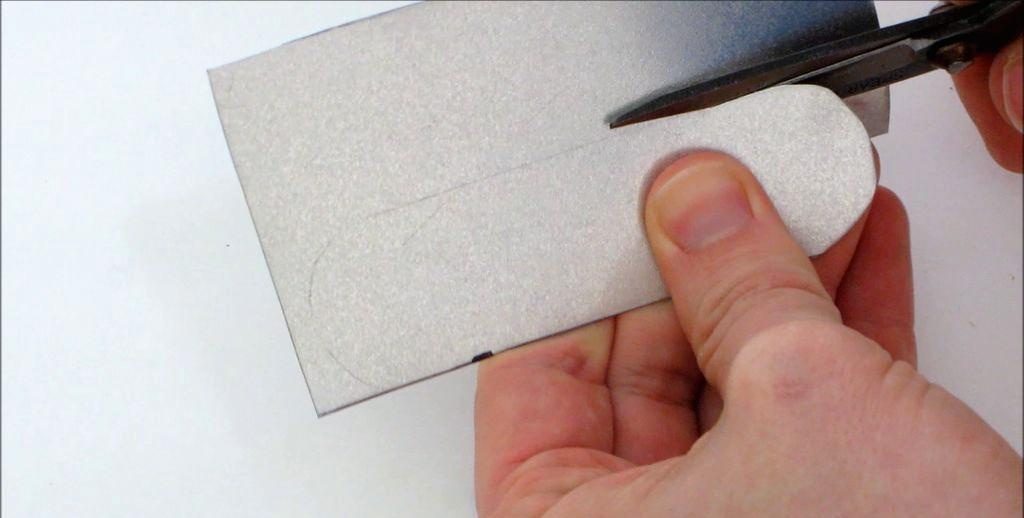
Then, using a wooden overlay as a template, we transfer its outline to a metal sheet and use metal scissors to cut out two identical plates.
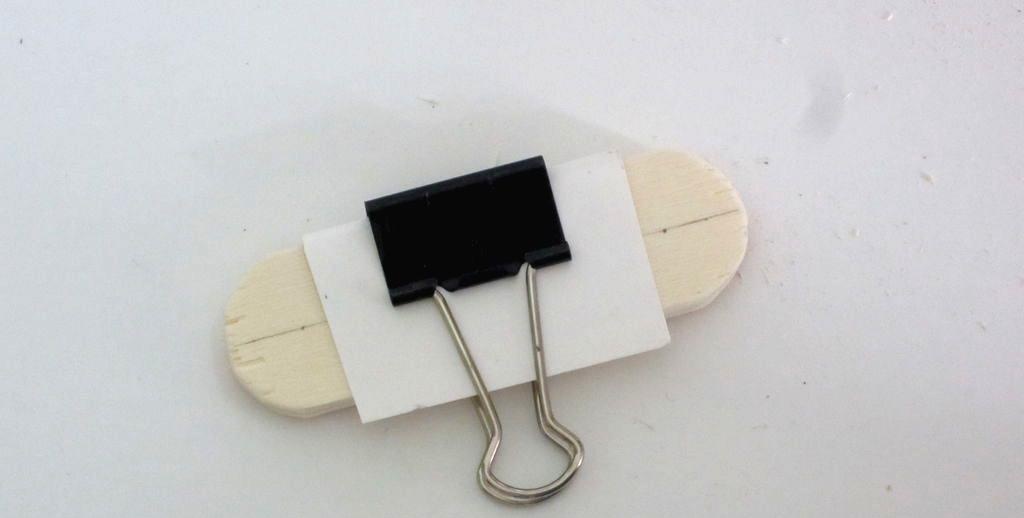
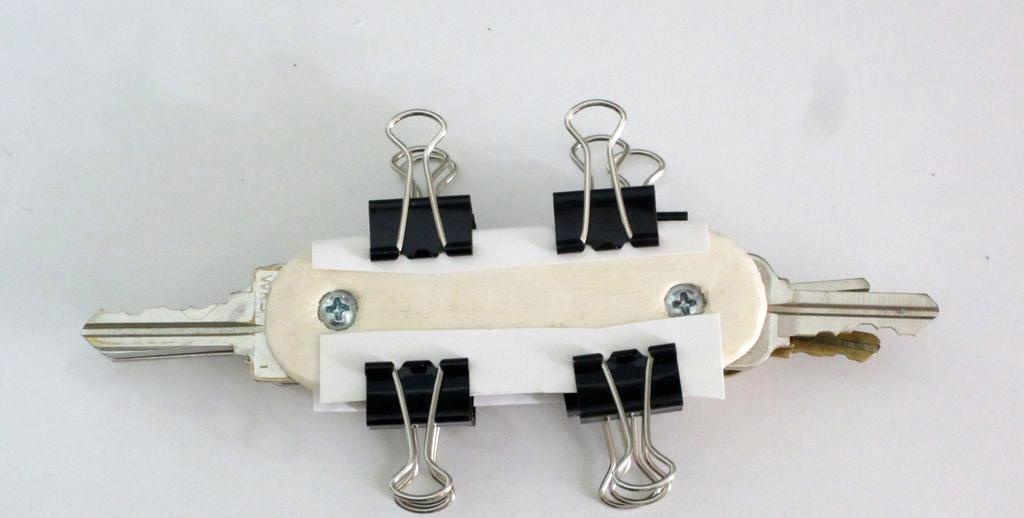
Let's collect all the elements of the body into one stack, check the accuracy of the location and fasten it with a clamp.
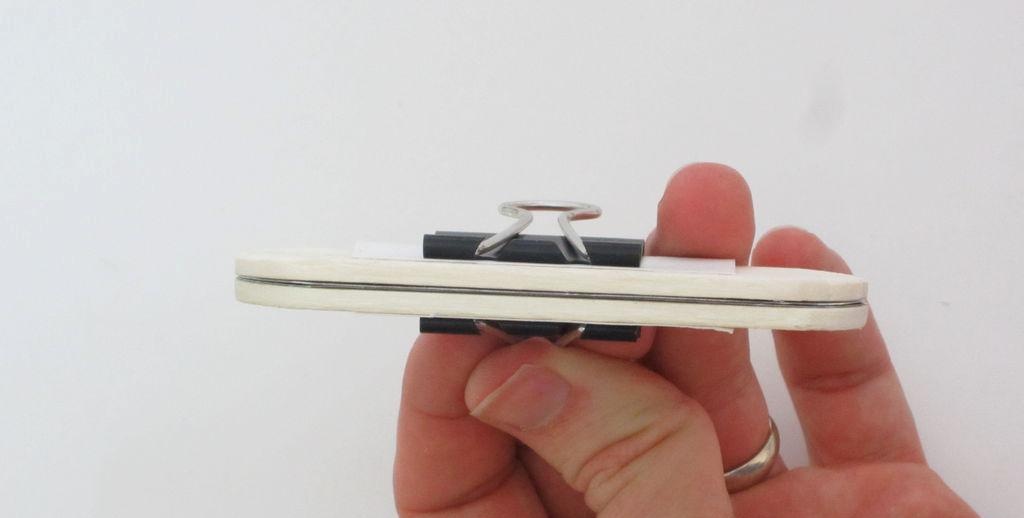
We mark the centers of the semicircles so that the distance between them is 70 mm. Using a drill and a 5 mm drill, we first drill one through hole in the stack and, after inserting a bolt into it for additional centering, drill a second one.
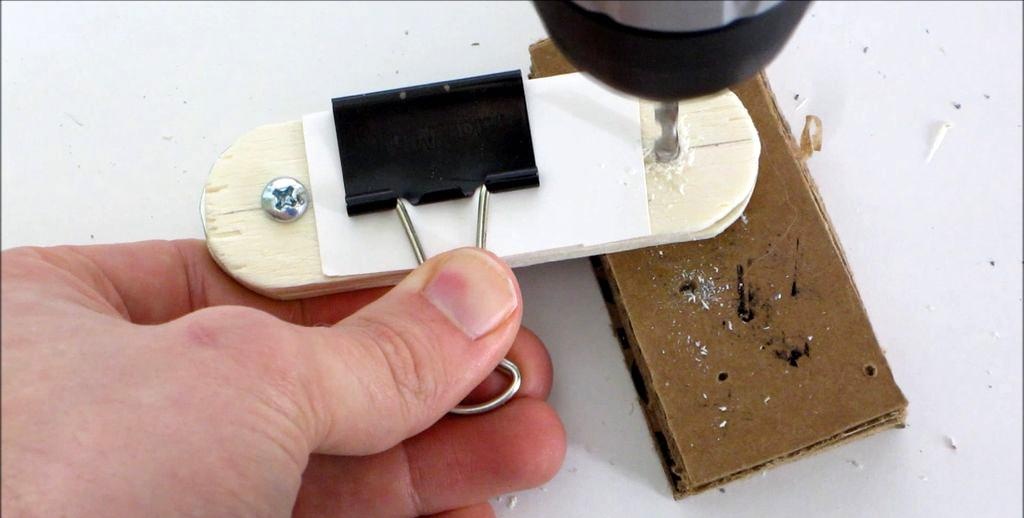
We remove the metal plates, and widen the holes on the wooden plates to allow free passage of the bolt head and nut, having previously wrapped them with construction tape to prevent cracking.
Now you can reassemble all the body elements into a stack, secure them with bolts and nuts, and sand the ends and edges with sandpaper or a grinding wheel.
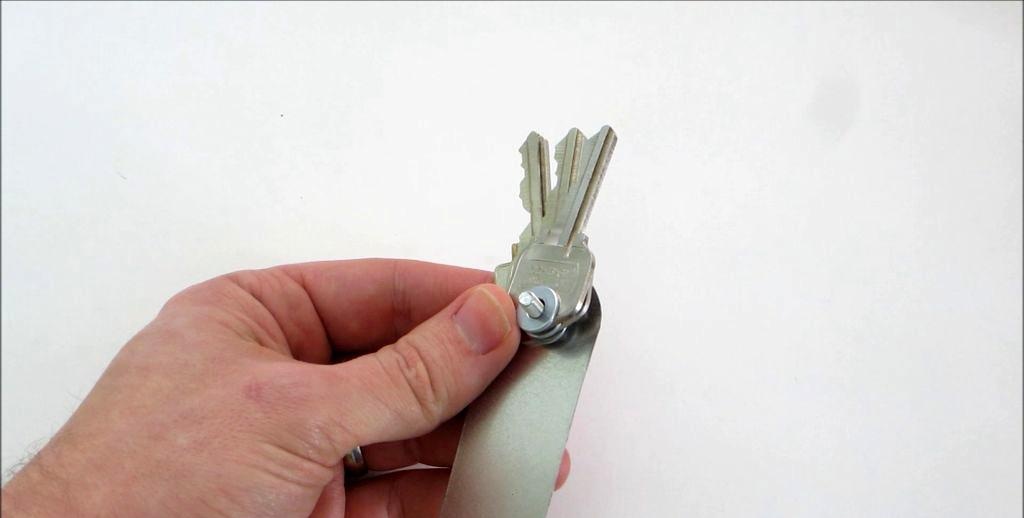
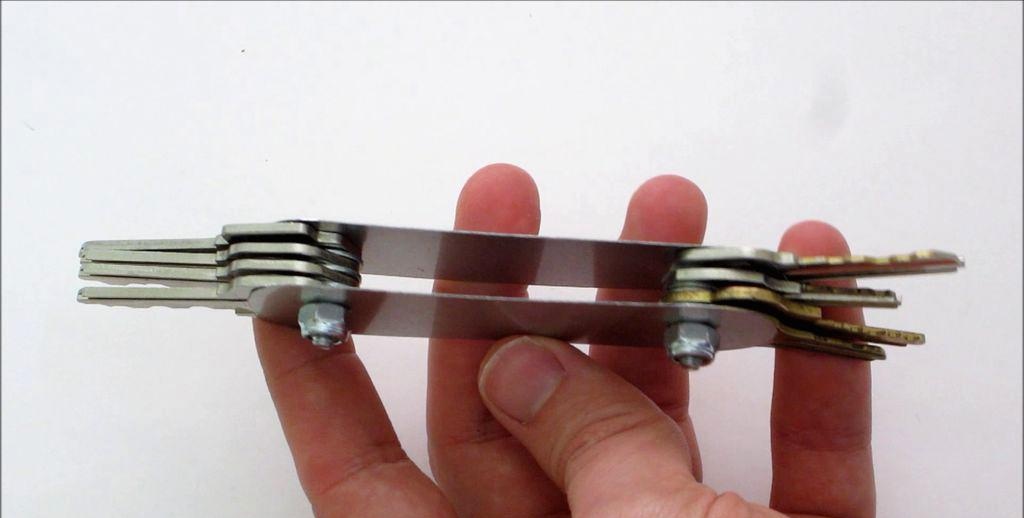
We insert a 20 mm long bolt into one of the holes in the metal plate, then 5 washers and 4 keys in succession. For reference: a bolt with a length of 12.5 mm will fit 3 washers and 2 keys, and a bolt with a length of 25.4 mm will fit 7 washers and 6 keys.
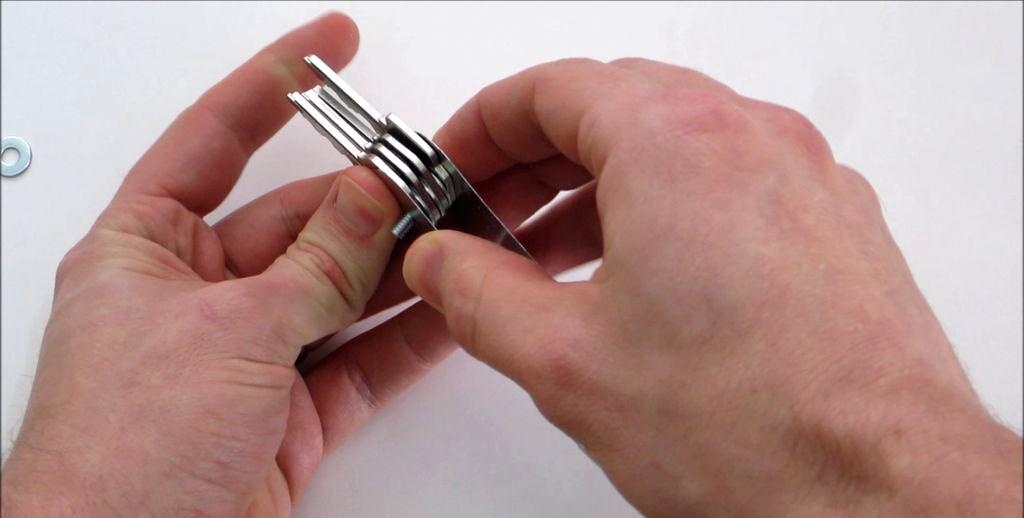
We complete the second bolt in exactly the same sequence.Now we close everything with a second metal plate and tighten the resulting package with nuts.
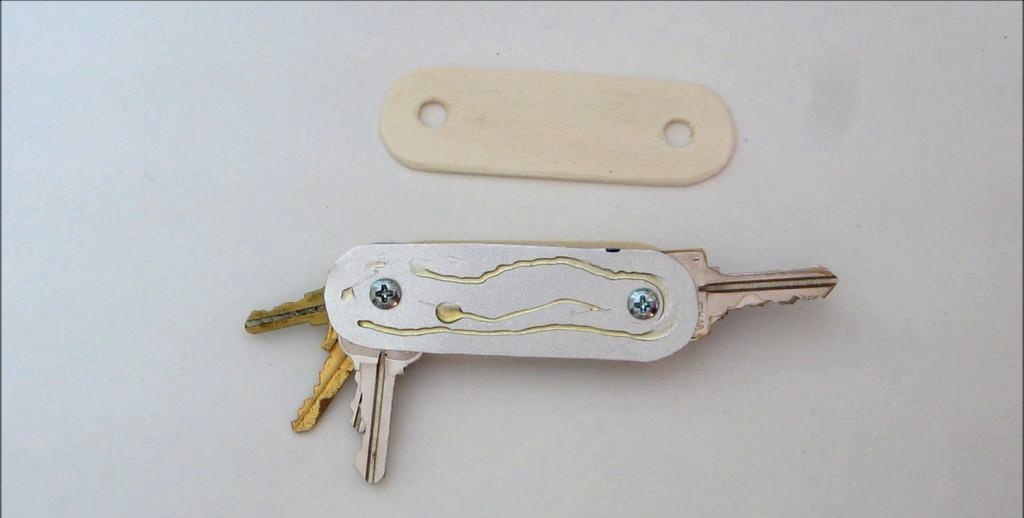
We glue the wooden overlays onto the metal plates using suitable glue. Until the glue is completely cured, squeeze them with two clamps.
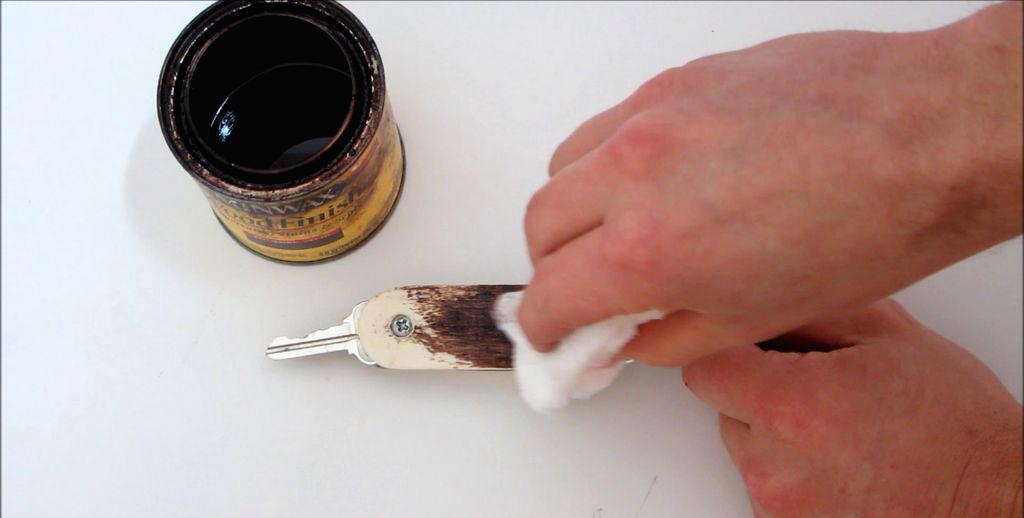
You can treat wooden overlays with stain and cover them with colorless varnish or use other means for this. The main thing here: convenience and aesthetics.

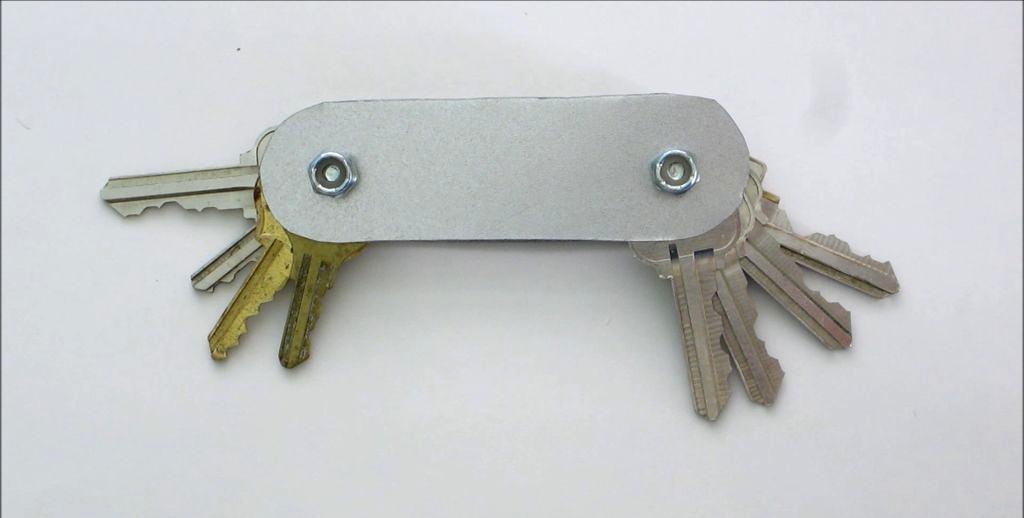
A keychain with a set of keys is strikingly reminiscent of a Swiss Army knife in appearance and design. Moreover, they are similar in functionality. The keys in the assembled position are located inside the case, ensuring compactness. They are systematized by division into two blocks and oriented in space, which allows you to quickly find the desired key.
Possible modifications
A good idea gives flights of imagination. Why not make the body of the key fob from transparent plexiglass. In this case, another systematization opportunity appears - visual control of the location of the keys.
You can put the outer washers in fluoroplastic, which have low friction and elasticity. This will allow you to adjust the degree of clamping of the key block using the nuts on the bolts. As a result, when assembled, the keys will not fall out of the case, and the desired key will occupy a stable position in relation to the case.