Full-fledged milling and circular machines are expensive and take up a lot of space in the workshop, so they are not suitable for everyone. If you equip a hand-held power tool with a special guide, the capabilities of such equipment are expanded many times over. The proposed design allows you to work with a hand router and a circular saw. With its help, it is possible to trim lumber at any angle, carry out longitudinal cutting and prepare grooves.
Required materials
For work you will need materials that can be found in a construction hypermarket:
- plywood 18 mm;
- board 30x70;
- lath 20x50;
- T-bolt;
- profile with T-slot;
- presser foot-clamp;
- channel profile;
- furniture dowels with M6 bolts;
- manual adjustment nut.
The process of making a circular saw guide
As for the size of the proposed guide design, it is selected individually to suit the cutting depth of the existing saw, as well as those workpieces that will be processed in the future.
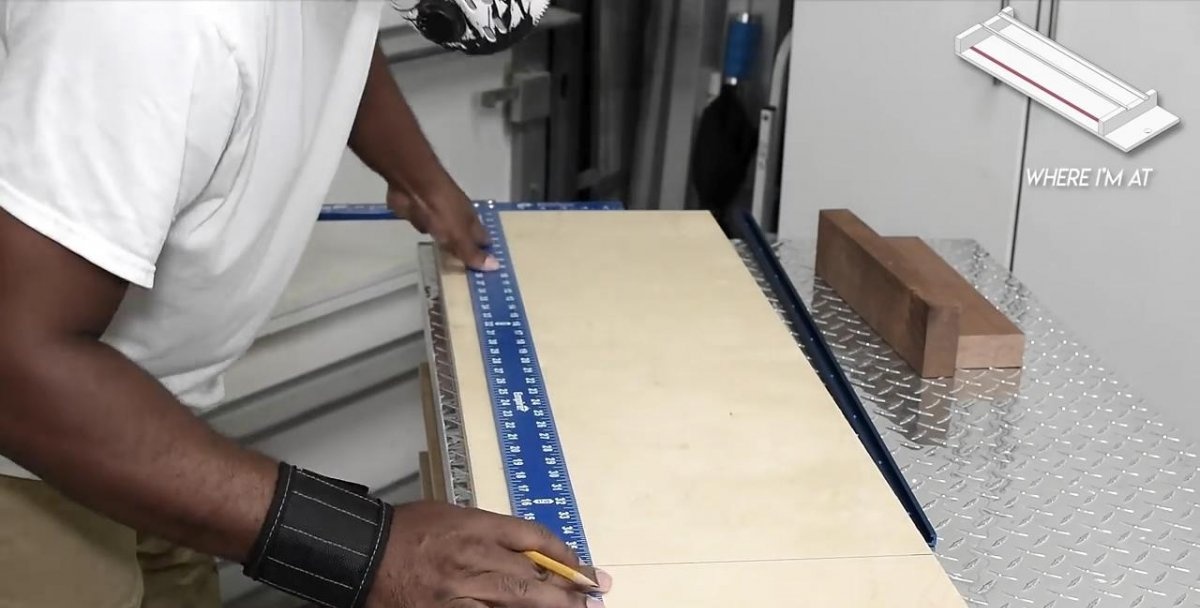
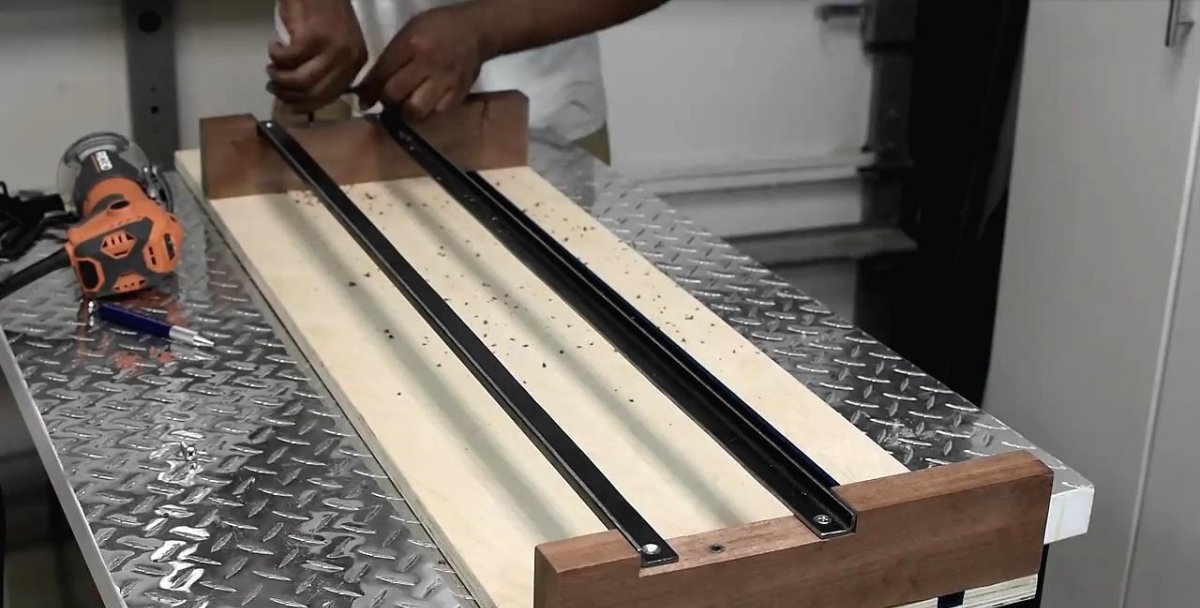
A plywood sheet is used to make the tabletop. Its length can be anything.The width can be made 35 cm, which will be convenient for the vast majority of circulars. Stepping back 10 cm from the long edge of the plywood, you need to apply markings to install the profile with a T-shaped groove.
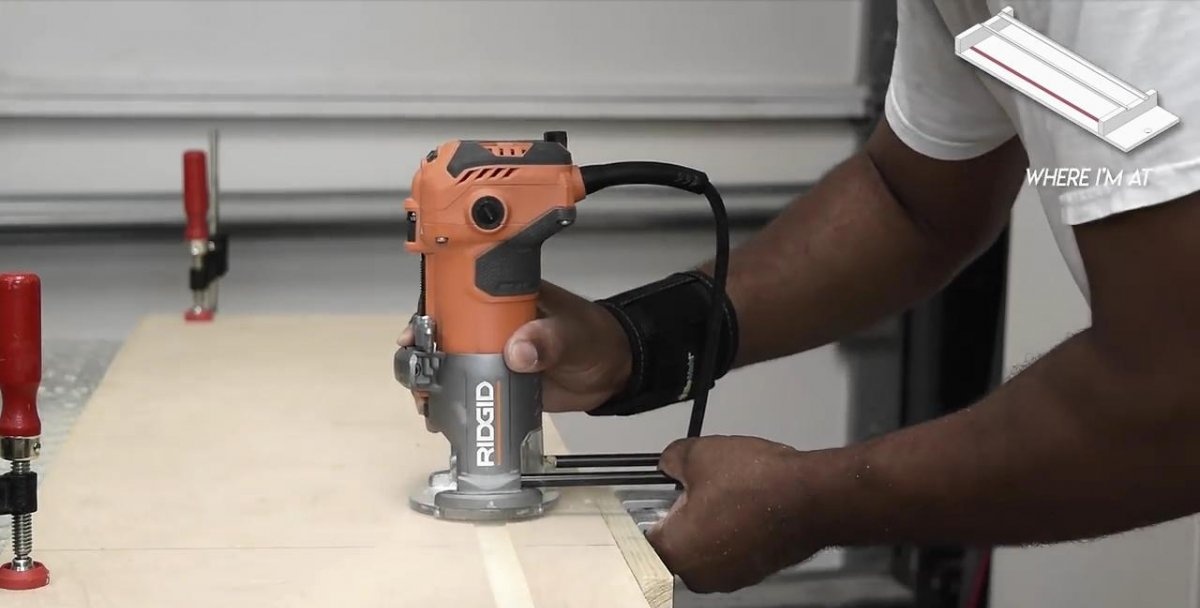
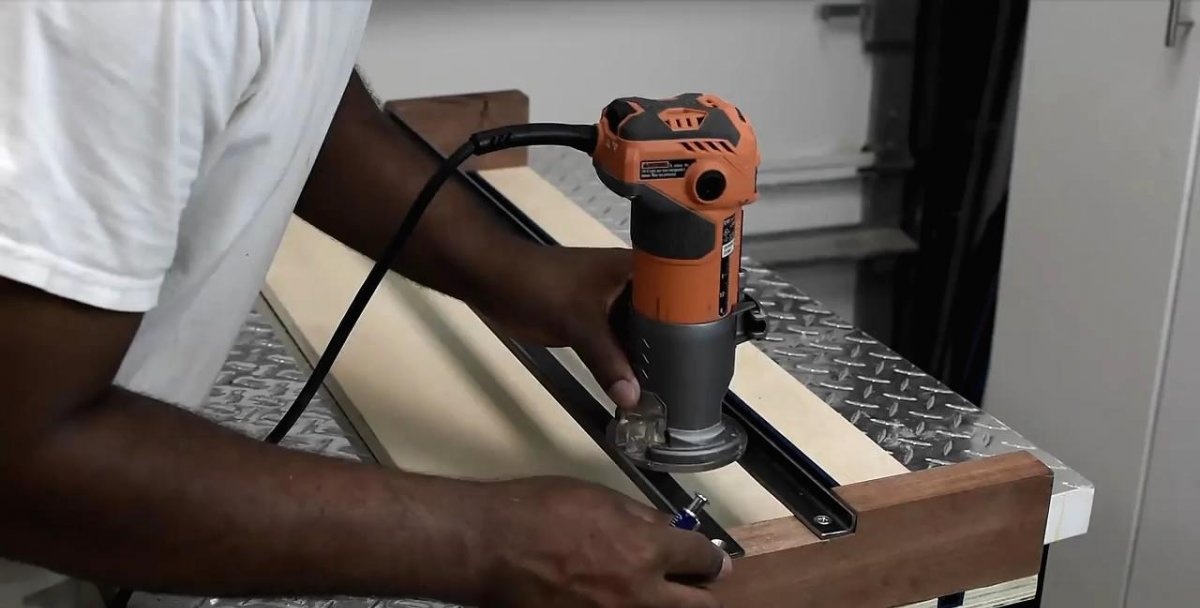
It is desirable that the profile be shorter than the actual length of the tabletop, which will make storing the machine easier in the future. The profile must be seated in the groove. The most convenient way to select it is with a hand router and install a parallel stop. When working with plywood, it is better to go deeper gradually, making a selection in several passes.
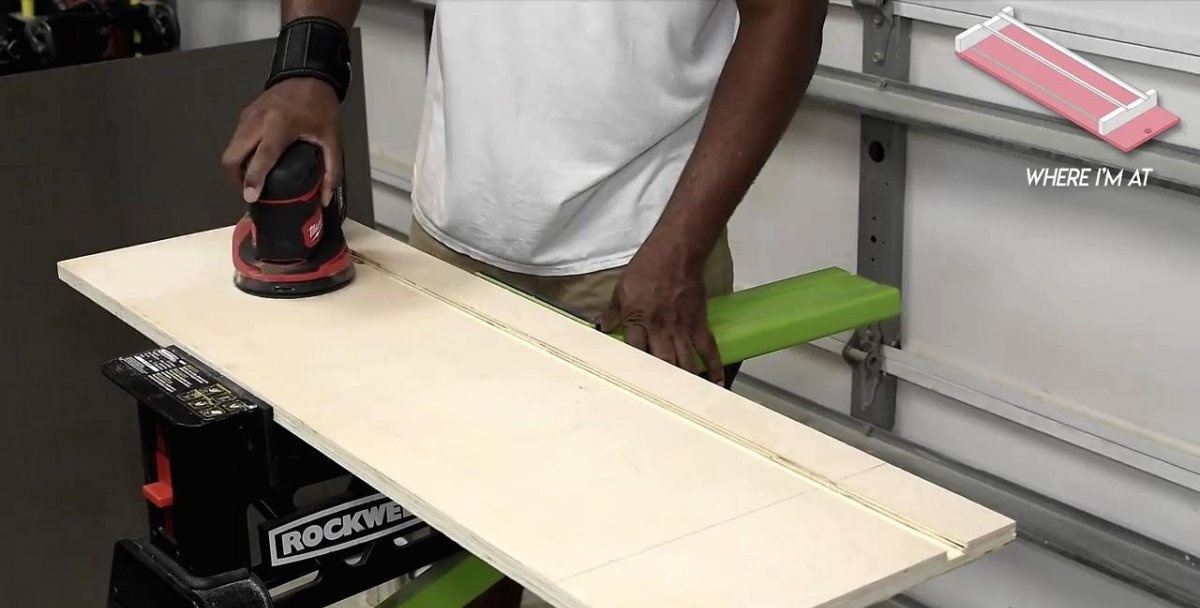
To remove defects on the surface of the tabletop, you need to sand the plywood.
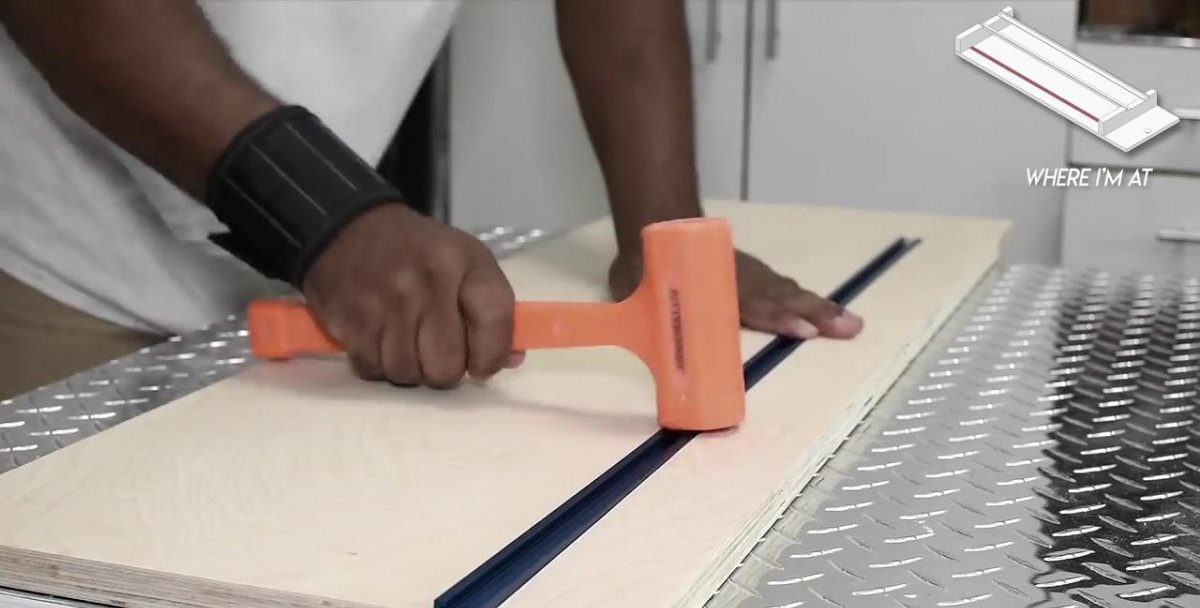
The profile with a T-shaped groove is pressed flush into the resulting socket. It is secured with self-tapping screws along its entire length.
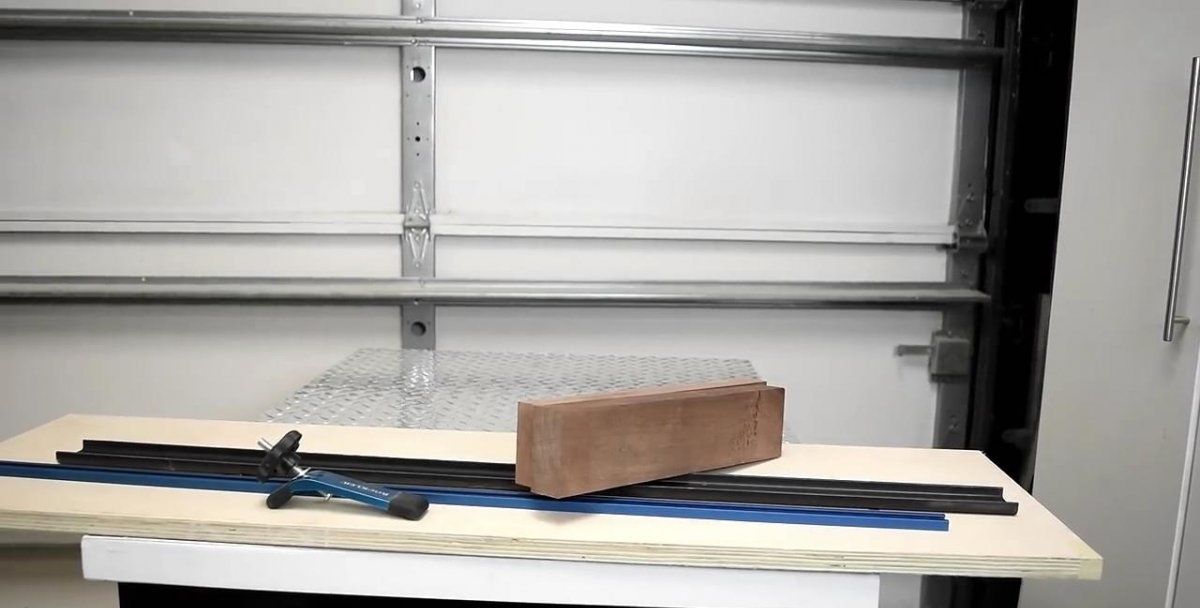
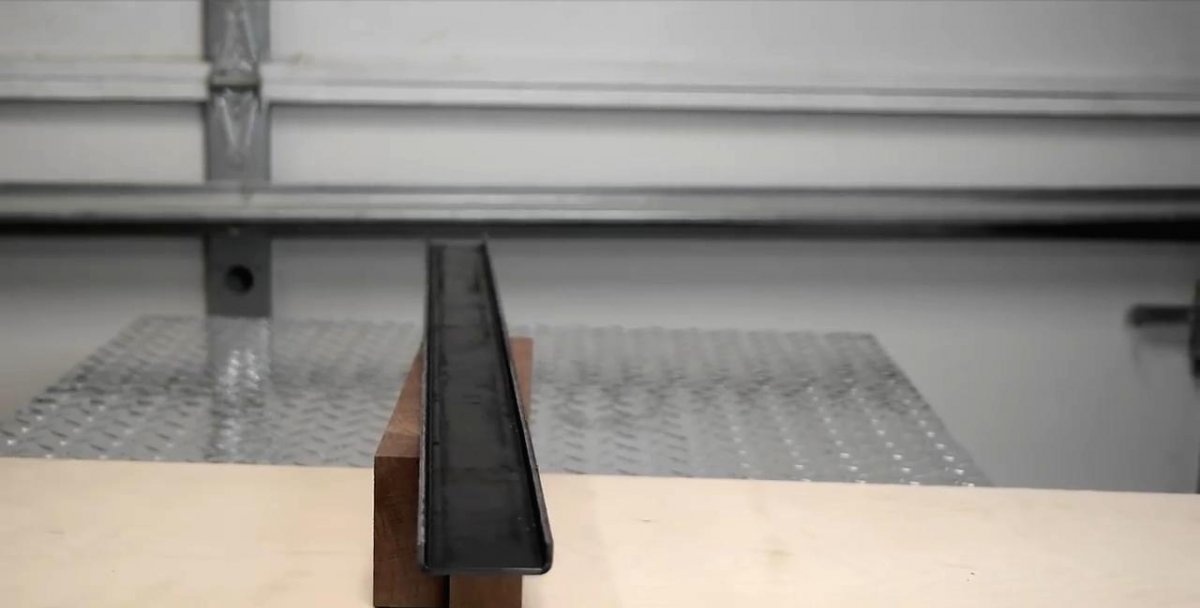
You can find a corner for a direct guide for the power tool itself, but often it has identical sides, which is not entirely convenient. It is much better to purchase a channel and cut it lengthwise, getting 2 excellent corners with a low side.
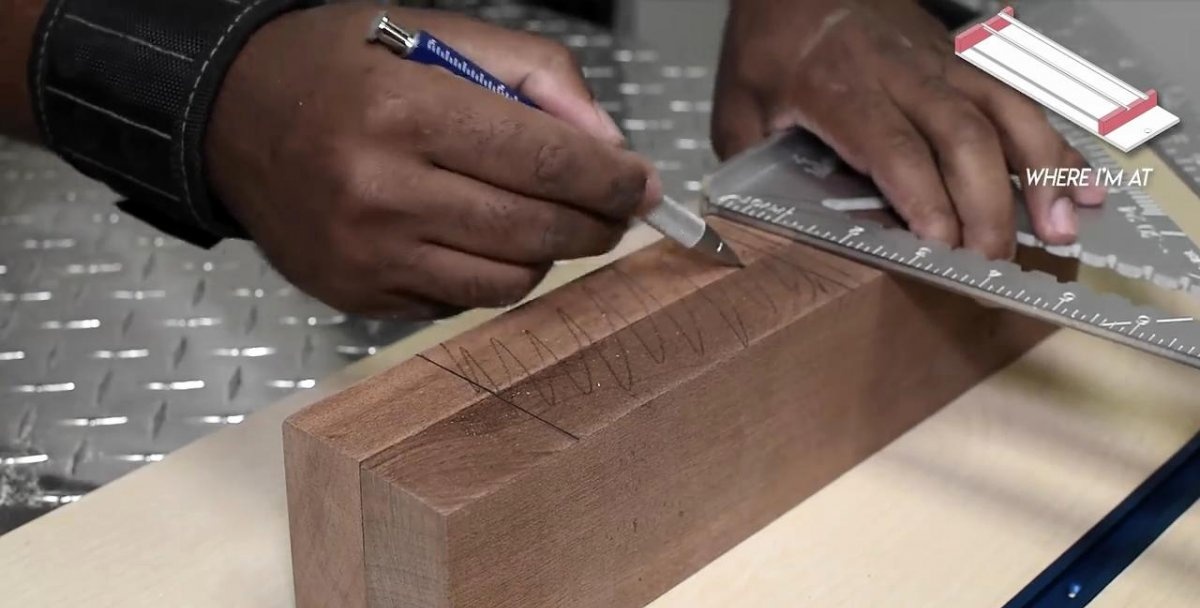
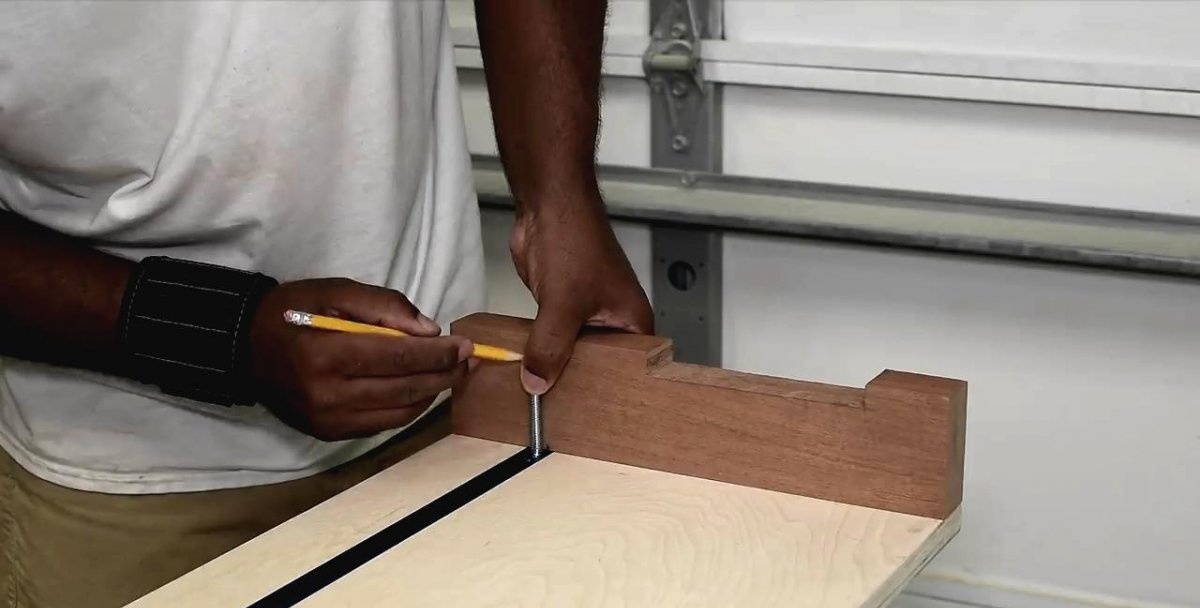
Now you need to make stops for the guide. To do this, take 2 boards with a cross-section of 30 mm, the length corresponding to the width of the plywood table top. In this case, their length is 35 cm. As for the width of the boards, it should be equal to the actual cutting depth of the circular saw plus 8 mm. Having aligned the boards with each other and placing them on the edge, you need to mark 7 cm from the edge. From this line the length corresponding to the width of the saw sole is measured. The second mark is placed a little wider, taking into account the thickness of the corner walls and a gap of 1 mm.
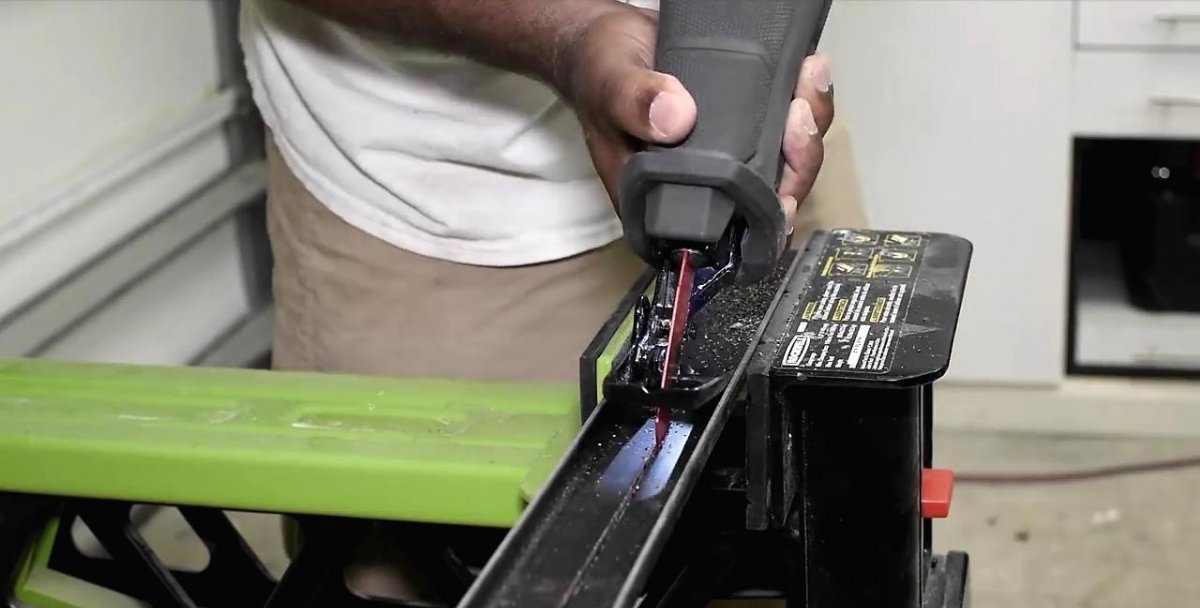
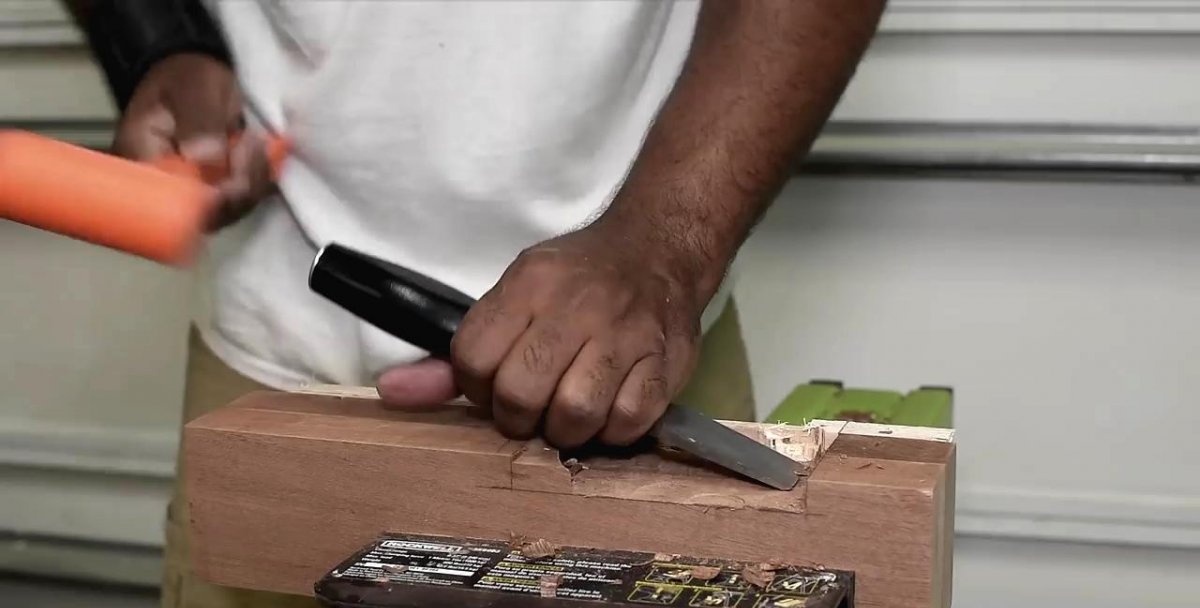
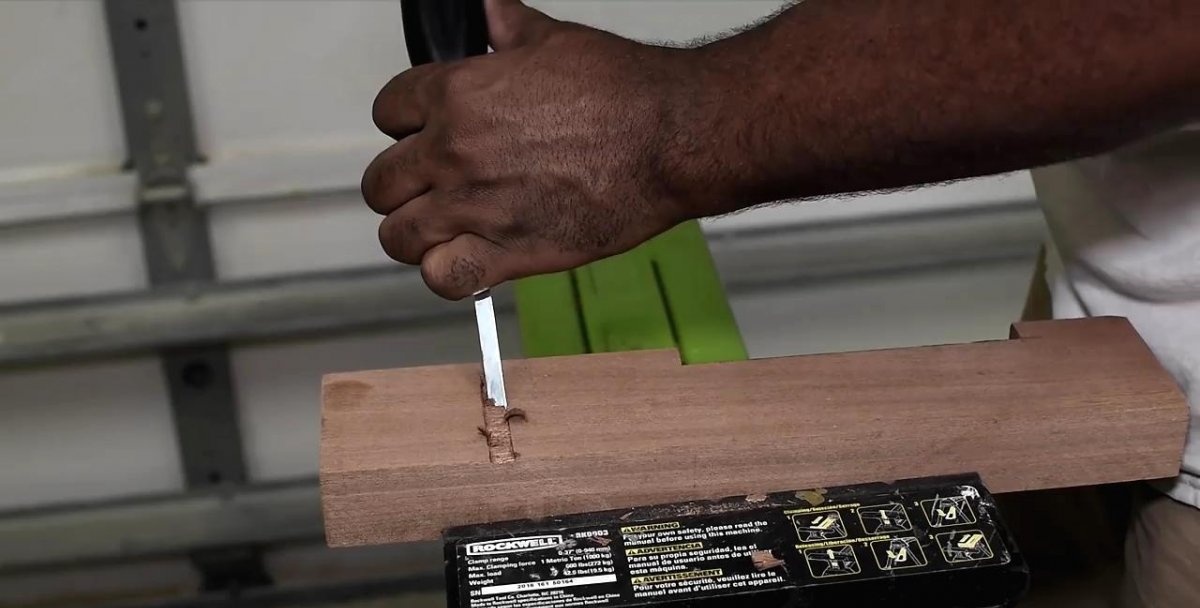
Holding the boards in a vice, you need to saw everything along the drawn lines with a hacksaw to a depth of 1 cm, and then select a groove.
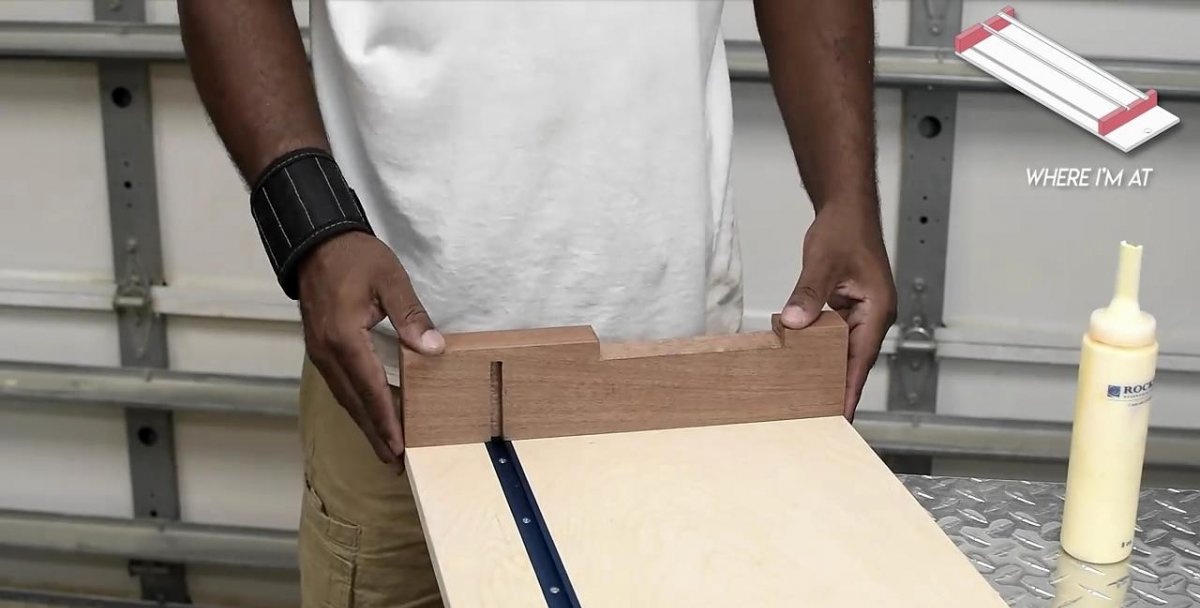
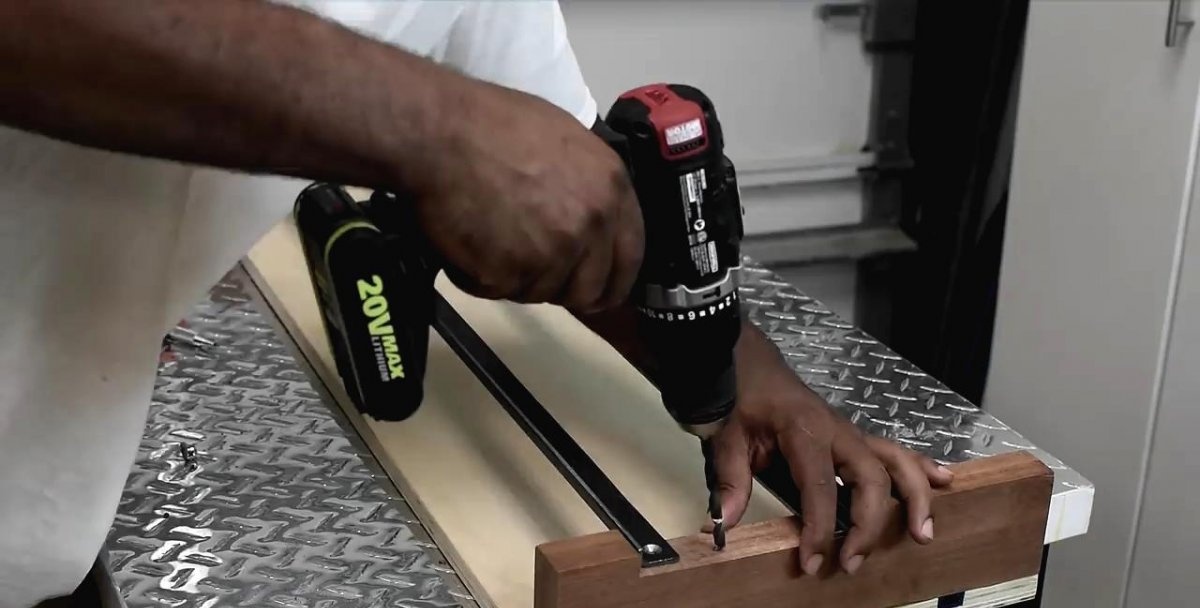
Now you need to attach the boards to the tabletop.To do this, they are first glued and then tightened with screws. Note that the second board is secured to the end of the T-slot profile, not the plywood. Before gluing, you need to envy the T-bolt in the profile
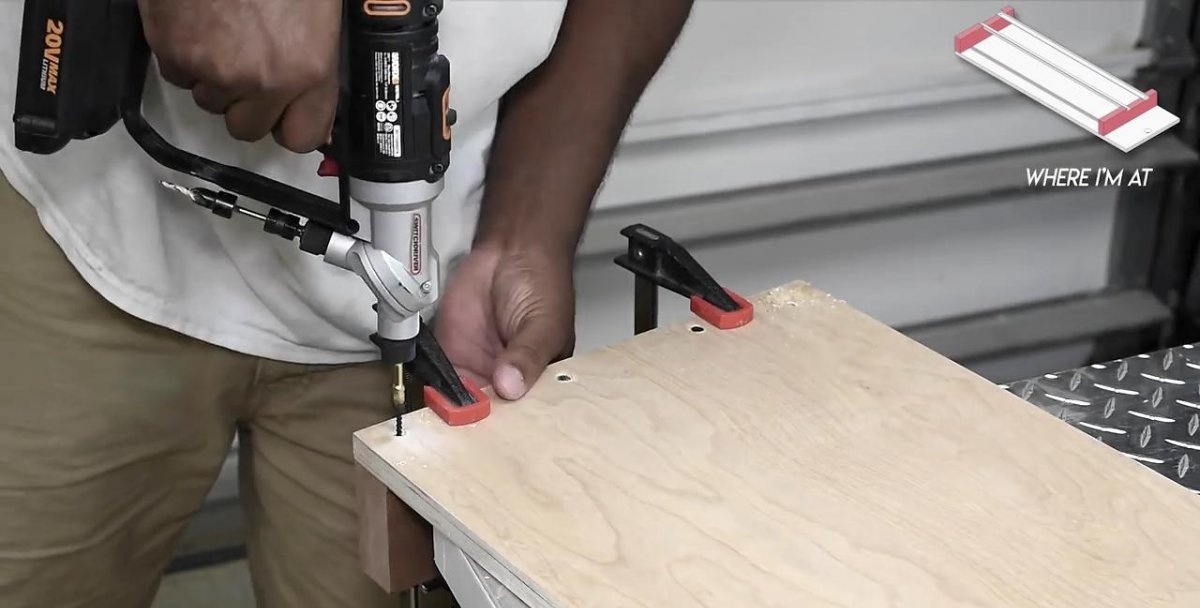
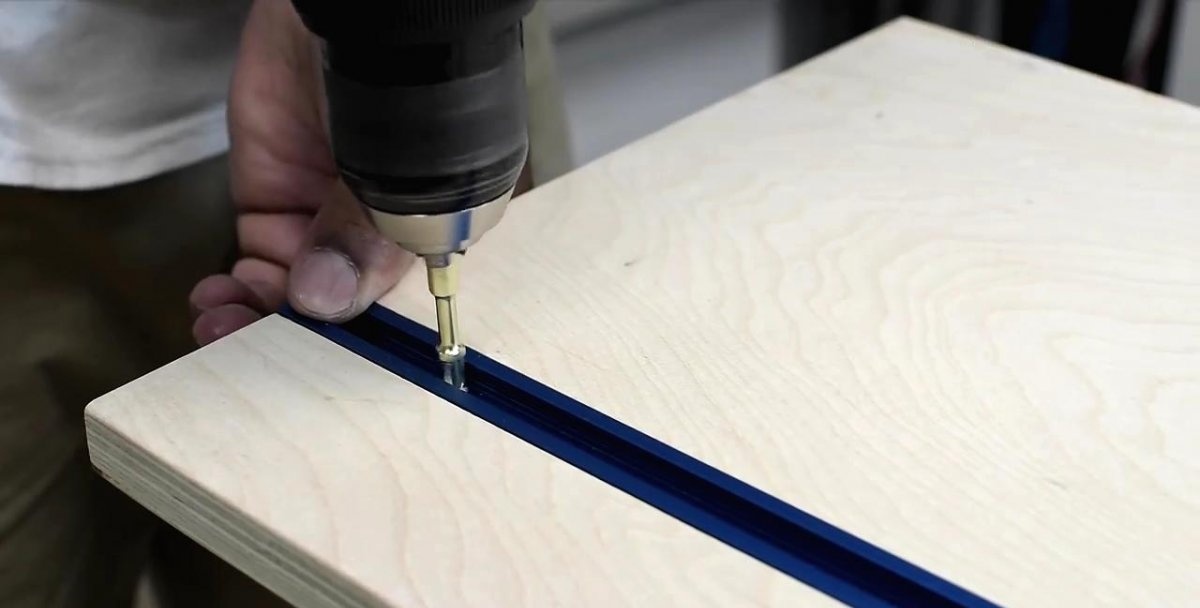
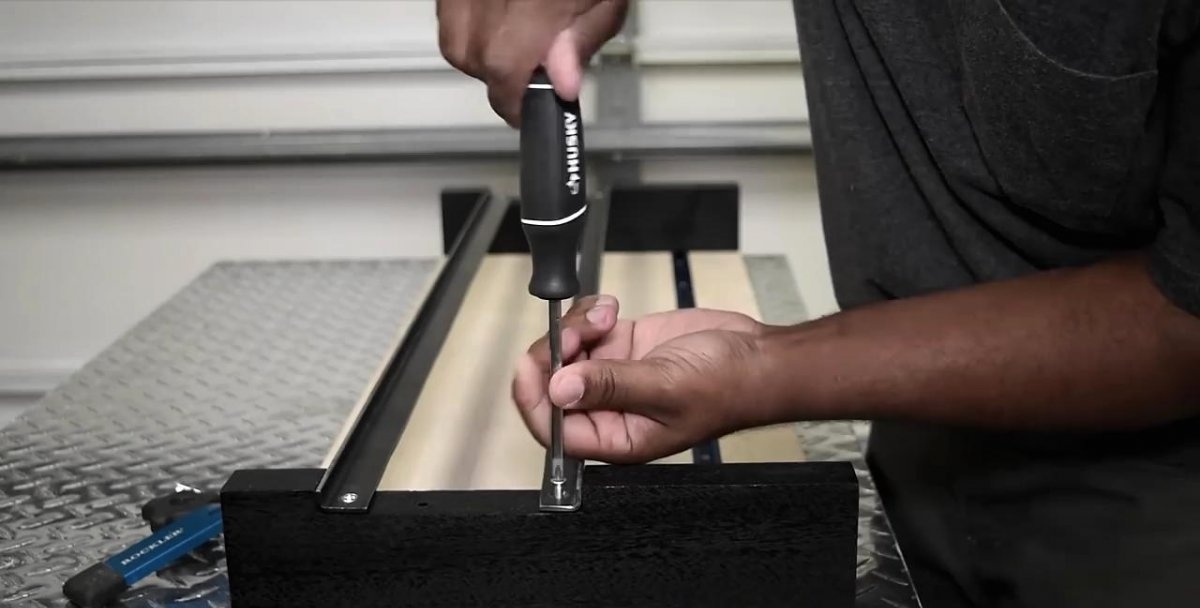
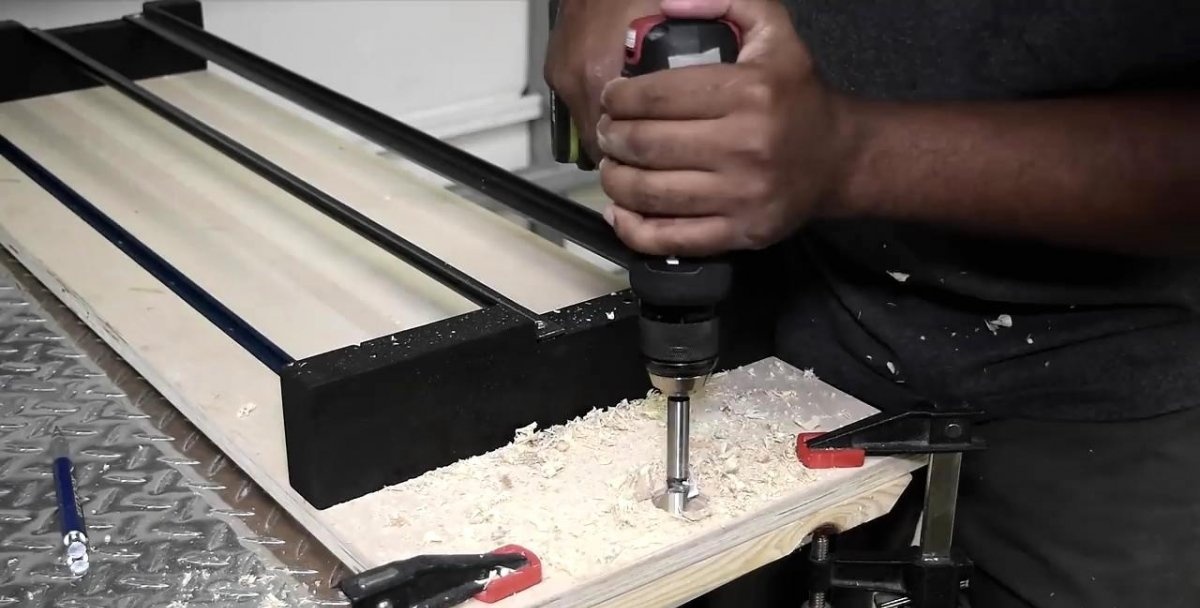
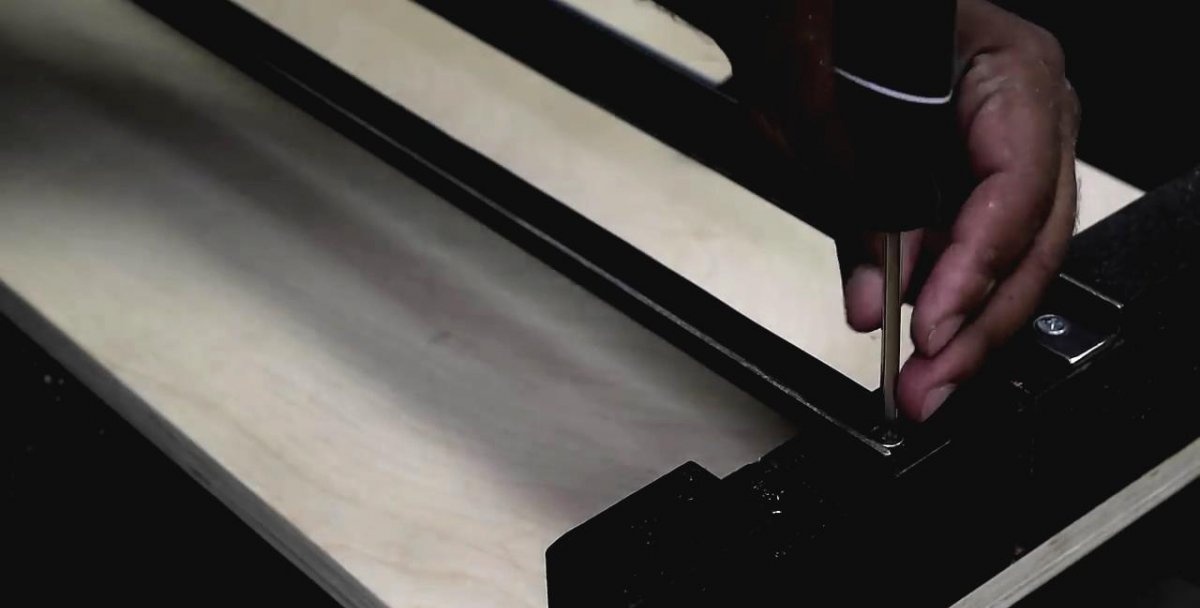
On the racks obtained from the boards, you need to fasten the corners from the channel directly into the groove, thereby adding rigidity. To make the structure collapsible, it is better not to screw screws into the wood, but to install a furniture dowel and then use the screw.
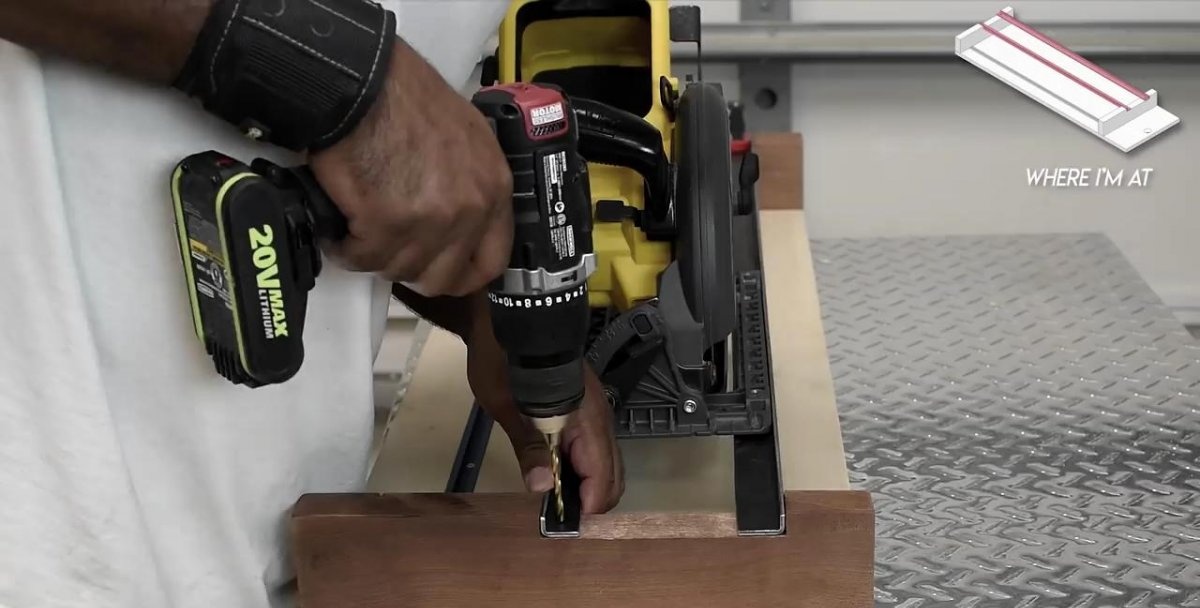
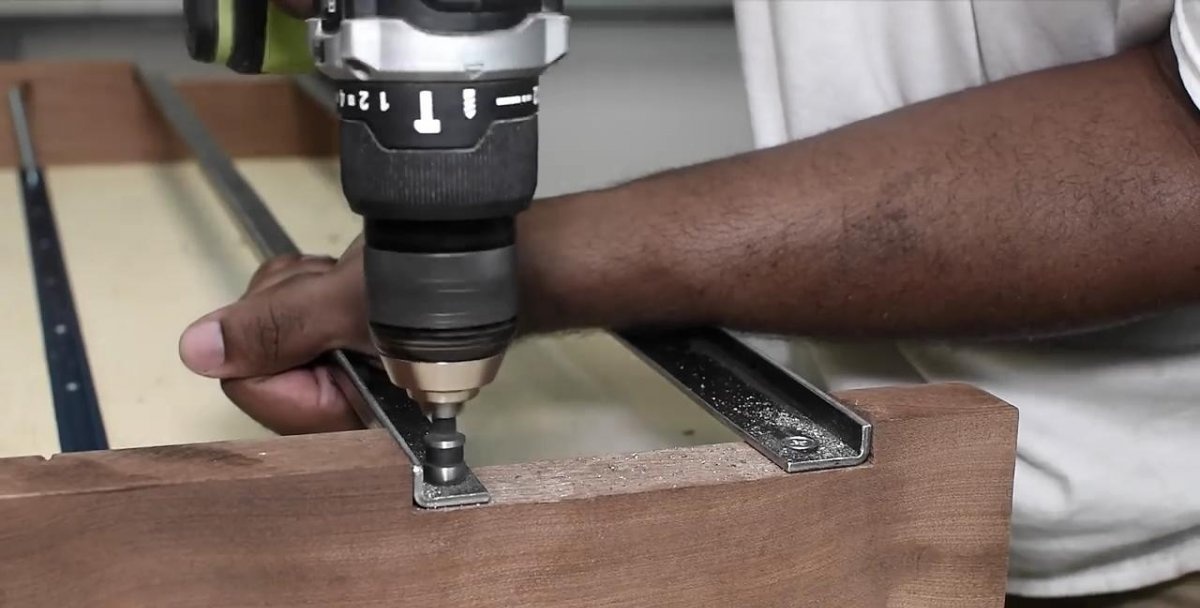
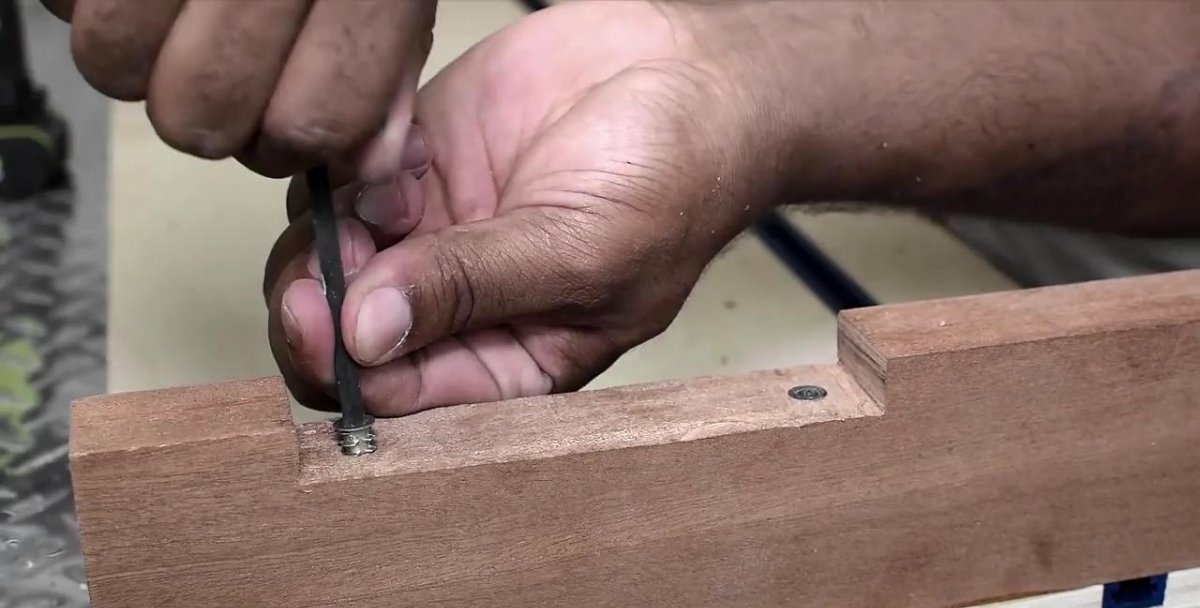
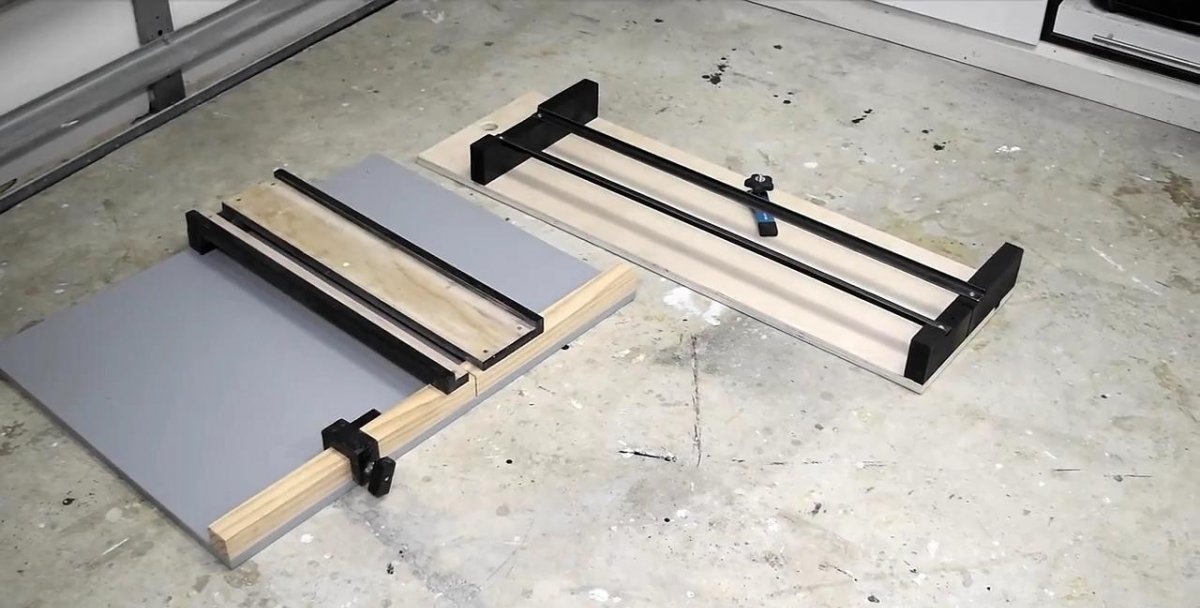
You can also move the slides of the guide so that it can be used for the router. You will need to make a couple more holes and install furniture dowels.
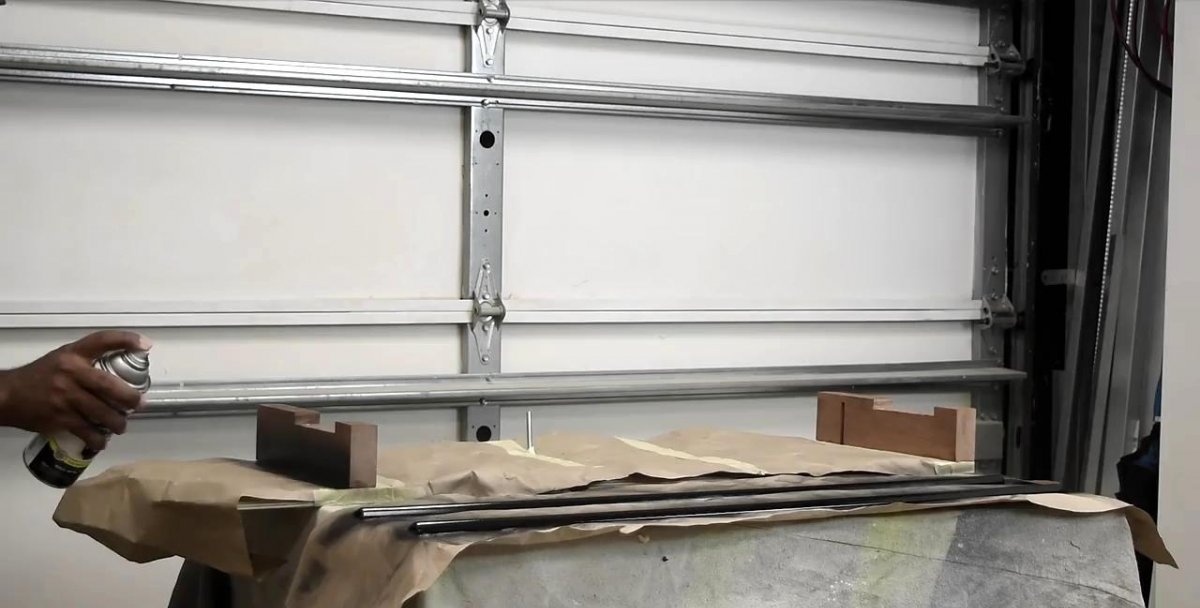
Let's paint the resulting device.
For the convenience of further storage of the machine in a suspended state, a through hole can be cut on the plywood protruding beyond the working part of the tabletop.
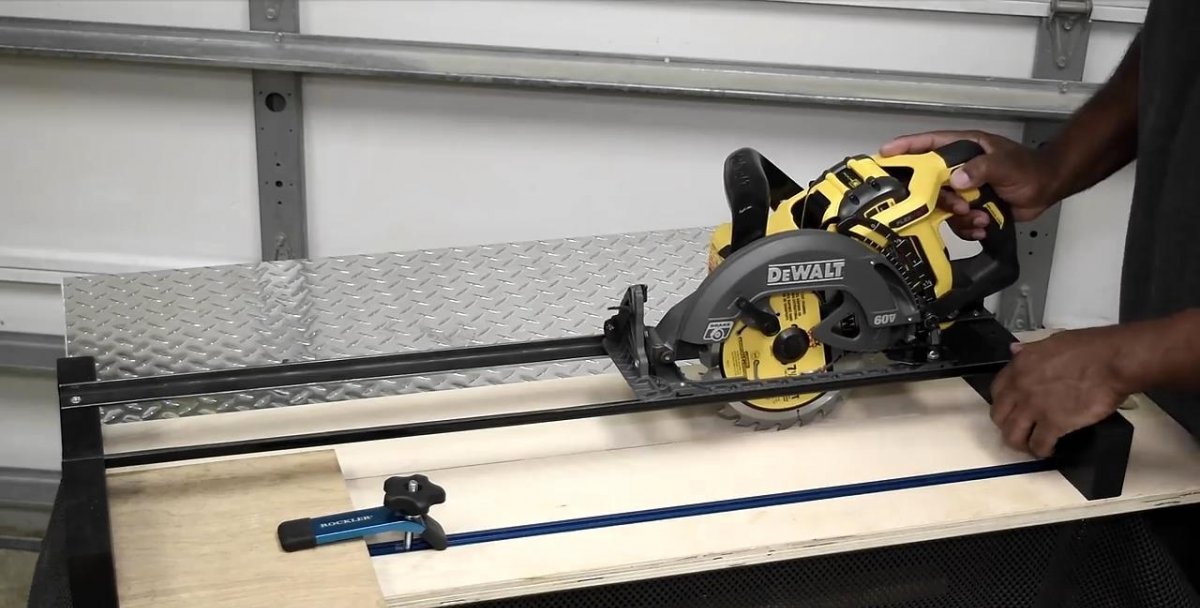
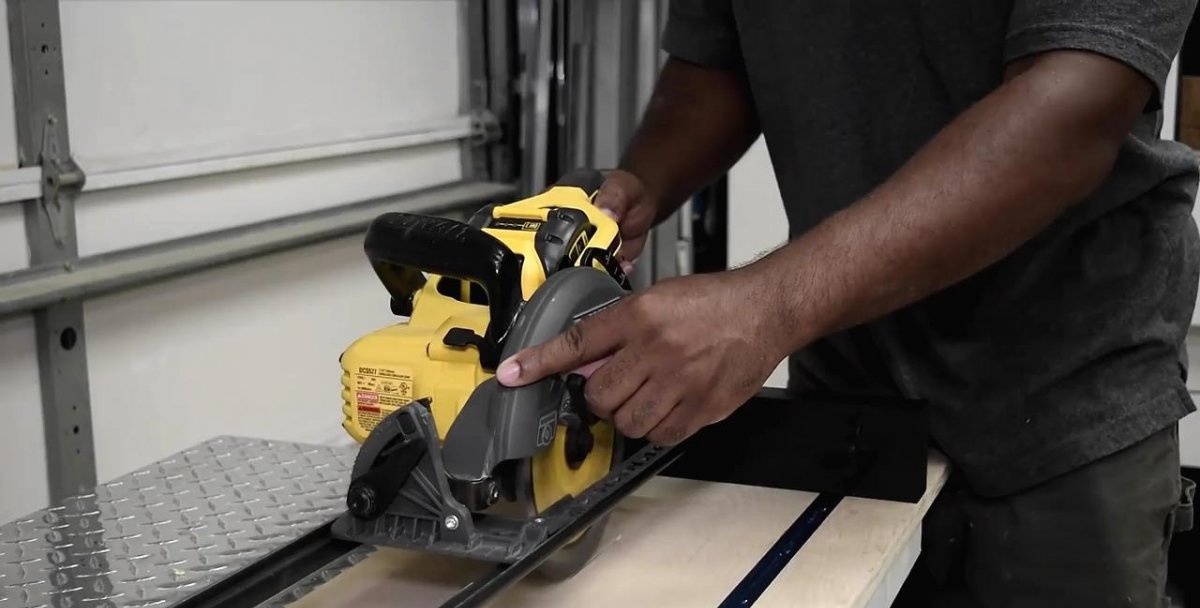
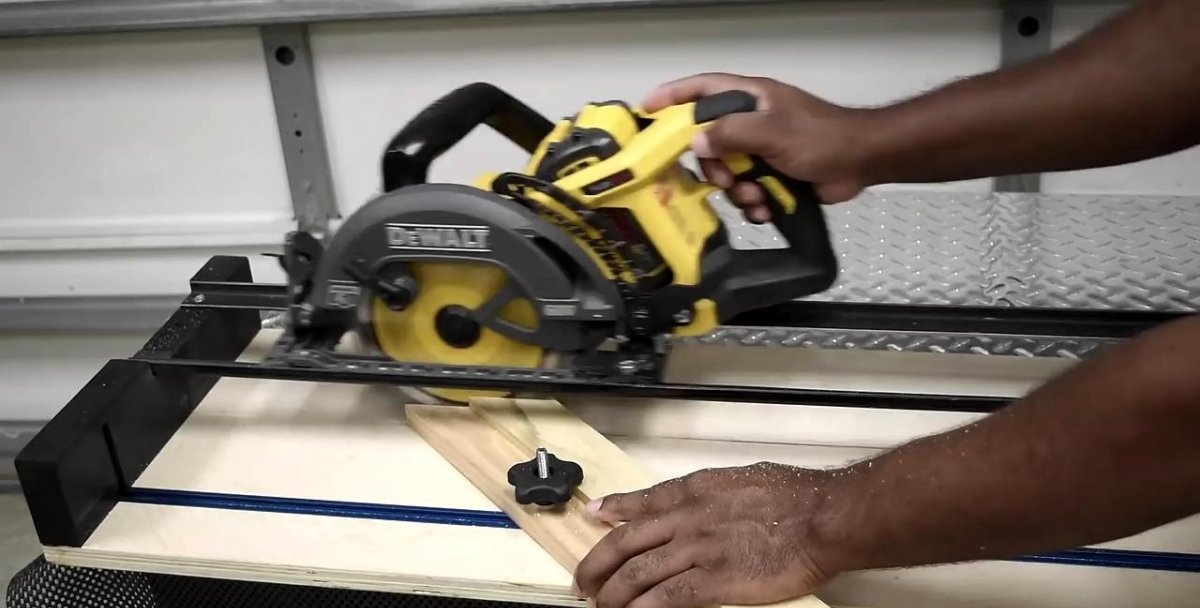
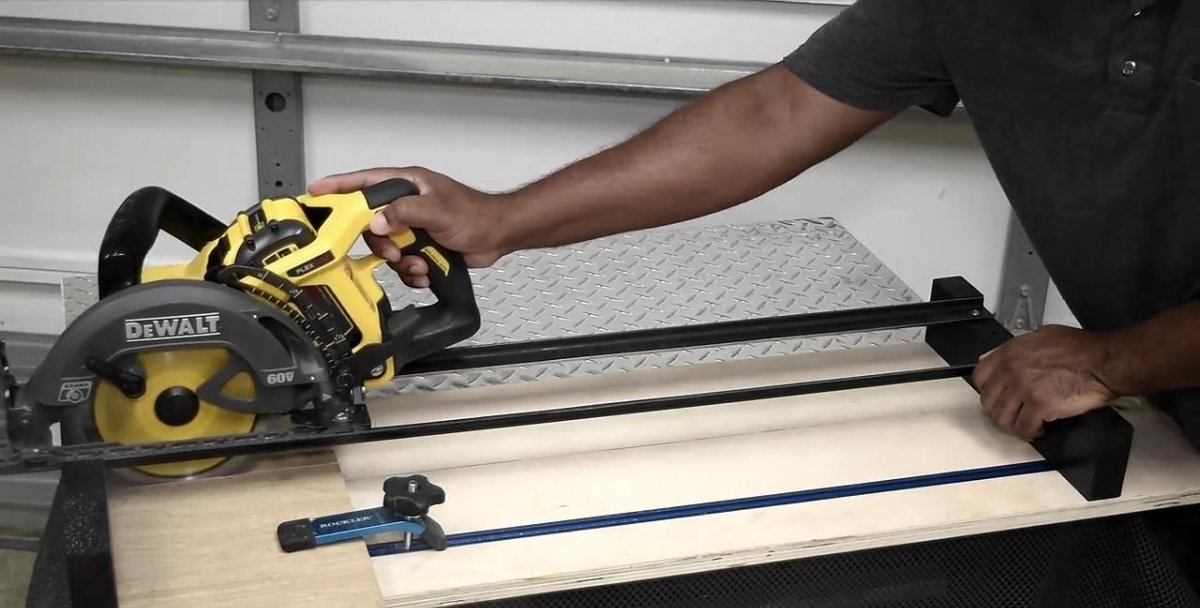
Now you need to put the circular saw on the skids. It should be turned on and driven from one edge of the tabletop to the second. A slightly protruding disk will make a groove of about 2 mm, due to the fact that the grooves of the racks were deepened not by 8 mm, but by 1 cm.
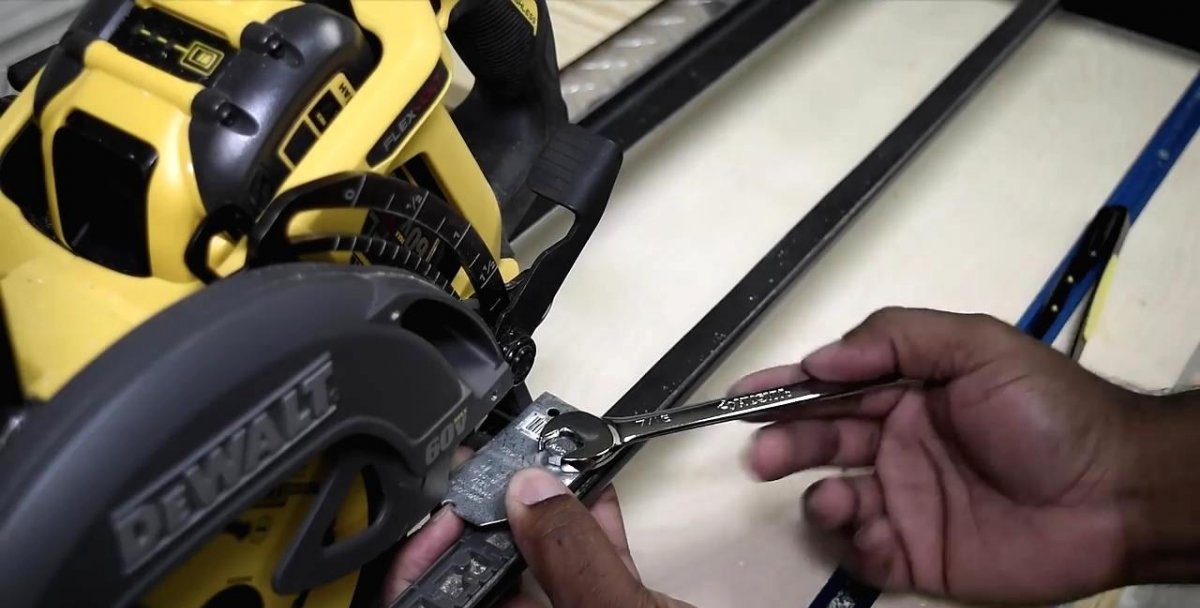
So that when moving the saw does not become warped and does not slow down, you can attach a furniture corner to its sole, slightly sharpening it. This may not be necessary, a lot depends on the type of sole.

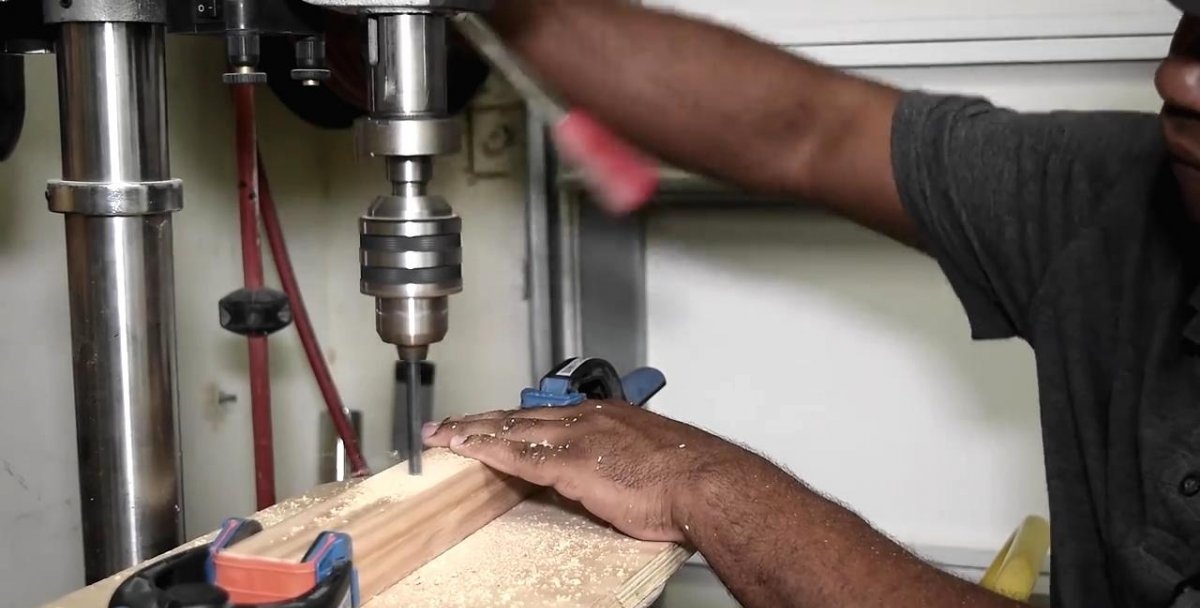
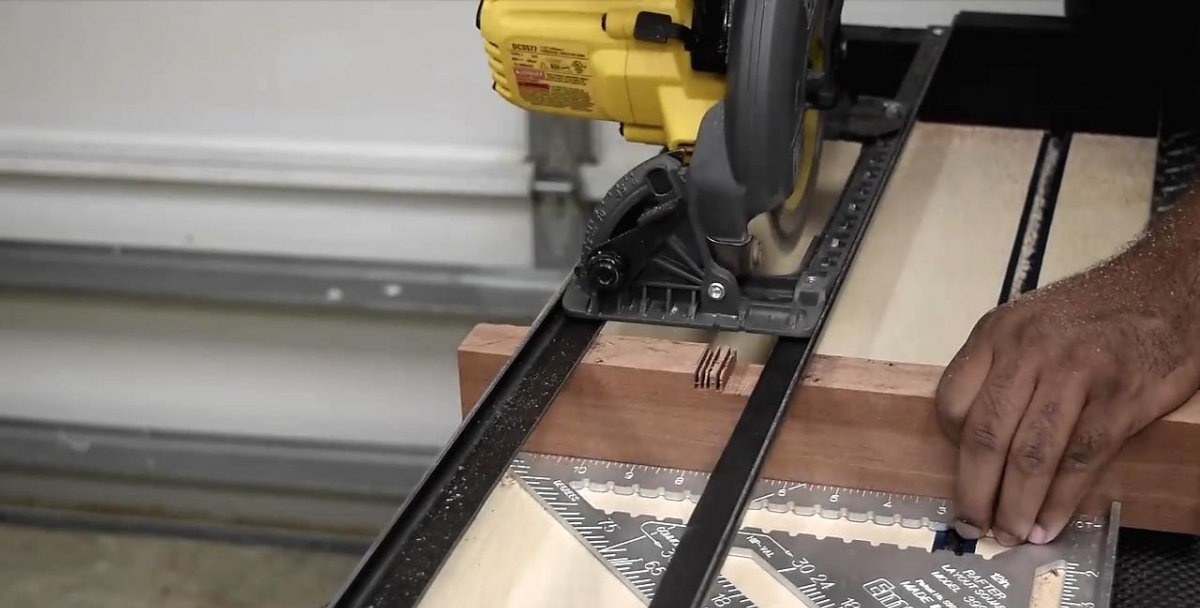
Using an almost ready-made machine, you can make guides for fastening workpieces at an angle. First of all, stops at 45 and 30 degrees will be useful. To do this, take 2 slats and drill a hole in them for a sliding T-bolt.
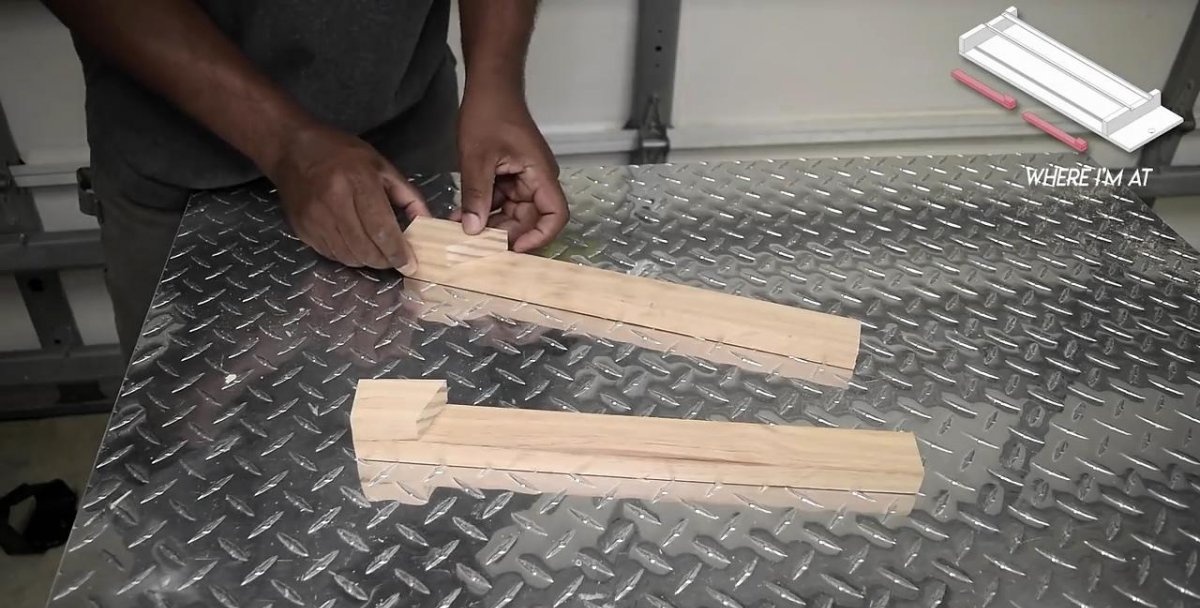
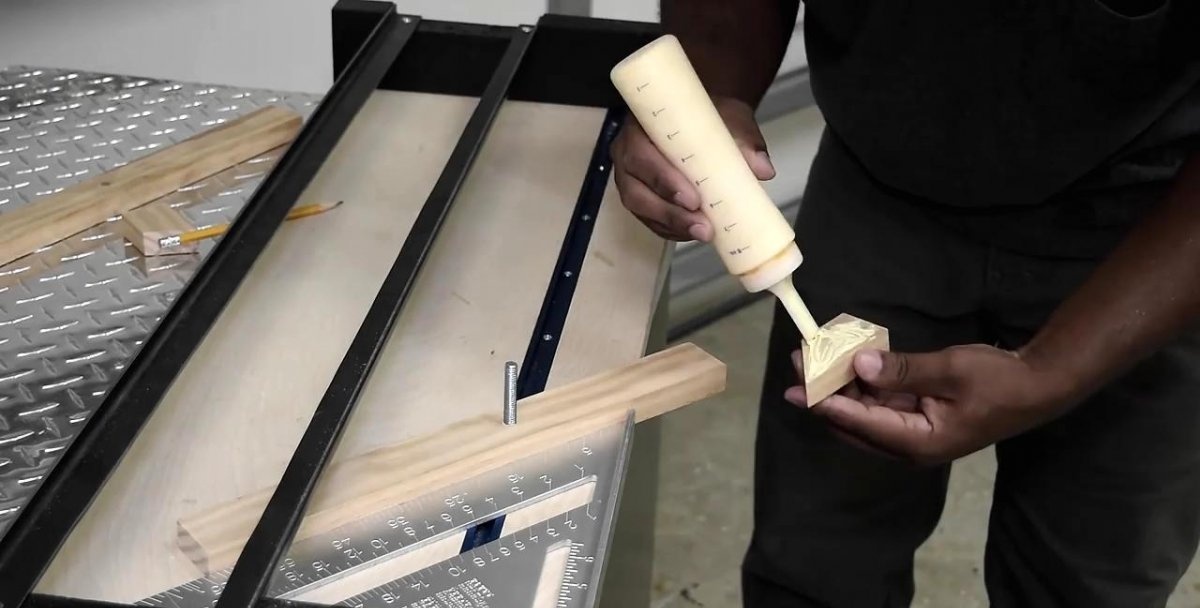
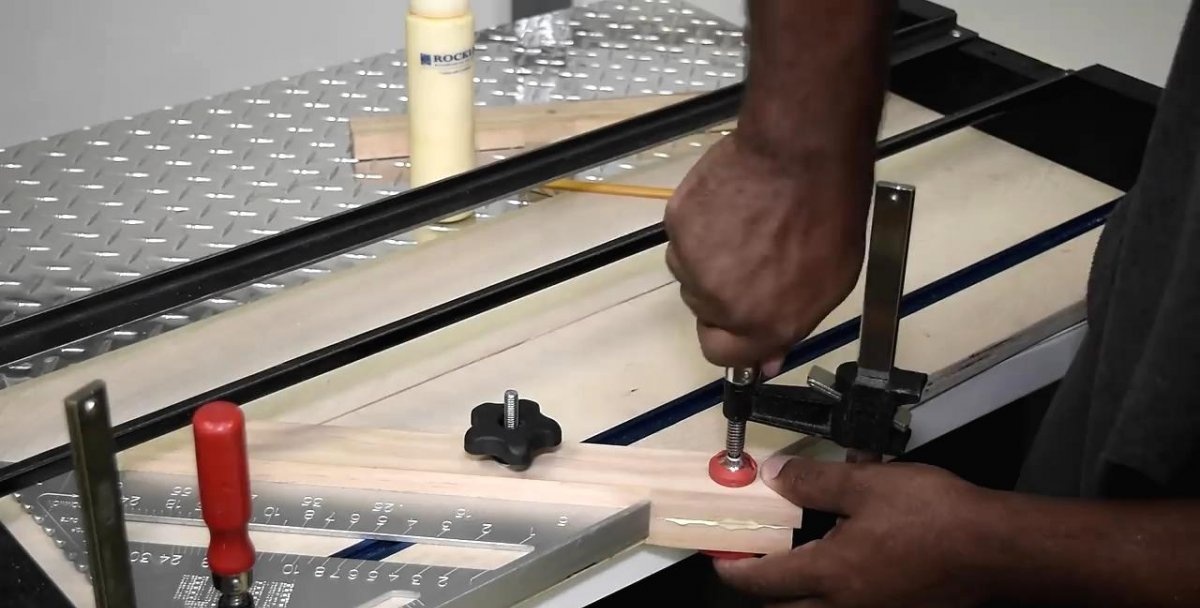
Having secured one workpiece at an angle of 45 degrees and pressing the manual adjustment nut, you need to cut off the protruding end with a saw.The resulting segment should be glued to the bottom of the back of the plank, creating an additional stop. It will rest against the side end of the tabletop, so in the future it will be possible to fix the guide without a protractor. In the same way, you can prepare special guides for other angles.
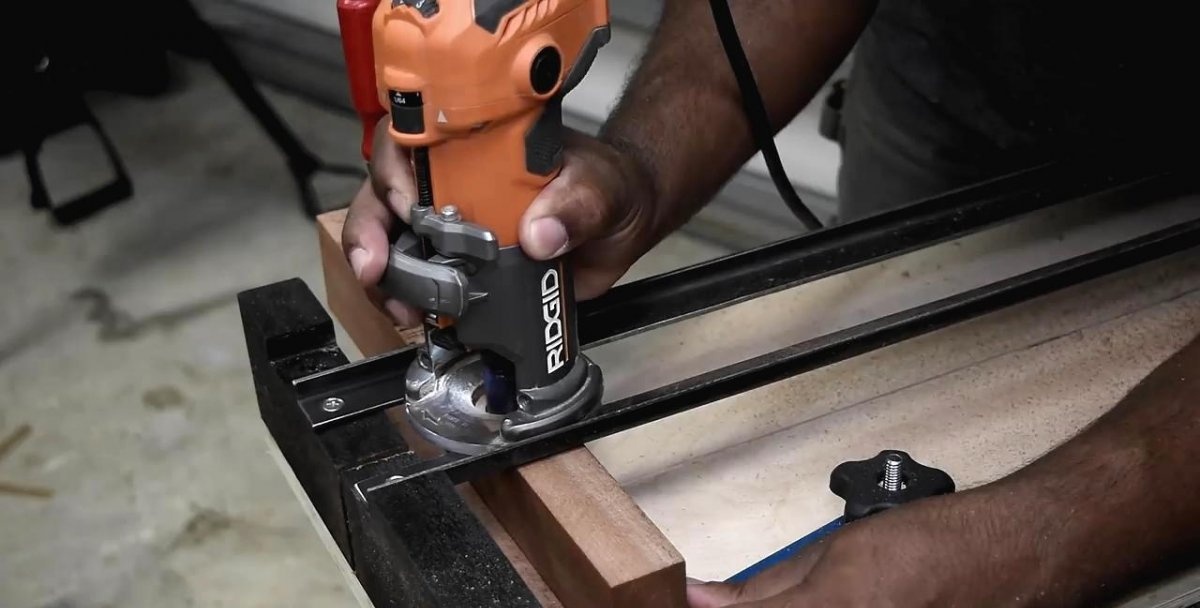
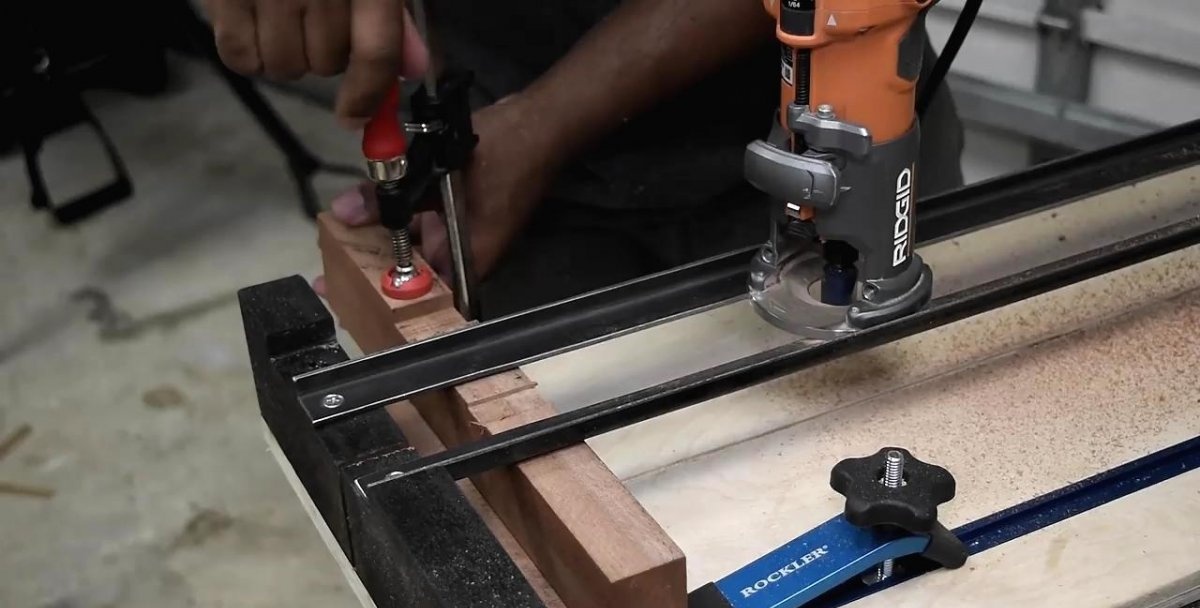
The bolt protruding from the T-shaped guide profile can be used to attach a presser foot, guides and other carpentry devices, expanding the capabilities of the resulting machine. The cost of manufacturing such equipment is low, but its functionality is sufficient for processing small workpieces or precise, quick trimming of lumber.
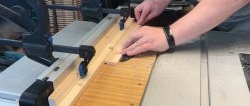
Visual work with a saw:
Working with a router: