There are even people who collect buttons... There are also a third type of buttons, but they have not received such wide recognition and use as the first two types, due to their complex design - these are the so-called denim buttons. They are not sewn to clothing, but are attached to it with a rivet. I think it makes no sense to describe the existing external types of buttons - it’s simply impossible to list them all! But there are buttons that no one else has but you. And it can’t be! These are buttons with their own design, image, initials or a certain symbol or emblem. Such buttons are usually made to order, but there is a way to make them yourself, at home. The option that I offer for review is more suitable for children or young girls. However, this is only one option. I chose emoticons just to show an example of what it would look like.
During production, the design can be selected at your own discretion. Initials, badges and so on. Yes, even your own photograph, if you like! Here, as they say, there is complete freedom of imagination - whoever wants, does so. I’m simply describing the manufacturing principle, with a sample in the form of emoticons from well-known popular social media messengers. networks.
Will need
- Plexiglas, 5 mm thick.
- Computer with color printer.
- A sheet of plain paper, A4 size
- Scissors.
- Secondary glue.
- Emery machine.
- Bor machine or engraver.
- Sandpaper, medium to fine grit.
- Buttons with an eye (preferably collapsible).
We make gift buttons with our pictures
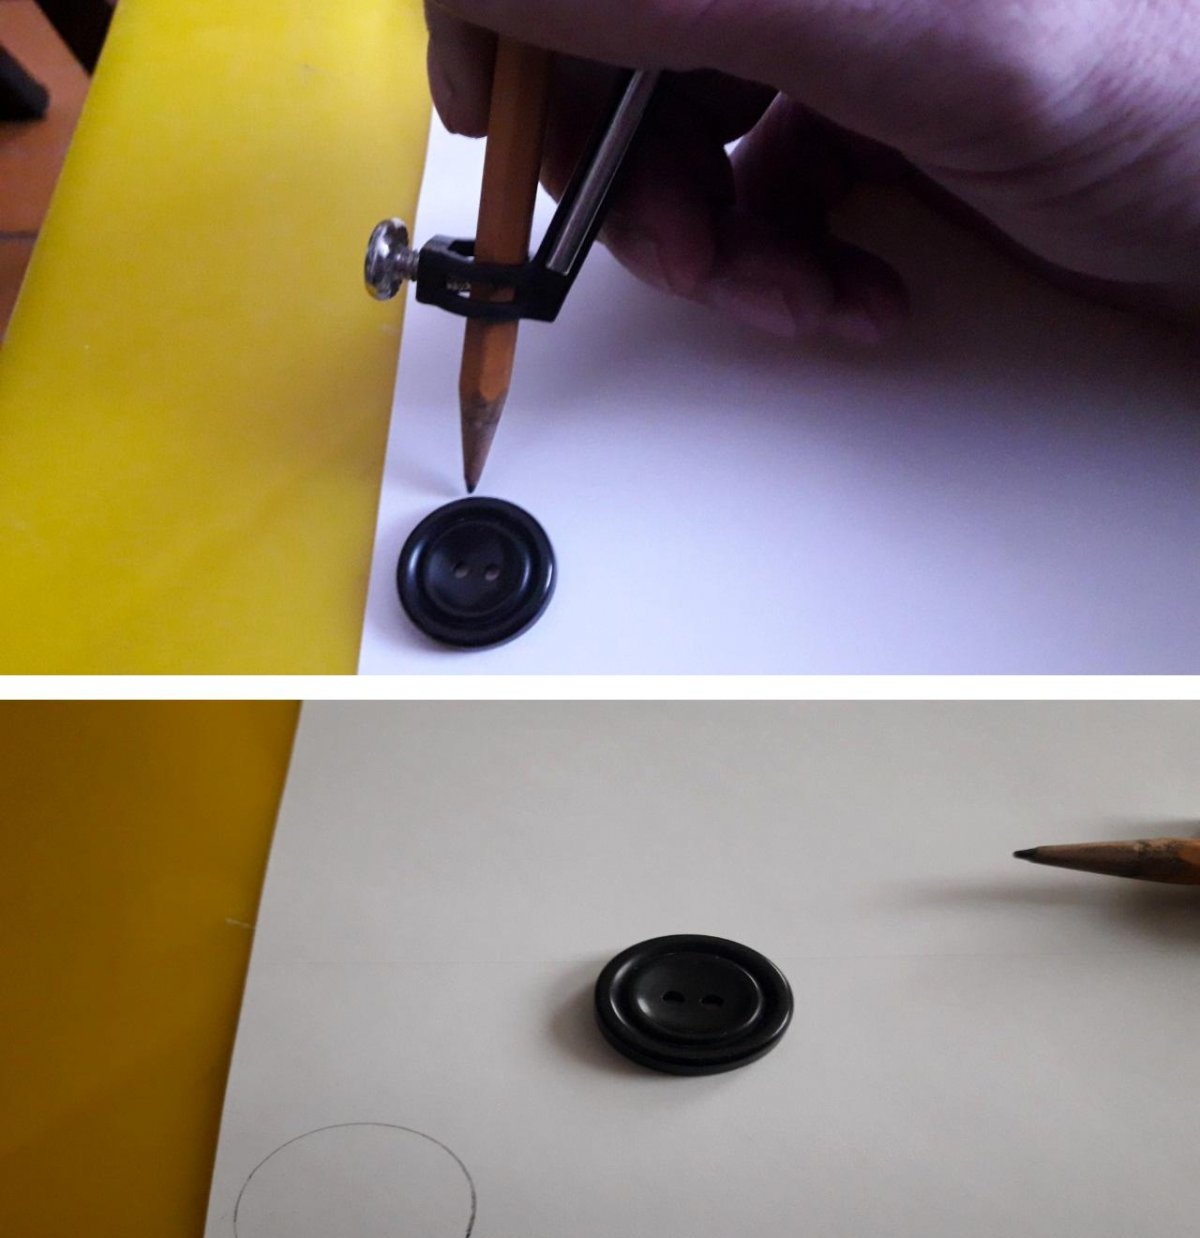
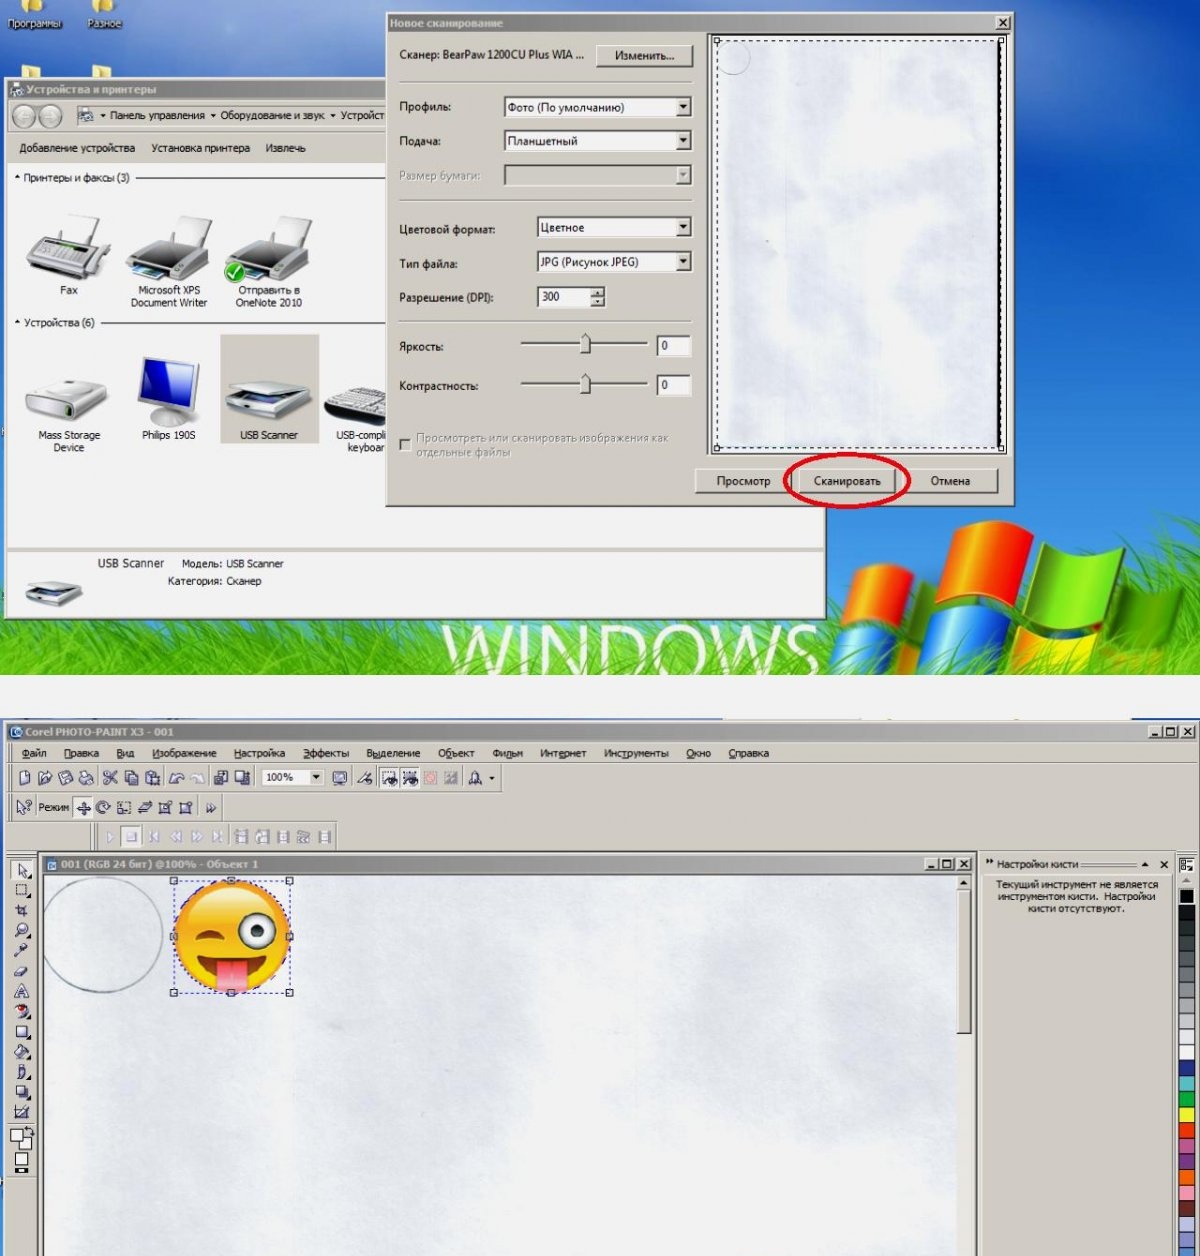
First you need to choose the right plexiglass. The most optimal thickness would be 5 mm. If it's a little thicker, that's okay. This will give additional volume to the drawing inside. But you will have to work with him longer. The main thing is that the plexiglass is no thinner than 5 mm. So, after selecting the required plexiglass, you need to select and print the design you have chosen. I think there is no need to explain to anyone how to use the printer...You can also, in order not to have to worry about calculating the size, but at the same time not to miss the size of the button, take a blank sheet of A4 paper, take a button of the size you need and trace it along the outline on the paper.
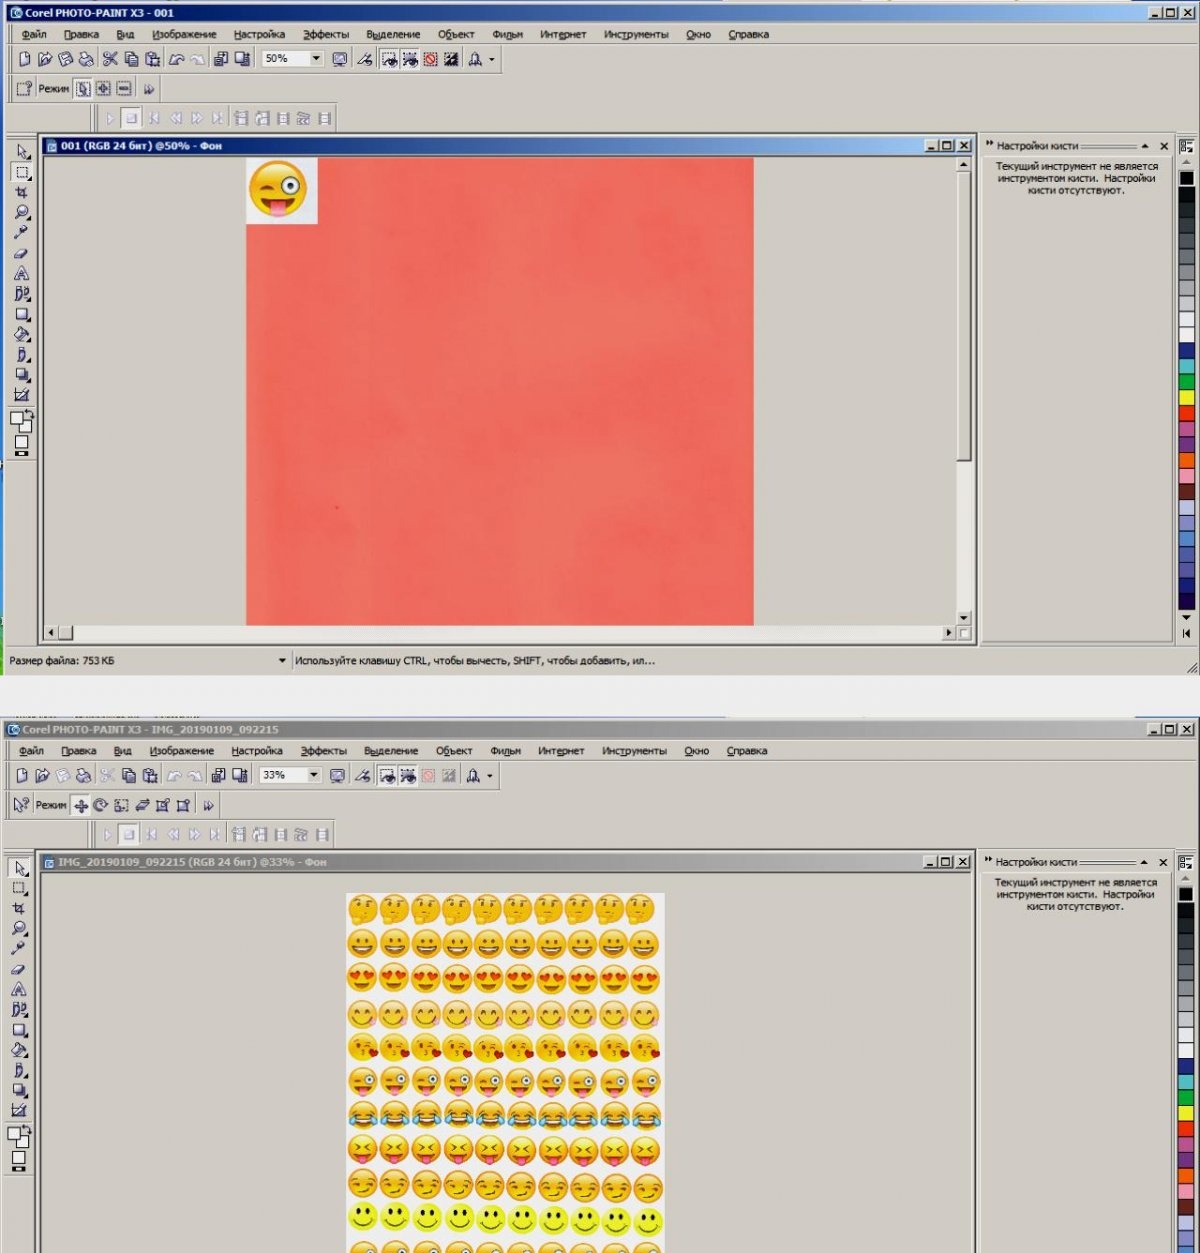
Next, you should scan the sheet with the outline on a scanner and, using any photo editor, reduce (or enlarge) the selected pattern to the size scanned on the sheet of button outlines.
Next, grab the resulting image, select the “Copy” command, and multiply the image to the required quantities.
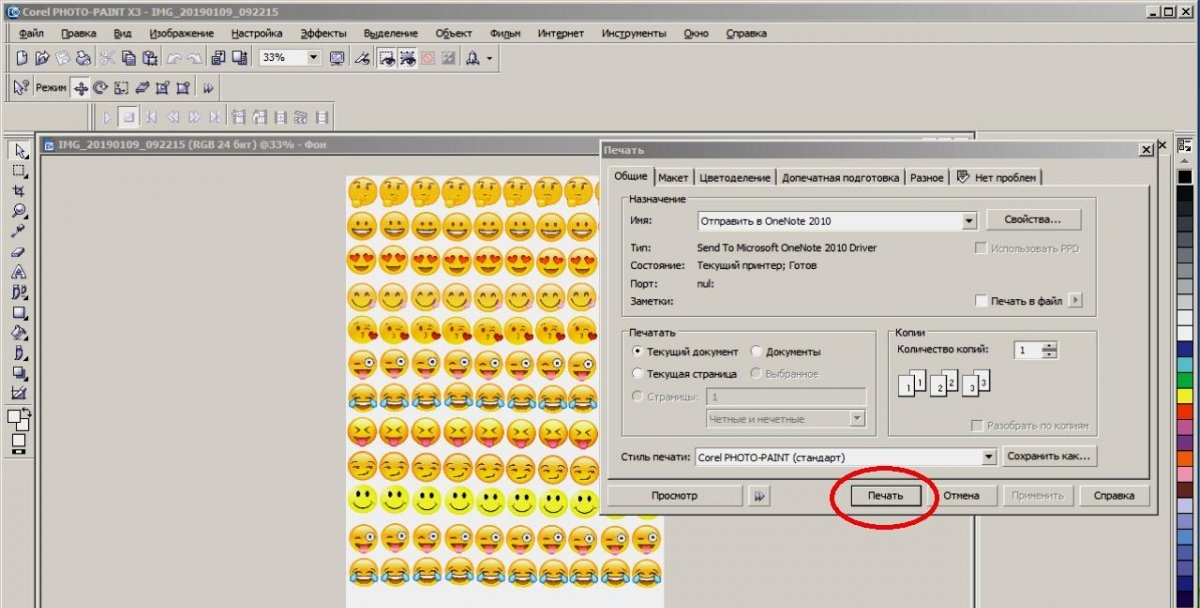
Next, select the “Print” command from the menu and get the desired images of the required sizes on a sheet.
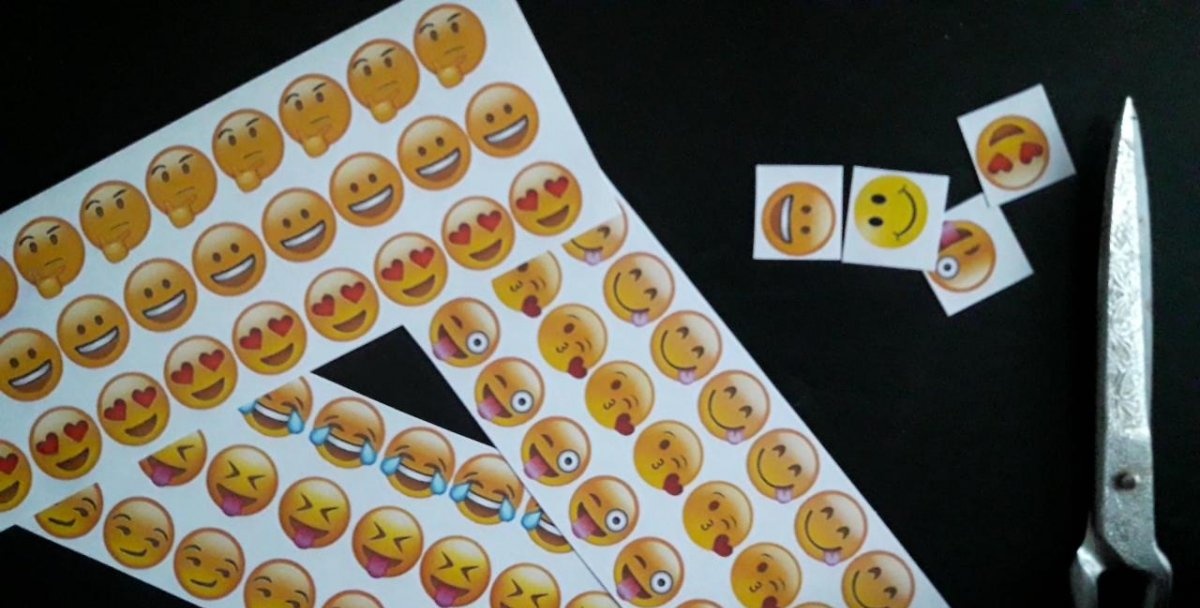
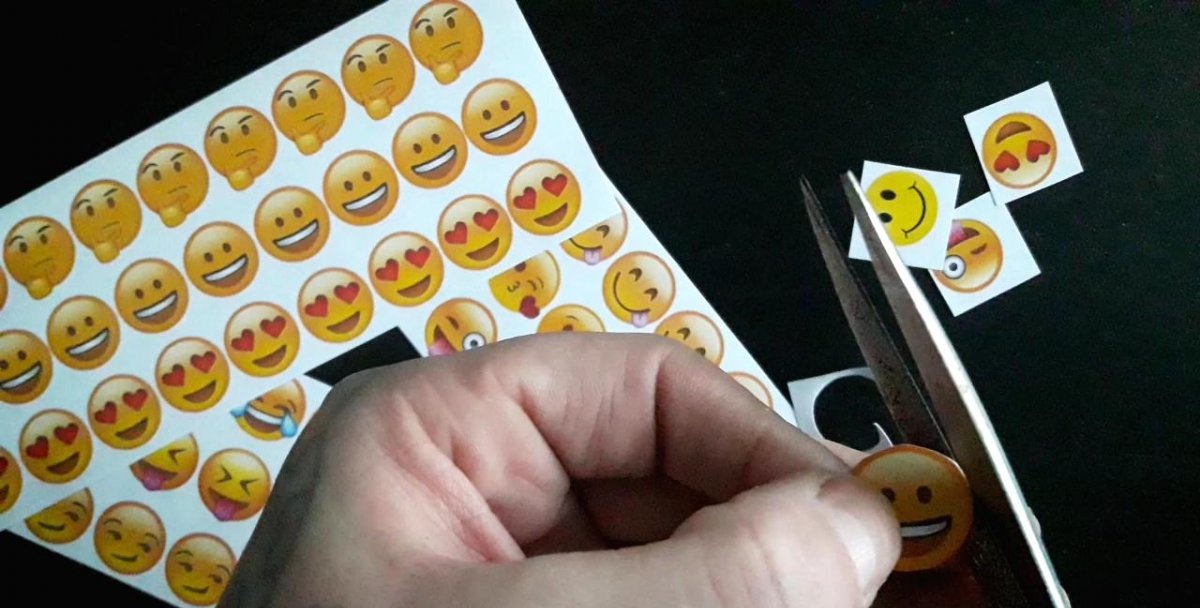
Cut out the image so that there are no white fields left.
Now you need to clean the surface of the plexiglass and glue the image to the glass. The painted side should be glued to the plexiglass.
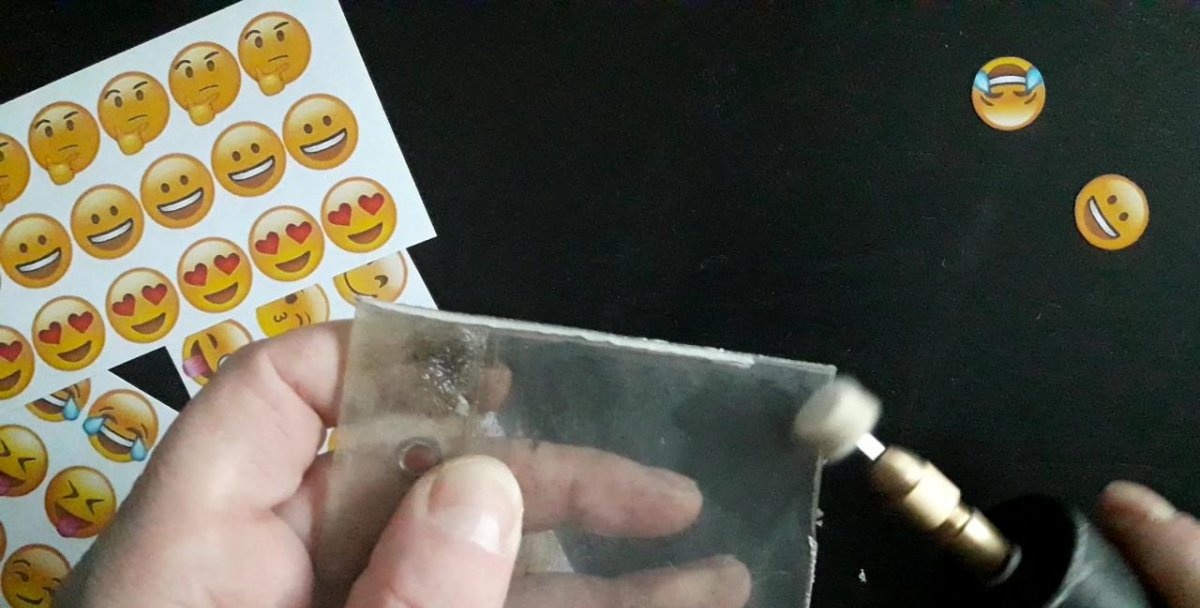
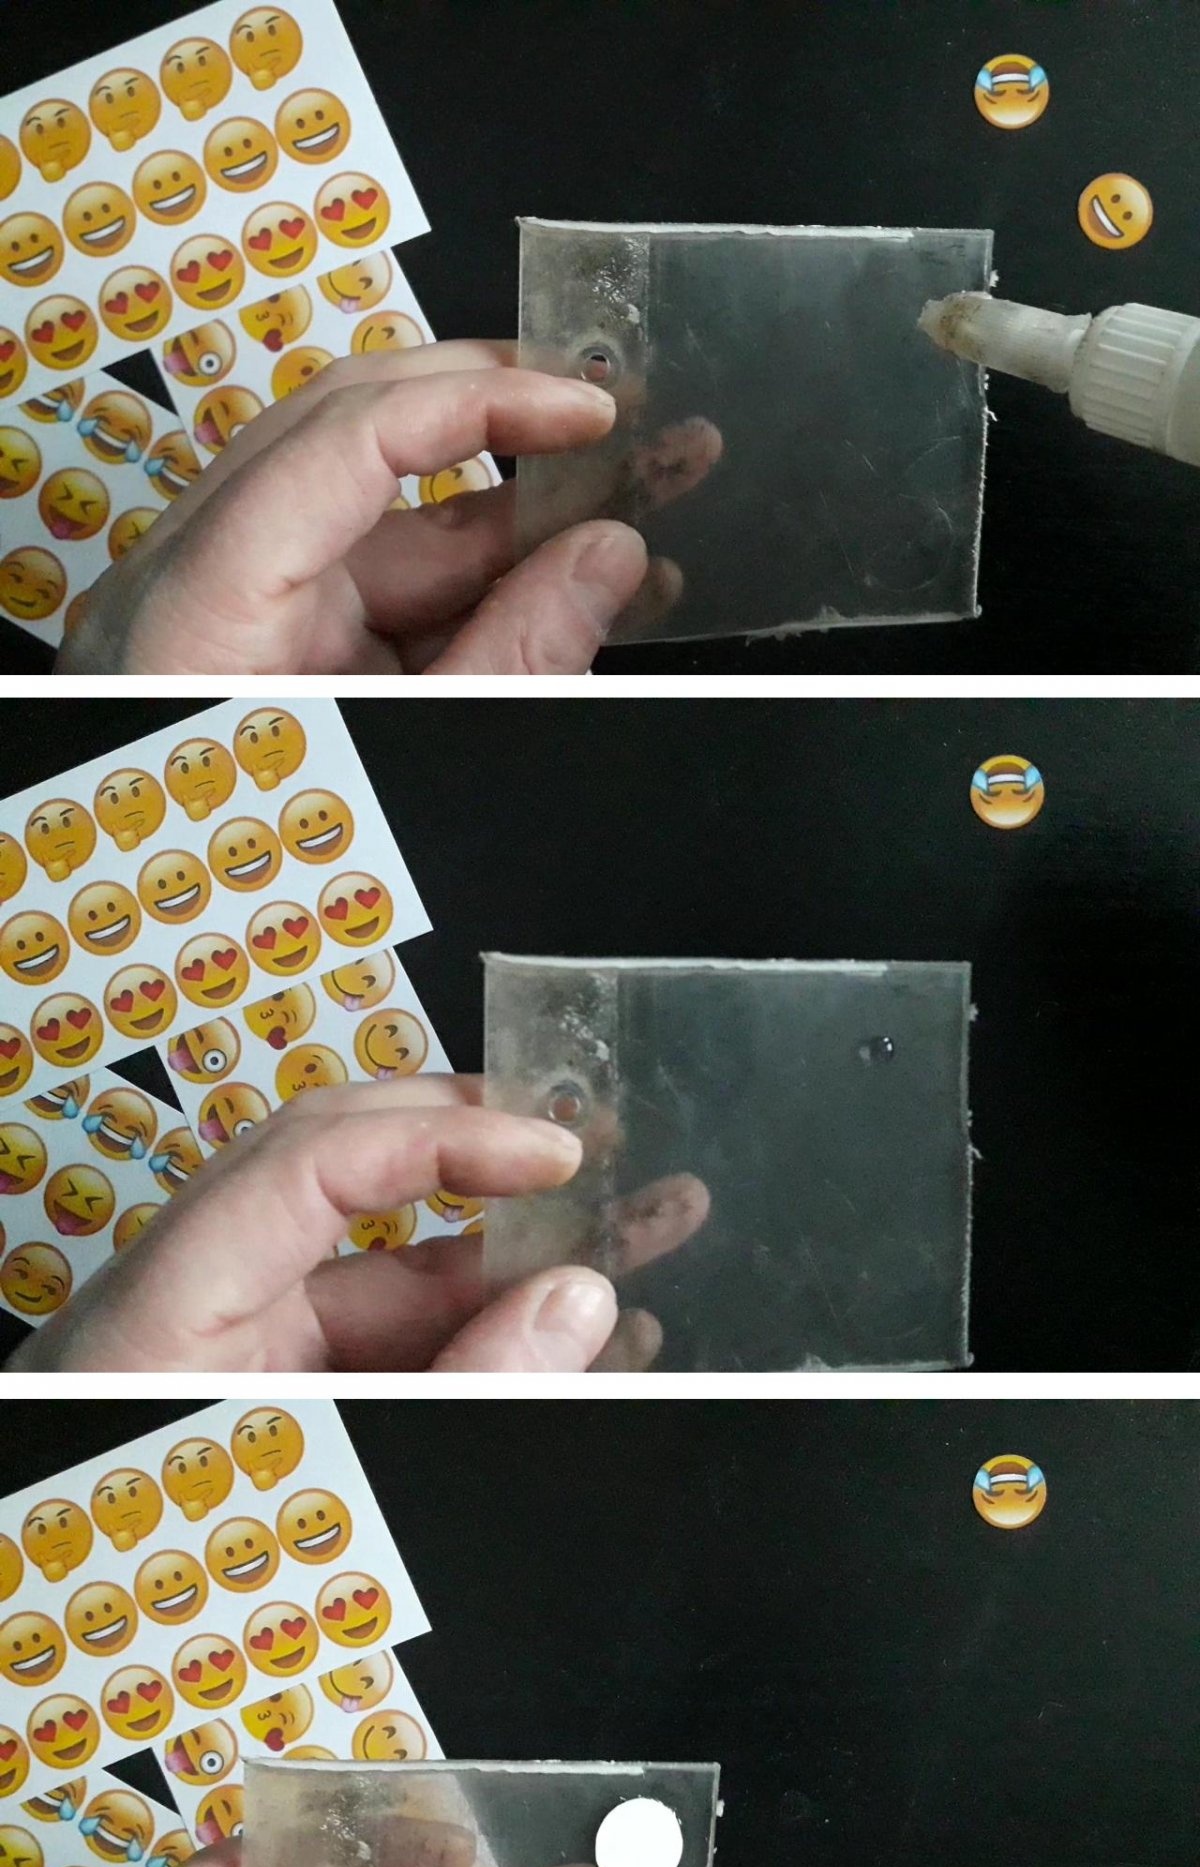
You should not worry that the design will begin to peel off during, say, washing or rain. A second of glue saturates the paper through and through, and after hardening the paper becomes no longer quite paper, it will become part of the plexiglass, and it will not care about moisture. Next, we cut out the image obtained on the glass along the contours using an emery machine.
You will get a patch of plexiglass with a pattern.
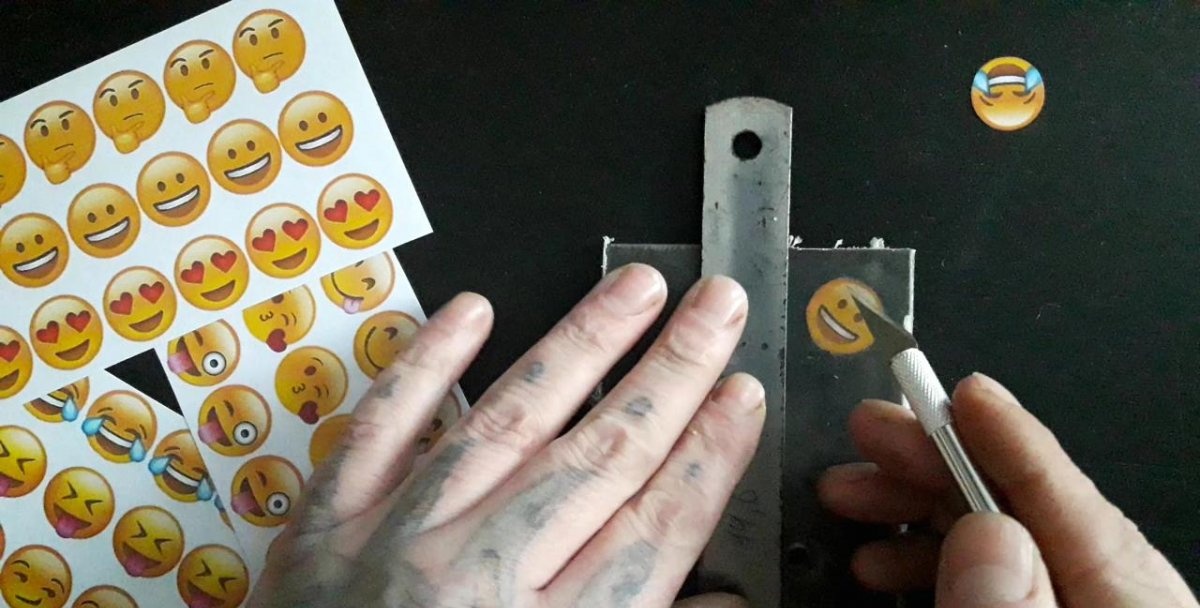
To give future buttons a 3D effect, you need to sharpen the plexiglass accordingly. Namely, we use a file (or an engraver) to remove the upper corner edge along the entire perimeter of the circle. In general, we give the circle a convex shape.
The larger the angle we sharpen, the more voluminous the image will be. Thus, it looks like a magnifying glass, enlarging the middle, gradually rounding the edges inward. We process it with sandpaper, then sand it with felt and goi paste.
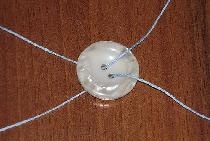
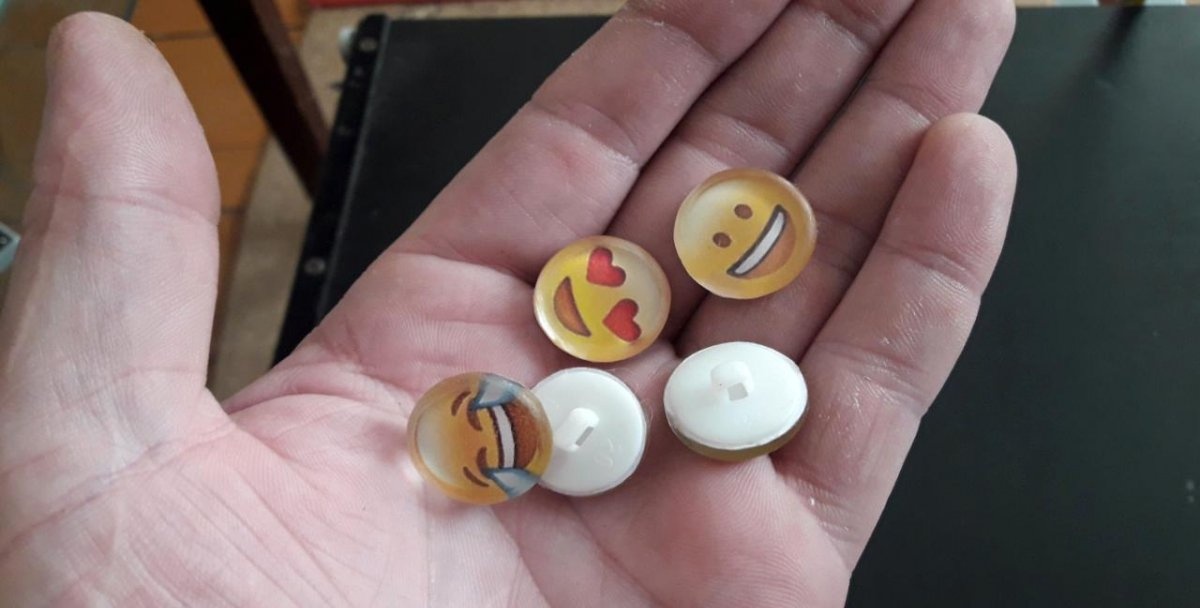
In general, we give plexiglass transparency.Unfortunately, the camera is not able to convey all the details of the resulting 3D effect, but in real life it looks very natural and picturesque. Now you need to attach the eyelets to the buttons. At first, I wanted to use wire bent accordingly, glued to the wire with glue and soda, but after one sample, I realized that the idea was not very good. Everything held up as it should, but the appearance of the inside of the button was, to put it mildly, not very beautiful. Therefore, I decided to use collapsible buttons of the appropriate size.
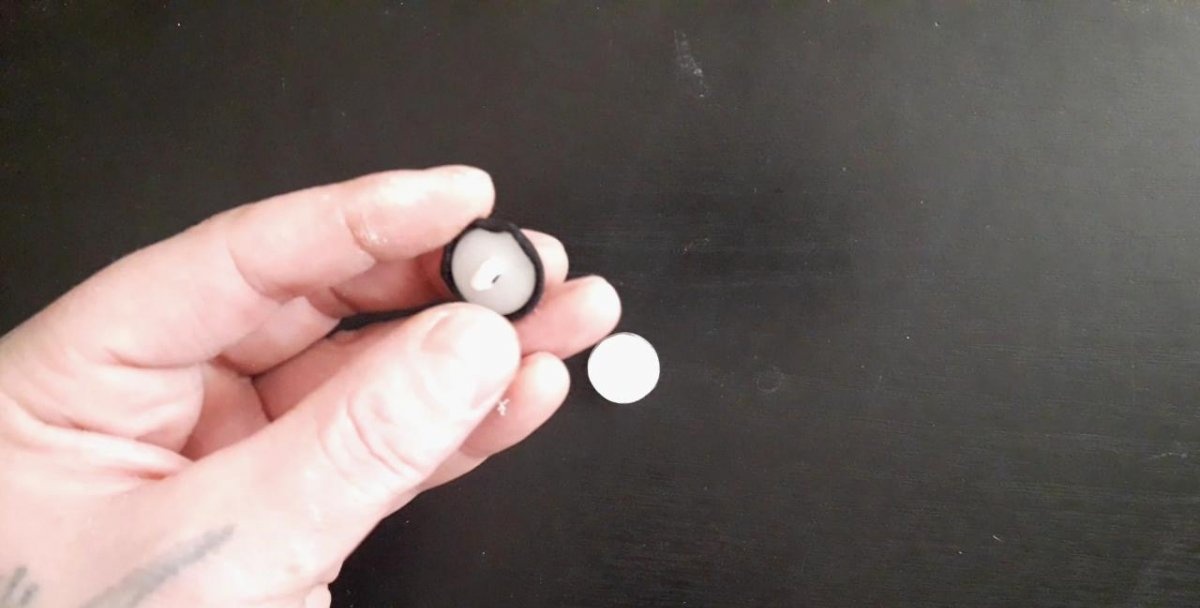

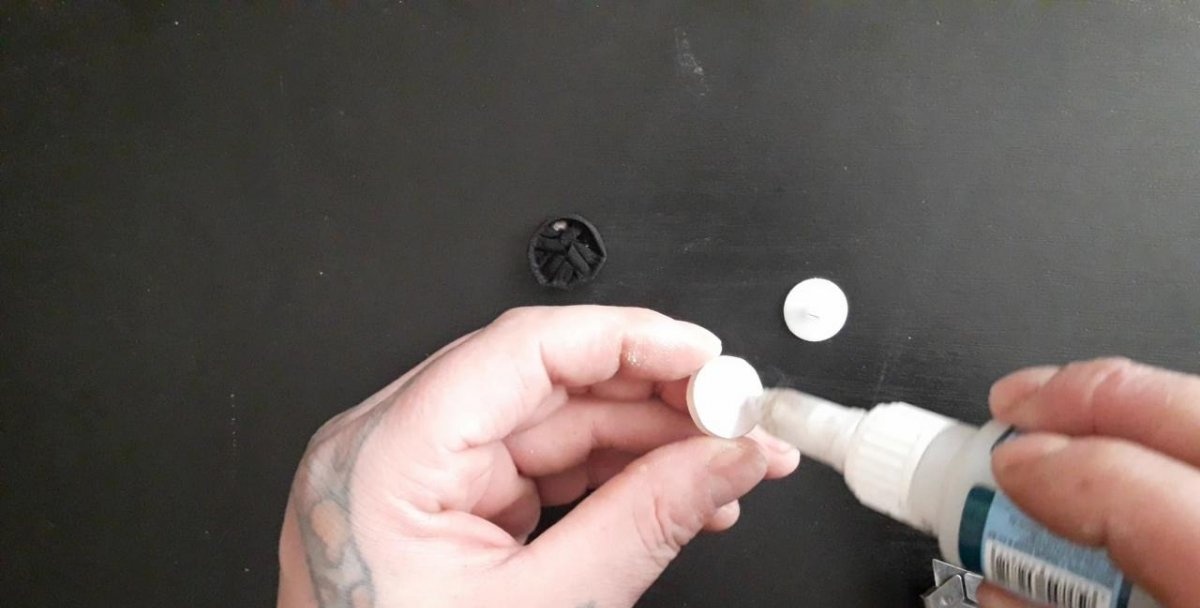
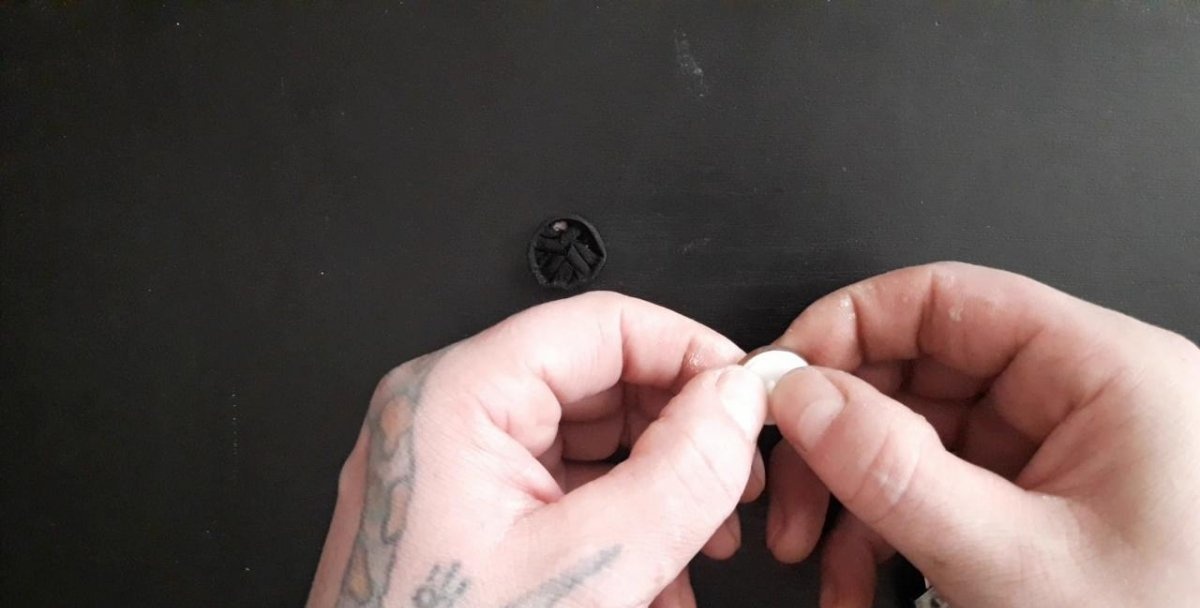
If someone doesn’t have collapsible buttons, then any other buttons will do, as long as they have an eyelet. They should be sanded down so that only the ear on a thin plate remains. Then everything is simple, glue the plate with the eye to the plexiglass with your design.
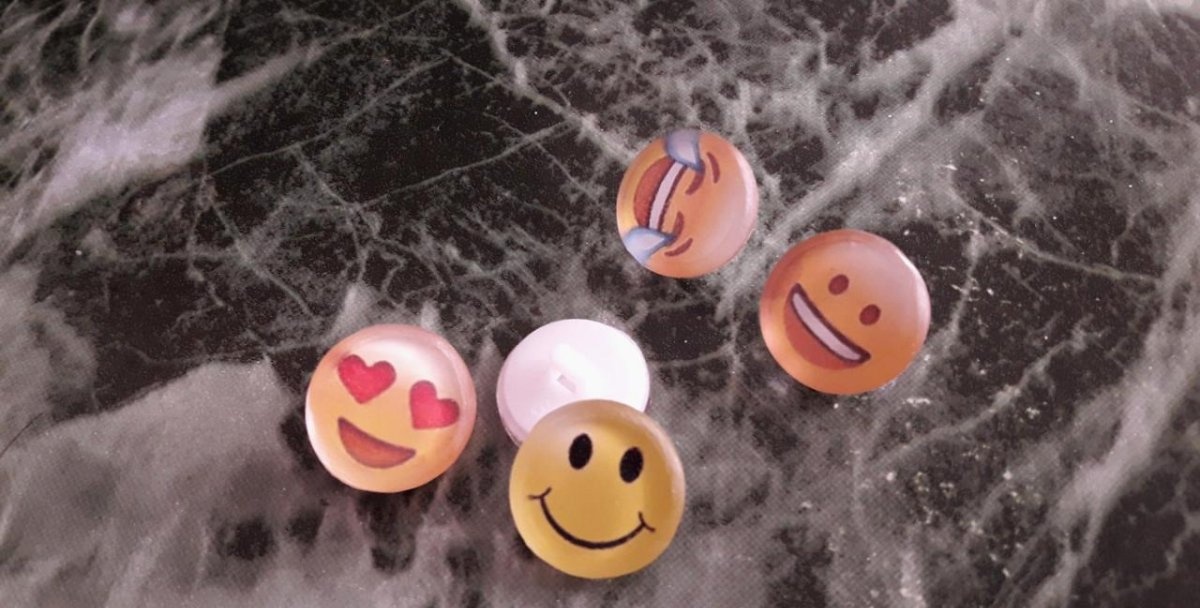
The 3D button is ready. Thus, we make the required quantity. Despite the long description of production, this work is not so long - it took me about an hour and a half to make five buttons. The most time-consuming part of the work is cutting out the plexiglass on an emery machine. In my opinion, the hour and a half spent was worth the delight my daughter felt when I gave her these buttons.