Do it yourself
Life hacks, master classes, useful tips, recipes.
home » Different » For children » Snowflake-lantern and star – New Year’s decorations
On the eve of the New Year, people spend a lot of money on Christmas tree decorations and interior decorations. But you can completely refuse to buy them, since decorations and toys are easy to make with your own hands. Moreover, children will help you with joy, just give them an idea.
To do this you will need colored paper, PVA glue, scissors, a little perseverance, accuracy, patience and, of course, creative activity. I suggest making a snowflake-lantern and a star together with your child.

Snowflake lantern

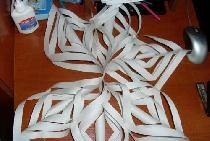
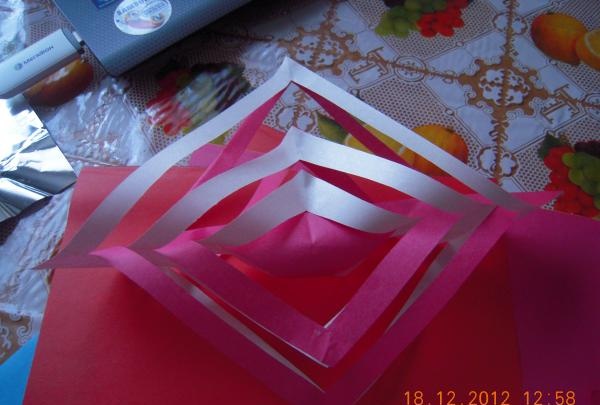
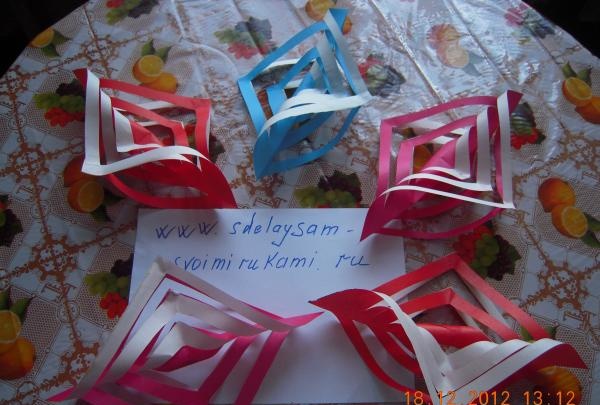
Take 5 sheets of colored paper and make them square. Then fold them diagonally, connecting the top left corner to the bottom right corner. It turns out to be a triangle. Bend again. Now, starting from the fold, make 5 cuts with scissors, but do not cut the leaf completely. When everything is ready, you need to unfold the sheet and glue the strips, one at a time. Here you should be careful not to glue two strips side by side.

Snowflake-lantern and star - New Year's decorations


When everything is glued on one side, turn the sheet over and glue the remaining strips on the other side. It turns out to be a small flashlight.


Proceed in the same way with the remaining sheets.


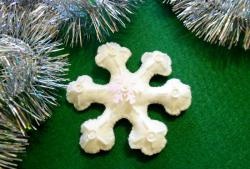
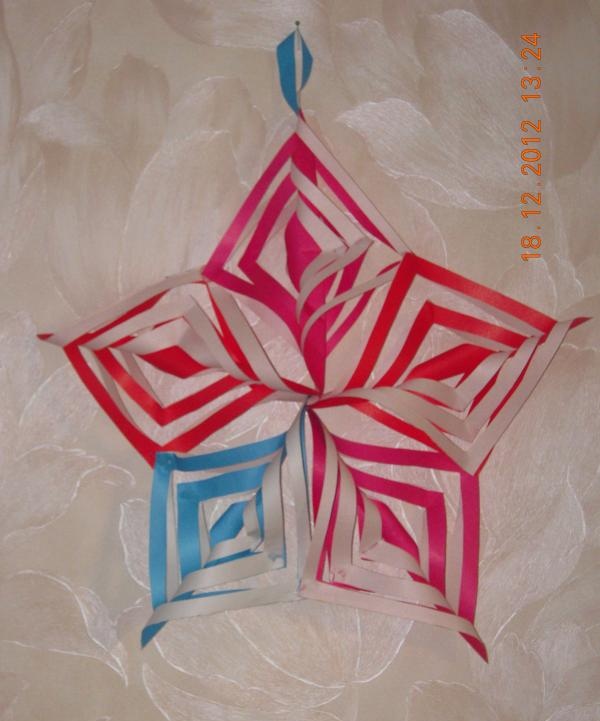
When all the lanterns are ready, connect them into a large snowflake. The lanterns should have the tops and the right and left ends glued together. Glue the loop. The snowflake lantern is ready.


Star

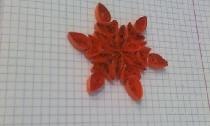
You will need 5 sheets of colored paper. Each leaf must be made in style origami "Ship."


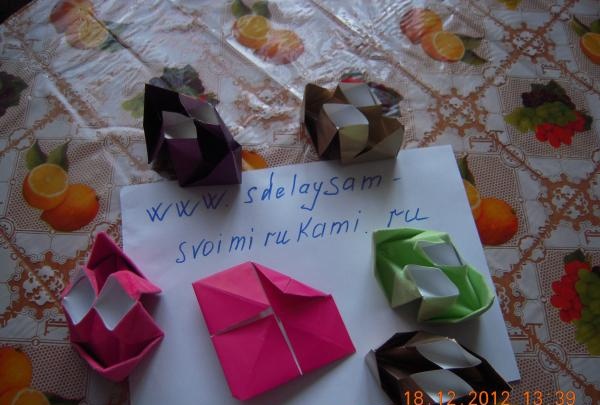
Then glue their “noses” together to make a star. Add a loop and the decoration is complete.


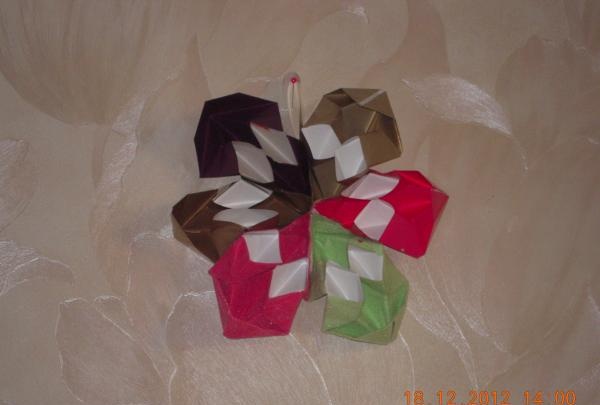
The star has a small peculiarity. It can be made in larger sizes if the components are added in the second, third or fourth row.

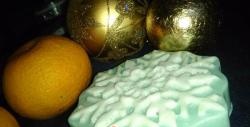
Create with your children, thereby contributing to the development of their thinking and motor skills. Plus, you won't have to spend money on Christmas decorations. You will be able to buy present your child on them. But it's best to do it yourself.
come back
Comment
  • bowtiesmilelaughingblushsmileyrelaxed relaxedsmirk
    heart_eyeskissing_heartkissing_closed_eyesflushedrelievedsatisfiedgrin
    winkstuck_out_tongue_winking_eyestuck_out_tongue_closed_eyesgrinningkissingstuck_out_tonguesleeping
    worriedfrowninganguishedopen_mouthgrimacingconfusedhushed
    expressionlessunamusedsweat_smilesweatdisappointed_relievedwearypassive
    disappointedconfoundedfearfulcold_sweatperseverecrysob
    joyastonishedscreamtired_faceangryragetriumph
    sleepyyummasksunglassesdizzy_faceimpsmiling_imp
    neutral_faceno_mouthinnocent
4 minus one =
Comments (0)

DIY Easter magnets made of plaster

Life hack: how to properly wash winter clothes using padding polyester or down

Crocheted mesh vest | Do it yourself

How to press out a worn bushing on an angle grinder

«Do it yourself - with your own hands» - a site of interesting homemade products made from scrap materials and items at home. Step-by-step master classes with photos and descriptions, technologies, life hacks - everything a real master or just a craftsman needs for needlework. Crafts of any complexity, a large selection of directions and ideas for creativity.

We recommend reading

Washing machine error codes