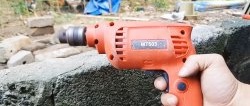
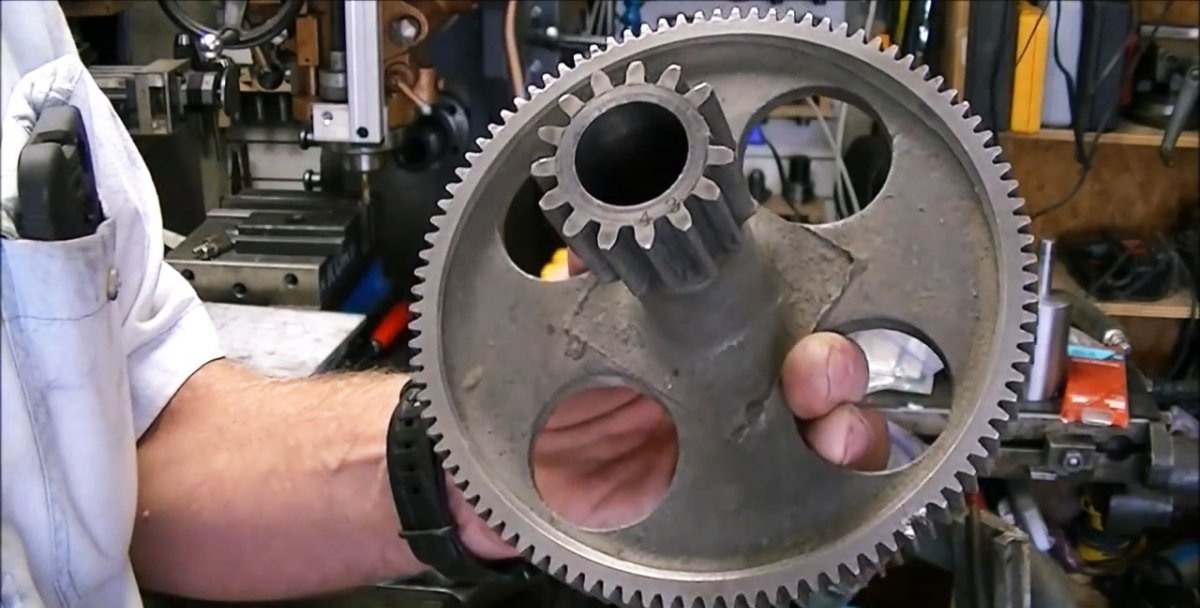
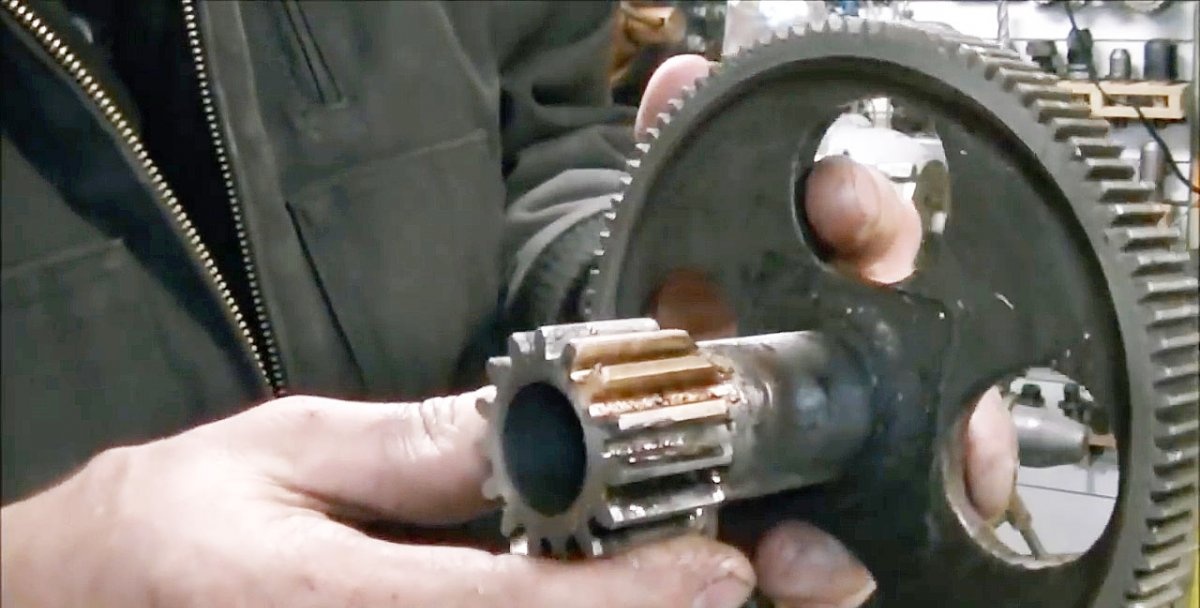
In mechanisms of previous years of production (machine tools, gearboxes, drives), gears and gears were often made of gray cast iron, which, at low and medium loads, were not inferior to their steel counterparts, and the iron casting process was simpler and cheaper than steel.
But cast iron is fragile, and in gears and gears, with a sharp change in load or its increase, the teeth broke, and the entire mechanism failed. Of course, it would be better to replace a gear or gear with a missing tooth with a new product, which is not always possible. Then all that remains is to try to restore the tooth in another way.

One of the options is associated with mechanical preparation of the site of the broken tooth, surfacing of a material suitable in terms of strength and other characteristics, and processing of the surfacing until a new tooth with exact geometry is obtained.
Necessary equipment, devices and materials
For work we need:
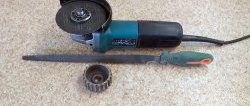
- grinder and mini drill (drill);
- oxy-acetylene welding torch;
- mites;
- beater (measuring head);
- lathe;
- sandpaper;
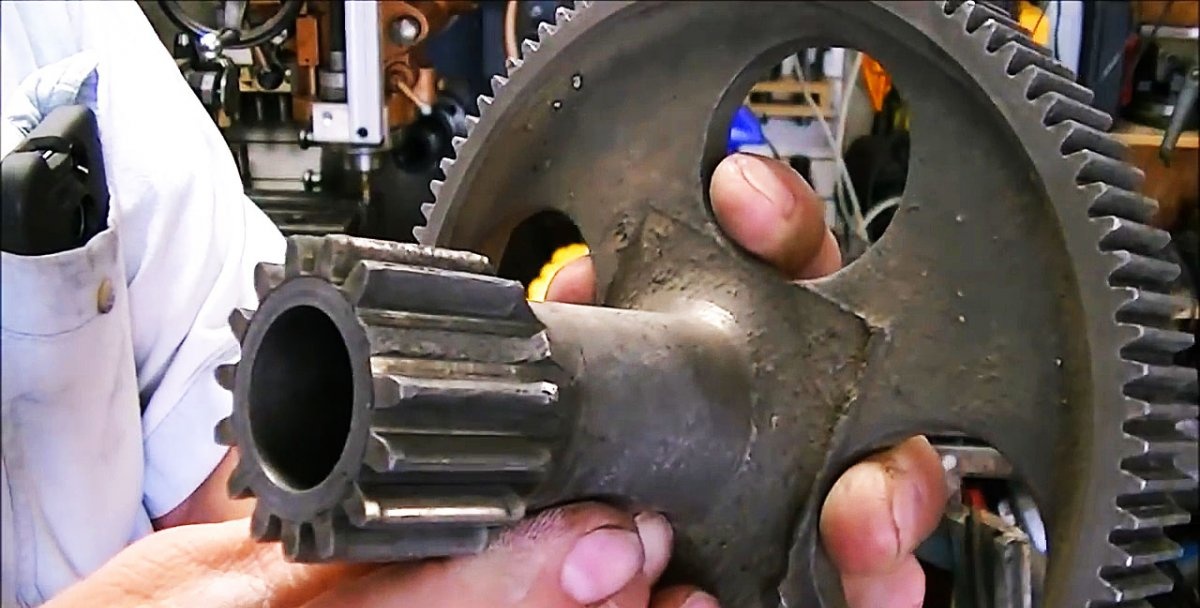
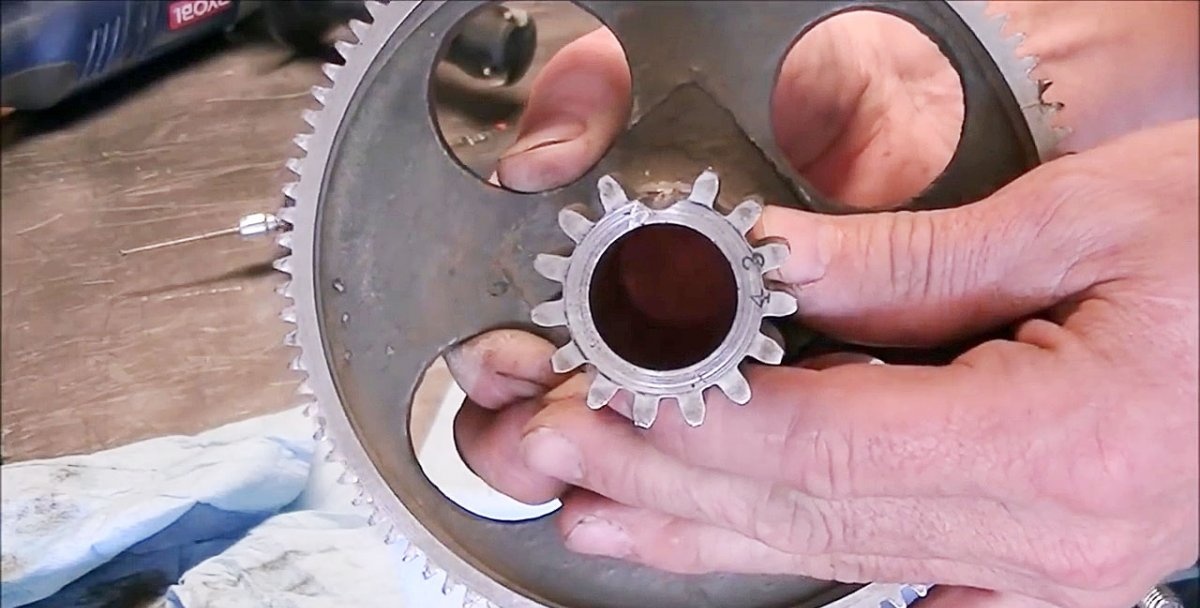
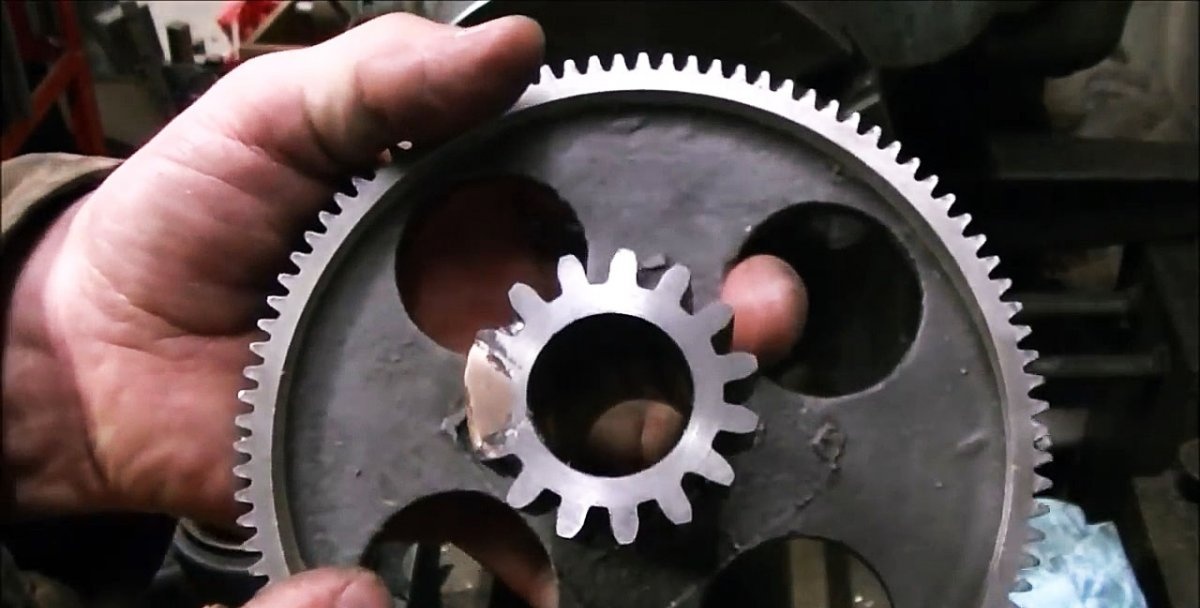
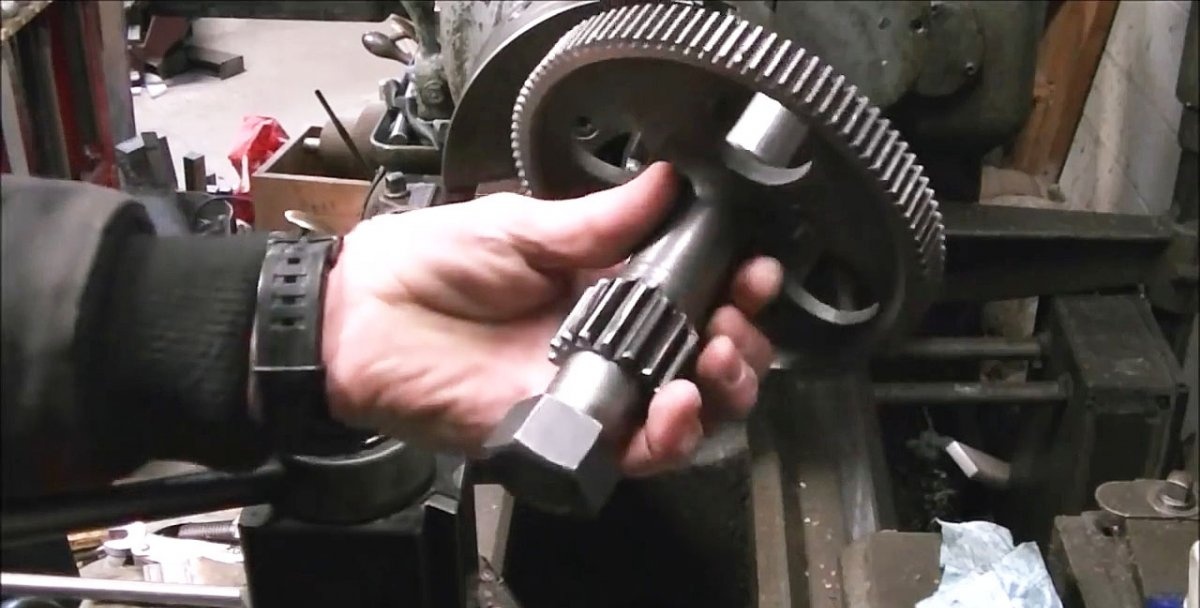
- a shaft with a nut and a tubular stop for the gear and pinion unit;
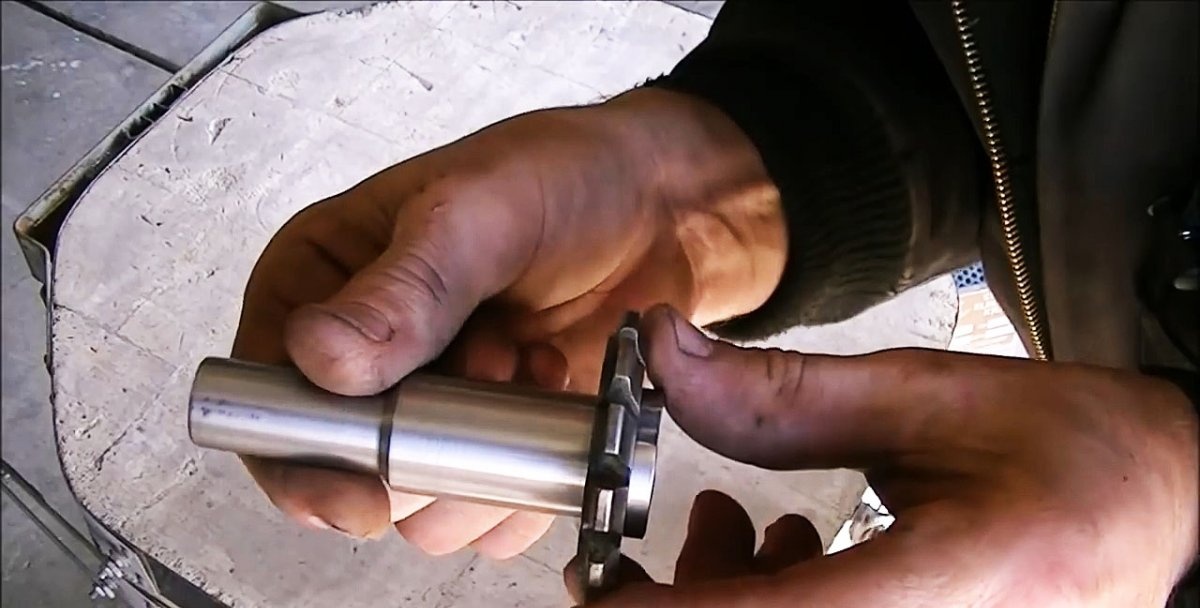
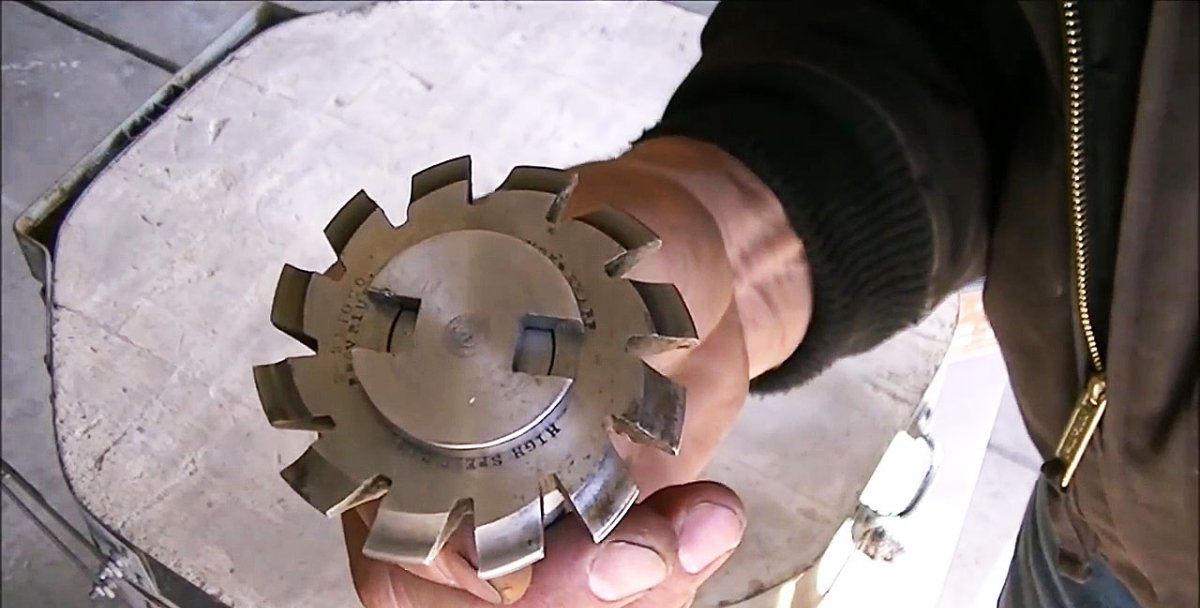
- cutter for forming the profile of the cavity between the teeth;
- cutter axis with turnkey grip;
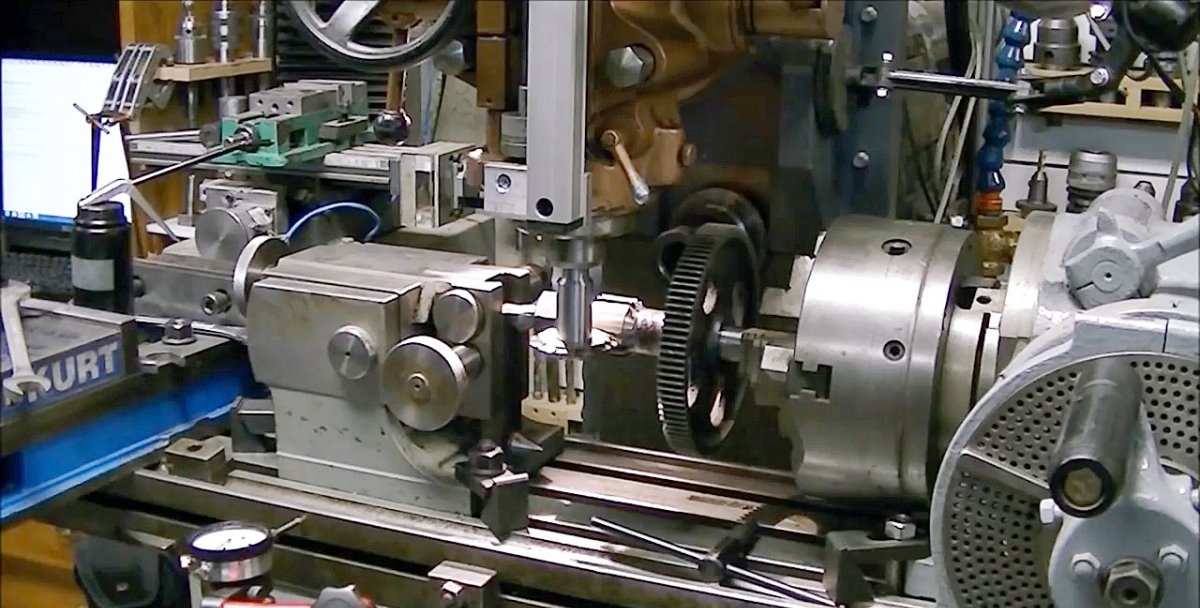
- milling machine with dividing head;
- measuring instrument (calipers, micrometer), etc.
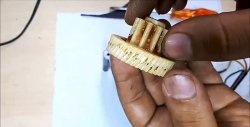
To fill the gap between two adjacent intact teeth in relation to a broken tooth, we need:
- siliceous (silicone) bronze rod;
- flux (main part: borax with a small admixture of magnesium);
- fiberglass welding blanket;
- rags, cloth napkins, etc.
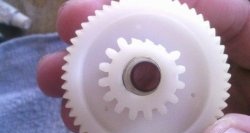
The process of restoring a broken tooth
It consists of three stages:
- Preparing the place and filling (sealing) the gap between two adjacent intact teeth in relation to the missing one.
- Manufacturing a holder for a gear cutter and an axis for securing the gear and gear unit on the machine during processing.
- Forming a tooth profile by removing the deposited material with a special cutter from both sides.
Preparing the soldering area
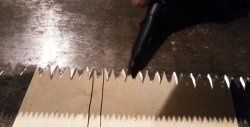
Since gray cast iron is difficult to machine mechanically, it is almost impossible to do this with a mini drill. It is better and faster to grind a broken tooth using a grinder.
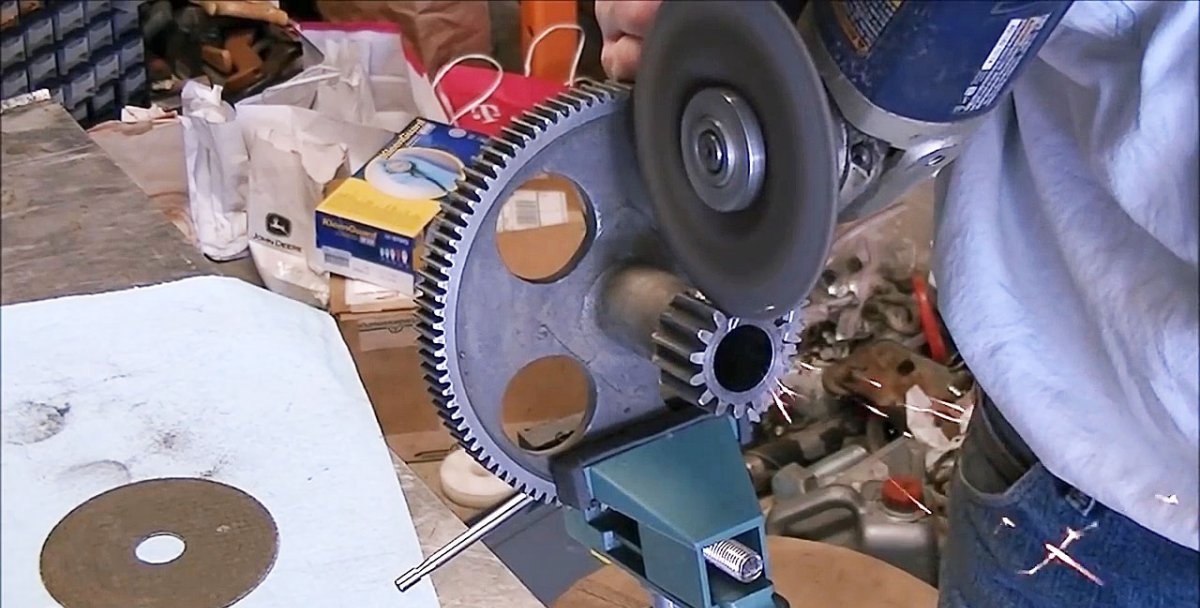
At the end, you can use a drill to roughen the base. This will ensure a stronger connection between the welded material and the cast iron.
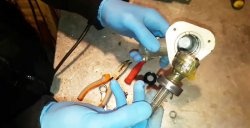
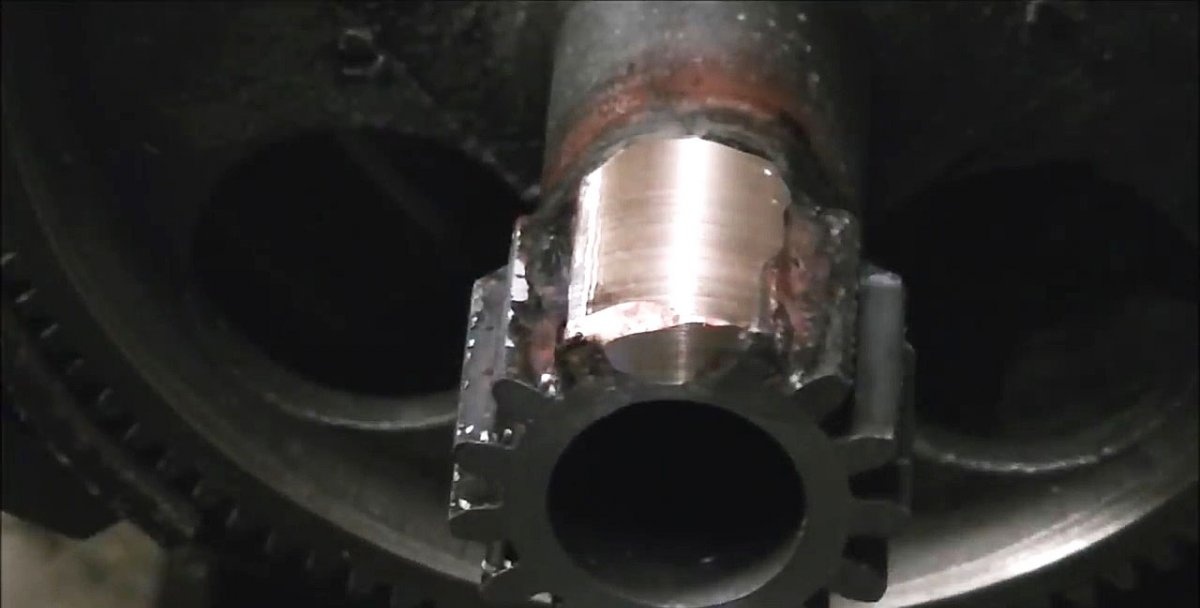
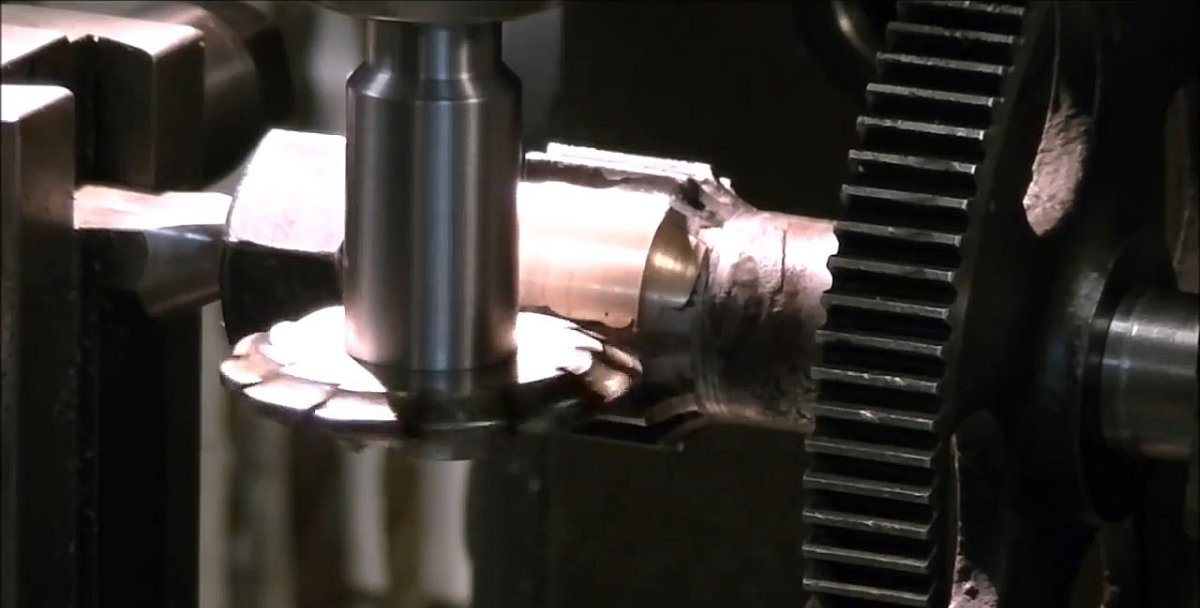
Thermal soldering process
It begins with thorough and uniform heating, using a gas-acetylene torch, of both the soldering area and the adjacent parts of the gear. Otherwise, the likelihood of cracks forming in the cast iron part increases.
Then the soldering area and the slightly siliceous (silicone) bronze rod are heated red-hot, which, after heating, is lowered into a container with flux, consisting mainly of borax with the addition of a small amount of magnesium.
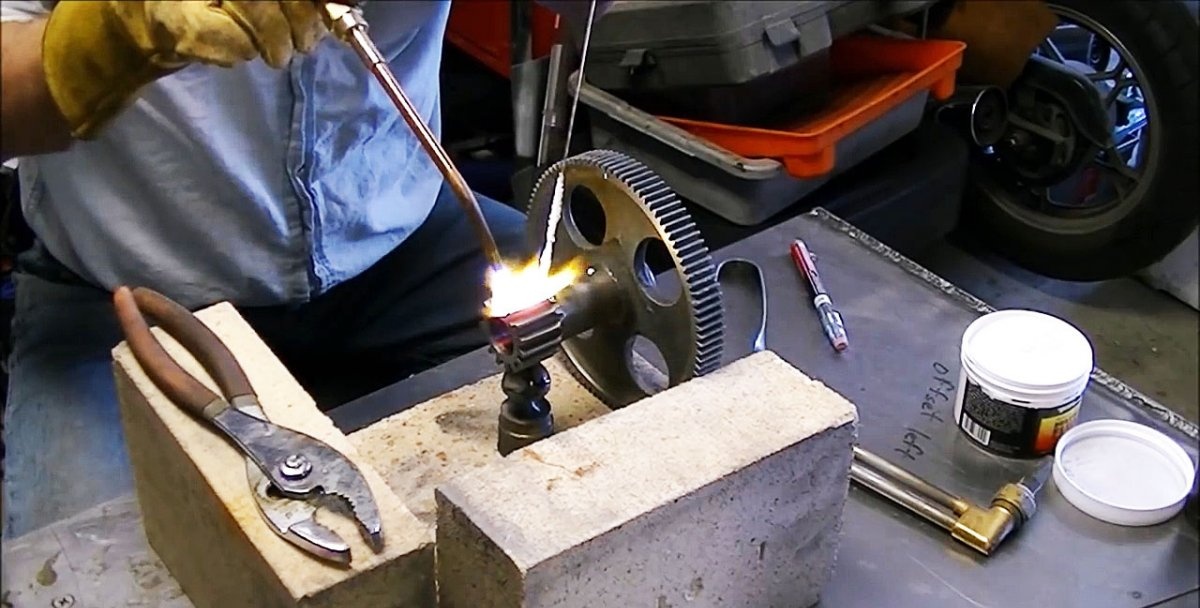
Next, a silicone bronze rod coated with flux is placed over the cavity and melted using the flame of an acetylene torch. This operation continues until the silicon bronze solder fills the entire volume of the cavity between adjacent intact teeth.
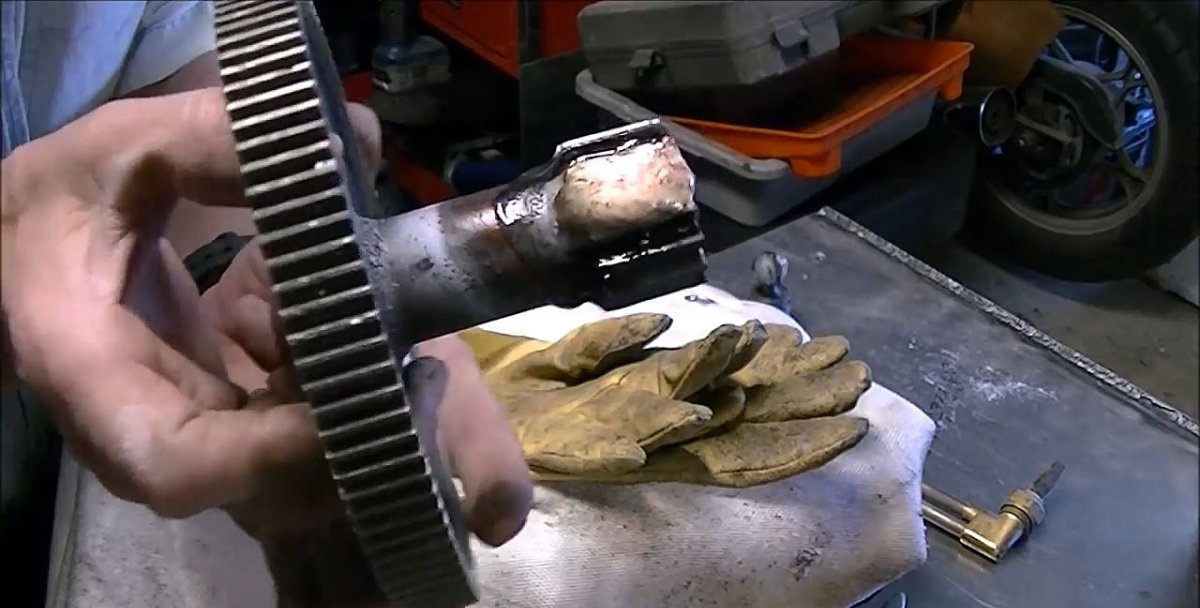
At the end of this stage, so that the soldering does not crack due to rapid cooling, we cover the part being restored with a fiberglass welding blanket and leave it until it cools slowly for the required time.
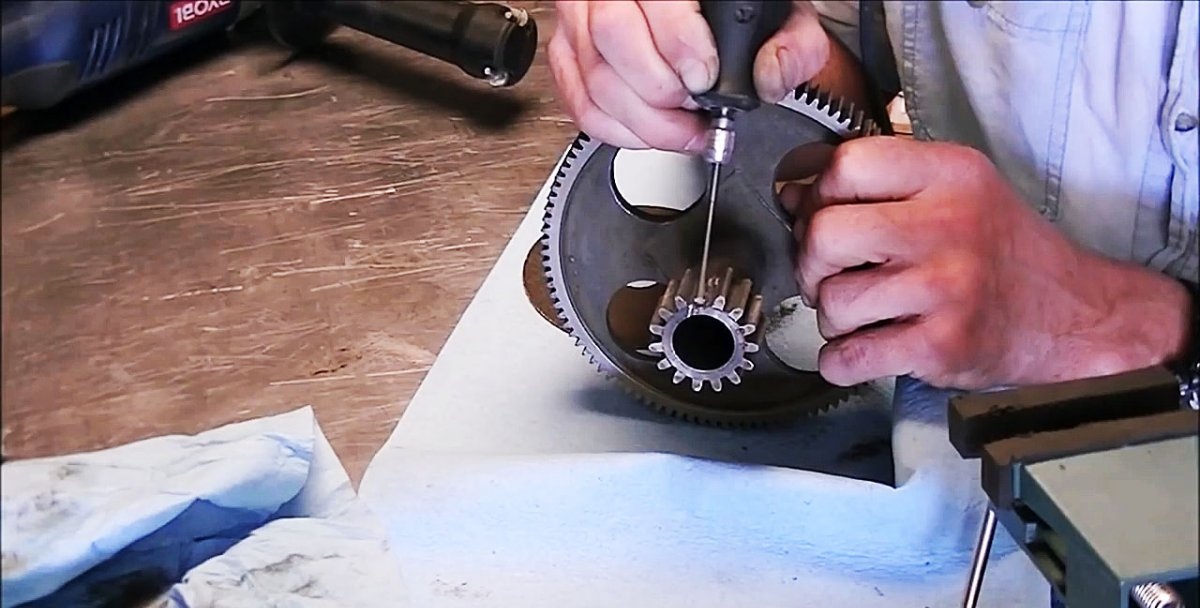
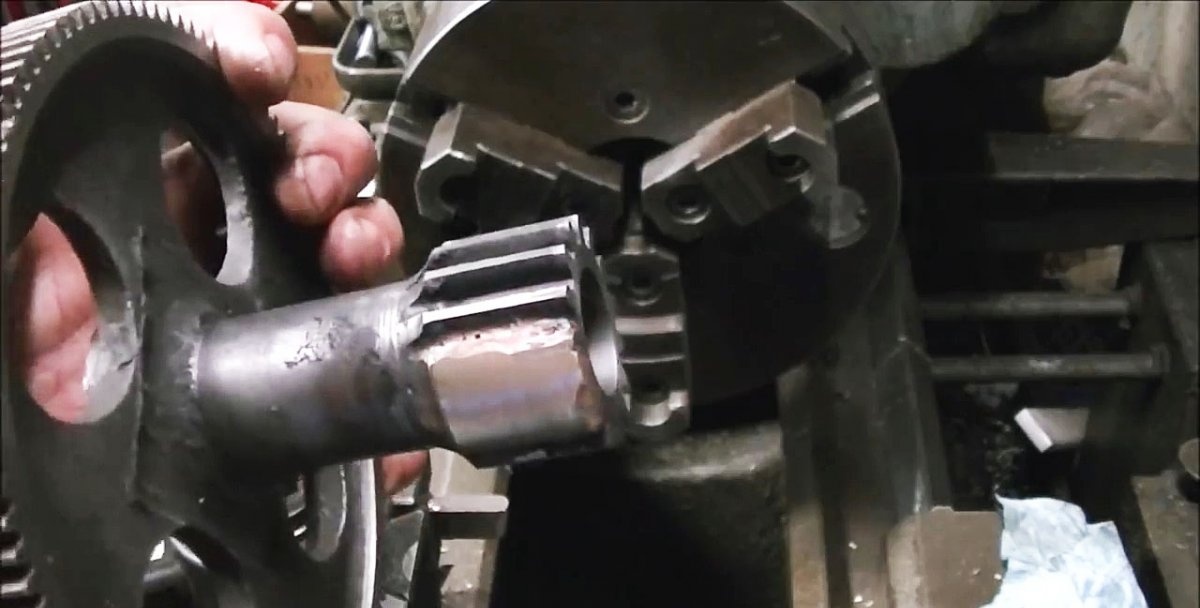
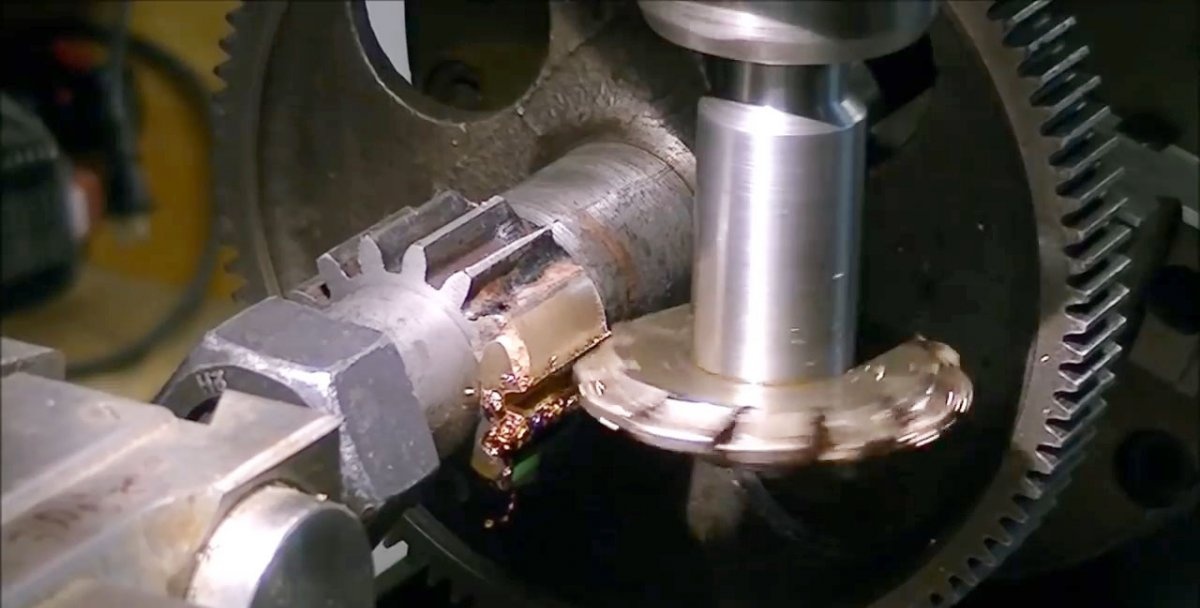
Brazed gear end machining process
We clamp the gear wheel into the chuck of the lathe and, using a measuring head, set the block with the minimum permissible runout, knocking the gear on one side or the other with a mallet, if necessary.
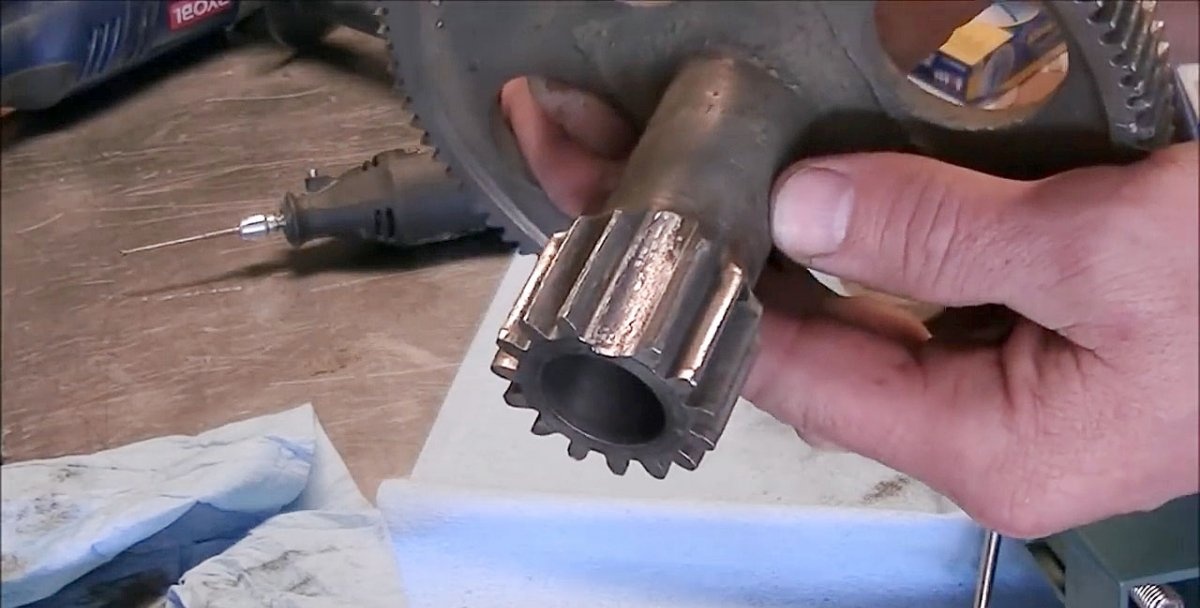
Then, using cutters, we remove the soldering beads protruding beyond the ends of the gear. At the end of turning, we grind the processing areas with sandpaper.
Preparing the block and cutter for work
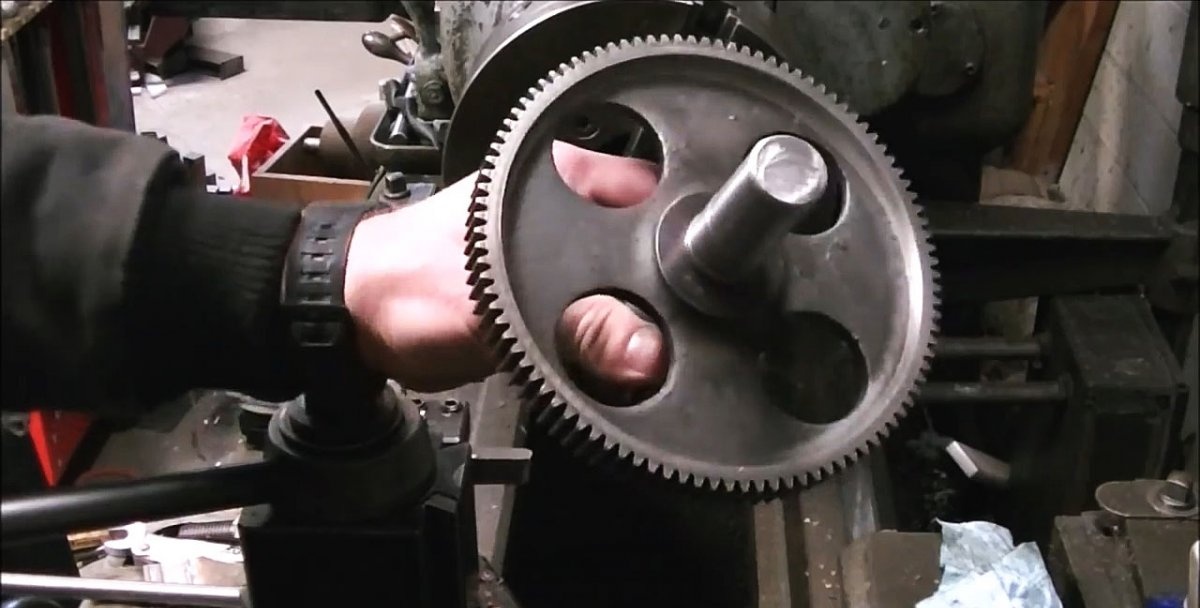
We place the gear and gear block on a lathe onto a pre-prepared axle by tightening the nut and cylindrical stop.
To make a holder for a cutter, we take a steel rod of a certain length and a diameter slightly larger than the mounting hole in the tool. We clamp it in the lathe chuck and first drill a small hole from one end with a centering drill, which we then expand with a twist drill to the required size.
Next, we fix the tap in the tailstock of the machine and insert it into the hole at the end of the rod.We move the headstock back and cut the thread manually, rotating the tap with a crank. We screw a homemade bolt with a flat cylindrical head and two symmetrically located rectangular cutouts relative to the center of the rod into the resulting thread for gripping with a special key.
Then we end the rod on the other side and grind it to the required length to match the diameter of the milling machine spindle. We carry out turning with periodic checking of the diameter so as not to loosen the size. At the end, we sand the turning area with a sandpaper tape and wipe it with a cloth.
Tooth profile formation
We fix the cutter holder in the spindle of the milling machine and grind the rod to the size of the hole in the cutter, periodically measuring the diameter with a micrometer. At the end, we sand the groove with sandpaper and wipe it with a rag.
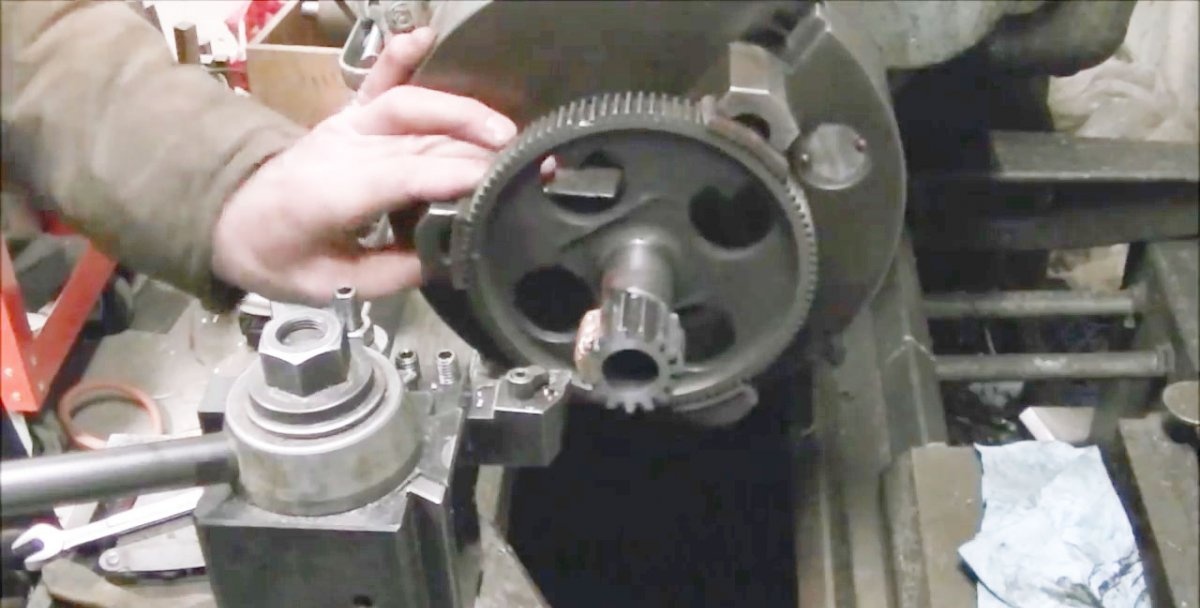
We put the cutter on the holder and secure it at the end with a fastening bolt, first by hand, and at the end with a special key with a crank. We install the dividing head and tailstock on the working table of the milling machine. By clamping a perfectly straight steel rod between them, we align these units to ensure maximum coaxiality in the vertical and horizontal planes. To do this, we use measuring heads and adjust the position of the tailstock relative to the dividing head. After alignment, these units are securely fastened to the milling machine table.
The most important operation is the precise alignment of the cutter relative to the gear being restored. To do this, we use a caliper, a micrometer, and a metal ruler.
We divide the characteristics of the head by the number of teeth and get the number of turns of the handle per 1 tooth. Usually the result is a fractional number. This value is then found on the divisor circle.
Now you can turn on the milling machine spindle and begin shaping one of the cavities of the tooth being restored. It is better to do this in 2-3 passes so as not to damage the surfacing. When forming a tooth, it is necessary to remove particles of cut material from the cutter and lubricate the tool. Next, we move the cutter away and turn the gear exactly one step with the dividing head and repeat the previous operation again.

One note
Why use silicon bronze to form a tooth on a cast iron gear? Isn’t it safer to weld the cavity between the teeth with a cast iron electrode and then process it with a gear cutter?
If you do this, then due to the high temperature, the cast iron “bleaches” and creates areas that are practically impossible to machine. Silicone bronze is similar in strength to gray cast iron, and even higher in tensile strength. At the same time, its processing, as we have seen, is not at all difficult.