Do it yourself
Life hacks, master classes, useful tips, recipes.
home » Useful and interesting » Lifehacks and useful tips » How to restore a plastic gear
How to restore a plastic gear

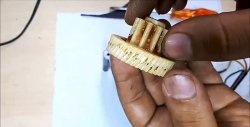
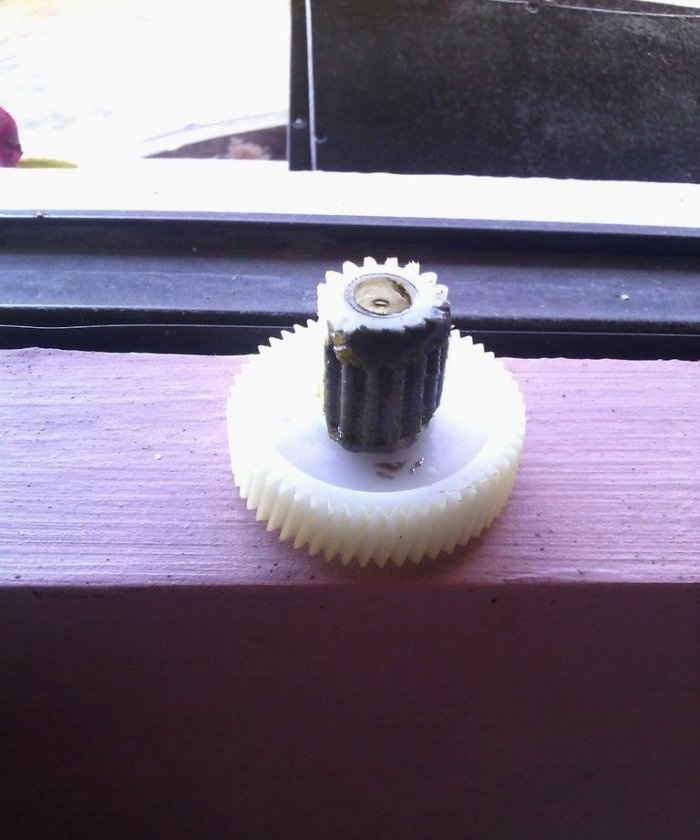
Nowadays, there are a lot of mechanisms around us that use plastic gears. Moreover, these can be both toy cars and quite serious things, for example, an antenna lift in a car, a spinning rod gearbox, etc. The reasons for gear failure can be different, of course, most of them are related to improper operation, but that’s not about that now. If you find yourself in such a situation and a couple of gear teeth are broken, then there is a way out: not to pay for an expensive part, but to restore it in a simple way.

Needed for recovery


  • Unnecessary toothbrush.
  • Detergent.
  • Two-component epoxy adhesive - cold welding for plastic.

Cold welding glue should be liquid, in tubes. Be sure to check the packaging to ensure it is suitable for gluing plastic and resin parts. This two-component adhesive can be purchased at either an auto parts store or a hardware store. If you have any difficulties and cannot find one, at the end of the article I will tell you how to make a similar analogue.

Restoring a plastic gear


Preparation


The first step is to prepare the surface of the gear. We wash it repeatedly in warm water with detergent, actively working with a toothbrush. Our task is to degrease and remove grease from all edges.
After degreasing is done, dry it dry.

Preparing the glue


Now let's prepare the glue. Mix the components on a small piece of cardboard in the proportions as in the instructions. Mix well.
In general, before opening the glue, I recommend that you carefully read its instructions, especially with the time of complete and partial hardening, since these data may differ radically from different manufacturers.
If the consistency turns out to be liquid, let it stand for a while until it begins to harden.

Restoration of teeth


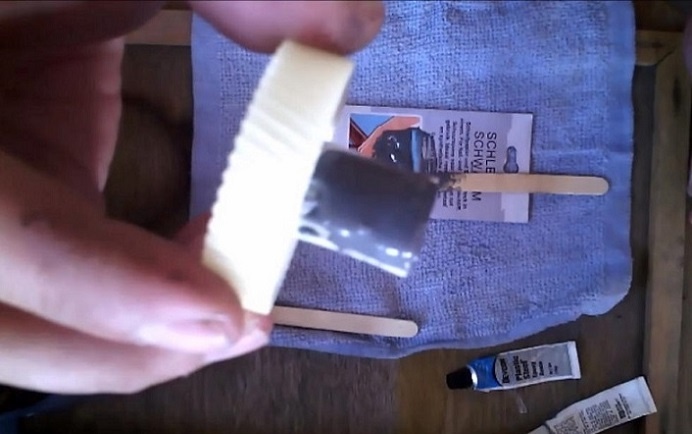
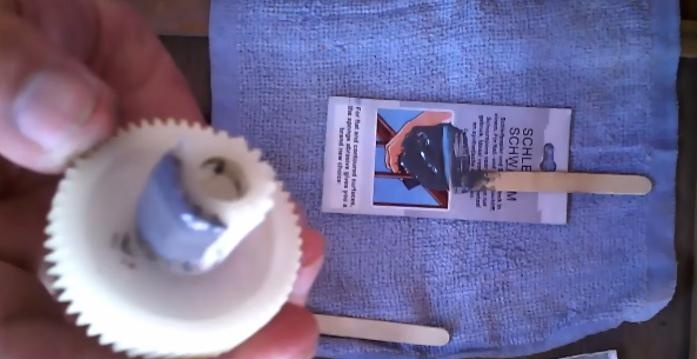
In my case, several teeth were ground down, the situation can be corrected. Apply glue to the place that needs to be restored. The glue should be very thick, but flexible.
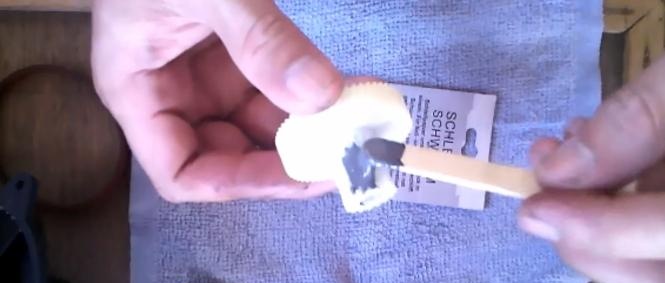
How to restore a plastic gear

We make such a peculiar tubercle.
How to restore a plastic gear

How to restore a plastic gear

We place the gear on an improvised stand so that the glue thickens even more. Again, everything is individual, I personally needed about 20 minutes for the consistency to noticeably thicken.
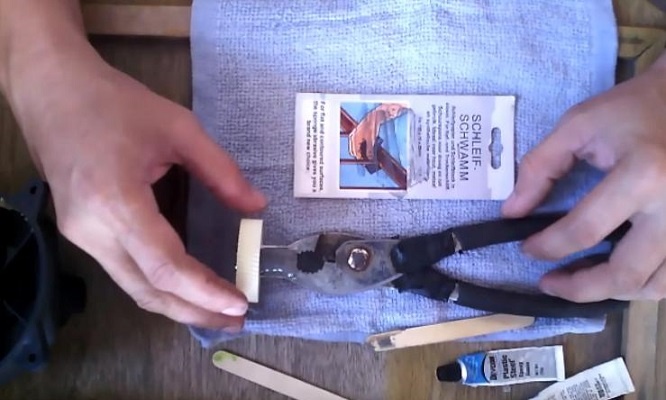
How to restore a plastic gear

You can speed up the reaction and reduce the thickening time by heating. For example, take a hairdryer and start heating the glue on the gear.
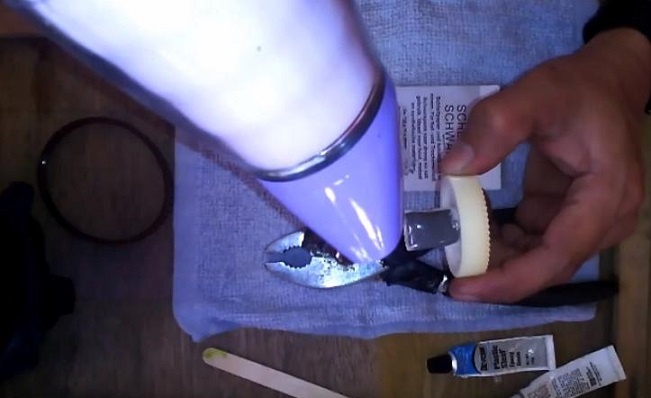
How to restore a plastic gear

Restoration of teeth


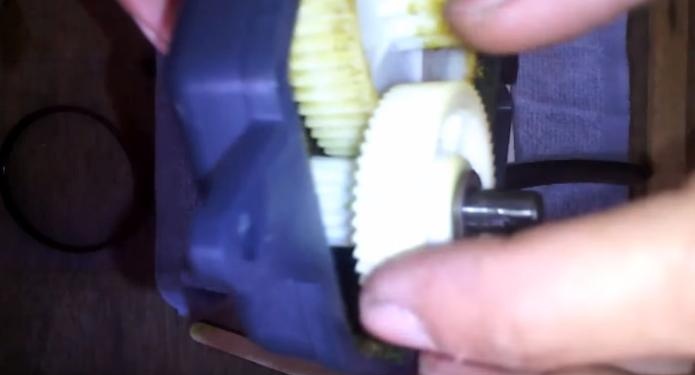
Now the most crucial moment is rolling the teeth. The unit where the gear was used, namely the other gear with which our broken one was in direct contact, must be generously lubricated with grease, grease or lithol.
We install the broken gear and roll it over the other one several times.
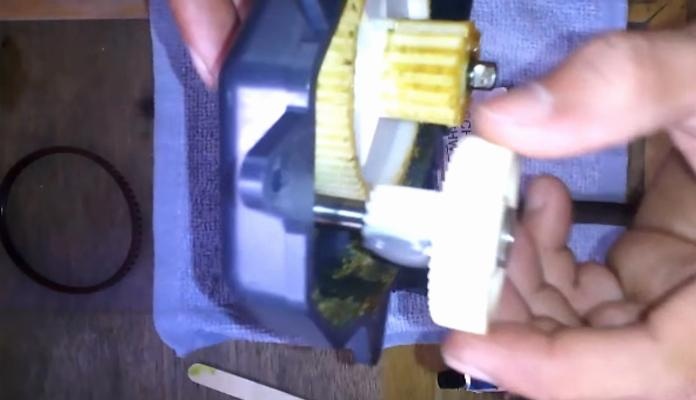
How to restore a plastic gear

How to restore a plastic gear

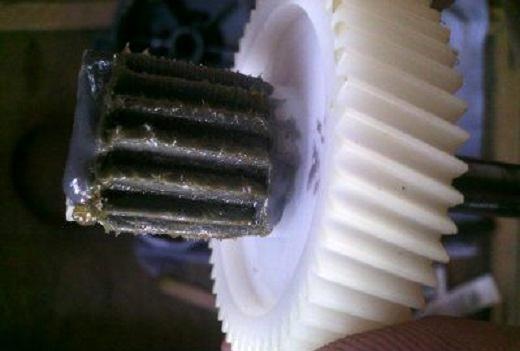
As a result, another gear will roll the track on the thick glue.
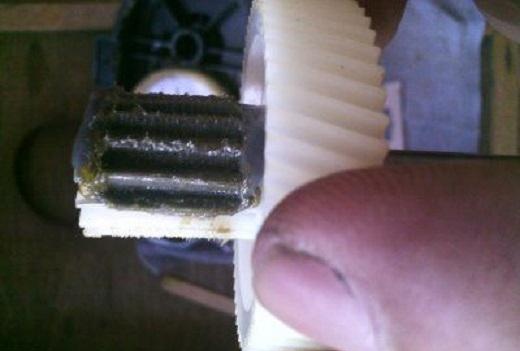
How to restore a plastic gear

How to restore a plastic gear

Now you understand that before rolling the teeth, the epoxy glue on the gear must cure to the consistency of hard clay.
Thanks to the lubrication, the glue will not stick to the other gear.

Hardening


Carefully remove the restored product from the mechanism and leave it for final hardening, usually for a day.
How to restore a plastic gear

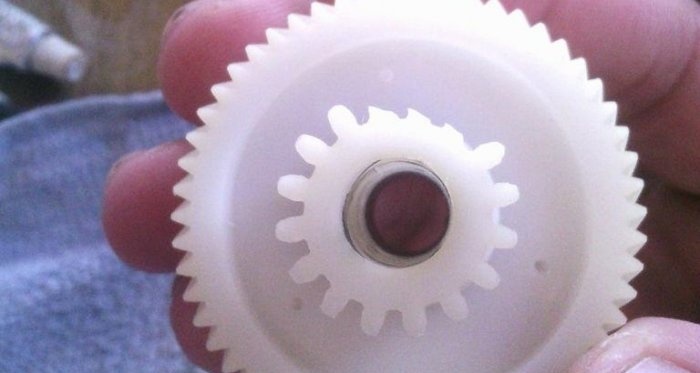
In this simple way, you can quite easily restore broken gears.

How to replace epoxy glue?


If you haven't found glue, I can recommend you to make a slightly similar composition.
For this you will need:
  • Epoxy resin with hardener.
  • The cement is dry.

We buy regular transparent or yellowish epoxy resin with a hardener. These two components are often sold together.
In the proportion specified in the instructions, mix the components to obtain the required amount of glue. Add cement. Just not a cement-sand mixture, but pure cement. The proportions are approximately two to one. That is, two parts glue and one part cement. And mix everything very thoroughly. The glue is ready, and then everything is as per the instructions above.
Watch the video


come back
Comment
  • bowtiesmilelaughingblushsmileyrelaxed relaxedsmirk
    heart_eyeskissing_heartkissing_closed_eyesflushedrelievedsatisfiedgrin
    winkstuck_out_tongue_winking_eyestuck_out_tongue_closed_eyesgrinningkissingstuck_out_tonguesleeping
    worriedfrowninganguishedopen_mouthgrimacingconfusedhushed
    expressionlessunamusedsweat_smilesweatdisappointed_relievedwearypassive
    disappointedconfoundedfearfulcold_sweatperseverecrysob
    joyastonishedscreamtired_faceangryragetriumph
    sleepyyummasksunglassesdizzy_faceimpsmiling_imp
    neutral_faceno_mouthinnocent
4 minus one =
Comments (45)
  1. Guest Alexey
    #1 Guest Alexey Guests 13 May 2018 21:14
    8
    A 3D printer solves such problems in a much more enjoyable and creative way. Yes, it’s not the most powerful and very budget-friendly 3D machine, however, when I increase the table to 17 x 17 cm, I print products measuring 15 x 15 x 14 cm. These sizes are enough to print most utilitarian things.
    1. Ilya
      #2 Ilya Guests 16 May 2018 09:52
      2
      Alexey, what programs do you use to create 3D models? Can you tell us a little about your printer? what model? What 3D software layouts does it understand?
    2. AND
      #3 AND Guests April 29, 2019 12:10
      5
      For someone without arms, this method may be more pleasant, but calling it “more creative” is somehow completely inappropriate. Creativity is something that no one has done before, and the printer is a standard technology.
    3. Danskiy
      #4 Danskiy Guests 25 November 2022 16:00
      2
      I don't agree with you! The printer requires a model. Those. you need to find it ready in *.STL format or *.SVG for laser cutting. Or measure it manually and make a 3D model. And the option shown by the author eliminates the search for a printer and the rest of the trouble (if without swearing ;))
  2. Interesting
    #5 Interesting Guests 13 May 2018 22:27
    7
    Author, interesting idea. Is there any information on how long such a gear will last?
  3. Vasya
    #6 Vasya Guests 13 May 2018 23:21
    36
    Poor advice, not a single epoxy has adhesion to the materials from which modern gears in household appliances are made, with the exception of textolites.
    1. Radar
      #7 Radar Guests July 24, 2018 08:38
      10
      Such a gear can be repaired better. The gear is tall, so we cut it in half with a thin file (a jigsaw for wood or a hacksaw for metal with a pre-cut set of teeth).We rotate the sawn fragment 180 degrees and glue (fuse, mechanically fix) with another fragment. If the thickness of the gear allows, we drill 3-4 holes D 0.5 - 1 mm around the axis (parallel to it) and drive pieces of wire of a suitable diameter into it to avoid turning the fragments relative to each other. We grind the teeth at the joint. In lightly loaded, low-speed devices, such a gear can work for quite a long time, at least until the moment when the necessary spare part is found.
      PS: you can ask around at printer repair shops; they usually have contractors who cut plastic gears.
  4. Guest Nikolay
    #8 Guest Nikolay Guests 14 May 2018 08:59
    27
    Polyethylene, fluoroplastic and some other polymers do not adhere at all
  5. Alexander Volk
    #9 Alexander Volk Guests 14 May 2018 09:02
    7
    Amazing! Only one "but". These gears are typically made from vinyl or isopropyl plastics, to which epoxy components adhere very poorly. Therefore, such restored gears will not withstand heavy loads for long.
    1. sergey Astashkin
      #10 sergey Astashkin Guests July 9, 2018 05:53
      2
      From vinyl - like vinyl chloride? - no, they don’t make them just for toys; in principle, they cannot work in loaded units.
  6. lexx
    #11 lexx Guests 14 May 2018 09:17
    4
    Why weren’t the results shown in the work? This glue will fall off the gear after it dries under load. A 3D printer will only solve the problem of replacing a broken gear
  7. Guest
    #12 Guest Guests 14 May 2018 13:48
    41
    Some people here talk about 3D printer, as if everyone has access to it. Otherwise, what is this site for? If I were the author, before pouring the compound, I would make several indentations on the gear at different angles with a thin drill.The hardened glue in these recesses will act as “latches”, which will provide additional strength to the connection with the plastic.
  8. Guest Alexander
    #13 Guest Alexander Guests 16 May 2018 16:58
    6
    There is no 3D printer, take a 3D pen and work in the same way
  9. Guest Vladimir
    #14 Guest Vladimir Guests 17 May 2018 20:06
    12
    Well, gentlemen, you are stuck, who suggests using a 3D printer, a pen. This site offers how to quickly solve the problem that has arisen. And then at least invite aliens!
    1. Guest Alexey
      #15 Guest Alexey Guests 12 December 2018 14:27
      1
      there is no 3D printer, is this a problem, probably in every municipality you can find a person who has a 3D printer and order him to print a gear
      1. Vitaly Nezhelsky
        #16 Vitaly Nezhelsky Guests 7 June 2019 14:35
        1
        There is no 3D printer in our muhosransk.
        Here we show how to repair a part if there is no spare but the device should work.
  10. Guest Leonid
    #17 Guest Leonid Guests 18 May 2018 17:00
    25
    Don't do nonsense. Nothing will work out. Verified. The best way is a new gear
    1. Vitaly Nezhelsky
      #18 Vitaly Nezhelsky Guests 7 June 2019 14:37
      5
      it costs 60% of the printer. (At least for us..) and there’s no place to order it. (It makes no sense.)

How to make a Christmas tree out of paper | Do it yourself

How to marinate mackerel for grilling so that it turns out juicy

How to make tomato paste from tomatoes

How to make a silent water seal for a fermentation tank with your own hands

«Do it yourself - with your own hands» - a site of interesting homemade products made from scrap materials and items at home. Step-by-step master classes with photos and descriptions, technologies, life hacks - everything a real master or just a craftsman needs for needlework. Crafts of any complexity, a large selection of directions and ideas for creativity.

We recommend reading

Washing machine error codes