Do it yourself
Life hacks, master classes, useful tips, recipes.
home » Garden » Complete disassembly of the brush cutter gearbox to remove wear products and replace lubricant
How to use lubricant to push back the repair of a lawn mower gearbox? Whatever the brand of brush cutter, the second most important component after the engine is the gearbox, consisting of two helical gears, the smaller of which is the drive gear, the larger one is the driven gear.

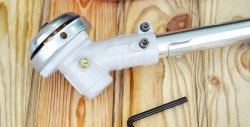
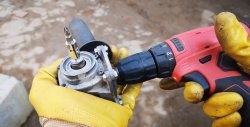
Gearbox design and lubrication


The gearing, rotating in the bearings, is located in a housing consisting of two symmetrical halves, and tightened together with bolts. The drive gear receives rotation from the engine along a rod that ends with splines (usually there are 7 or 9 of them), the driven gear transmits rotation to the spindle, which serves to attach the working element - a drum with fishing line, cables or a cutting disk.
The gear bearings on the spindle side are sealed with an oil seal that protects the bearings and the lubricant in them from contamination. To replenish it, there is a bolt on the body; by unscrewing it, you can add lubricant during operation of the tool.
Complete disassembly of the brush cutter gearbox to remove wear products and replace lubricant

Regular lubrication of the gears of the brush cutter gearbox is so important that it is worth discussing separately.If you exclude working with a cutting disc, when it clings to a stone or curb and sends a counter shock pulse to the gearbox, which leads to breakage of the driven gear tooth, parts of which gradually damage the entire engagement, lubricant can delay the repair of this important unit and extend the service life by several once.

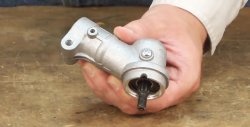
Disassembling the gearbox to check it and replace lubricant and wear particles


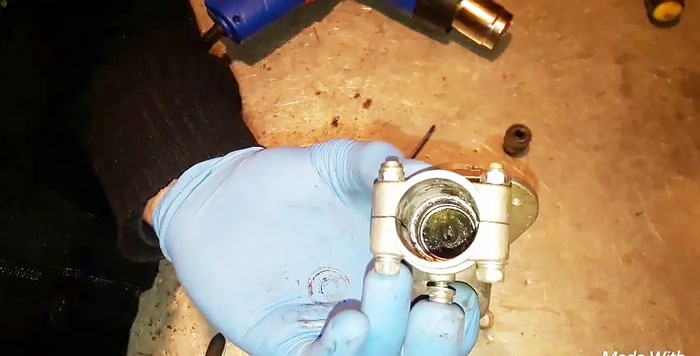
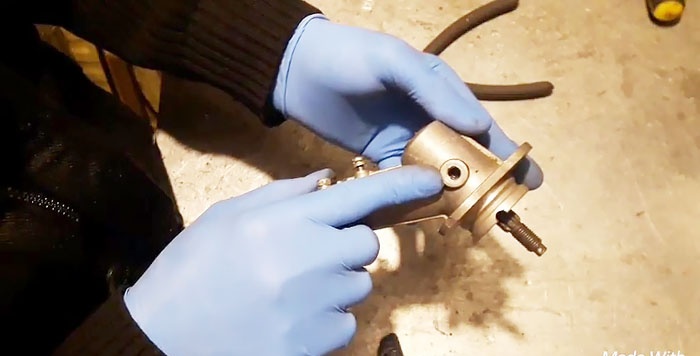
To do this, disconnect the casing and the rod with the shaft inside from the gearbox. We remove the working element from the spindle and wash the gear assembly to make it more convenient to disassemble it.
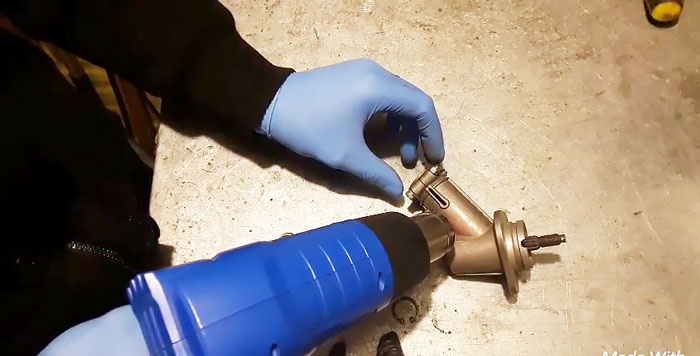
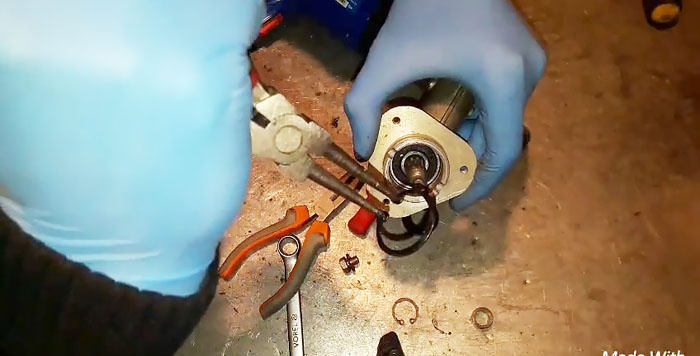
We unscrew the bolt-plug, but it can be left in place, since it does not carry any power load.
Complete disassembly of the brush cutter gearbox to remove wear products and replace lubricant

Then we remove the drive gear from the housing. To do this, using a special puller, remove the retaining ring from the annular slot, which holds the drive gear block in the desired position in the housing.
Complete disassembly of the brush cutter gearbox to remove wear products and replace lubricant

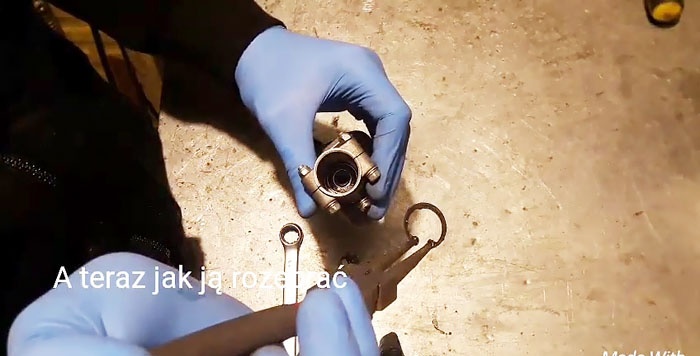
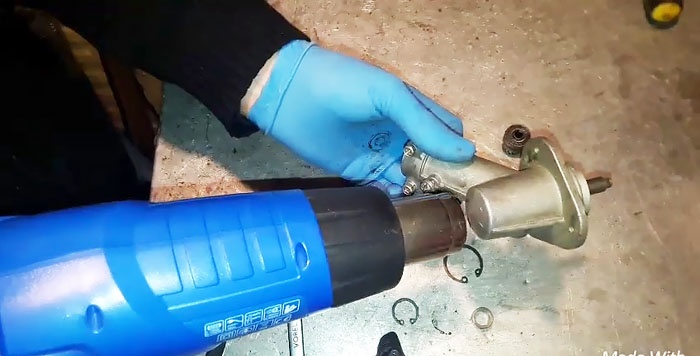
Since the bearings with their outer ring are installed in the seats with interference, they are not easy to remove. To make this task easier, we heat the gearbox housing in the area of ​​the bearings with a hair dryer.
Complete disassembly of the brush cutter gearbox to remove wear products and replace lubricant

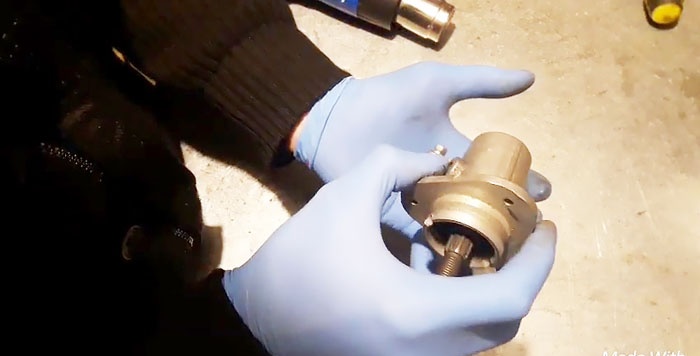
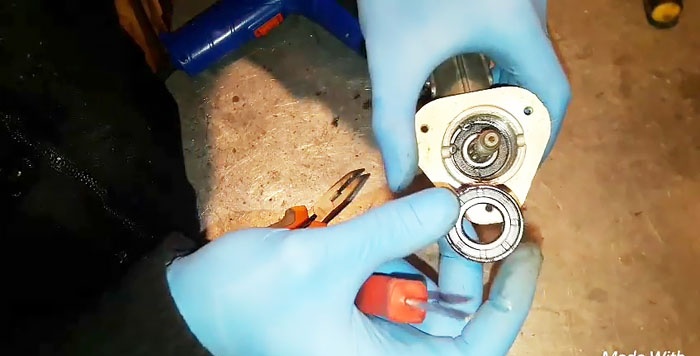
As soon as the metal of the housing heats up, it will expand and the interference will disappear. Now you can easily remove the drive helical gear unit with two identical paired bearings from the housing.
Complete disassembly of the brush cutter gearbox to remove wear products and replace lubricant

Complete disassembly of the brush cutter gearbox to remove wear products and replace lubricant

Complete disassembly of the brush cutter gearbox to remove wear products and replace lubricant

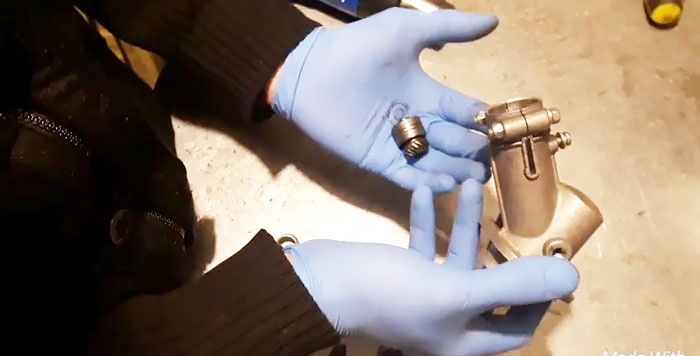
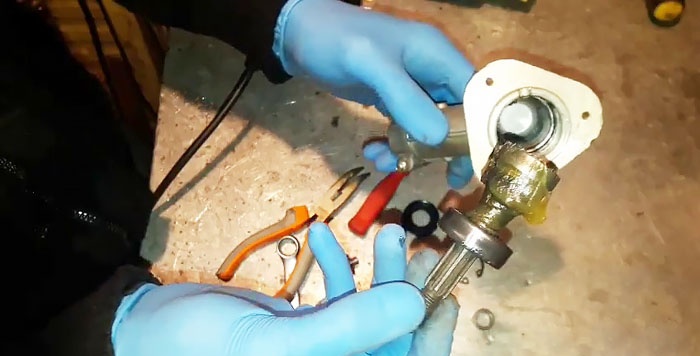
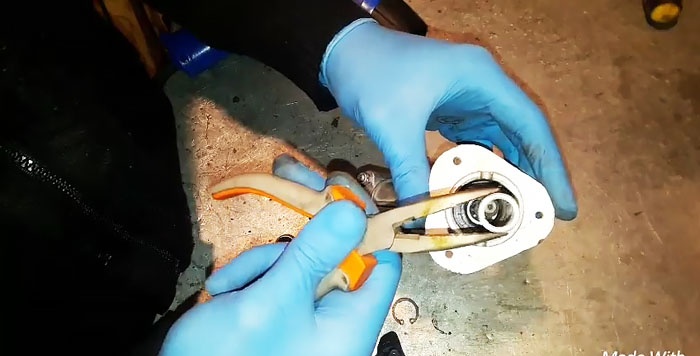
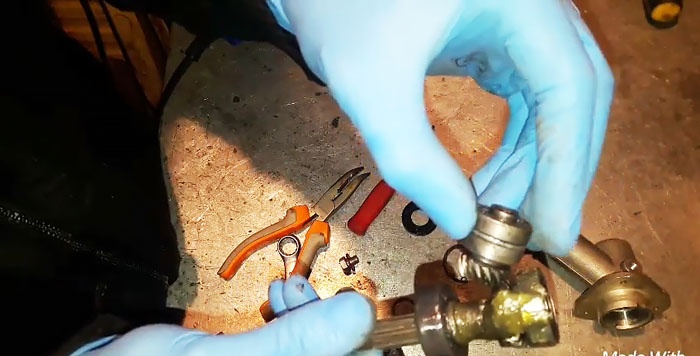
We begin to remove the driven gear unit with the spindle from the gearbox housing. Here, we first remove the centering sleeve using pliers with narrow jaws, then the oil seal, prying it off with a screwdriver or some other suitable tool.
Complete disassembly of the brush cutter gearbox to remove wear products and replace lubricant

Complete disassembly of the brush cutter gearbox to remove wear products and replace lubricant

Complete disassembly of the brush cutter gearbox to remove wear products and replace lubricant

Complete disassembly of the brush cutter gearbox to remove wear products and replace lubricant

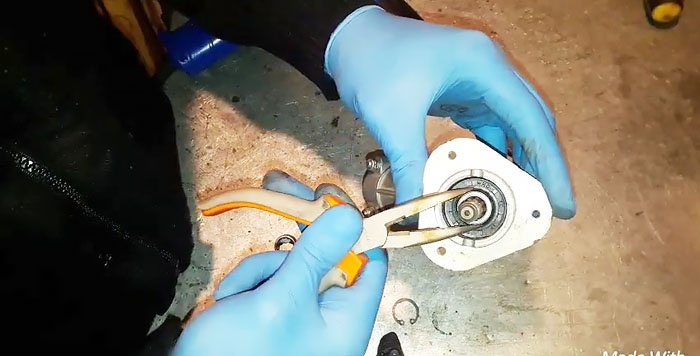
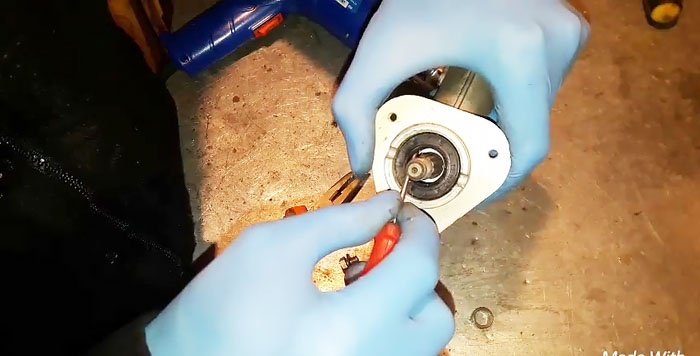
Also, as in the first case, we pull out the retaining part by squeezing it with a snap ring remover, using the holes in the lock for this.
Complete disassembly of the brush cutter gearbox to remove wear products and replace lubricant

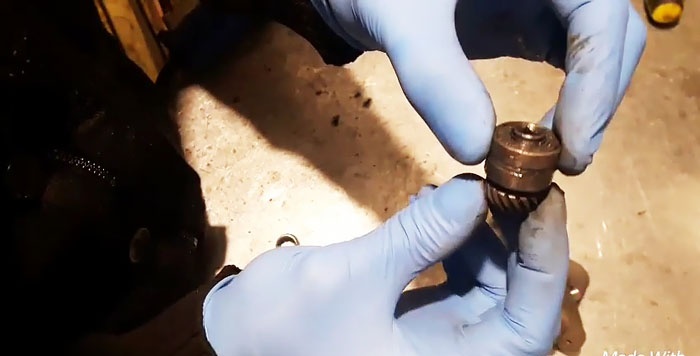
We heat the gear housing with a hairdryer in the area where the bearings of the driven gear block are located and after a while we pull it out by slightly pulling the spindle.
Complete disassembly of the brush cutter gearbox to remove wear products and replace lubricant

Complete disassembly of the brush cutter gearbox to remove wear products and replace lubricant

In custody…


Complete disassembly of the brush cutter gearbox to remove wear products and replace lubricant

Once you are satisfied that the gears, bearings, circlips and seal are in order, you can begin to completely flush and re-lubricate the gearbox. If damaged parts are found, they must be replaced with similar ones.
Notice how much wear debris is on the sides of the head housing.
Complete disassembly of the brush cutter gearbox to remove wear products and replace lubricant

Watch the video


come back
Comment
  • bowtiesmilelaughingblushsmileyrelaxed relaxedsmirk
    heart_eyeskissing_heartkissing_closed_eyesflushedrelievedsatisfiedgrin
    winkstuck_out_tongue_winking_eyestuck_out_tongue_closed_eyesgrinningkissingstuck_out_tonguesleeping
    worriedfrowninganguishedopen_mouthgrimacingconfusedhushed
    expressionlessunamusedsweat_smilesweatdisappointed_relievedwearypassive
    disappointedconfoundedfearfulcold_sweatperseverecrysob
    joyastonishedscreamtired_faceangryragetriumph
    sleepyyummasksunglassesdizzy_faceimpsmiling_imp
    neutral_faceno_mouthinnocent
4 minus one =
Comments (0)

DIY decor step-by-step master classes with photos do it yourself | Page 2

What to do if the water heater safety valve is leaking

Textile dog | Do it yourself

Kanzashi Tsumami | Do it yourself

«Do it yourself - with your own hands» - a site of interesting homemade products made from scrap materials and items at home. Step-by-step master classes with photos and descriptions, technologies, life hacks - everything a real master or just a craftsman needs for needlework. Crafts of any complexity, a large selection of directions and ideas for creativity.

We recommend reading

Washing machine error codes