Thanks to their special design, they can also be used to transport viscous substances, since they can easily overcome back pressure and are easily cleaned (disinfected).
The main working parts of a peristaltic pump are an elastic hose lying around the perimeter of the housing, usually in an arc, which is periodically pinched by rotating rollers mounted on a special drive.
The rotor, rotating, with its rollers forms areas with trapped liquid and gradually moves them, first along the suction section, and then along its discharge part, which ensures pumping of the medium. Since the hose is made of elastic material, after passing through the rollers, it returns to its original shape and is again ready to receive a new volume of water.
Pumps of this type are used in the chemical and food industries, pharmacology, medicine, etc.In everyday life, they are perfect for various purposes: pumping wort in a home brewery, food products such as pasta, cooling a unit, or organizing the drive of a tool, for example, a drill.
What is the need, possibility and feasibility of making a peristaltic pump with your own hands? In principle, it can be bought in a store, but usually these are either mini-units with low flow rates for laboratory purposes, or, conversely, very large ones for industrial use.
The production of such units with intermediate characteristics is quite limited. Therefore, to implement the above household tasks, a hose pump may simply not be available in the store. But you can make it yourself, especially since this does not require special tools and expensive materials.
Peristaltic pump: expanding our understanding of it
The principle of its operation is borrowed from biological systems. This is how, for example, the gastrointestinal tract of humans and animals works. Let's see how peristalsis is implemented in technical systems using the following videos.
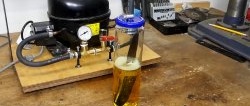
Test 1: Pump operation when drawing liquid above the discharge level
It is shown how a peristaltic pump works under favorable conditions due to the presence of pressure at the inlet and vacuum at the outlet. It can be seen that the process of pumping water proceeds without problems, only pulsation is noticeable, due to the presence of only 4 rollers and low speed of the drive – the drill.
Test 2: Pump operation when the discharge level exceeds the liquid intake
Such conditions require that the pump generate more pressure, since in addition to ensuring the flow of water, it is necessary to create a vacuum in the suction pipe and overcome the back pressure at the outlet, which causes a column of water from the pump to the discharge level. However, even in this case, the unit works and provides a noticeable supply. It can be seen that as the drive (drill) speed increases, the consumption also increases.
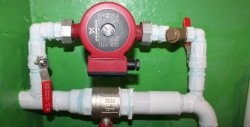
Test 3: Showing the device of a hose pump
The relative position of the main components and parts of the peristaltic pump is demonstrated - the housing, hose and rotor with rollers. Their size ratio and the interaction of the rollers with the elastic hose are shown. The moment of capturing water, pushing it through the hose and pushing it into the discharge part is demonstrated.
Attention was paid to the installation and fastening of the rollers on the rotor and the rotor to the bottom from the outside using a system of washers and nuts, as well as hoses to the body. It is shown how the shell is disconnected from the bottom.
The process of making a peristaltic pump with your own hands
The work will require, in addition to tools and materials, some skills in handling both.
Logistics support
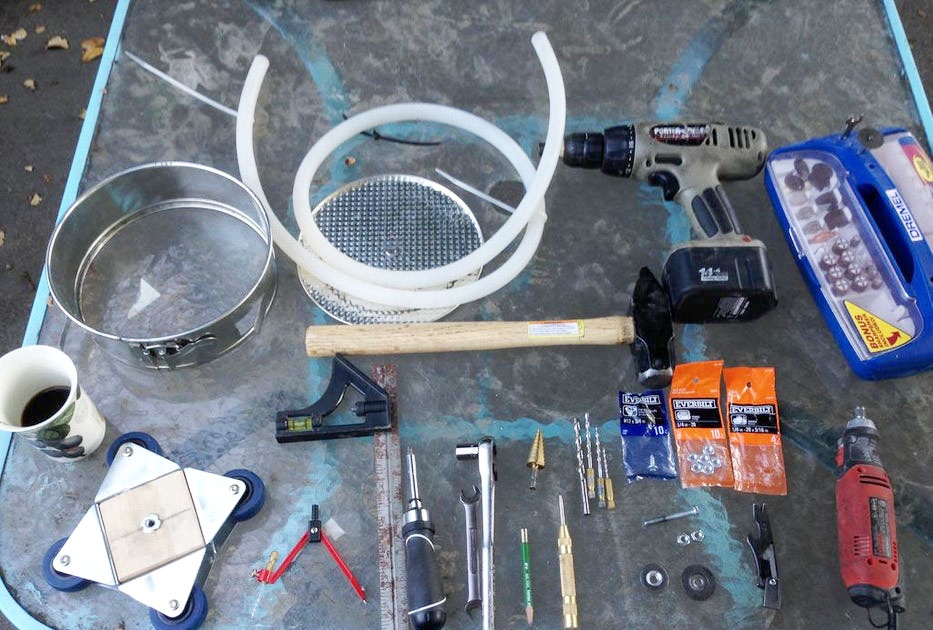
The list of materials below is not mandatory; you can improvise and make do with what you have. Here is one of the options:
- metal cake pan with a depth of 75 mm and a diameter of 240 mm;
- polyurethane rollers with a diameter of 50 mm - 4 pieces;
- silicone hose (diameter: external – 20 mm, internal – 13 mm) 1500 mm long;
- a cut of hardwood measuring 100×100 mm and a thickness of 40-50 mm;
- 2 washers with a diameter of 25 mm and 13 mm;
- 2 T-nuts M6 (it is better if one of them is a union one);
- bolt M6×75 mm;
- wood screws 6×20 mm – 8 pieces.
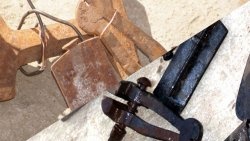
Here is a complete list of tools (you can get by with fewer, replace some positions with others with the same functions, etc.):
- bench hammer;
- complex metal ruler;
- drill;
- set of drills;
- Dremel (mini-drill) with a grinding wheel and cutting disc;
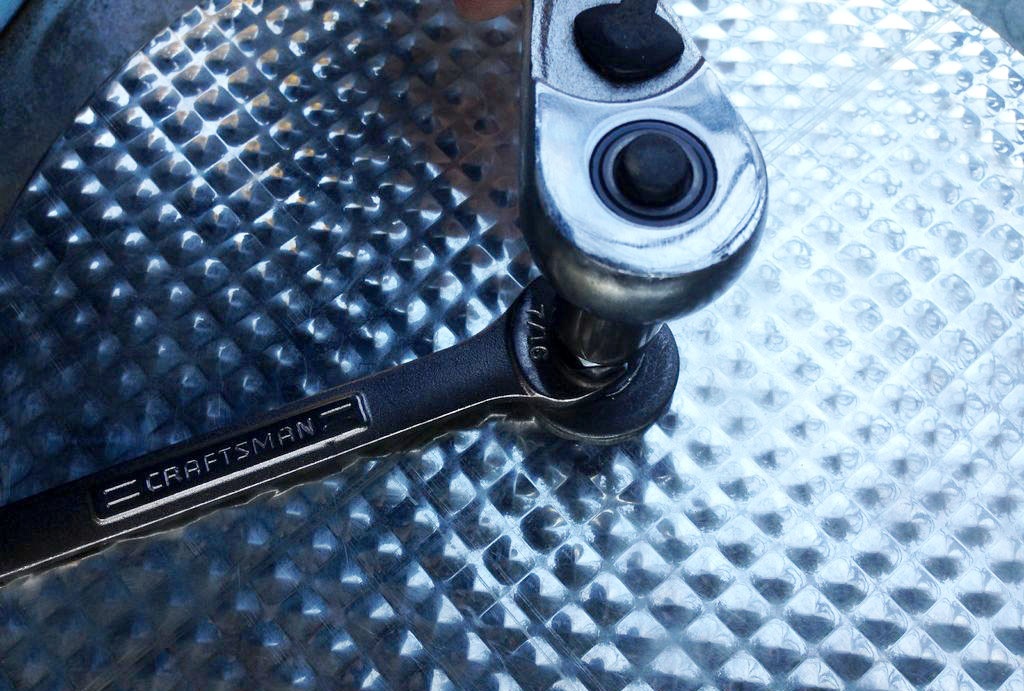
- ratchet wrench (socket) 11 mm;
- 11mm wrench;
- drilling machine;
- square and framing square;
- circular saw or hand saw.
Preparing the square base for attaching the rollers
This is one of the most critical stages, so you need to be extremely accurate and careful.
The sequence of the stage is as follows:
1. Place a square piece of wood into the body of the future pump - a baking dish, along with rollers (fitting).
2. Determine the size of the wooden block to install all 4 rollers. Half the side of the square will correspond to 52.4 mm.
3. Set aside 52.4 mm on each side of the wooden piece and cut out a square with an allowance using a saw.
4. After careful measurements and fittings, we determine the final length of the side of our square - 94.5 mm.
5. Using a drilling machine, drill a small hole in diameter in the center of the wooden square.
6. Drill the resulting hole to the required size.
7. We make a hole at the top and bottom for the T-nuts.
8. Insert the T-nuts tightly into place. This can be done by screwing and tightening regular T-nuts over them.
9. Temporarily unscrew the bolt to make the next step easier.
Preparation and installation of rollers for a square block
One thing to keep in mind is that the casters we chose were intended for use on cargo carts, so they are not very precise to perform their new function. To minimize errors in their manufacture, we number the sides of the square and the rollers, and also fasten them to the wooden base so that the rivet axes of all the rollers are outside.
1. To be specific, mark the front side on a wooden block.
2. Place the block face up on a horizontal surface. If it is unstable due to the T-nut, put one of the large washers under it.
3. Place each video on the sides of the square block, observing the numbering.
4. Mark with a pencil or marker on the sides of the block the centers of the holes in the roller brackets intended for fastening with screws to a wooden base.

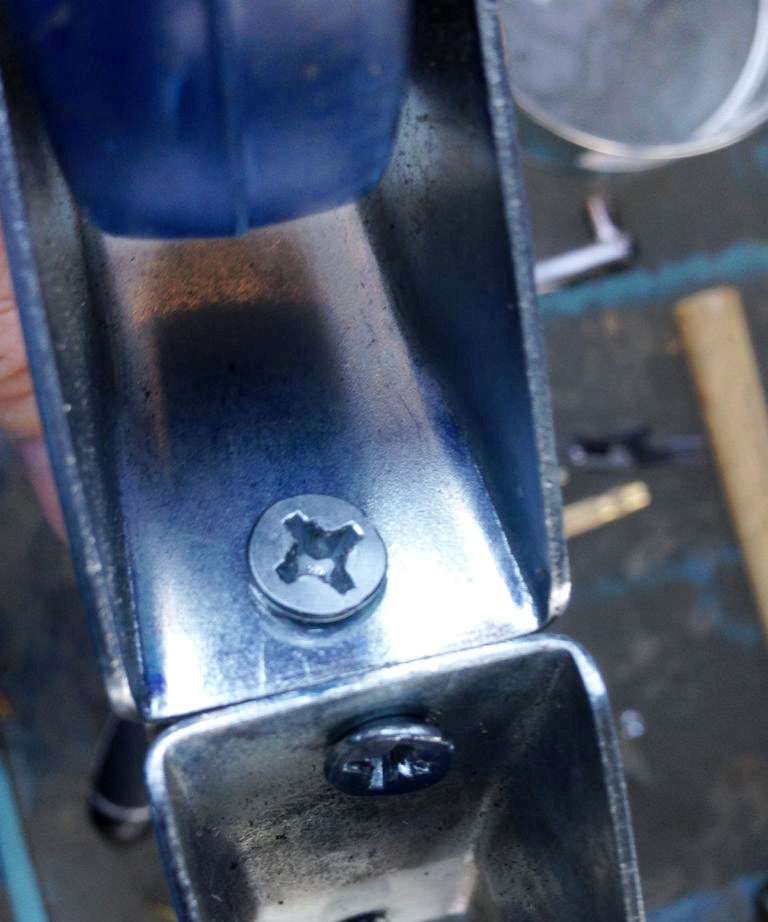
5. Using the marks, we make holes at a slight angle so that adjacent screws do not touch. To do this, it is enough to drill each hole for the even screw upwards, and the odd one - downwards. The diameter of the drill must be clearly smaller than the diameter of the fasteners.
6. We secure each roller bracket to its side with screws, once again checking that the holes on the bracket and in the wooden block match accurately.
7. After securing all the brackets, you need to make sure that the lower side surface of the bracket coincides with the plane of the wooden block.
Finding the center of the bottom of the case and drilling a hole
1. Remove the bottom of the cake pan. Naturally, it should be round and flat.
2. Using a metal compass and other measuring devices, we find the geometric center of the round bottom and mark it with a marker or core.
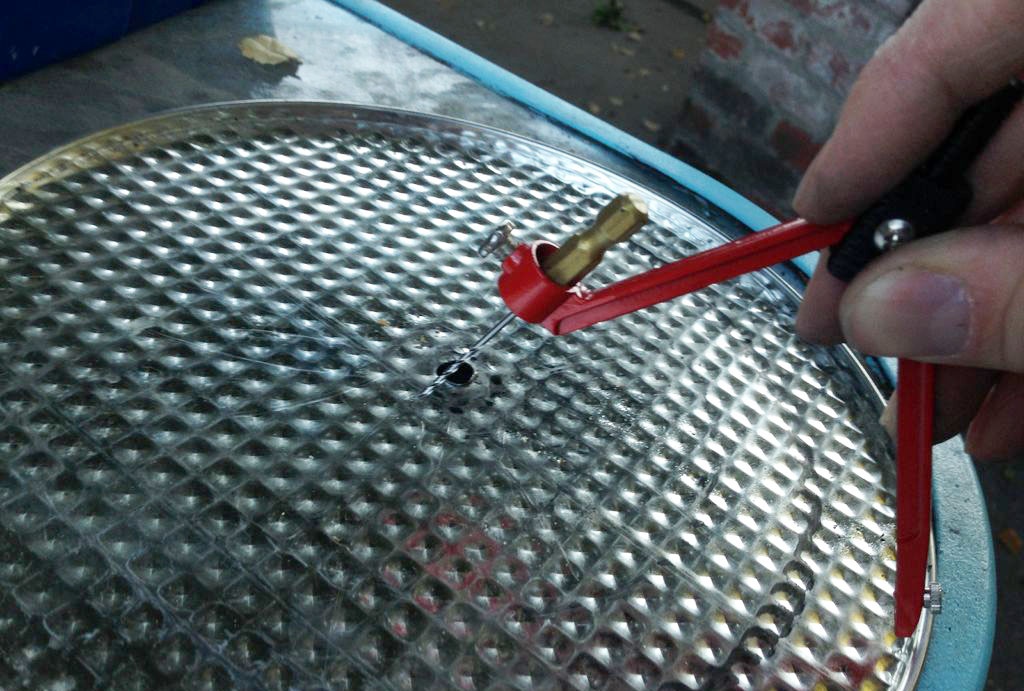
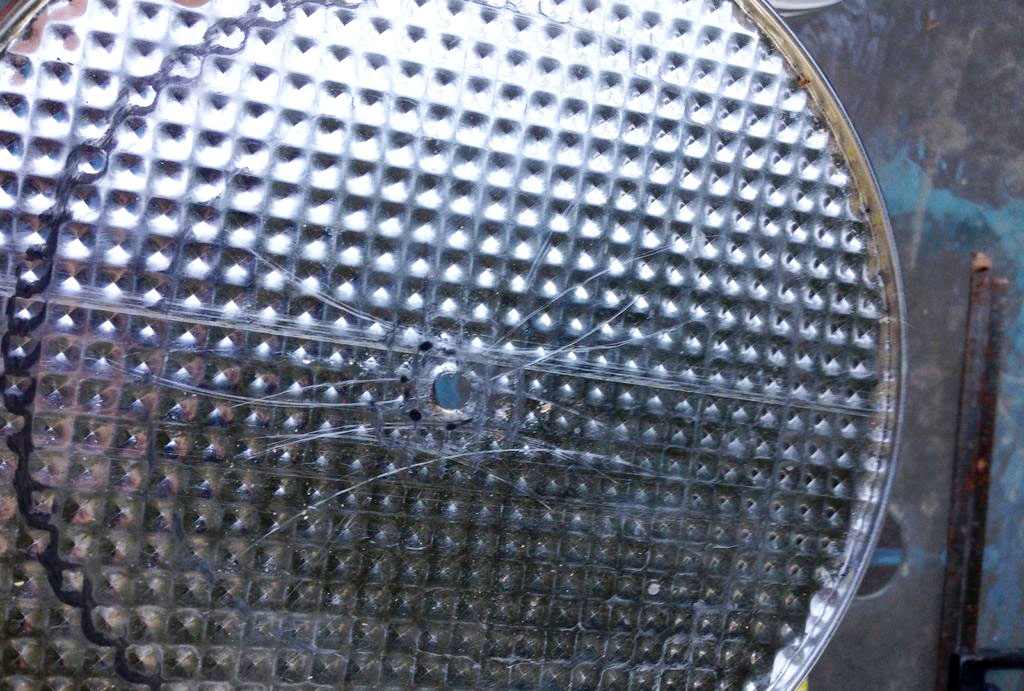
3.In the marked place we drill a hole using a drill or a drilling machine, taking into account that the bottom material is quite thin.
4. Smooth out the resulting hole using a Dremel and suitable attachments.
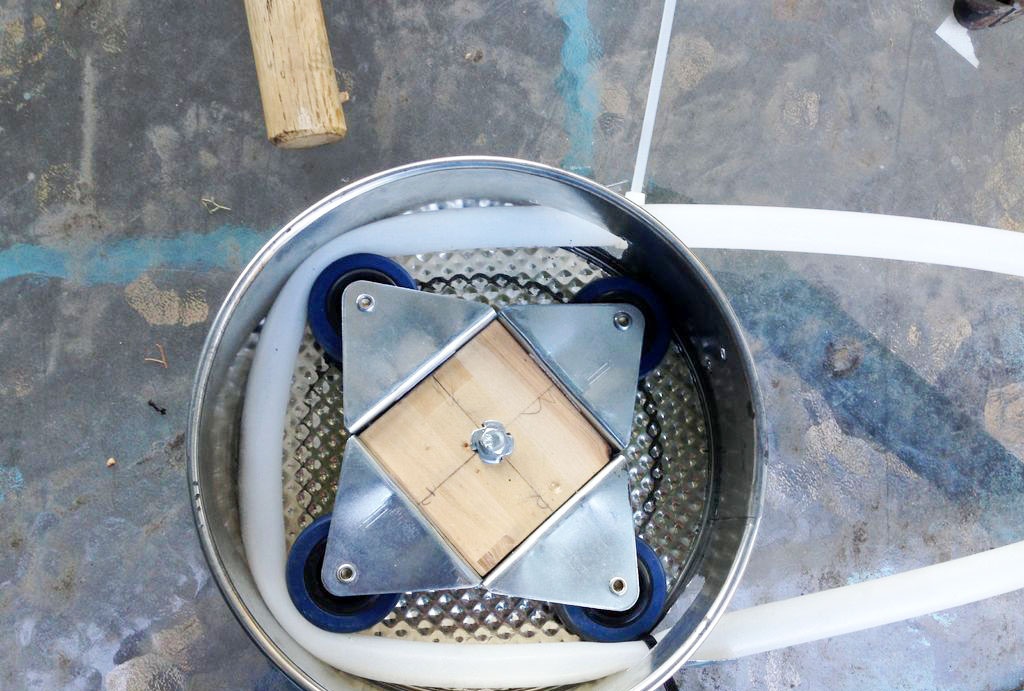
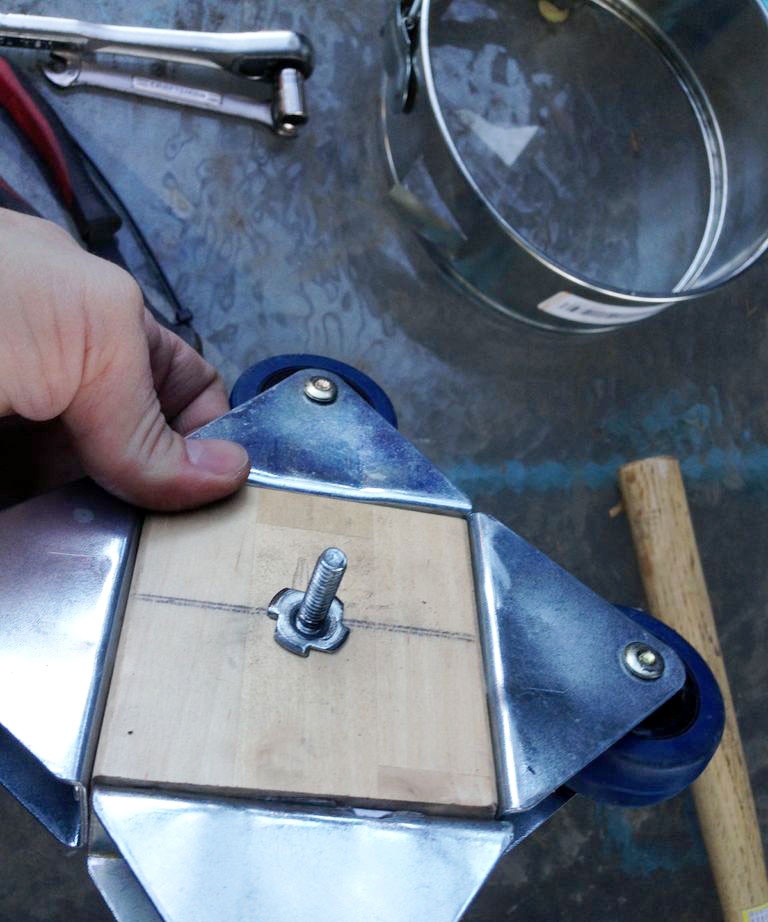
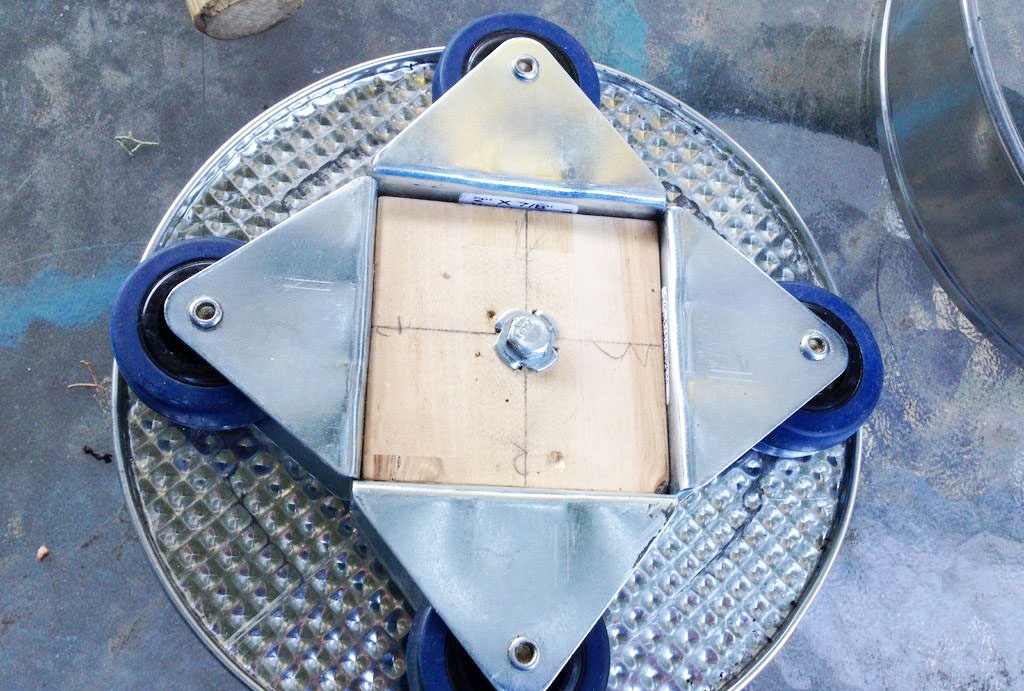
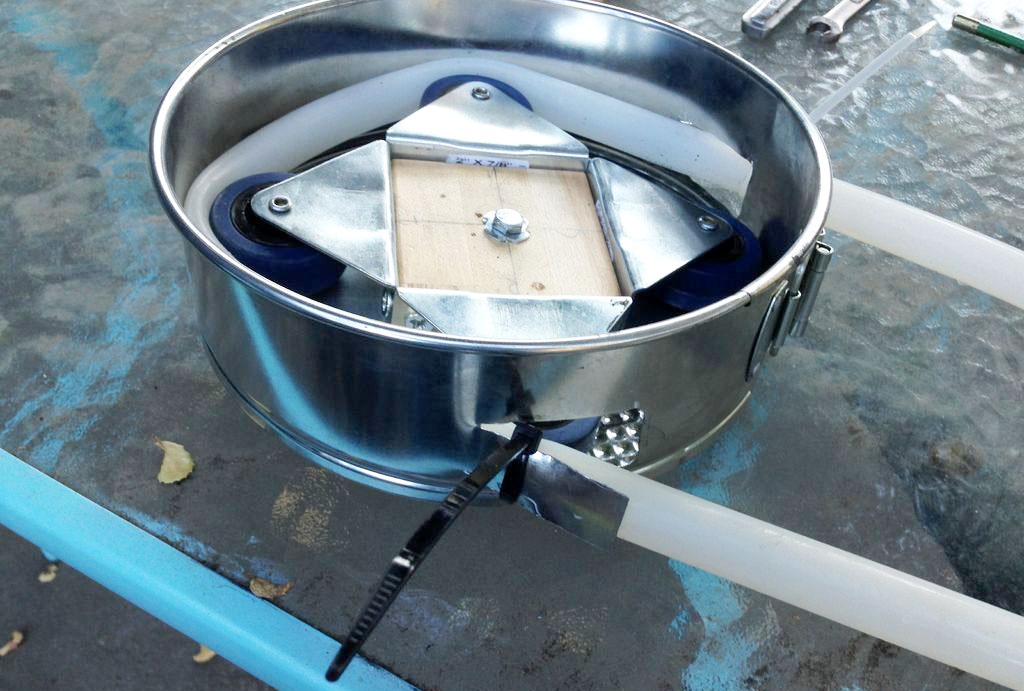
Installing the rotor with rollers on the housing
1. Insert a bolt with a T-nut from the top into the center hole of the wooden block. We install one or two wide and small washers between the block and the bottom of the housing.

2. Pass the bolt through the metal bottom of the housing.
3. Install a large and small washer on the end of the bolt.
4. Tighten the first nut so that it only presses the large washer. This will allow the bolt to rotate freely. We wind the second one over the first until they touch. Then unscrew the top nut while holding the bottom one. The result is a kind of lock that does not interfere with the rotation of the bolt, but at the same time does not allow it to move in the longitudinal direction. It is better if the second nut is a union nut.

5. Now the rotor with four rollers is installed in its proper place.
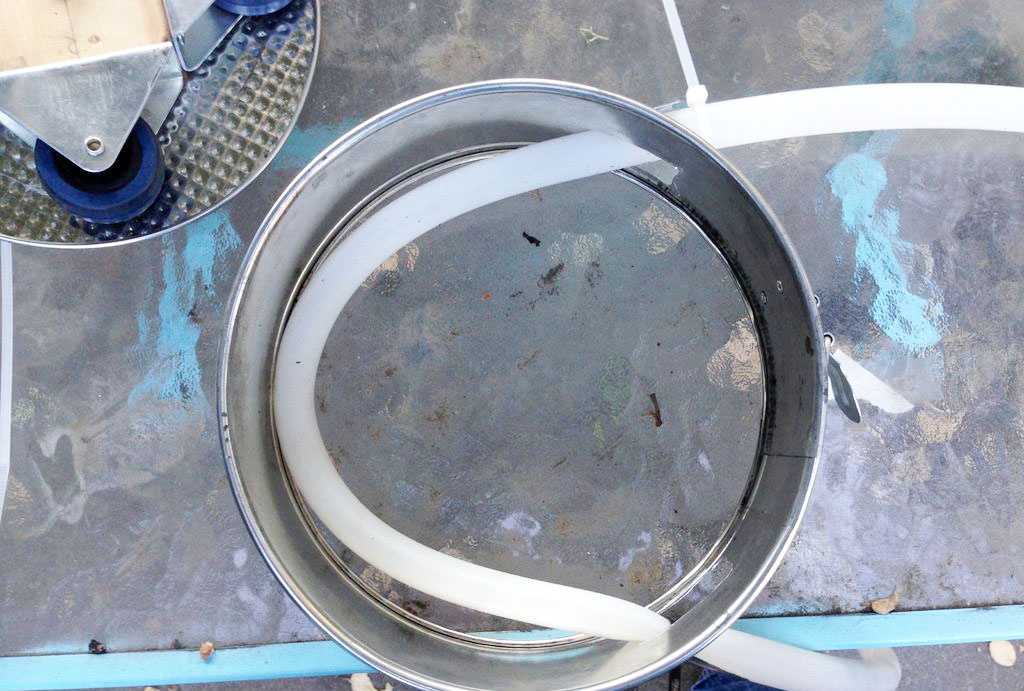
Preparing holes in the housing for a flexible hose
One of the main elements of a peristaltic pump, a flexible hose, must have an inlet into and out of the housing.
1. Select a location for the holes on the side of the case. They should be located downward in the plane in which the hose lies in the housing, and in the radial direction - at positions 10 and 2 (as on a watch dial) in relation to the lock (12 on a watch dial).
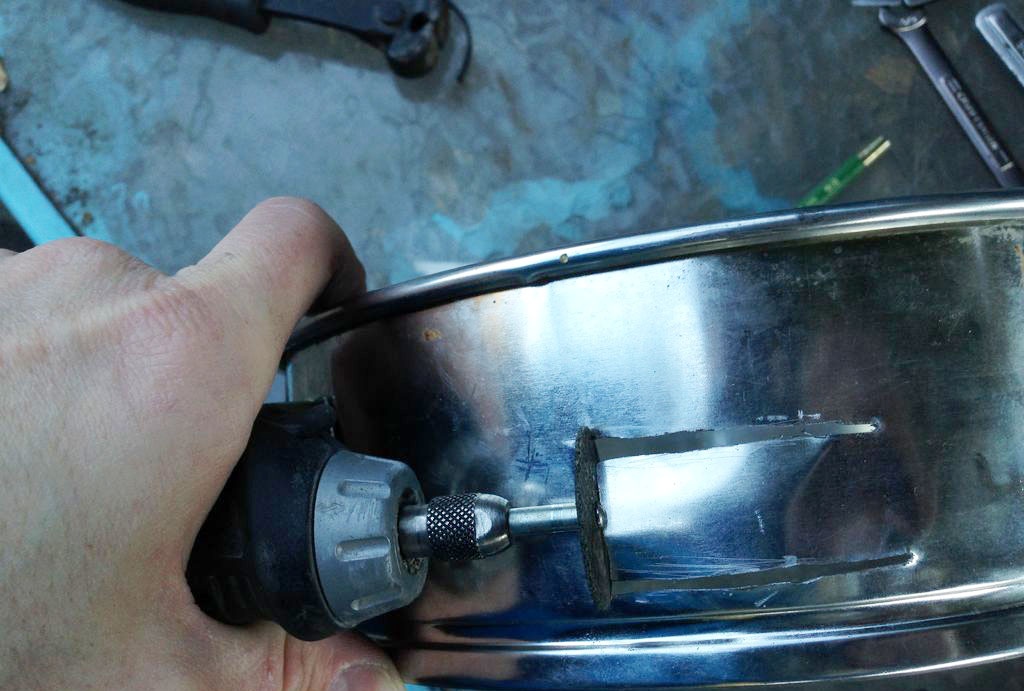
2. In the designated places, use a marker or scriber to draw a rectangular outline of the holes.
3. Using a Dremel and a suitable disk, cut out the holes according to the markings, leaving only the vertical furthest from the lock uncut.
4. Slightly bend the “tongues” outward.
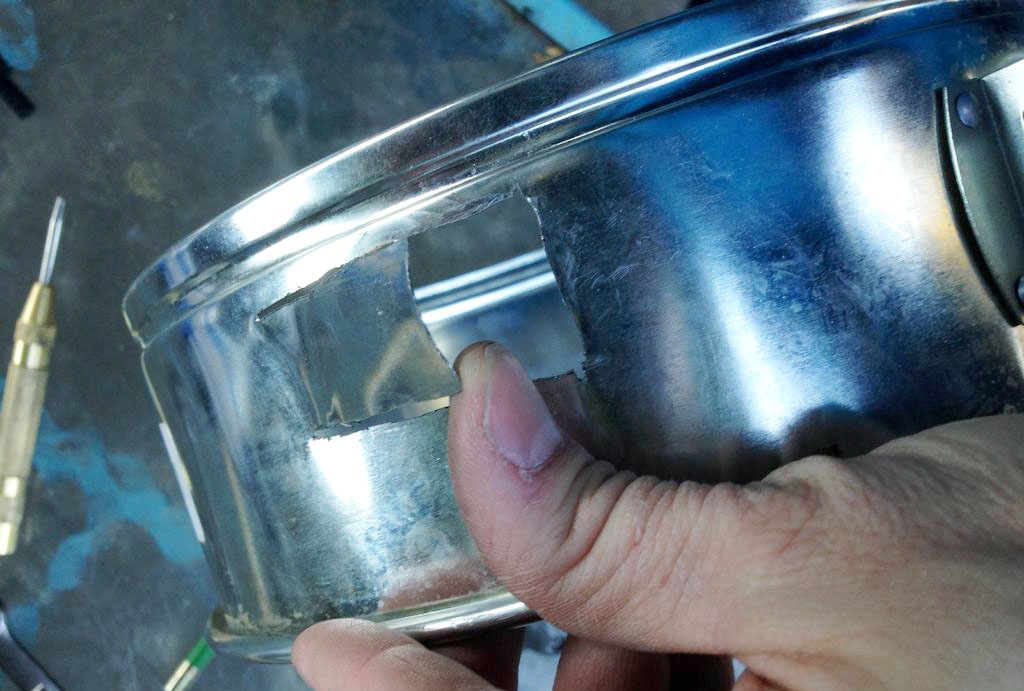
5. Grind the contour of the holes and “tongues”.
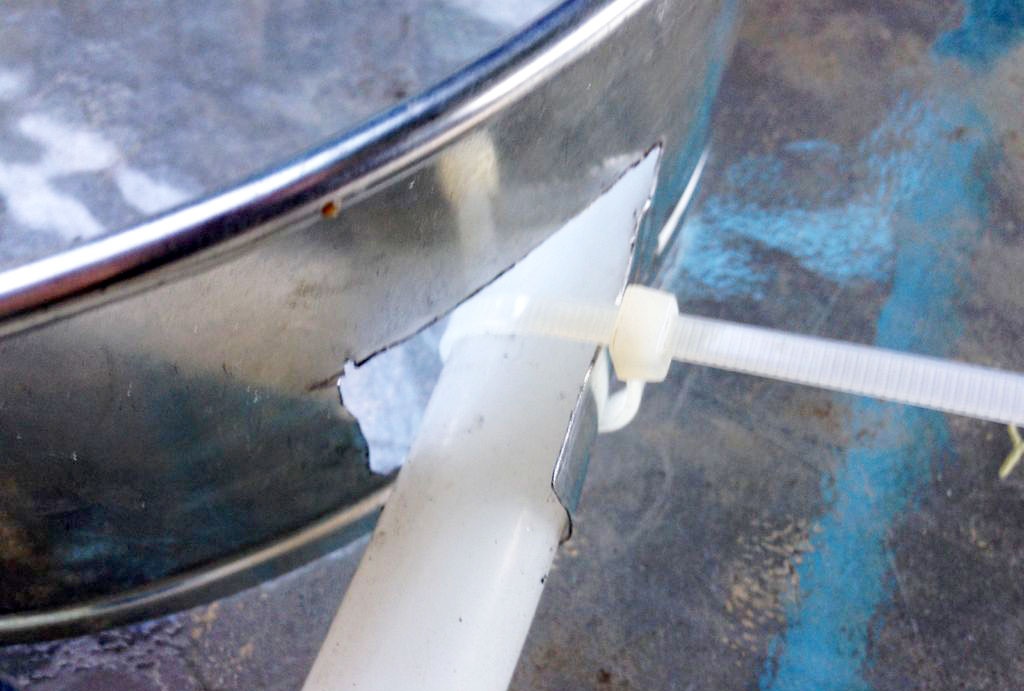
6.We pass the ends of the hose through the holes made.
7. Attach the hose to the “tongues” using plastic clamps.
Pump adjustment and testing
In principle, our homemade peristaltic pump is ready for use.
1. Make sure that the hose lies along the side wall of the housing and wraps around the rollers.
2. Snap the lock, making sure that the bottom fits into the groove on the side wall.
3. We turn the rotor several times by hand and find out that all interacting parts of the pump work as expected.
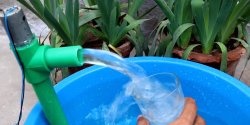
Checking the pump in action
To do this, lower the suction end of the flexible hose, pre-filled with water, into a container of water. Using the appropriate adapter, we influence the rotor through the T-nut, having previously established the required direction of rotation, first slowly, then gradually increasing the speed.
A correctly and efficiently assembled pump will begin to suck water from one container and pump it into another.
Pump improvement
You can experiment with the first version of the peristaltic pump. For example, use an electric gear motor as a drive instead of a drill.
Check how pumping hot wort will affect the performance and reliability of the pump. It's also a good idea to try making individual parts from different materials.
In short, the peristaltic pump gives you the opportunity to be creative and opens up new ways to improve it.
Original article in English