Do it yourself
Life hacks, master classes, useful tips, recipes.
home » Different » For children » Pincushion - fly agaric
There is an old proverb: “Like finding a needle in a haystack.” It is really very difficult. So at home, you need the needles to have their own place. To do this, I propose to knit a needle bed called “Amanita” with my own hands.

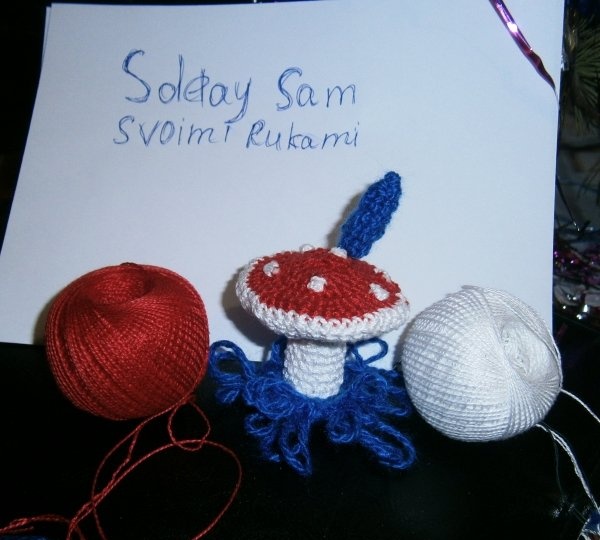
For the pincushion you need:


  • -threads of three colors: red, white, and green or blue.
  • -hook No. 2 or No. 3,
  • -cardboard
  • -foam rubber
  • - needle and thread.

The number of threads depends on the height of the fly agaric. Any thread can be used.
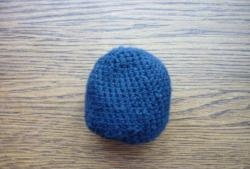
We begin our work with knitting hats. All rows are knitted in single crochets. Let's pick up 4 air loops with red threads and close them using a connecting post. We knit 2-3 rows in the round. Then we begin to add the number of loops and knit until we get a wide “hat”. Under the bottom, as we know, the fly agaric cap is white, so we replace the red thread with a white one and begin to reduce the number of loops.

Pincushion - fly agaric


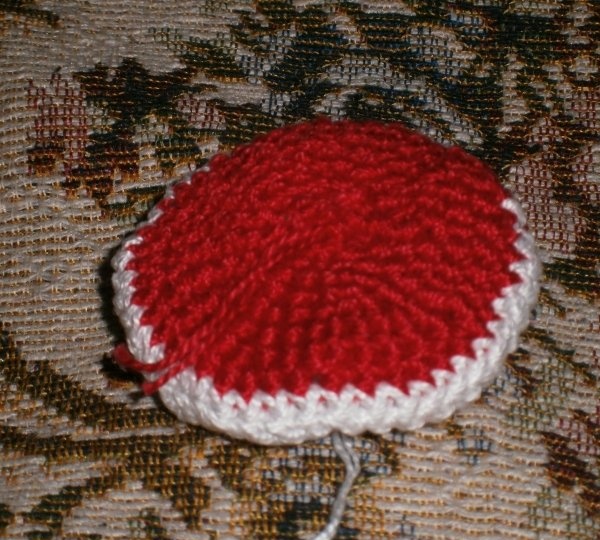
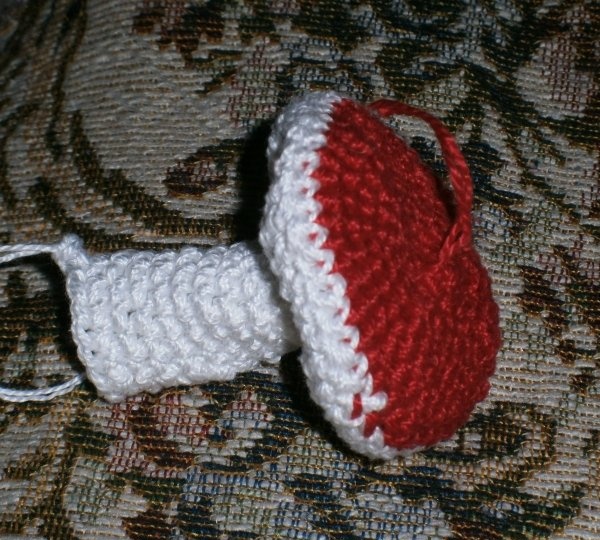
To do this, you need to knit 2 air loops together in a row 2 times until the required hole for the leg remains. The leg can be knitted separately and then sewn to the hat, or you can continue knitting from the hat. Then insert foam rubber into the cap.Cut the cardboard to the required size, roll it into a tube and insert it into the leg of the fly agaric so that it stands. Thus, the needle bed is ready to bind the grass.


To do this, we collect 3 air loops and connect them. We knit in a circle 4 rows with single crochets, then 3 rows with elongated loops. The grass is ready, all that remains is to sew it to the stem of the mushroom. Embroider circles with white thread on the red part of the fly agaric cap. To decorate our pincushion, you can knit a worm. You need to cast on 3 air loops, close them using a connecting post and knit in a circle of 2-3 centimeters.


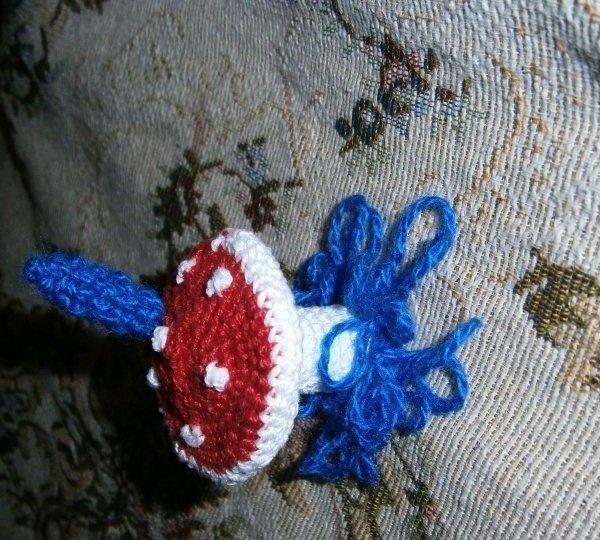
Insert a soft wire inside the worm and use thread to embroider the eyes and mouth. The worm is tied up. Now we sew it to the red part of the mushroom cap. Now our fly agaric pincushion craft is ready and we can proceed to its purpose. This craft can serve not only as a pincushion, but also as a decoration for your home, as well as a toy for your child.

come back
Comment
  • bowtiesmilelaughingblushsmileyrelaxed relaxedsmirk
    heart_eyeskissing_heartkissing_closed_eyesflushedrelievedsatisfiedgrin
    winkstuck_out_tongue_winking_eyestuck_out_tongue_closed_eyesgrinningkissingstuck_out_tonguesleeping
    worriedfrowninganguishedopen_mouthgrimacingconfusedhushed
    expressionlessunamusedsweat_smilesweatdisappointed_relievedwearypassive
    disappointedconfoundedfearfulcold_sweatperseverecrysob
    joyastonishedscreamtired_faceangryragetriumph
    sleepyyummasksunglassesdizzy_faceimpsmiling_imp
    neutral_faceno_mouthinnocent
4 minus one =
Comments (2)
  1. fantamas
    #1 fantamas Guests 25 February 2012 14:13
    0
    pincushion class - fly agaricwink
  2. Svetlana
    #2 Svetlana Guests October 5, 2013 09:35
    0
    Quote: fantamas
    pincushion class - fly agaricwink

    Hello, will it be possible to see how to knit new ones from old things?

Do it yourself - crafts and master classes | Page 352

Simple flasher on NE555 timer | Do it yourself

An easy way to repair a cracked shovel handle

DIY air conditioner based on Peltier elements

«Do it yourself - with your own hands» - a site of interesting homemade products made from scrap materials and items at home. Step-by-step master classes with photos and descriptions, technologies, life hacks - everything a real master or just a craftsman needs for needlework. Crafts of any complexity, a large selection of directions and ideas for creativity.

We recommend reading

Washing machine error codes