Will need
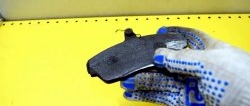
In addition to a set of worn rear brake pads, we will need: various bolts, nuts, including one extended one, studs and spray paint in cans of three colors. The tools and equipment you will have to use are the most common:
- wire disk brush and pliers;
- hammer and center punch without rebound;
- bench vice and chisel;
- grinder and drill with equipment;
- welding equipment;
- gas burner and cooling oil.
Sequence of transformation of pads into a puller
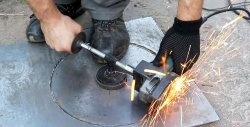
Since the pads will be the basis of our puller, let's start by putting them in order, because during operation they rust, become covered with dust, dirt and wear particles from the friction linings.

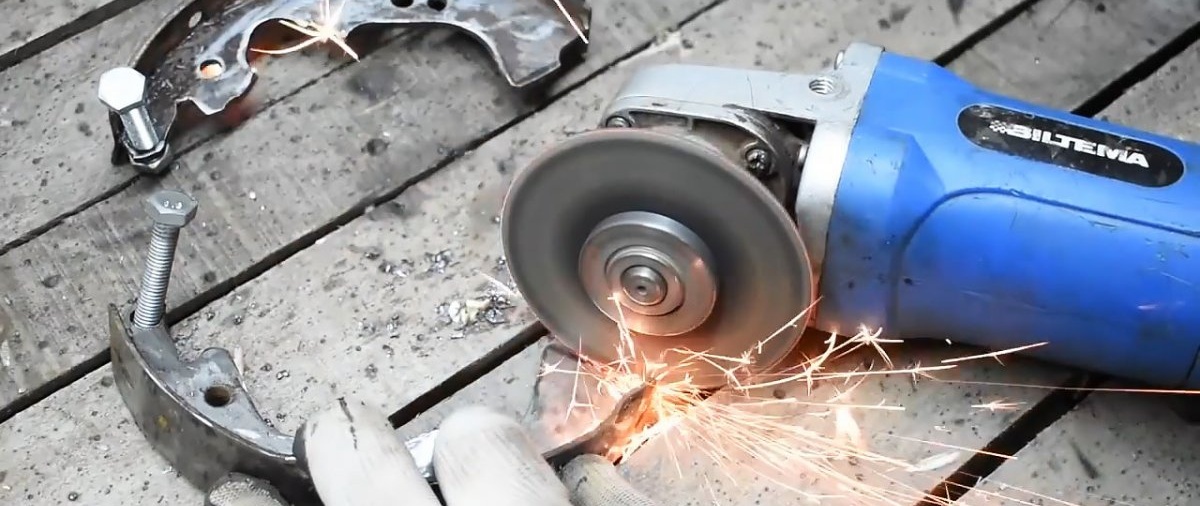
First, we treat them with a manual wire brush, removing accumulated dirt. Using a chisel, hammer and other available materials, remove the friction linings. We finish cleaning with a grinder.
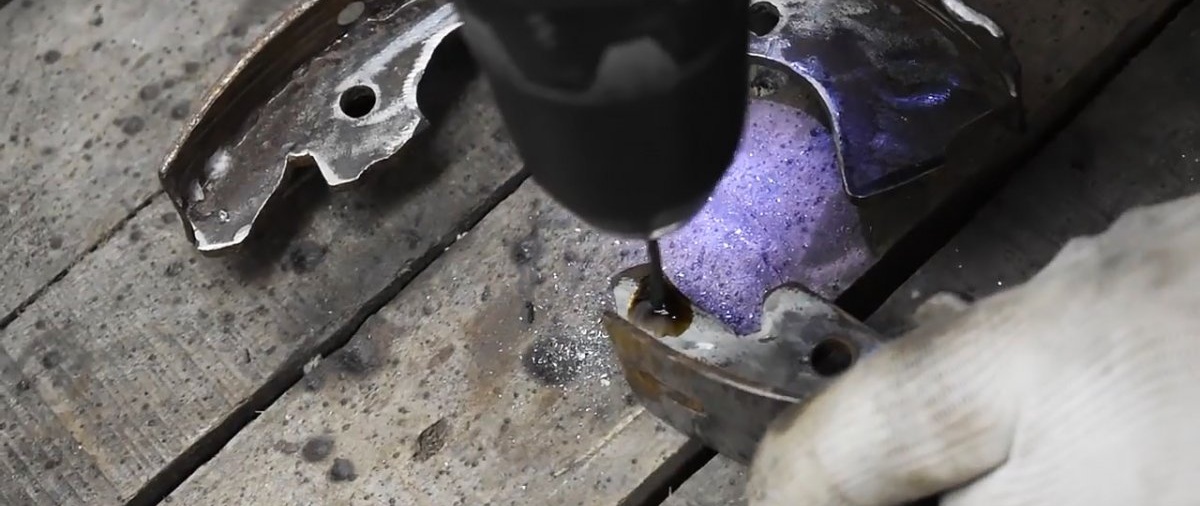
We first outline the contours of future grips, and on the opposite side - places for drilling holes. We center these points so that the drill does not jump off during operation, because the metal of the pads is quite hard.
We first drill with a small-diameter drill, then drill out the resulting hole to the required size with another tool. To make the operation easier, we use oil.

We insert bolts into the holes and screw nuts onto them, which will be an integral part of the future puller. Using a grinder, we first form the contour of the grips according to the previously applied markings.

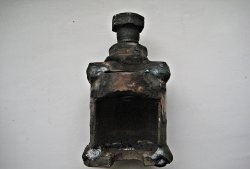
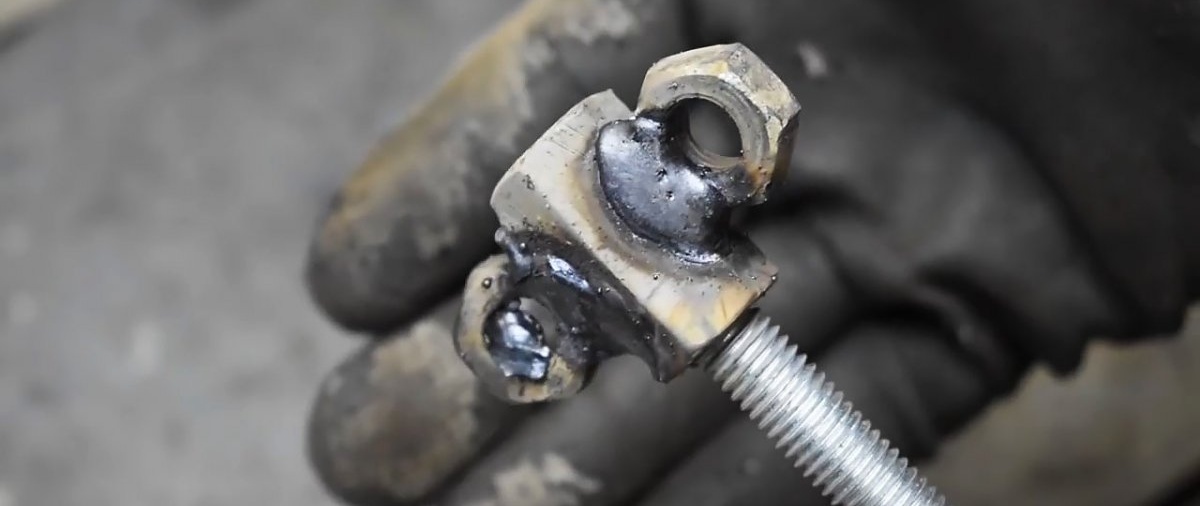
Screw an extended nut onto one end of the larger diameter stud. These are also parts of our puller. We unscrew the elongated nut from the stud and weld two ordinary nuts to it along the diameter. We process the welding areas with a grinder.
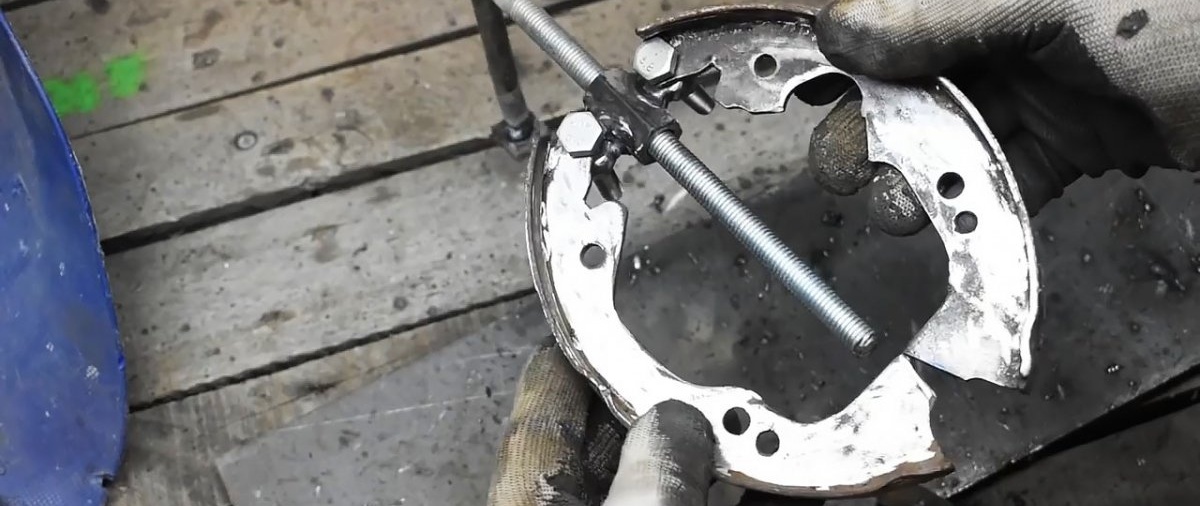
We first assemble the parts of the future puller that will ensure the process of pressing out the bearing. To do this, we pass the bolts through the nuts welded to the elongated analogue and the holes in the blocks, and screw the nuts onto their ends.
We vertically weld a standard nut onto the top of the stud, into which we insert a bolt of smaller diameter, and screw a nut suitable for the thread onto it and also weld it. This will be a knob with which the power screw can be raised or lowered.
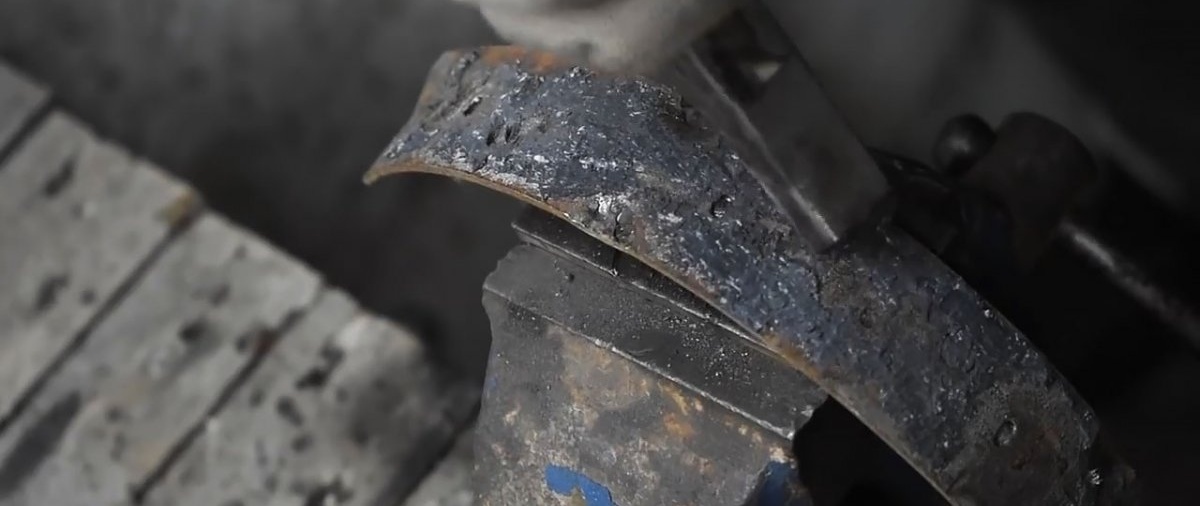
We completely unscrew the stud from the elongated nut, and process the lower part with a grinder, reducing it in diameter and sharpening the end to a cone.
We fix the screw in a vice and heat the modernized side in the flame of a gas burner until red and quickly lower it into oil for cooling and hardening.


We install the screw in place, screwing it into the elongated nut, and finally form the grips using a grinder.


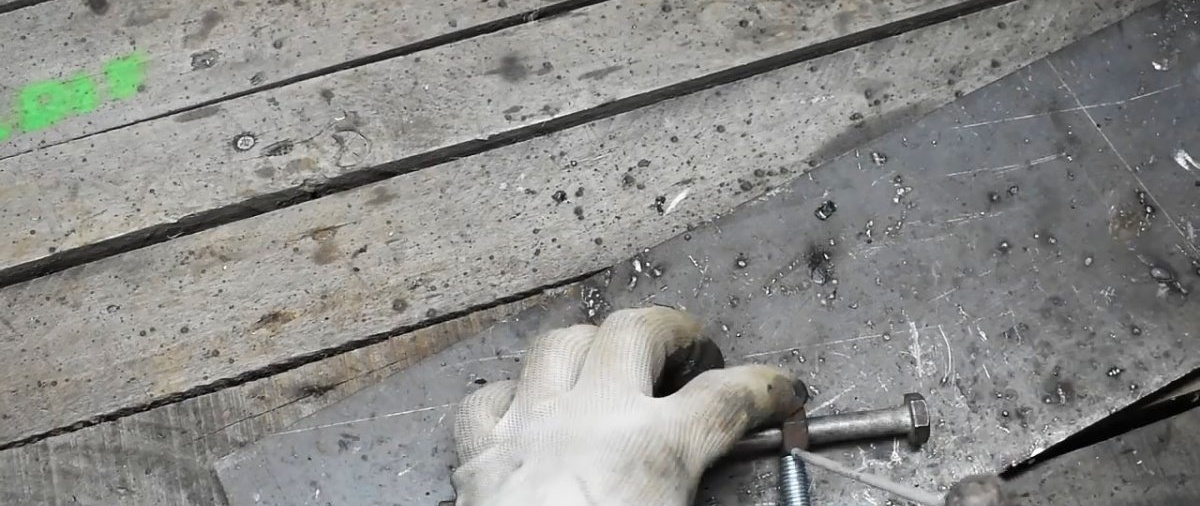
On the side of the brake pads, at one level below the center and closer to the front side, we drill through holes to pass a thin pin of the required length through them. We screw one nut onto its ends from the outside of the pads. With the help of this unit, the blocks, and therefore the grips, can be moved in and out.

We completely disassemble our homemade product and paint the parts of the units that perform specific functions in different colors. Ask - why? Well, firstly, it’s beautiful, and secondly, it’s convenient to use and use, for example, during assembly and disassembly.
Puller test

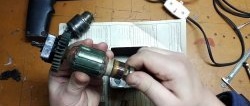
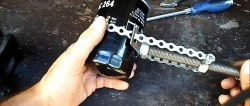
After the parts have dried after painting, we assemble the puller and it is completely ready for use. Use it to remove the bearing pressed onto the armature shaft. To do this, we bring the ends of the grips under the outer frame of the unit being removed and tighten the nuts of the horizontal stud.

We rest the conical end of the vertical screw against the center of the armature shaft and, holding the puller in this position, begin to rotate the power screw knob clockwise. At the same time, the grips will also begin to rise and after a while they will tear the bearing off the shaft on which it was “sitting” under tension.