The connection is no worse than a welded one. And certainly more reliable than any cold welding. It takes practice to achieve perfect results. Spend a little time and practice on any scraps of aluminum pipes and the result will not be long in coming.
For welding I needed:
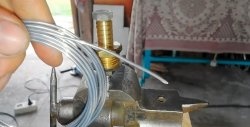
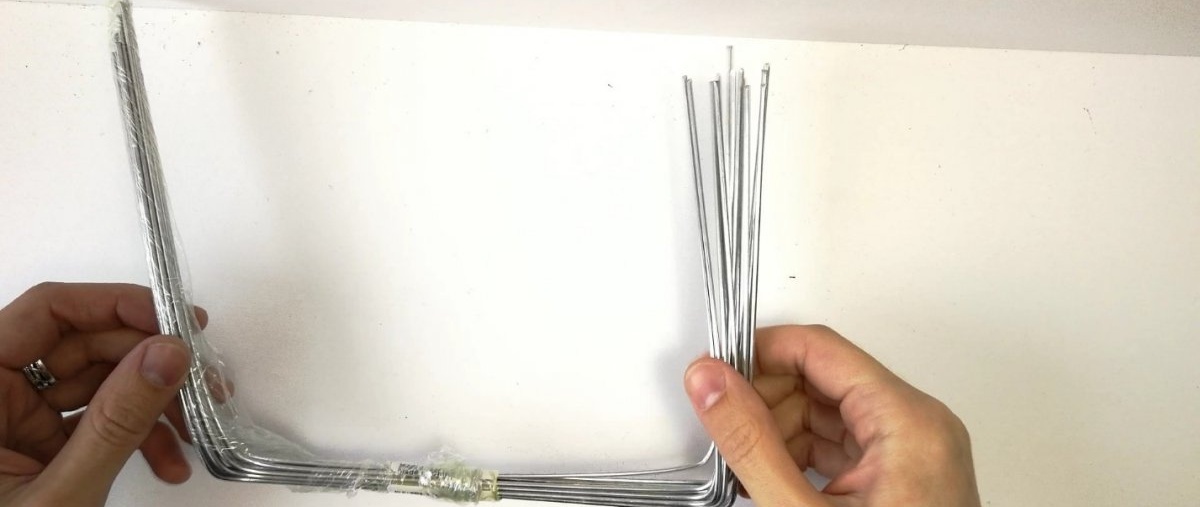
I ordered the wire from Aliexpress. This tubular solder contains flux in the core. It doesn't cost much. For 20 rods, 50 cm long and 2 mm thick, I paid 4.90 bucks.
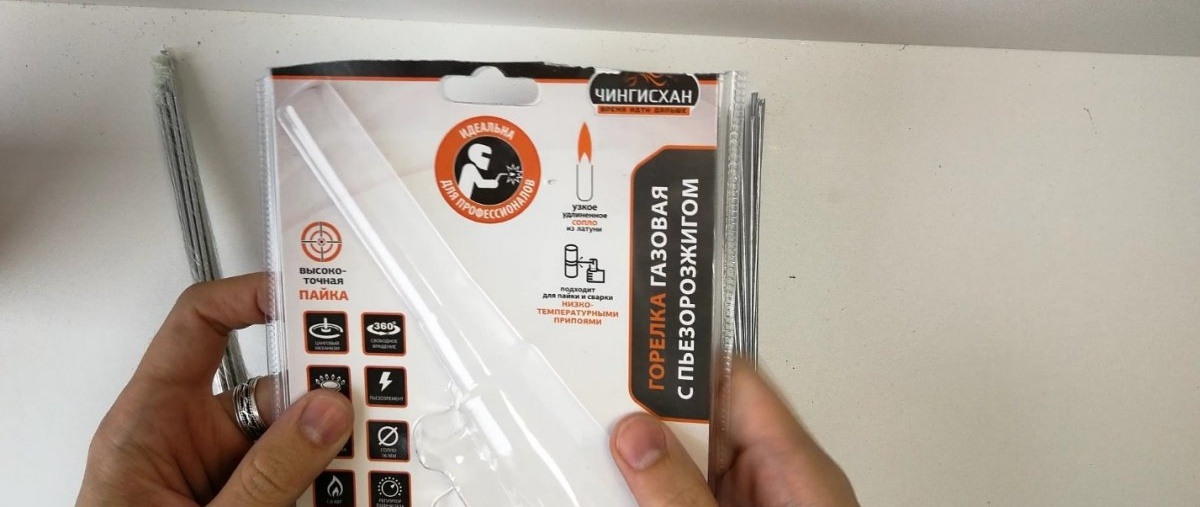
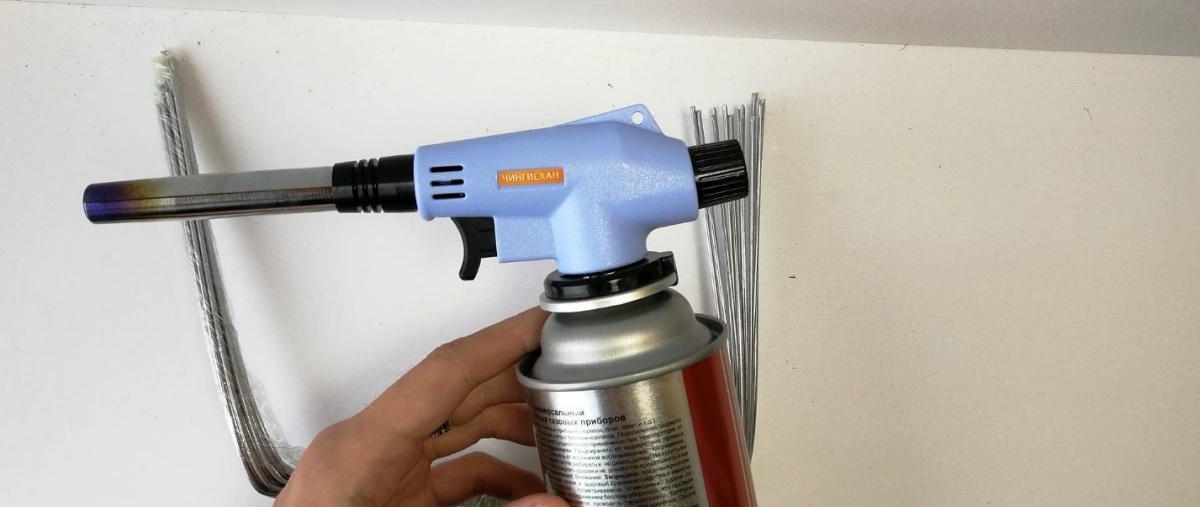
I bought the burner in my store, but you can also order in China. I came across a torch designed specifically for soldering with low-temperature solders.Heating temperature 1300 degrees Celsius. I bought the burner for $8.
DIY aluminum soldering
Before soldering a broken part, I strongly advise you to practice on scraps of tubes. You need to learn to understand when a part is warm enough to be soldered and at the same time, you need to not overheat the part. Otherwise, it can be burned.
I practiced cutting 8mm tube. I made 2 cuts and started cooking. The first attempt failed. I overheated the part and the cut turned into a large hole.

The second attempt was more successful. True, there were small sagging marks on the tube. If desired, they can be easily cleaned with sandpaper.
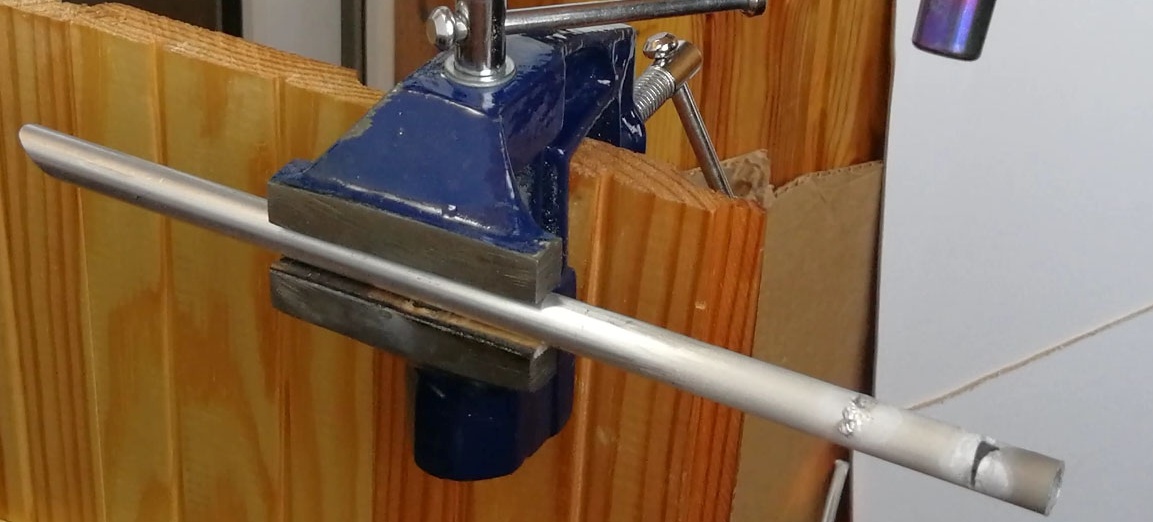
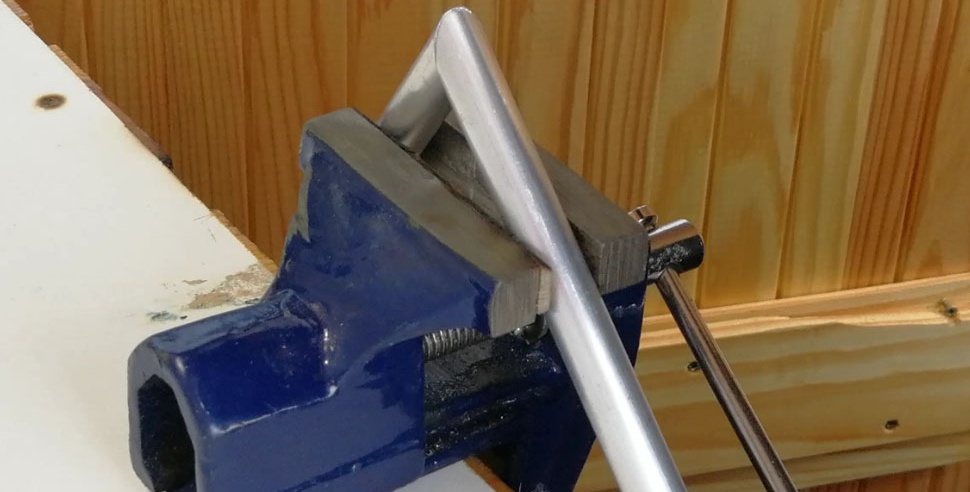
Now I'll try a more complex type of soldering. I'll try to solder 2 tubes. To do this, I cut the tube at an angle and fixed it in a vice.
If you slightly heat the part, the solder will not spread, but will collect into balls.
The solder spread over the seam and a strong connection was obtained. All that remains is to warm up the bottom seam.
After welding, I will clean the corner from flux residues and aluminum deposits. It turned out to be quite a beautiful connection.

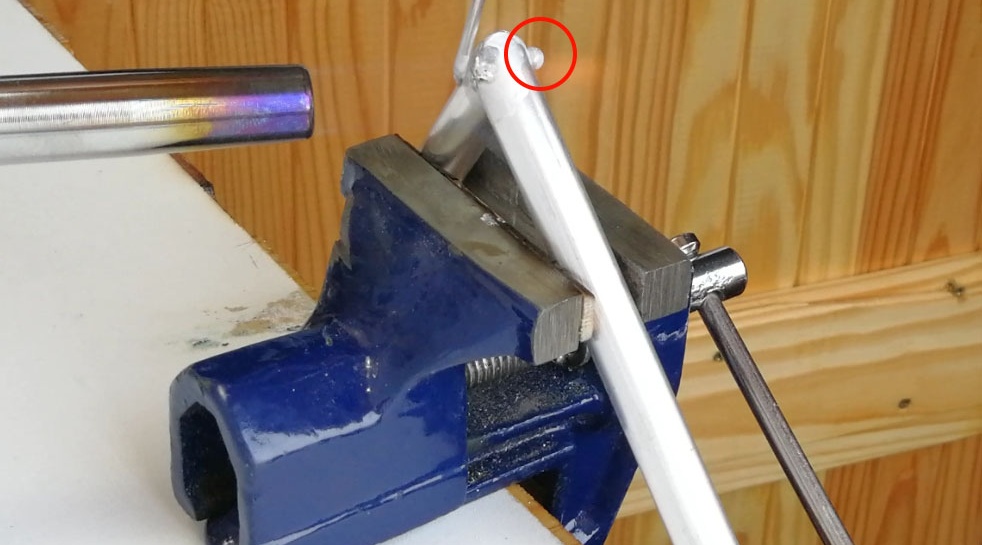
Now I'll test it for strength.

The tube was disconnected. I heated the bottom seam weakly, but the top one turned out to be a tough nut to crack. The crack did not go along the seam, but went to the side.
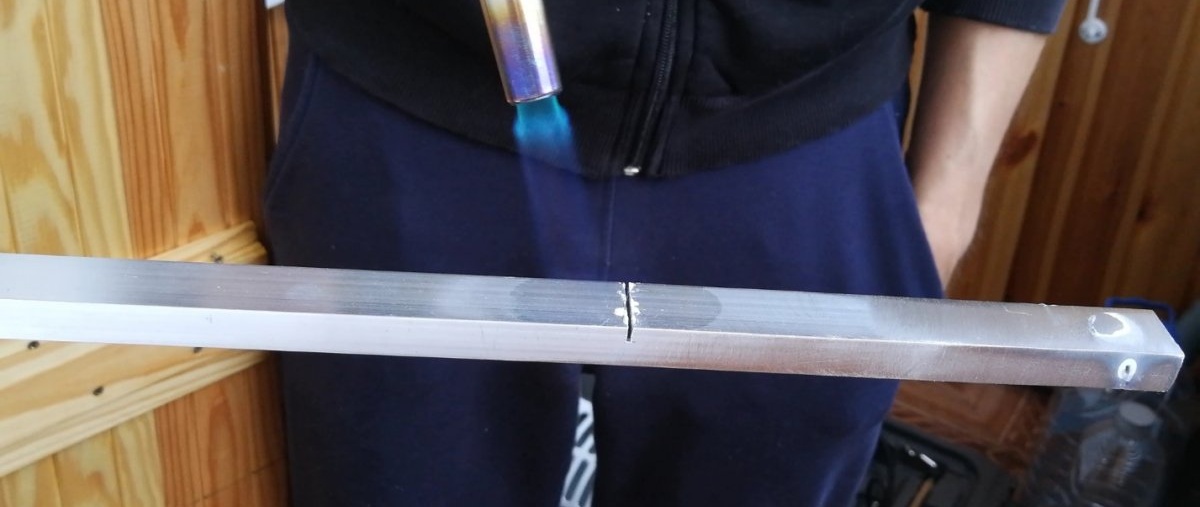
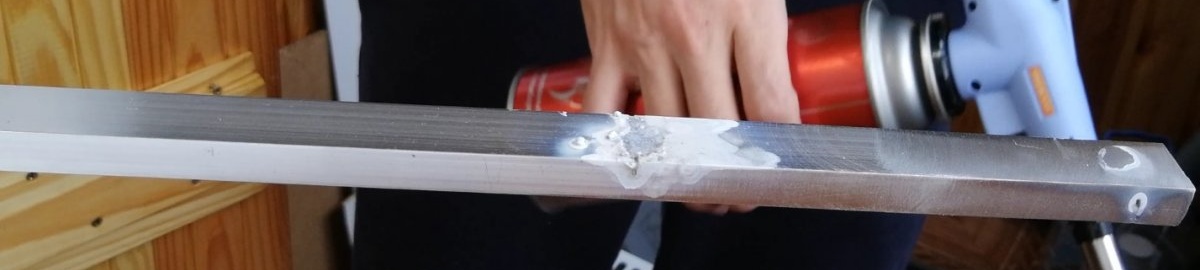
Next I’ll try to weld a profile aluminum pipe. Its walls are thicker than the previous tube, so it takes longer to warm it up.
I slightly warmed up the profile and hurried to apply solder. The result was such terrible influxes.

Then I increased the power of the torch and heated the solder a little more. And then it all spread over the part and filled the cut.
Due to the large amount of solder inside the tube, there were nodules in the corners.

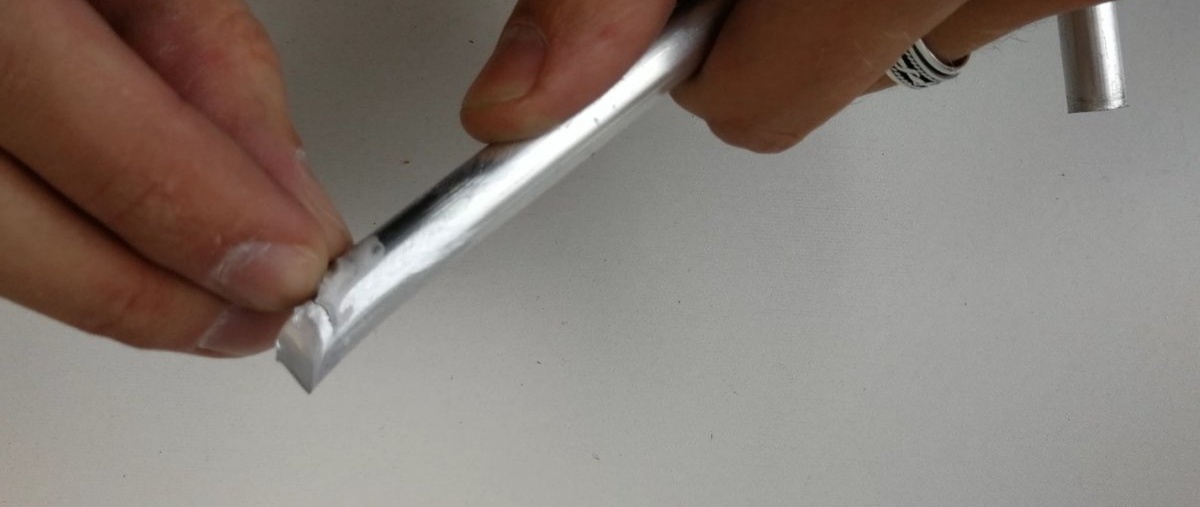
I cleaned up the soldering area and this is what happened.
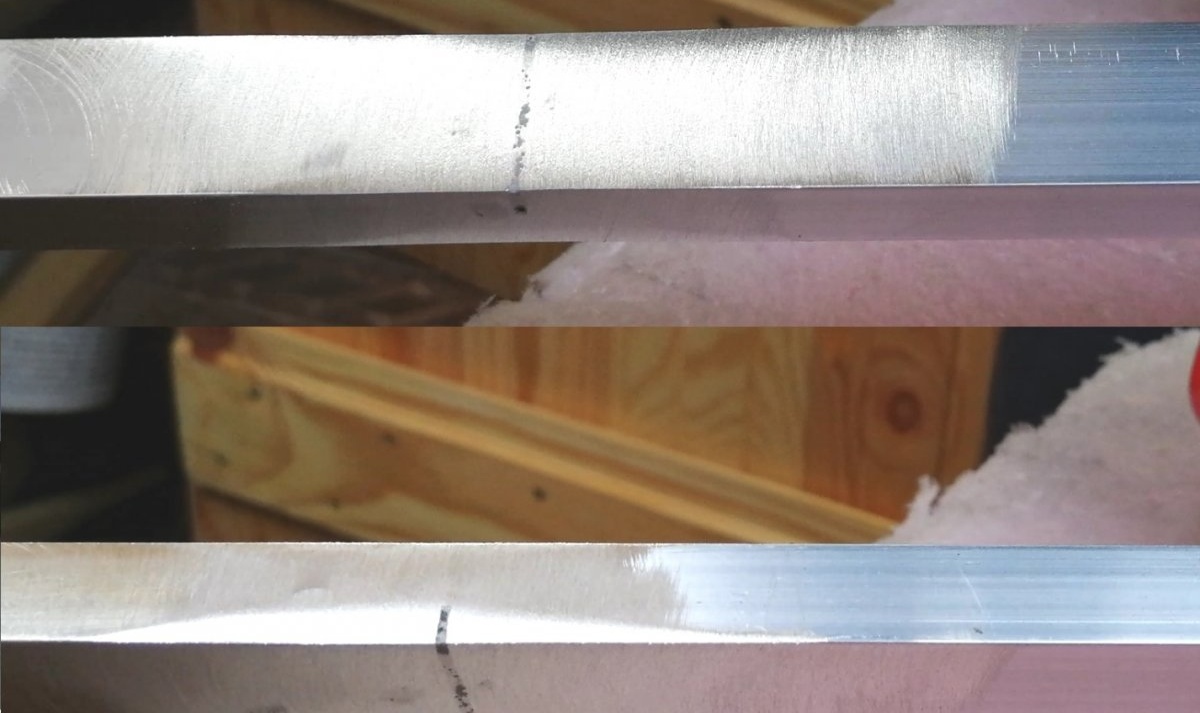
The seam turned out great. If you clean it with finer sandpaper, it will become almost invisible.
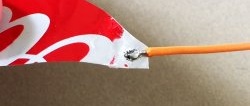
Finally, I decided to try soldering a steel screw and nut.

The connection turned out to be very strong.
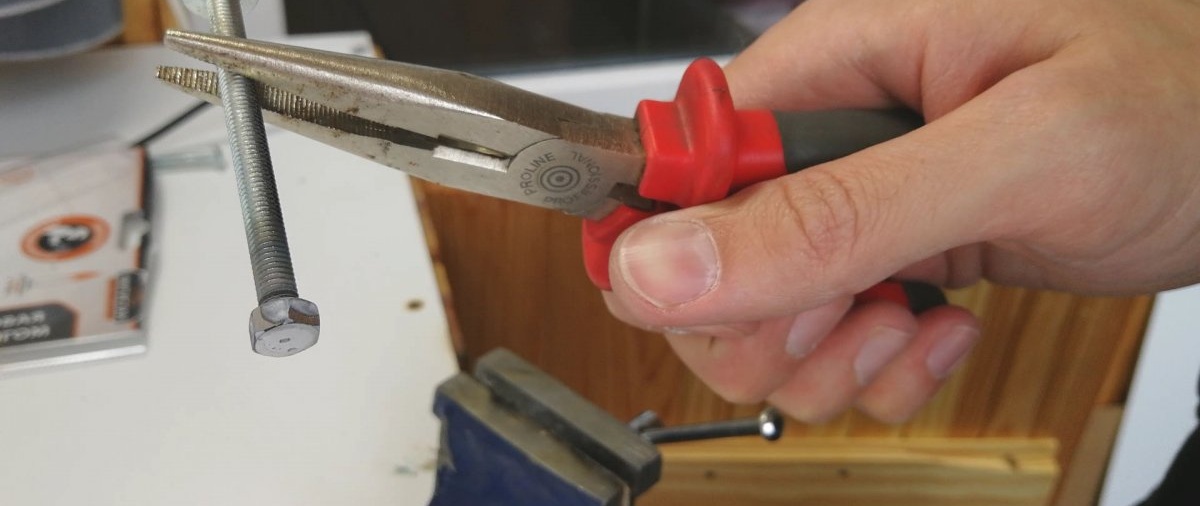
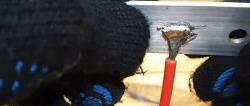
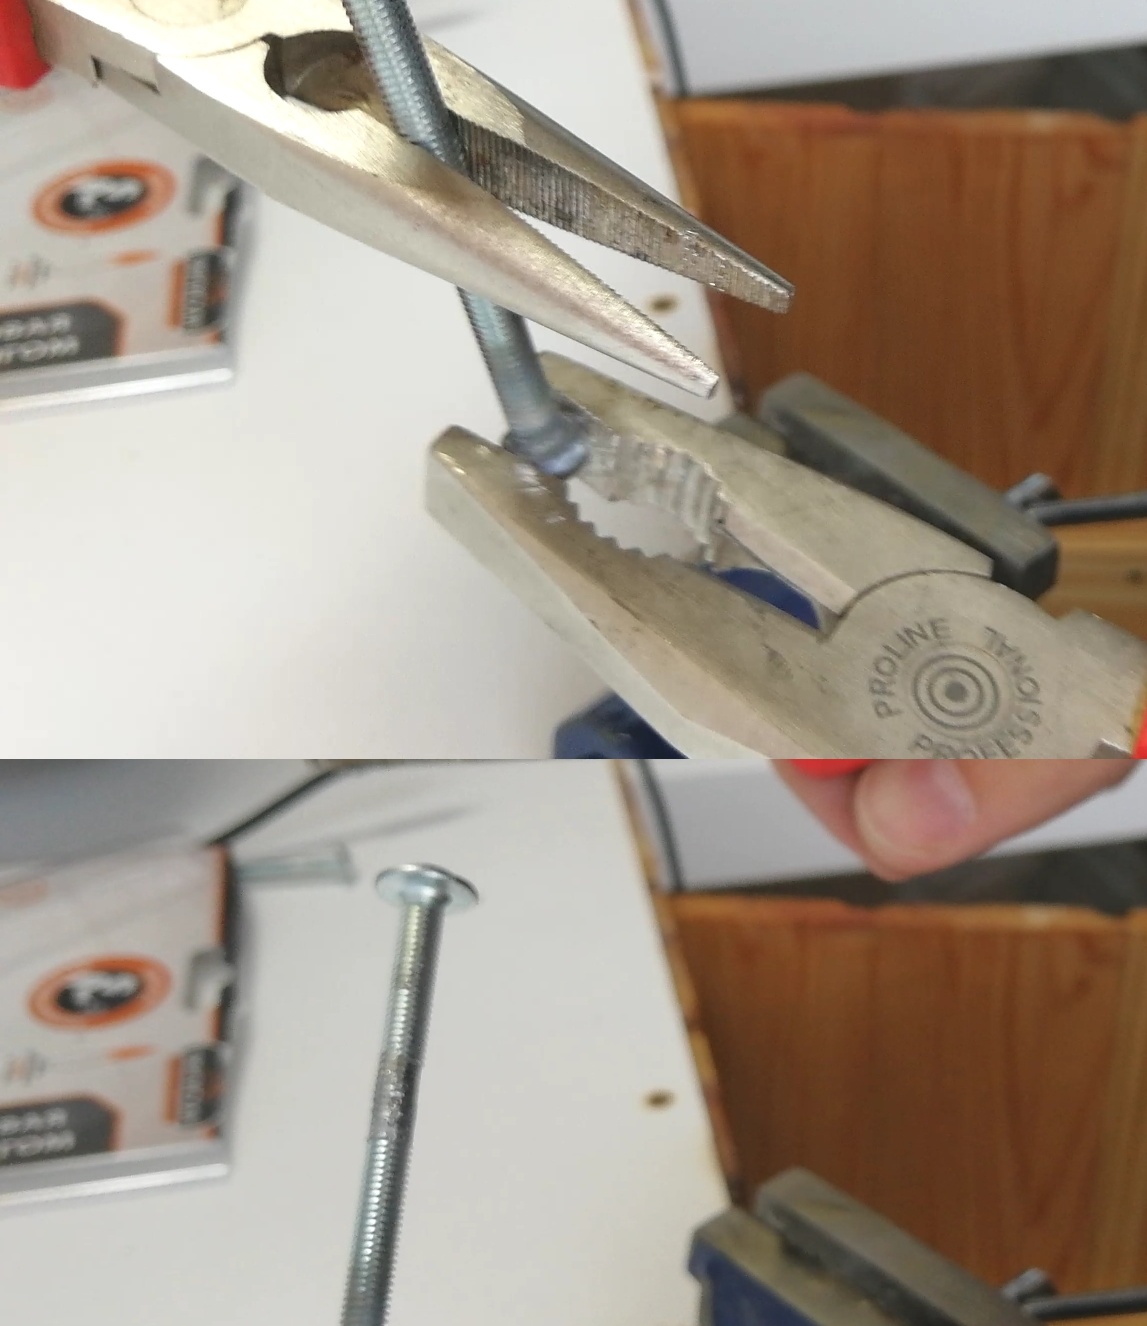
I tried to unscrew the nut with pliers. In the end, I just licked off the entire thread of the bolt, but the nut still did not budge.
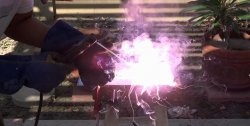
When soldering, I noticed that by the color of the flame you can determine whether the part has warmed up or not. The flame of the burner is blue, and when the part warms up, the flame turns red. This is the best time to apply solder.
I really liked the method. Personally, when I learned about such a simple and accessible soldering method, I was incredibly surprised. New ideas have appeared for my homemade products.
Take the method into service and use it, friends! See you again!