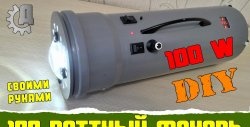
The supply market is overflowing with various flashlights for every taste and budget, but today we will look at how to make a very high-quality thing yourself and literally from available materials.
Most flashlights sold are made from the cheapest elements and are designed to create a first impression upon purchase, but not for long-term use. If you need a flashlight for something more than just illuminating the way to the refrigerator, then there are only two ways:
- Buy a professional product from a well-known company - they exist, but the price range starts from several thousand rubles, which not everyone can afford.
- For the first time, you can assemble an unsightly, but practical and cheap lantern to make yourself.
What do we need for assembly?
To assemble the lantern we will need elements and technical support. The element base includes:
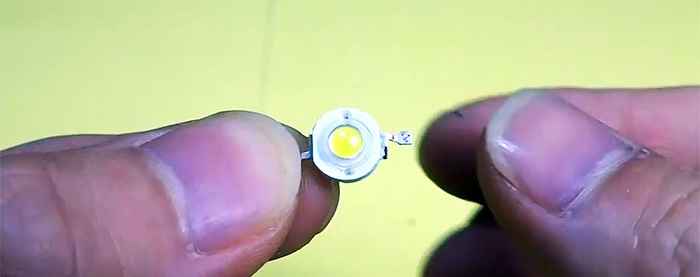
- Light-emitting diode - the heart of the lantern, its choice must be approached especially carefully. Well proven LEDs American company Cree.With high efficiency and an estimated guaranteed glow time of 50,000 hours, they have a low cost (from 50 rubles per piece);
- driver LED. Responsible for the correct operation of the semiconductor and compliance with optimal current-voltage characteristics. Besides everything else, it is the driver that adjusts flicker, PWM, light output, etc. At the initial stage, you can do without a driver, but we are assembling a high-quality product, right?
- substrate. Everything is simple here - this is a textolite plate for soldering LED, can be combined with a driver;
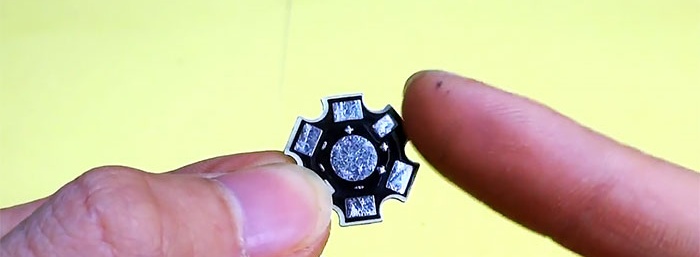
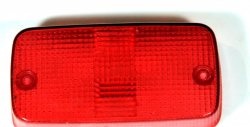
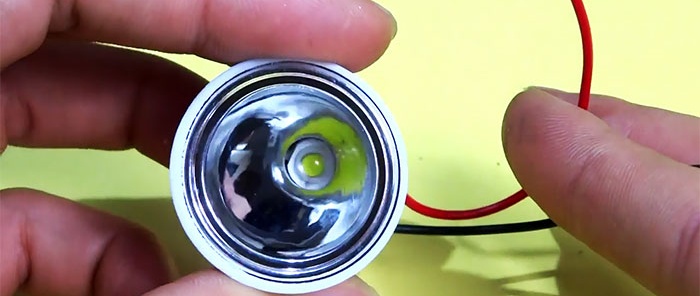
- reflector. In most cases, it is sold together with glass, but it can also be sold without it; in any case, the presence/absence of glass is not a problem. The reflector is selected based on the further purpose of the flashlight (everyday, search, hunting, in the car, etc.). the depth of the reflector determines the scattering angle (sharpness) of the beam, and the uniformity of the light flux depends on its texture (smooth or textured). For most everyday tasks, Lemon Peel reflectors are recommended; for everything else, standard mirror ones;
- switch. Absolutely any microswitch (suitable for any children's toy), its task is clear from its name;
- battery. The most expensive element of the design and you definitely can’t skimp on it. We need a battery of the 18650 form factor. The cost of good samples starts from 300 rubles;
- battery charging controller. Sold in any radio store or on the Internet, cost from 50 rubles, any variations;
- 15 centimeters of PVC pipe with a diameter of 25-27 mm (sold in any hardware store);
- PVC adapter-expander from 27 to 34 mm, and a plug to fit the PVC pipe;
- 10-15 centimeters of flexible copper wire.
In addition to the element base, you will need the following tool:
- a soldering iron with a power of at least 60 W (why it is undesirable to take a weak soldering iron will be explained below);
- solder;
- flux;
- thermal paste;
- curly screwdriver;
- a set of small screws;
- sharp stationery knife or scalpel;
- micro drill (if available).
Manufacturing process of LED flashlight with Power bank function
We begin the process of making a lantern with an inspection LED to determine the positive and negative power terminals (this is important). Having determined the anode and cathode, it is necessary to prepare them and the substrate contact pads for subsequent soldering.
Preparation of contact pads consists of cleaning and soldering them using flux, acid or rosin. Next, thermal paste is applied to the central part of the substrate (the fact is that during operation the LED heats up, and the higher the power, the stronger this heating).
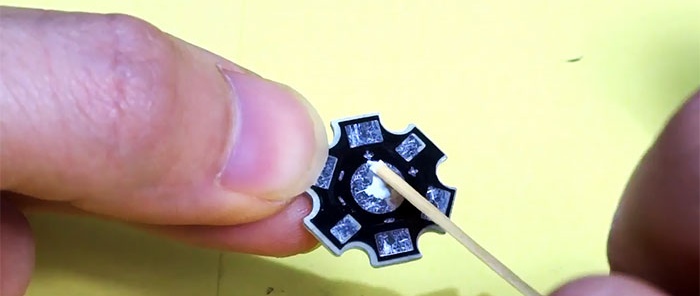
You can use any thermal paste; apply it in a thin layer.
We place the LED on the substrate, remove the squeezed-out thermal paste residues with a napkin, the law “the more the better” does not work here, solder the “legs” of the LED, observing the polarity.
We solder two wires 5-7 centimeters long to the parallel contacts of the substrate (if there are multi-colored ones, it is advisable to use them to highlight the polarity in order to avoid further confusion), and place them in semicircular recesses in the textolite substrate.

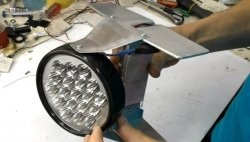
We carefully place the substrate with the soldered LED and power wires on the back side of the reflector with the LED down and secure it with three screws around the perimeter. At this stage, it is important to monitor the alignment of the LED relative to the reflector reflector; in the future, the misalignment can greatly affect the light beam.
The next step is to secure the reflector inside the PVC expander. If the reflector is selected according to the diameter of the expander, then there should be no problems with its fastening; it fits tightly enough and does not require additional gluing.


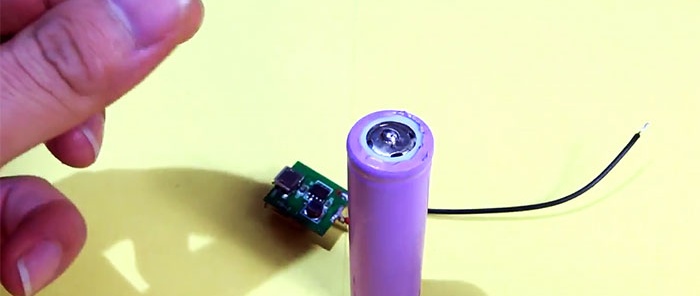
When the head part of the future lantern is ready, we begin preparing the “power” part. We solder two short wires to the prepared charging controller, highlighting the polarity with the color of the wire insulation.
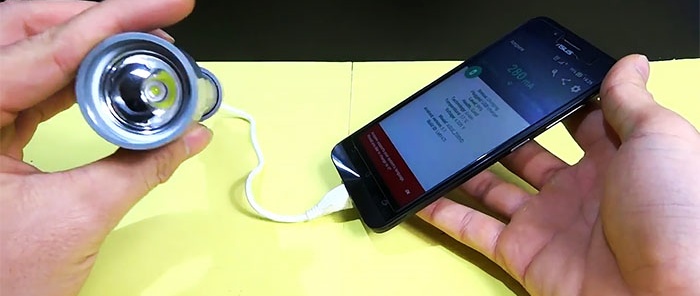
A universal assembly was chosen as a controller, including two ports - USB and micro USB; this choice was due to the fairly popular ability to recharge cell phones from a flashlight battery.
Having pre-tinned, we solder the contact wires from the controller to the battery. To avoid overheating and damaging the battery, soldering should be done as quickly as possible. That is why at the beginning of the article it was not recommended to use low-power soldering irons.
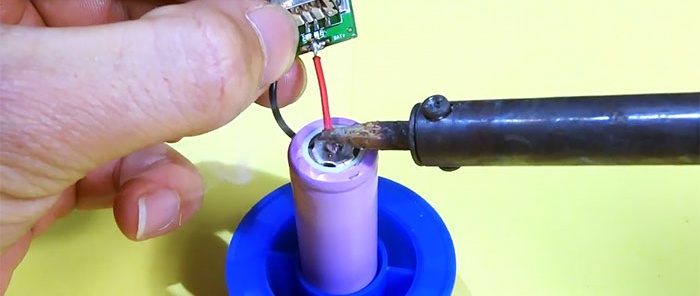
A wire corresponding to the positive terminal of the controller is soldered to the positive contact of the battery, and a wire from the negative terminal of the power controller is soldered to the negative terminal.
The next step is to connect the LED with the battery pack. In parallel with the connected controller, we solder the LED conductors to the battery poles, remembering to observe the polarity.

In the wire leading to the positive contact of the LED, we first make a break for further connection of the microswitch.
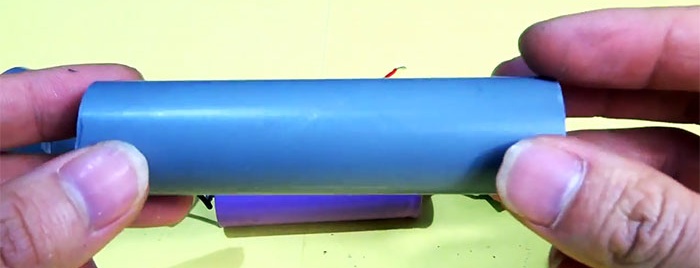
We cut a hole in the PVC tube to the size of the prepared switch and insert the battery with the controller into the tube.
We insert the tube into the back of the expander and lead the wire prepared for the switch into the hole on the tube.
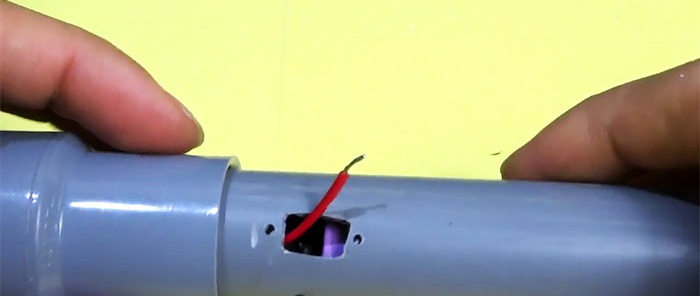
We solder the switch and secure it in the hole using two small screws.
We solder the second end of the wire from the switch parallel to the positive terminal of the controller and secure the entire structure thoroughly.

The final stage is to cut a hole in the plug to the size required for comfortable connection of USB and micro USB connectors. Close the cap tightly.

To increase the moisture-proof properties of the flashlight, you can coat all joints of structural elements with automotive sealant.
The USB connector is used to connect low-current consumers (for example, mobile phones or MP3 players), micro USB for charging the flashlight itself.

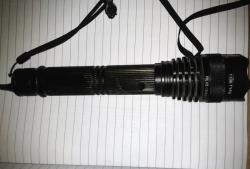
Our lantern is ready!