Materials:
- strips or sheet steel 3 mm, 5 mm, 10 mm
- steel pipes d18-25 mm, 25-30 mm
- round timber for the inner diameter of a smaller pipe;
- massive channel;
- M10 pin;
- bolts, nuts, washers M10.
Making a vice
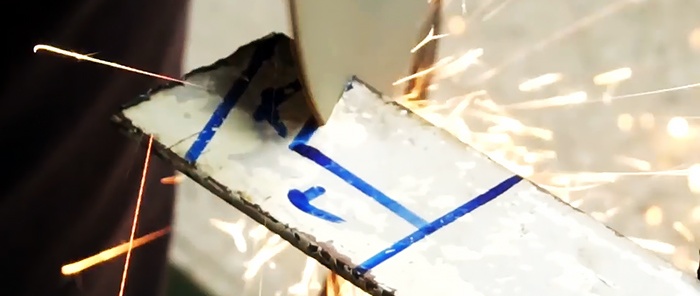
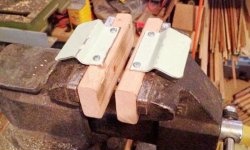
2 L-shaped blanks are cut out of a strip or sheet steel with an angle of 110-120 degrees, and the length of the sides along the inner corner is 4-5 cm. Next, they are rounded with sandpaper and completely cleaned.
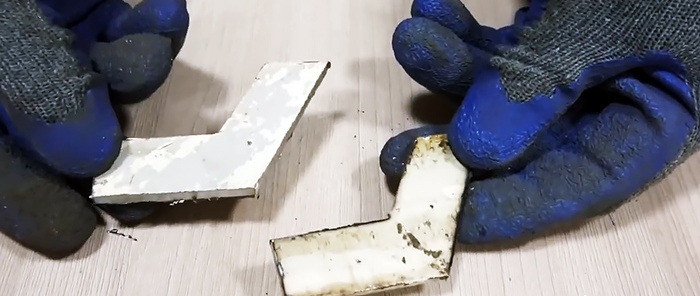
The blanks are folded in half and drilled together. One hole is made in the center, the second at the edge. Drilling together makes them exactly the same.

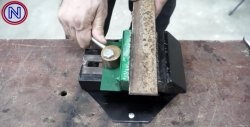
On the steel round timber, the slopes are removed from the edge. A hole is made in the groove using the same drill as on the L-shaped workpieces.
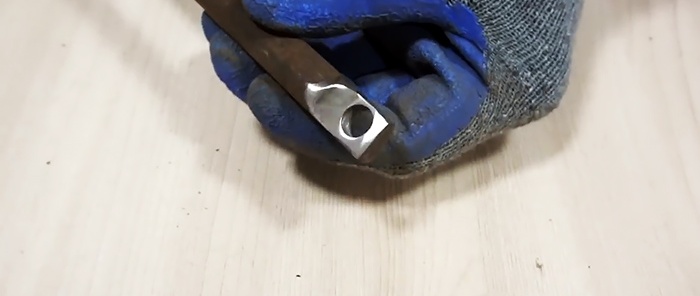
You will need a piece of 5-7 cm from the round timber. It is partially inserted into a 15 cm long tube and scalded with it.
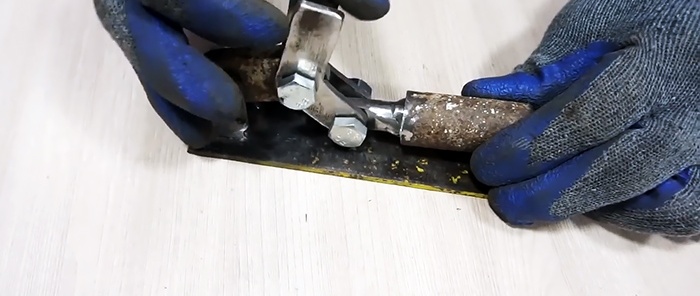
Then the previously made squares are screwed to the round timber through the outer hole using a bolt.

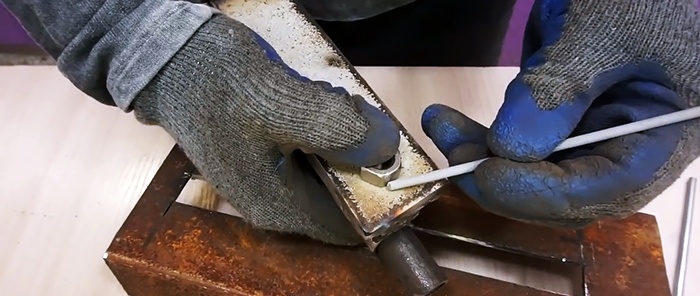
From thicker sheet steel you need to cut a short strip 5-7 cm long and 2-3 cm wide. It needs to be rounded and drilled at the edges along the hole.

The resulting part is inserted between the squares and connected to them with a bolt and nut.

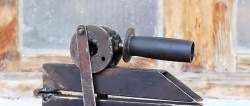
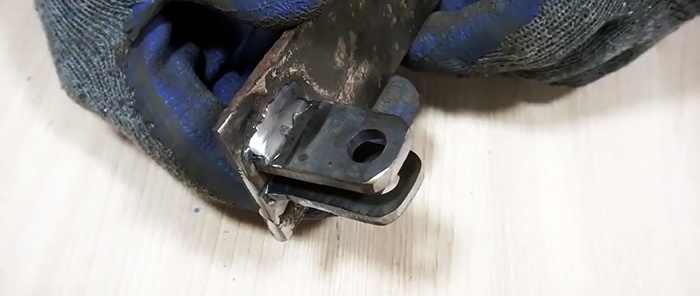
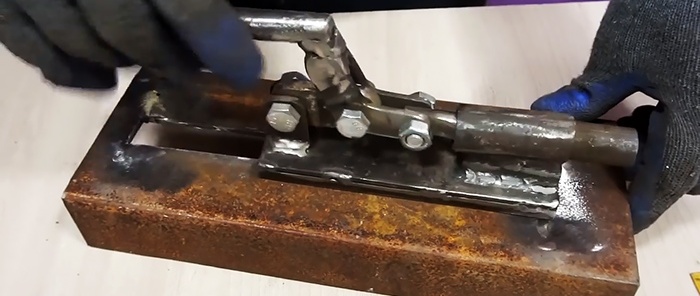
2 eyes are cut out of a strip or steel sheet, 2-3 cm wide and 3-4 cm long. One of their edges is rounded, and a hole is drilled near it.

The lugs are then bolted to the previous plate. Their flat edges need to be placed on a strip of 5x20 cm and welded.

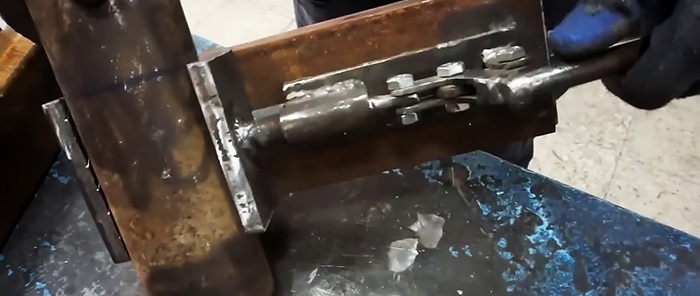
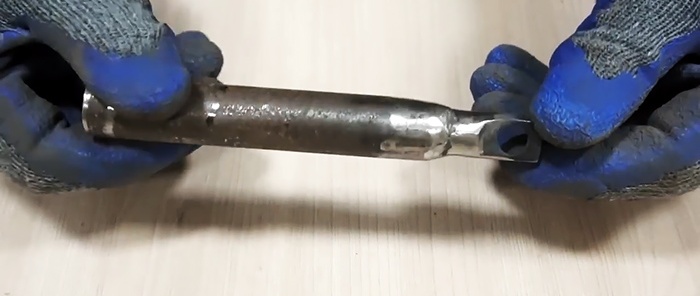
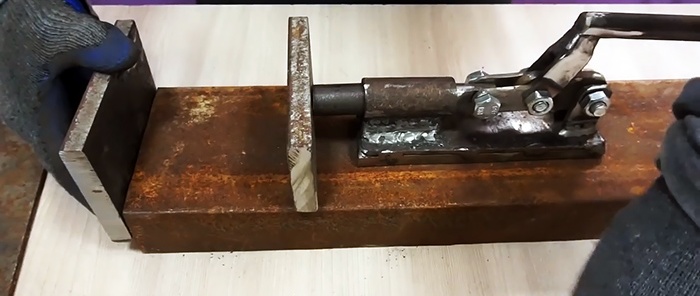
A long lever is welded to the free edge of the angles. Then the round timber with a tube on the second edge of the L-shaped blanks is inserted into a short piece of pipe of larger diameter. The pipe itself is welded to the base of the lugs through a spacer. If everything is done correctly, then when the lever moves, the mechanism rod extends and retracts.


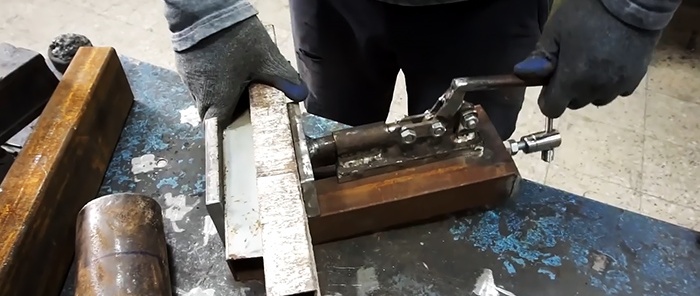
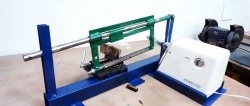
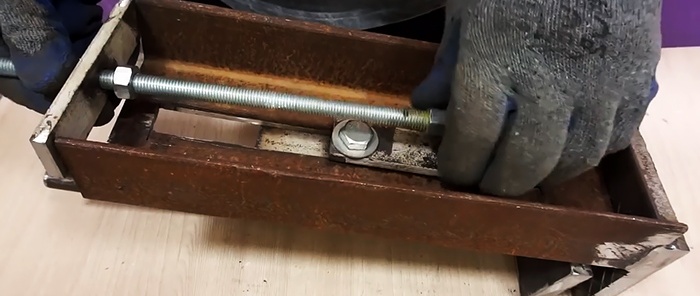
Next, take a steel channel 30-50 cm long (depending on the desired size of the vice).
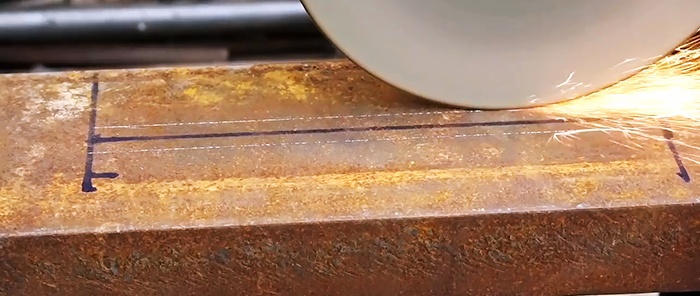
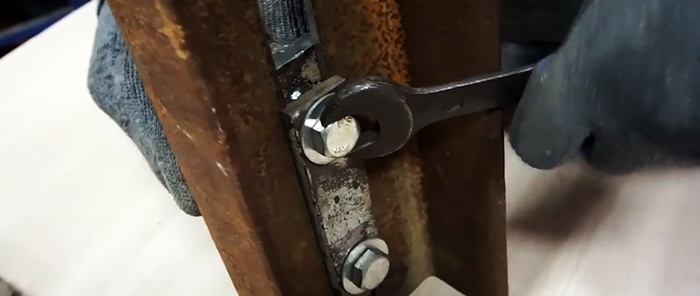
A longitudinal cut is made in its center along the width of the M10 nut. Then, nuts are welded on the back side of the sole of the mechanism with the lever. Thanks to this, it can slide along the channel cutout, as if along a guide.
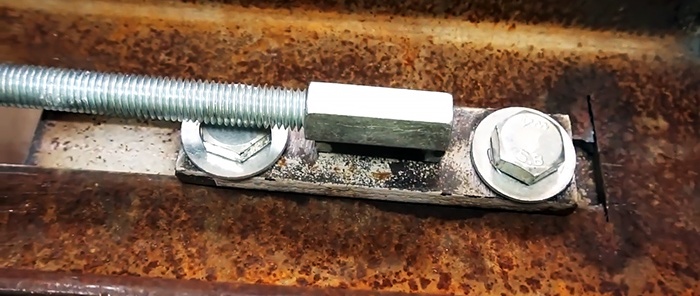
The next step is to attach the lever mechanism. To do this, a strip is cut out and holes of a larger diameter are made in it than the M10 nuts.

It is installed on the back of the channel on the nuts from the sole of the levers, then washers are placed on top and short bolts are screwed in.
As a result, the lever block slides along the guide, but does not fall out.
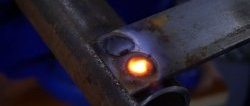
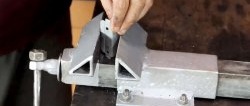
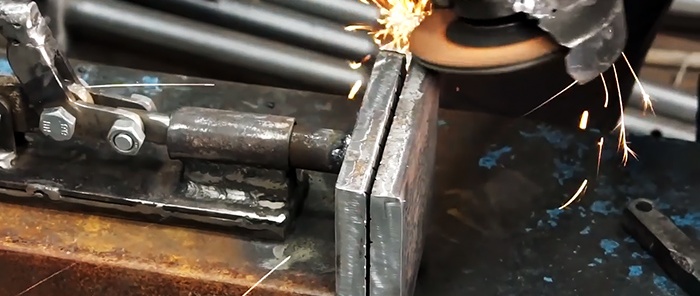
Steel plates with a cross section of 10 mm are welded onto the rod and the leading edge of the channel. These are the jaws of a vice, so it is advisable to cut notches into them before welding.

To move the carriage with a lever mechanism, a long nut is welded to the fixing plate on the back side of the channel. A strip with a hole in the center is welded onto the end of the channel.
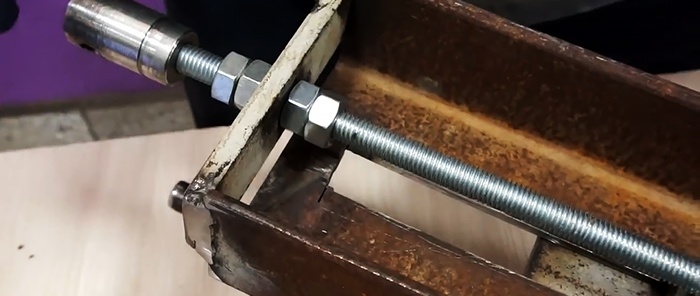
Then a pin is screwed through the plate at the end of the channel into the long nut on the carriage. It is important to fix it in one position. To do this, 2 nuts are installed before and after the channel support plate. In this case, by rotating the pin by the handle, you can move the carriage with the lever.