Do it yourself
Life hacks, master classes, useful tips, recipes.
home » Electronics » How to make a charger for car batteries from available parts
Now we have to stay at home. Boring. The housing with the power transformer became free. While wondering what to do with it, I decided to do a long-standing project. Although I have a similar device, I will make more. I will make a charger for lead batteries. This is a “from what is available” option.
How to make a charger for car batteries

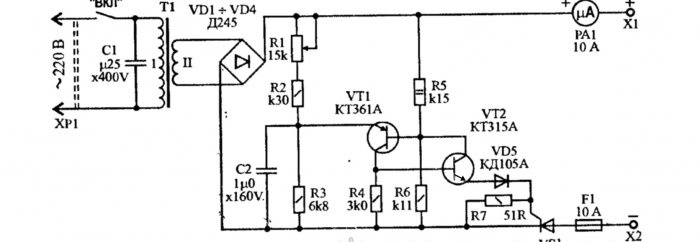
Scheme


The scheme I will use to assemble it is simple. This is a regular switching regulator. Details available.
How to make a charger for car batteries from available parts

Accessories


  • - details according to the diagram;
  • - Ammeter;
  • - diode bridge;
  • - thyristor;
  • - frame;
  • - transformer;
  • - tools.

About the components:
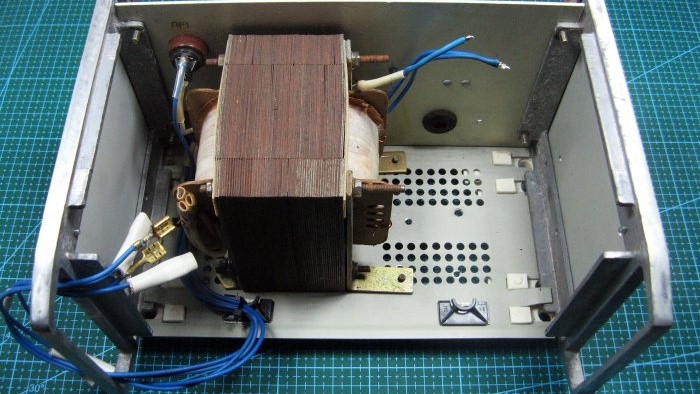
I have the housing with the transformer from an old project. Transformer for 17-18 volts. Do not need anymore.
How to make a charger for car batteries from available parts

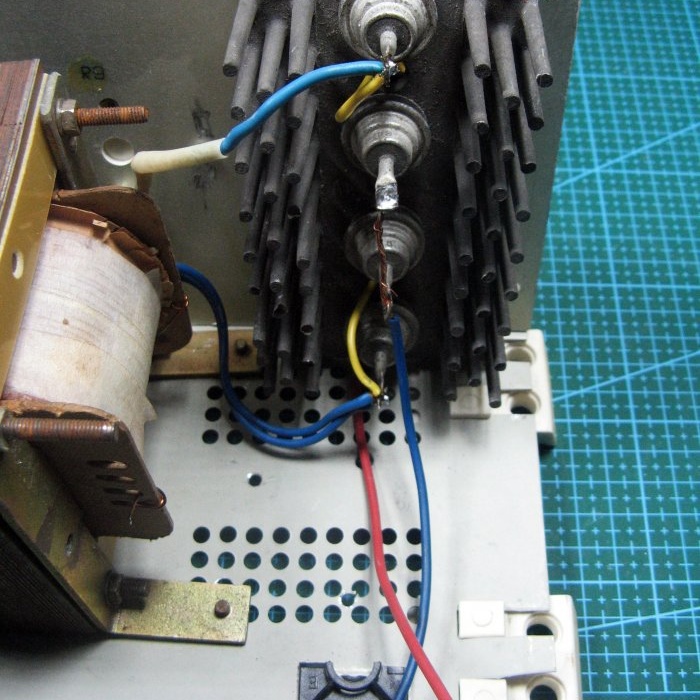
The diode bridge was ready, assembled from 4 D242B diodes. Diodes are installed through the insulation. Can be attached directly to the body.
How to make a charger for car batteries from available parts

Thyristor KU202E. I installed it on a radiator, I didn’t count the area, but it shouldn’t get too hot. You can install any of this series.
How to make a charger for car batteries from available parts

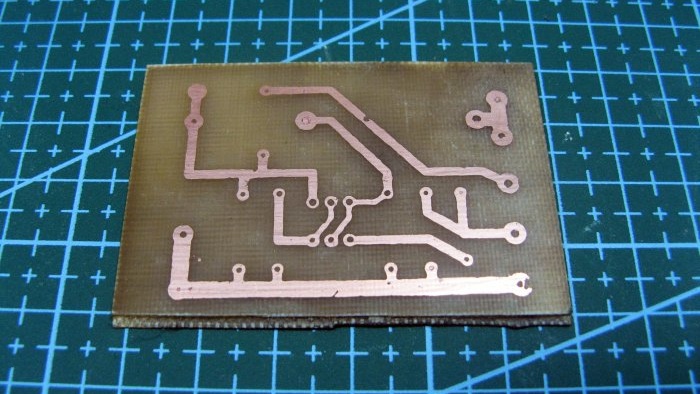
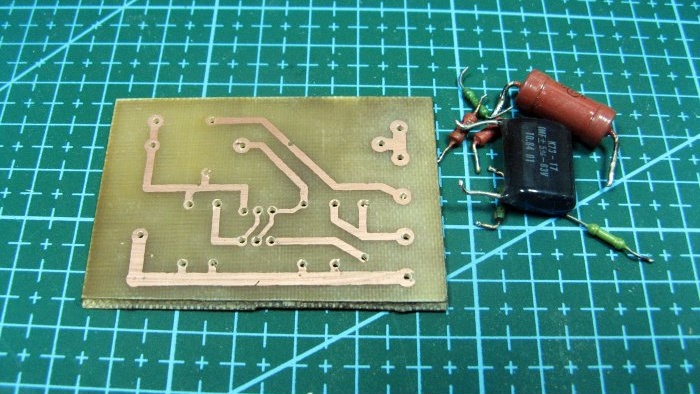
The board was made using the LUT method. Some places are a little over-etched, I'll correct them with solder. I am attaching the board in lay6 format.
zu-na-tiristore.zip [3.12 Kb] (downloads: 2842)

How to make a charger for car batteries from available parts

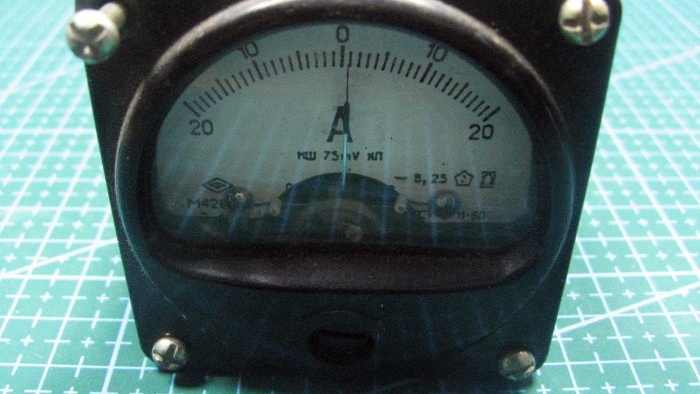
Ammeter 20 Amp.It was bipolar, there is not much difference. I need to install “O”, it’s a little upset for me.
How to make a charger for car batteries from available parts

Assembly


I drilled holes on the board. Drilled with a diameter of 1.2 mm. I picked up the radio components, not all of them are in the photo. Everything is on the list. Any 0.125 W resistors will do, it’s been tested and they don’t get hot. R5 at 2 watts.
How to make a charger for car batteries from available parts

I install radio components and solder them. Transistors with the letter E. I installed them last.
How to make a charger for car batteries from available parts

I'm installing a diode bridge. I screw it through the racks to the rear wall of the case.
How to make a charger for car batteries from available parts

I screwed the radiator with the thyristor to a piece of plastic. Now he is isolated. I'll screw the plate through the racks in the case. I will mount the board on the transformer pin. For fastening, I cut out a bracket. I made a cut in the bracket for the capacitor.
How to make a charger for car batteries from available parts

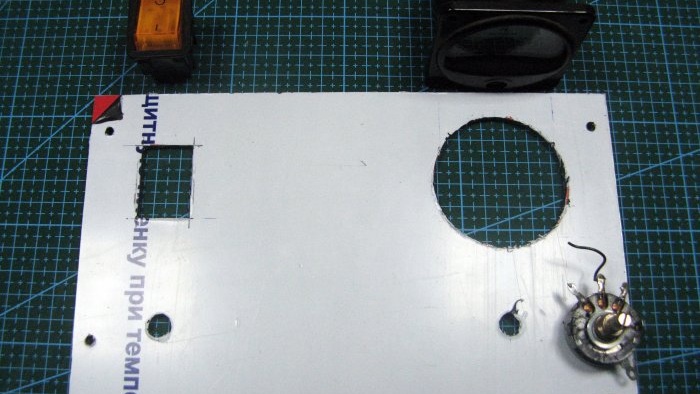
I marked the front panel and cut out holes for the controls.
My adjusting resistor is 25 kOhm.
How to make a charger for car batteries from available parts

I unsoldered everything and screwed on the front panel.
How to make a charger for car batteries from available parts

I connected the battery and checked the current regulation. It produces 15 amperes for a short time, my thyristor is 10 amperes. So let's not overdo it.
How to make a charger for car batteries from available parts

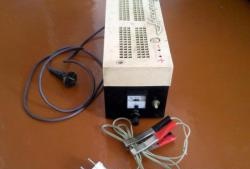
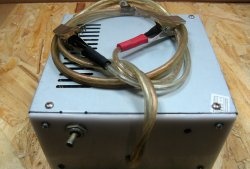
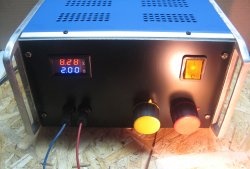
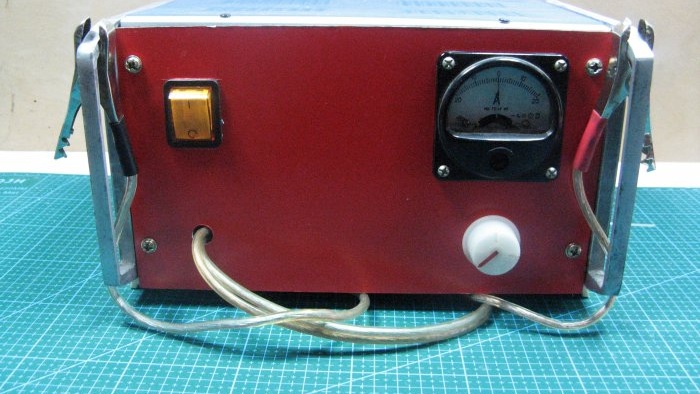
This is the charger we got. As it charges, the current drops. The battery is charged when the current is zero.
How to make a charger for car batteries from available parts

Watch the video


come back
Comment
  • bowtiesmilelaughingblushsmileyrelaxed relaxedsmirk
    heart_eyeskissing_heartkissing_closed_eyesflushedrelievedsatisfiedgrin
    winkstuck_out_tongue_winking_eyestuck_out_tongue_closed_eyesgrinningkissingstuck_out_tonguesleeping
    worriedfrowninganguishedopen_mouthgrimacingconfusedhushed
    expressionlessunamusedsweat_smilesweatdisappointed_relievedwearypassive
    disappointedconfoundedfearfulcold_sweatperseverecrysob
    joyastonishedscreamtired_faceangryragetriumph
    sleepyyummasksunglassesdizzy_faceimpsmiling_imp
    neutral_faceno_mouthinnocent
3+three=
Comments (11)
  1. Yuri Zhitkovsky
    #1 Yuri Zhitkovsky Guests 7 April 2020 14:08
    1
    transistor kt315 is drawn incorrectly - it has a different structure
    1. Guest Valery
      #2 Guest Valery Guests 7 April 2020 17:24
      3
      Right! I have such a scheme, it works very well. It has a good nuance - you connect a 6-volt battery and the charger produces from 6 to 8 volts!
    2. popvovka
      #3 popvovka Guests 7 April 2020 22:43
      4
      Exactly. He's npn, a trivial typo.
    3. guest
      #4 guest Guests 8 April 2020 14:34
      4
      Look carefully at the diagram KT361 pnp structure and KT315 NPN The circuit and transistors on it are drawn correctly.
      1. popvovka
        #5 popvovka Guests 11 April 2020 09:10
        6
        The diagram has already been corrected, there was a typo.
  2. Yuri Saule
    #6 Yuri Saule Guests 8 April 2020 16:40
    9
    Tovarisch!!!!!! I can't pass by. I would like to draw your attention to 2 points:
    1) wires coming out of the housing - you definitely need to put something on them. Cambric, rubber band, etc... Otherwise, the edge of the hole will damage your wire over time
    2) I don’t understand why they were too lazy to install basic protection against polarity reversal. Believe me, it's a great thing. At least like this
    1. popvovka
      #7 popvovka Guests April 10, 2020 00:37
      4
      All will be. The wires were in an iron casing, very tightly, and were not even scratched.
  3. Victor Ivanovich Kugaenko
    #8 Victor Ivanovich Kugaenko Guests 11 April 2020 08:29
    4
    Charger, like a charger. Nothing new. The topic is worthy of publication in the magazine "Modelist-Constructor" of the 80s.
    The other day at the Epicenter shopping center I counted 1.5 dozen varieties of devices of similar design - both sophisticated and simple Price- and desulfation and recharging.from 350 UAH to 2500 UAH. If you have free time, of course, create.
  4. Guest SERGEY
    #9 Guest SERGEY Guests 29 April 2020 13:02
    2
    In the photos, the “crocodiles” on the body are very professionally hooked. I really want to turn on the charger. The hand itself reaches for the switch.
  5. Dmitriy
    #10 Dmitriy Guests June 3, 2020 11:16
    10
    I collected more than a dozen using this scheme. The only thing better to do is to provide more help
  6. Eduard Vladimirovich
    #11 Eduard Vladimirovich Guests 18 May 2021 22:01
    0
    Good afternoon. There is no better and easier charging than charging on the KU202. I've been collecting these for a long time, the simplest option has been working here for many years. With uv. Edik

Openwork scarf | Do it yourself

Flowers for decoration made of polymer clay | Do it yourself

How to make a low-voltage mini cutting machine from a cardan cross

Replacing the faucet axle box on a mixer with your own hands

«Do it yourself - with your own hands» - a site of interesting homemade products made from scrap materials and items at home. Step-by-step master classes with photos and descriptions, technologies, life hacks - everything a real master or just a craftsman needs for needlework. Crafts of any complexity, a large selection of directions and ideas for creativity.

We recommend reading

Washing machine error codes