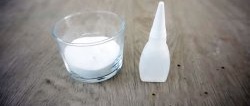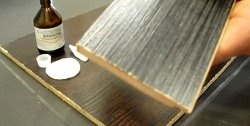
Materials:
- Super glue;
- baking soda;
- scotch.

Extensions with soda and glue
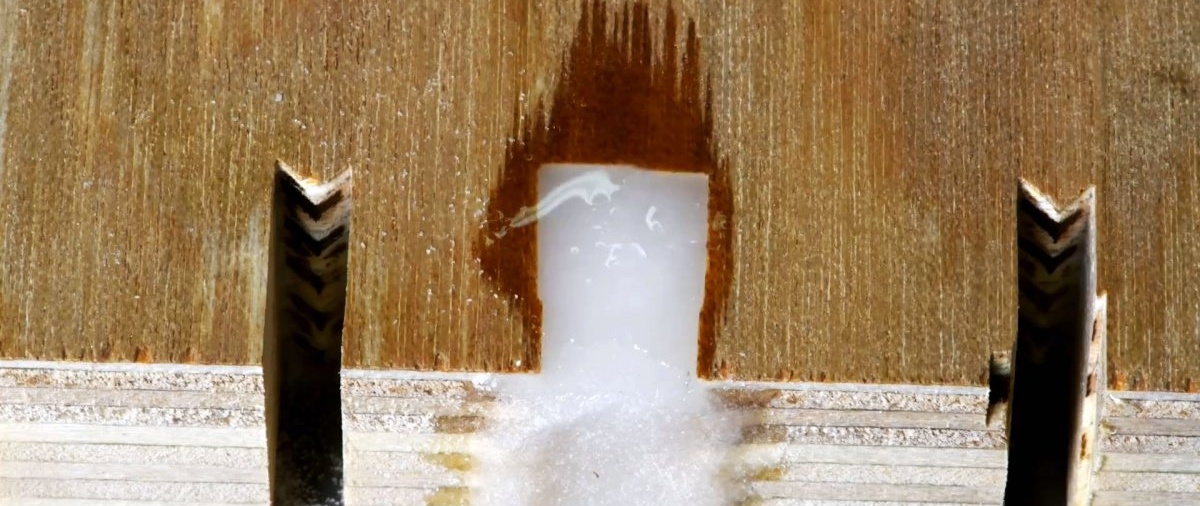
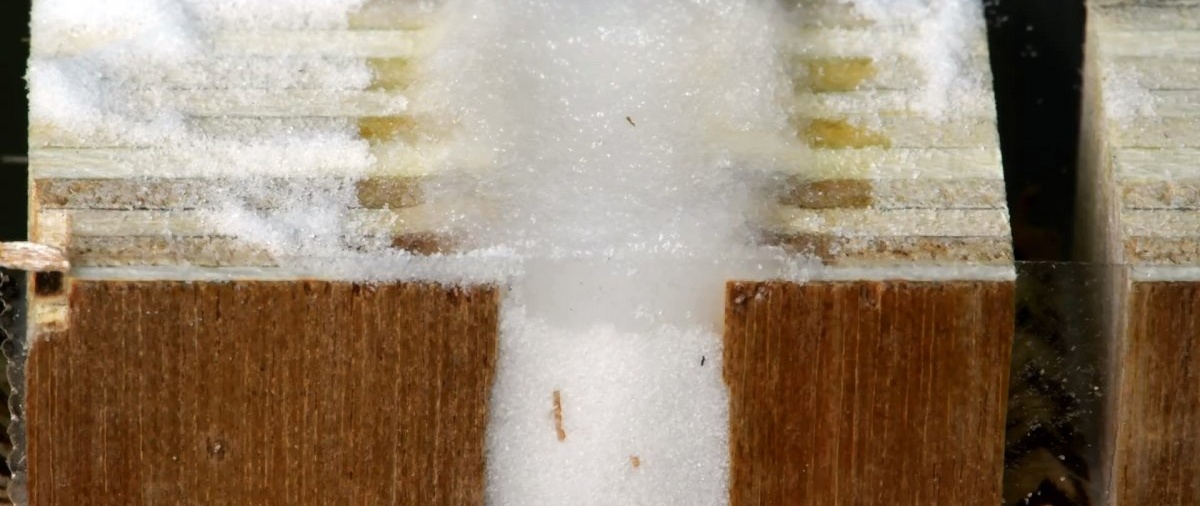
Depending on the features of the part for extension, you need to make sides for filling the soda from adhesive tape or plasticine. Using the first one is preferable because it is transparent, forms even edges and peels off without any problems.
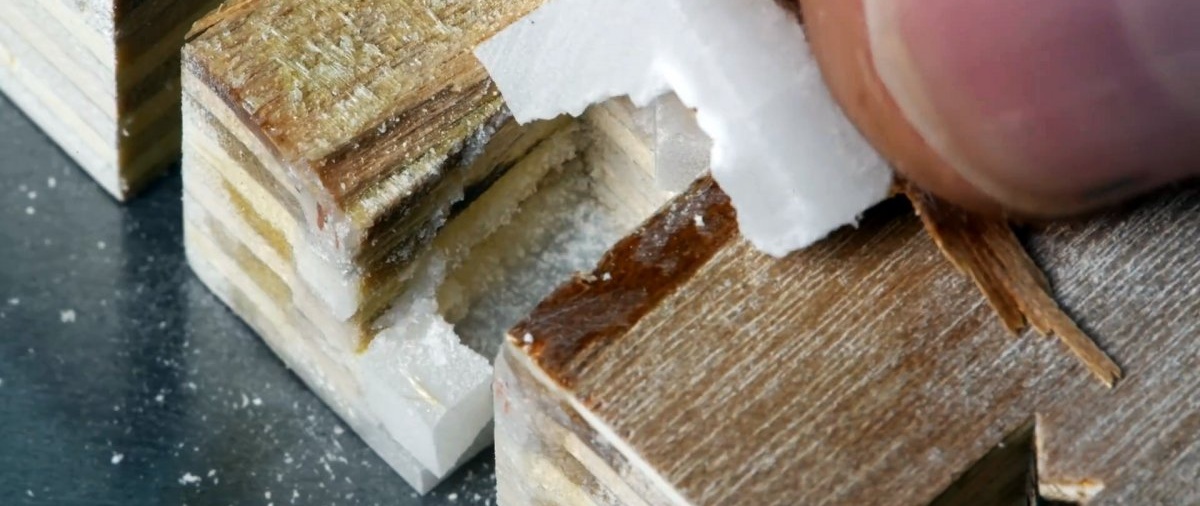
Soda is poured into the resulting mold. To avoid voids, it is compacted.
Then super glue is poured on top. Through the tape you can see that it penetrates 3-5 mm deep into the soda and hardens.As a result, no matter how much you try, it will not be possible to glue the entire thickness to the bottom.
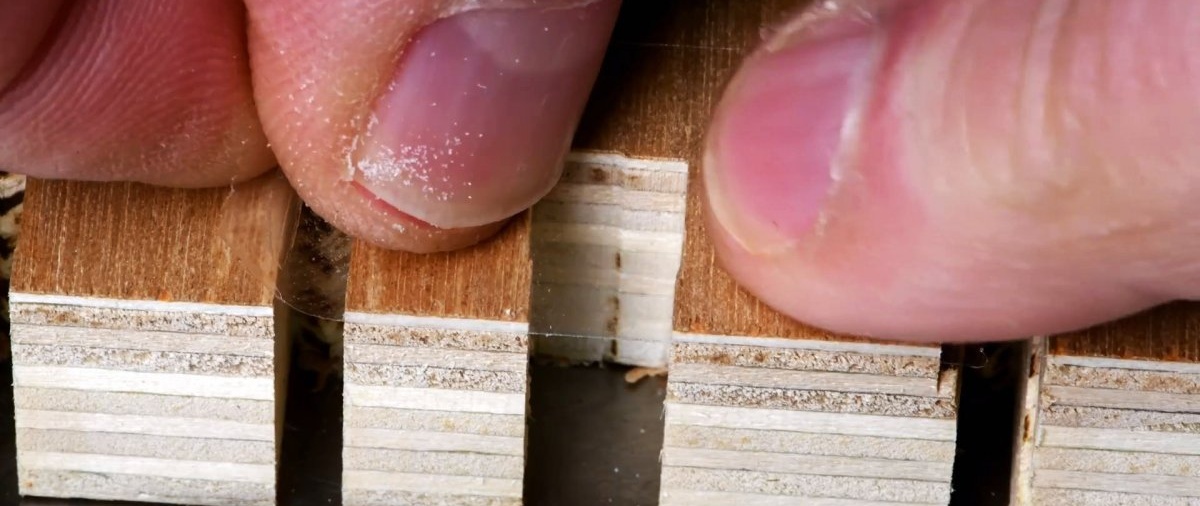
If the part you are extending allows you to pour glue on the other side, then you need to remove the tape from one of the sides and pour a few drops. After this, the next side is removed, the soda is leveled if it has moved, and a new portion of glue is poured. You need to saturate it as much as possible.

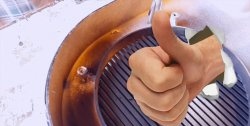
After pouring on all sides, the part has a dense, strong built-up base. It can be sanded with sandpaper, but reluctantly. If the extended body is needed more like decor and there will be no load on it, then the result is quite satisfactory.

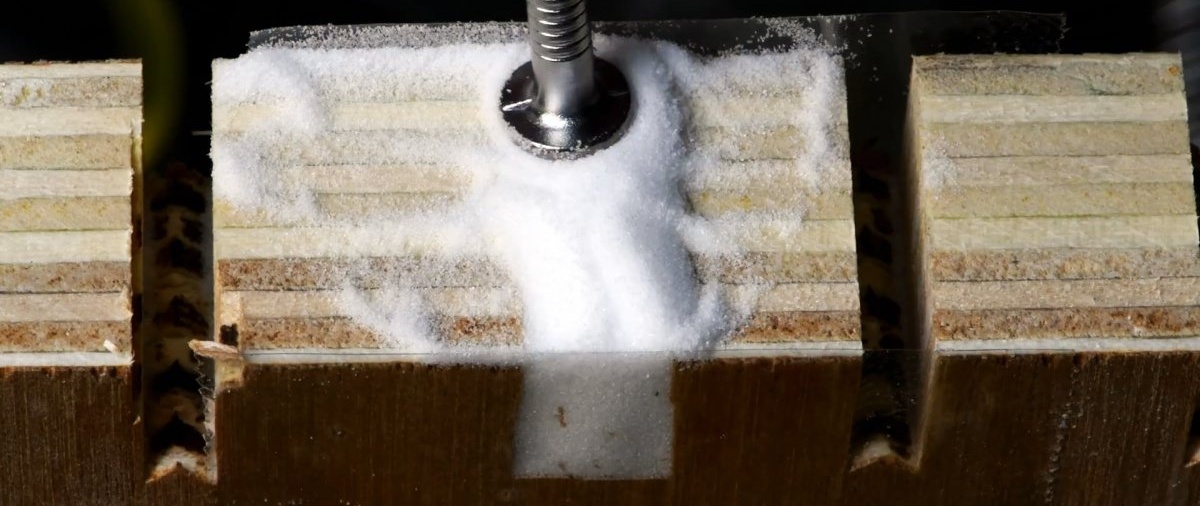
If the increased mass must be processed, for example, it needs to be sawed, then you can see unsticky soda in the middle, which spills out. Thus, we can come to the conclusion that this method does not work when the part needs to be trimmed or drilled. However, where the soda is saturated with glue, the composition is completely retained well.

In this regard, it can be considered that the method is only partially applicable when building up power parts. First you should add glue, then sprinkle soda on top. You need to sprinkle it a little at a time so that it is completely saturated. After this, glue is applied again, and then soda. The part is built up by alternating layers. Pouring soda with glue at a time can only be used when its thickness is only a few millimeters.