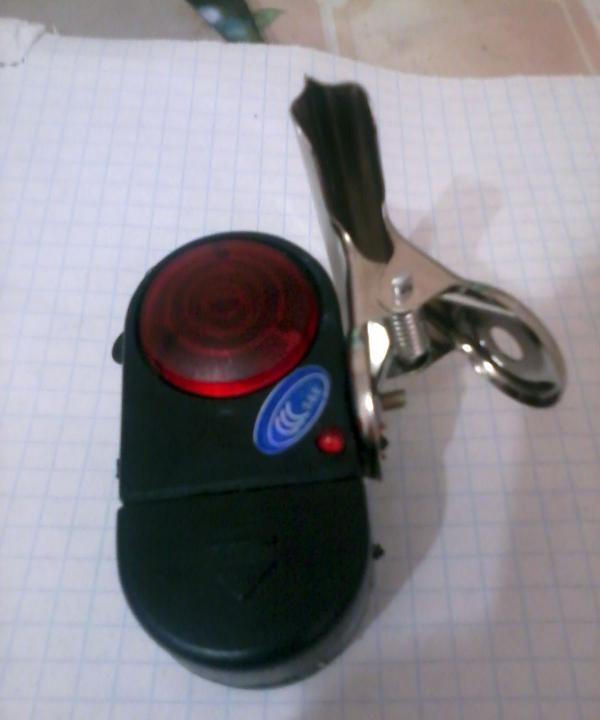
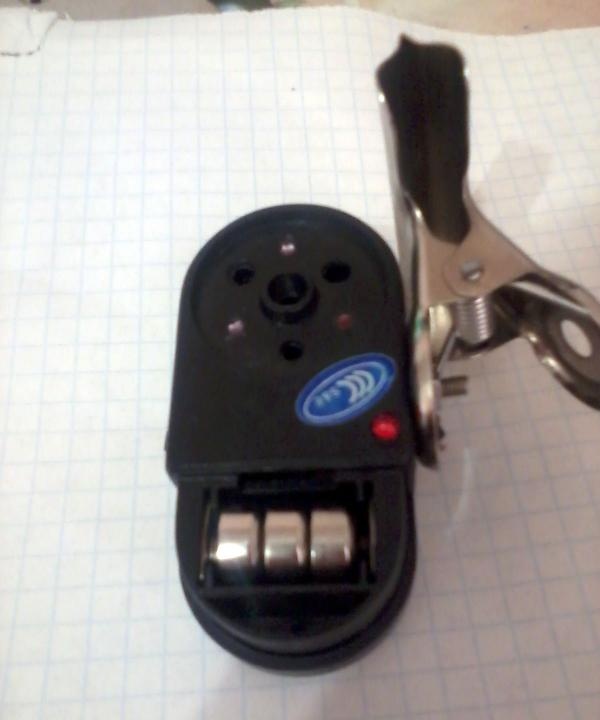
Do it yourself
Life hacks, master classes, useful tips, recipes.
home » Electronics » DIY electronics » Doorbell from bite alarm
Not long ago I bought a bite alarm for a fishing rod. After 2 days of work it broke. It turned out that the piece of iron that was being pulled by the fishing line had broken. This piece of iron pressed on the contacts, completing the circuit. It was a shame to throw away such a thing, and the sound was loud, and I thought: “Why not convert it to a bell?” I was also pleased that the alarm worked on three button batteries, which means it did not require constant power. In addition, the battery compartment was easy to open, and they were easy to change without disassembling the case.

Doorbell from bite alarm


Disassembly

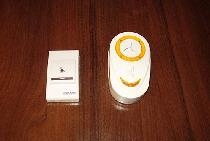
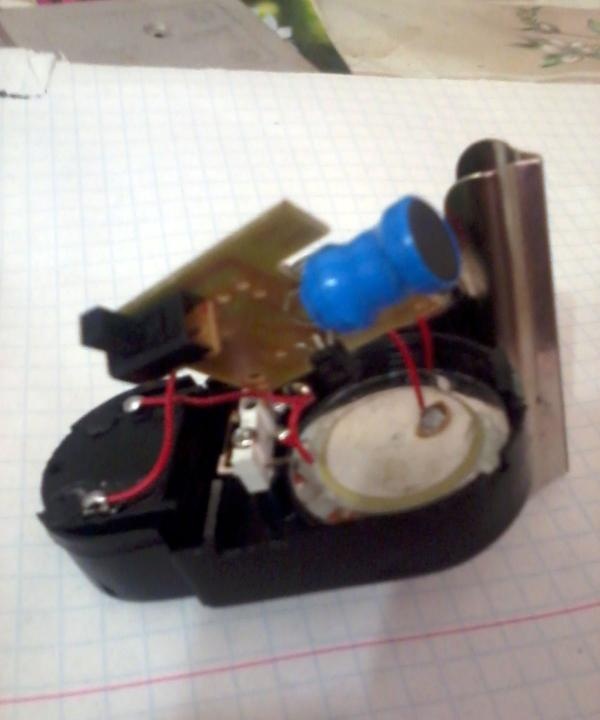
Carefully remove the clothespin. To do this, remove the cover and unscrew the bolt holding the clothespin. Then we extract all the giblets. This is the board, speaker and Light-emitting diode. We don’t tear anything off, we just pull it out so that all the wires remain in place. There are two switches there. One on the board that turns on the entire device. The second one is smaller, stands separately from the board, and turns on when a fish bites.
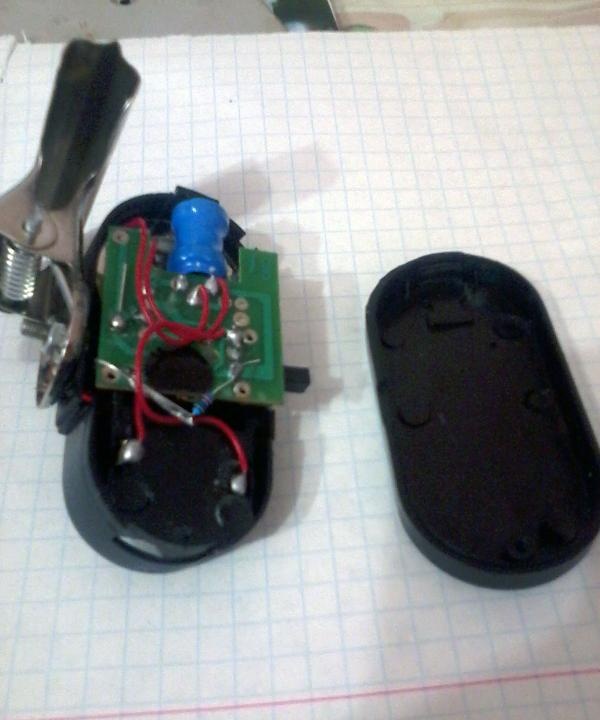


Rework

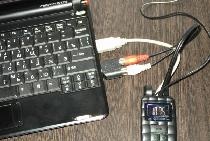
We unsolder the wires from the second switch and solder them to any other. A switch that turns off when you remove your finger will work. Here it is important to solder long wires, in my case 15 meters. You can take a thin wire, 4 millimeters. Then solder Light-emitting diode. We don't need him. Of course, you can leave it, but it is of no use, since it does not shine brightly. You can try to connect the paw through a transistor, but this is unnecessary fuss, I did not do this. You can also connect the speaker through a resistor if you find the sound loud, but I was fine with that, so I didn't do that either. All that remains is to push all the parts back into the housing, bringing out the wires for the switch.


Then I taped the frame to the wall above the door. Then I pulled the switch to the desired location and glued it with super glue. Everything works, so I didn't mess anything up.
come back
Comment
  • bowtiesmilelaughingblushsmileyrelaxed relaxedsmirk
    heart_eyeskissing_heartkissing_closed_eyesflushedrelievedsatisfiedgrin
    winkstuck_out_tongue_winking_eyestuck_out_tongue_closed_eyesgrinningkissingstuck_out_tonguesleeping
    worriedfrowninganguishedopen_mouthgrimacingconfusedhushed
    expressionlessunamusedsweat_smilesweatdisappointed_relievedwearypassive
    disappointedconfoundedfearfulcold_sweatperseverecrysob
    joyastonishedscreamtired_faceangryragetriumph
    sleepyyummasksunglassesdizzy_faceimpsmiling_imp
    neutral_faceno_mouthinnocent
4 minus one =
Comments (0)

How to grow parsley on a windowsill in winter and summer. Step-by-step photo instructions with secrets

New Year's cardboard house | Do it yourself

3 simple useful tools that you can make with your own hands in 10 minutes

Original postcard for March 8th | Do it yourself

«Do it yourself - with your own hands» - a site of interesting homemade products made from scrap materials and items at home. Step-by-step master classes with photos and descriptions, technologies, life hacks - everything a real master or just a craftsman needs for needlework. Crafts of any complexity, a large selection of directions and ideas for creativity.

We recommend reading

Washing machine error codes