Do it yourself
Life hacks, master classes, useful tips, recipes.
home » Different » Crafts » Metal crafts "This anvil is made from a piece of rail
There is always a job for a small anvil in a home workshop. On it you can not only straighten nails or make a staple, but also perform some blacksmith operations - forge a blank for a kitchen or hunting knife, flatten a square rod, bend a figured element for a window grille, etc. Moreover, without any special costs, except time and physical labor.
This anvil is made from a piece of rail

Will need


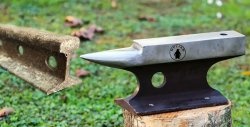
As a blank, we use a piece of old rail about 30 cm long, which can be found in a pile of garbage or purchased for pennies at Vtorchermet. Like the future product itself, you will need, especially at the beginning, brutal tools and devices:
  • grinder and grinding head;
  • vice and hammer;
  • metal hacksaw and hand file;
  • milling and drilling machines;
  • sandblasting unit;
  • sandpaper No. 80, 120, 240 and 400;
  • Super Blue bluing fluid;
  • scriber, caliper and core;
  • metal ruler, marker, etc.

To protect yourself from injury, you should use a respirator, goggles and gloves.

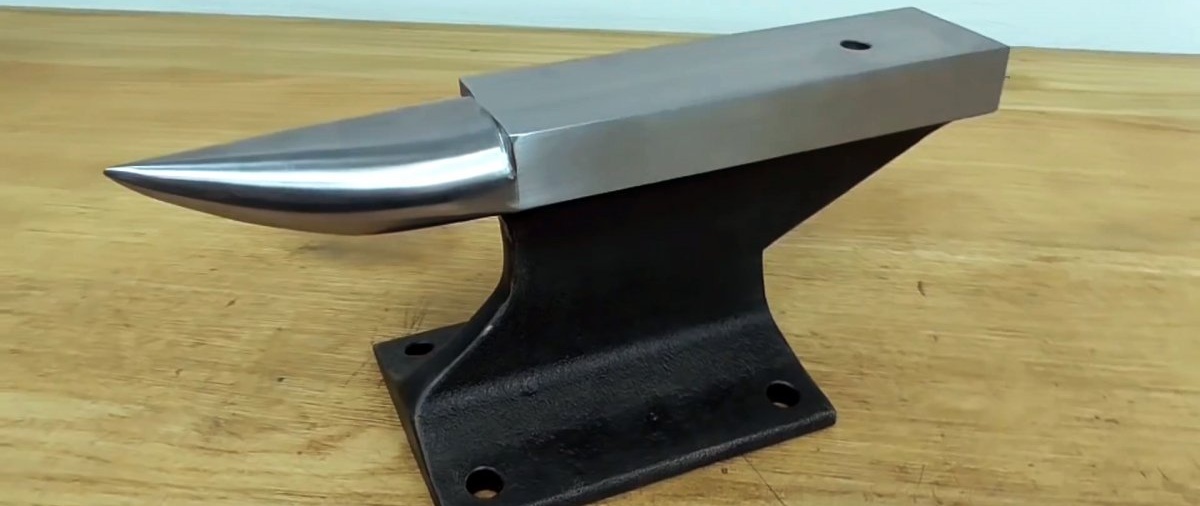
The process of turning a rail into an anvil


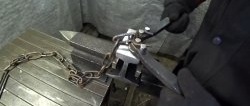
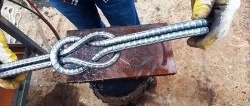
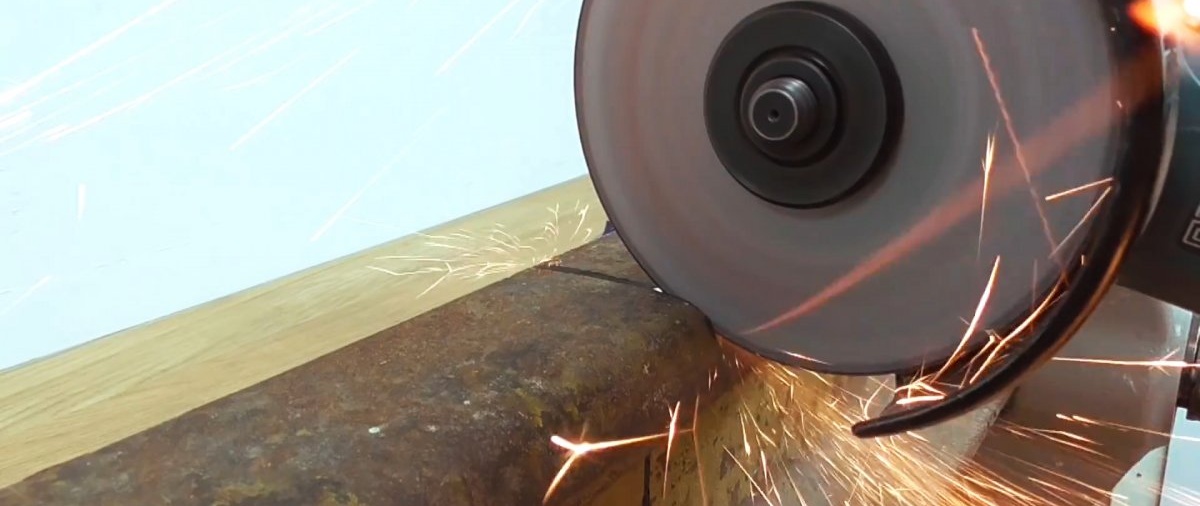
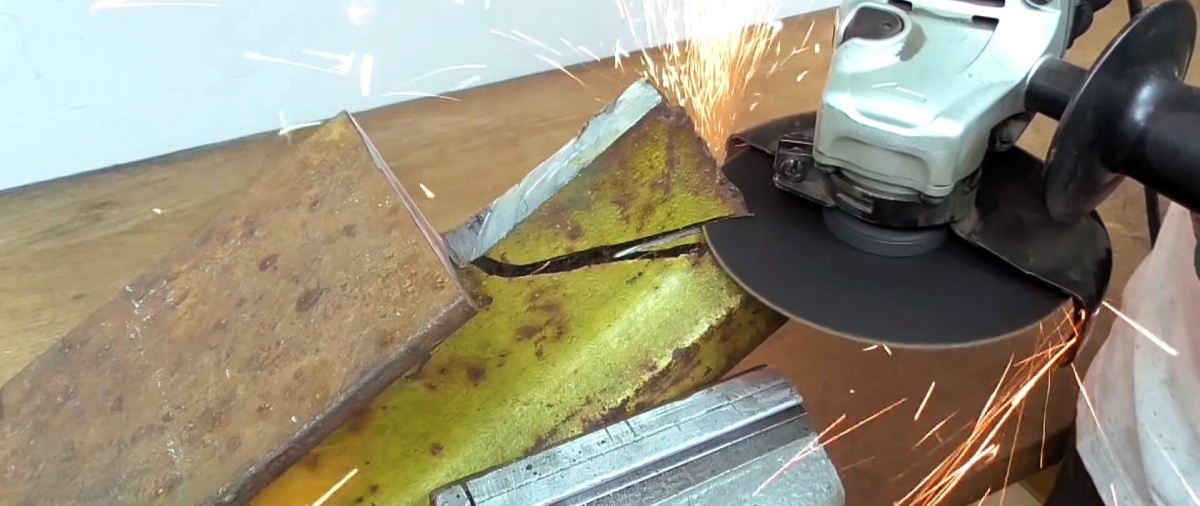
Using a grinder, we cut a workpiece 30 cm long, having previously marked a transverse cutting line along the perimeter of a piece of rail clamped in a vice using a metal ruler, a square and a marker.
This anvil is made from a piece of rail

This anvil is made from a piece of rail

We mark the workpiece for the future anvil profile and use a grinder to remove excess metal. Places that are inaccessible to the grinder are trimmed using a hacksaw. We beat off the fragments “hanging by a thread” with a hammer.
This anvil is made from a piece of rail

This anvil is made from a piece of rail

We fix the partially processed workpiece on the table of the milling machine and, using an end mill, obtain the face of the anvil. We shape the sides of the face using a finger cutter.
This anvil is made from a piece of rail

This anvil is made from a piece of rail

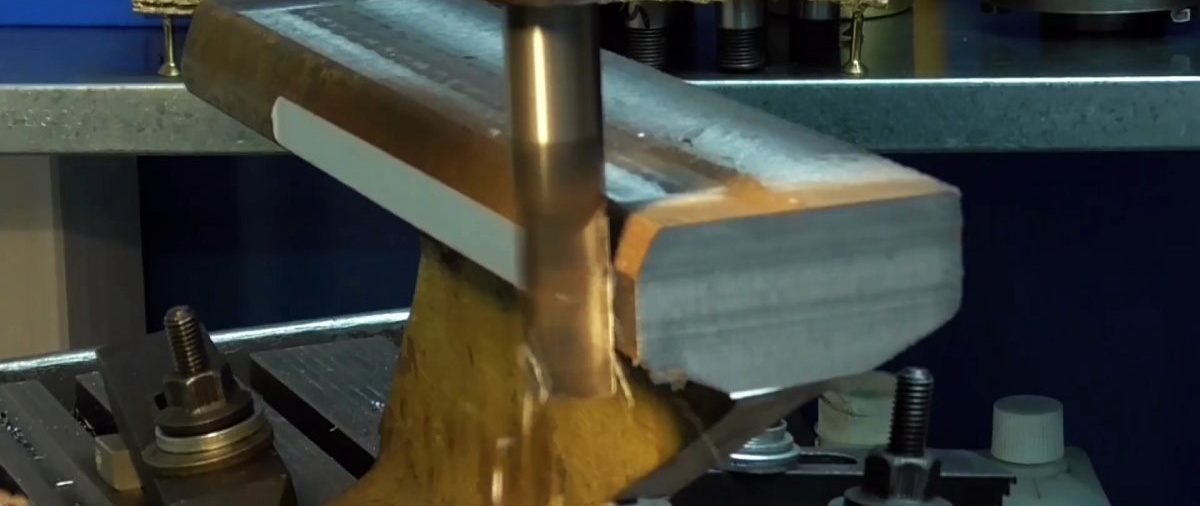
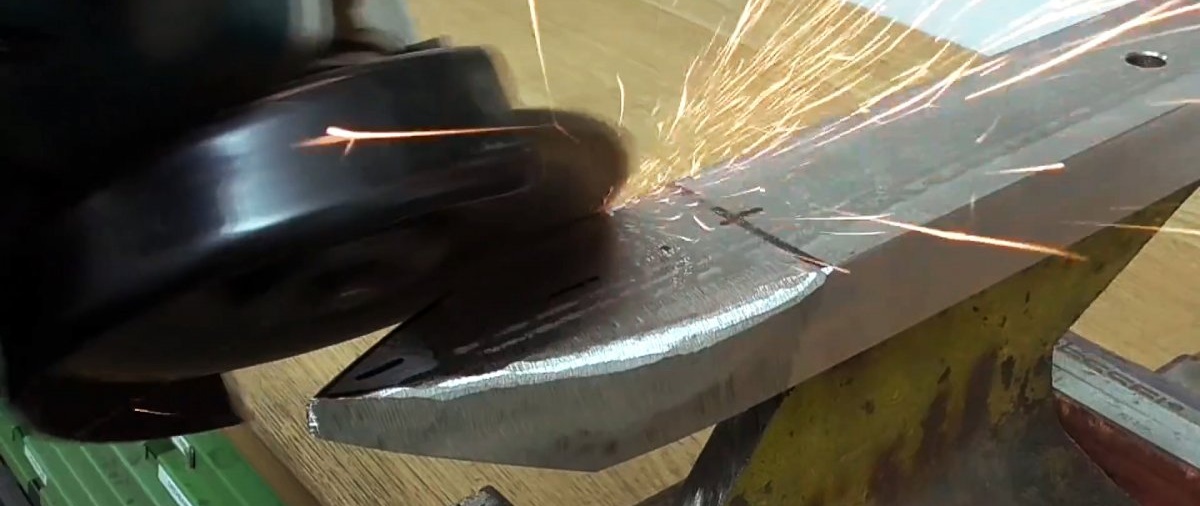
Closer to the back edge of the face, we drill a through vertical hole in the center. We remove the edges along its perimeter using a hand-held metal file. Next, use a grinder to form the leg of the anvil.
This anvil is made from a piece of rail

This anvil is made from a piece of rail

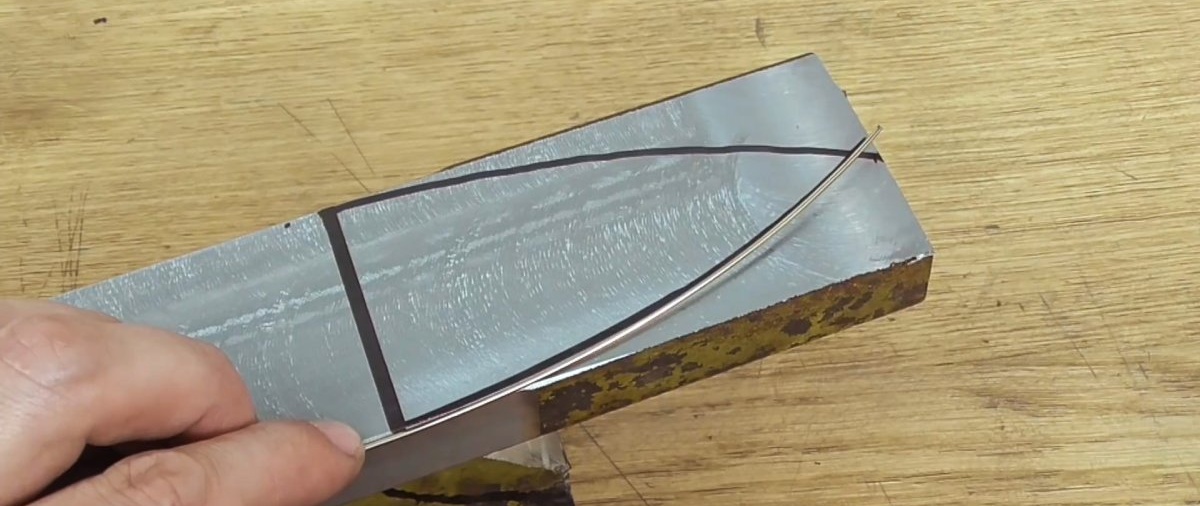
Using a pre-curved template and a marker, we mark the horn in plan and use a grinder to remove excess metal. We do the same on the sides and bottom. We continue to shape the horn, bringing it closer to the final form.
This anvil is made from a piece of rail

This anvil is made from a piece of rail

Next, we smooth out the shape of the horn with a hand file and continue to do this with a sanding head with 80-grit sandpaper.
This anvil is made from a piece of rail

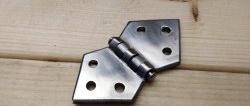
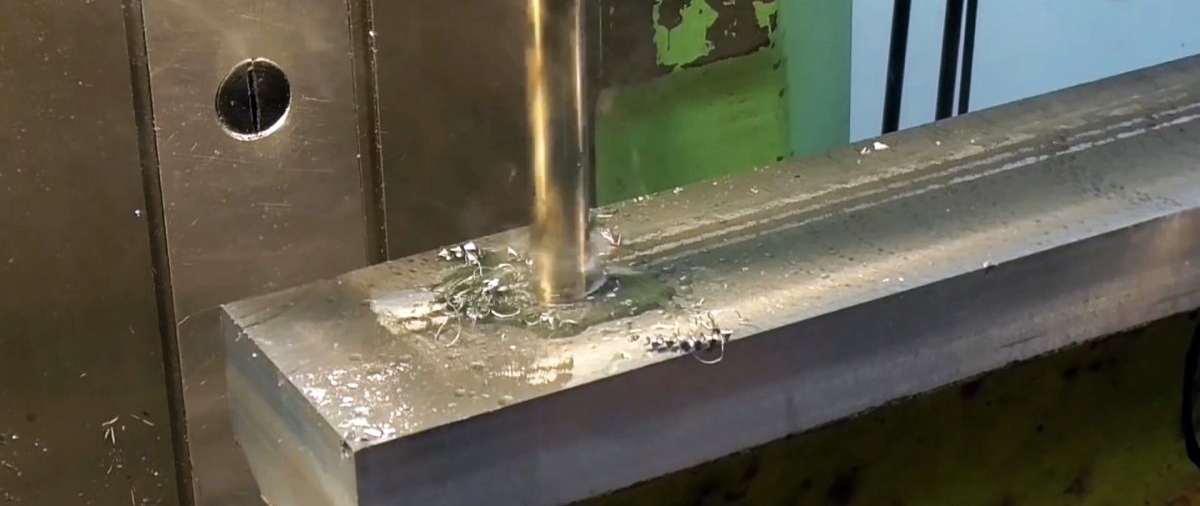
We mark four symmetrical holes in the corners of the paw, make them on a drilling machine and countersink the edges.
This anvil is made from a piece of rail

We clean the workpiece from scale and rust in a sandblasting chamber or using a grinder.
This anvil is made from a piece of rail

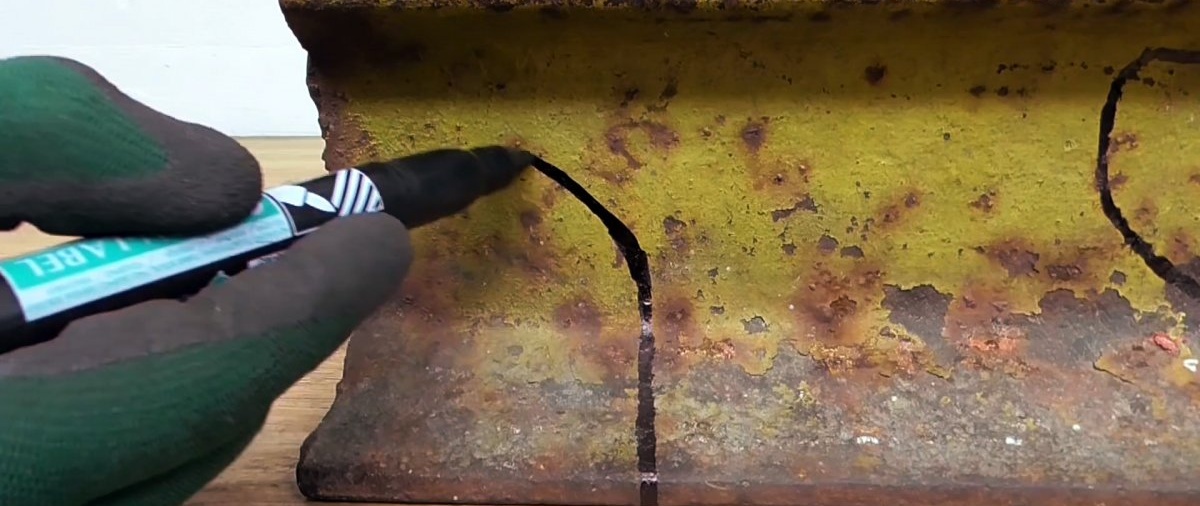
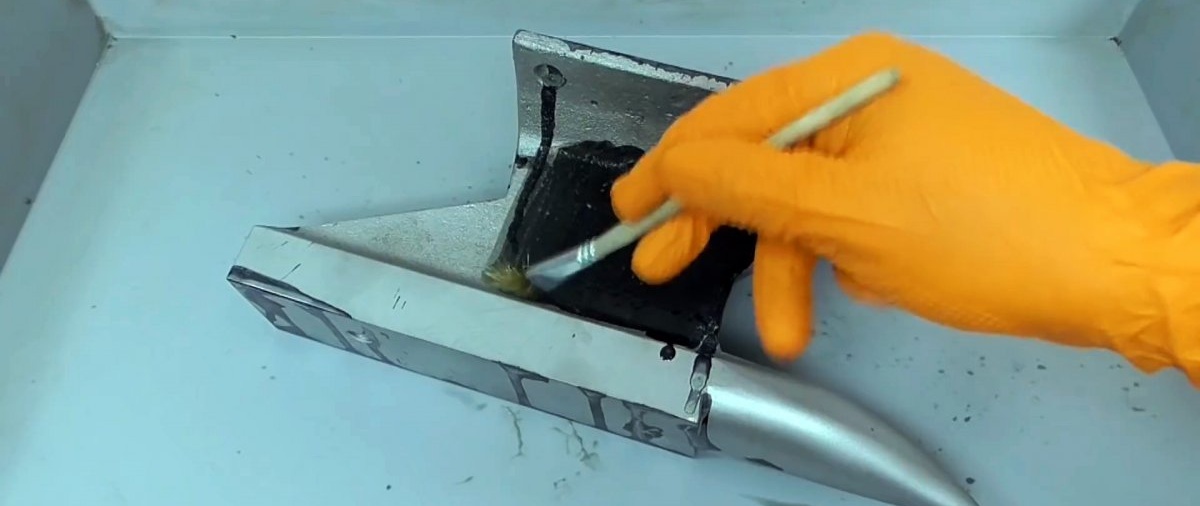
Then apply steel bluing liquid with a brush to all surfaces of the homemade product.
This anvil is made from a piece of rail

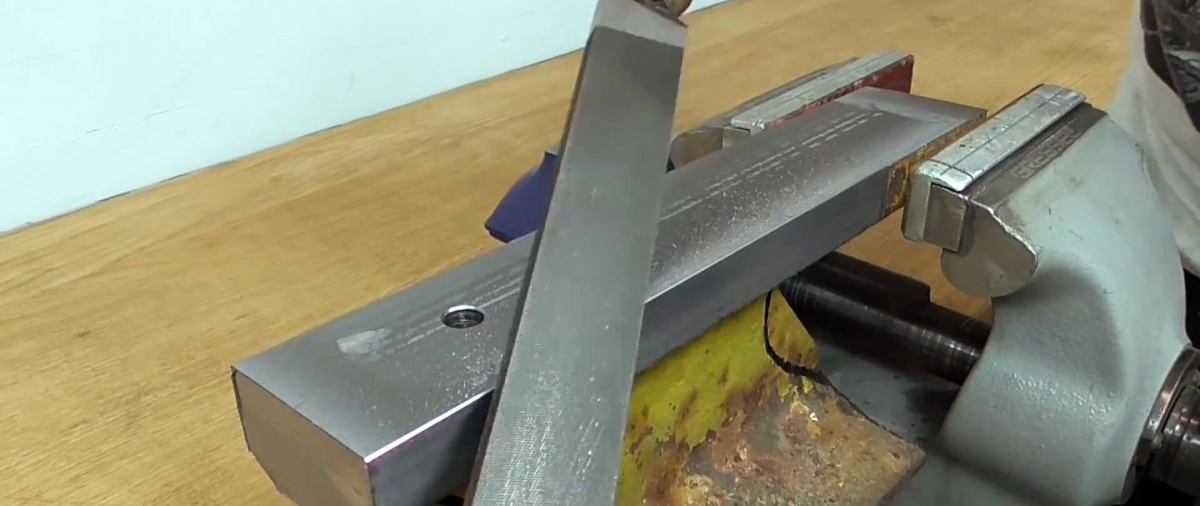
We sand the face and its sides, and the horn in a circular manner with a head using 120 sandpaper.
This anvil is made from a piece of rail

We finish these areas to be processed manually with sandpaper 240 and 400. After which, the one-horned homemade anvil is completely ready for work.
This anvil is made from a piece of rail

Watch the video


come back
Comment
  • bowtiesmilelaughingblushsmileyrelaxed relaxedsmirk
    heart_eyeskissing_heartkissing_closed_eyesflushedrelievedsatisfiedgrin
    winkstuck_out_tongue_winking_eyestuck_out_tongue_closed_eyesgrinningkissingstuck_out_tonguesleeping
    worriedfrowninganguishedopen_mouthgrimacingconfusedhushed
    expressionlessunamusedsweat_smilesweatdisappointed_relievedwearypassive
    disappointedconfoundedfearfulcold_sweatperseverecrysob
    joyastonishedscreamtired_faceangryragetriumph
    sleepyyummasksunglassesdizzy_faceimpsmiling_imp
    neutral_faceno_mouthinnocent
4 minus one =
Comments (0)

DIY LED flasher with just 1 transistor

DIY magnetic plate from microwave transformers

Little yarn hat | Do it yourself

Various | Page 87 | Do it yourself

«Do it yourself - with your own hands» - a site of interesting homemade products made from scrap materials and items at home. Step-by-step master classes with photos and descriptions, technologies, life hacks - everything a real master or just a craftsman needs for needlework. Crafts of any complexity, a large selection of directions and ideas for creativity.

We recommend reading

Washing machine error codes