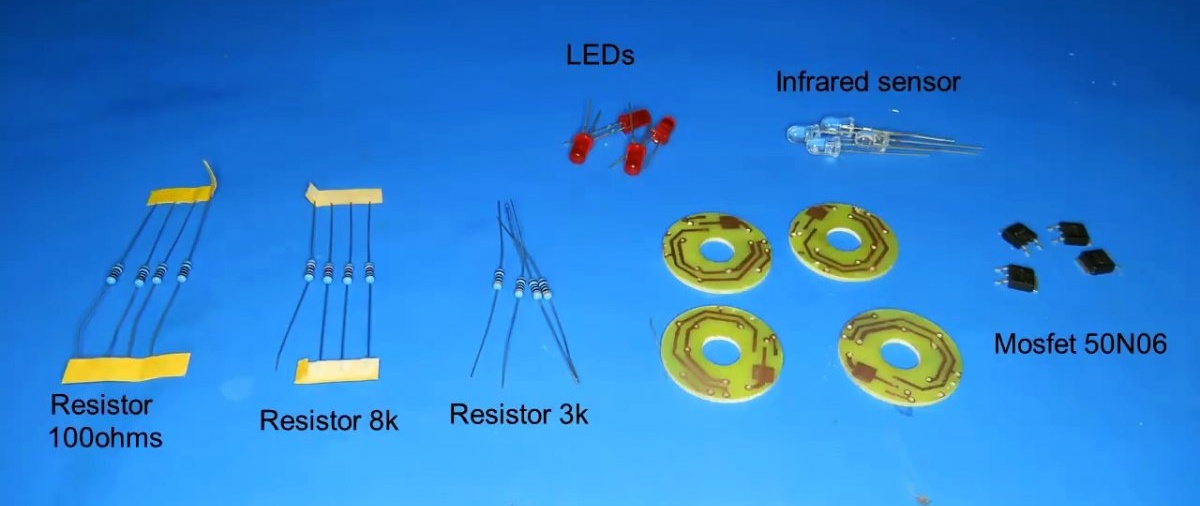
Do it yourself
Life hacks, master classes, useful tips, recipes.
home » Electronics » How to make an amazing electromagnetic accelerator
To visualize the operation of an electromagnetic mass accelerator, you can assemble a looped track for rolling a steel ball endlessly in a circle, with 4 electromagnetic coils serving as pushers. The principle of operation of the track is comparable to a Gauss cannon, but the projectile never stops in it.
How to make an amazing electromagnetic accelerator

Materials:


  • foil fiberglass;
  • transistors 50N06 – 4 pcs.;
  • 100 Ohm resistors – 4 pcs.;
  • 8 kOhm resistors – 4 pcs.;
  • 3 kOhm resistors – 4 pcs.;
  • infrared diodes – 4 pcs.;
  • red LEDs - 4 things.;
  • enameled copper wire 0.4 mm.

Manufacturing process of a closed electromagnetic mass accelerator


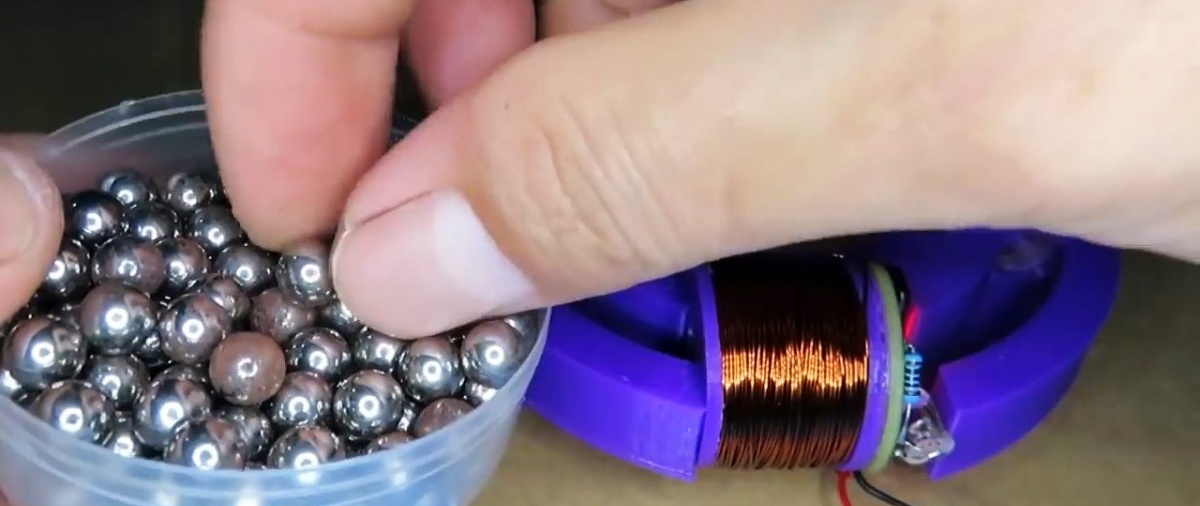
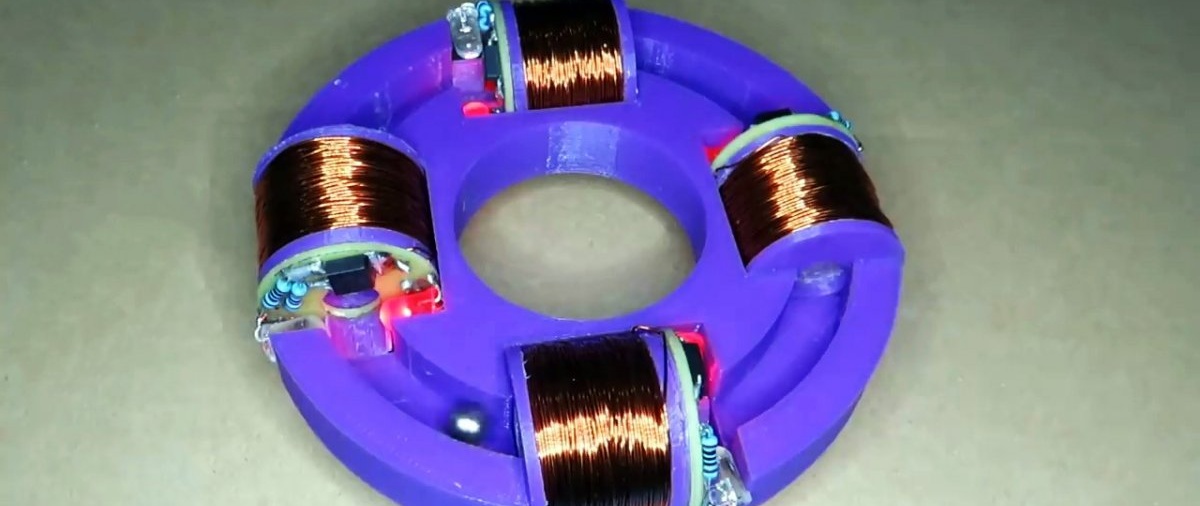
The device is a disk made of dielectric material with a closed groove designed to roll the ball in a circle. 4 induction coils are placed in it at the same distance from each other, through which the ball moves. Each solenoid operates pulsed. At the moment the pulse is applied, an electromagnetic field is created, which “pulls” the ball into itself with acceleration.As it moves, the field is turned off, so the braking effect that appears when passing the center of the solenoid, when the projectile begins to be attracted back, is not created. Thus, the first coil attracts the ball towards itself, gives it acceleration and then it is intercepted by the next solenoid, and so on ad infinitum.
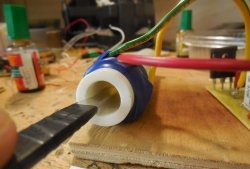
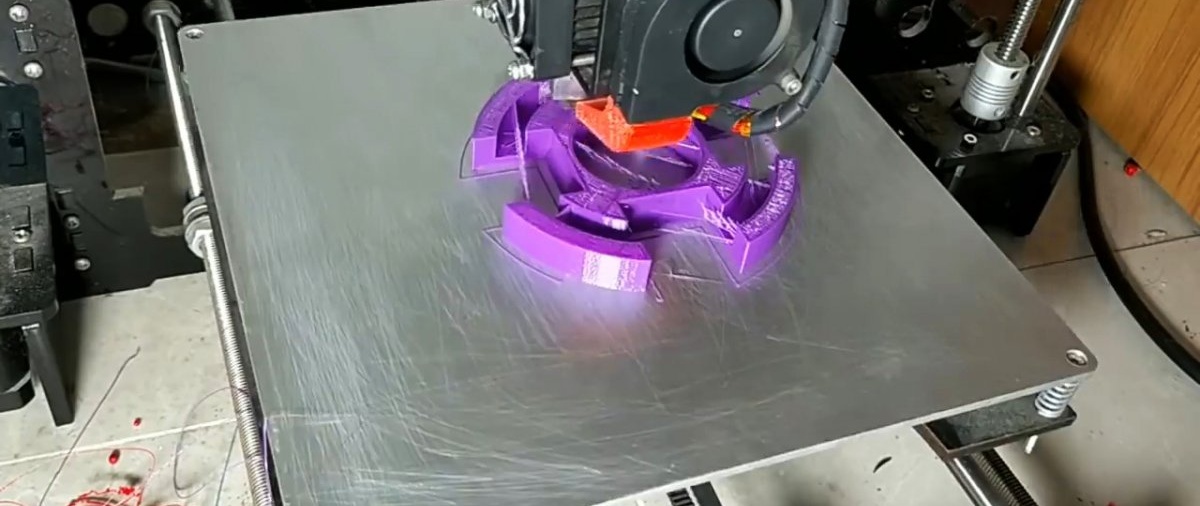
Assembling the device must begin by making a disk with a groove. It provides 4 seats for coils, taking into account the distance for installing control boards. The disk can be cut out of plywood using CNC, but it is best to print it on a 3D printer.
How to make an amazing electromagnetic accelerator

4 coils for winding wire are also manufactured.
How to make an amazing electromagnetic accelerator

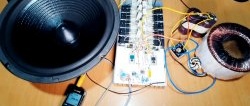
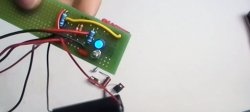
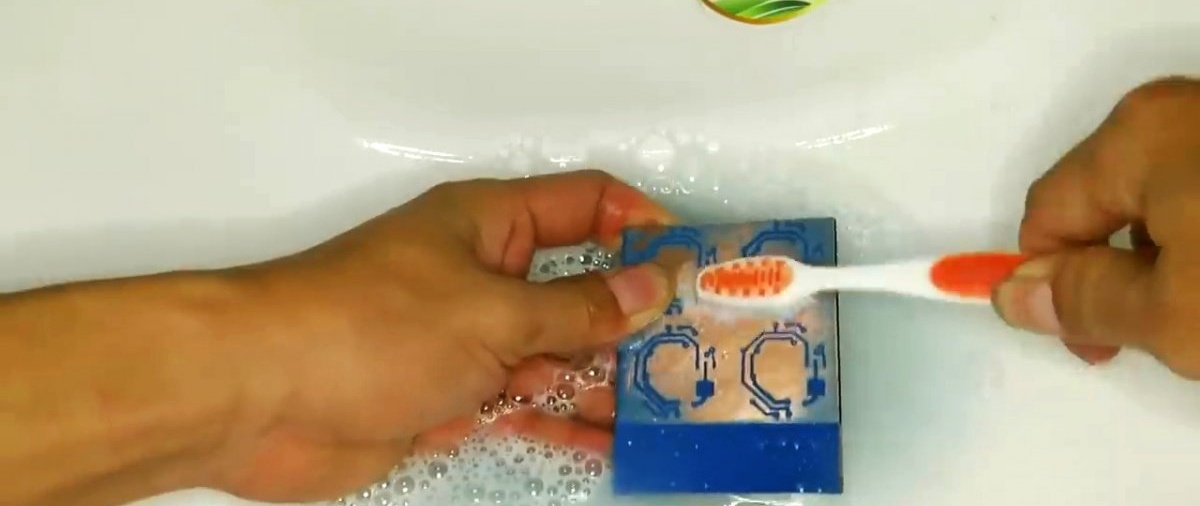
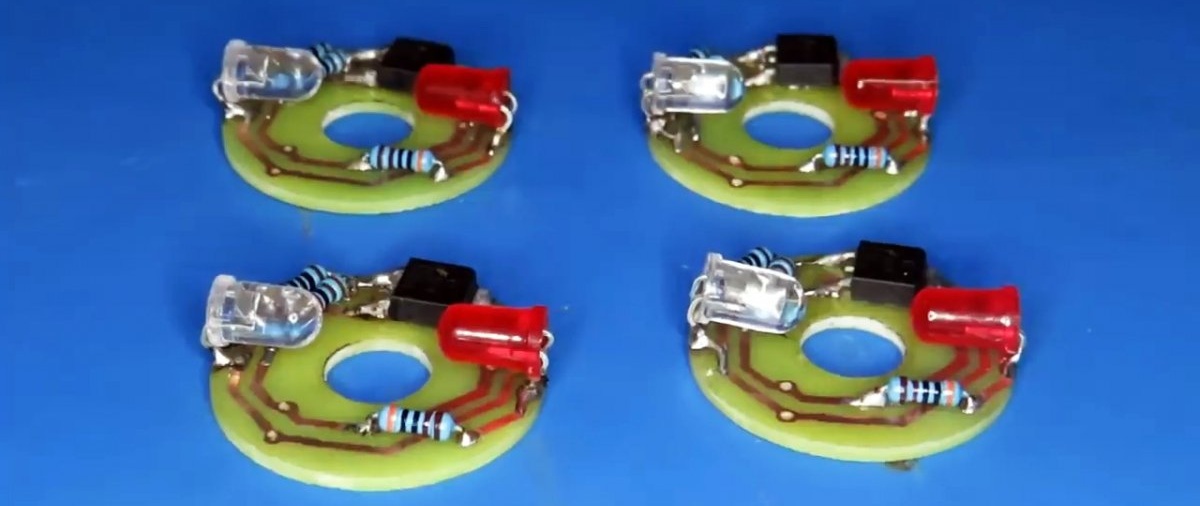
Next, in an accessible way, you need to make 4 round printed circuit boards along the diameter of the coils from foil fiberglass and etch tracks on them, as in the photo.
How to make an amazing electromagnetic accelerator

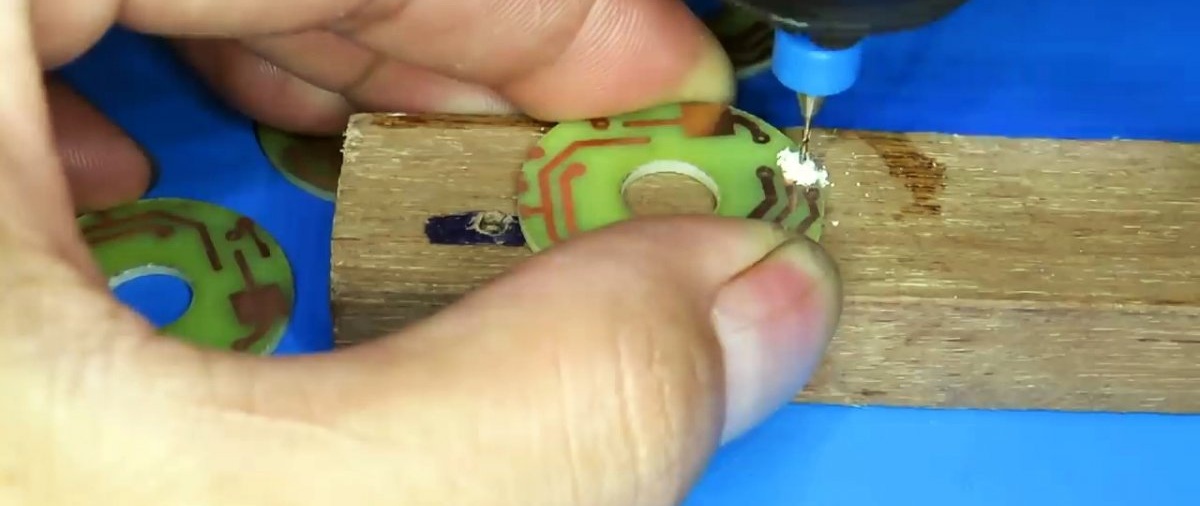
The boards are then drilled.
How to make an amazing electromagnetic accelerator

Transistors, resistors and LEDs as in the photo.
How to make an amazing electromagnetic accelerator

How to make an amazing electromagnetic accelerator

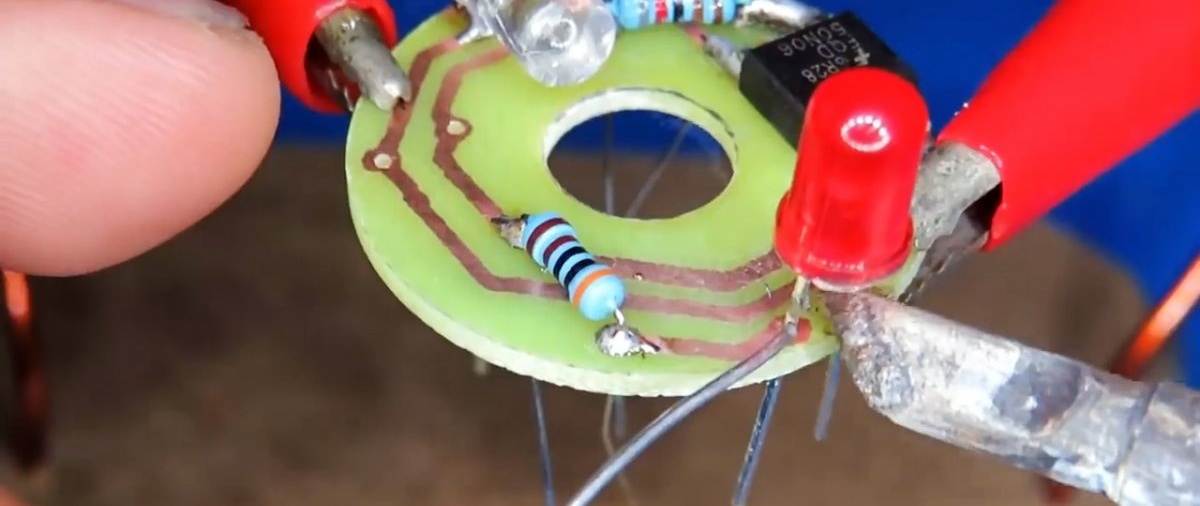
Assembly must be carried out extremely carefully; the long legs of the parts on the back of the boards are bitten off so that they do not interfere with further assembly.
How to make an amazing electromagnetic accelerator

Next, 0.4 mm wire is wound onto the coils, 300 coils each. Then half rings are glued onto the printed circuit boards, which are necessary to connect the gaps in the trench at the location where the coils are installed.
How to make an amazing electromagnetic accelerator

How to make an amazing electromagnetic accelerator

Printed circuit boards are connected to each other in series. Then the ends of the solenoid windings are soldered into them. After this, the boards are glued to the side of the coils.
How to make an amazing electromagnetic accelerator

How to make an amazing electromagnetic accelerator

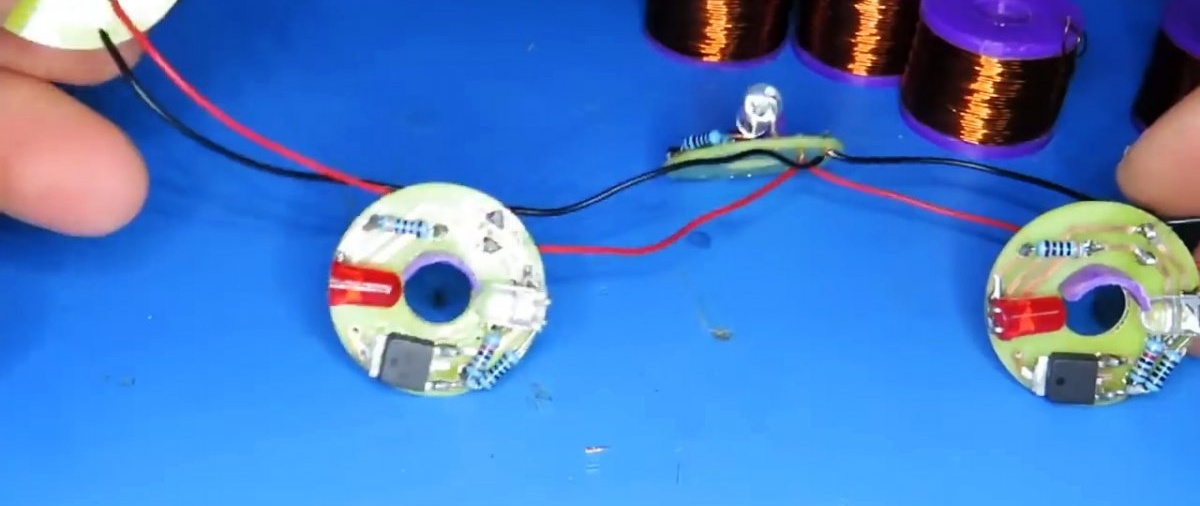
The connected coils are inserted into the seats on the disk and aligned so that the glued half-rings close the gap in the groove track.
How to make an amazing electromagnetic accelerator

How to make an amazing electromagnetic accelerator

Now, when power is applied to the solenoids, and an iron ball is forced to roll through any of them, it will begin to circle at high speed along the chute.
How to make an amazing electromagnetic accelerator

How to make an amazing electromagnetic accelerator

Watch the video


come back
Comment
  • bowtiesmilelaughingblushsmileyrelaxed relaxedsmirk
    heart_eyeskissing_heartkissing_closed_eyesflushedrelievedsatisfiedgrin
    winkstuck_out_tongue_winking_eyestuck_out_tongue_closed_eyesgrinningkissingstuck_out_tonguesleeping
    worriedfrowninganguishedopen_mouthgrimacingconfusedhushed
    expressionlessunamusedsweat_smilesweatdisappointed_relievedwearypassive
    disappointedconfoundedfearfulcold_sweatperseverecrysob
    joyastonishedscreamtired_faceangryragetriumph
    sleepyyummasksunglassesdizzy_faceimpsmiling_imp
    neutral_faceno_mouthinnocent
4 minus one =
Comments (1)
  1. Guest Vyacheslav
    #1 Guest Vyacheslav Guests 4 October 2020 15:30
    0
    Of course, it is not necessary to post a diagram, just like drawings of parts!!! Everyone already knows how to build everything! And of course, everyone has equipment for laser cutting, marking, and a 3D printer. Everyone must have one of these at home!

Useful and interesting | Page 31 | Do it yourself

Do it yourself - crafts and master classes | Page 307

Do it yourself - crafts and master classes | Page 230

Snowman made from sock and rice | Do it yourself

«Do it yourself - with your own hands» - a site of interesting homemade products made from scrap materials and items at home. Step-by-step master classes with photos and descriptions, technologies, life hacks - everything a real master or just a craftsman needs for needlework. Crafts of any complexity, a large selection of directions and ideas for creativity.

We recommend reading

Washing machine error codes