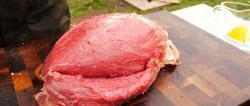
Spring has already come into its own. A little more and the snow will melt, and barbecue season is just around the corner. Again the endless waving of a piece of cardboard over the coal, red watery eyes, singed beards and mustaches! Some amateurs find a way out of the situation; connect fans, hair dryers, and even old vacuum cleaners! This is all, of course, wonderful, but if you like to fry meat outdoors, where there is no electricity, then you will have to fan the coals on your own. Also, due to certain circumstances, not everyone can go on a picnic in a car that has a capacious battery to which you can plug in a suitable device. Again, you can buy a special device for fanning the coals. Now there are a huge variety of them, of different types and modifications! There are manual devices (you need to rotate the handle, driving the propeller), there are electric ones, battery-powered. But you can make this simple device yourself. There is nothing complicated in its design.
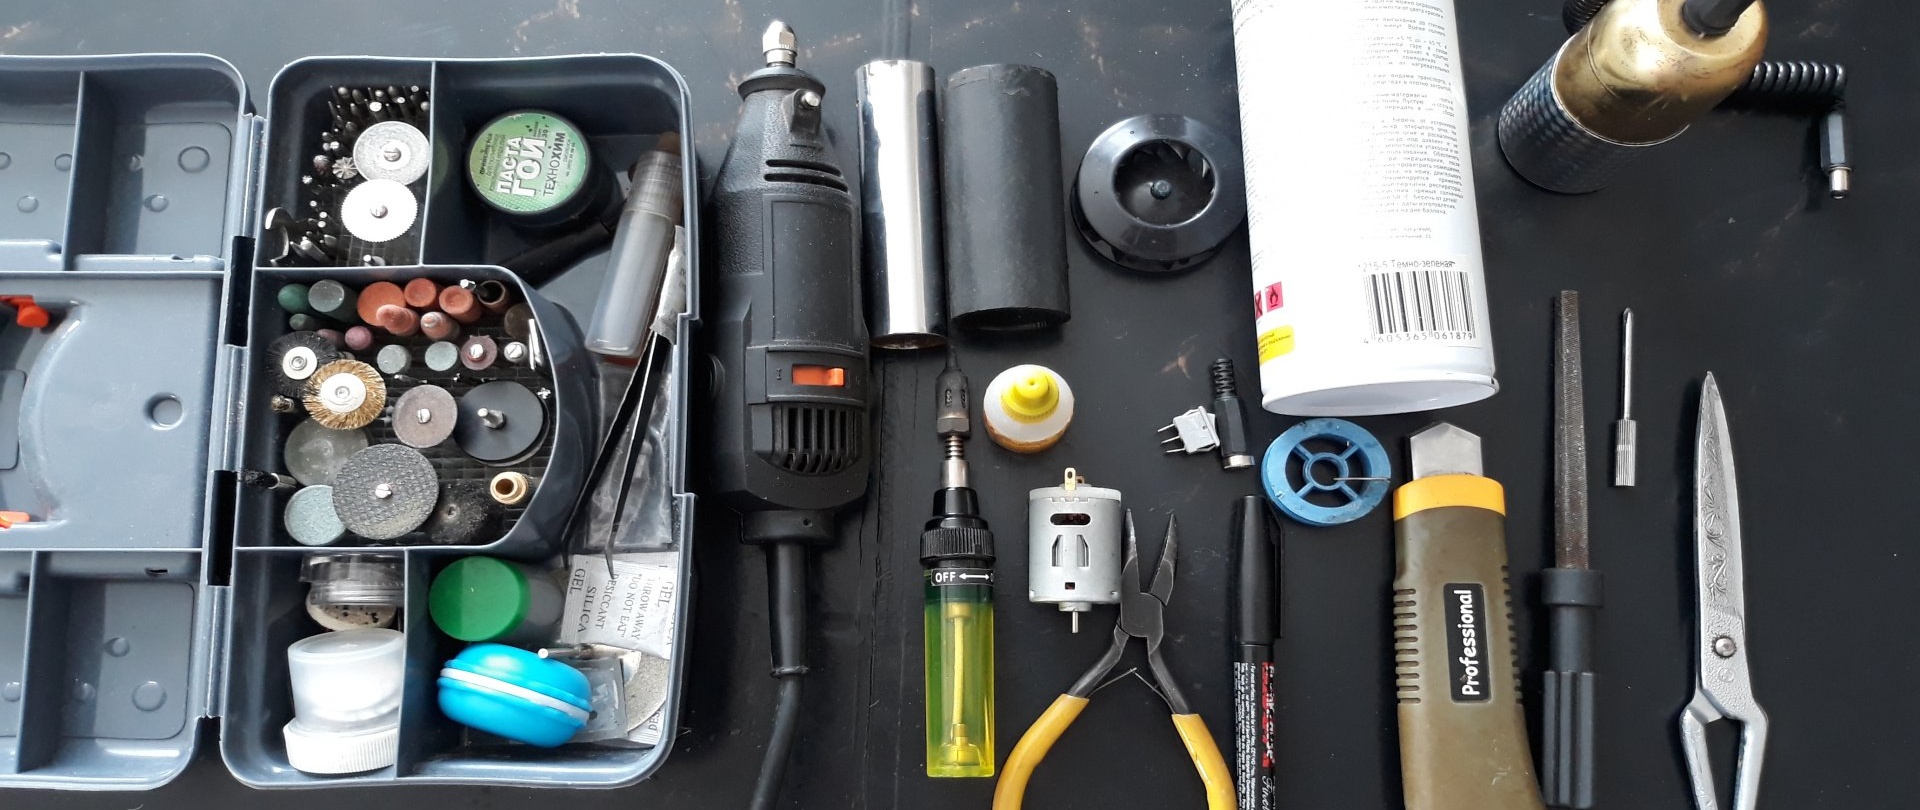
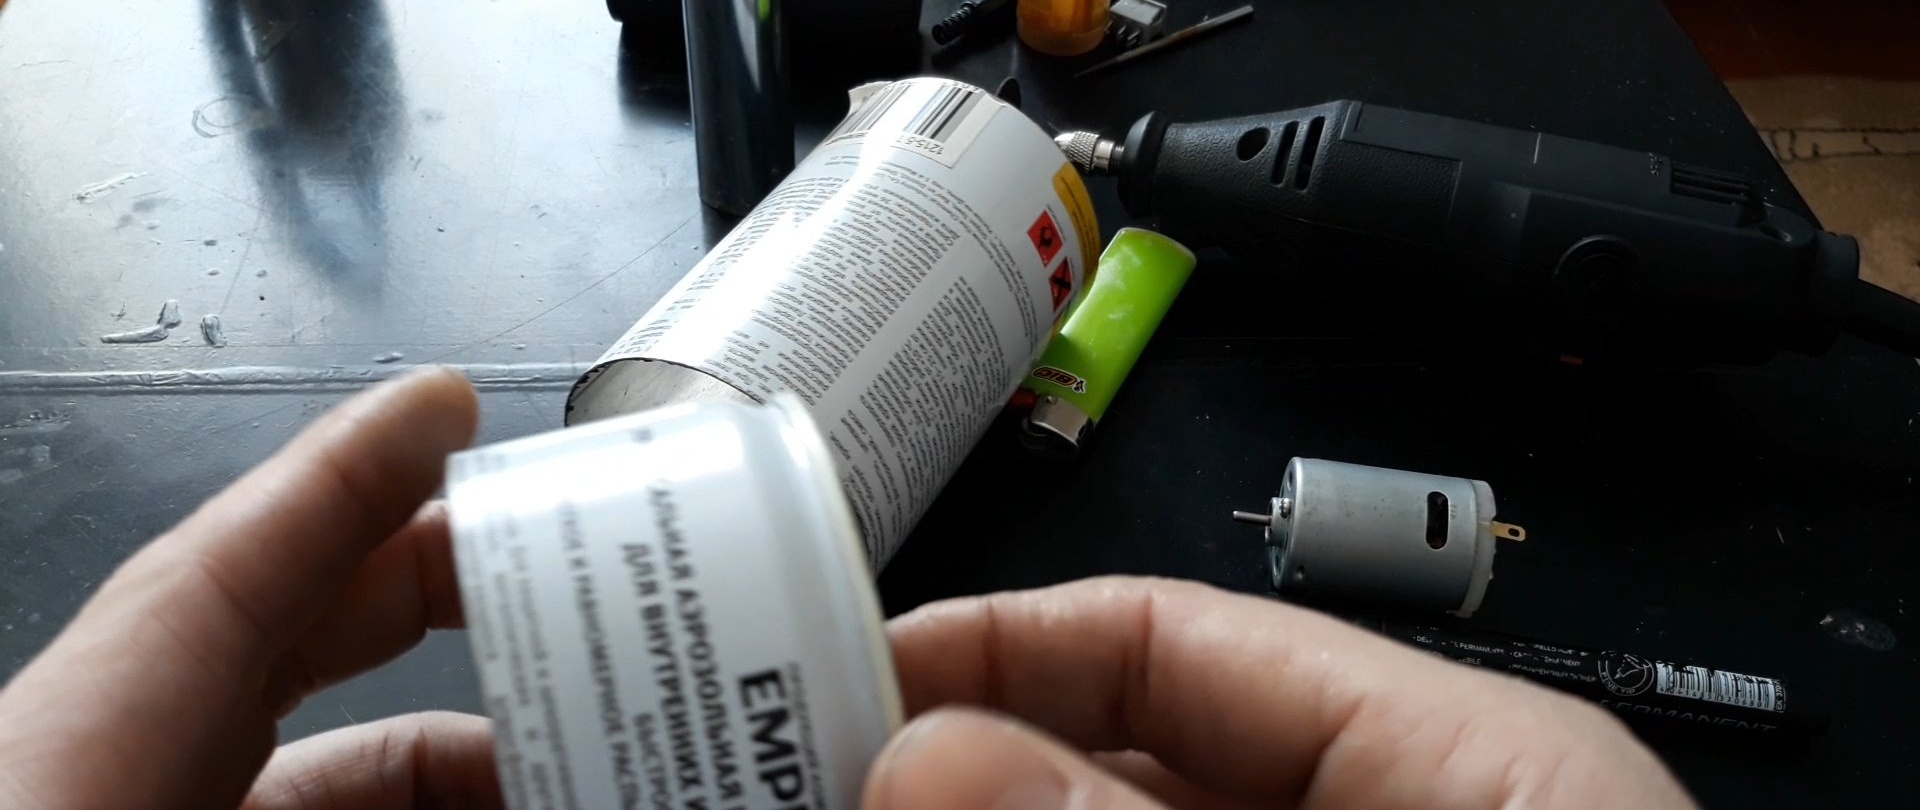
Will need
- Empty tin can (I took it from under the paint).
- Motor (9 to 12 volts).
- Cooler propeller.
- Engraver with cutting disc, grinding stone and drill.
- The tube is metal, with a diameter of 20 mm and a length of 7-8 cm.
- The tube is plastic, 7-8 cm long, and the diameter is the thickness of the motor.
- Soldering iron with solder.
- Secondary glue.
- Switch.
- Two bolts, threaded at the top of the motor.
- Pliers.
- Marker.
- Scissors.
- File.
- Stationery knife.
- Screwdriver.
- Battery to suit the needs of the motor.
- Spray paint (color of your choice).
Assembling a coal blower
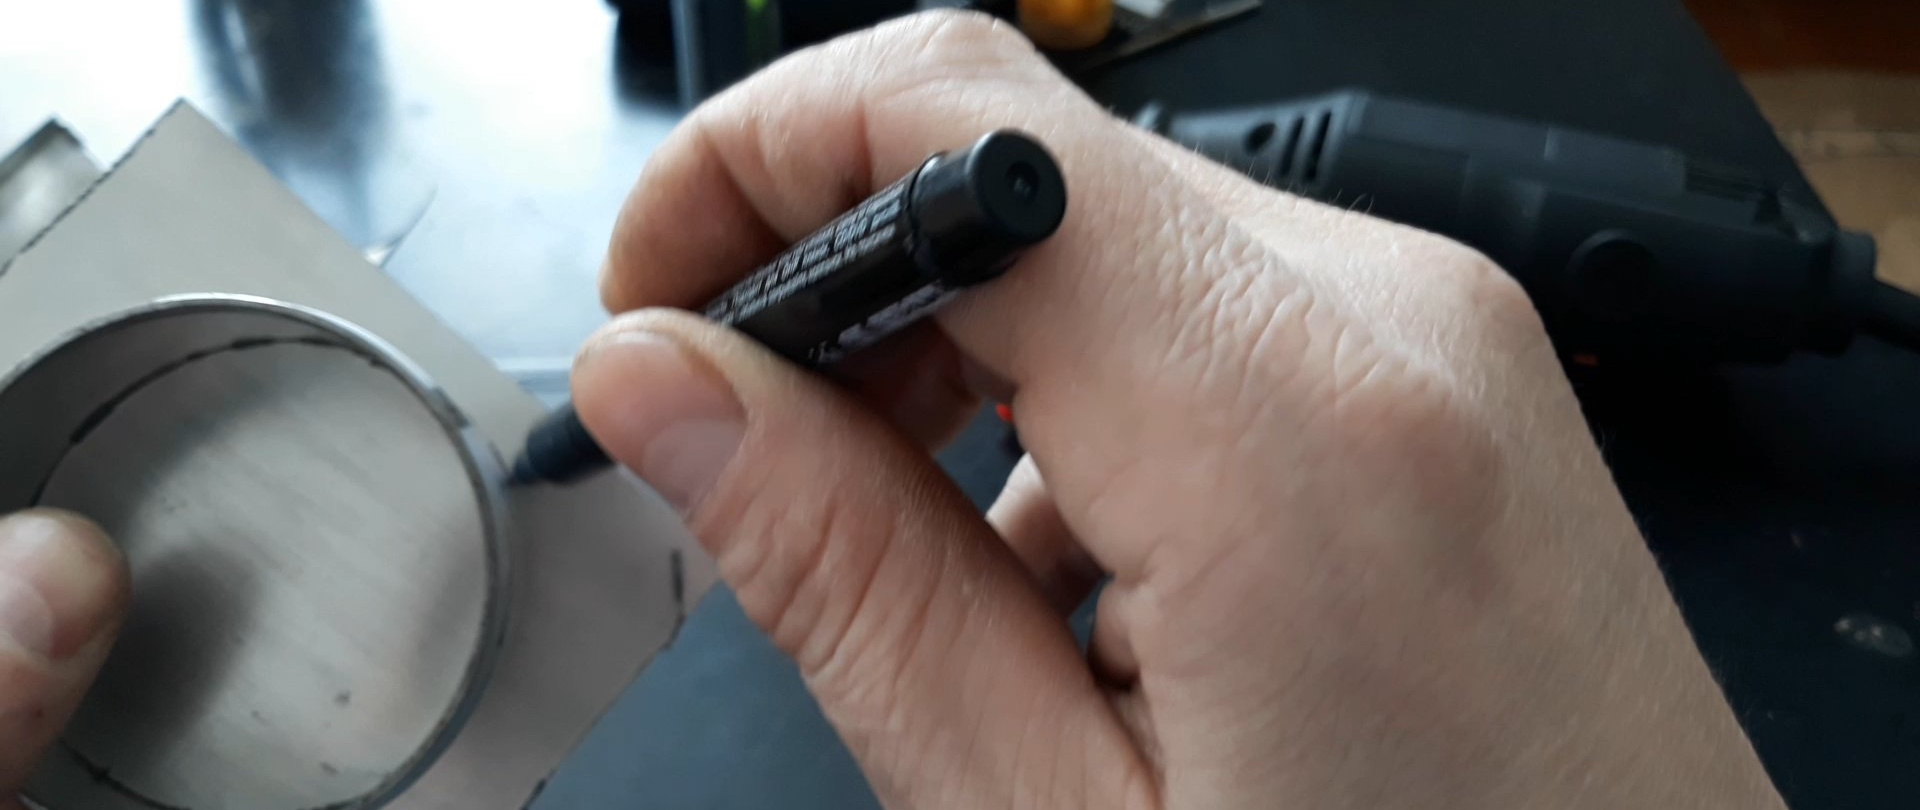
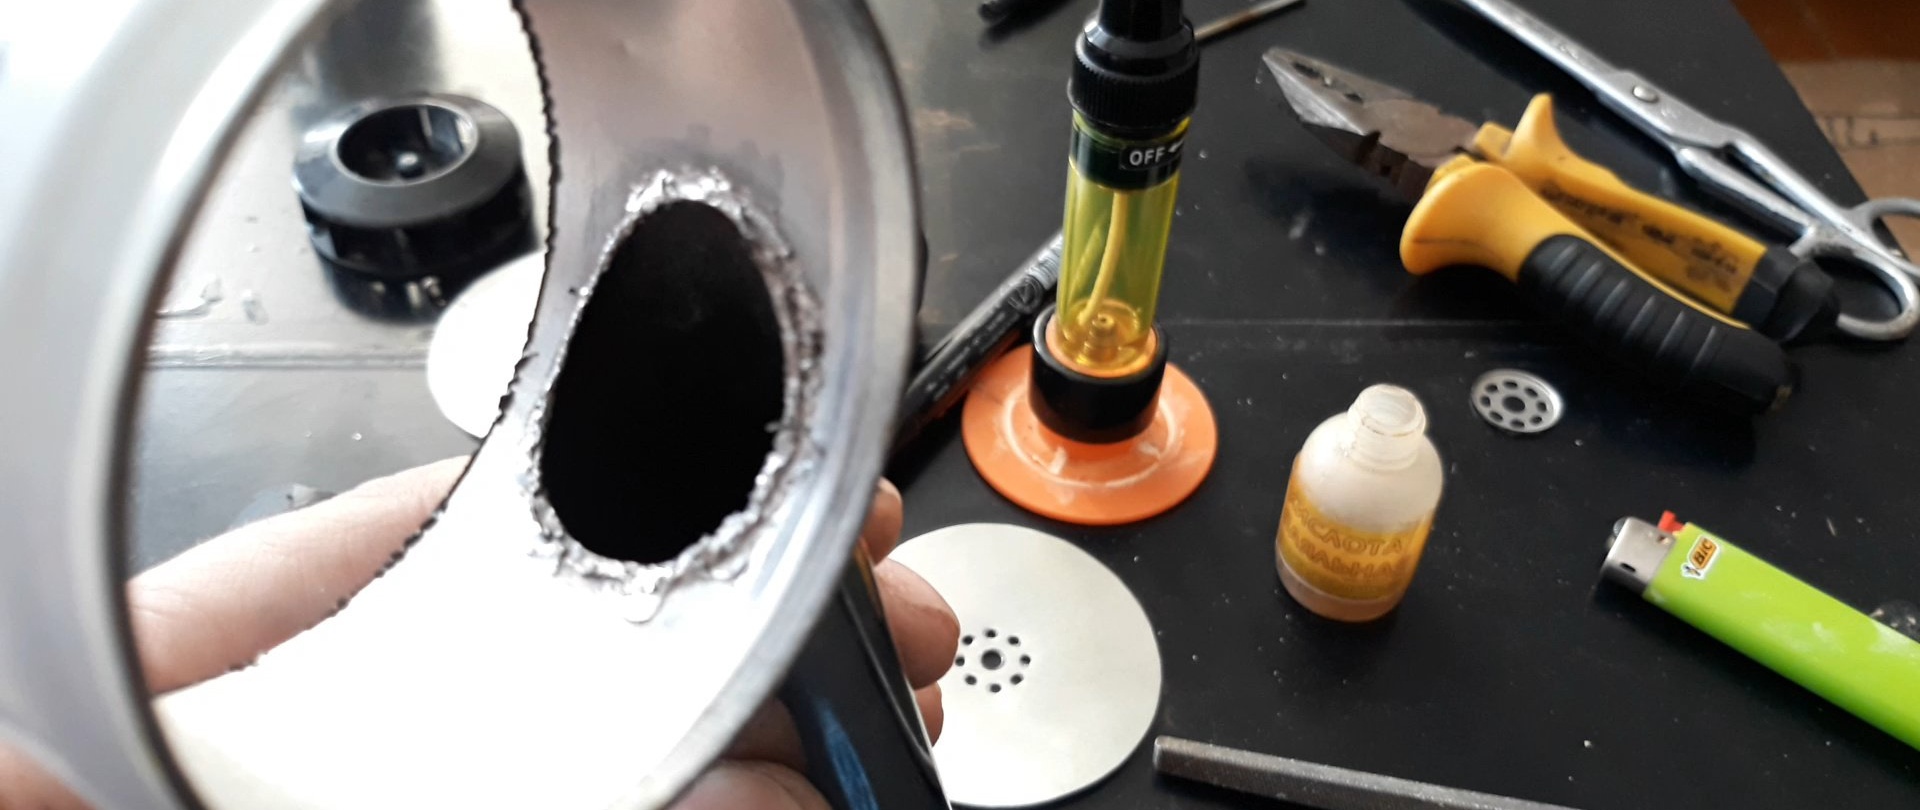
First you need to prepare and calculate the parameters of the tin can body. To do this, you need to estimate the approximate thickness of the future air intake drum. Our thickness will come from the thickest part, namely the outlet pipe.

At the same time, do not forget about the reserve. 5 millimeters on both sides will be enough. Draw a cutting line with a marker and cut off the intended piece.

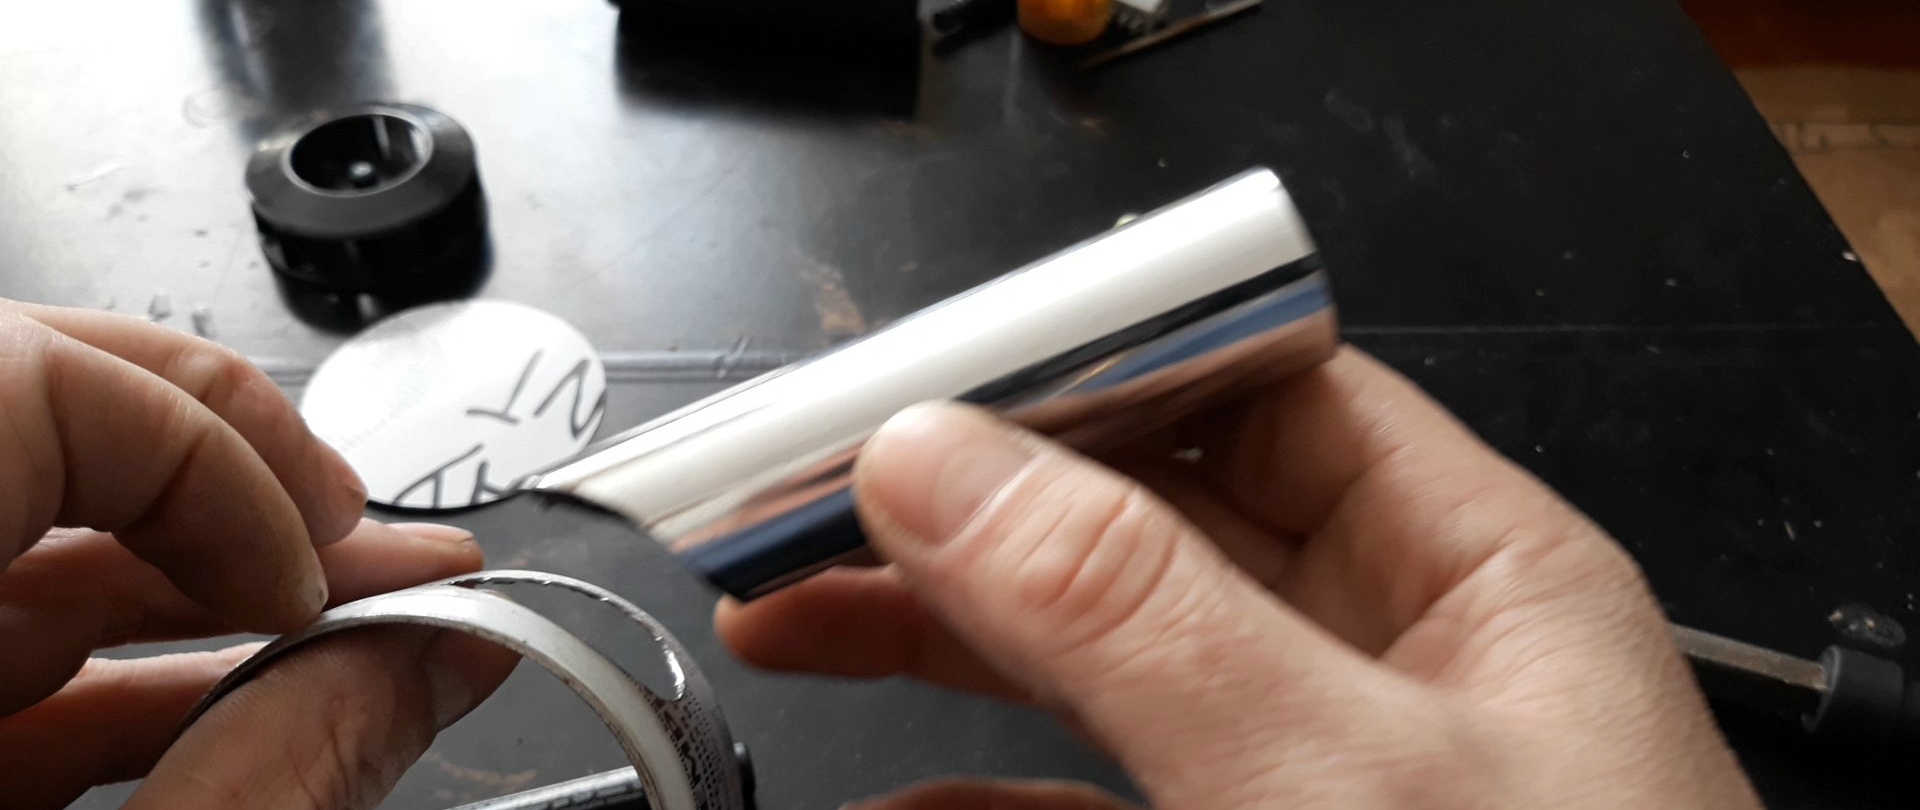
You should not throw away the remains of the tin can - they will go to the ends of the drum. We cut off a piece of tin from the can that completely covers the end of the drum, attach the end, outline it with a marker, and cut out the round piece.

Next, we cut out a recess on the pipe that corresponds to the convexity of the side of the drum, and on the side of the drum there is a hole into which the fitted pipe will fit. Like this:
Now, on one of the end plates, we drill three holes for the engine; one large one, for the neck with the shaft, and two smaller ones on the sides, for the bolts securing it to the engine.

Let's try the engine on the plate:


Next, let's try on the engine.If it turns out to be small for the caliber of the pipe, then you can make it thicker by winding electrical tape.

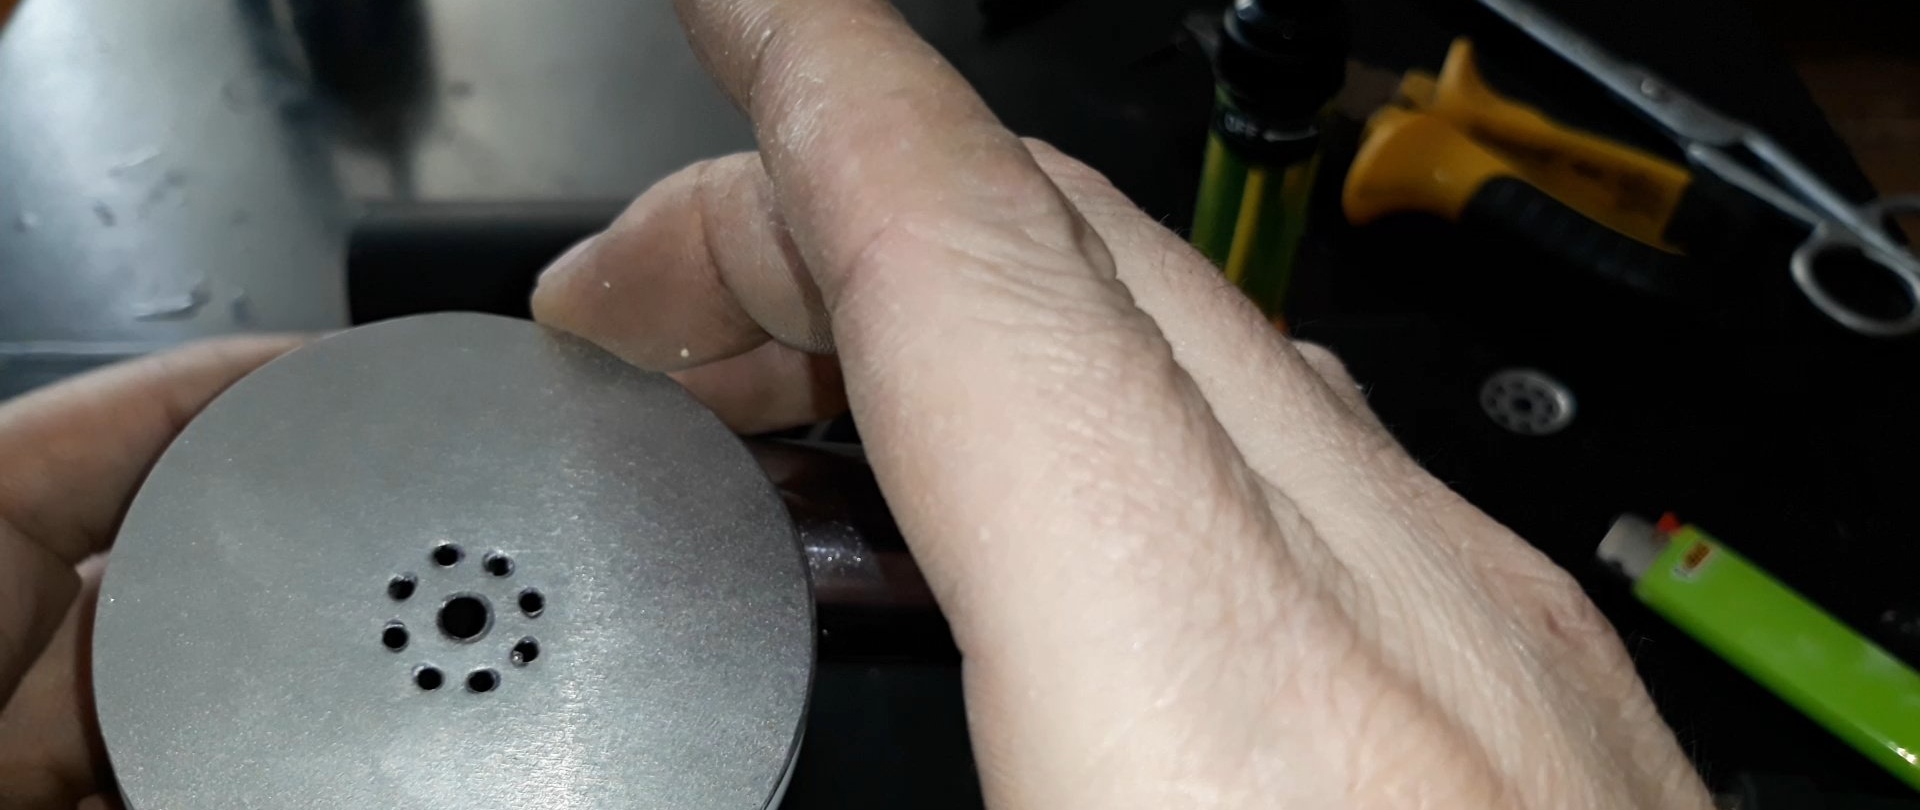
Now we cut out a hole for air intake on the second end plate.

Here I slightly miscalculated the strength and speed of the engine, and made the holes too small. I then had to cut one large hole in the center.

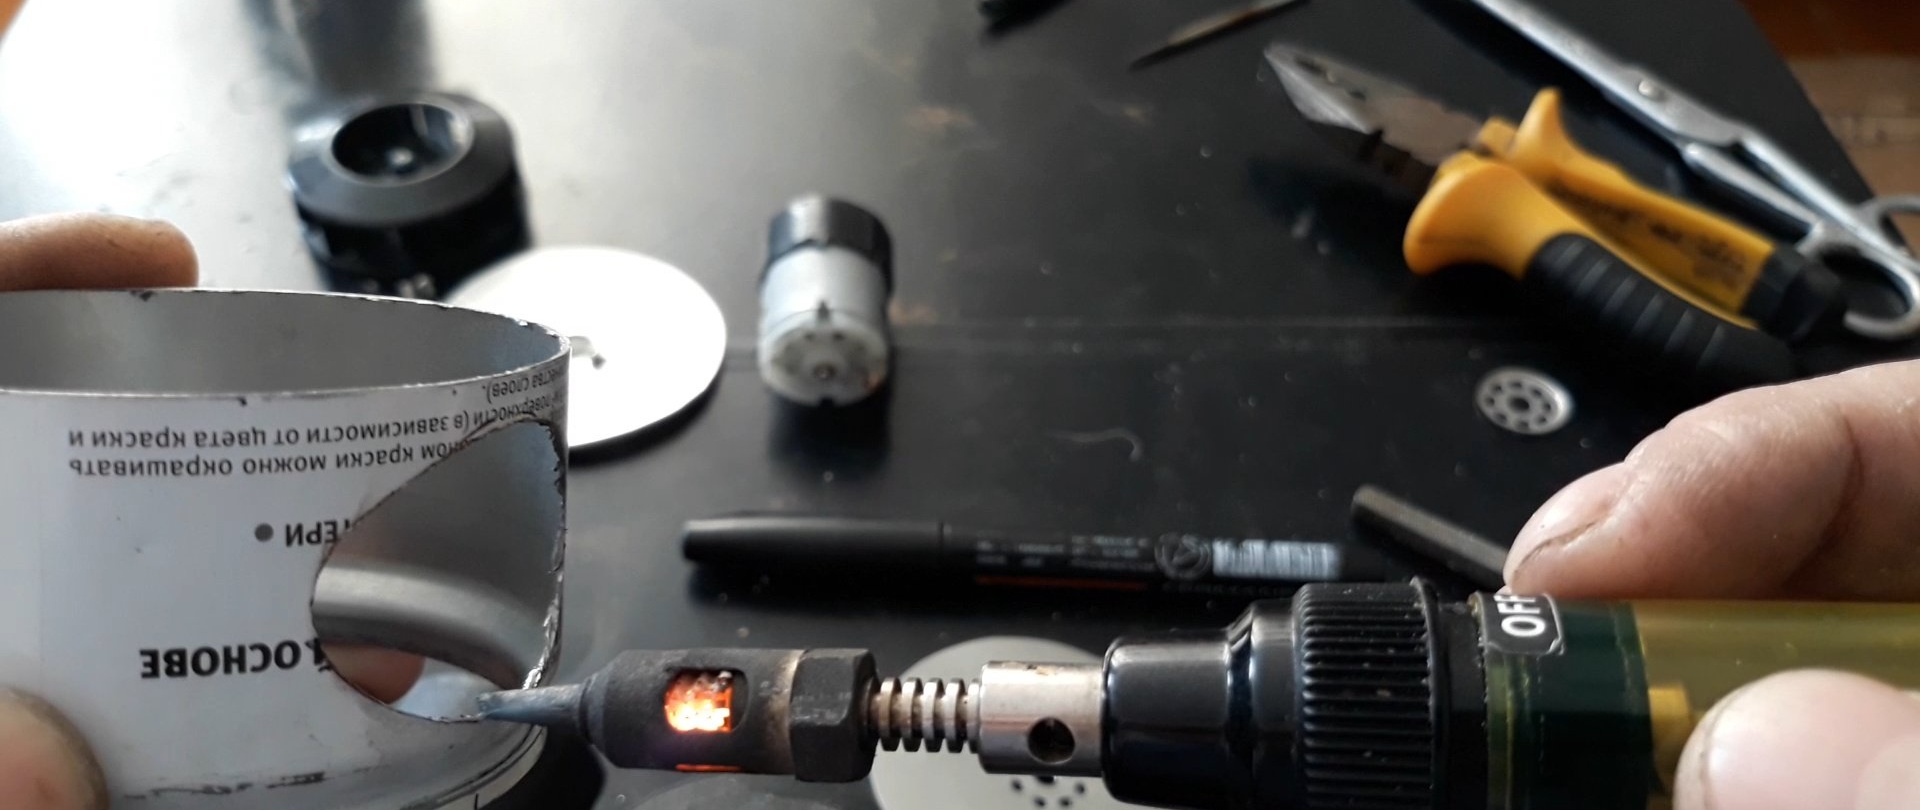
If your engine has high speeds, then the holes can be cut like I did at first - patterned. It's more beautiful this way. This is enough for a high-revving engine. Now comes the fun part; soldering all the parts! The tin, due to its minimal thickness, is soldered easily and quickly, without preheating. Not soldering, but pure pleasure! Using flux and solder, we tin the sections on the metal. We solder the pipe for air outlet.
In the same way, we solder the lower end plate on which the engine will be mounted. We fasten the engine.
We put the propeller on the shaft.

Solder the top end plate with holes.
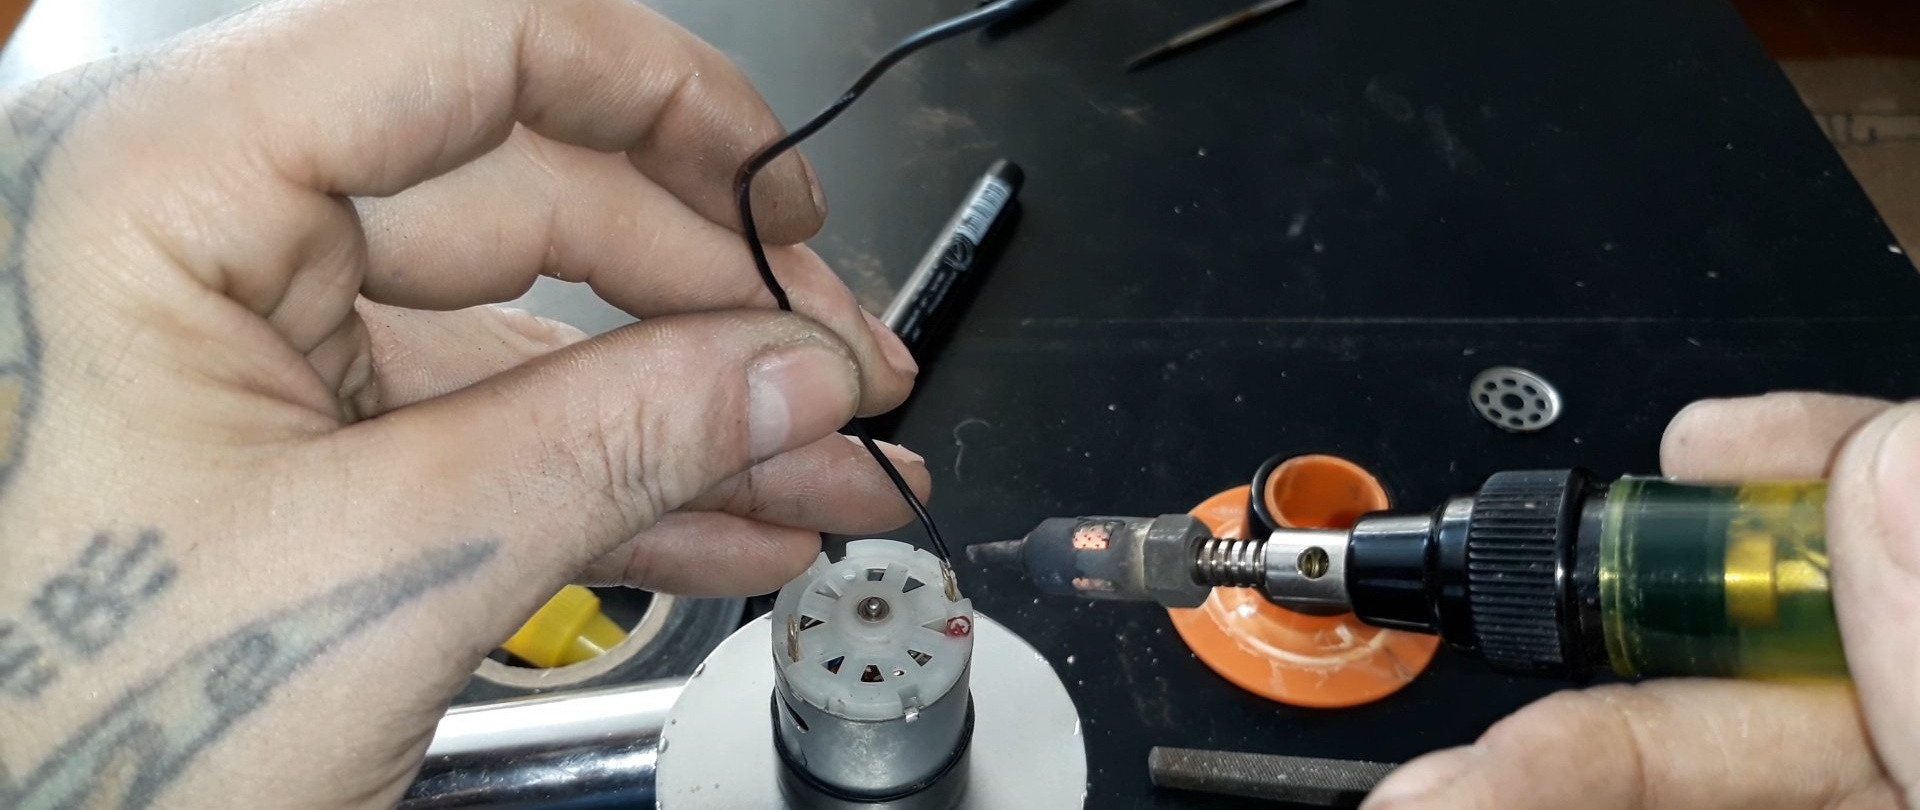
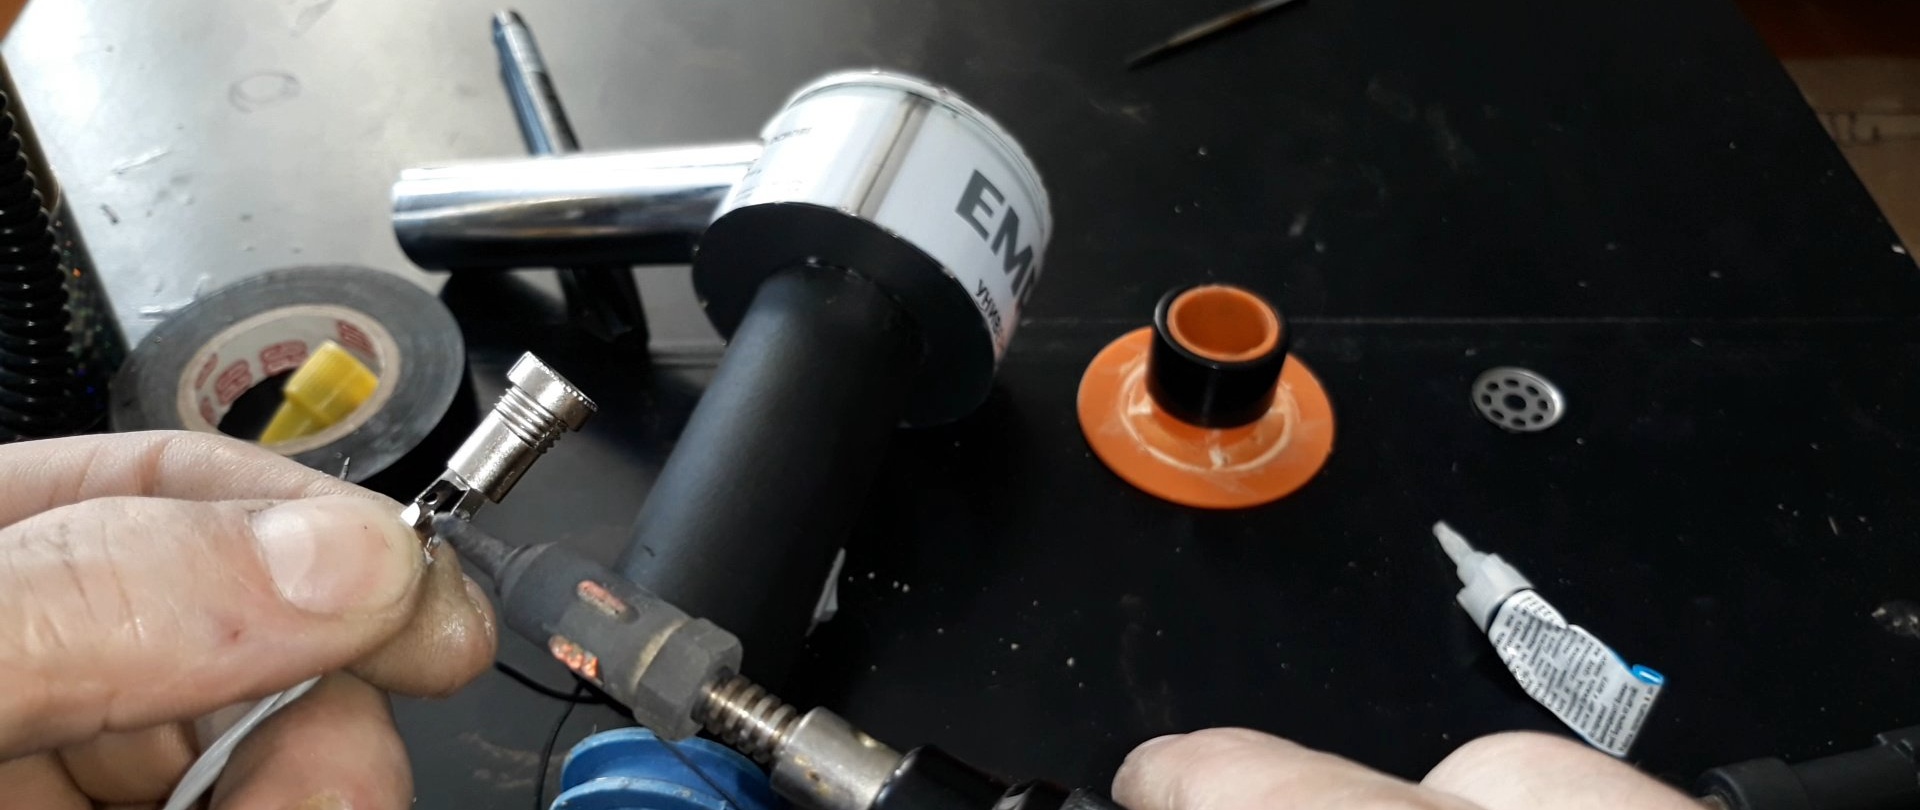
Next, solder the wires to the switch.

Install the switch into the housing. Now, we solder one wire from the switch to one of the contacts of the engine, and one free long wire to the second contact of the engine.
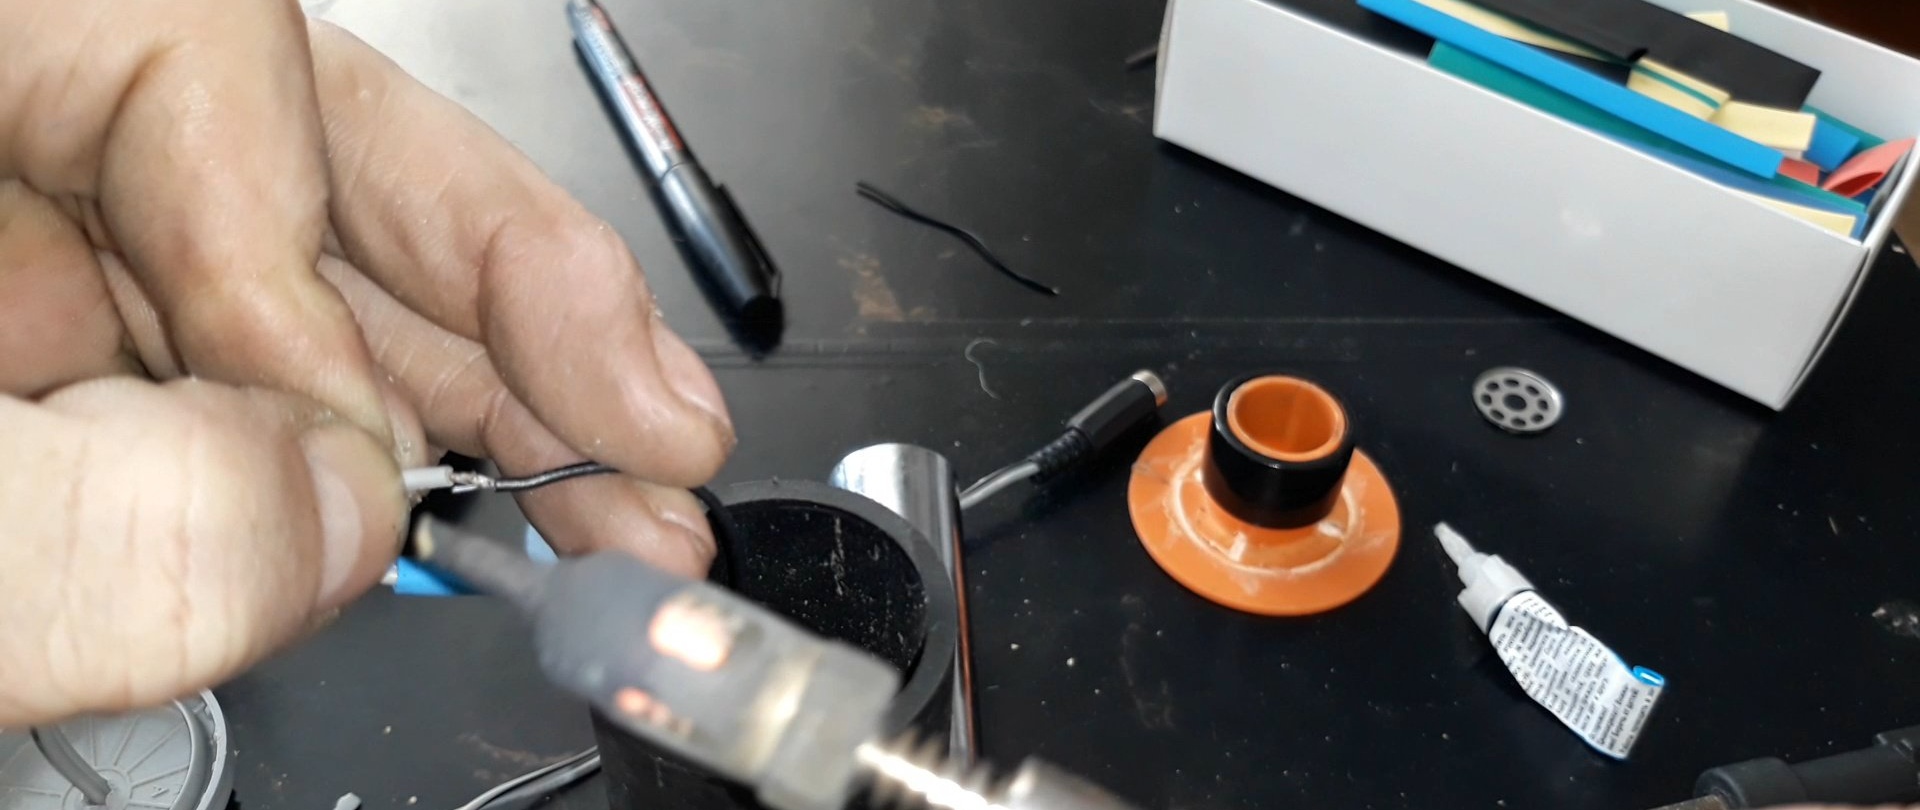
We remove the wires from the bottom of the handle, and attach the handle to the engine and drum with second glue.

We carefully ensure that the glue does not get inside the engine! Here it is better to use thick, gel-based instant glue. All that remains is to solder the socket for the power supply plug. Solder the socket to a two-core piece of wire.
Cut a hole in the handle cover.

We put a cover on the cable and solder the cable to the output contacts.
We monitor the polarity so that the propeller rotates in the right direction! Glue the lid to the handle.


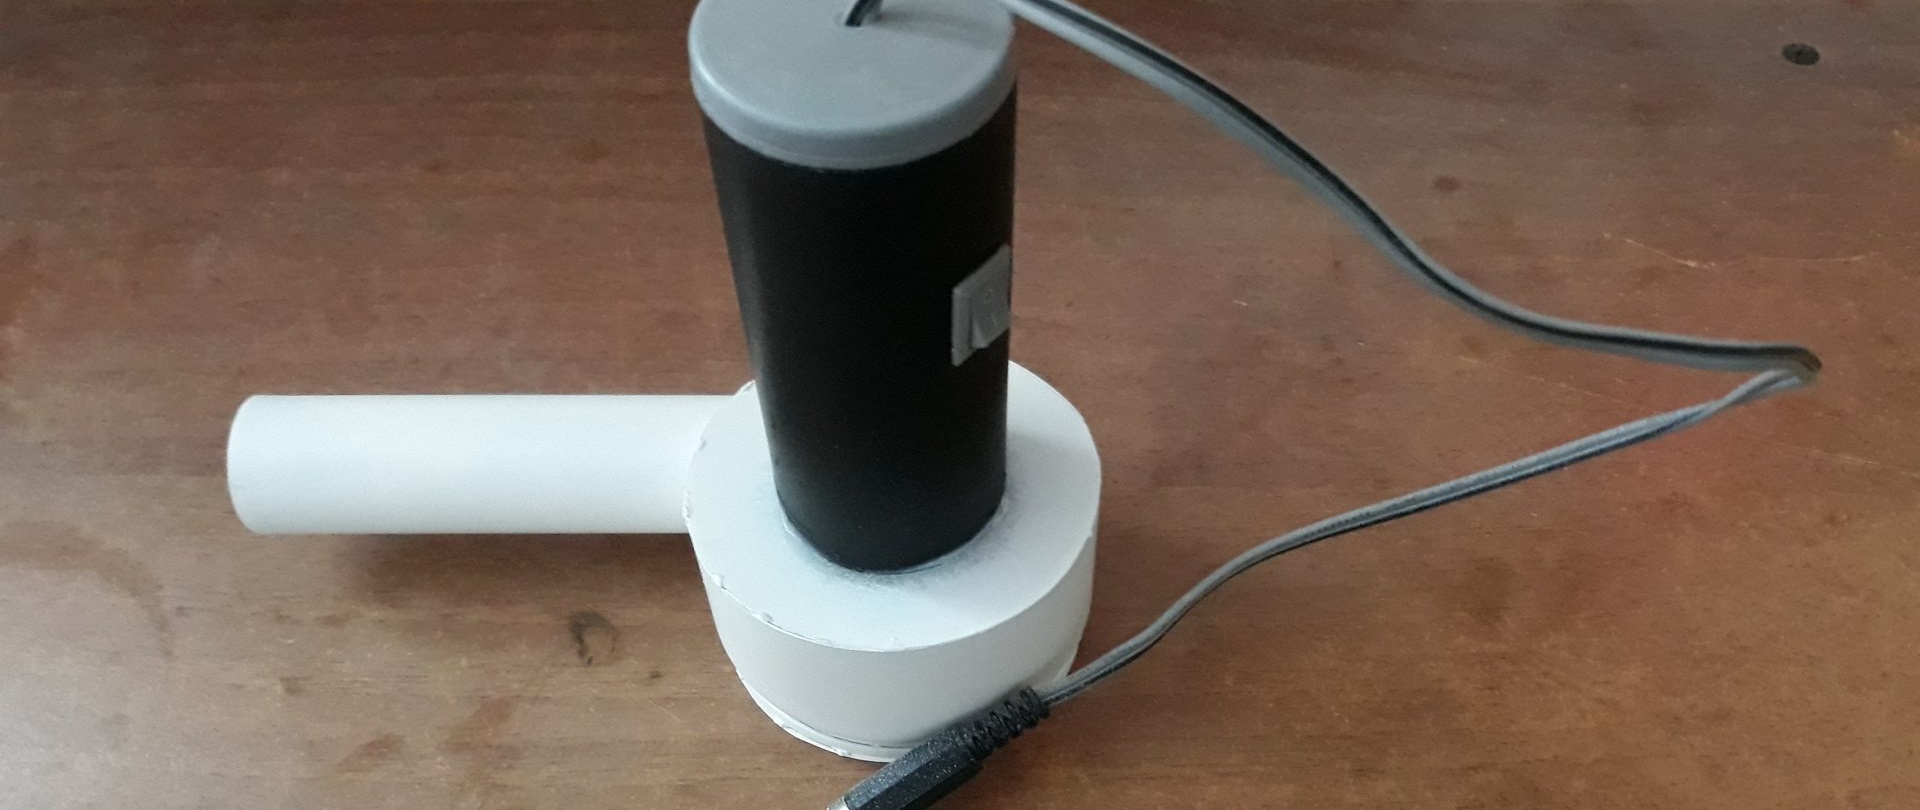
As a cover or plug for the handle, you can use any round piece of suitable diameter. All that remains is to bring the finished product into decent appearance. We cover all the existing holes on the drum, wrap the handle with some kind of protection, and paint the drum.

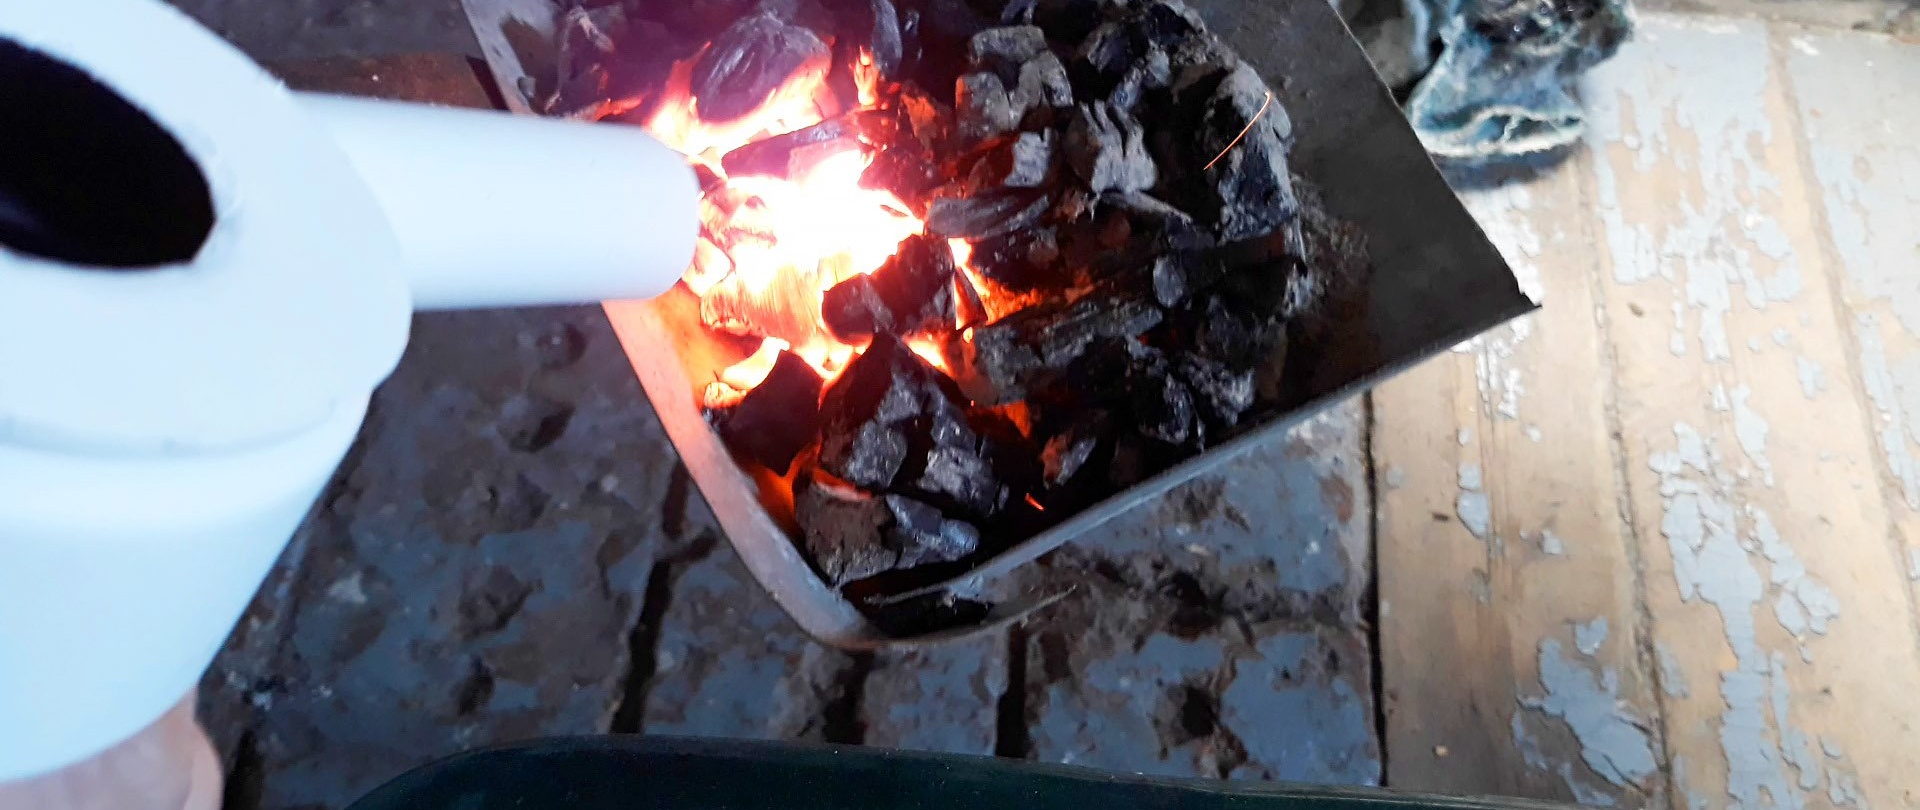
All that's left to do is try it out. Everything works great!

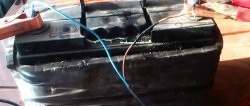
You can, of course, make the inflator more powerful. For example, if you install a twelve-volt motor in it, from a screwdriver. This can also be connected to a car battery. But I think there is no need for such power - it will raise a bunch of ash, which will settle on the food. I took a nine-volt motor from a broken toy. This is quite enough. The power supply is also homemade, made from three 18650 batteries and a protective charging module.
And one more point - why I used tin and not plastic, which is easier to work with. Not every plastic can withstand the temperatures that come from burning coals. And for me personally, working with soldering is much more pleasant than working with plastic and glue.