You can also watch the full video at the end of the article where you can find more details on how I made this lamp.

So let's get started!
Materials you will need:
- Wooden blocks - buy from a local store or sawmill.
- Acrylic glass can be purchased at your local hardware store.
- RGB LED strip with controller - Aliexpress.
- Epoxy resin.
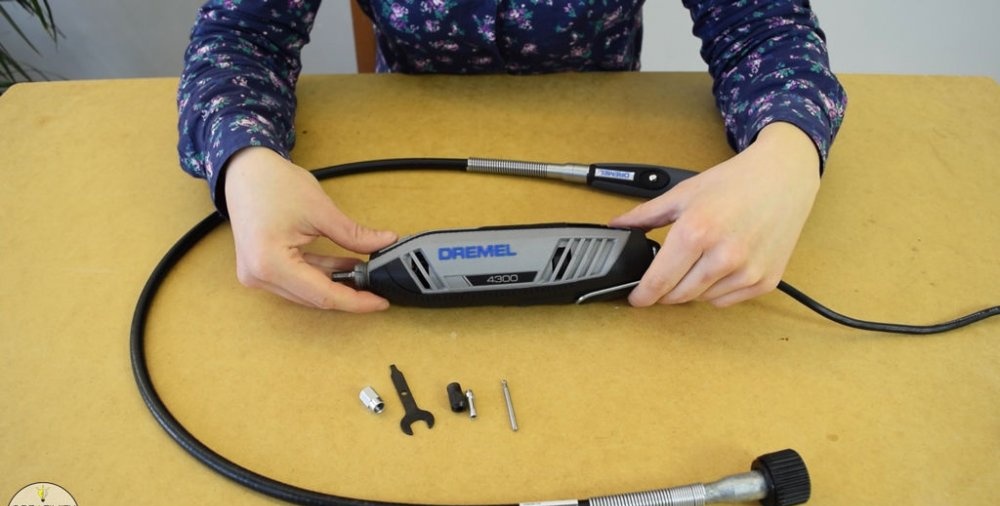
Tools:
- High performance rotary dremel.
- Cordless drill.
- Soldering iron.
- Stripper.
- Jigsaw.
- Metal ruler.
- Scissors.
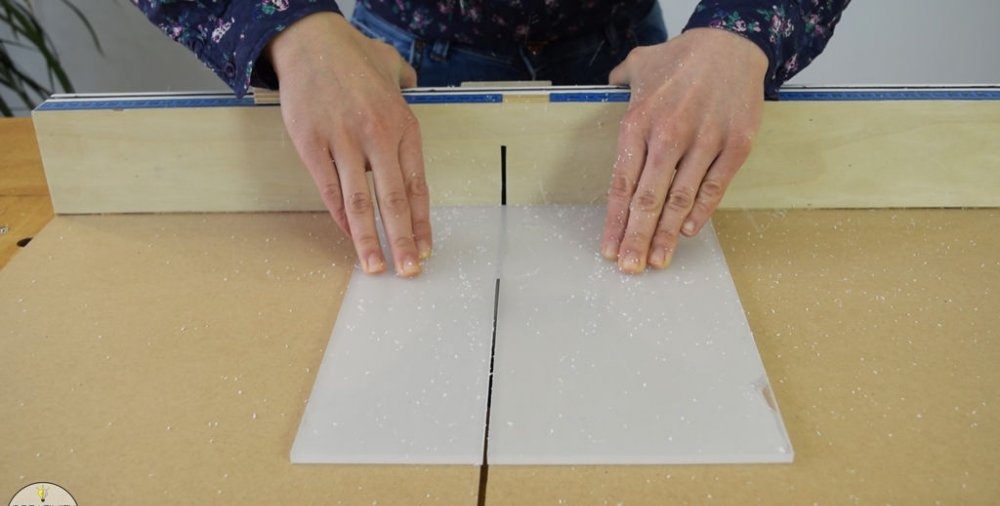
Cutting wood and acrylic glass to size
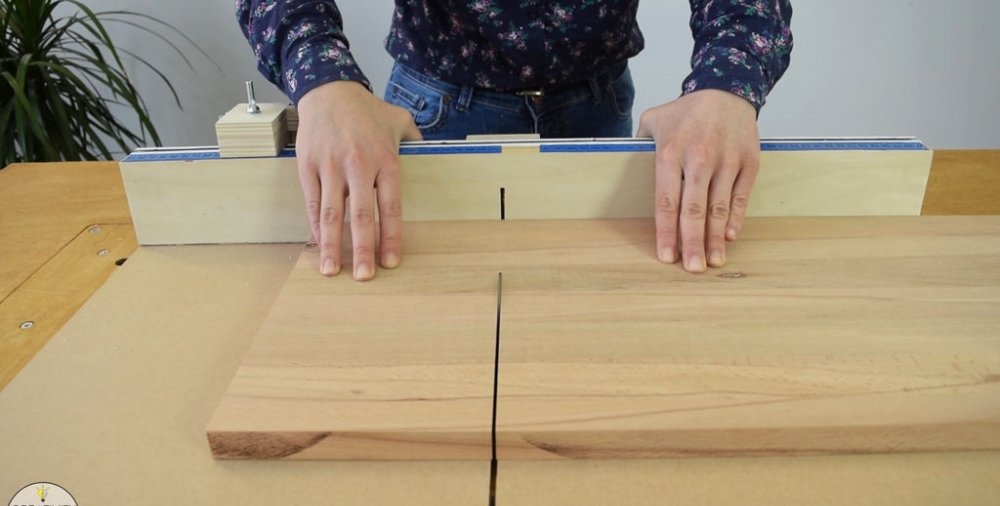
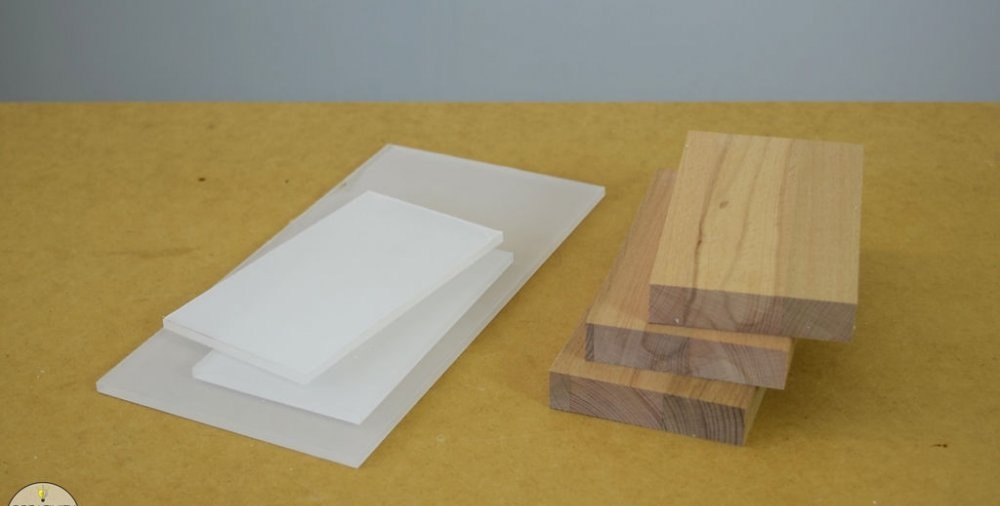
For this project I decided to use solid wood. I had a small piece, 20mm thick, in my workshop that is perfect for this purpose.
The acrylic I used was 5mm thick and I think it's a perfect combination with the wood.
The base of the lamp is 16 by 9 cm.
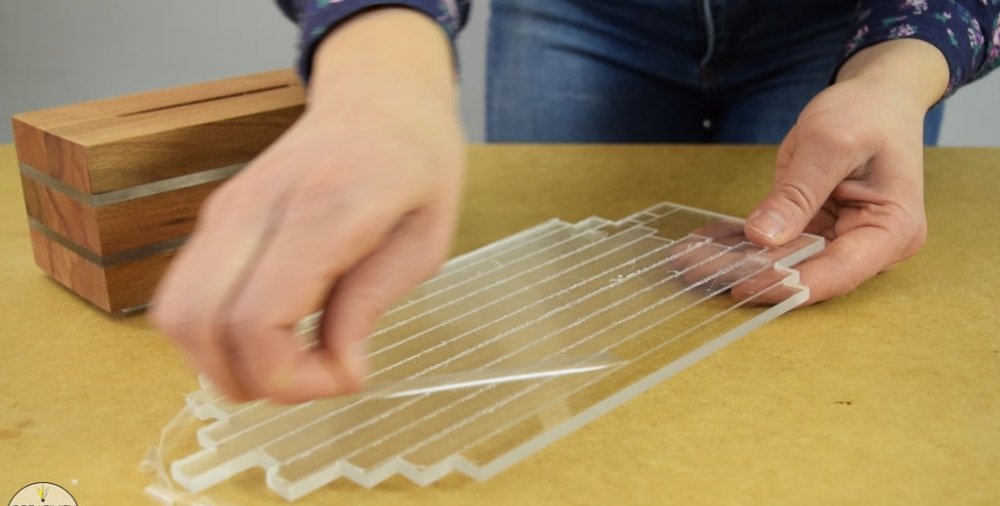
The top figure, placed vertically on an acrylic base, measures 28 by 14 cm
My experience cutting acrylic has shown me that if you move the cross slide slowly, the acrylic will melt, so you need to move it faster to get clean cuts.
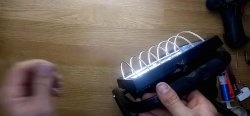
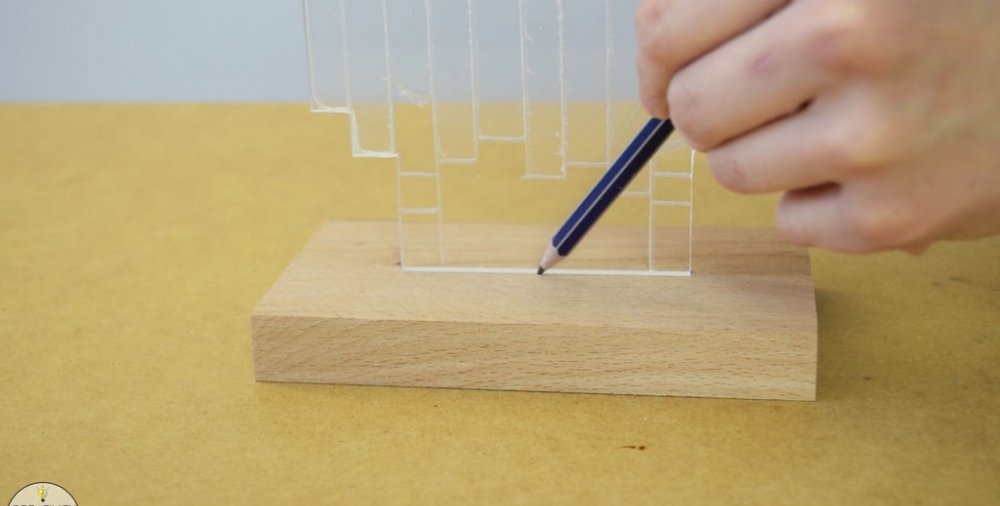
Design drawing of the upper part of the LED lamp
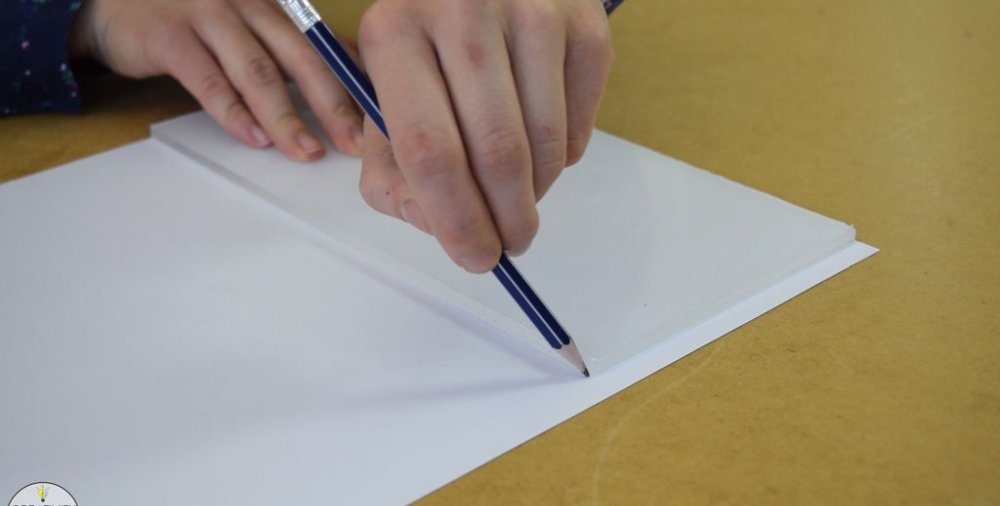
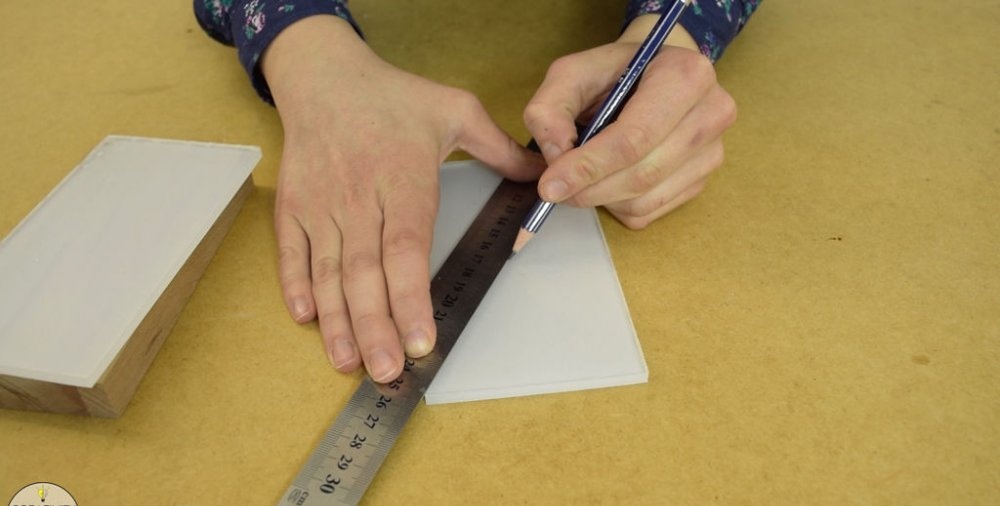
Now I need to design the top of this lamp. I want to make a modern and clean design that will match my room.
I outlined it with a pencil and cut out the shape using scissors.
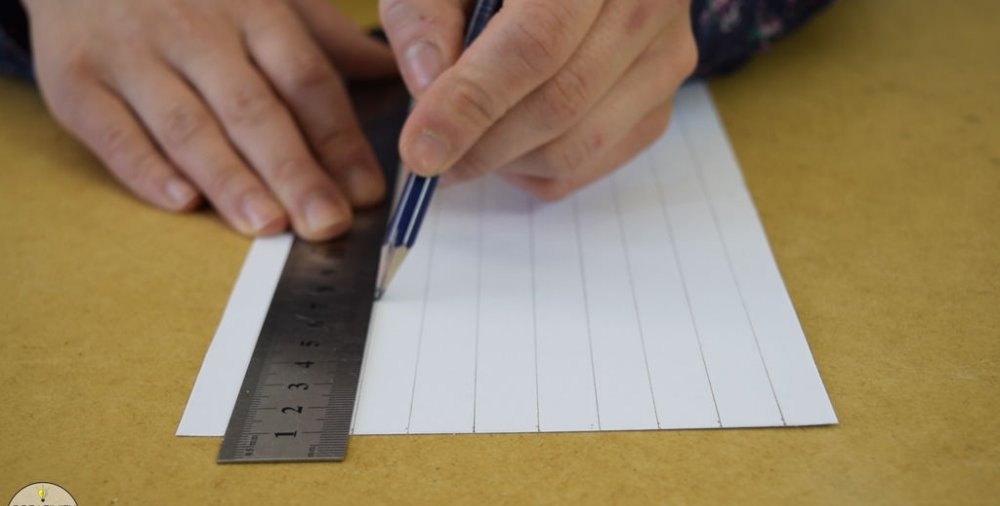
Then I drew some lines using a ruler. The pattern consists of strips of the same width but different lengths.
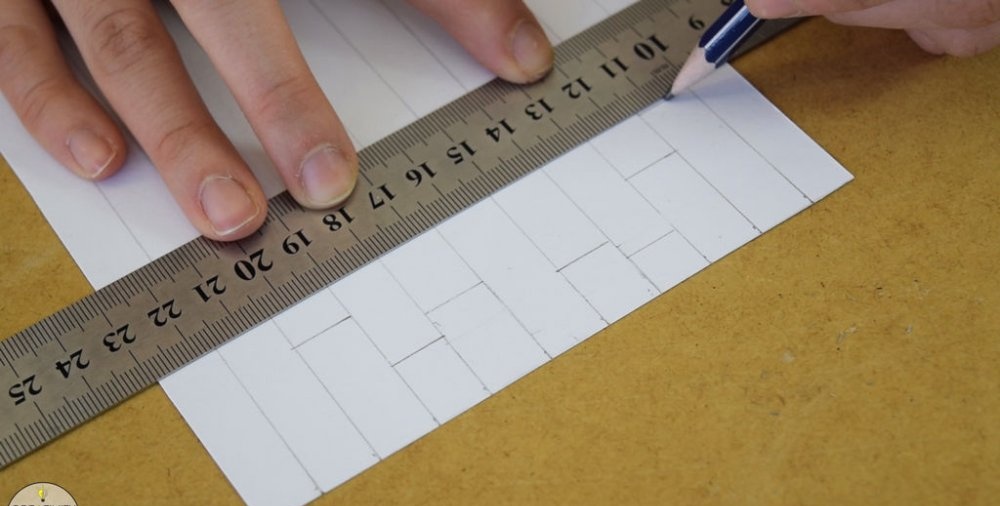
I then made all the cuts and transferred the design onto acrylic.
Engraving the drawing
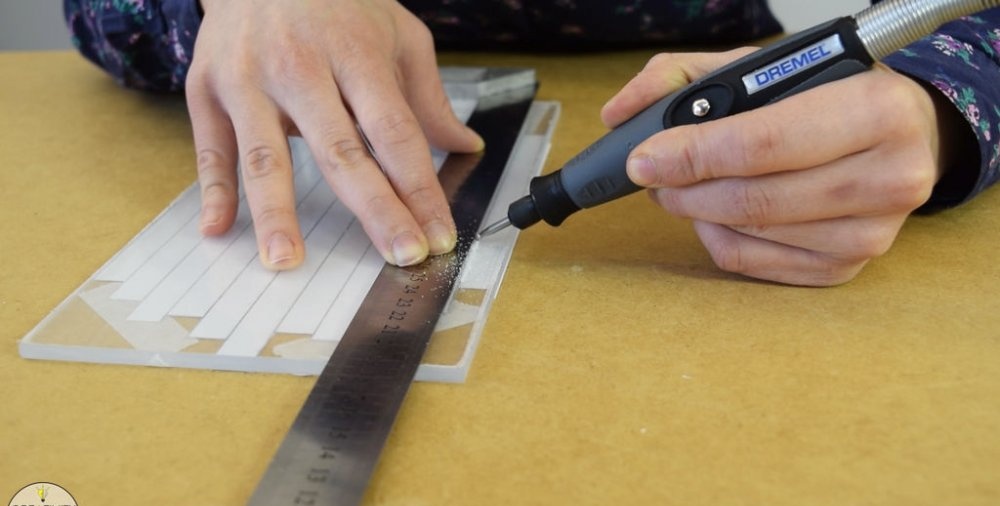
Now it's time to use the engraving tool.
A flexible shaft engraver is an excellent choice for this job.
To make perfectly straight lines I used a metal ruler. I use an engraver to engrave the design onto the glass.
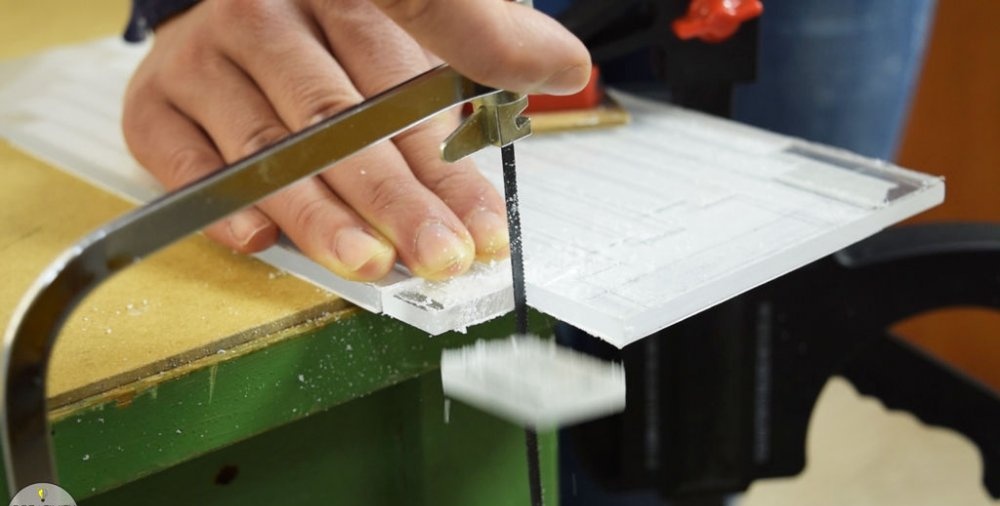
Next, I cut off the unnecessary parts with a jigsaw.
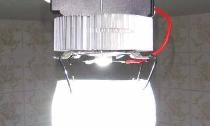
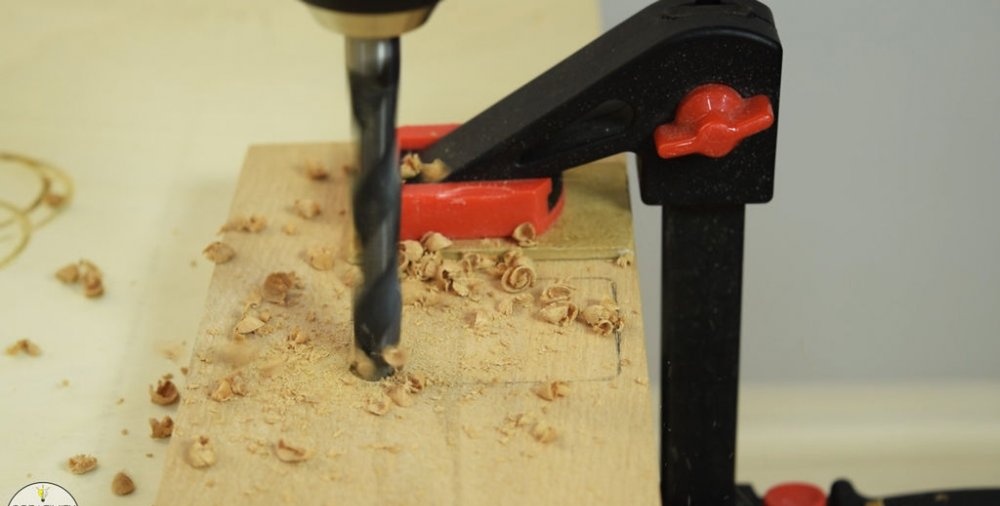
Drilling holes in the middle part of the wood for LEDs
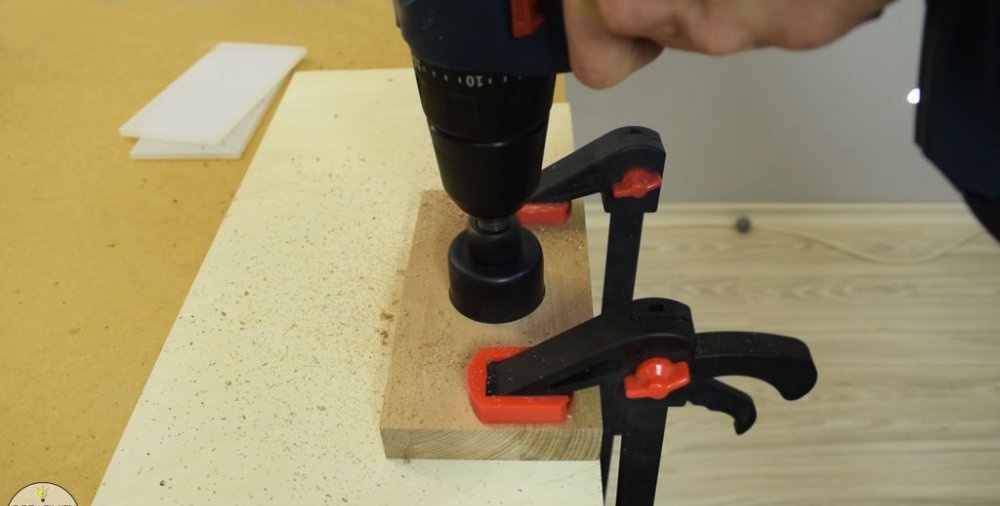
Now I can move on to the base of the lamp.
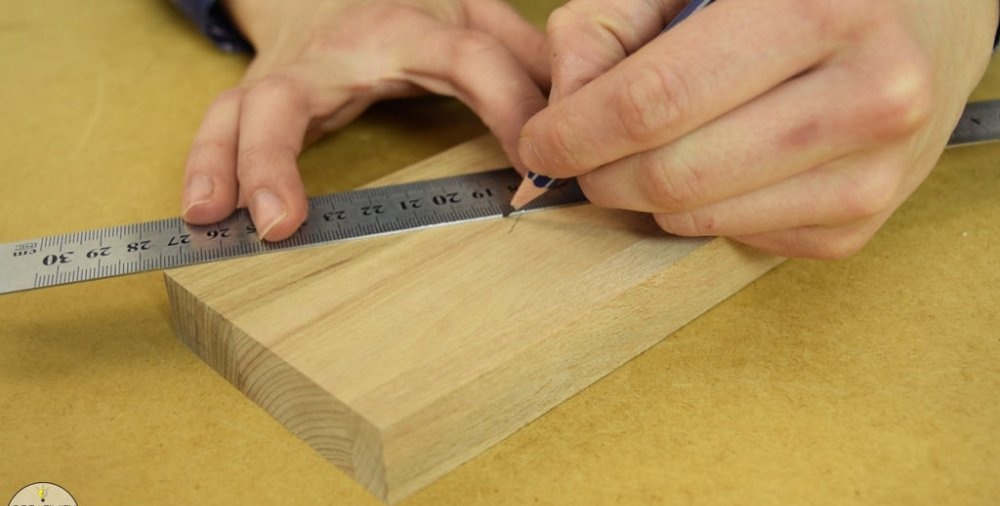
Mark the middle of the wooden block.
I attached a 35mm hole drill to the drill and drilled a hole for LEDs.
Don't damage your table when drilling - support it with a piece of wood.
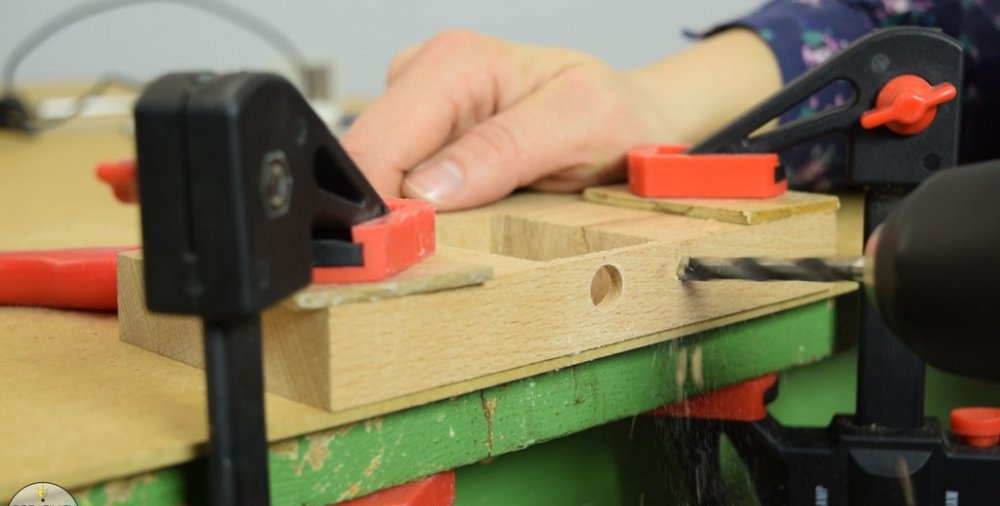
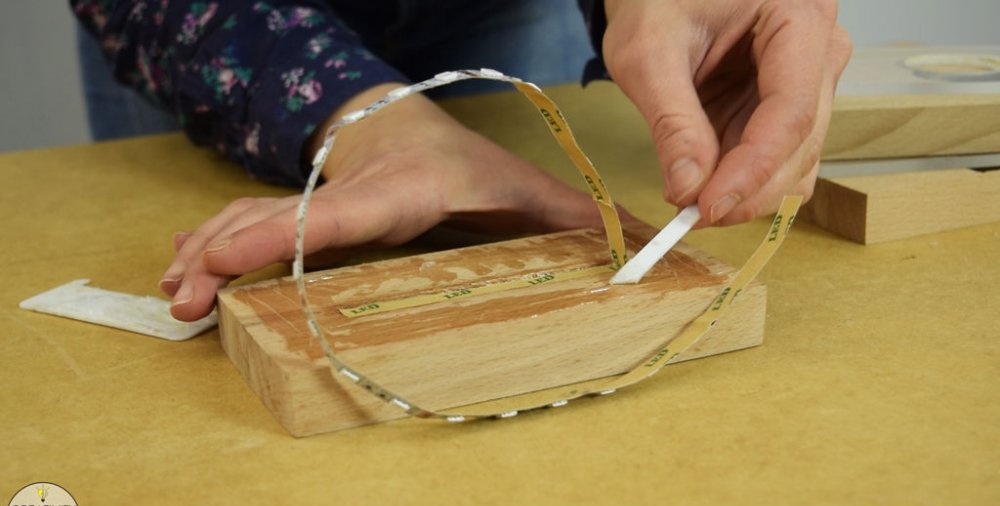
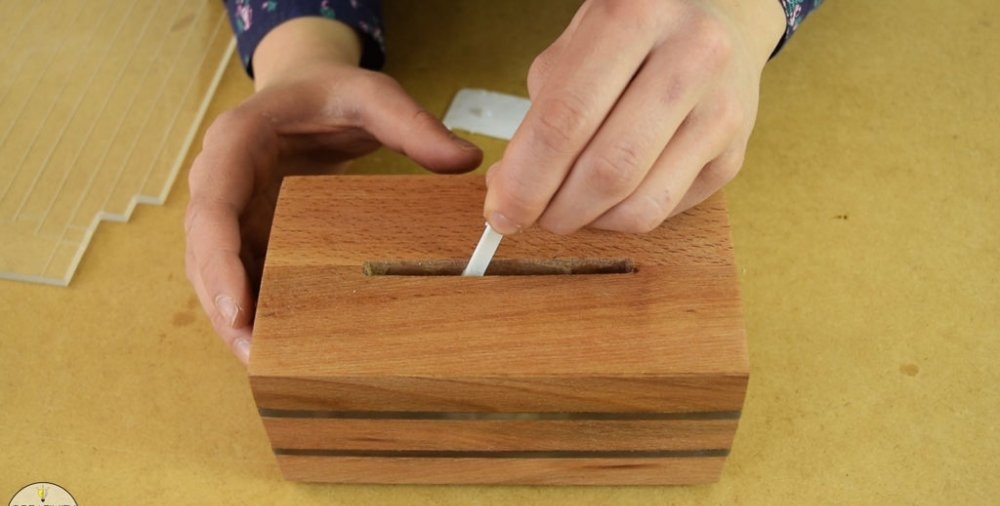
Making a groove on the top of the base
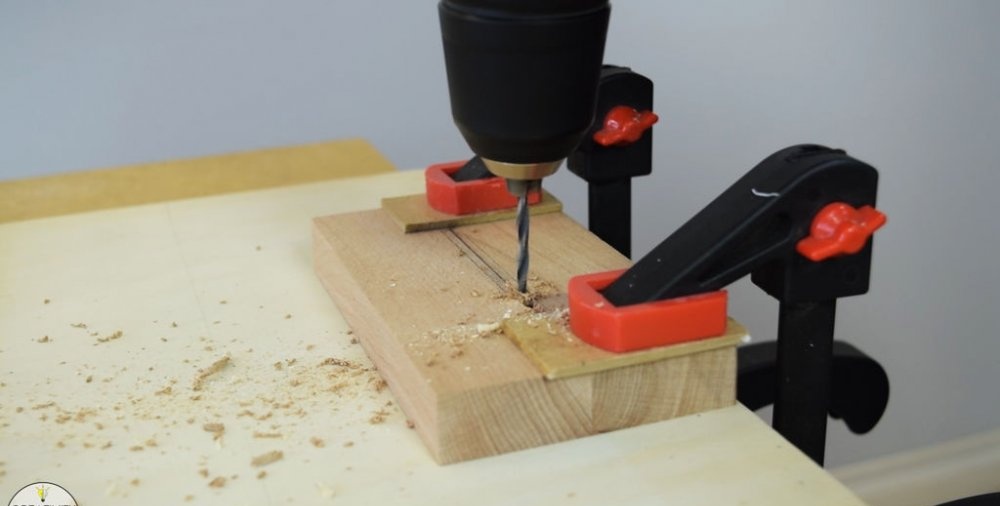
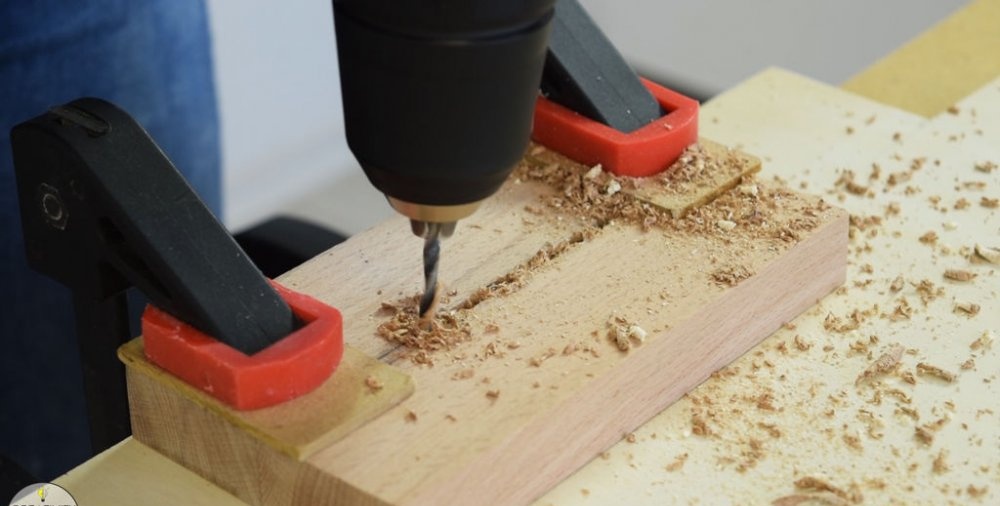
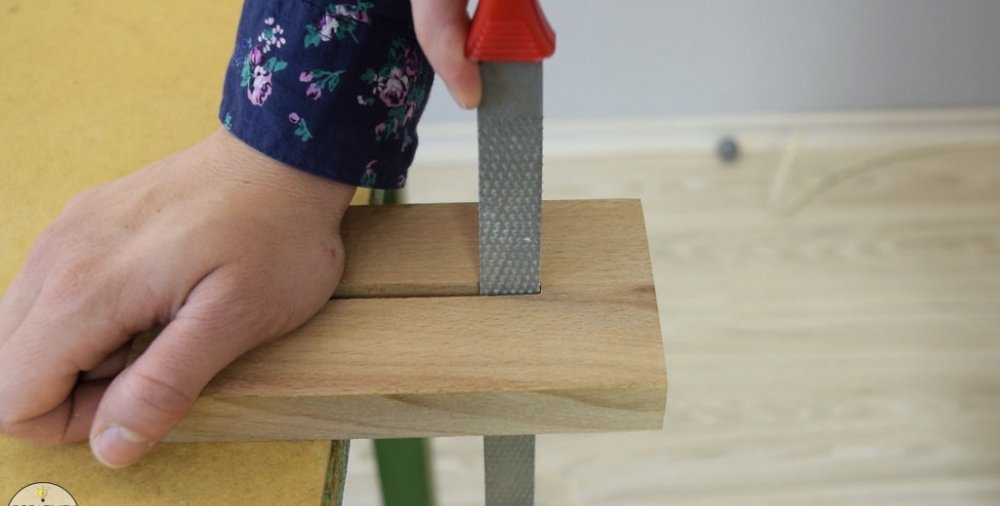
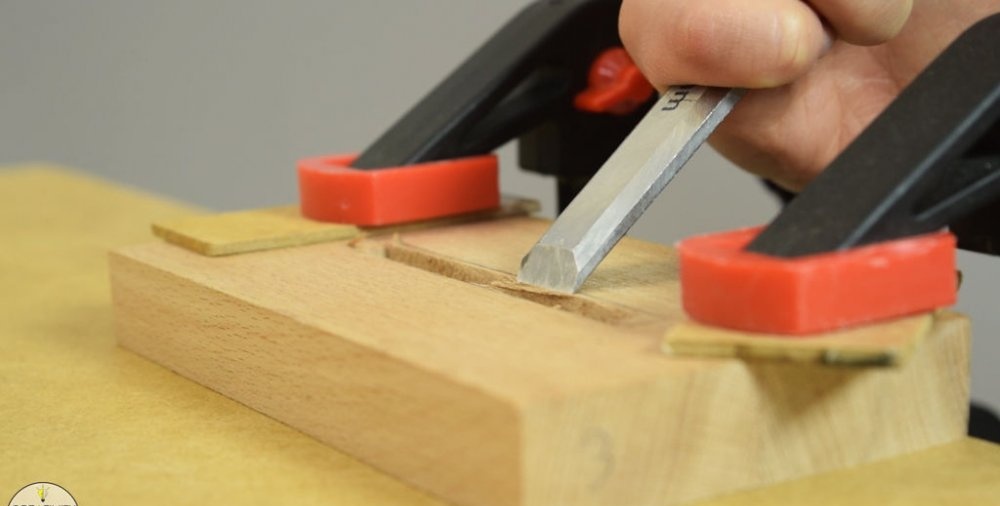
For the engraved acrylic piece, I need to make a groove on the top of the light base. I drew an outline with an acrylic pencil, placing it vertically in the middle.
The best way to make a groove is to drill as many holes as possible inside the outline and then remove the excess with a file.
I'll put it right under the acrylic LEDs, but I need to make more space for them. So, the groove turned out to be 10 mm wide and 4 mm deep.
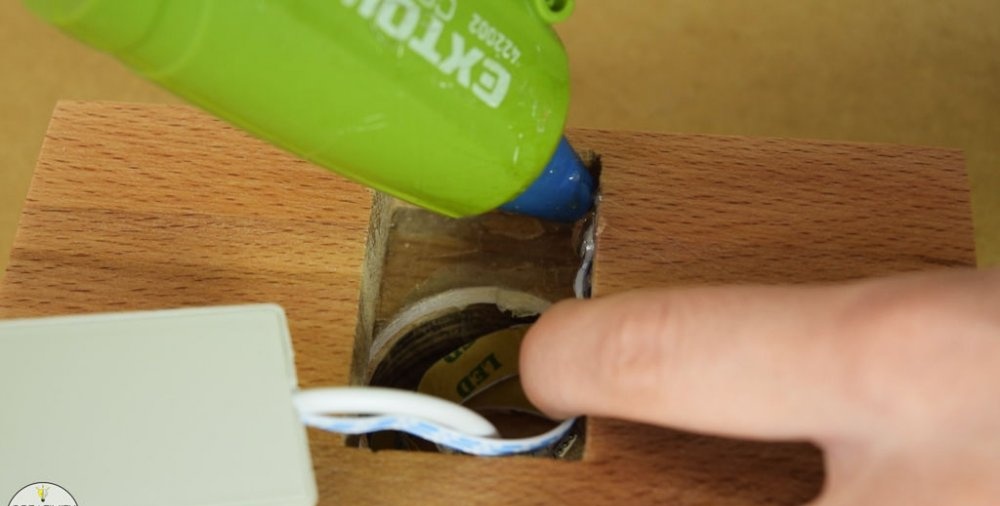
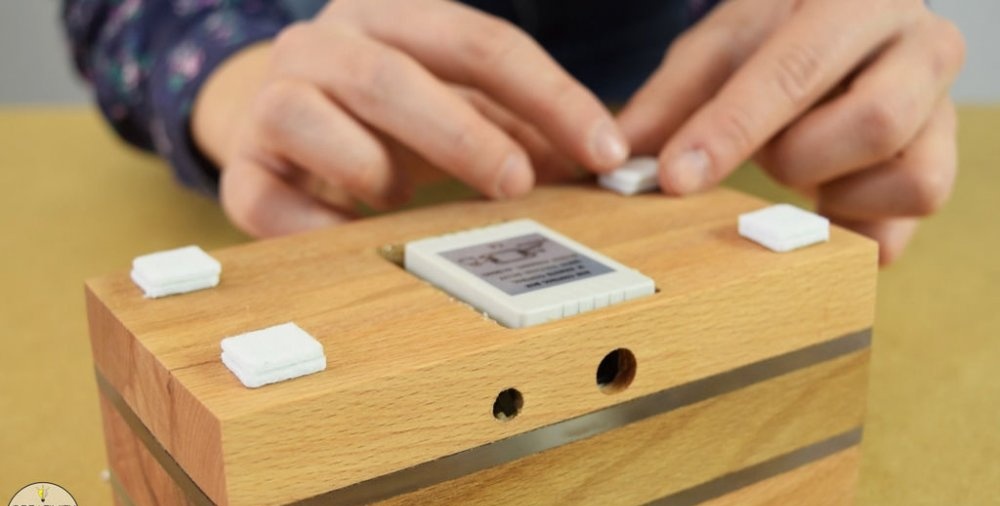
Making a hole in the bottom of the base for the controller
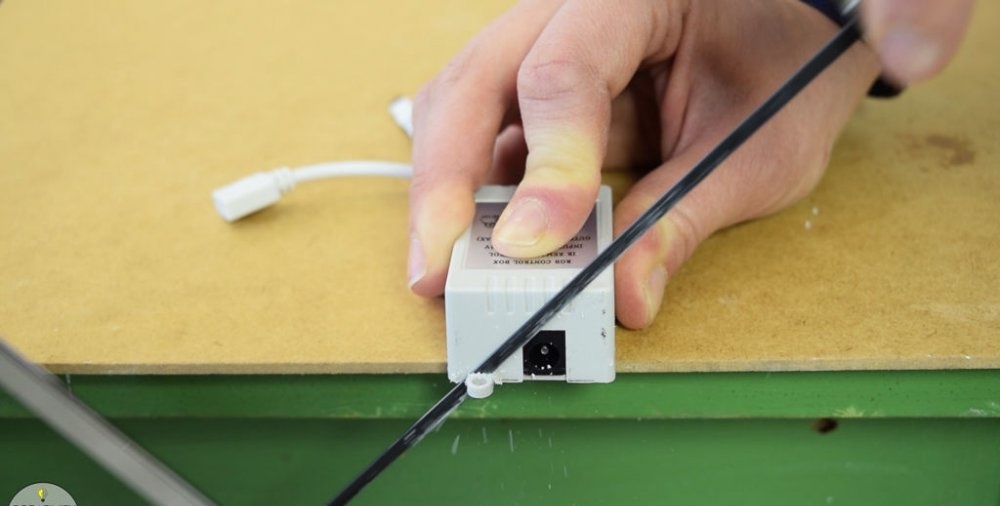
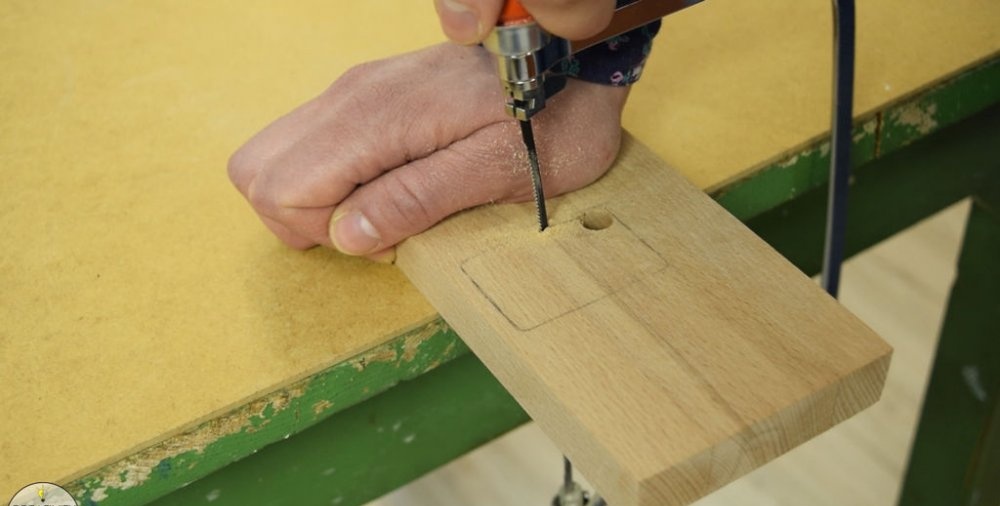
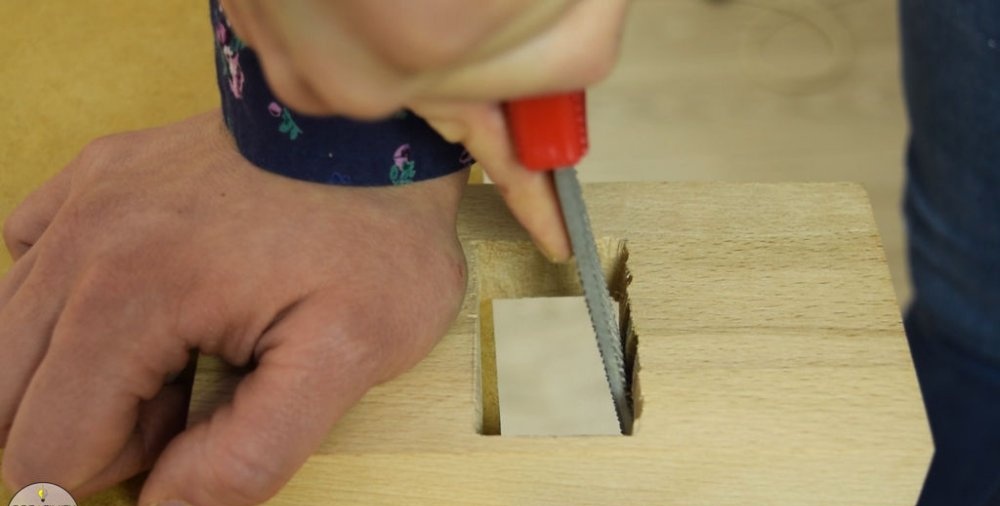
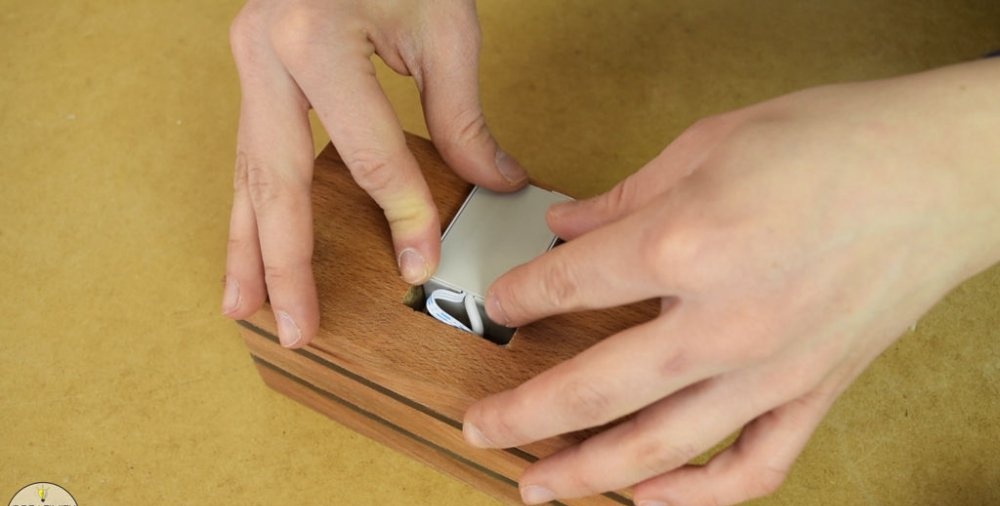
The controller will be placed at the bottom of the base. It's quite large, but I didn't have a smaller one, which means I need to find a way to fit it into the bottom of the tree.
I only use hot glue to secure it.
To make a square window for the controller, I drilled a hole 12 mm in diameter, and then inserted a jigsaw into the hole. I cut out the window and trimmed it with a file.
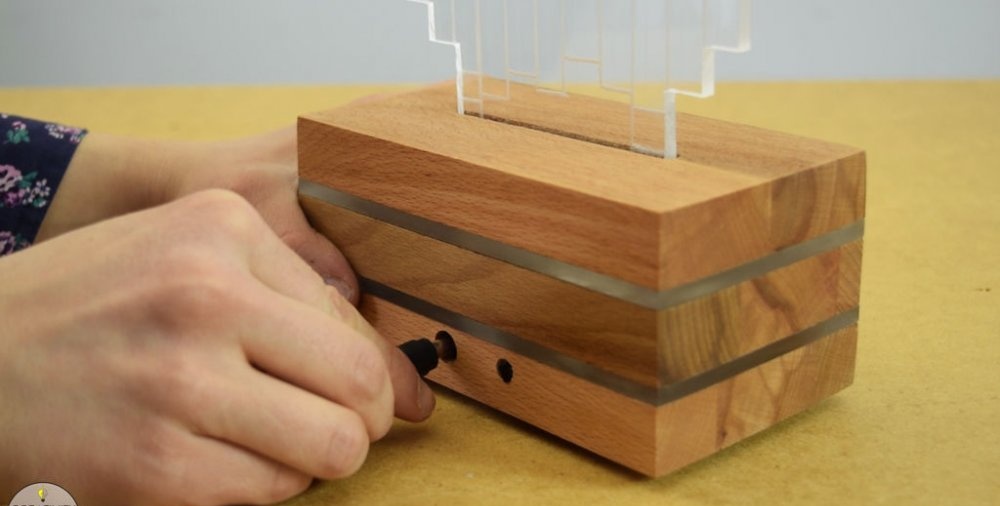
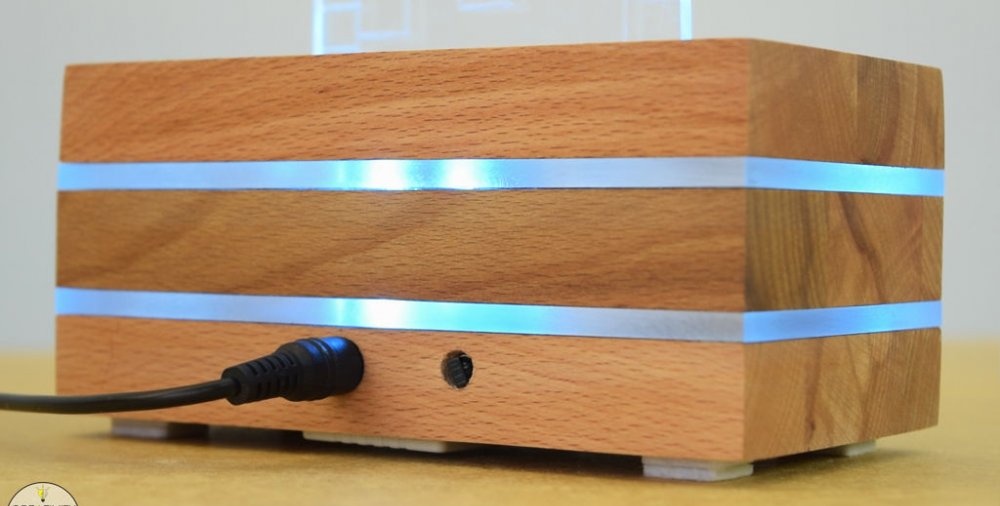
Another thing I need to do is drill 2 holes on the back bottom. These will be the holes for the adapter and the infrared receiver. Since I have a controller with a remote control.
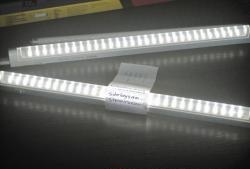
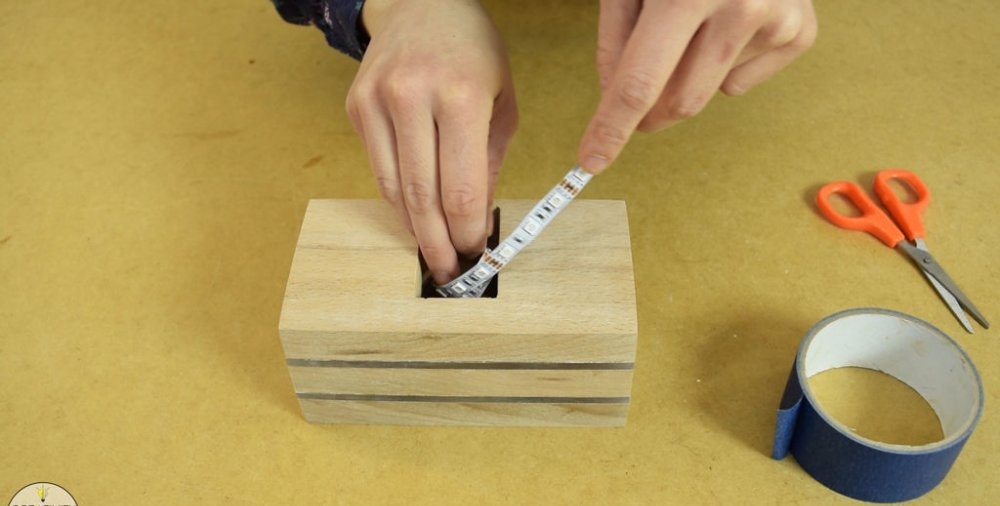
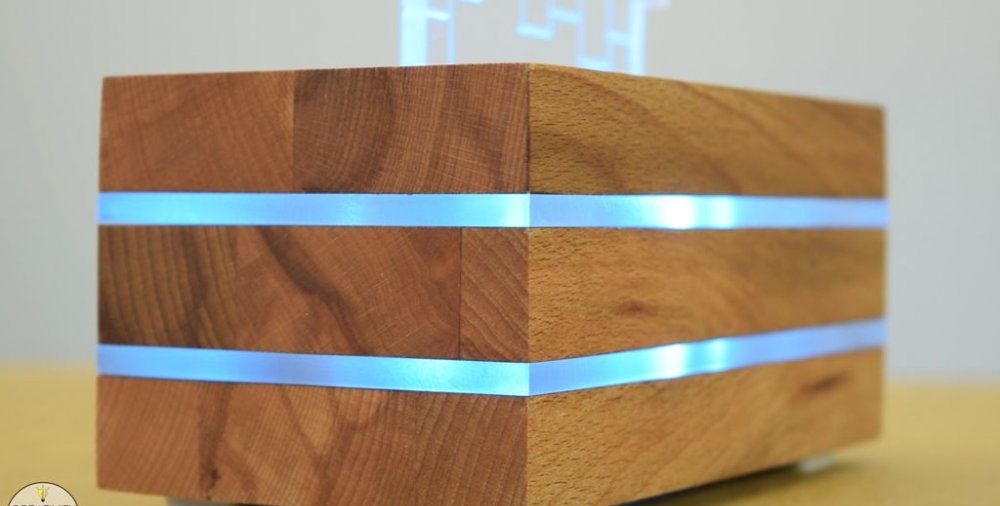
LED Strip Light
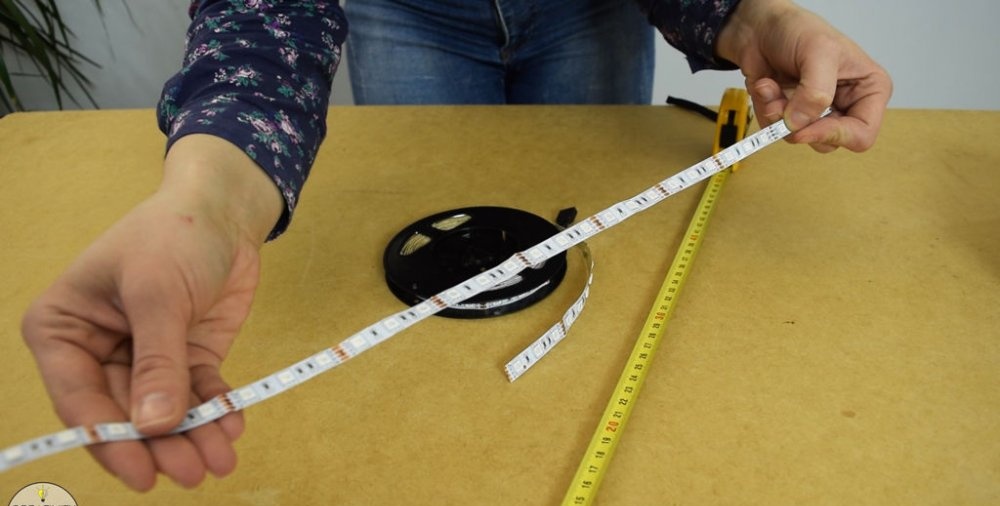
I used a colored RGB LED strip. A length of 50 cm is quite enough, so I took scissors and carefully cut along the marked line, between the copper contact pads.
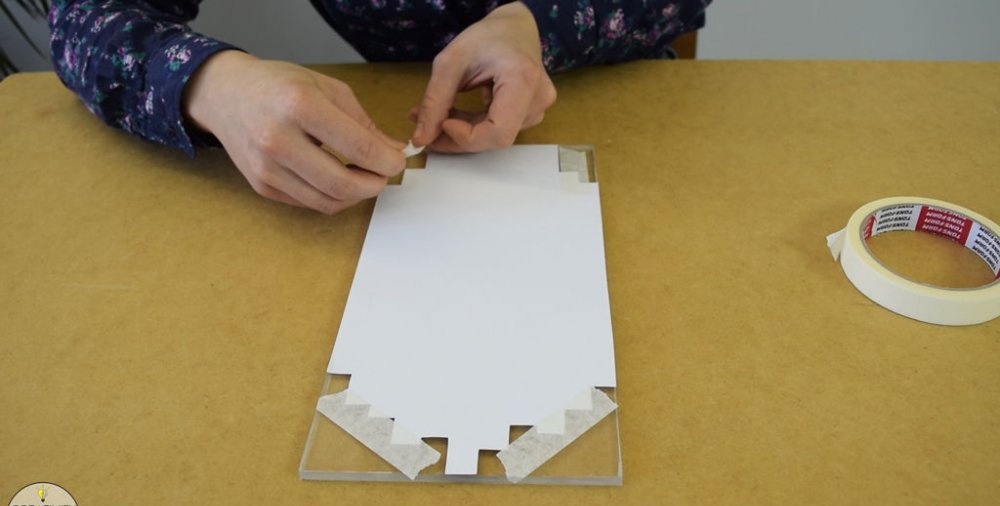
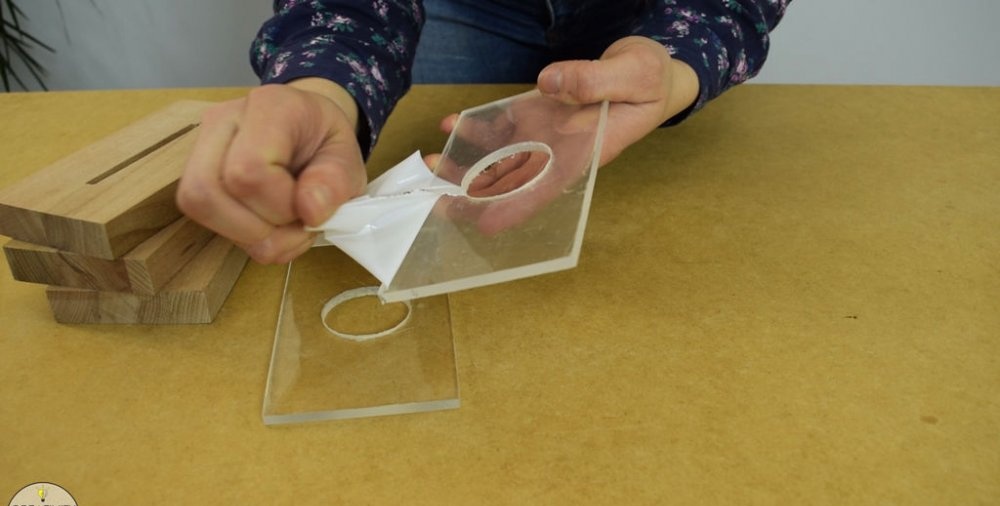
Before putting all the pieces together, I removed the protective film from the acrylic.
LED lamp assembly
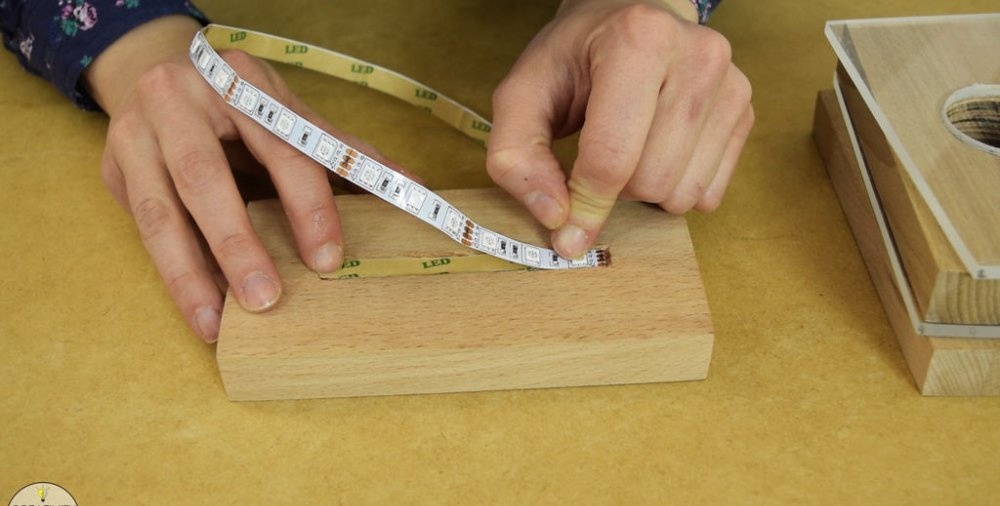
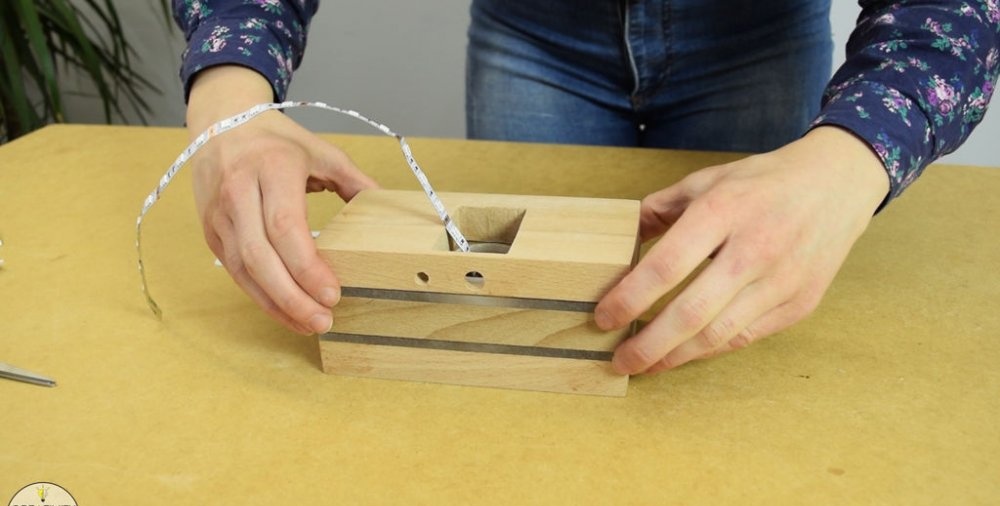

I started the assembly with gluing LEDs in the groove
Then I moved on to other items and glued them with epoxy resin.
Epoxy-based glue glues acrylic glass to wood well, so I recommend that you use it.
After all the manipulations, we clamp the base with a clamp and wait for the entire structure to dry.
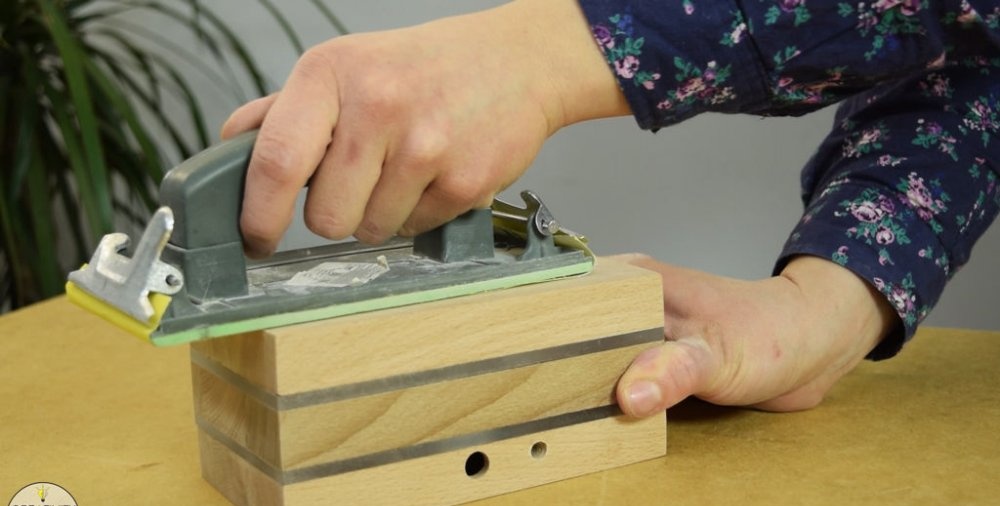
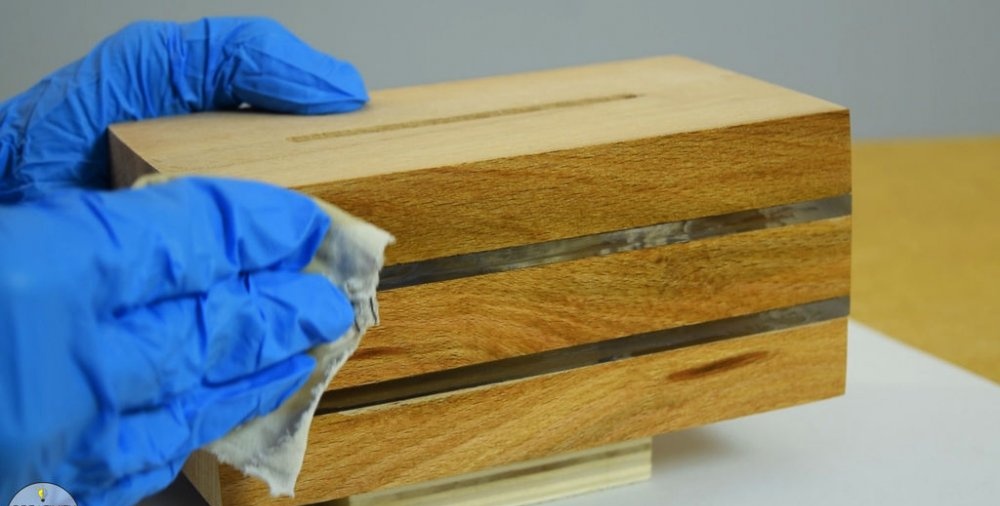
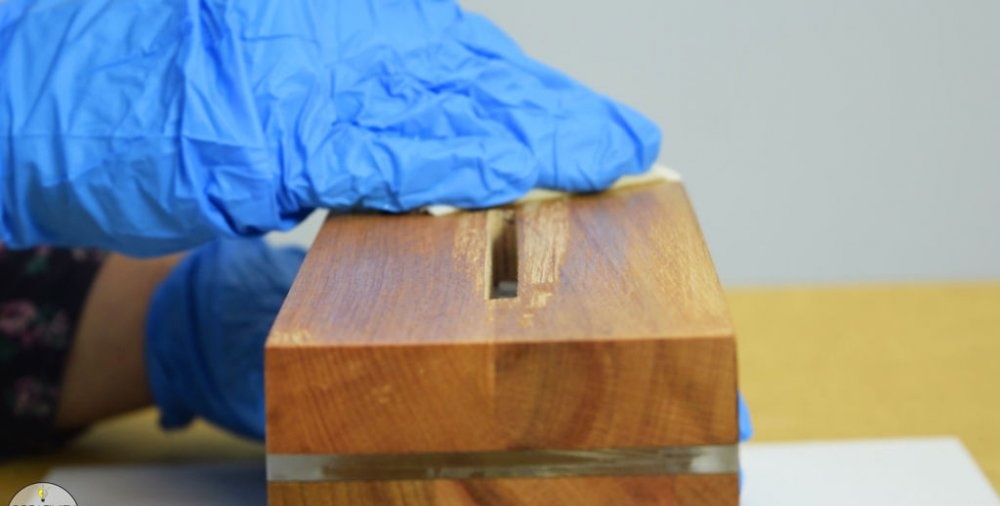
Sanding and painting the base
Temporarily I posted LEDs inside the base, and covered them with masking tape to keep dust out.
Next, we go through fine-grained sanding paper.
The surface is ready to be painted, so I apply a clear varnish (shellac) to highlight the beauty of the beech wood. This is the most enjoyable part of the whole project.
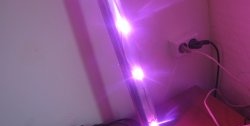
Installing the controller
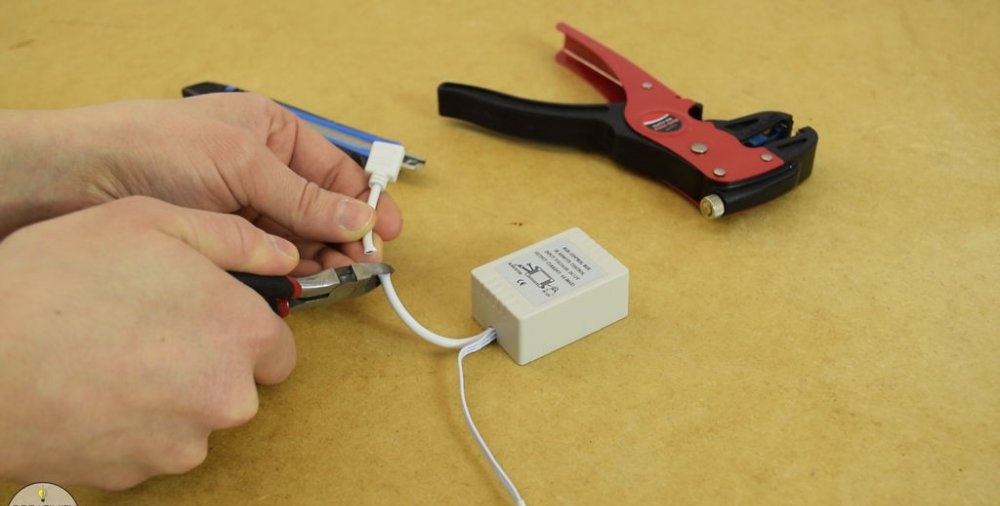
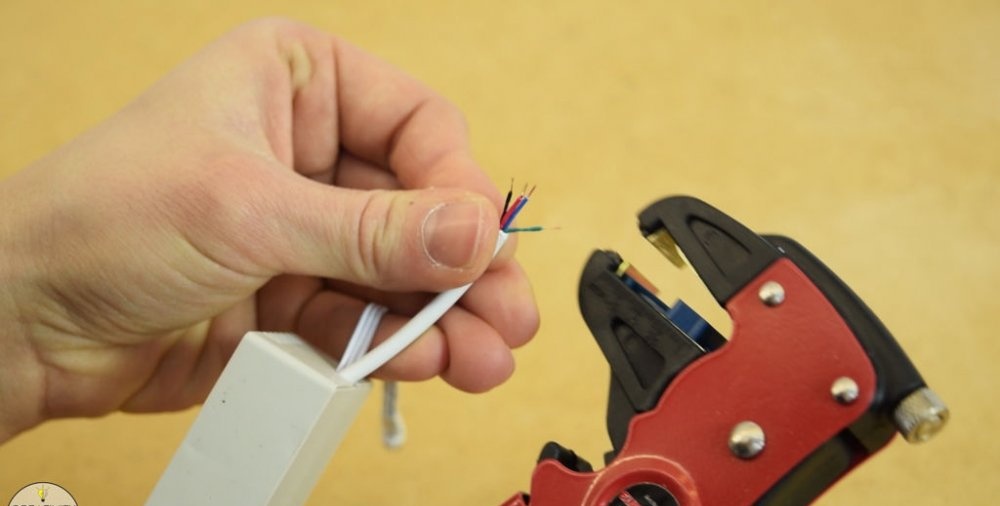
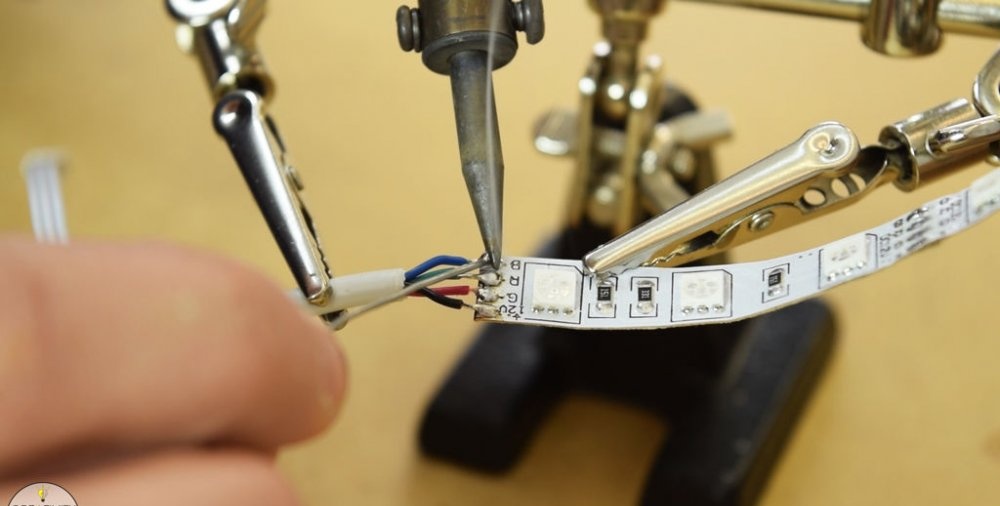
To place the controller inside the lamp base I need to cut half the length of the cable and outer insulation. The cable consists of 4 wires, 1 common positive wire and 3 negative wires, one for each of the 3 channels.
I brought the wires inside and brought out the ends, and then soldered them to the LED strip with a soldering iron and solder.
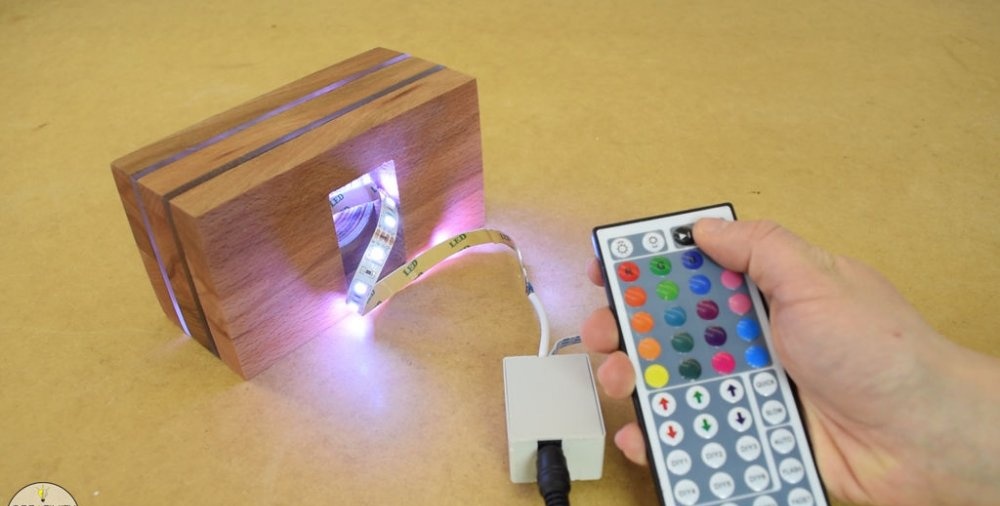
I checked, if everything is fine, connect the 12 V adapter to the controller.
Everything works correctly so I can stick the controller on with hot glue.
Next, I brought out the IR receiver.
In order to avoid scratches on any surface, I will make the legs out of felt. I cut out squares and glued them into each corner.
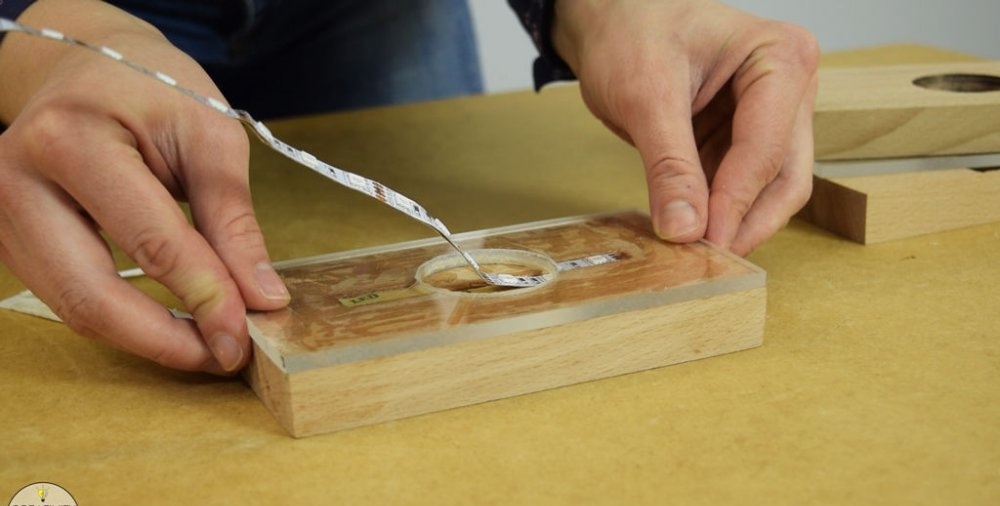
Installing an acrylic figure into a groove
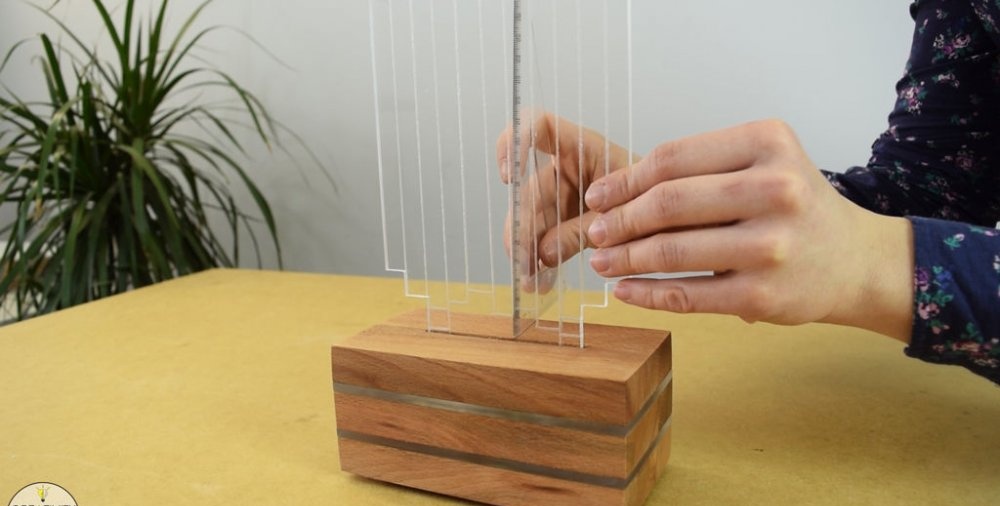
Finally, I removed the protective film from the acrylic figure and installed it in the groove, securing it with epoxy resin.
I left everything until completely dry. My lamp is almost ready.
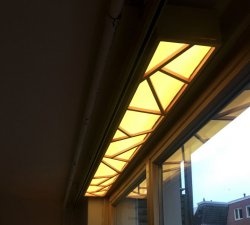
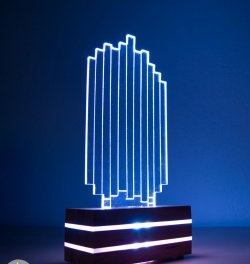
Enjoying the beauty of the lamp
Now I can enjoy the beauty of this beautiful structure. This lamp is very simple and at the same time very modern.
It was a very interesting and exciting process of creating a lamp. I hope that these detailed instructions will allow you to make your own lamp with your own hands. In continuation of all that has been said, I recommend watching the video instructions for making and testing the lamp.