Do it yourself
Life hacks, master classes, useful tips, recipes.
home » Electronics » How to convert a regular 12 V power supply into a laboratory regulated power supply 3-25 V
How to convert a regular 12V power supply into a laboratory regulated 325V power supply

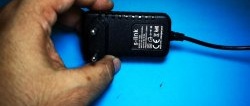
You don't have to buy an expensive regulated power supply for your home lab. You can simply make it yourself from an existing 12-volt pulse adapter. Even 9 and 6 Volt units are suitable; the only maximum output voltage may decrease slightly. The entire alteration of the block circuit will involve a small replacement of components.

Will need

What needs to be replaced in the circuit?

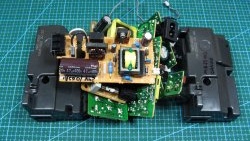
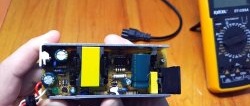
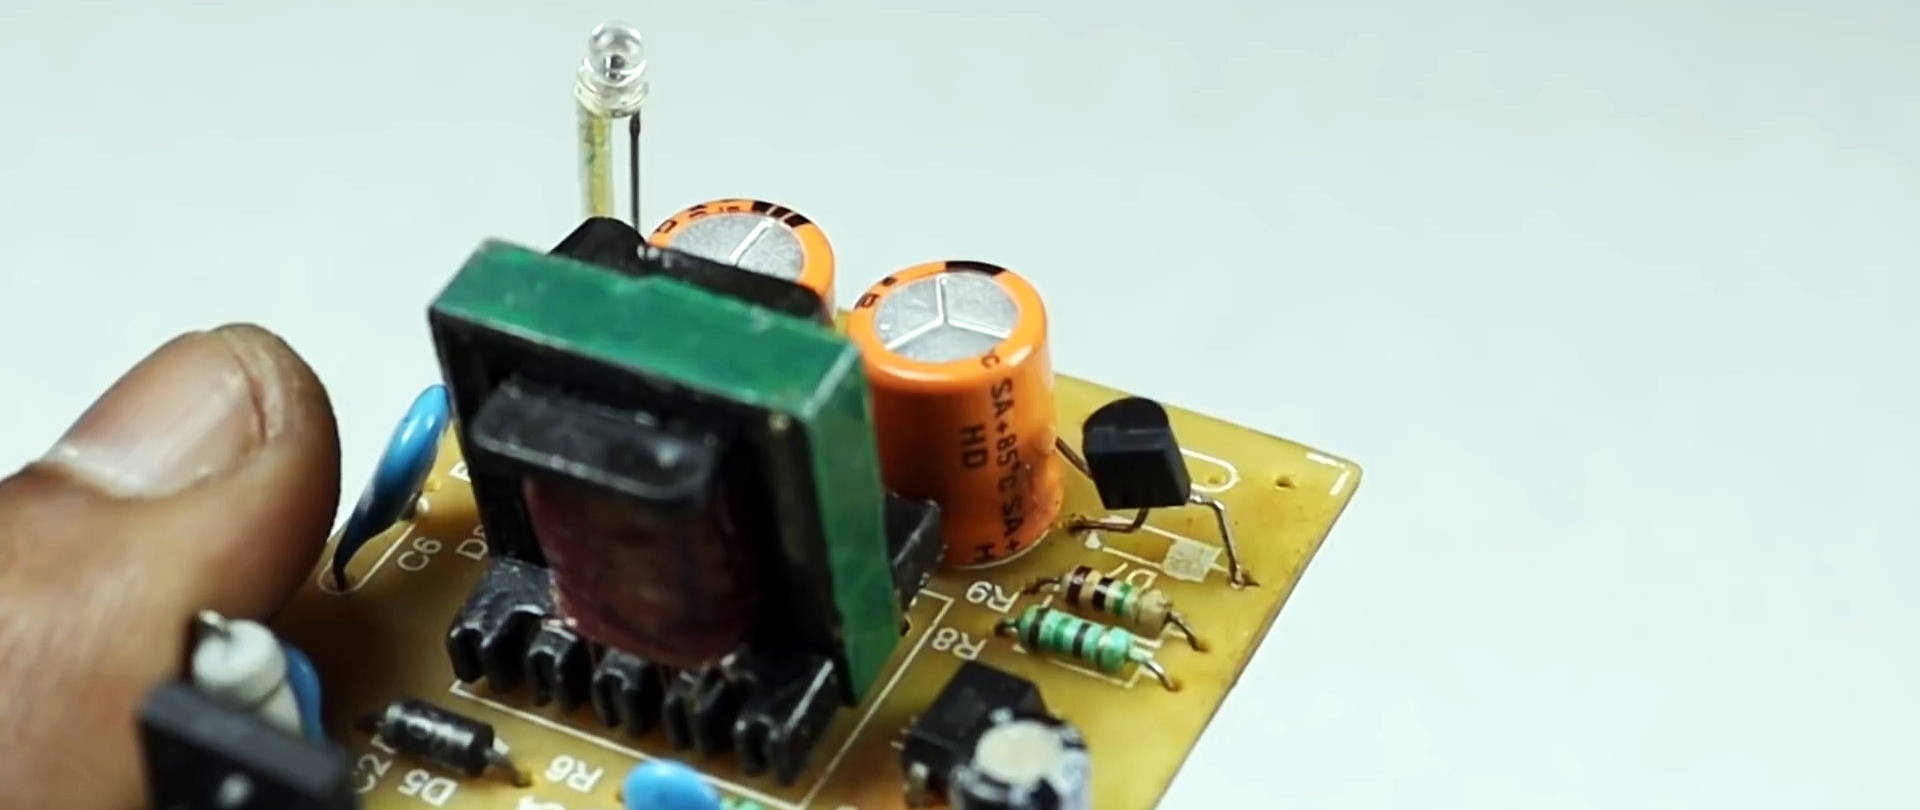
Let's disassemble the power supply housing and remove the board.

How to convert a regular 12V power supply into a laboratory regulated 325V power supply

Stabilization is adjusted using feedback via an optocoupler. The circuit contains a zener diode, which is responsible for a stable output voltage of 12 V.

How to convert a regular 12V power supply into a laboratory regulated 325V power supply

We need to unsolder it and replace it with an adjustable zener diode made on the TL431 stabilizer chip.

How to convert a regular 12V power supply into a laboratory regulated 325V power supply

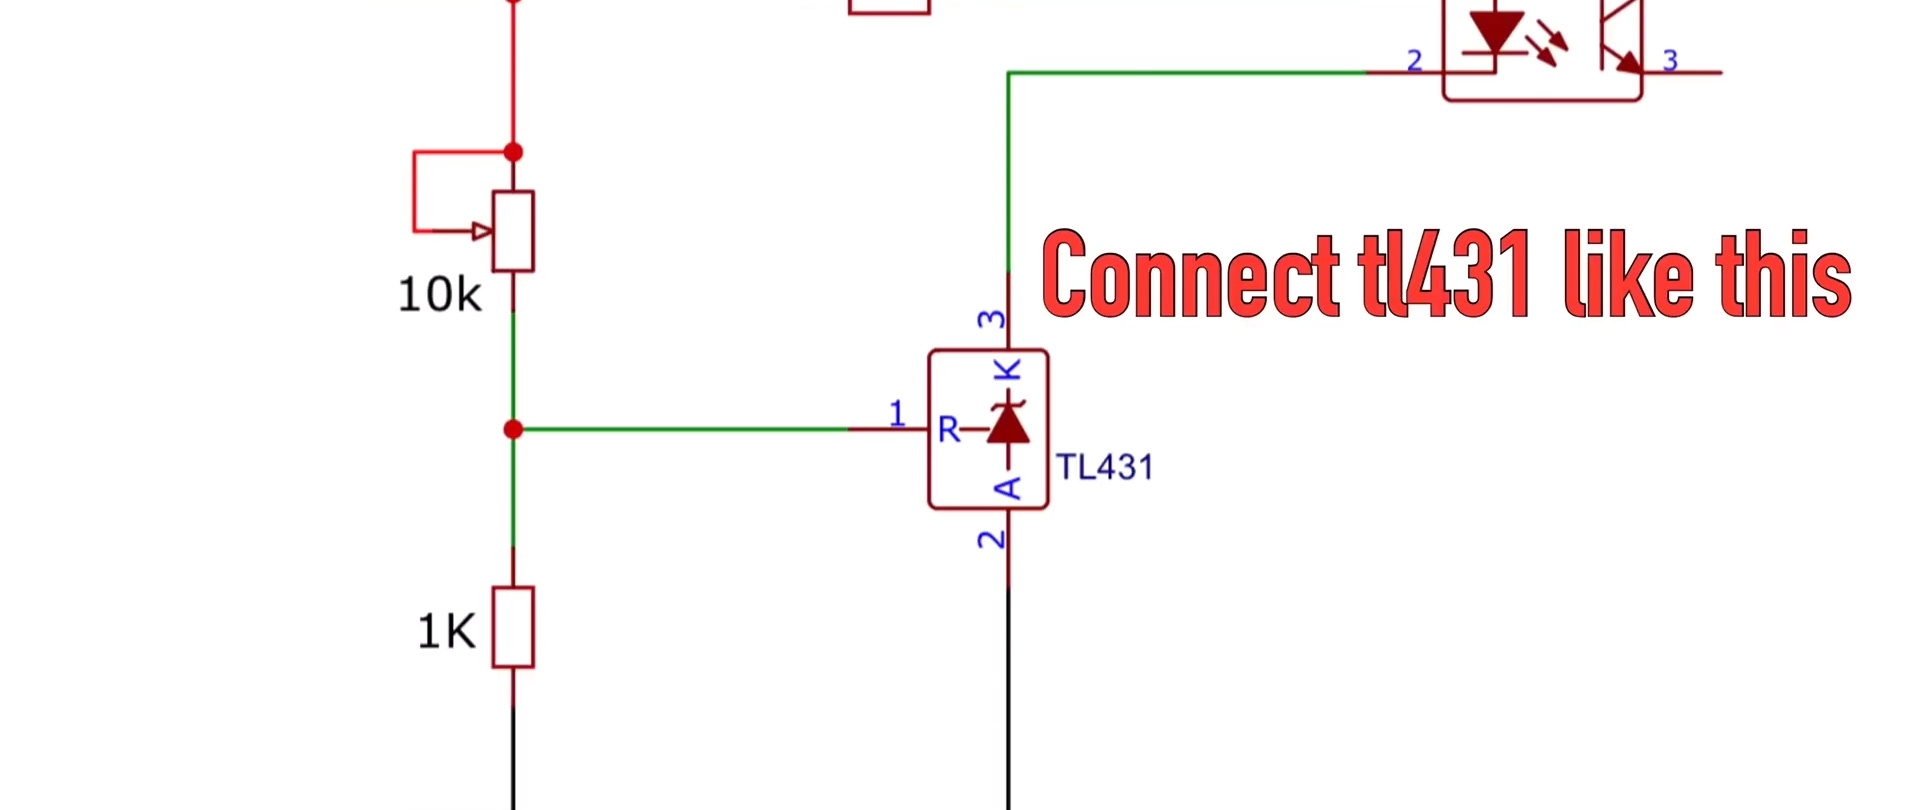
That's all, after this you can use a variable resistor to set any desired voltage.

If you decide to remake your block, and instead of a zener diode it already contains a TL431, then read how to remake such a circuit here - https://enn.washerhouse.com/7178-kak-sdelat-blok-pitanija-reguliruemym-3-25-v.html

How to make a regulated power supply from a 12V block

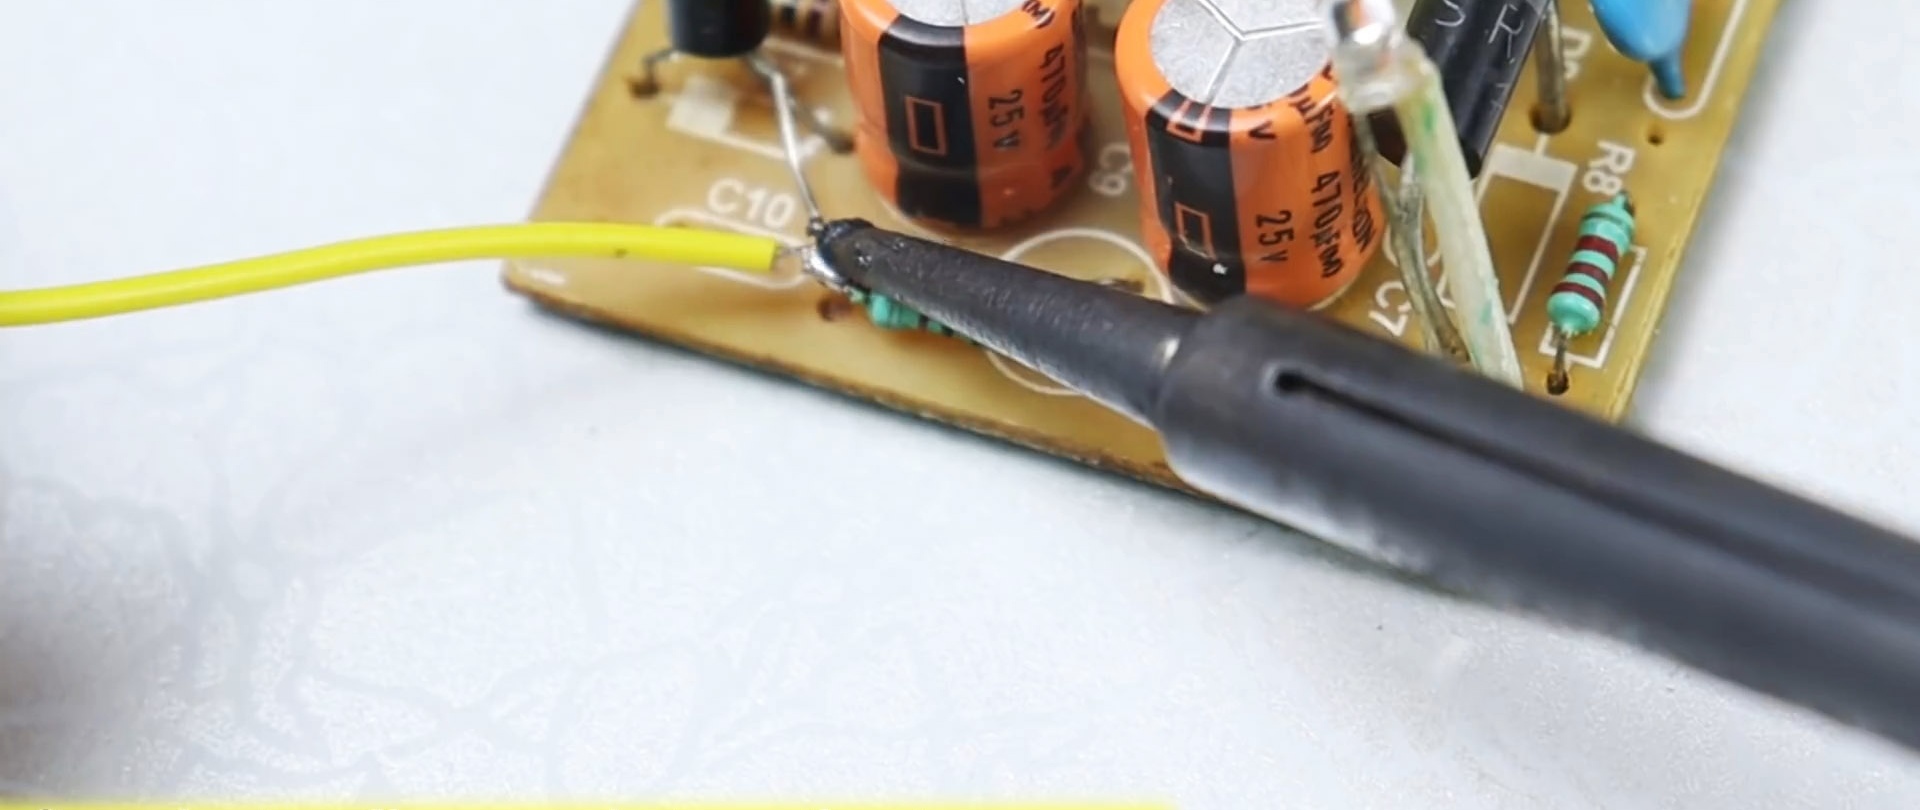
[list] Important! Before modification, it is necessary to check the output capacitors. They must be 25 V or higher. If not, they must be replaced with the appropriate voltage.

We take the TL431 microcircuit and form its contacts.

How to convert a regular 12V power supply into a laboratory regulated 325V power supply

We solder it into the board.

How to convert a regular 12V power supply into a laboratory regulated 325V power supply

We add a 1 kOhm resistor to the nearest common wire. This model has empty space for a capacitor.

How to convert a regular 12V power supply into a laboratory regulated 325V power supply

Solder the wires to the potentiometer.

How to convert a regular 12V power supply into a laboratory regulated 325V power supply

We connect its contacts to the sechem.

How to convert a regular 12V power supply into a laboratory regulated 325V power supply

The case is made on a 3D printer. It’s simple, it can be done without high technology, let’s say, like here - https://enn.washerhouse.com/7377-zarjadnoe-ustrojstvo-pristavka-k-adapteru-noutbuka.html

How to convert a regular 12V power supply into a laboratory regulated 325V power supply

We install all components.

How to convert a regular 12V power supply into a laboratory regulated 325V power supply

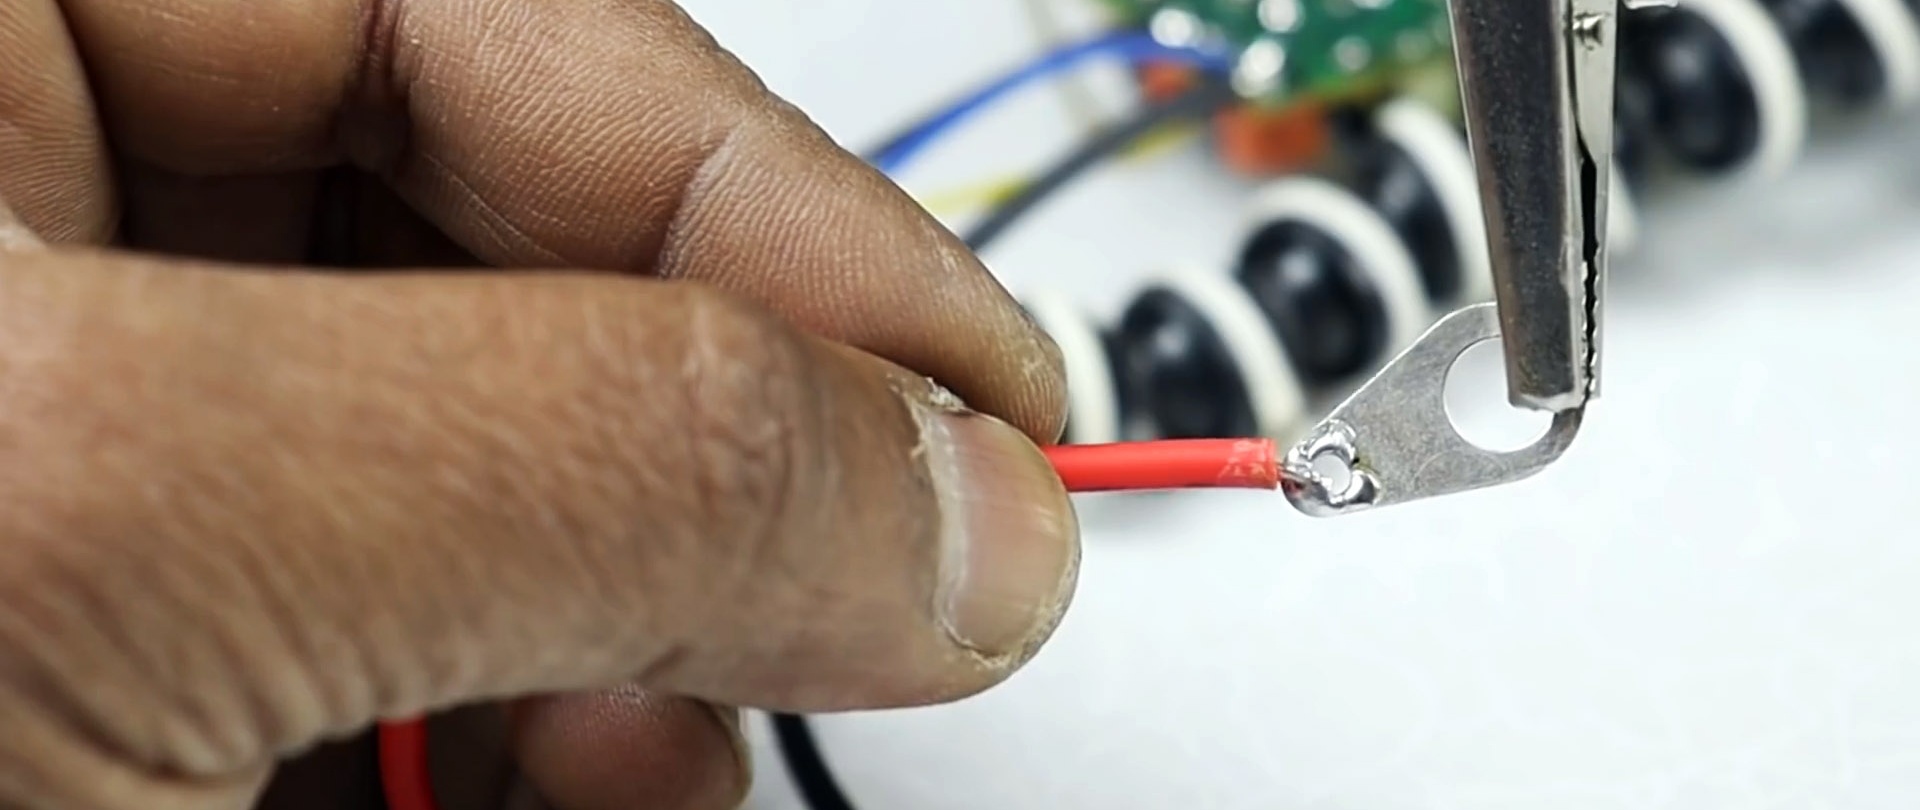
We solder the wires coming from the board to the petals and screw them to the terminals.

How to convert a regular 12V power supply into a laboratory regulated 325V power supply
There's a small catch here: The ampere-voltmeter will not operate on a voltage of 3 V. Therefore, another block from a low-power source was taken for it.
How to convert a regular 12V power supply into a laboratory regulated 325V power supply

We install the boards into the case.

How to convert a regular 12V power supply into a laboratory regulated 325V power supply

Close the lid and secure it with screws.
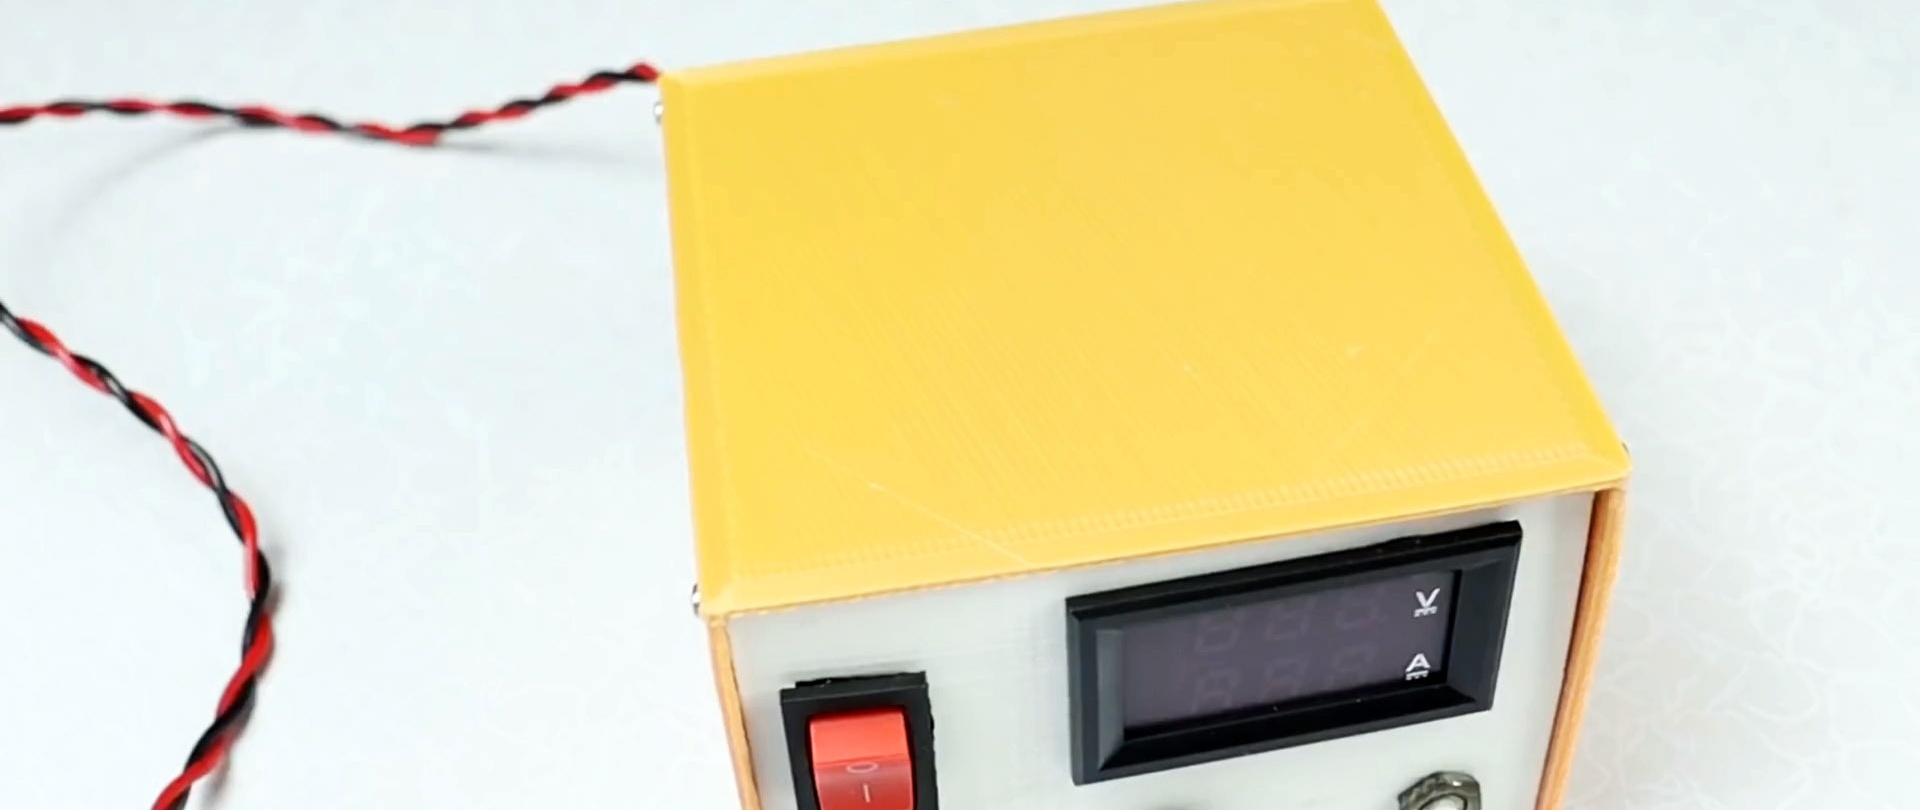
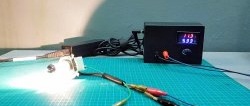
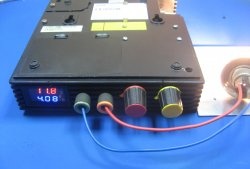
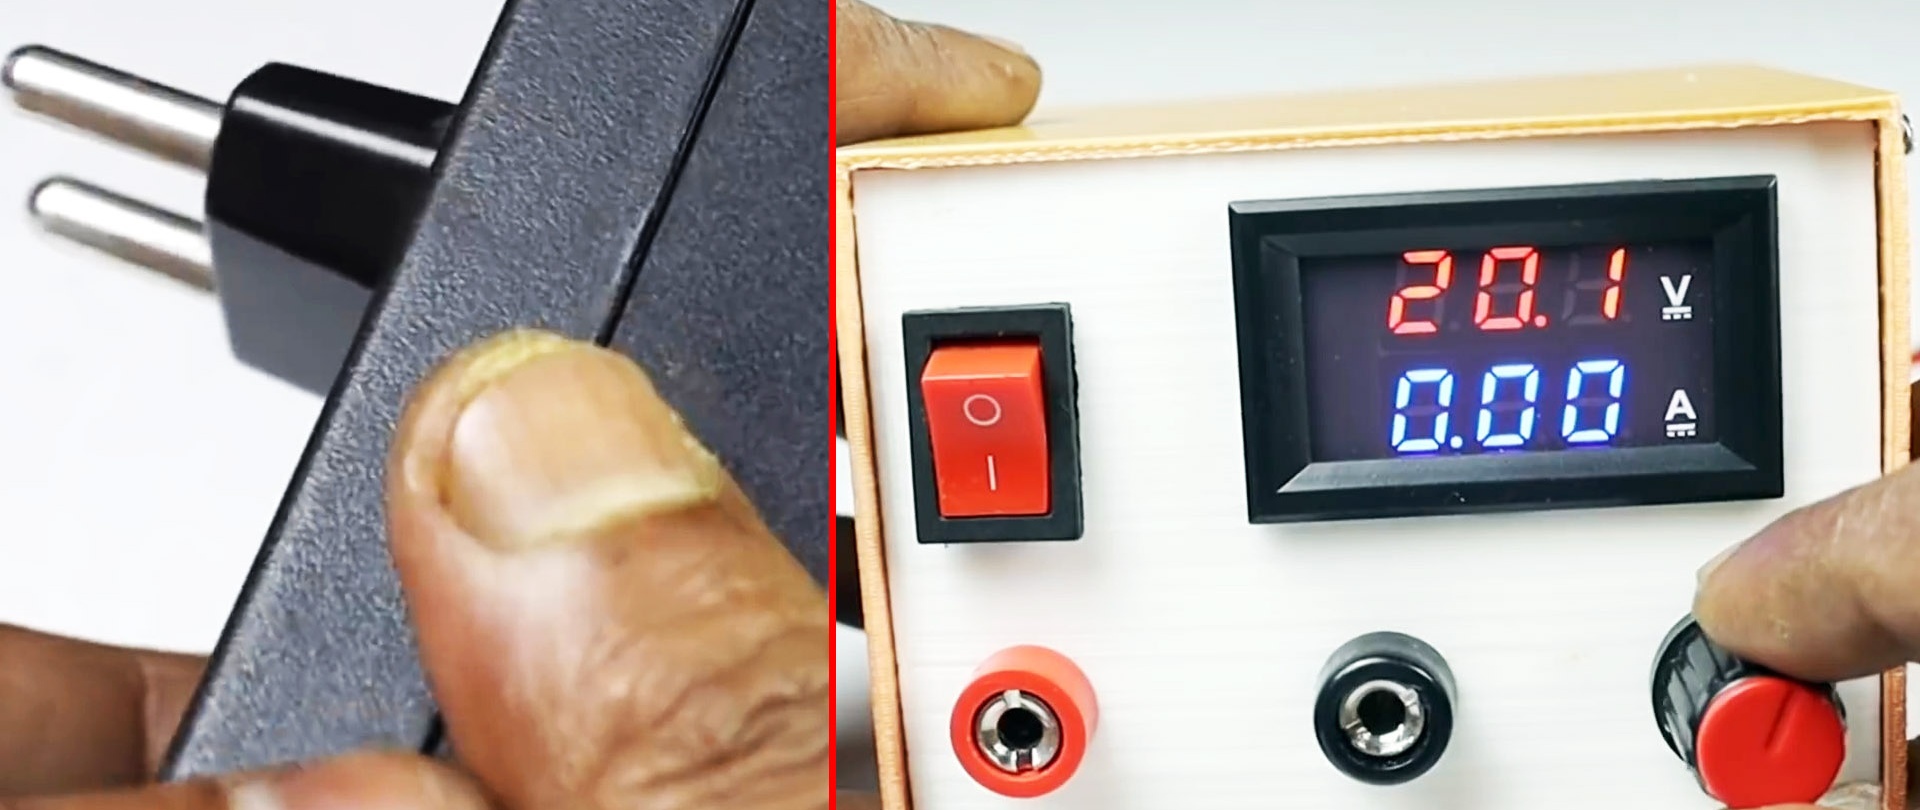
How to convert a regular 12V power supply into a laboratory regulated 325V power supply

We check the work.

How to convert a regular 12V power supply into a laboratory regulated 325V power supply

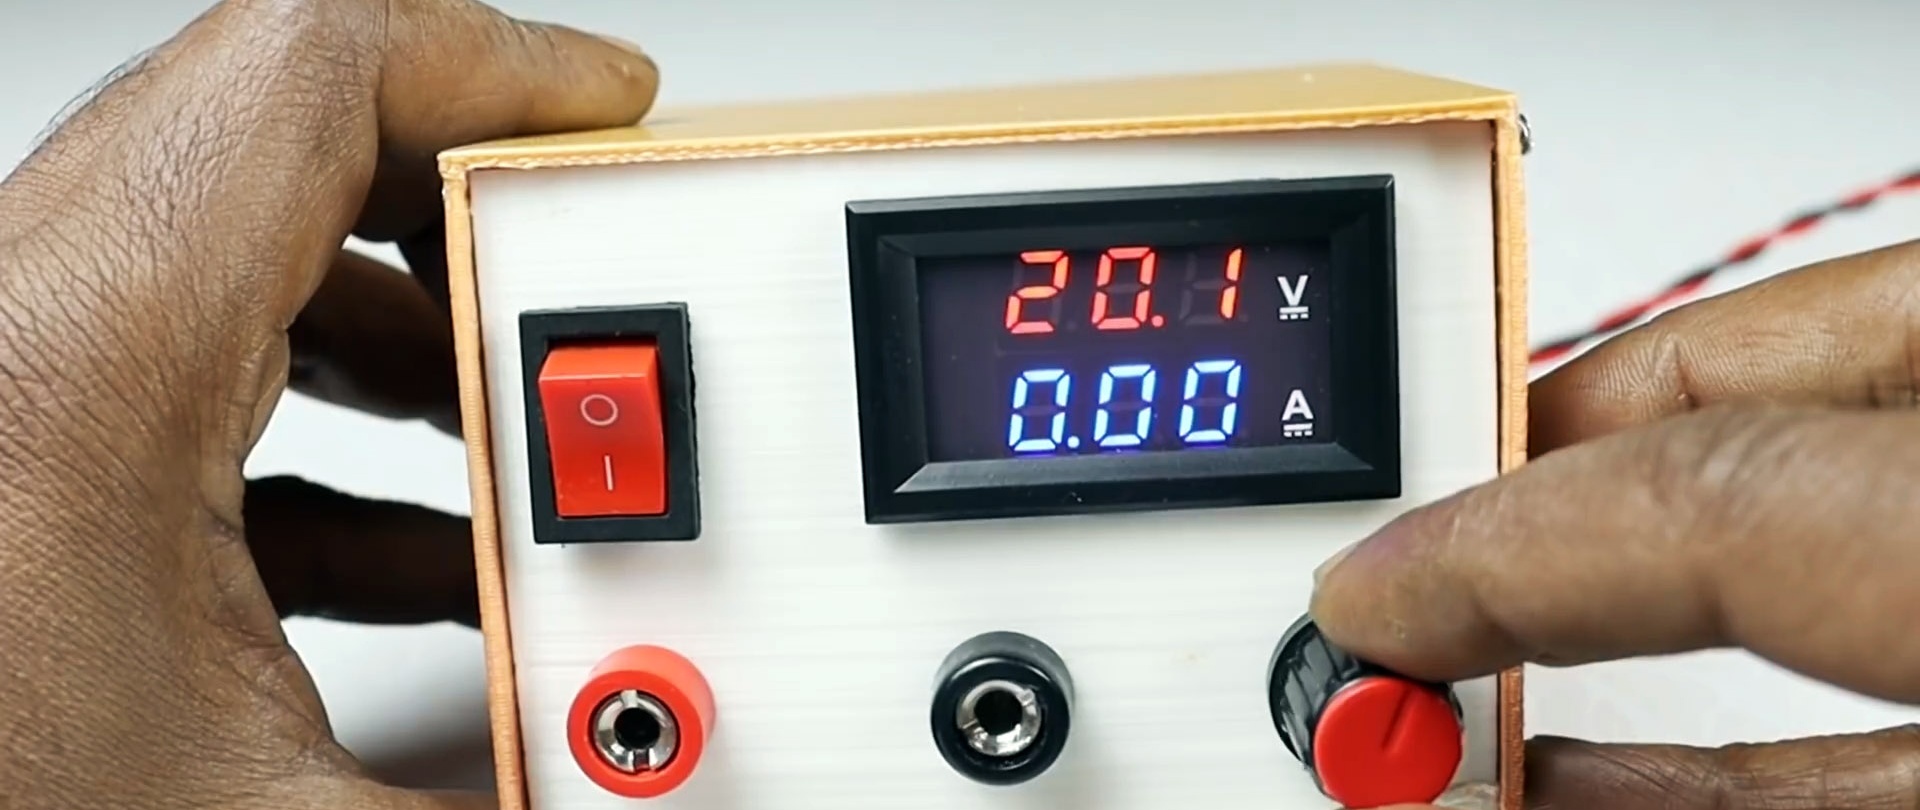
The output voltage is easily adjustable within 3-25 V. Which, in my own words, is even very good. We check it under real load.

How to convert a regular 12V power supply into a laboratory regulated 325V power supply

Quite useful for feeding laboratory homemade products.

Watch the video

come back
Comment
  • bowtiesmilelaughingblushsmileyrelaxed relaxedsmirk
    heart_eyeskissing_heartkissing_closed_eyesflushedrelievedsatisfiedgrin
    winkstuck_out_tongue_winking_eyestuck_out_tongue_closed_eyesgrinningkissingstuck_out_tonguesleeping
    worriedfrowninganguishedopen_mouthgrimacingconfusedhushed
    expressionlessunamusedsweat_smilesweatdisappointed_relievedwearypassive
    disappointedconfoundedfearfulcold_sweatperseverecrysob
    joyastonishedscreamtired_faceangryragetriumph
    sleepyyummasksunglassesdizzy_faceimpsmiling_imp
    neutral_faceno_mouthinnocent
5+two=
Comments (3)
  1. Novel
    #1 Novel Guests 23 May 2022 06:35
    0
    My friend, I forgot to add - You definitely need to replace the output capacitors with others with a higher operating voltage, exceeding the maximum output voltage after the modification. Otherwise, the electrolytes will go to the ceiling.
  2. Novel
    #2 Novel Guests 23 May 2022 06:38
    0
    And the first switching on after the alteration through an incandescent lamp. And it’s described well.
  3. Edward
    #3 Edward Guests 20 September 2022 16:36
    0
    The easiest way is to use a ready-made step-down dc dc module, then from an input voltage of 36 Volts you can get an adjustable 0-25 Volts and a current of up to 2 amperes. And there is no need to remake any power supplies

Do it yourself - crafts and master classes | Page 335

How to make a Christmas tree from plasticine with your own hands

5 quick, useful homemade crafts from junk

How to polish a scratched or worn watch glass

«Do it yourself - with your own hands» - a site of interesting homemade products made from scrap materials and items at home. Step-by-step master classes with photos and descriptions, technologies, life hacks - everything a real master or just a craftsman needs for needlework. Crafts of any complexity, a large selection of directions and ideas for creativity.

We recommend reading

Washing machine error codes