Do it yourself
Life hacks, master classes, useful tips, recipes.
home » Workshop » Inexpensive homemade guide with a carriage for a manual circular saw
Inexpensive homemade guide with a carriage for a manual circular saw

If you install a hand-held circular saw on a carriage that slides along a guide, you will get a very precise, convenient sawing machine. Such equipment is sufficient to cut materials during manufacturing furniture to order, not to mention various little things. You can make a guide from the most common inexpensive materials from a construction store.

Basic materials:

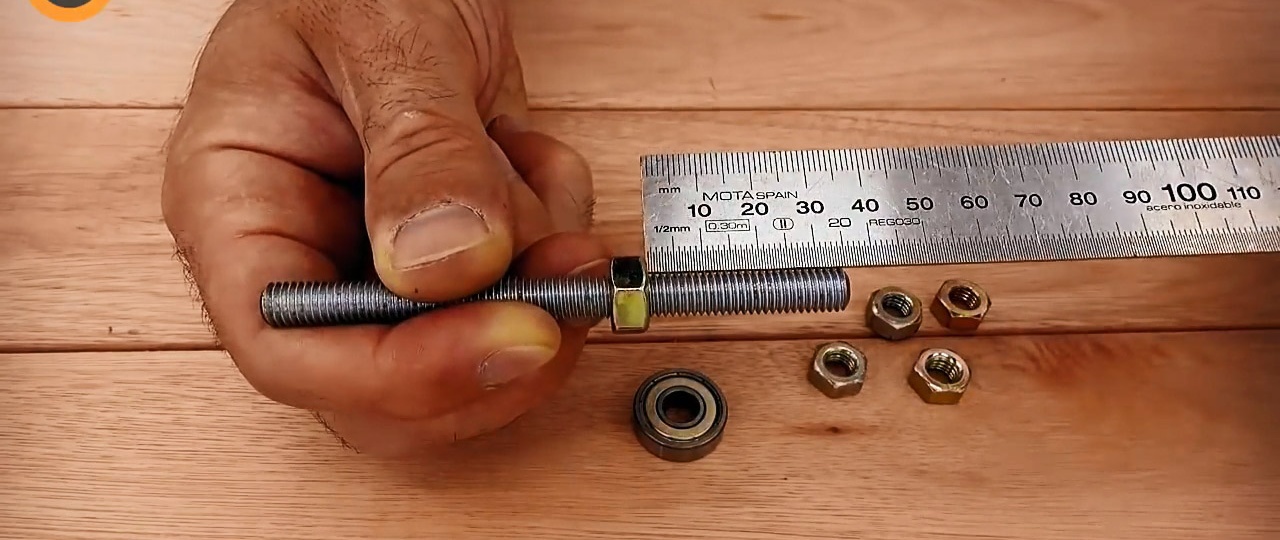
  • studs, nuts, washers M10;
  • small bearings – 8 pcs.;
  • steel strip 15-20 mm;
  • profile pipe 30x30 mm;
  • corner 30x30 mm;
  • plywood 12 mm.

The process of making a guide for a hand-held circular saw

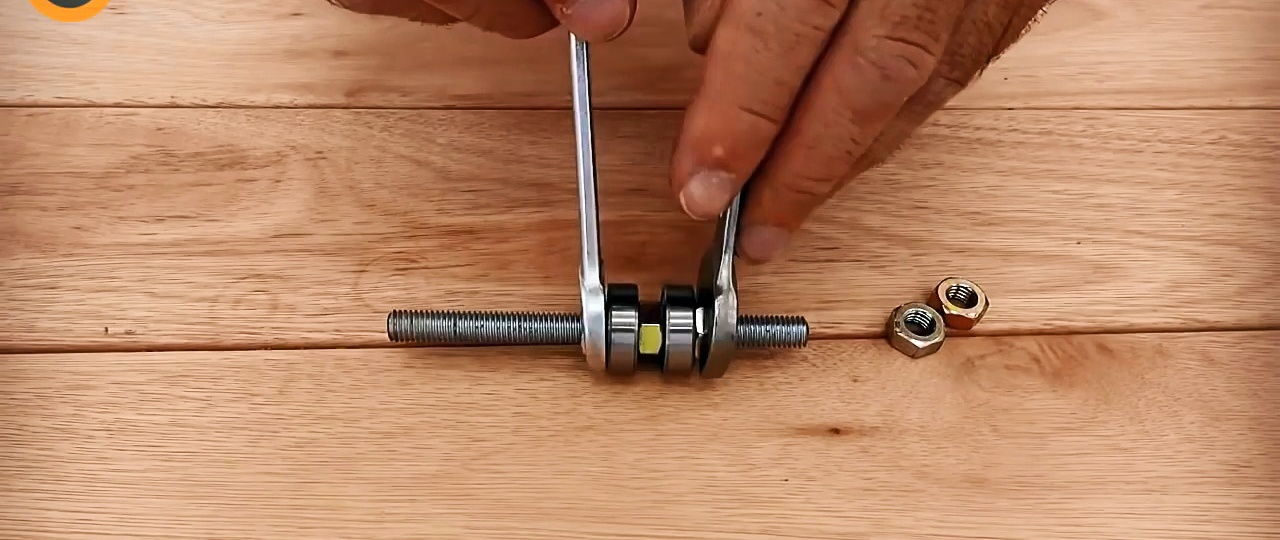
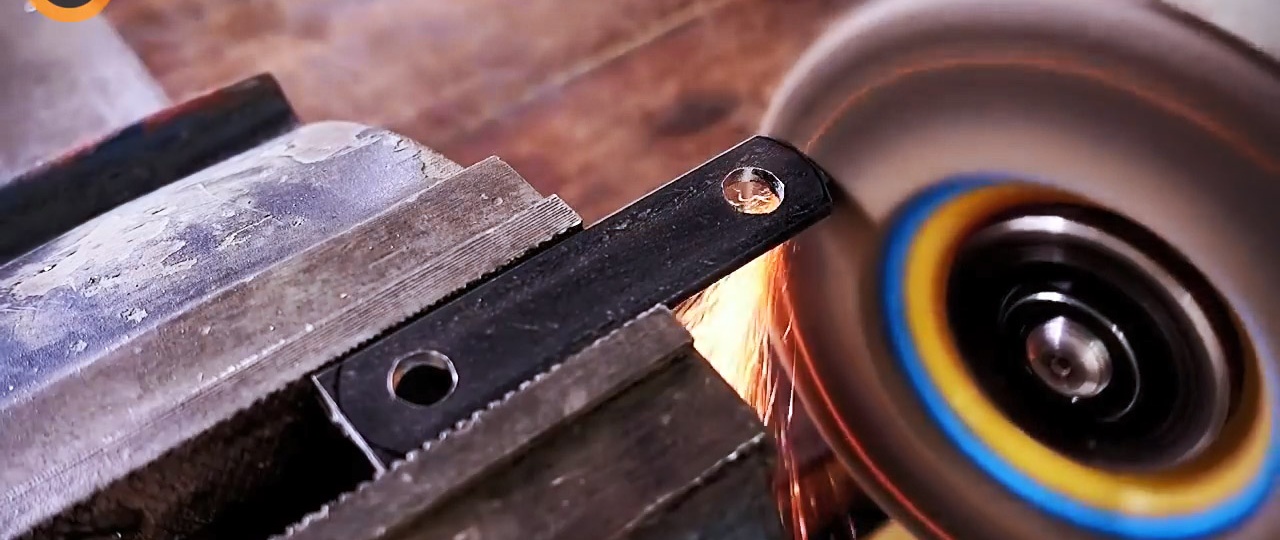
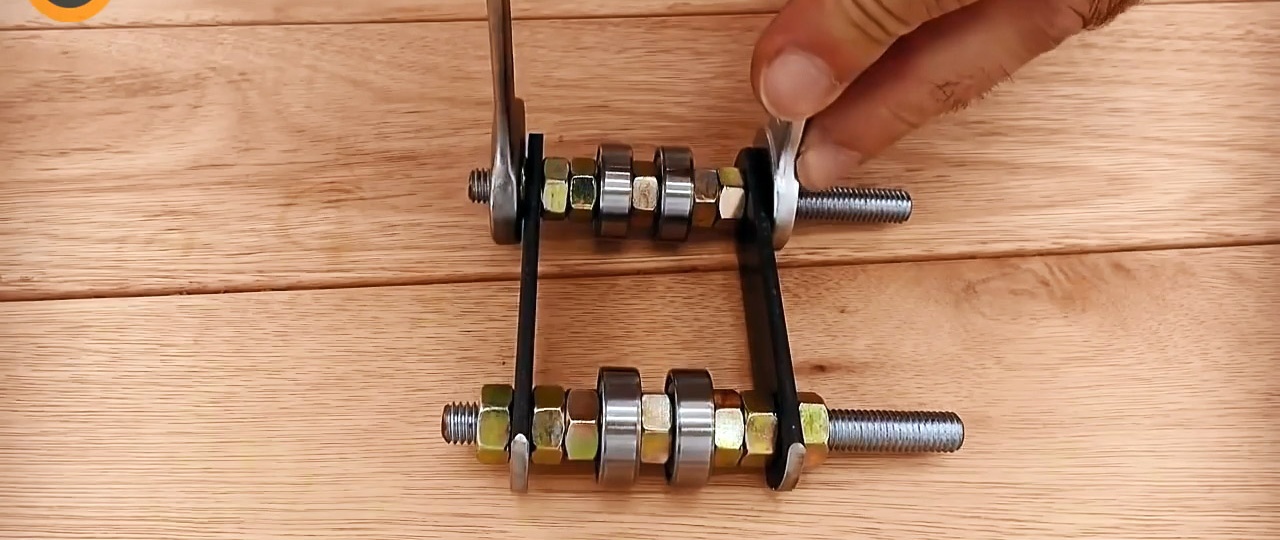
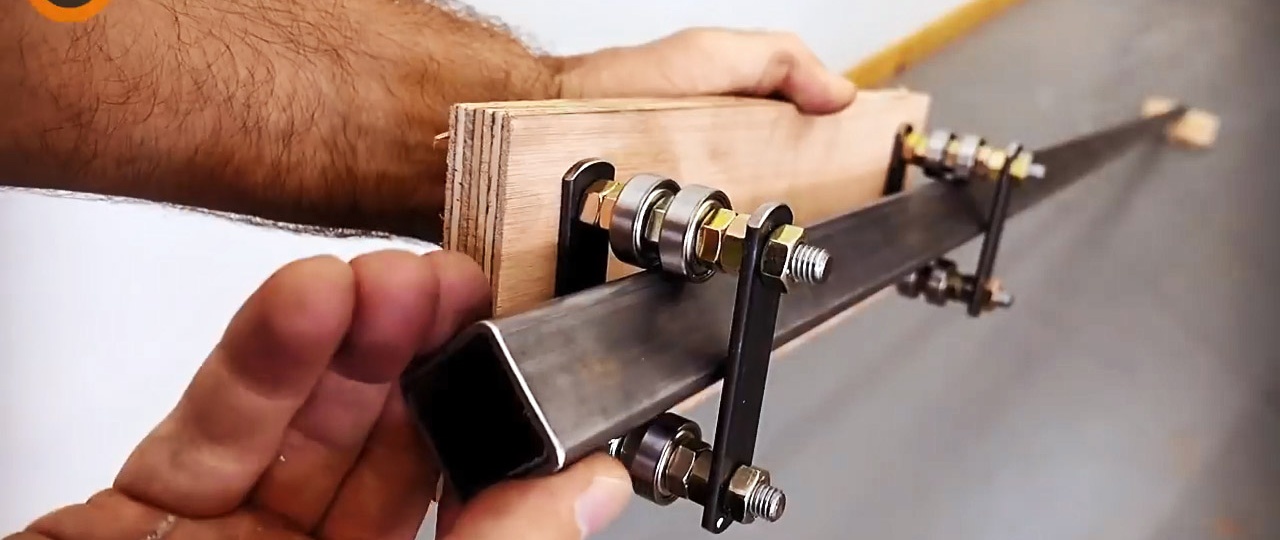
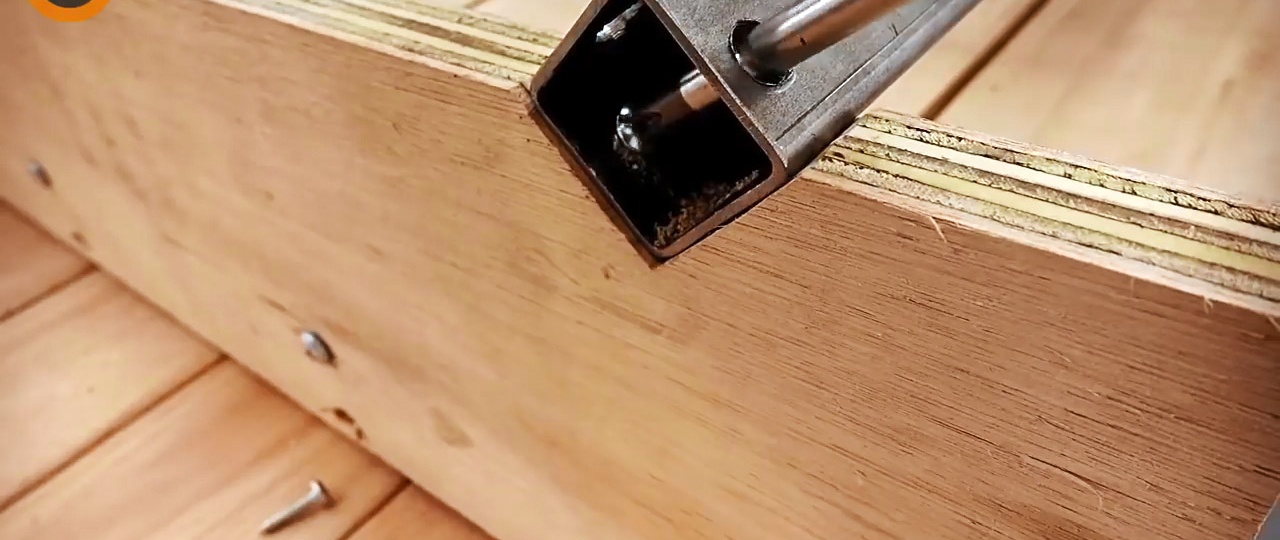
To make a carriage for the guide, you need to assemble the rollers. To do this, 2 bearings are clamped onto a section of the stud, as in the example. You need to collect 4 such sets.

Inexpensive homemade guide with a carriage for a manual circular saw

The rollers must be connected in pairs with strip jumpers. The distance between them should be such that it is possible to insert a 30x30 mm profile pipe diagonally.

Inexpensive homemade guide with a carriage for a manual circular saw

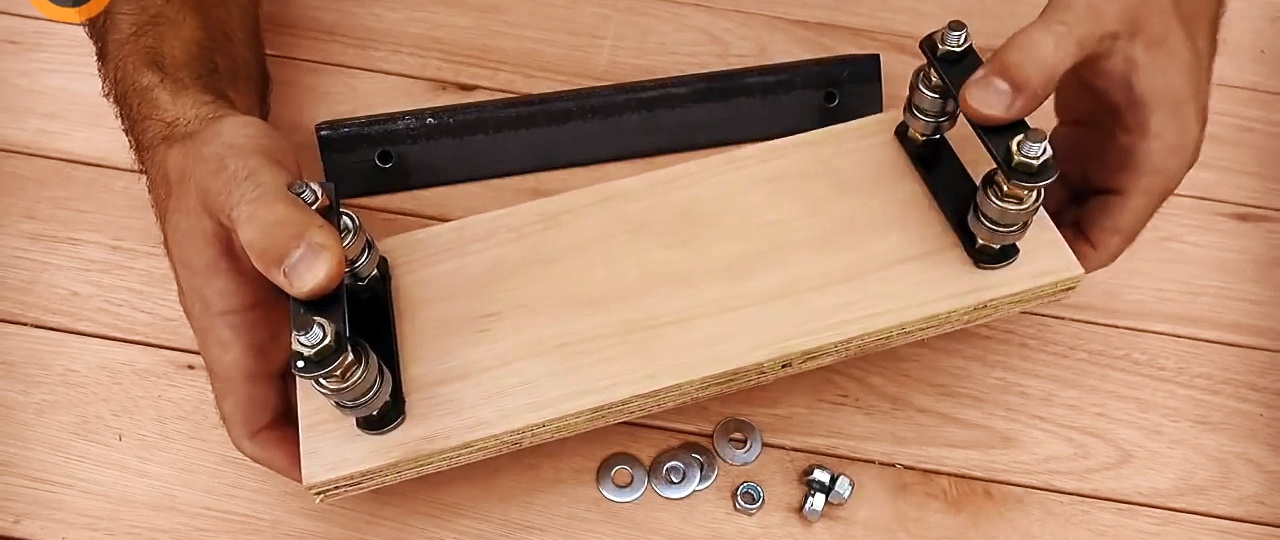
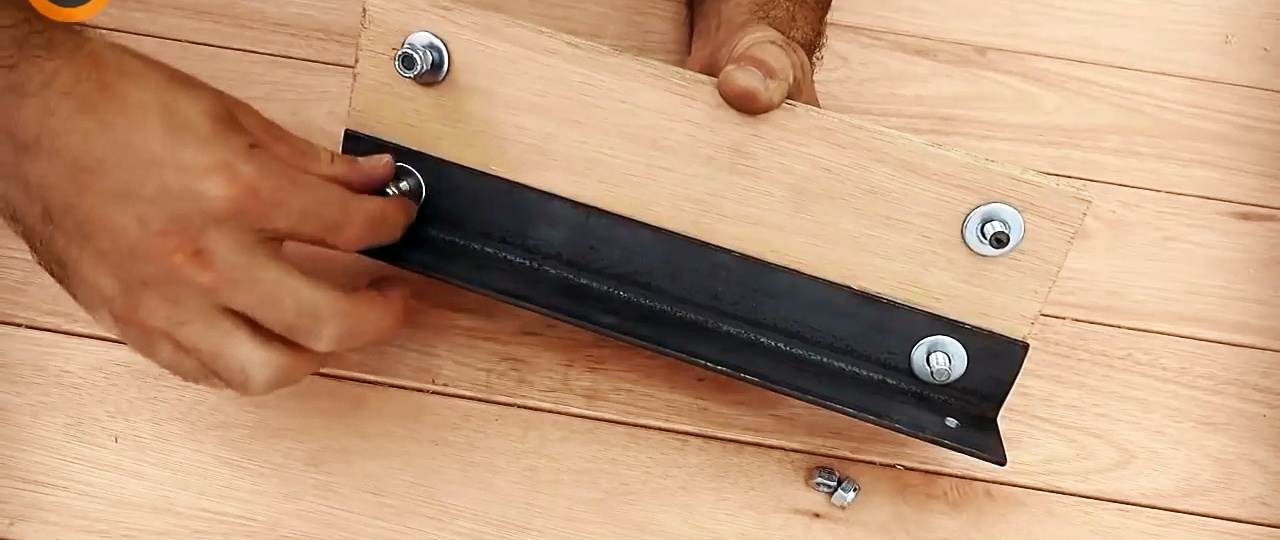
For the base of the carriage, you need to prepare 2 pieces of corner 30x30 mm, 30 cm each, and a couple of plywood boards of the same length, 10 cm wide.A corner, plywood and a pair of rollers are twisted together into half a carriage. You need 2 of these parts.

Inexpensive homemade guide with a carriage for a manual circular saw

2 pieces of 53x13 cm are cut out of plywood. Triangular seats for guide profile pipes are cut out on them. The distance between the cutouts should be such that it is possible to screw the circular onto the installed halves of the carriage.

Inexpensive homemade guide with a carriage for a manual circular saw

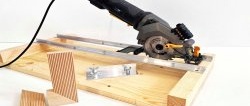
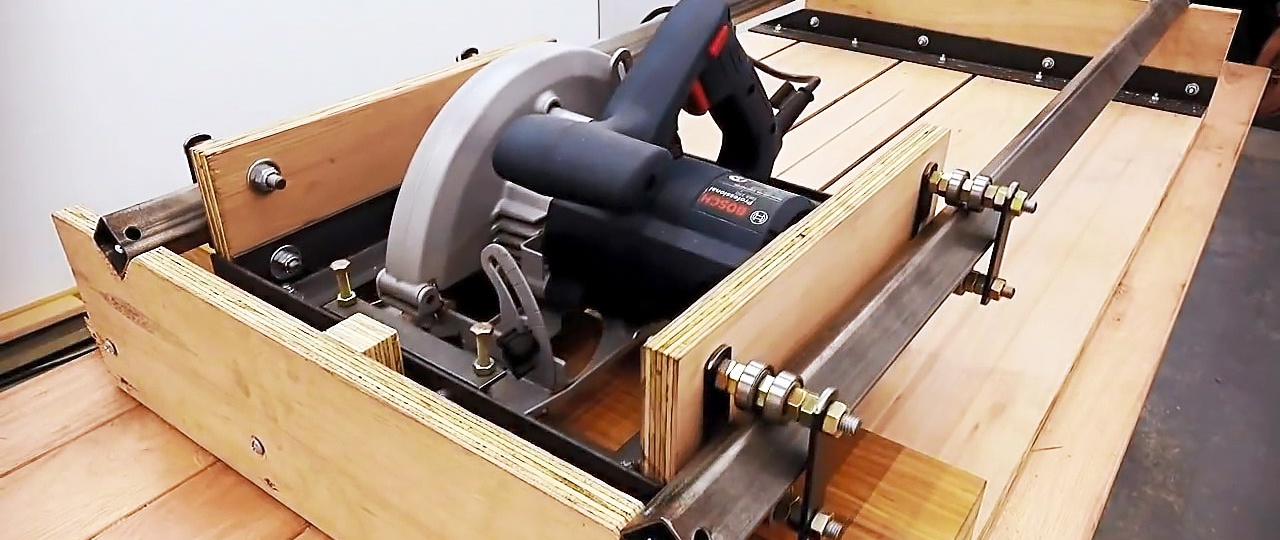
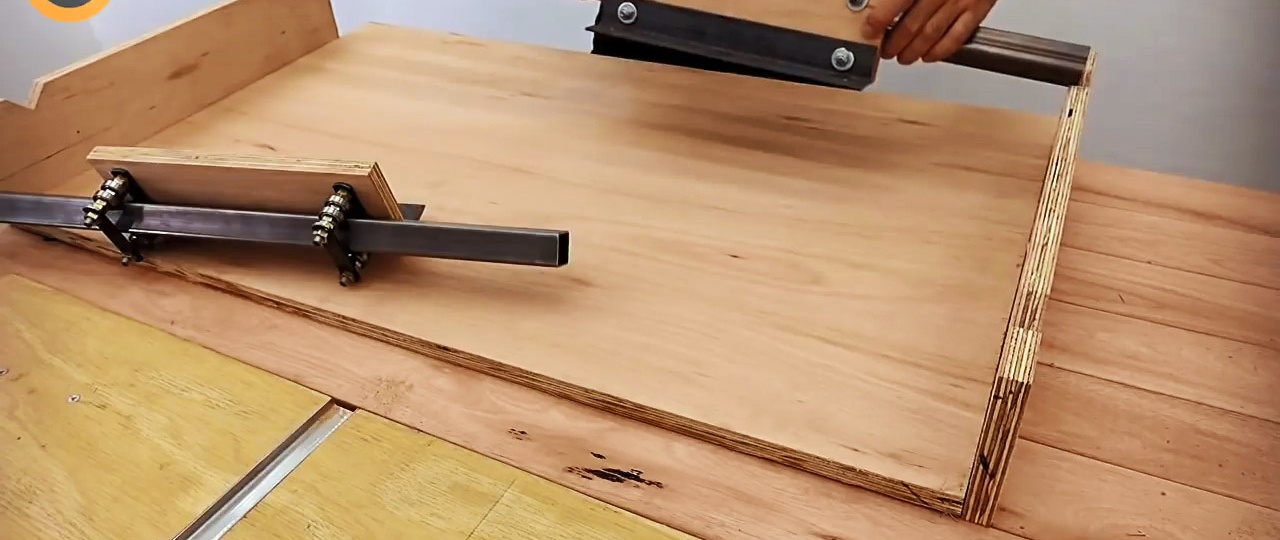
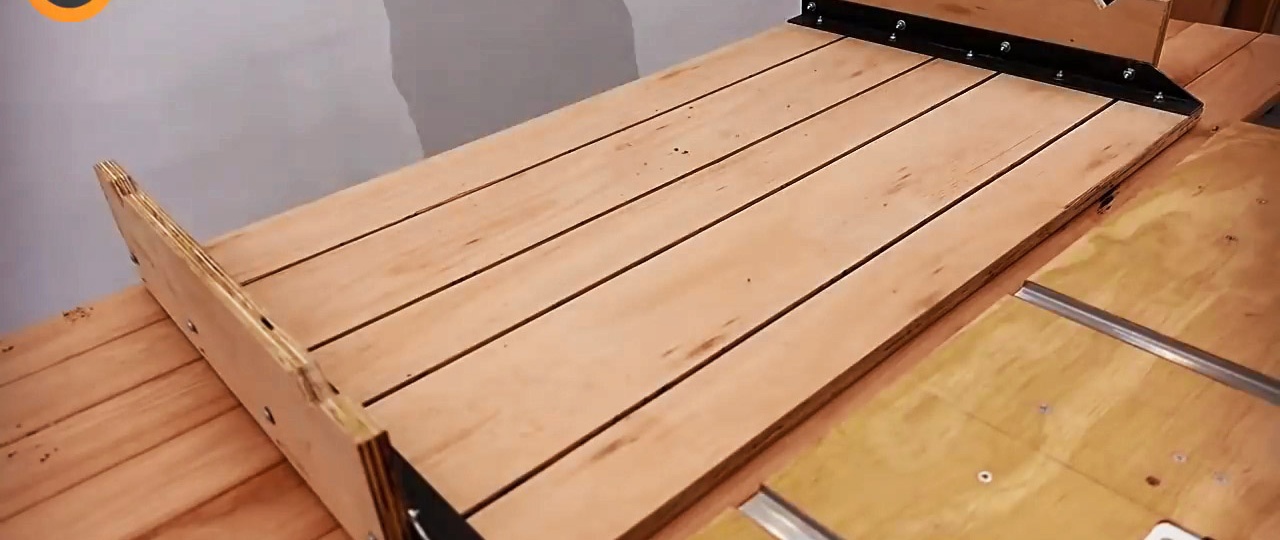
Also, the base of the machine 100x53 cm is cut out of plywood. Trimmed parts 53x13 cm are leaned against it from the edges, and 2 pipes 103.6 cm long with halves of the carriage are placed on top. The latter are twisted together using corner pieces into a finished frame.

Inexpensive homemade guide with a carriage for a manual circular saw

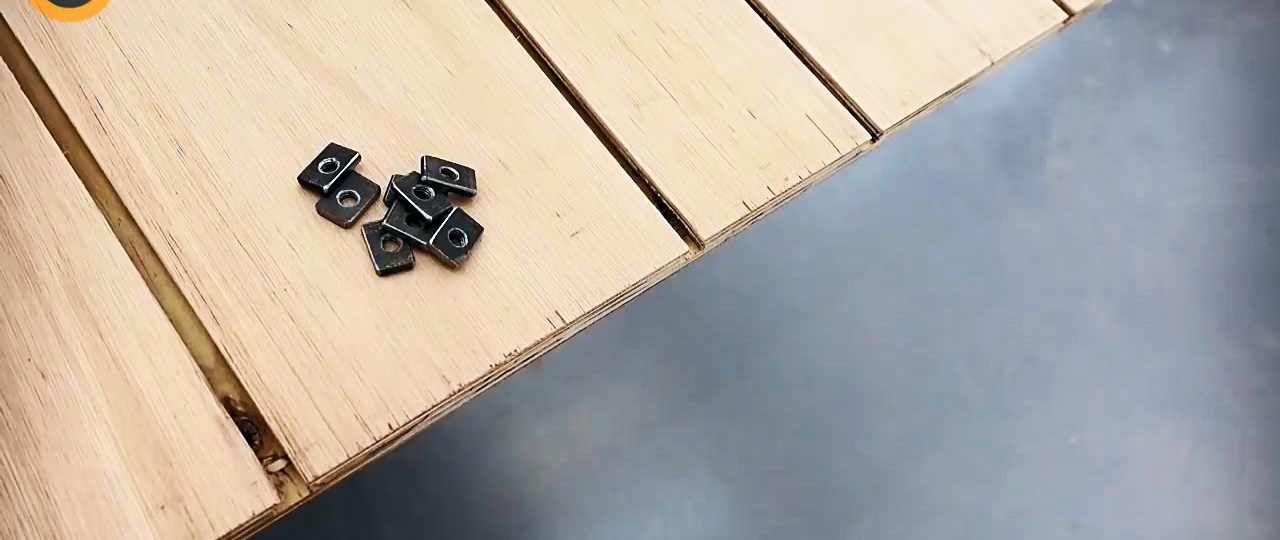
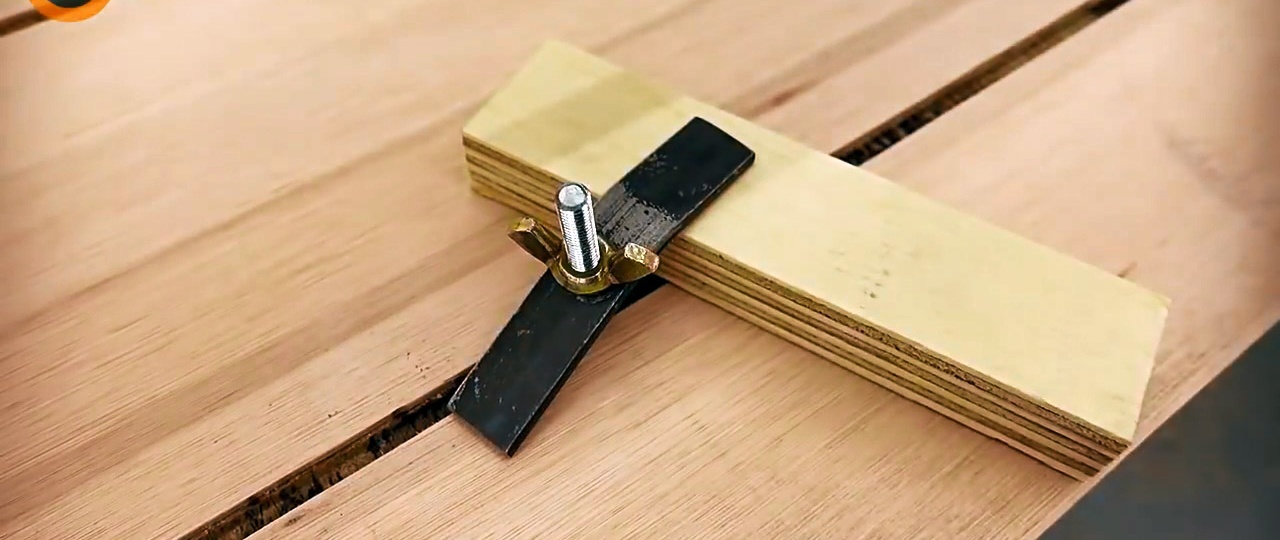
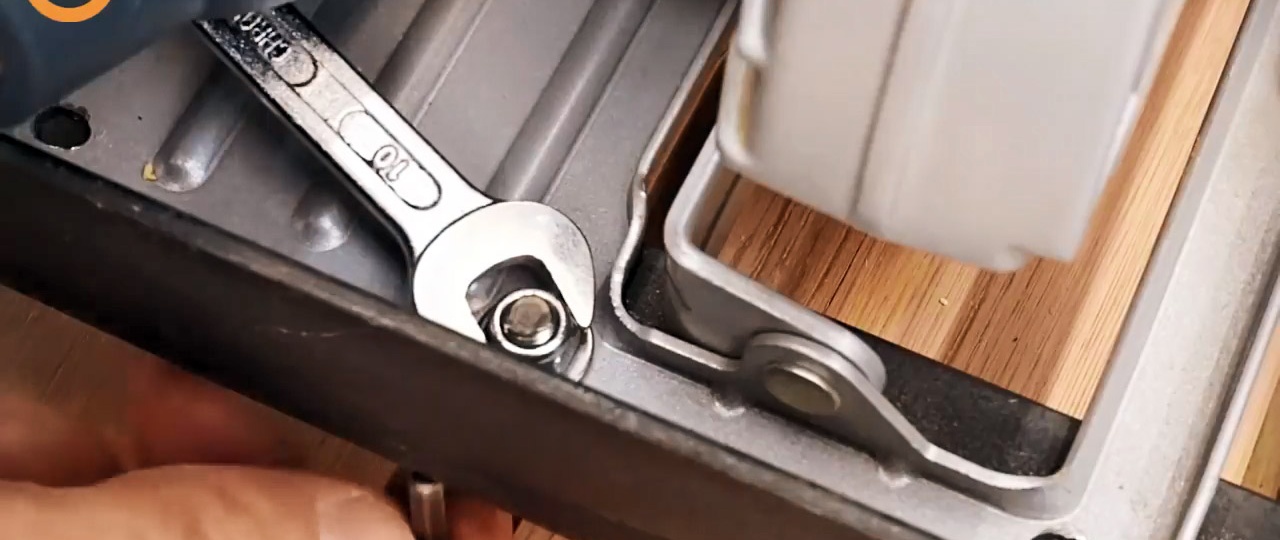
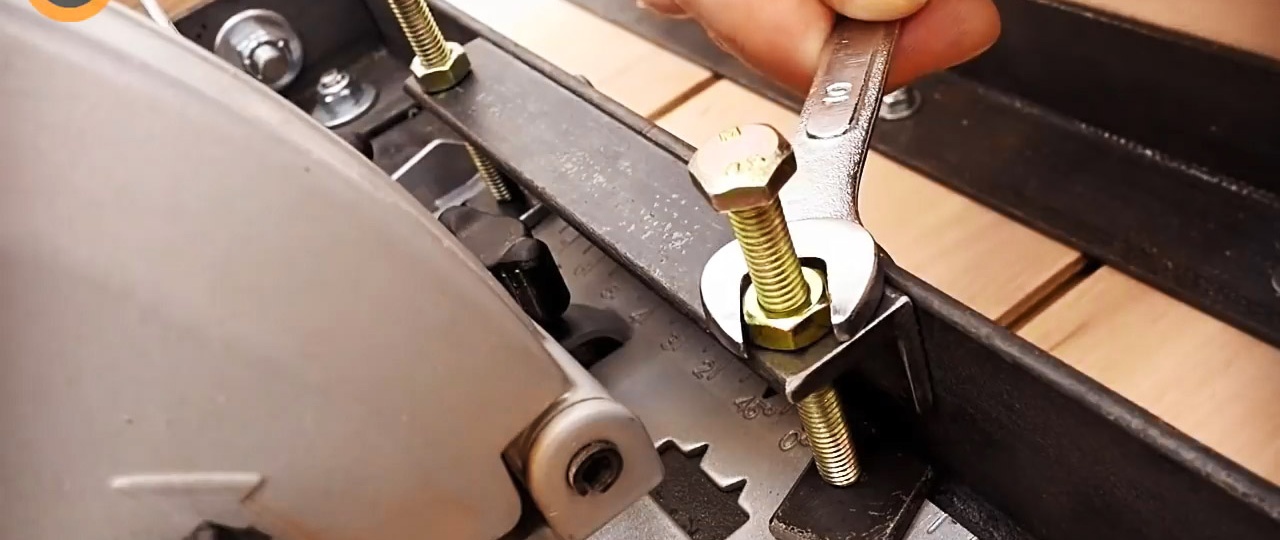
On the base you need to mill 4 T-shaped slots for clamps. 2 threaded steel plates are inserted into each of them. Studs are attached to these mortgages, on which the clamps from the folded strip will be tightened with wing nuts.

Inexpensive homemade guide with a carriage for a manual circular saw

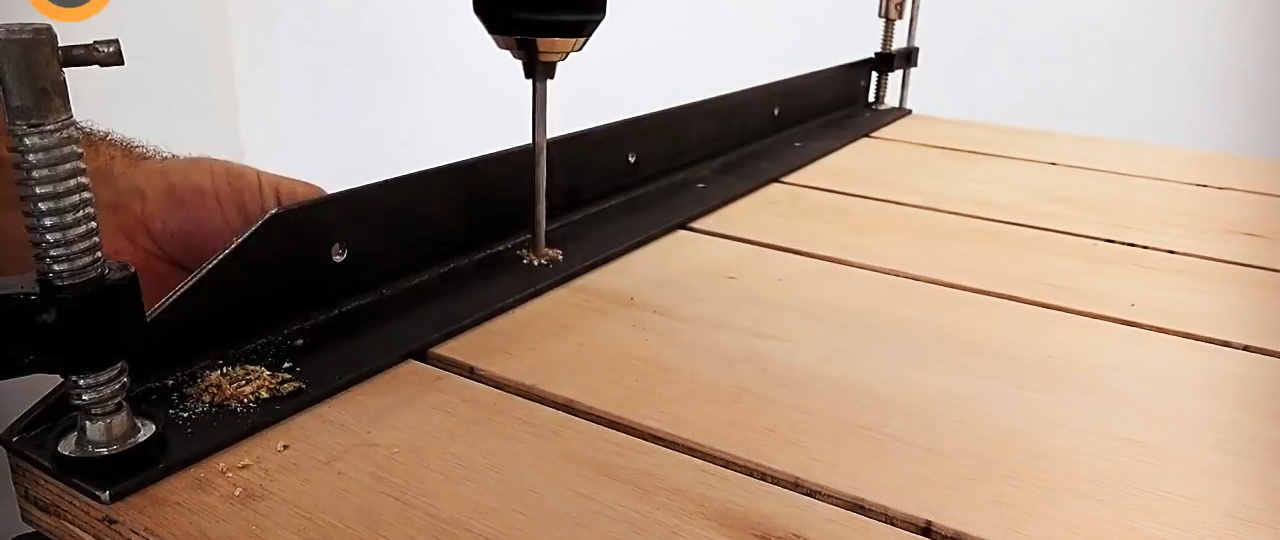
Sidewalls with cutouts are screwed onto the edges of the base. For this purpose, corner embeds are used. The guide pipes need to be screwed to the sidewalls.

Inexpensive homemade guide with a carriage for a manual circular saw

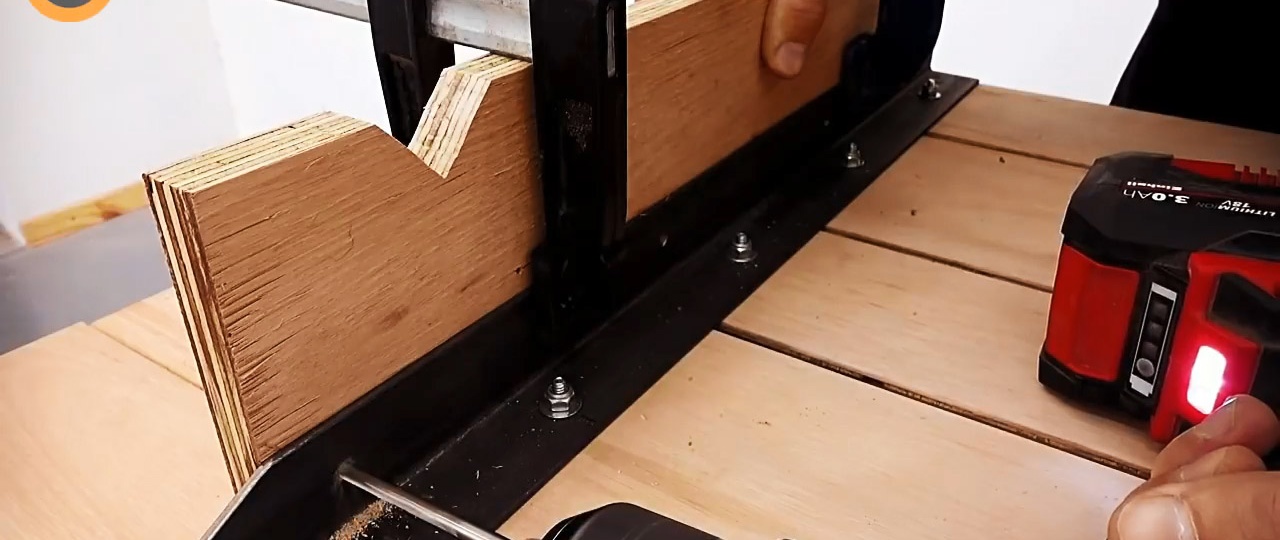
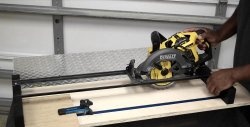
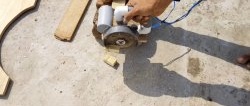
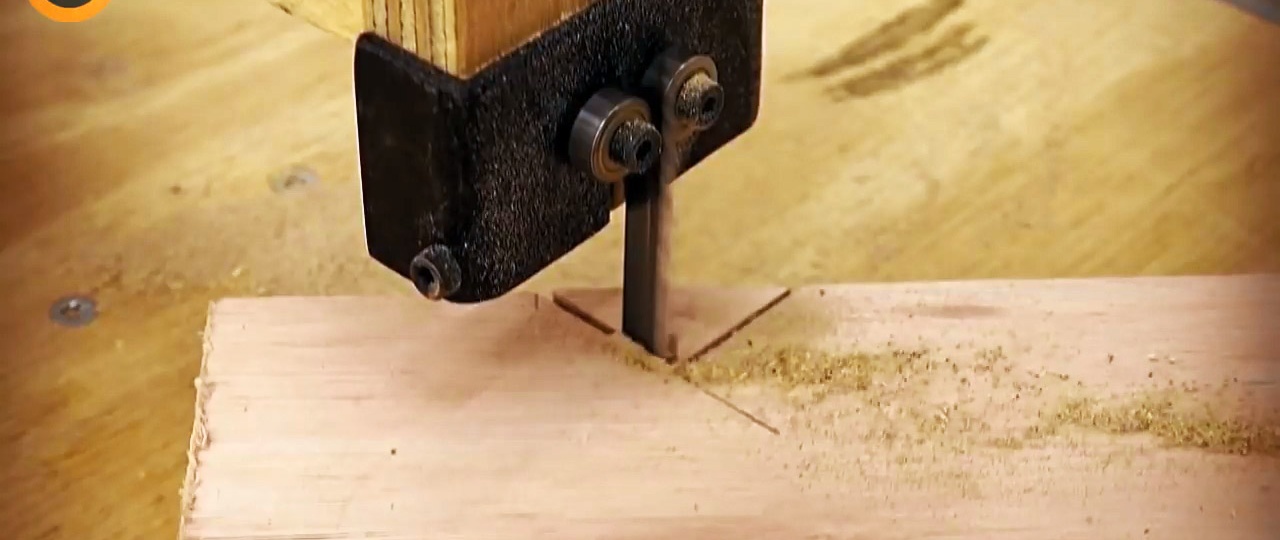
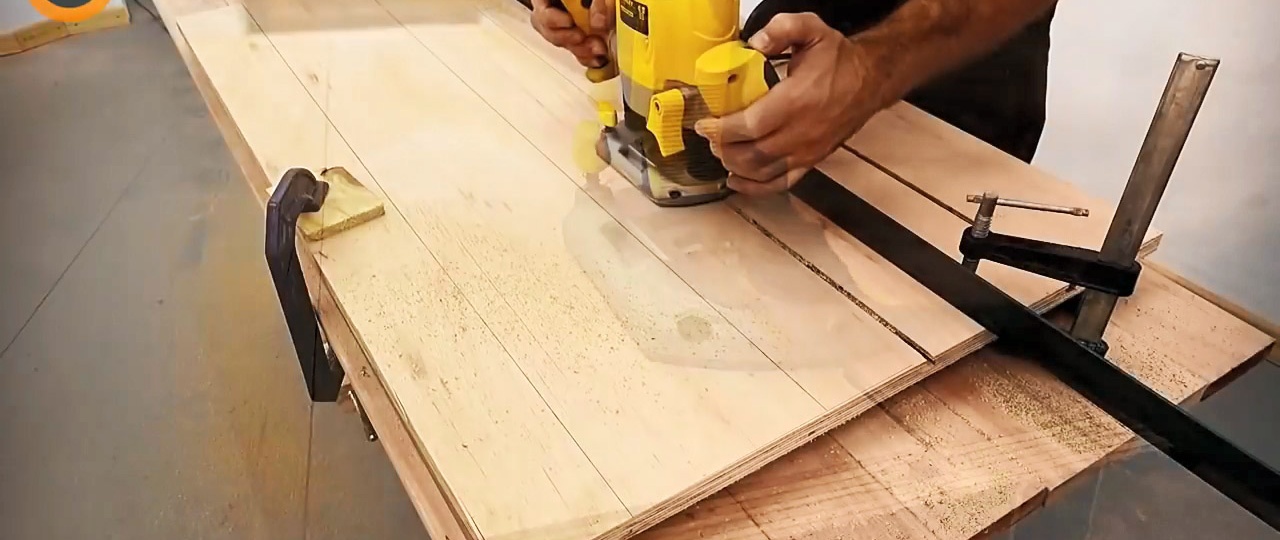
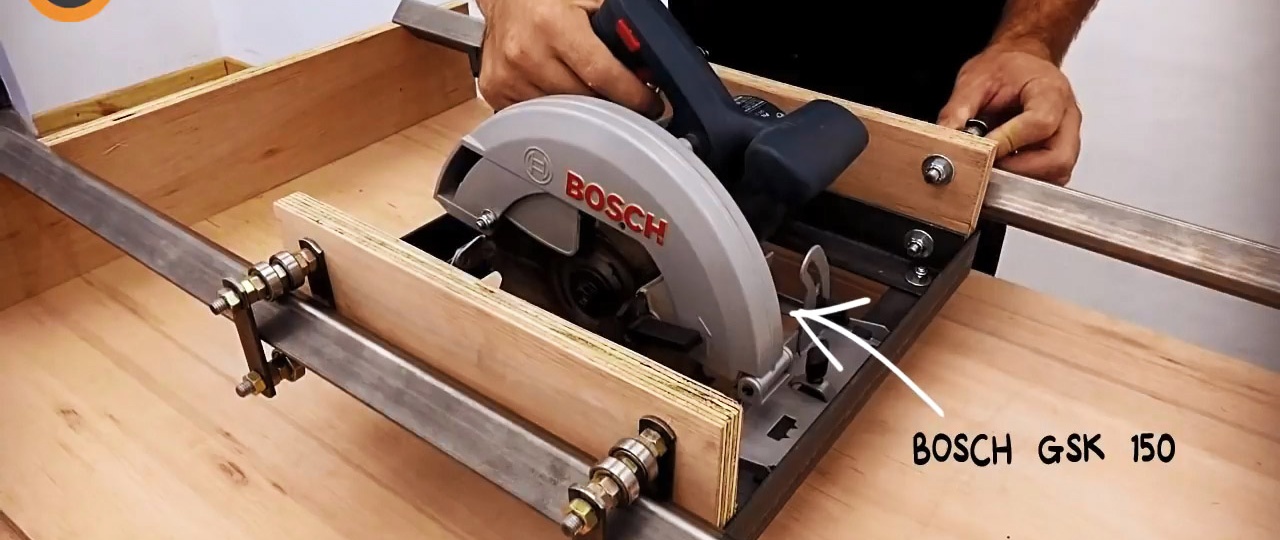
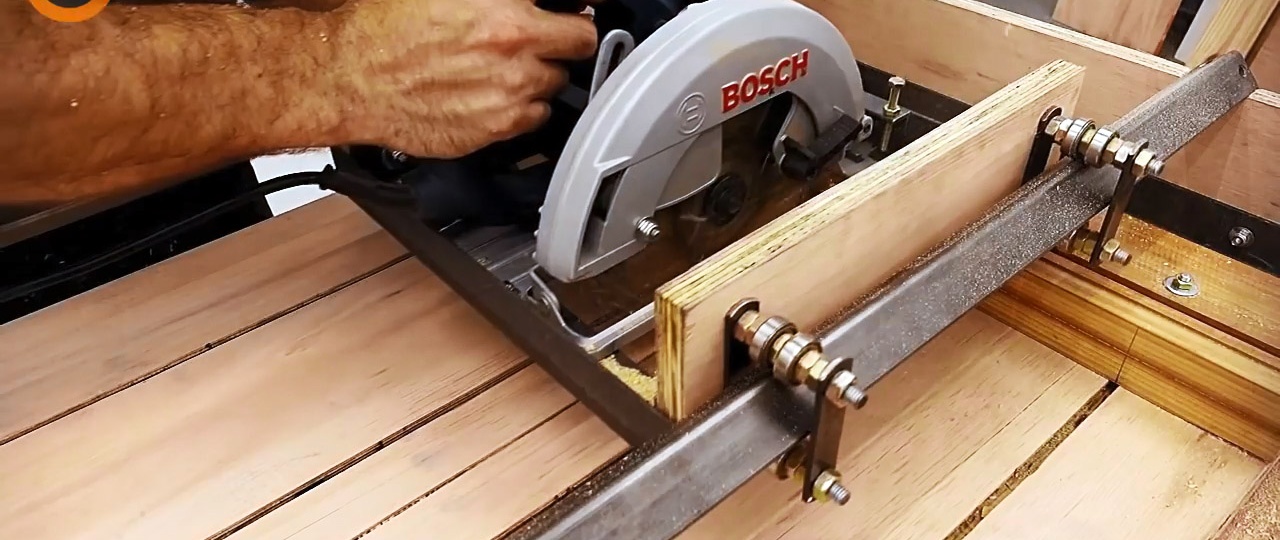
A circular saw is installed on the carriage. Its disk must be positioned strictly parallel to the machine. Then a cut is made on the base, along which it will be possible to align the workpieces when cutting.

Inexpensive homemade guide with a carriage for a manual circular saw

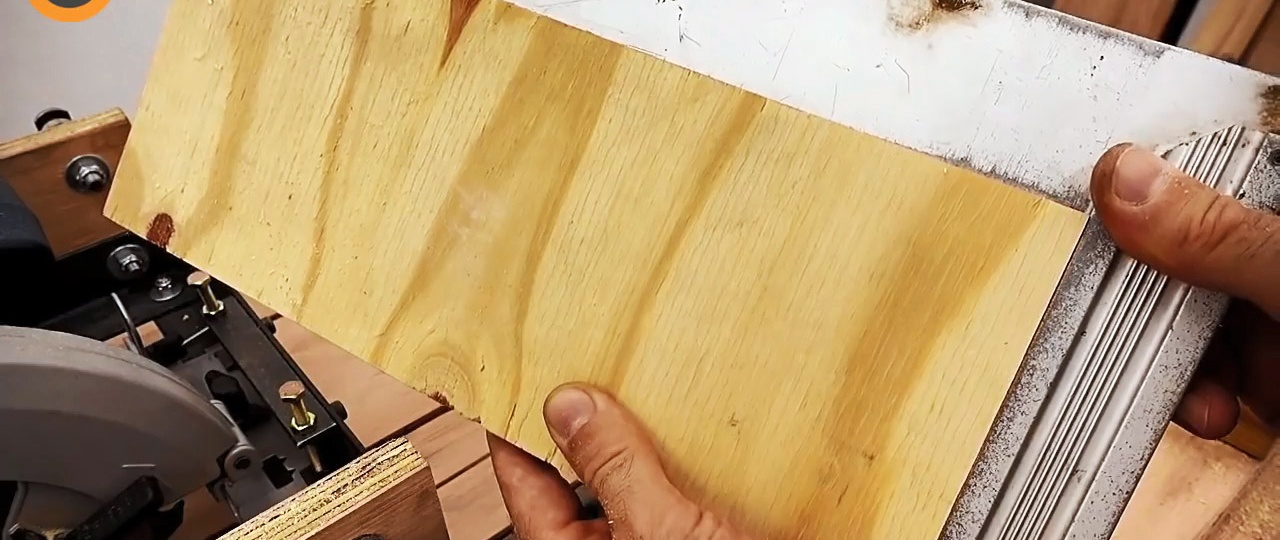
A removable cross support is made from a large beam. It will be screwed with studs into the insert plates in the T-slots. A stationery ruler is glued into it to control the length of the cut. The T-track also needs to be milled on the timber itself. This will allow you to install a wooden sliding stop in the form of a corner.

Inexpensive homemade guide with a carriage for a manual circular saw

As a result, even a budget hand-held circular saw turns into a precision sawing machine. The costs of its production are minimal, and the real benefits of homemade products are difficult to overestimate.

Inexpensive homemade guide with a carriage for a manual circular saw

Watch the video

How to make a convenient table for a router with a simple lift - https://enn.washerhouse.com/5532-udobnyj-stol-dlja-frezera-s-prostym-liftom.html

come back
Comment
  • bowtiesmilelaughingblushsmileyrelaxed relaxedsmirk
    heart_eyeskissing_heartkissing_closed_eyesflushedrelievedsatisfiedgrin
    winkstuck_out_tongue_winking_eyestuck_out_tongue_closed_eyesgrinningkissingstuck_out_tonguesleeping
    worriedfrowninganguishedopen_mouthgrimacingconfusedhushed
    expressionlessunamusedsweat_smilesweatdisappointed_relievedwearypassive
    disappointedconfoundedfearfulcold_sweatperseverecrysob
    joyastonishedscreamtired_faceangryragetriumph
    sleepyyummasksunglassesdizzy_faceimpsmiling_imp
    neutral_faceno_mouthinnocent
3+three=
Comments (8)
  1. Sergey K
    #1 Sergey K Visitors 25 March 2021 23:55
    0
    Unnecessarily complicated. A couple of bars and a couple of 25's corners are enough. We fix the corners so that the saw blade slides along them. The height of the bars so that the saw cuts through the base just a little. All! Well, unless of course you need to saw around the clock, but then you can buy a special tool ;) About 10 years ago I started it, while I was overcoming laziness and was about to publish it, the idea turned out to be in the air ;)
    But the broaching mechanism is interesting, you can try attaching it to a router, like a thickness planer for infrequent work
    1. Yuri_
      #2 Yuri_ Visitors March 26, 2021 01:31
      0
      But I’m wondering: what is the advantage of such a design over the option in which the saw is fixed motionless, and the object being cut moves (as in a regular circular saw)?
      1. Sergey K
        #3 Sergey K Visitors March 26, 2021 11:23
        0
        I mainly use this option instead of trimming.And on a circular saw, it is sawn lengthwise, although I also adapted a stop here. You can also set any sawing angle, and even saw off two boards at once and get 100% matching angles!
        1. Yuri_
          #4 Yuri_ Visitors 26 March 2021 14:52
          0
          But if you simply screw this same manual circular saw under the table, then you get exactly the same functionality as in the article, but without restrictions on the size of the board/slab.

          And yes, if you add a second one to the fixed stop, sliding along it, with an adjustable angle, then it becomes possible to change the cutting angle not in one plane, but in two.
          1. Sergey K
            #5 Sergey K Visitors 26 March 2021 15:35
            0
            In some cases, it doesn’t work; you can trim a short piece of wood, yes, but what to do if the board is 4 meters long? You need two people to move it and it’s not a fact that you can move it smoothly and no stop will help. And this is where this device will help. I also cut chipboard for her closet. When you need many identical parts, it is more convenient when the tool moves, rather than the part itself. You can change the fixed stops.
            I agree that the need is relatively rare, which is why in the first post I wrote that the design is unnecessarily complicated.
            1. Yuri_
              #6 Yuri_ Visitors 26 March 2021 20:36
              0
              Understood.
              It’s just that I once made a machine for myself - to cut along, and diagonally, and edges at an angle (remove chamfers), but not wood, but ceramic tiles - there is no problem of four meters blush
  2. Sergey K
    #7 Sergey K Visitors March 26, 2021 00:00
    0
    One thing I didn’t understand was how to tighten the backlashes on carriages that ride on guides, IMHO this is not provided for at all :(
    1. Yuri_
      #8 Yuri_ Visitors 28 March 2021 20:55
      0
      It seems that it is not provided.
      I would place between the bearings not a nut, but a bushing of a selected size (which can be a stack of washers).Or even tried leaving the space between the bearings empty altogether.

How to repair a remote control

Handmade watches | Do it yourself

DIY bi-xenon lens installation

How to stick self-adhesive film on the corners and edges of furniture with your own hands

«Do it yourself - with your own hands» - a site of interesting homemade products made from scrap materials and items at home. Step-by-step master classes with photos and descriptions, technologies, life hacks - everything a real master or just a craftsman needs for needlework. Crafts of any complexity, a large selection of directions and ideas for creativity.

We recommend reading

Washing machine error codes