Those who like to make beautiful things with their own hands may find these ideas useful. The first option can be used even in art classes with children of almost any age. The second is more labor-intensive, but the result is worth it. Shall we get started?
Candlestick made of clay and beads.
Materials:
Blue clay,
Bowl or small basin
Oilcloth,
Beads of the same color, but different shades or beads,
Tea candle.
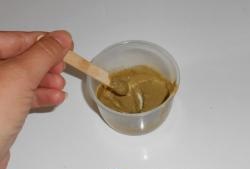
Knead the clay and fill it with a small amount of water for several hours. During this time, the water will saturate all the pieces and grains of clay and the clay can be easily kneaded until smooth. The work is, frankly, dirty.
If you do not plan to work with clay right now, then the soaked clay should be wrapped in a damp cloth and placed in a plastic bag. The clay will not dry for several days.
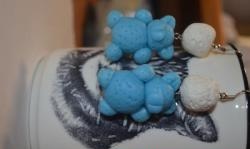
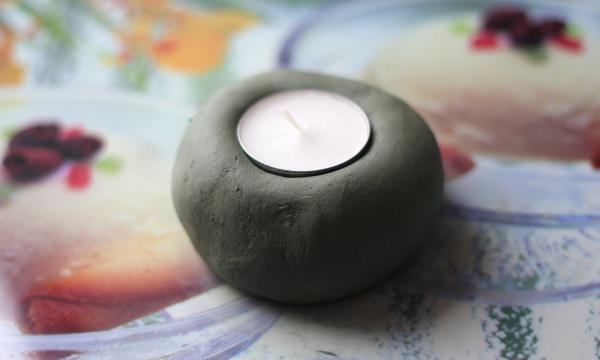
Roll a piece of clay the size of a large apple into a ball.
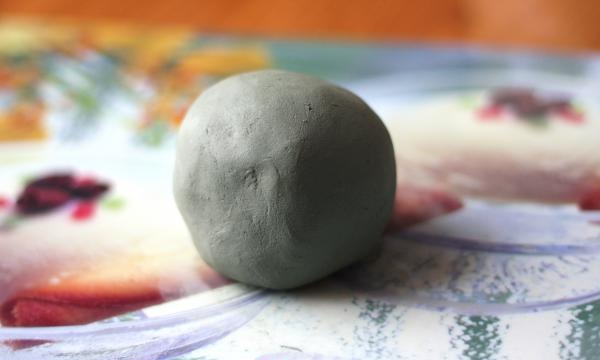
There should be no cracks or obvious irregularities on the surface of the ball. Press the tea light into the ball like this.
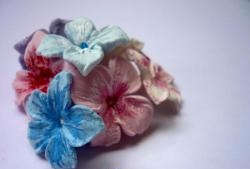
All that remains is to decorate the candlestick with beads. I used different shades of green.
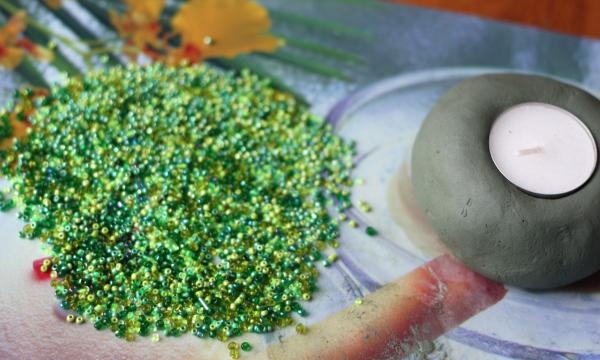
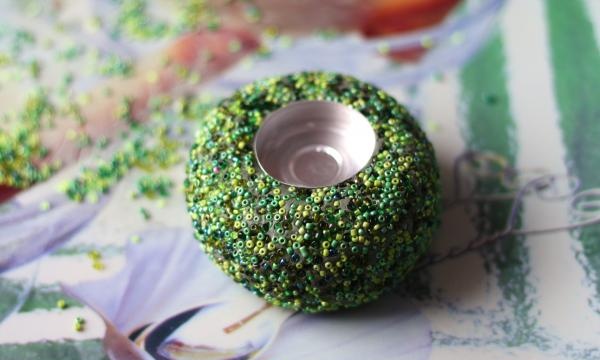
One candlestick took a handful of beads. We pour the beads evenly onto the oilcloth and begin to roll them out with a candlestick so that the beads are pressed into the clay.And so on from all sides until the candlestick becomes smooth.
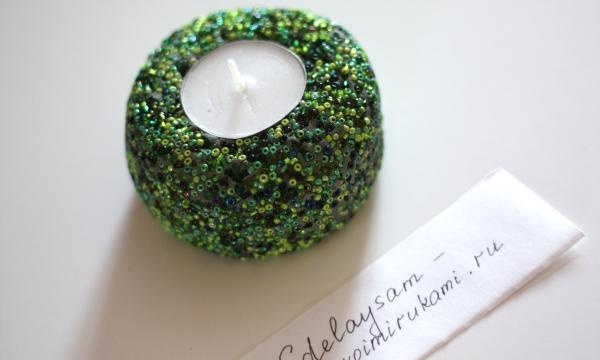
In a few days the clay will dry and the candlestick will be completely ready. You can put a heating boiler on it and things will go faster.
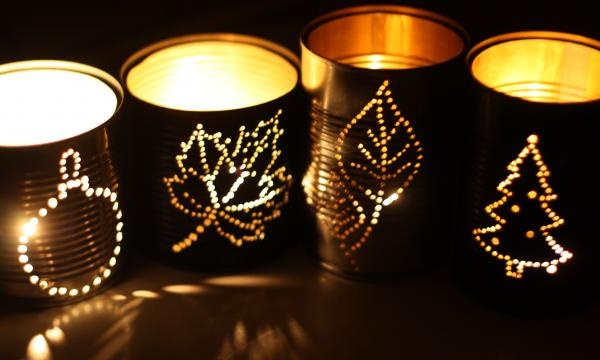
Candlesticks made from tin cans.
These are very impressive candlesticks that will be appropriate not only for New Year's Eve, but can also decorate your garden in the summer.
We will need:
Jars with self-opening lids – 2 pcs.,
Tea candles – 2 pcs.,
Glue stick,
Paper,
Pencil,
Aerosol paint – 1-2 colors,
Drill.
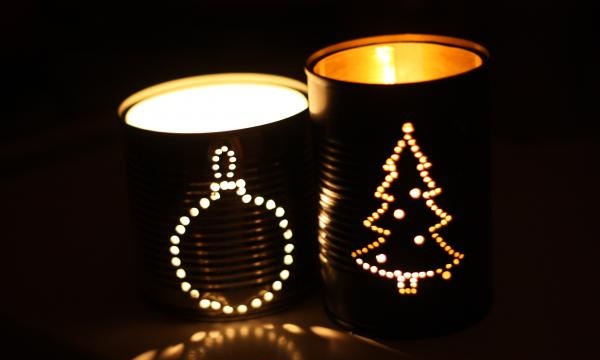
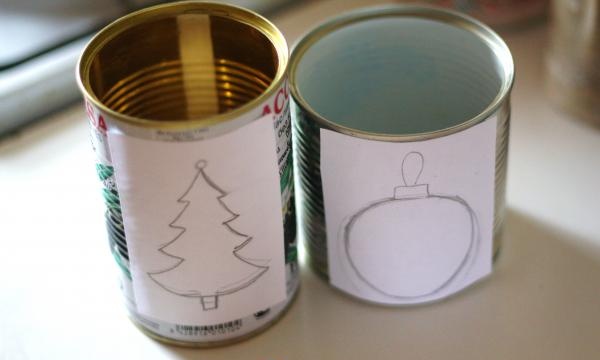
Using a pencil, we make a thematic but simple drawing. For the New Year I drew a Christmas tree and a ball. Glue the picture with glue to the jars.
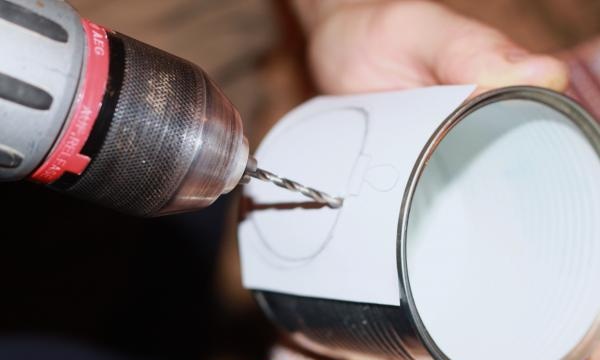
When the glue has dried, drill small holes along the contour of the pattern with a drill.
Remove the paper, wash the jars of glue and dry.

We spray paint it some neutral color. And, in fact, that’s all!
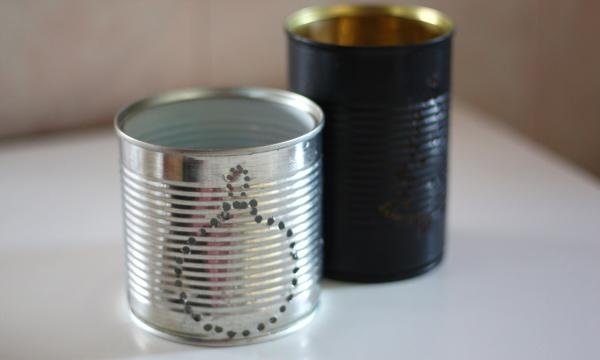
All you have to do is wait for the paint to dry and place candles inside the jars. This is what happens.