Fans are very effective at saving you from the heat; unfortunately, it is not always possible to use them. But that's definitely not the case with this DIY portable battery-powered fan. You can carry it with you even to work or school. To avoid suffering from the heat, make yourself such a device.
Materials:
- Plastic sewer pipe 110 mm;
- sheet plastic;
- Super glue;
- electric motor 3-9 V - http://alii.pub/5qa7qp
- plastic fan impeller 100 mm;
- two-wire wire;
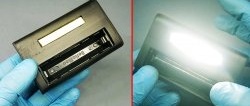
- 18650 batteries – 2 pcs. - http://alii.pub/5becfz
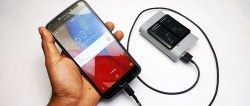
- Micro USB charging module for Li-ion batteries -
- PWM regulator - http://alii.pub/5q1o2r
Fan manufacturing process
From a 110 mm sewer pipe you need to cut 2 rings 30 and 20 mm wide. From the narrow one, you need to remove a piece 40-50 mm long and round off the resulting edges. This will be the diffuser holder, which will serve as the second ring.

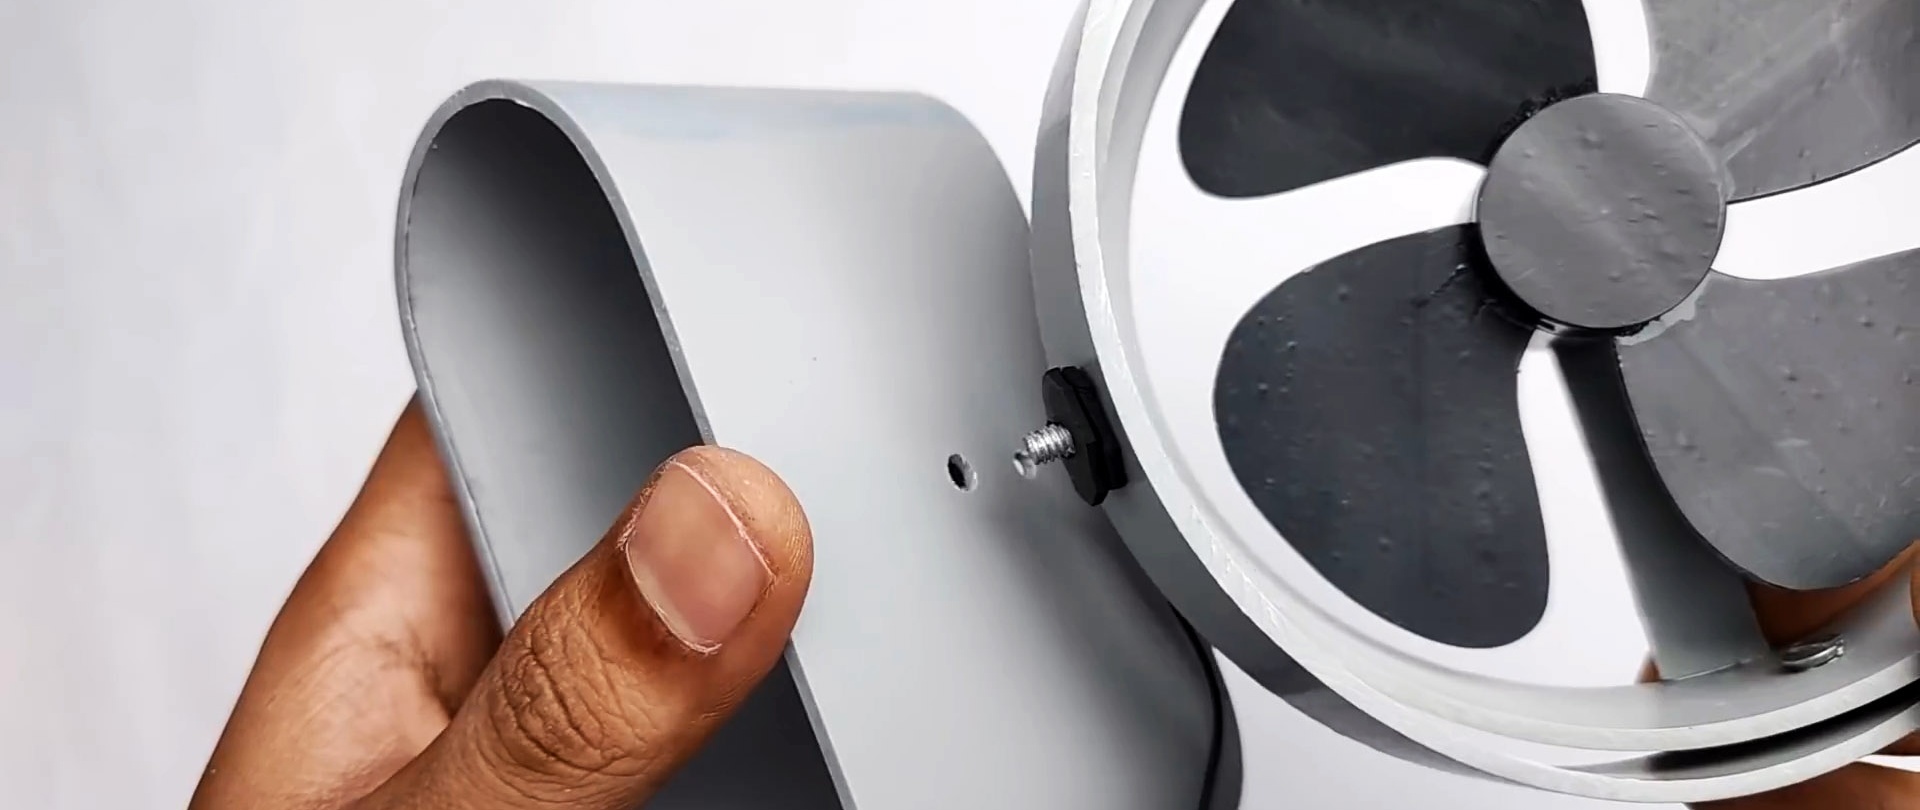
The wide ring must be drilled in two places exactly opposite each other. A half ring is also drilled around the edges and in the center.

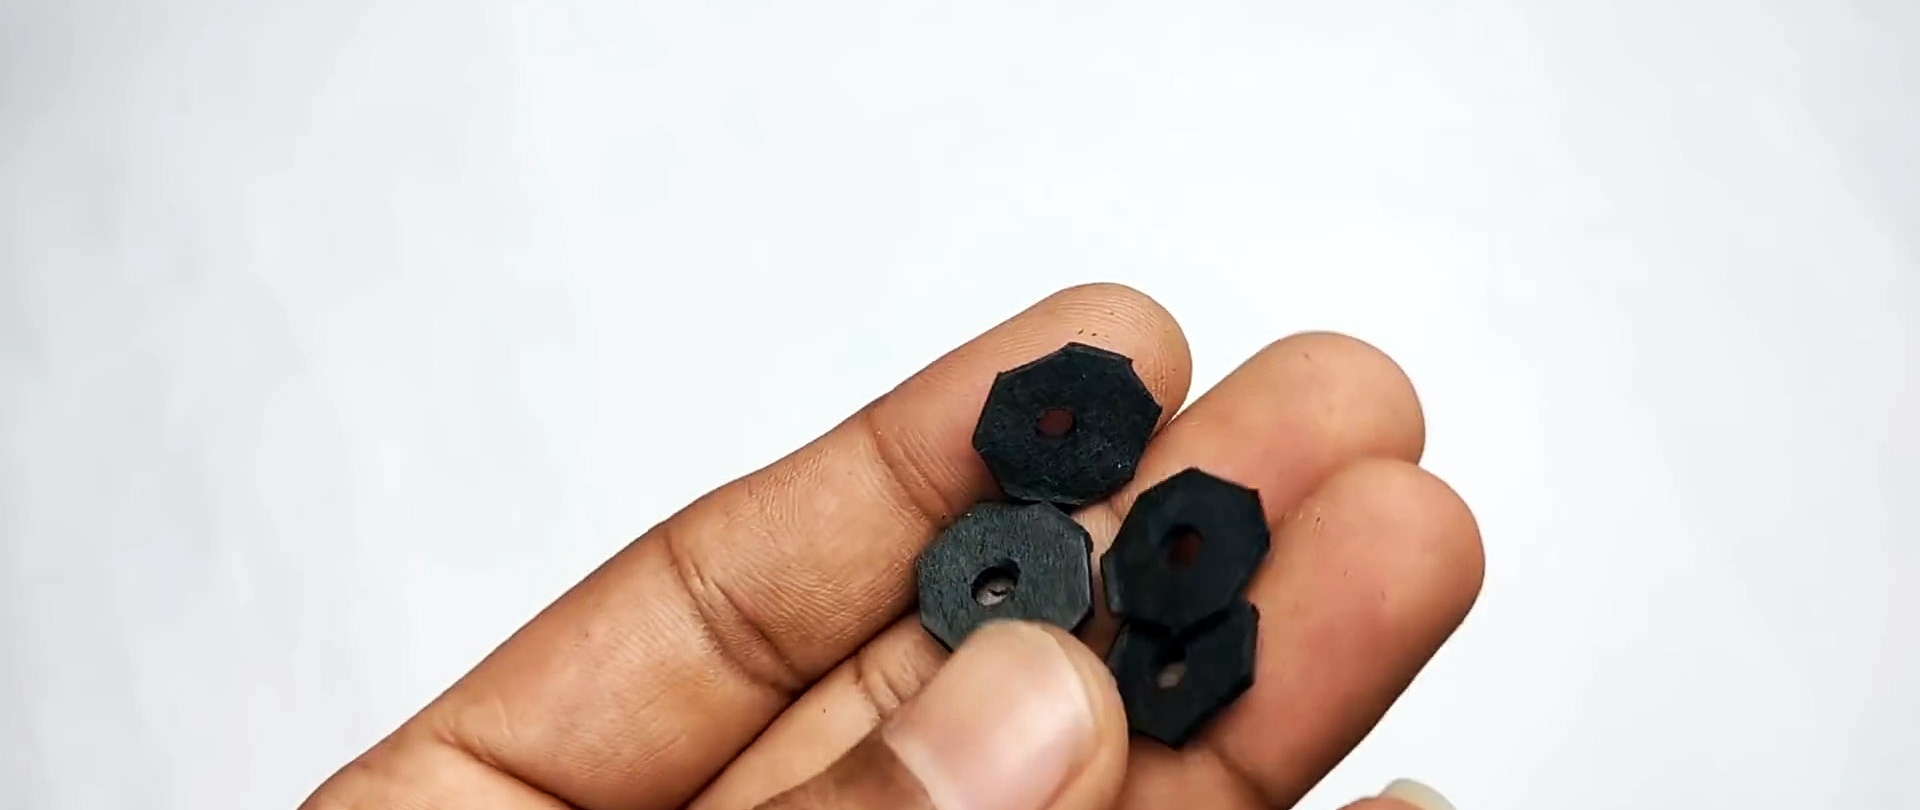
Washers are cut from rubber.With their help, you need to create a gap between the ring and the half-ring, and then tighten them with screws.

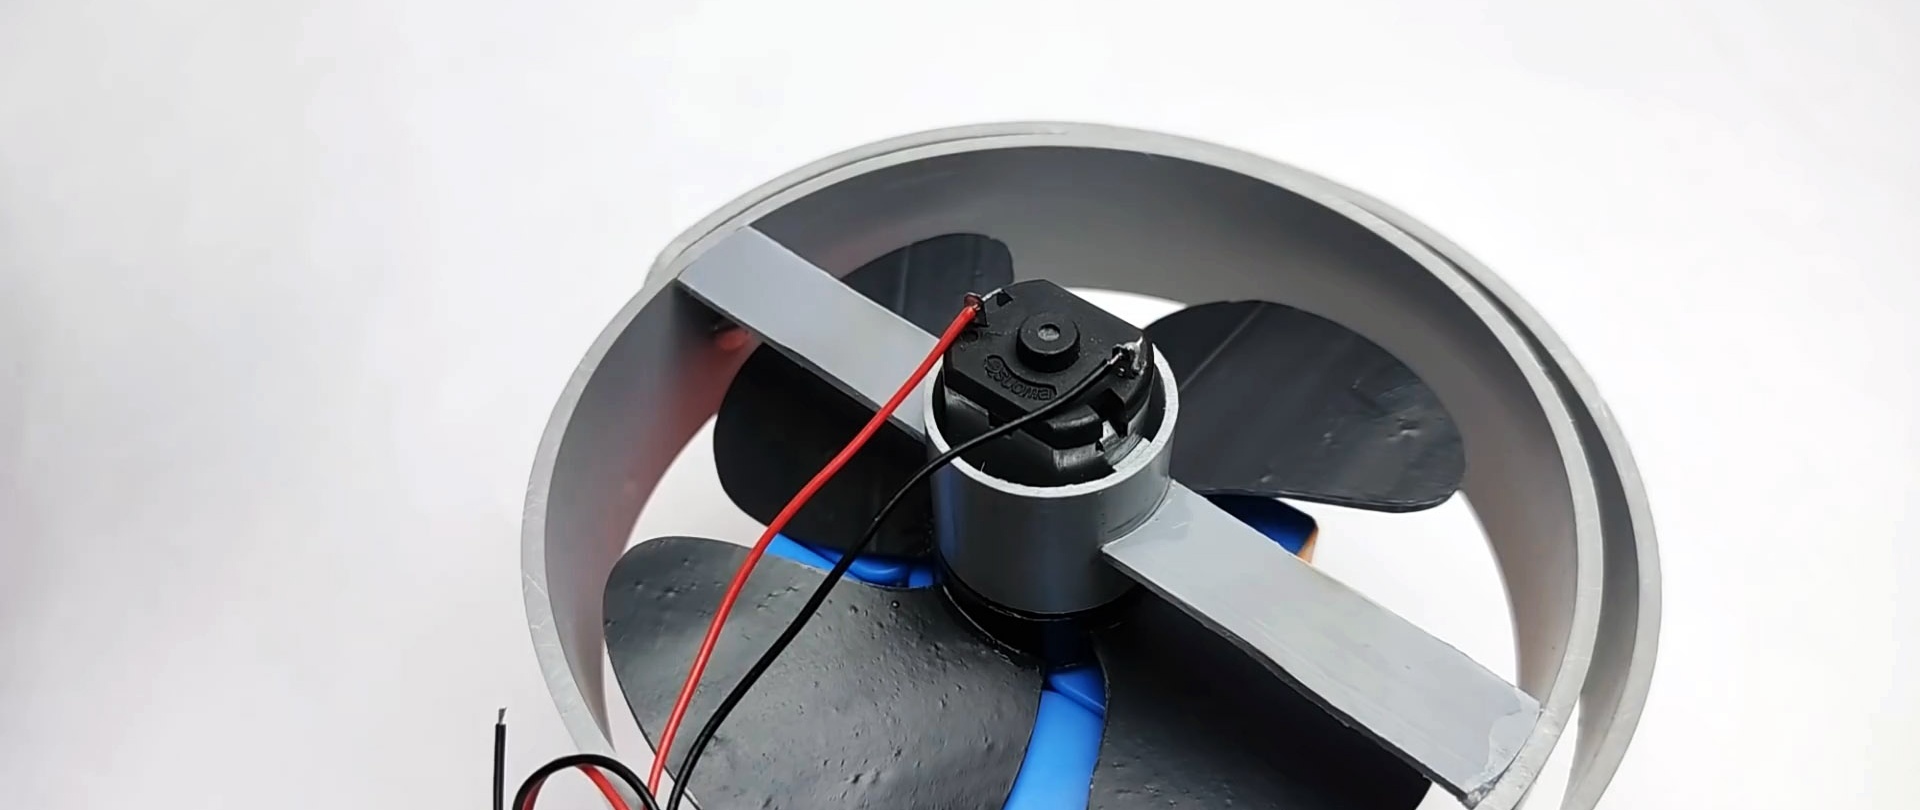
A ring 30 mm long is cut from a thin plastic tube. You also need to cut 2 strips from it. The ring and strips are glued into the diffuser. A small DC motor is placed in it and also glued.


An impeller is placed on its shaft.

A two-wire wire is soldered to the motor contacts. It must be routed to the hole in the center of the diffuser holder, secured with glue.

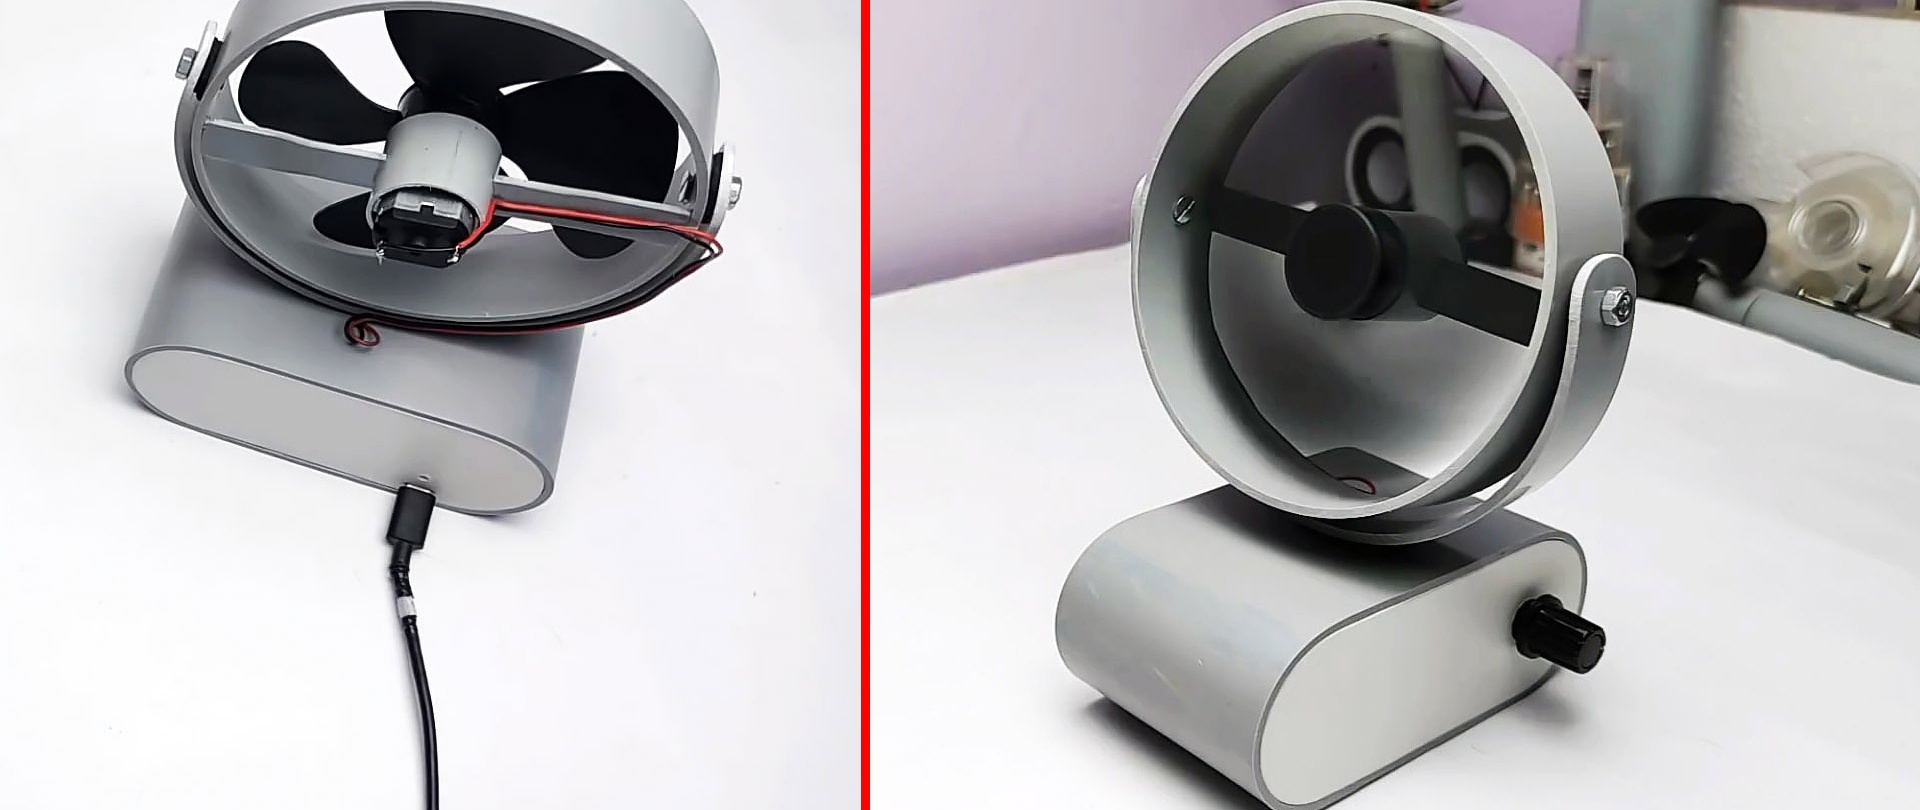
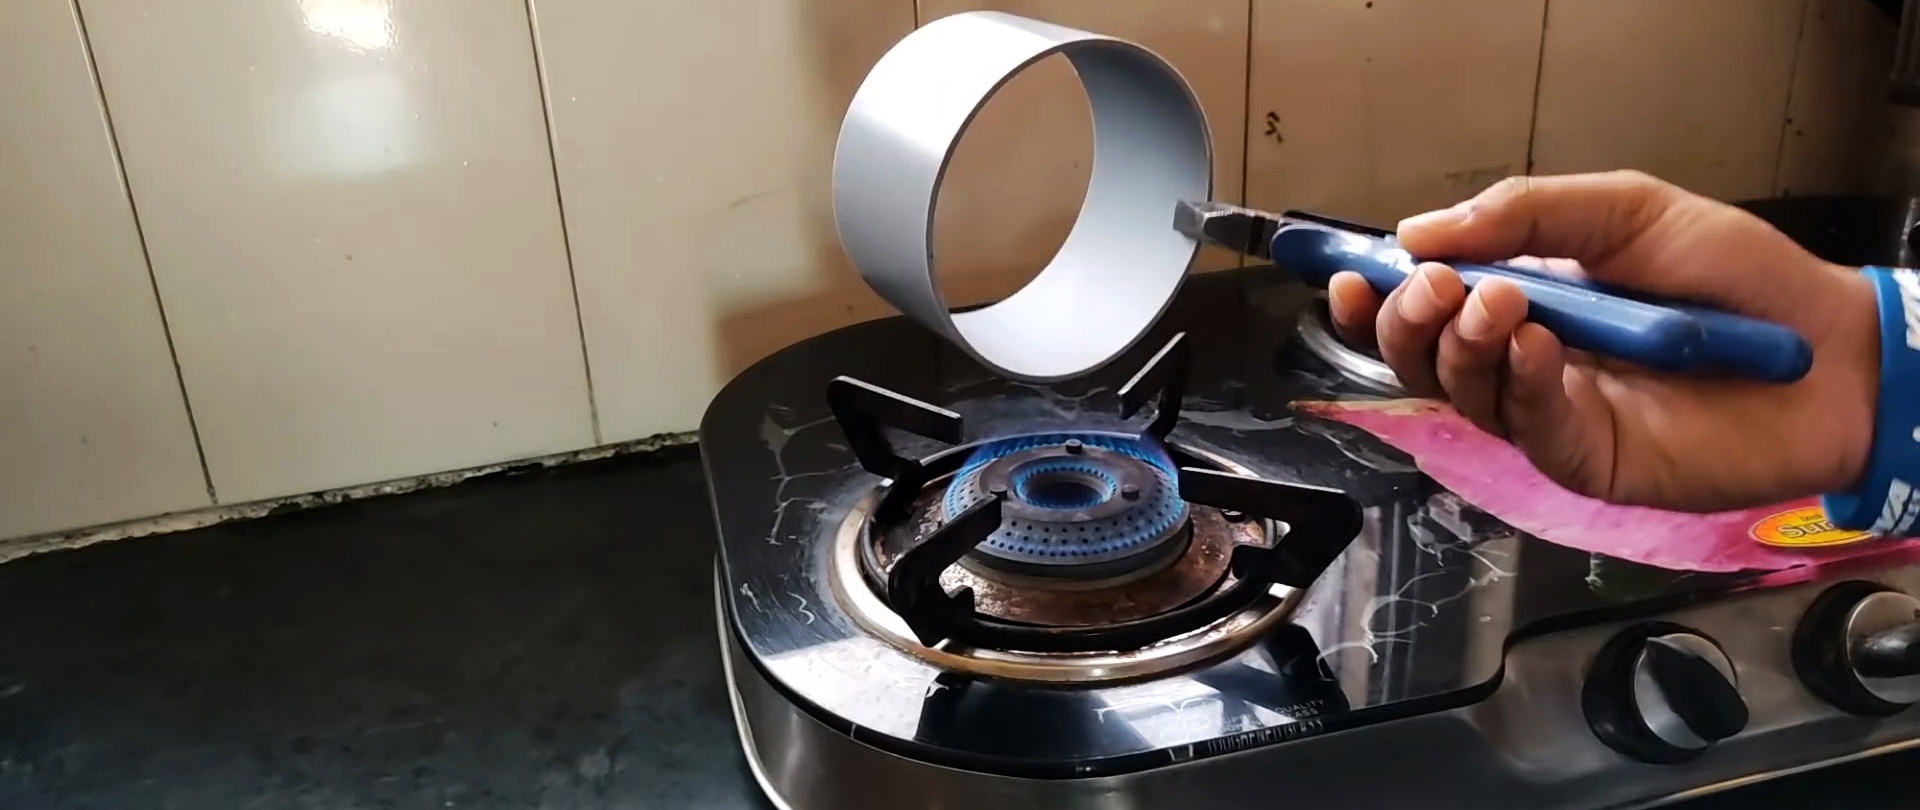
The fan stand is made from a 110 mm pipe 60-80 mm long. It needs to be heated and stretched by inserting 2 50 mm tubes until the workpiece hardens. Its edges are processed with a file. Plugs are cut out of sheet plastic for it.


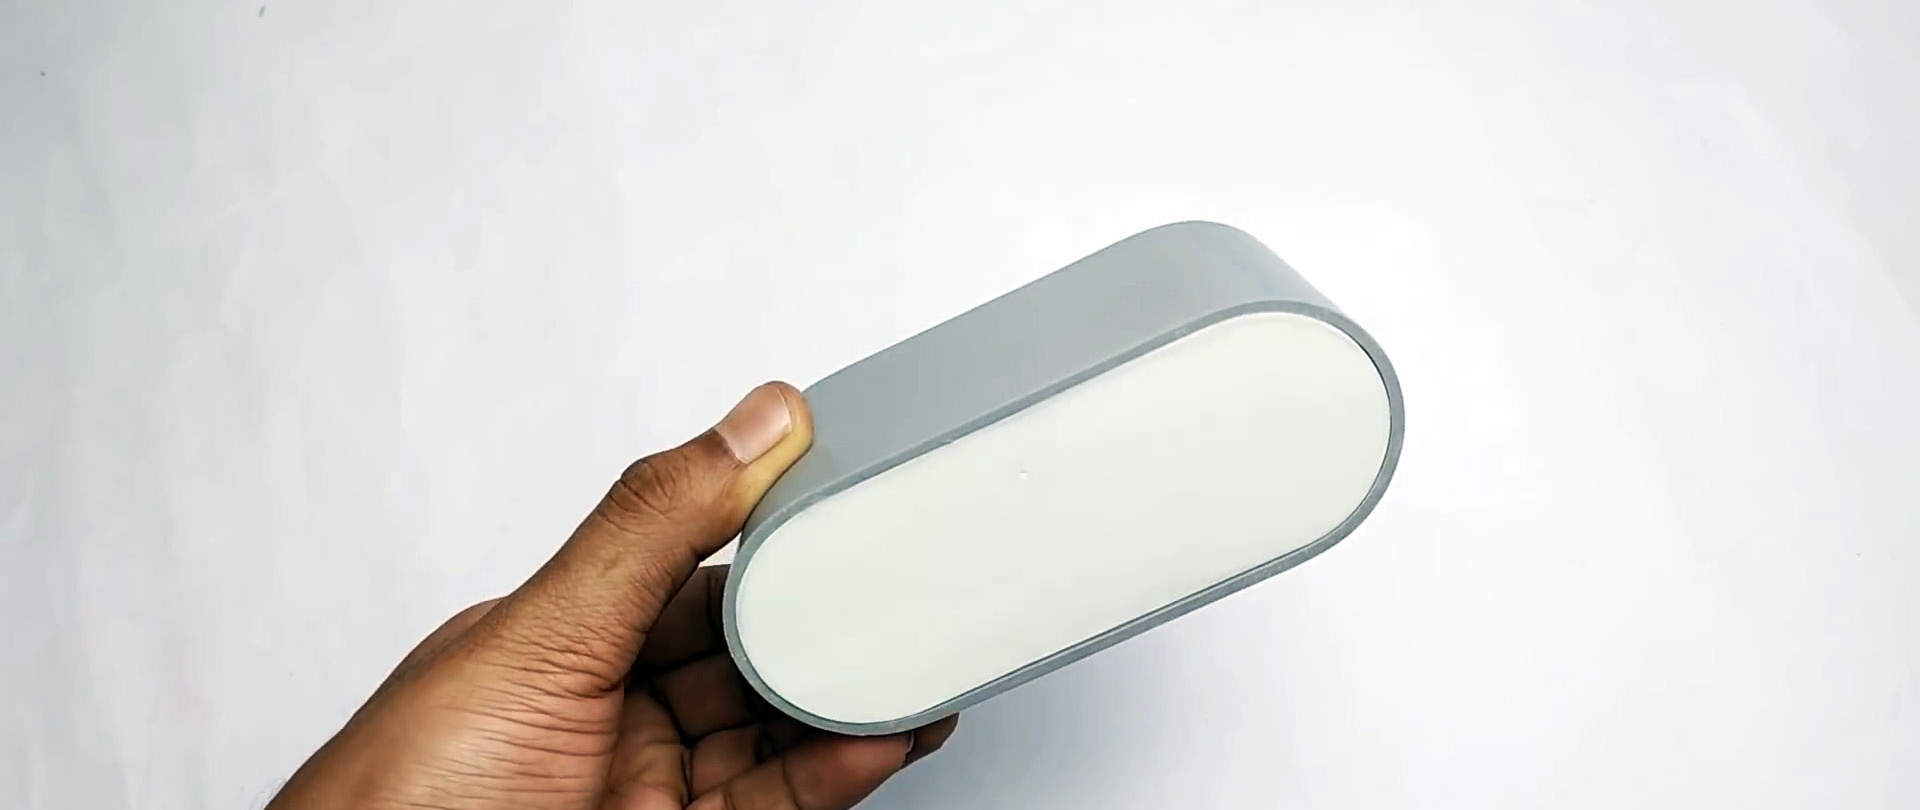
A hole is drilled in the center of the sole and the diffuser mount is screwed through it. A rubber washer is placed between them. Another hole is made on the side to bring the wire from the engine inside.
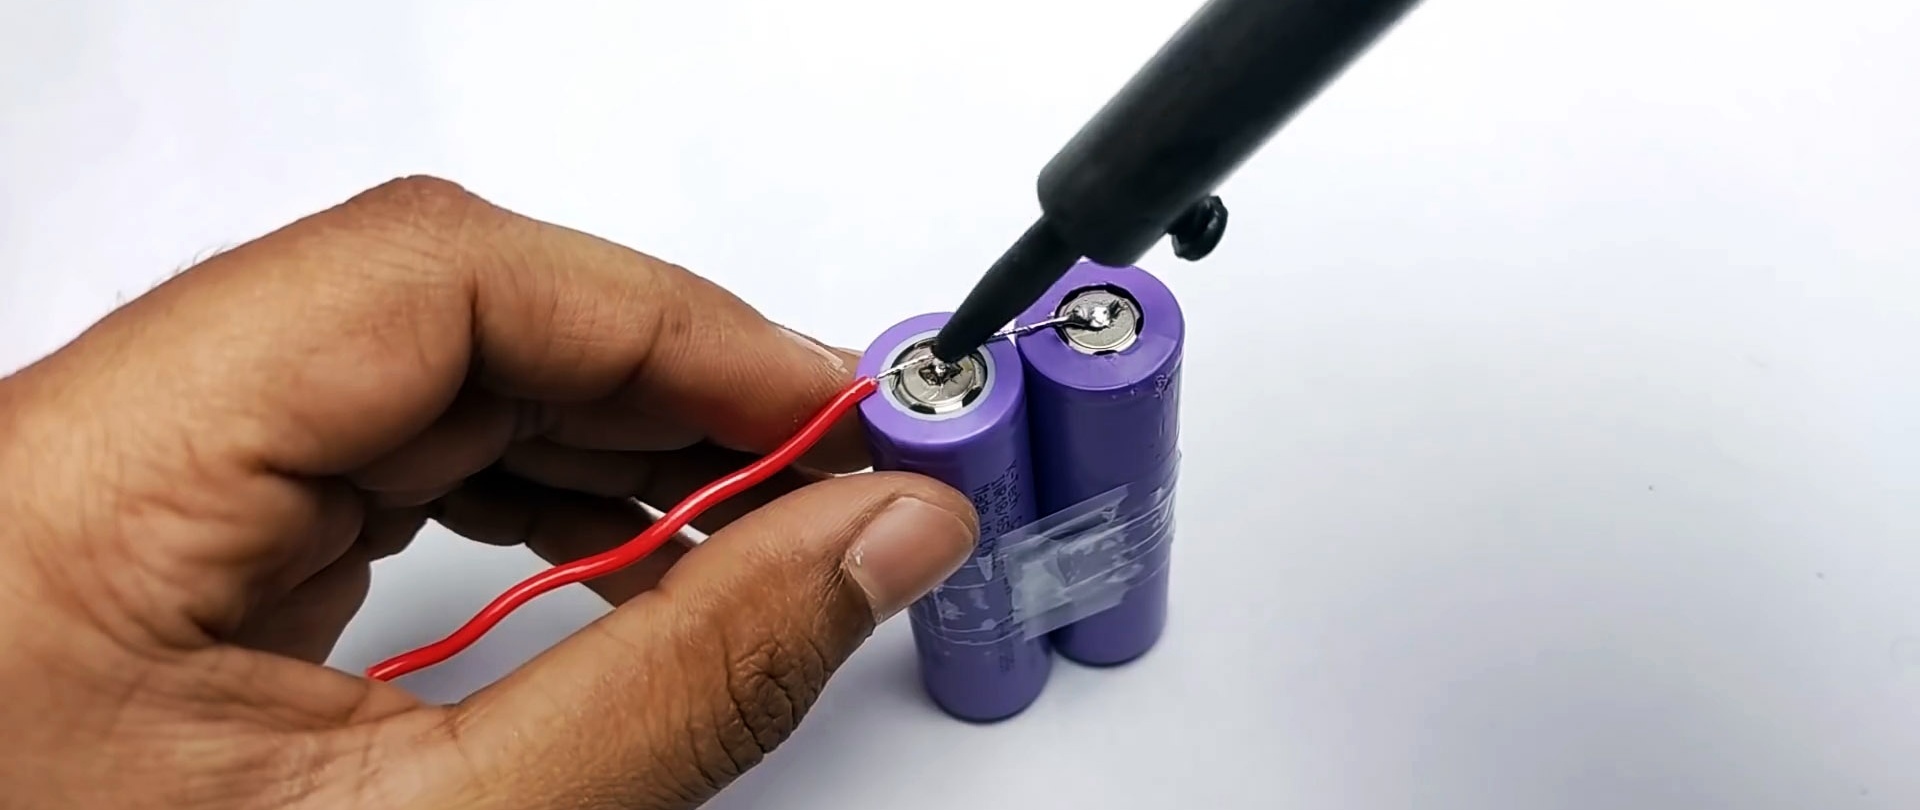
Wires are soldered to the contacts of the two batteries. They are then connected to the charging module. The connection is made according to the proposed scheme with the connection of a PWM regulator.


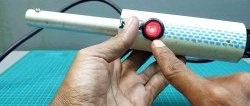
Electronic components with batteries are hidden in the base of the fan. The PWM controller regulator is output through a plug, just like the charging module connector. The components and plugs are secured with glue.
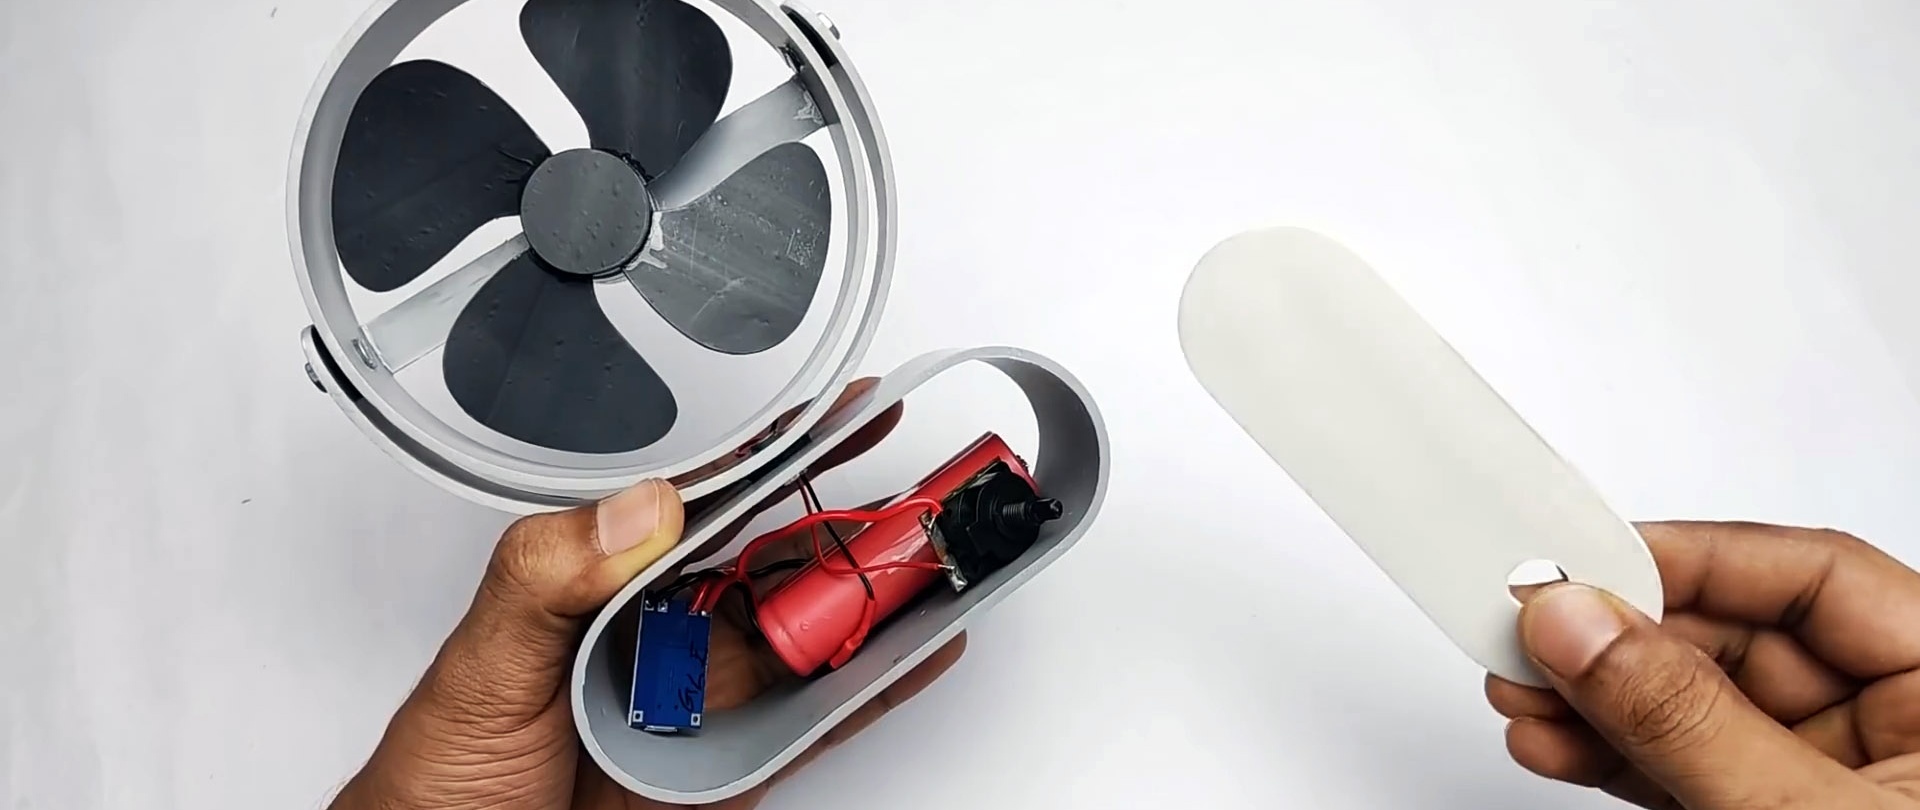
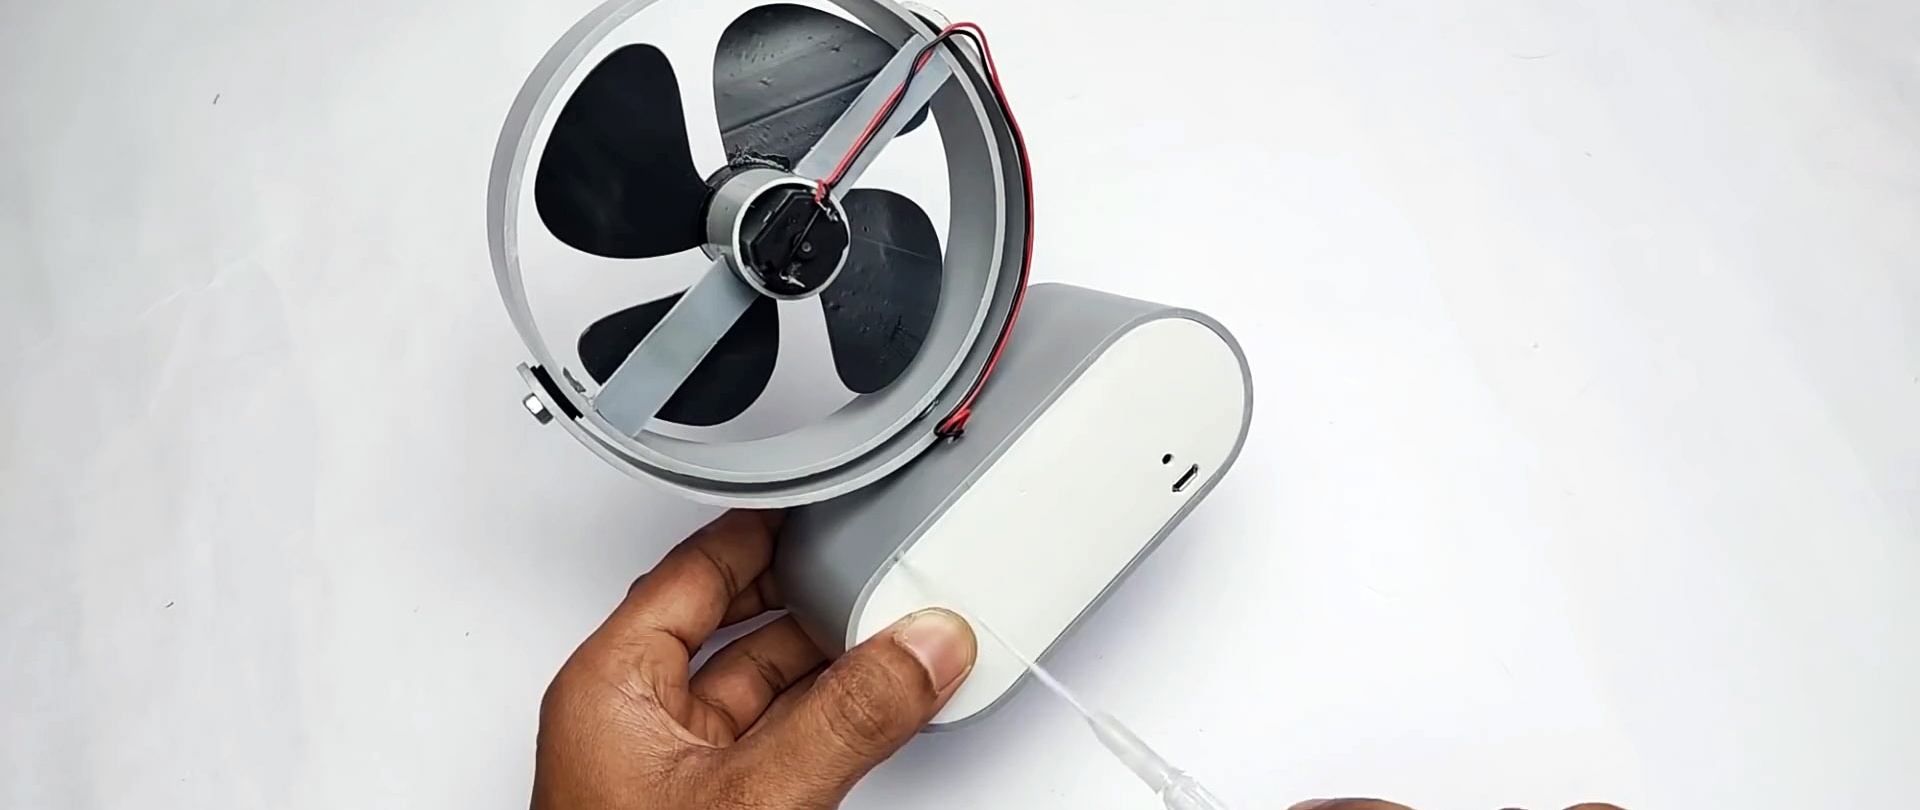

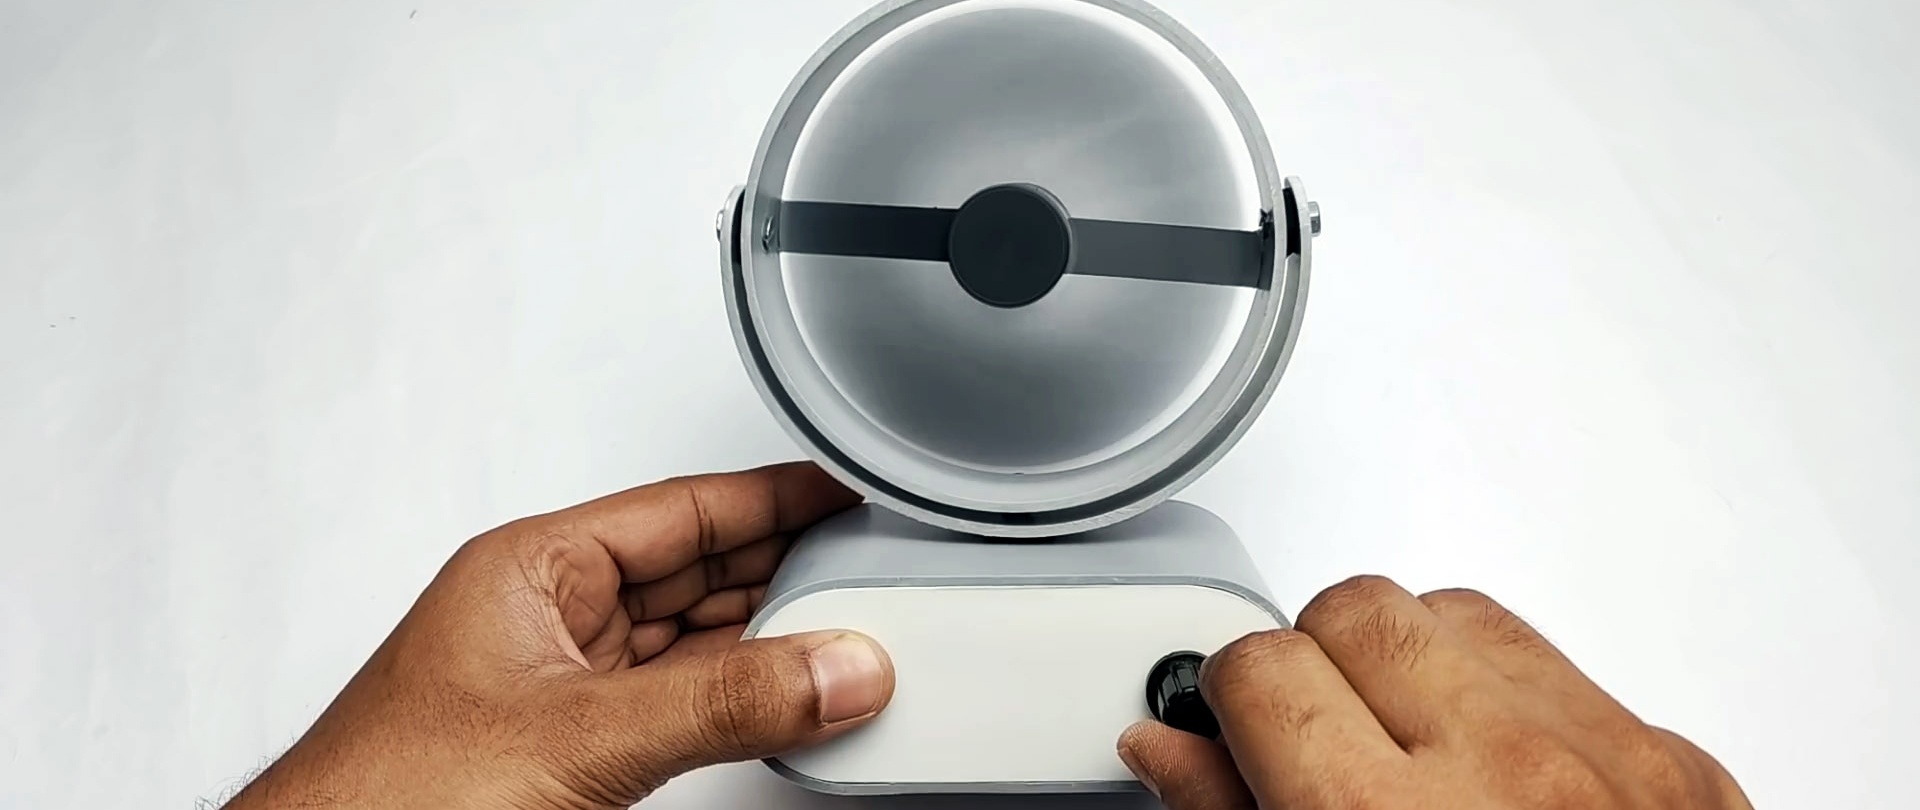
That's it, the speed-controlled fan is ready for use.