Do it yourself
Life hacks, master classes, useful tips, recipes.
home » Construction and repair » How to quickly and cheaply make garden tiles with your own hands

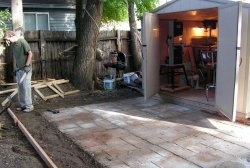
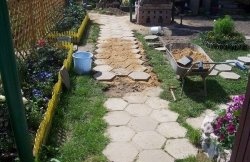
To arrange paths in the garden, you can make concrete slabs with your own hands. It will cost very little and will not take much time. It can be laid closely, or you can make walking paths.

What you will need:

  • Mold for casting tiles (you can use a plastic shoe tray);
  • working off;
  • dropout;
  • cement;
  • water;
  • masonry mesh.

Tile making process

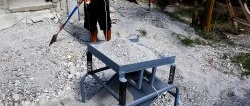
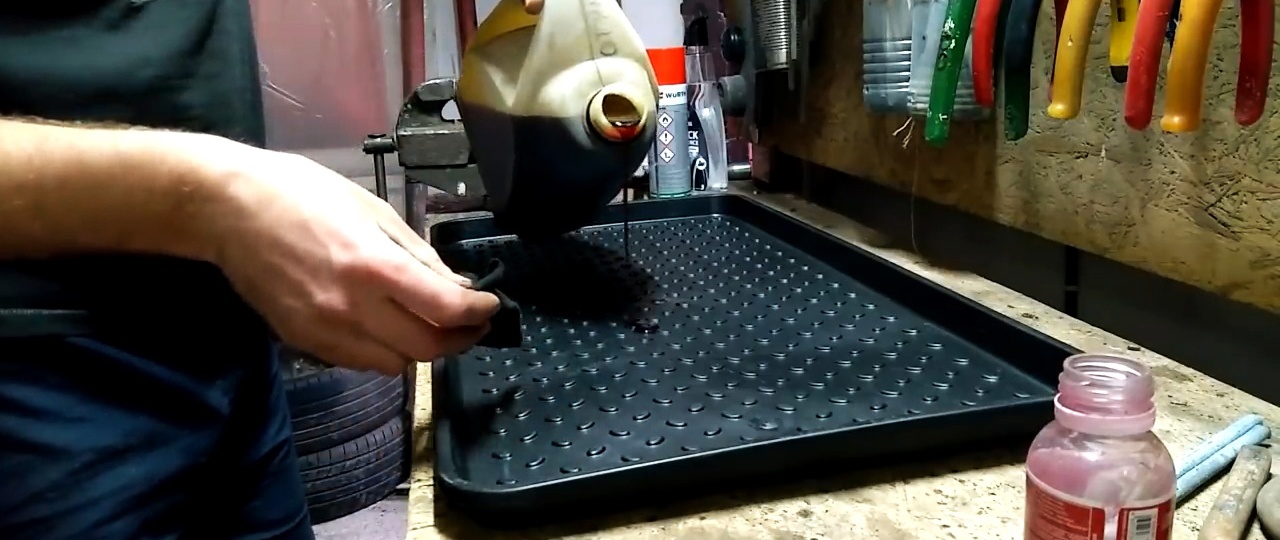
You need to select a plastic form into which the concrete will be poured. Its height must be at least 20 mm (in this example a shoe tray is used).

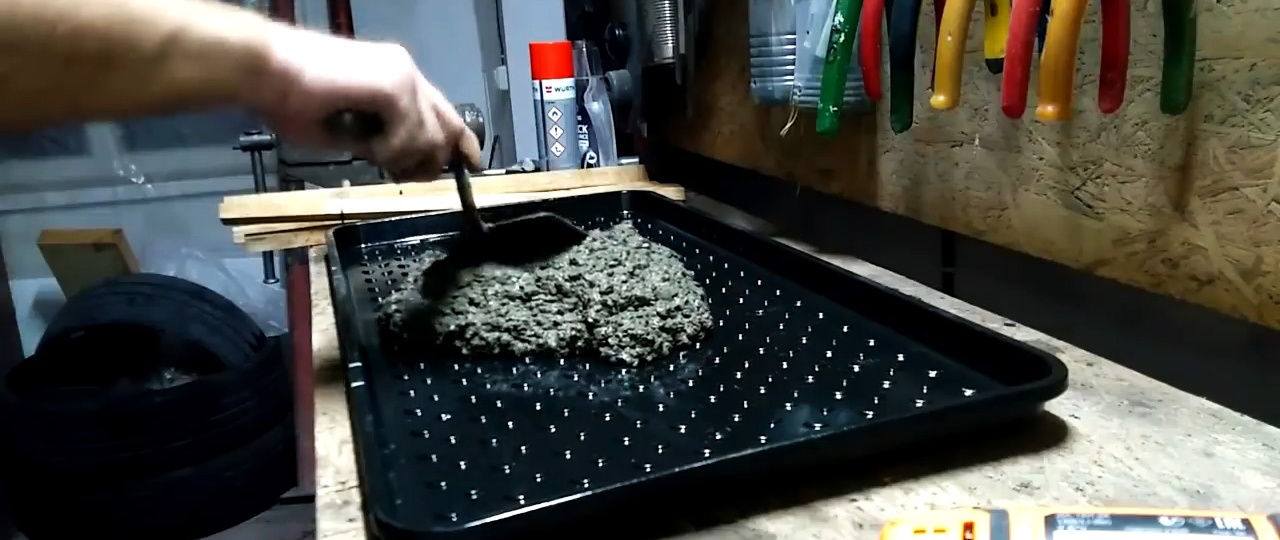
From the inside it is lubricated by working out.

Concrete is half poured into the mold. To prepare it, mix 2 parts of screenings and 1 part of cement. A minimum of water should be poured in to achieve greater strength of the solution.

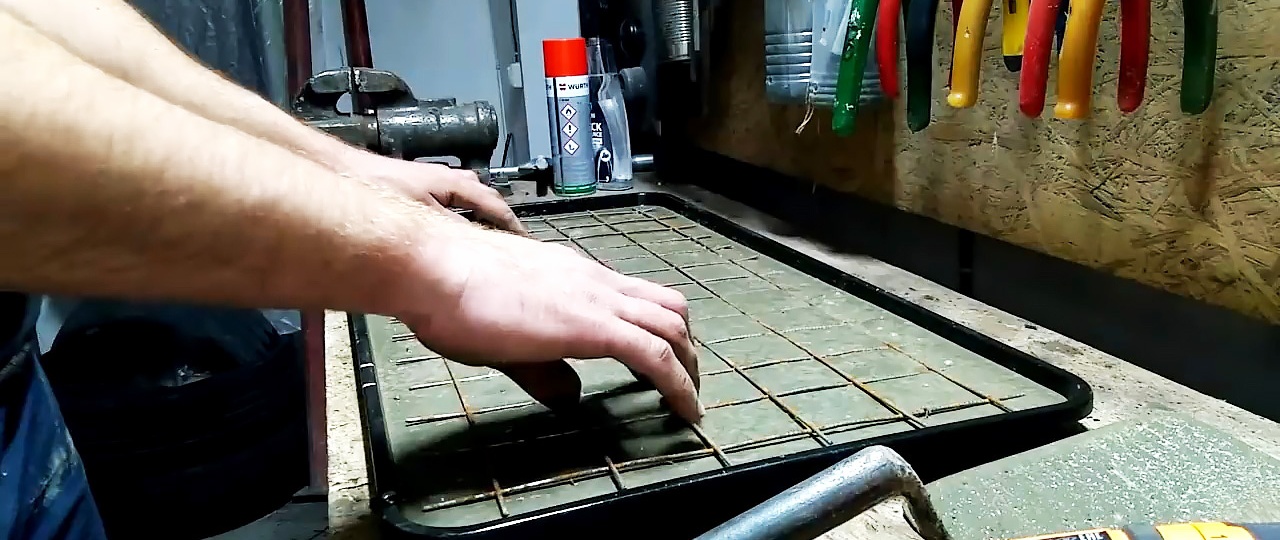
A masonry welded mesh is laid on top of the first layer of mortar.

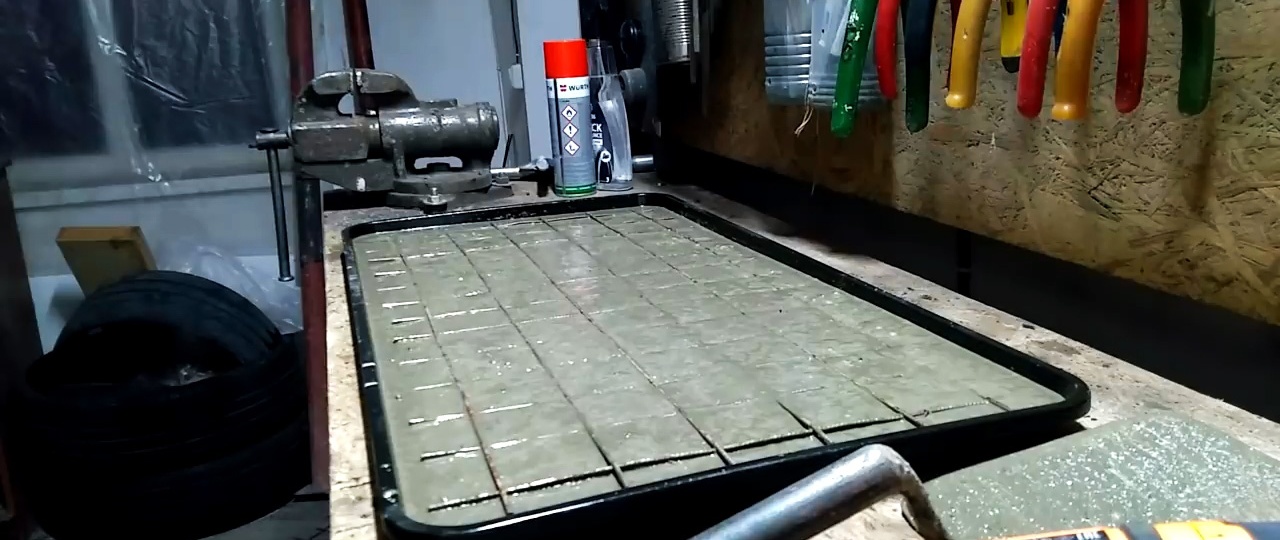
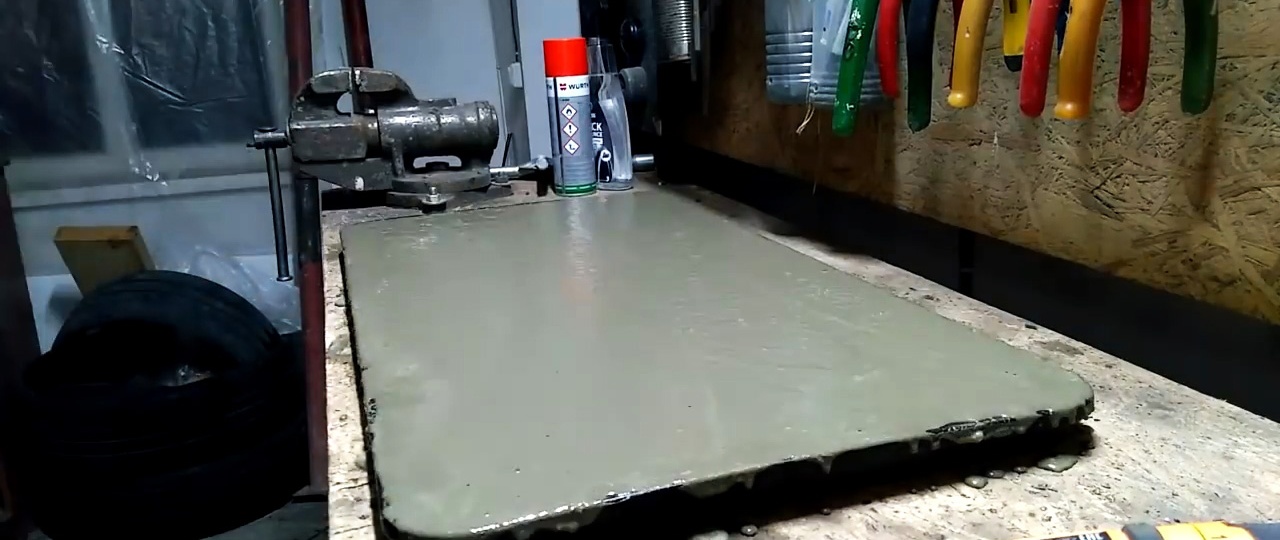
Then the form is filled with concrete to the end. You need to shake it well to remove air bubbles.

On the second day, the tile is removed and the next one is poured. So you can slowly make any number of them, spending 10 minutes a day.

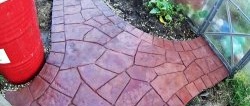
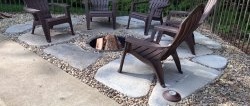
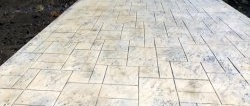
After 28 days, the tiles gain full strength and can be laid. Since it is reinforced, even a small thickness will be enough to support the weight of a person. The tiles are laid on a flat, compacted base, preferably on a sand cushion.

Watch the video

Making paving slabs with your own hands - https://enn.washerhouse.com/3918-izgotovlenie-trotuarnoy-plitki.html

come back
Comment
  • bowtiesmilelaughingblushsmileyrelaxed relaxedsmirk
    heart_eyeskissing_heartkissing_closed_eyesflushedrelievedsatisfiedgrin
    winkstuck_out_tongue_winking_eyestuck_out_tongue_closed_eyesgrinningkissingstuck_out_tonguesleeping
    worriedfrowninganguishedopen_mouthgrimacingconfusedhushed
    expressionlessunamusedsweat_smilesweatdisappointed_relievedwearypassive
    disappointedconfoundedfearfulcold_sweatperseverecrysob
    joyastonishedscreamtired_faceangryragetriumph
    sleepyyummasksunglassesdizzy_faceimpsmiling_imp
    neutral_faceno_mouthinnocent
3+three=
Comments (1)
  1. Sergey K
    #1 Sergey K Visitors April 26, 2021 11:21
    0
    All this is bullshit! I listened to these tips and somehow purchased 12 pieces of 30x30x4 molds specifically for tiles. Everything is as it should be, I even made a vibrator from an old sharpener, it looks like it has short-circuited turns, in any case, the sharpener practically does not whine, even a slight force causes the motor to slow down strongly, but with eccentrics it spins well. The vibrator is based on a mesh from an old Soviet sofa mattress. On it is a sheet of chipboard with a fixed sharpener and a fenced place so that they do not jump away, for 4 forms, just for three passes.
    Everything is as it should be, screenings, small crushed stone as a filler 20-25mm, plasticizer. It was mixed in a 20 liter construction bucket using a hammer drill and mixer.
    The tile turns out be healthy! Although without reinforcement, but with proper installation, only one cracked over several years, and there without bedding, right on the ground.

    And now about the sad thing - the molds take two days to dry, wrapped in cellophane, a day is not enough, which means that if you really want to, you can make 12 pieces three times a week, that’s 10 sq.m. Decompose, knead, vibrate and set to dry - all about everything for about an hour and a half. I calculated how much it would take to properly pave the paths in the garden, but I don’t have a couple of years left!

    And another observation - it’s good to lay out some area with tiles, according to all the rules, limiting it to curbs, filling it with sand... But the path is no longer like that, if you limit two tiles to curbs, then it turns out a little expensive both in terms of money and effort, but simply lay - the sand scatters throughout the garden, the sand from under the tiles migrates and warps it. In general, cheap and cheerful doesn’t work out very well :(
    For now, we use the finished ones as a temporary continuation of the unfinished concrete paths.

    In terms of time, labor costs and quality, it turned out to be much more convenient to pour concrete paths 70 cm wide. 3-meter 50mm slats limit the section of the future path, a pit is dug inside with a bayonet, stone construction waste goes into it after dismantling, it is compacted, spilled, reinforcement in the form welded plaster mesh. And everything using cement technology for tiles (screenings, crushed stone, cement) is poured with concrete, the main thing is not to skimp on cement and after drying, iron on top.The cement layer is on average 5 cm, somewhere between the stones it flows more, somewhere the stones are almost to the top. But after three years everything is fine. The time it takes is a little more than pouring a portion of 12 tiles. Not counting preparatory work such as installing formwork and time for shaking the stone base.

Summer butterfly in dot painting | Do it yourself

An easy way to make a patch | Do it yourself

A cheap way to clean spark plugs will extend their service life

Useful and interesting | Page 30 | Do it yourself

«Do it yourself - with your own hands» - a site of interesting homemade products made from scrap materials and items at home. Step-by-step master classes with photos and descriptions, technologies, life hacks - everything a real master or just a craftsman needs for needlework. Crafts of any complexity, a large selection of directions and ideas for creativity.

We recommend reading

Washing machine error codes