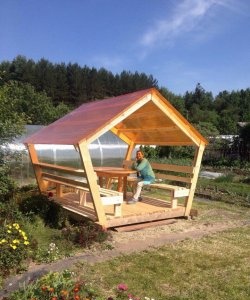
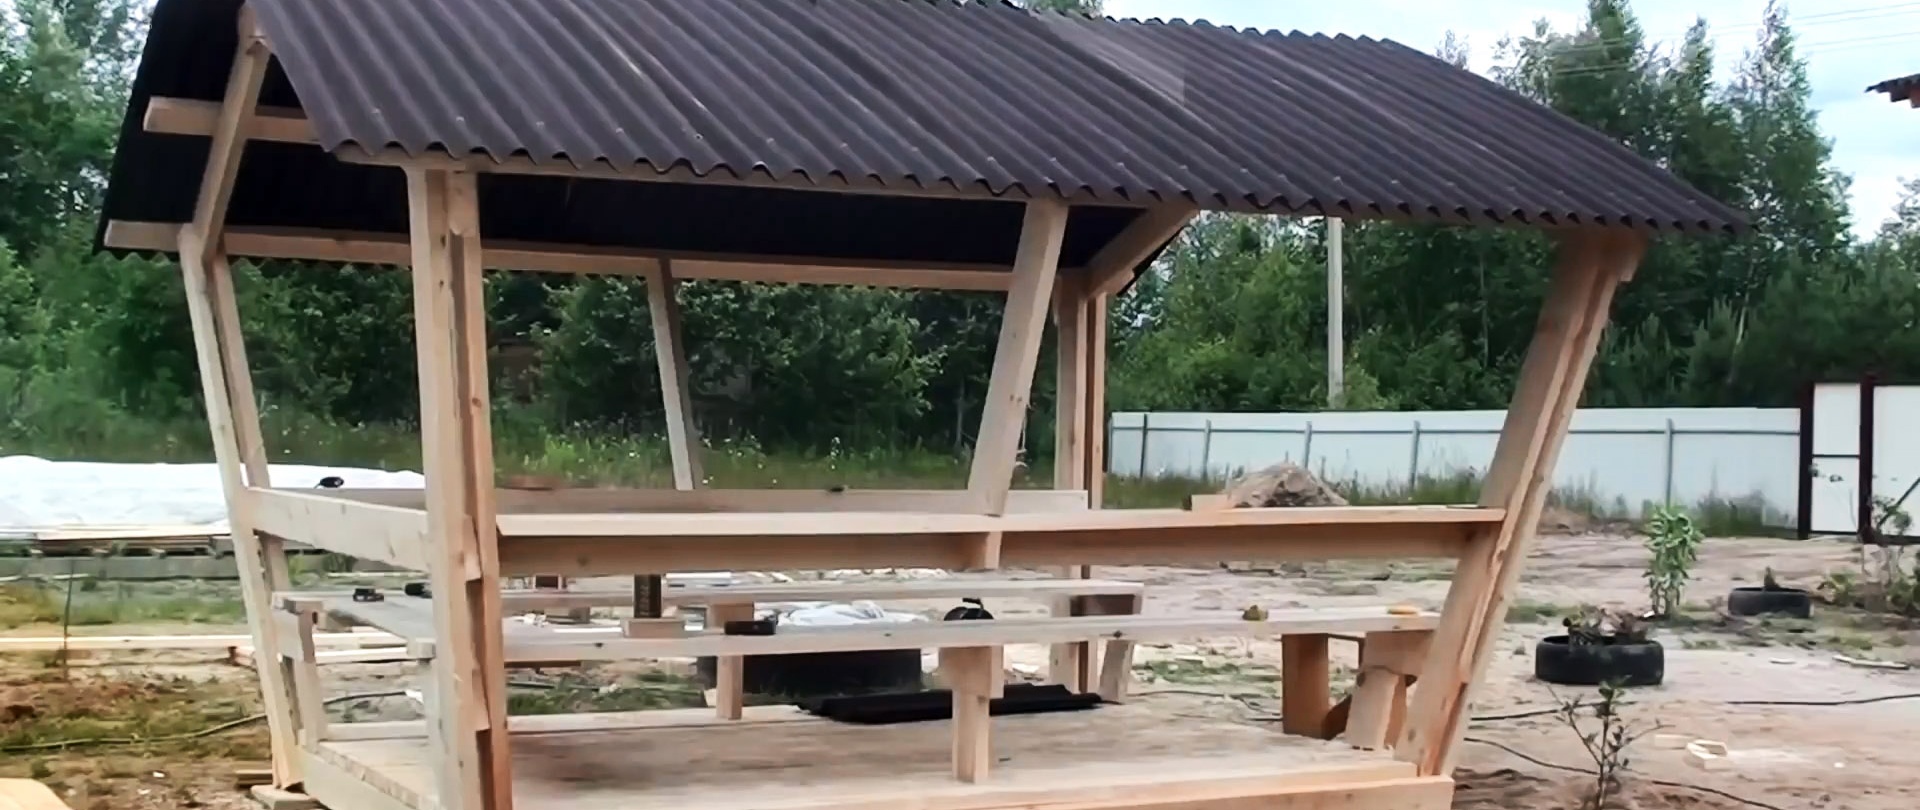
Many people dream of having a gazebo on their property, but still can’t save up to buy it. It is not necessary that it have carved and figured elements; you can save money and make it yourself simply from an edged board. Believe me, if roses, grapes grow around it, or there is a well-groomed lawn, then even without expensive decor and a hipped roof, it will still become your favorite vacation spot.

Materials:
- board 40 mm – 1 cube;
- ondulin – 10 sheets;
- ridge elements – 5 pcs.;
- self-tapping screws 4.2x75 – 500 pcs.;
- nails for ondulin;
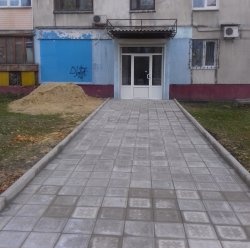
- paving slabs 30x30 - 6 pcs.
Gazebo manufacturing process
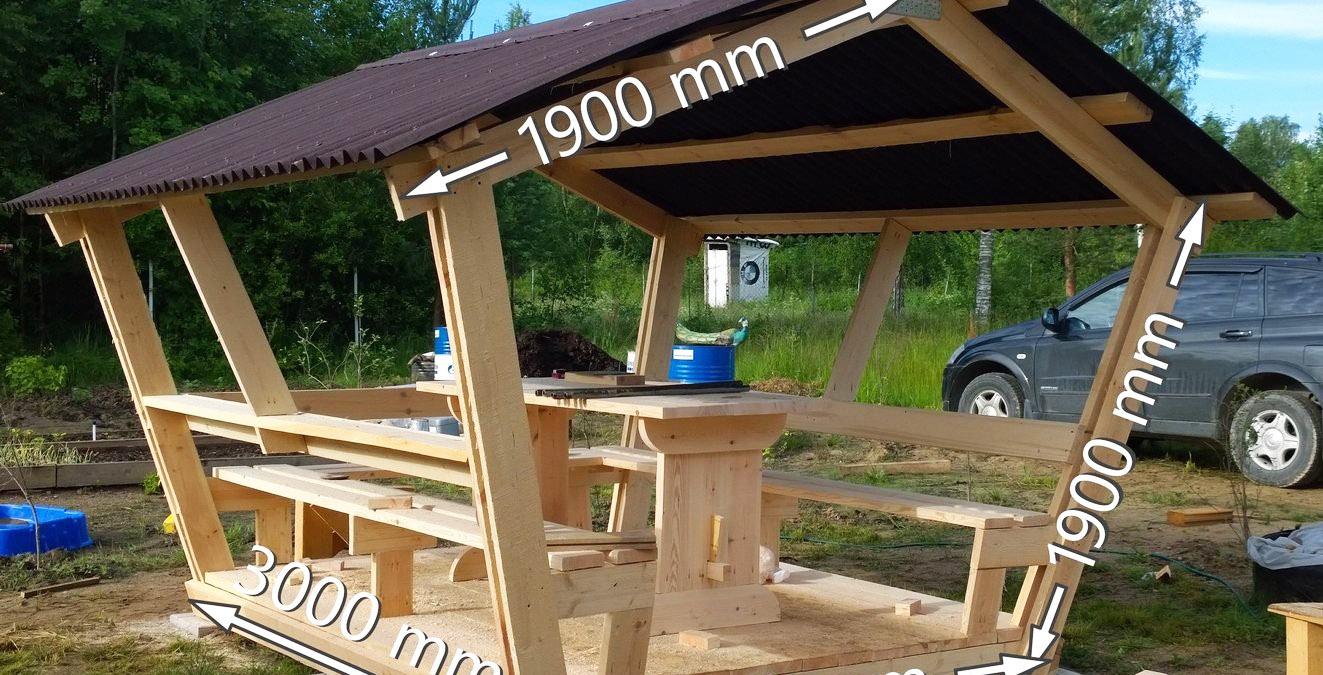
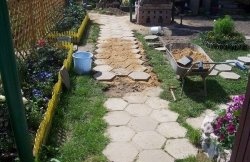
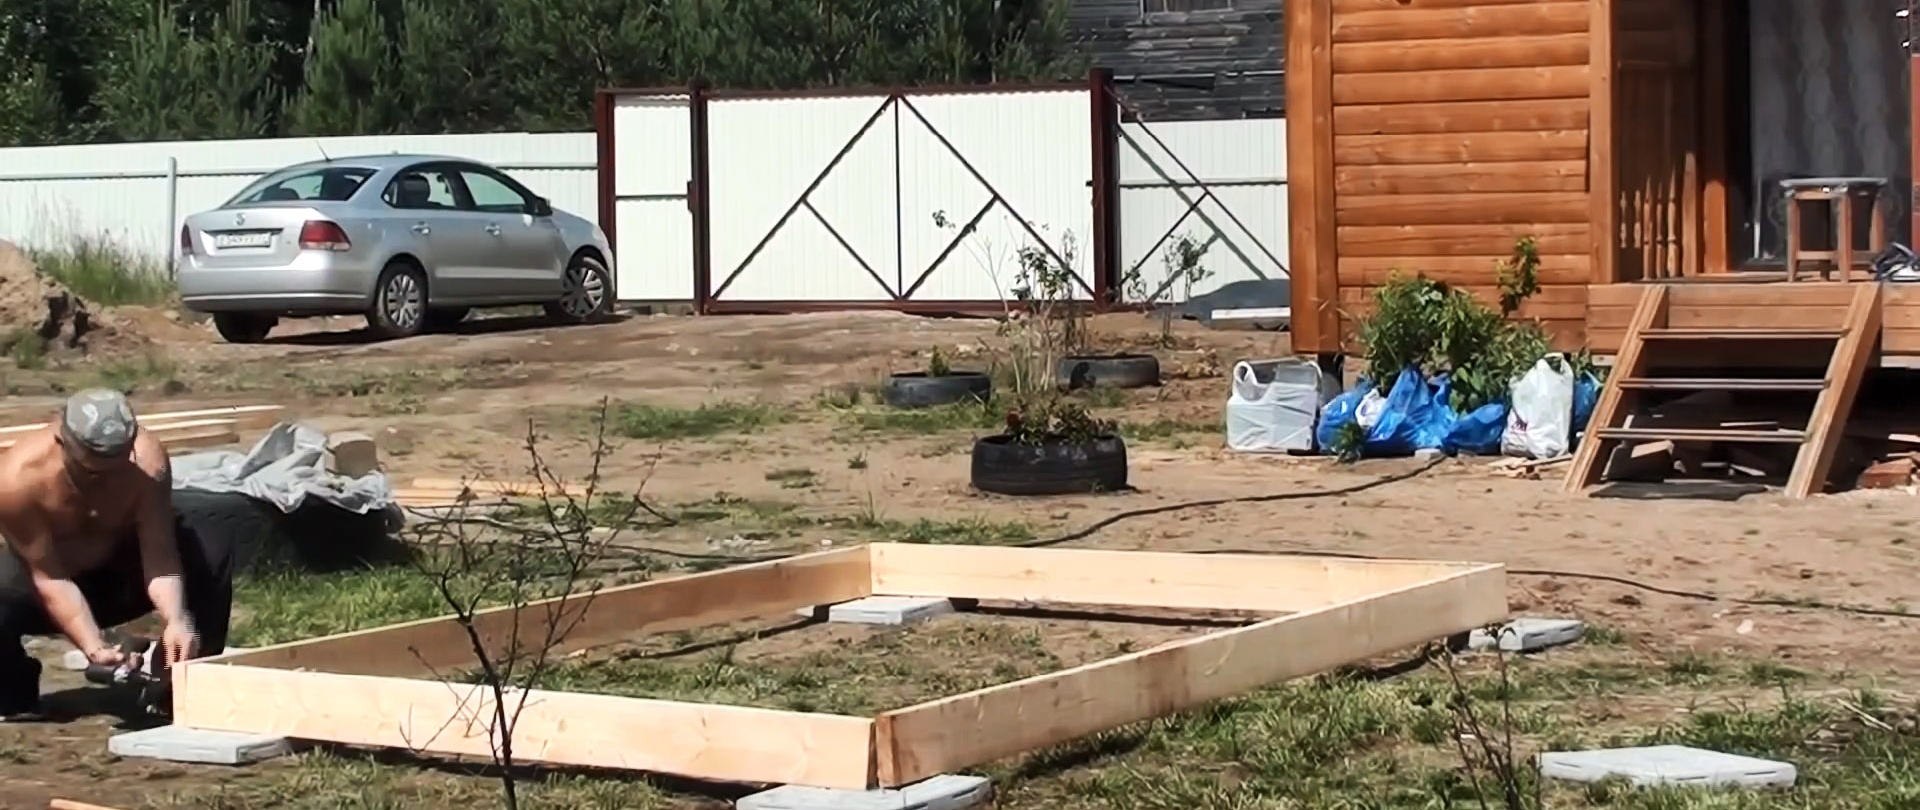
In the area where the gazebo will be installed, you need to level supports made of ordinary paving slabs. In some places the soil is cut off, and where necessary they are laid in a column of several pieces. The base of the gazebo in this case will be 3x2.2 m, you can do other things at your discretion.
Next, 4 boards are cut to assemble the base of the gazebo, from which you will need to build upon during further construction. In this case, their length is 3 m and 2.2 m.
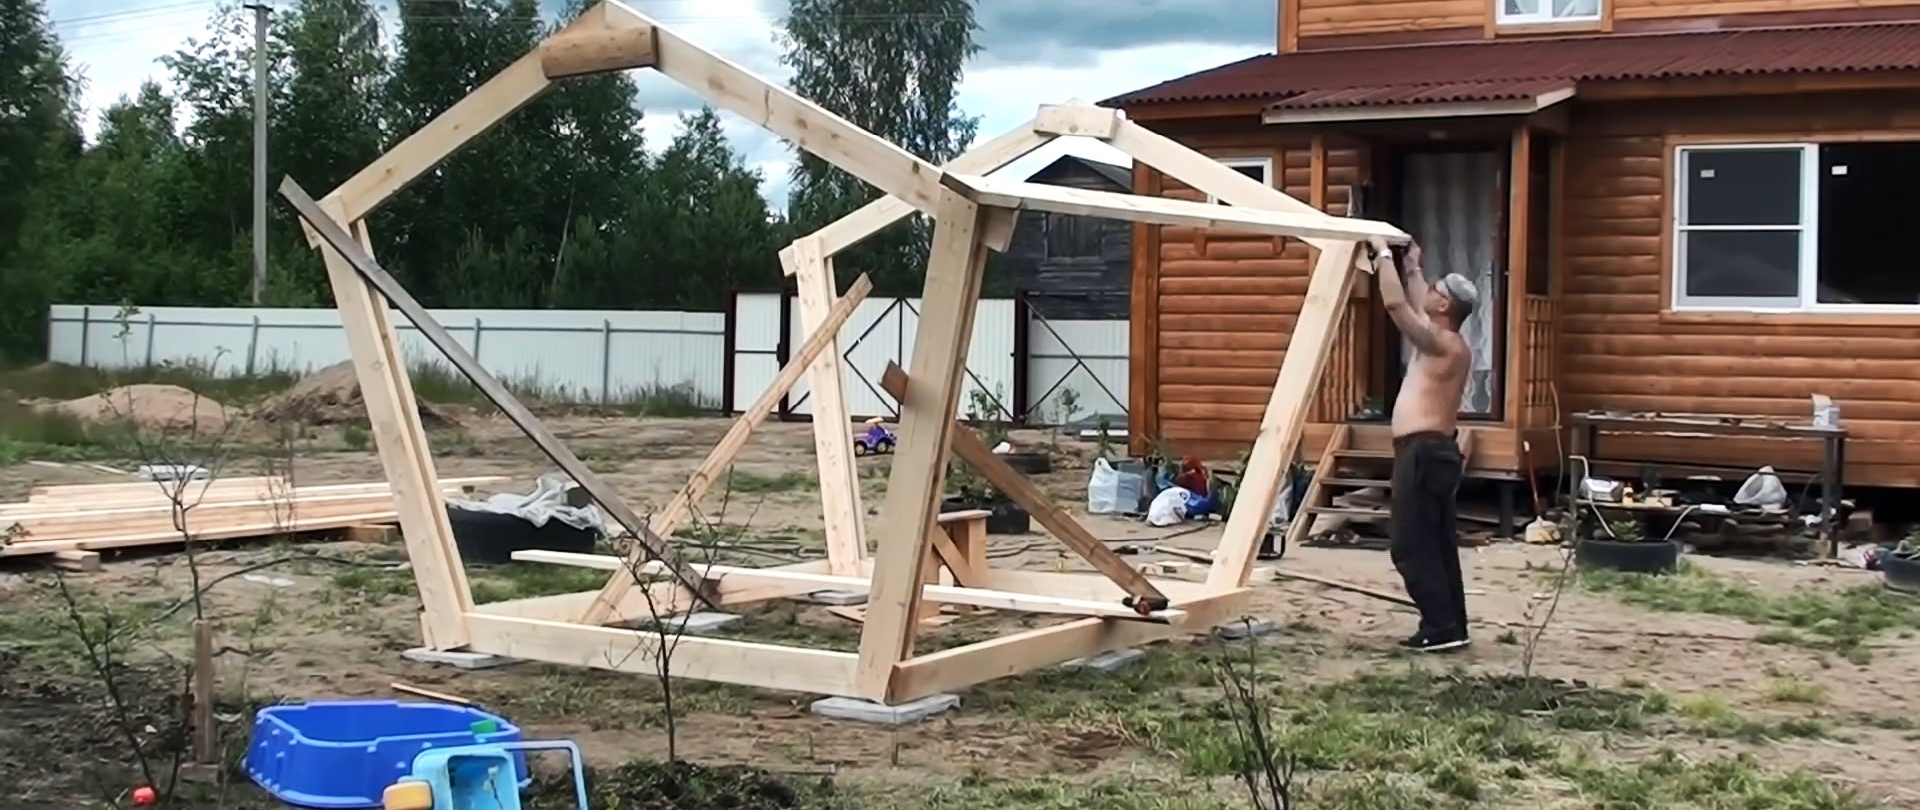
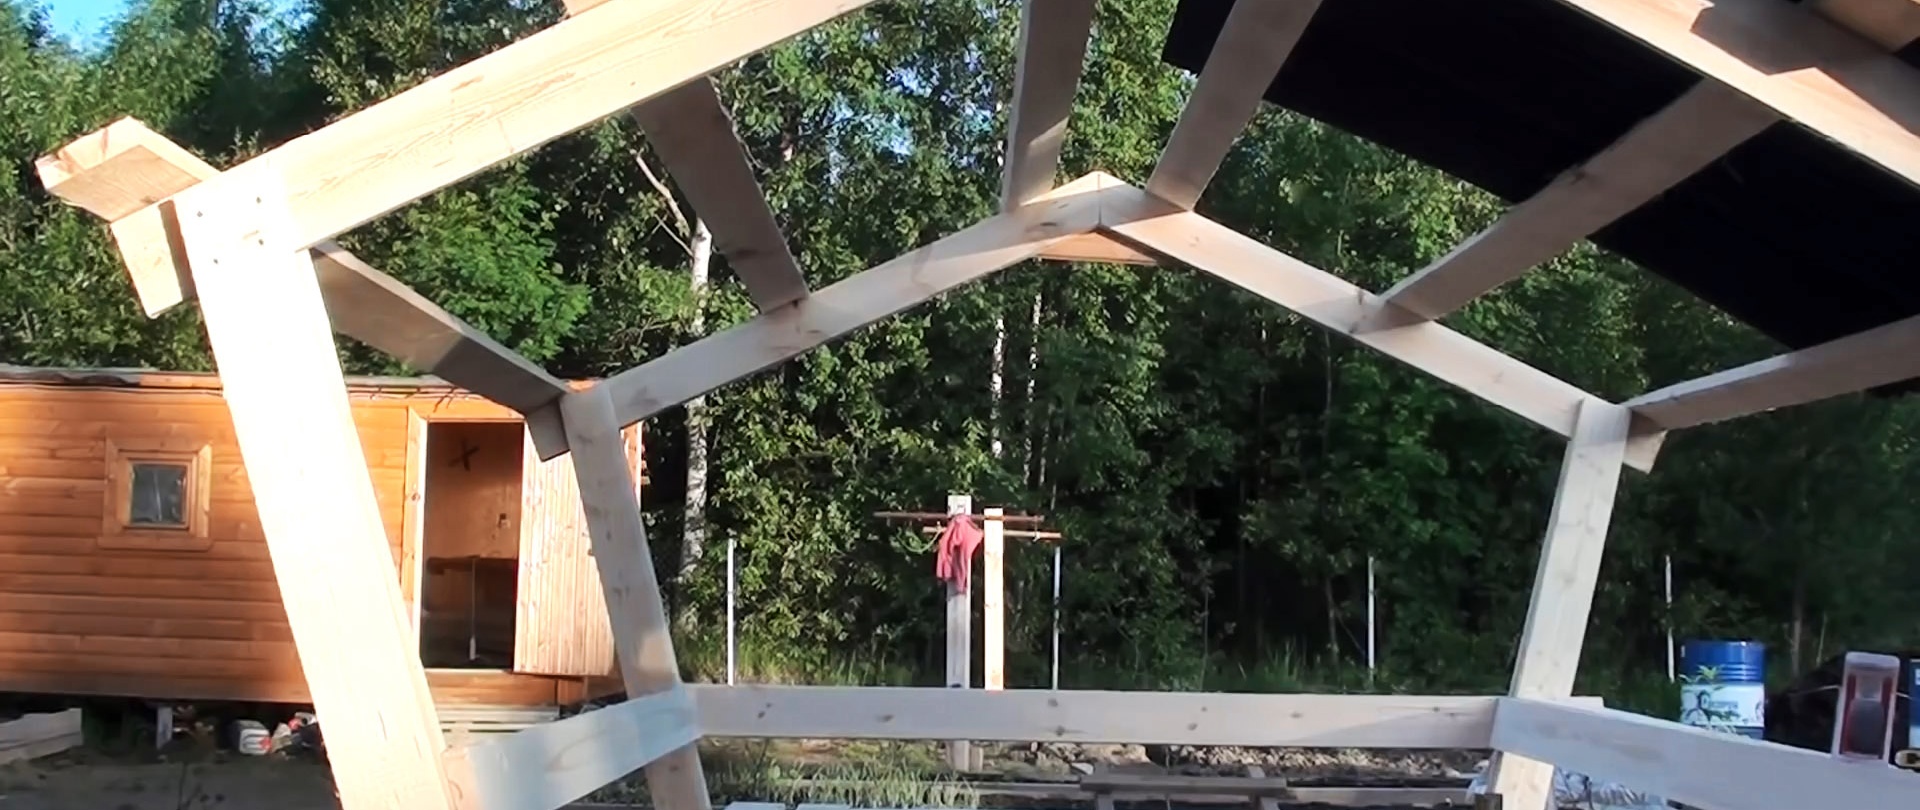
Now you need to assemble 2 congruent pediments. The bottom is made from previously prepared 2.2 m boards, the top is made from two 1.9 m boards, converging at an angle. Each rack is made from a pair of boards, that is, 4 pieces are needed for the pediment. Their length is selected at will, depending on the height of the gazebo required. You need to assemble 2 identical pediments, fastening the boards with self-tapping screws.


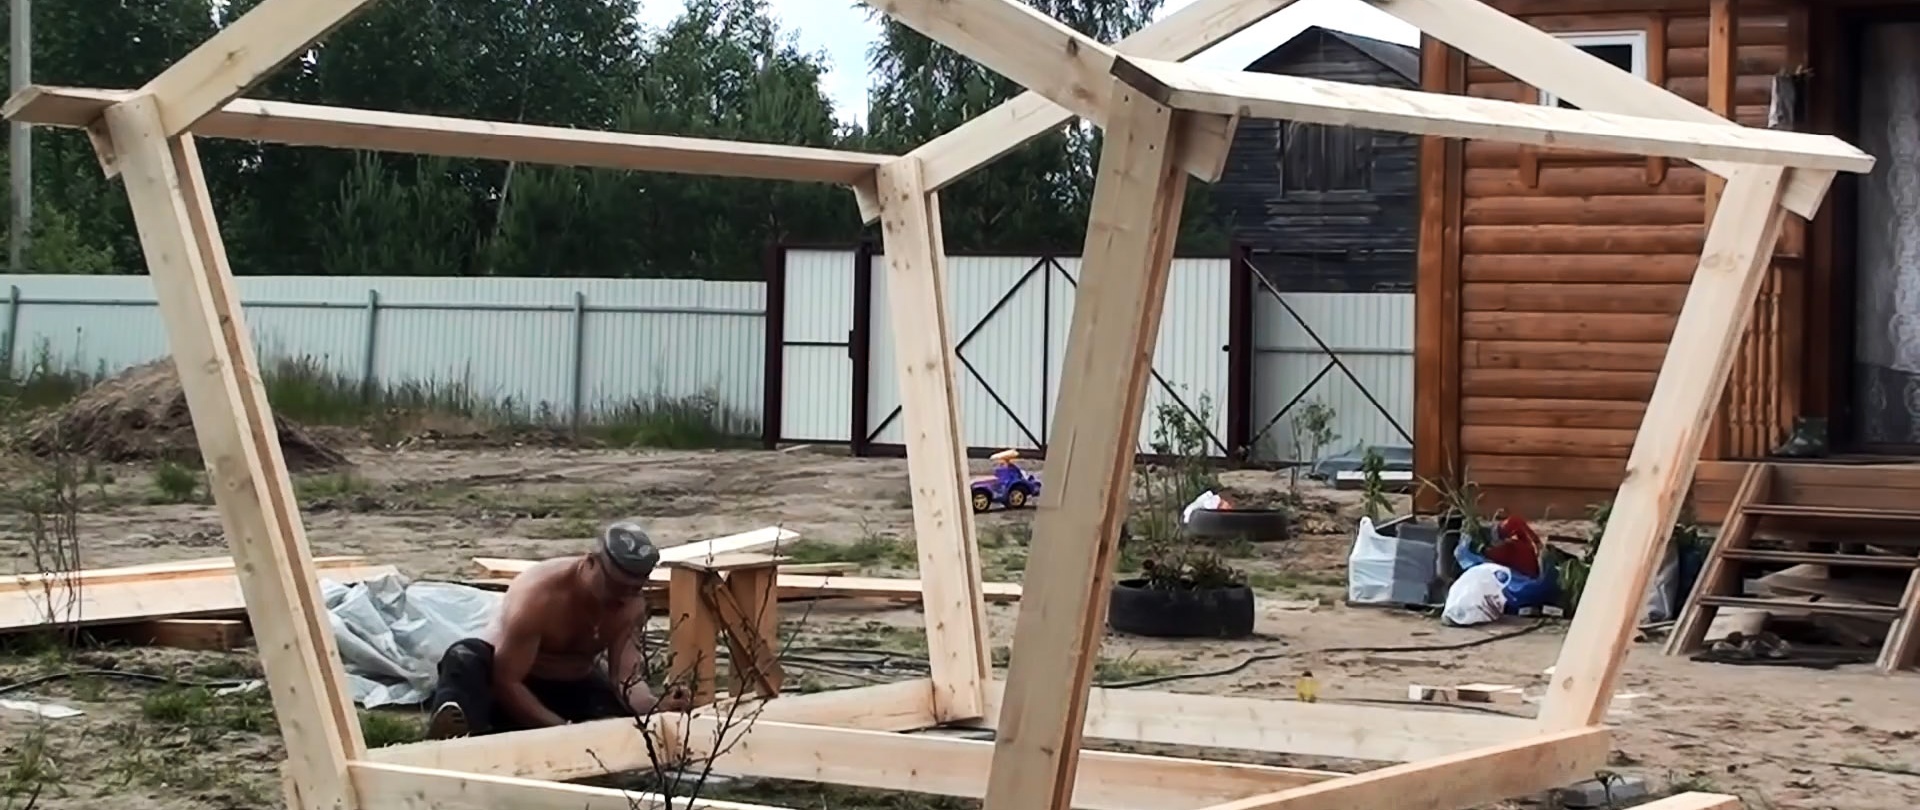
The gables are installed vertically and temporarily secured with jibs. Previously sawn boards 3 m long are screwed to them from below. 2 boards are also attached to the top, on which ondulin will be added, so they must extend beyond the gazebo for the roof overhangs.
For rigidity, you need to screw a transverse board to the base of the gazebo. Then a plank floor is laid with small gaps so that water does not linger on it.
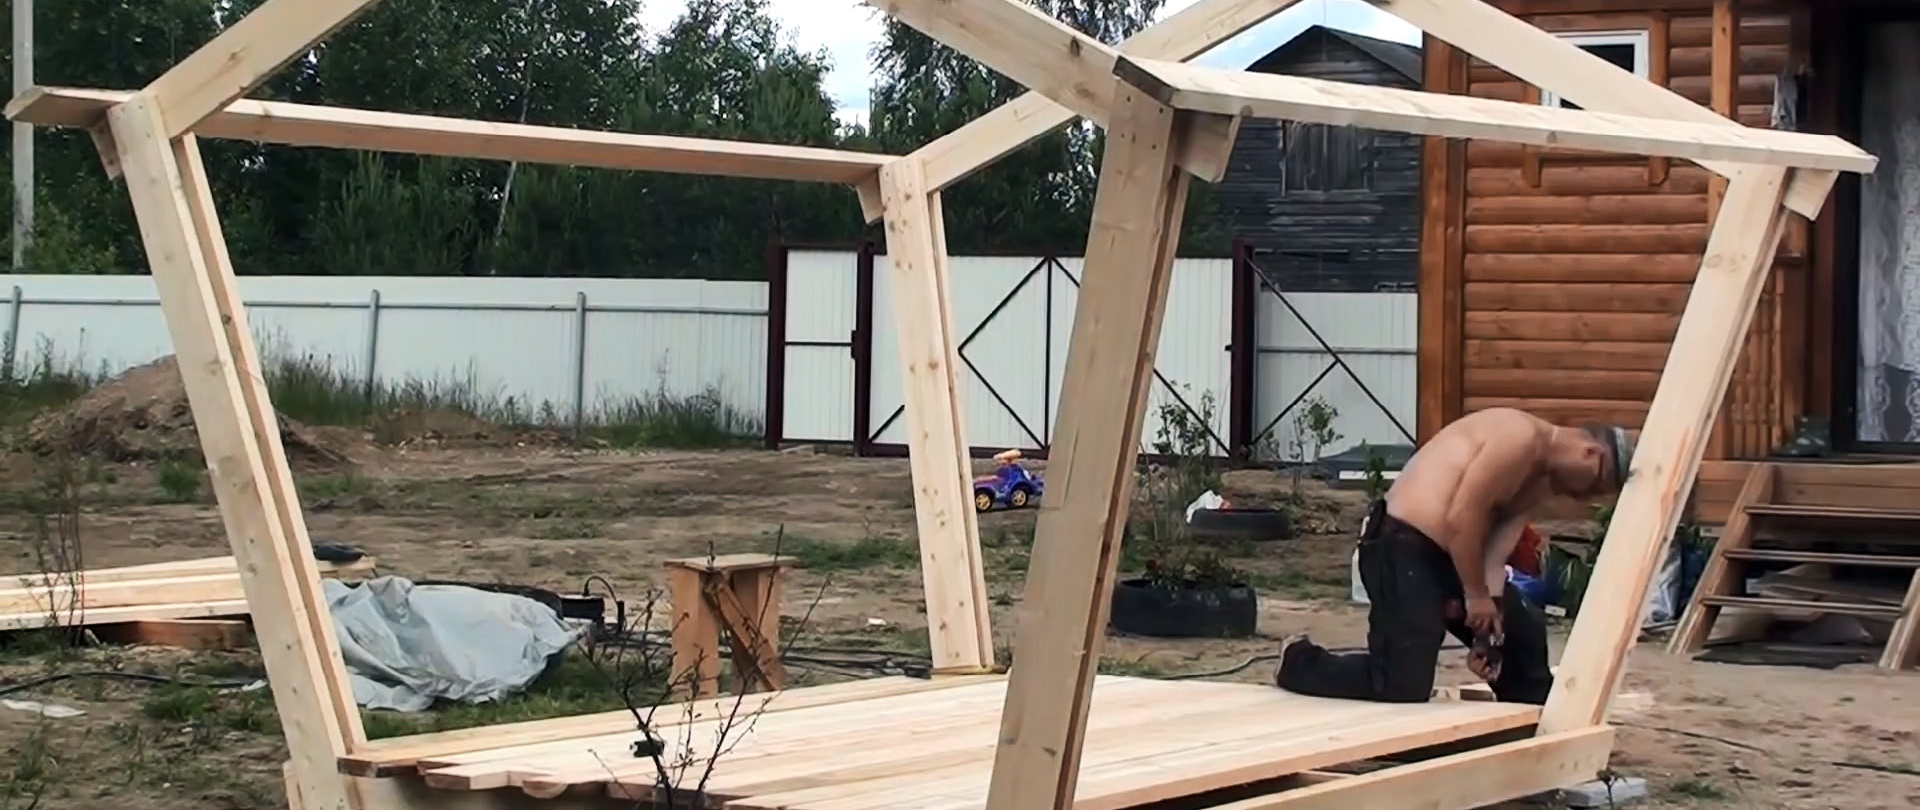
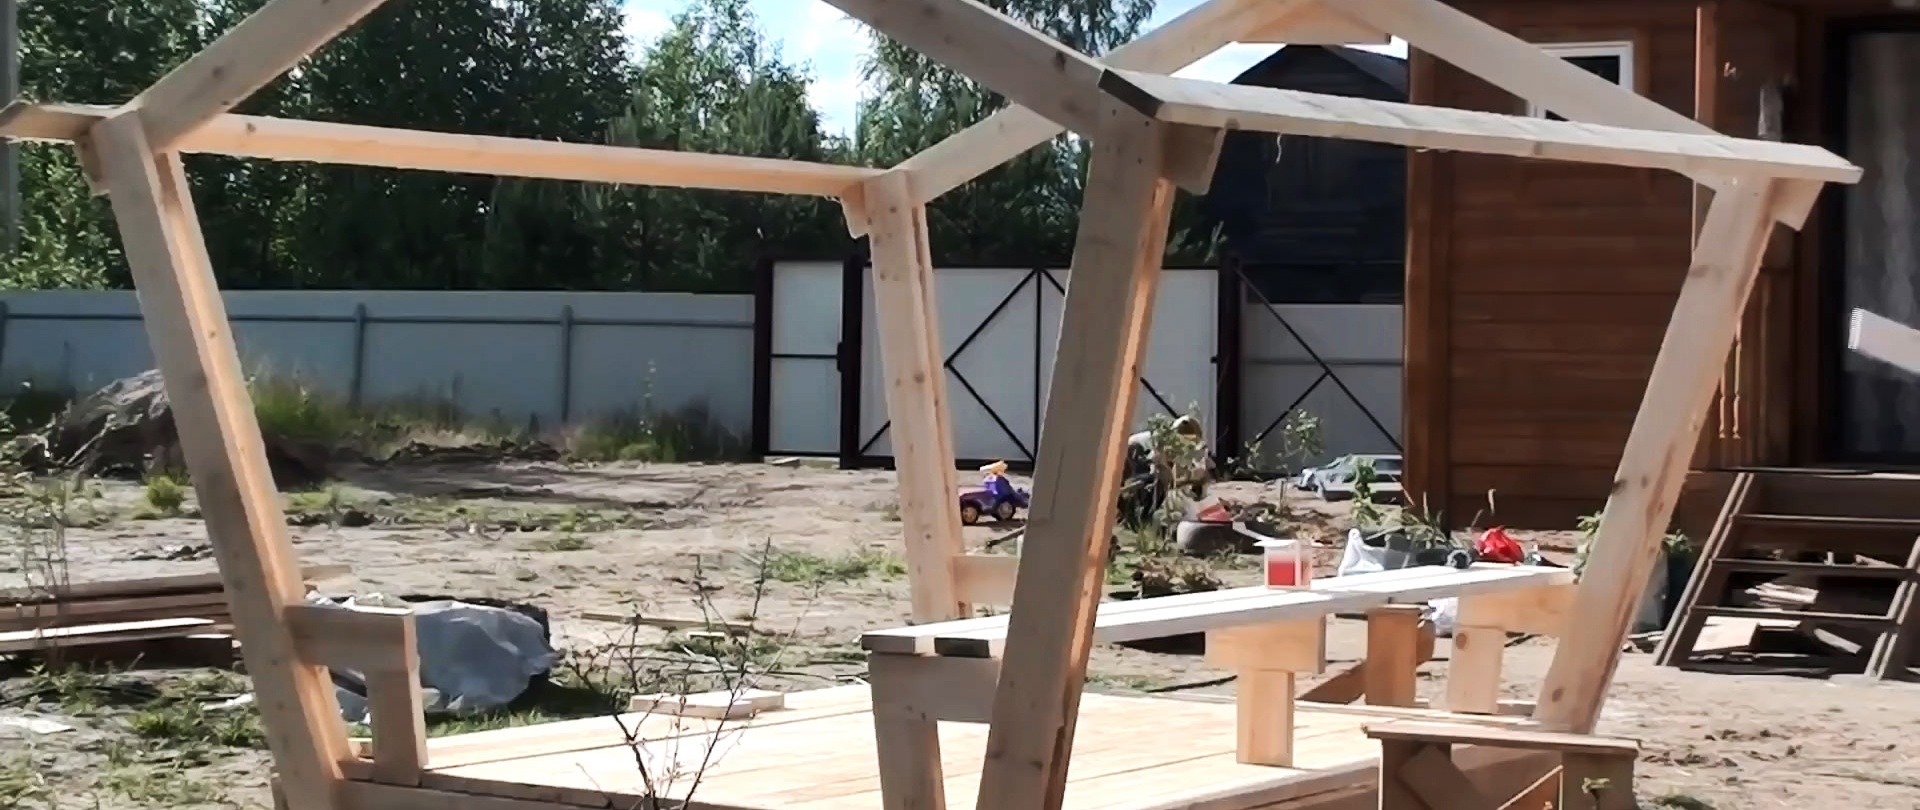
2 more boards are screwed onto the ridge. Next, benches are assembled from planed boards. It should turn out U-shaped. The back for it will at the same time be part of the frame in order to set the desired rigidity.
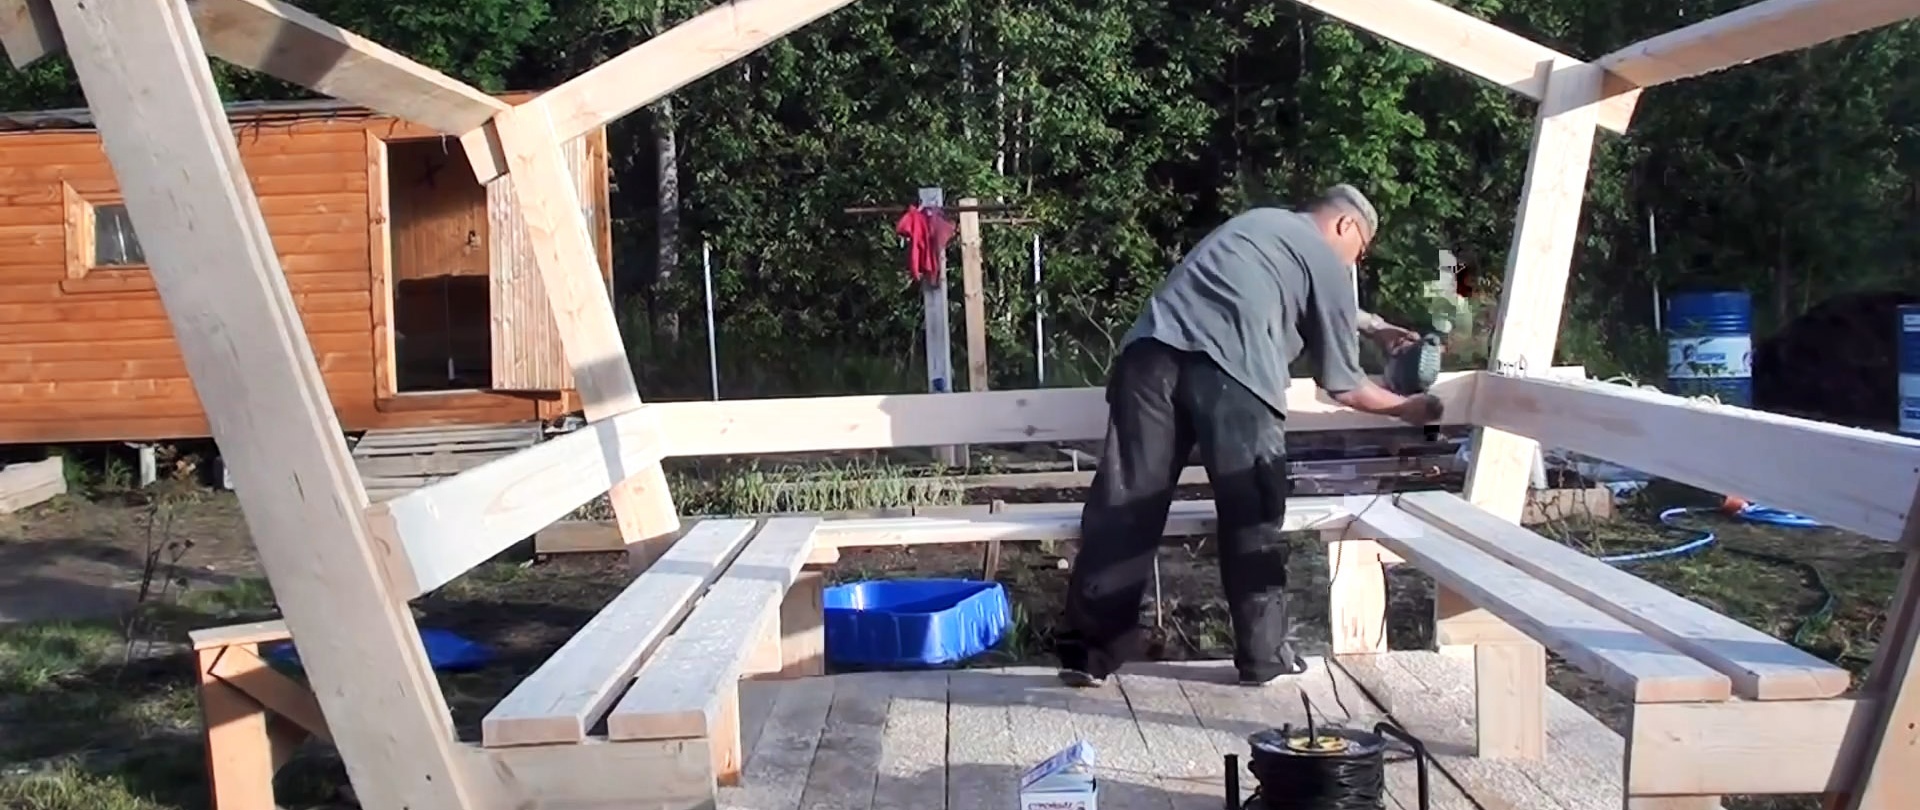
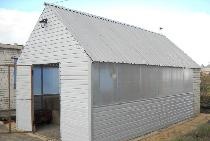
Another board is screwed onto the roof frame and ondulin is laid. For this size gazebo it will take 10 sheets. The junction of the slopes is closed with ridge elements.
To increase the rigidity of the roof, it is necessary to provide additional support in the center of each slope. To do this, the board needs to be screwed to the bench. You will also need to attach the stiffener to its back.

With him she will not bend. Finally, all that remains is to install the table.