Summer residents, as well as busy gardeners, do not have the opportunity to constantly water their beds. In this case, drip irrigation will help make caring for them easier. For small growing volumes, it is not advisable to use professional purchased systems for this, since the costs are greater than the benefits. It is best to do drip irrigation from a PET bottle.
What you will need:
- PET bottle – 5-6 l;
- drill 1-2 mm.
The process of making drip irrigation and planting plants
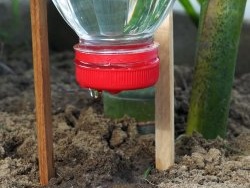
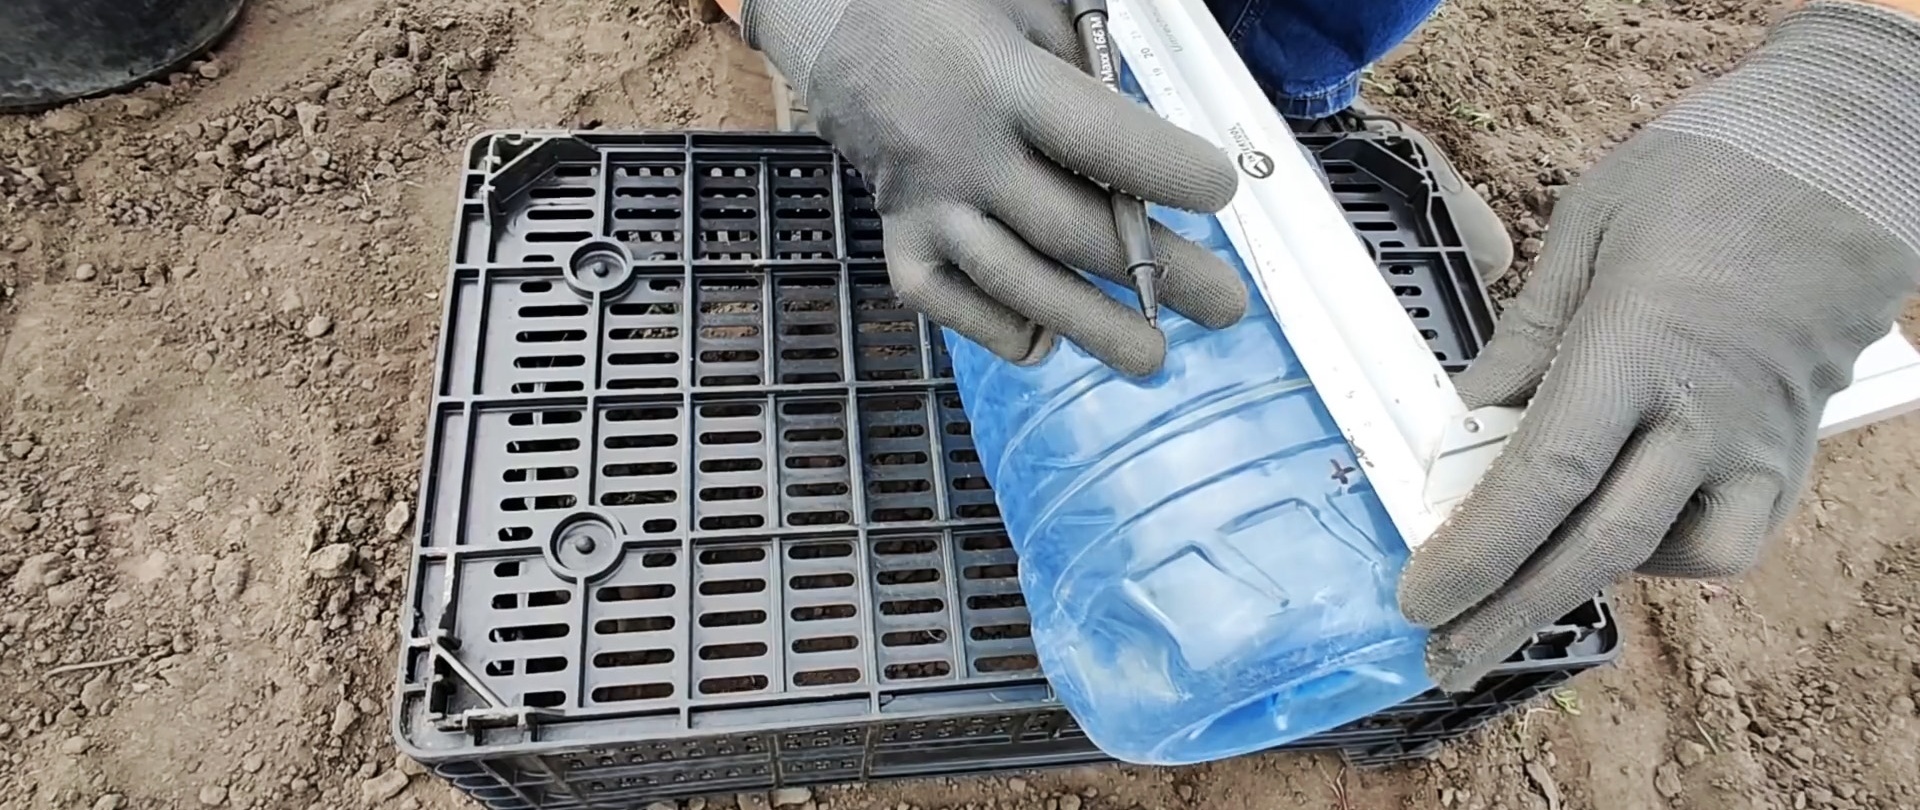
The bottle must be divided into 4 parts with longitudinal marks, and holes must be drilled along them with a 1 mm drill at the bottom on the first stiffener rib. It's even easier to pierce them with a hot awl. The marks are placed in the form of lines so that you can then see where the holes are located, since they will be in the ground.

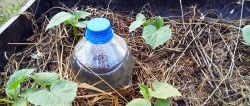
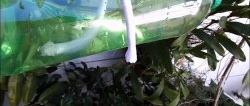
A hole is dug in the garden bed and a bottle filled with water is placed in it. It should be deepened by 10-15 cm. The lid of the bottle must be closed. Without it, water will flow away very quickly.

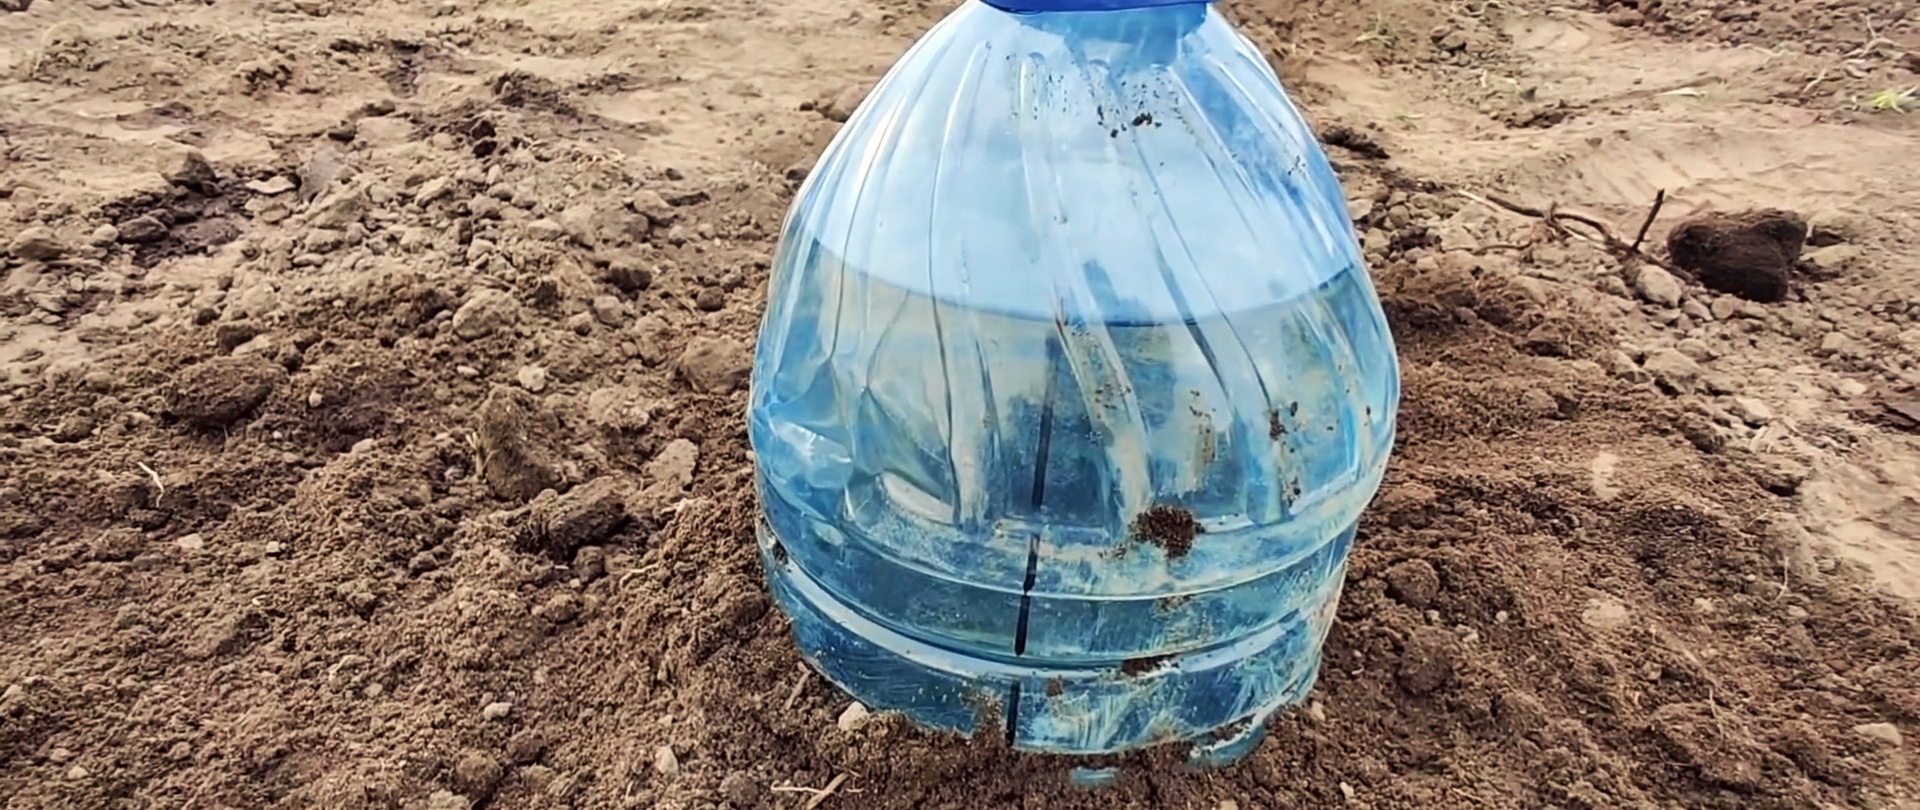
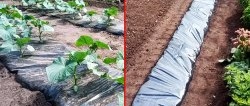
Using the marks, seeds or seedlings are planted opposite the holes. There will be 4 bushes around the bottle. This type of watering is suitable for cucumbers, tomatoes, melons, watermelons, and zucchini.Plants should be planted close to the sides of the bottle to ensure moist soil.


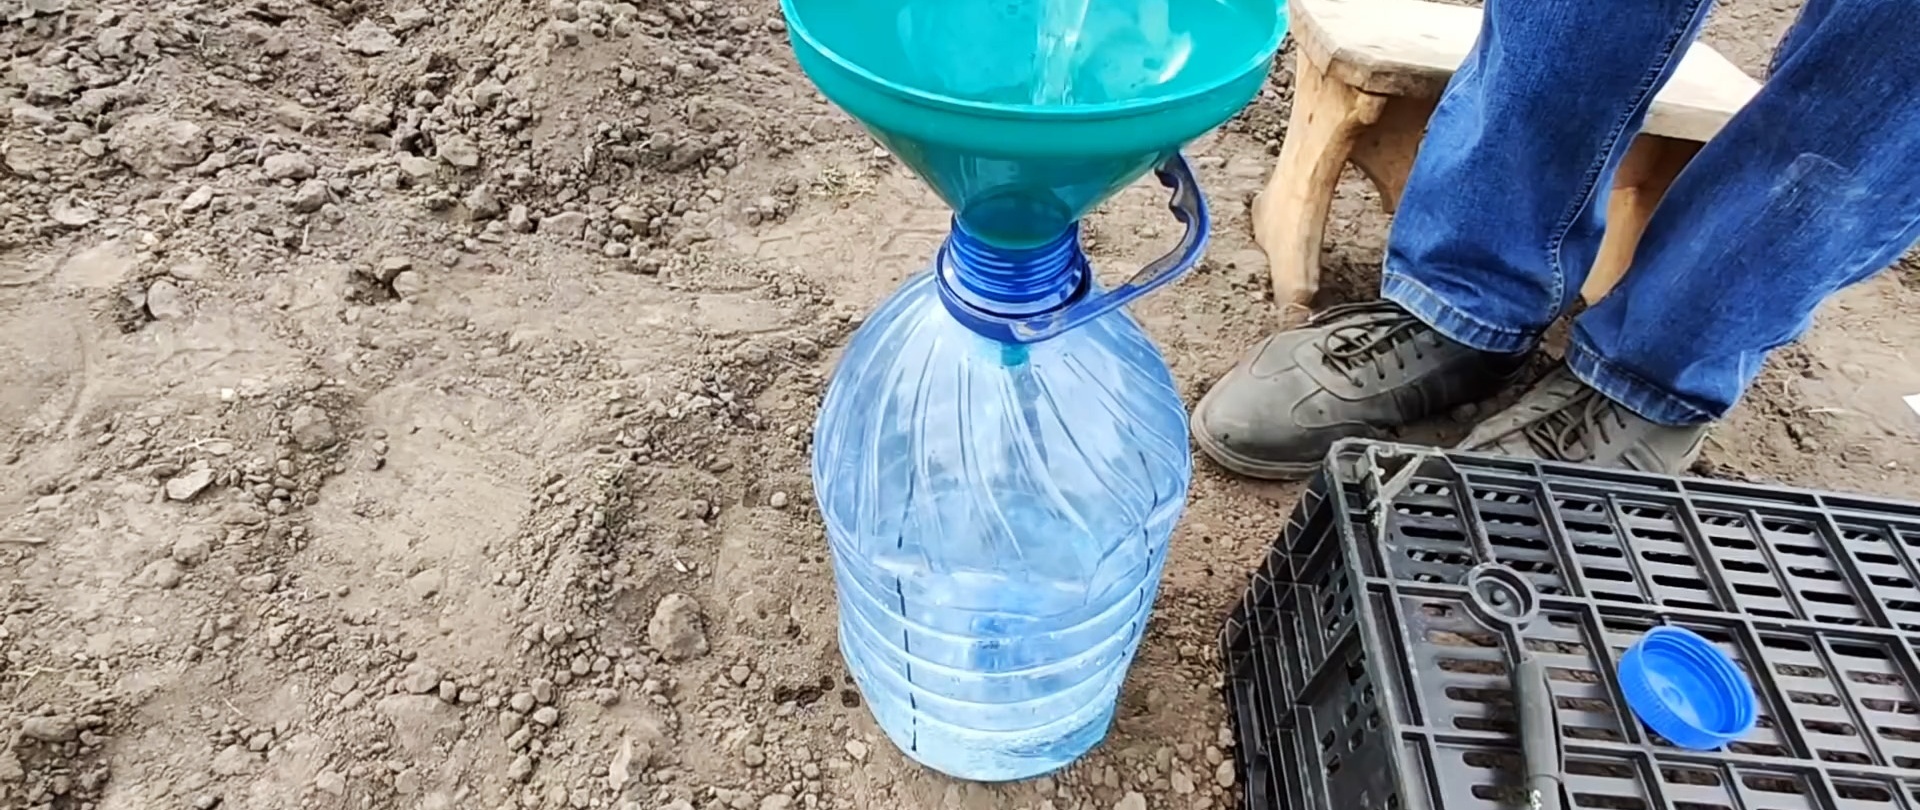
As water is used up, the water is added and the lid is immediately closed. The rate of water drainage depends on the type of soil, but usually everything flows out within 2 days. When planting, you must first leave the lid open so that everything quickly flows out and wets the soil. Then the bottle is filled and closed, and then works like drip irrigation. This method allows you to reduce water consumption, simplify plant care, accelerate their growth and increase productivity.