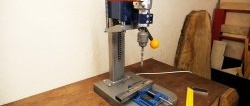
There is always a job for a benchtop drill press in the home workshop. The problem is that the factory model costs from 15 thousand rubles. But you can get by at much lower costs and make your own version of the machine, which in terms of its characteristics will be no worse than the factory one.
Will need
- Sections of profile square pipe;
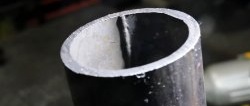
- round pipe sections;
- steel plate;
- electric drill;
- bolt and nut;
- steel clamp with coupling bolt and nut;
- mounting screws – 4 pcs.
The diameter and square side of the pipes must fit into one another.
To work you will need: vise, welding, work drill, marker and open-end wrench.Drill stand manufacturing process
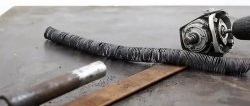
We weld a piece of round pipe of the same length to a short section of profile pipe in the center and longitudinally.

We place the welded unit vertically with a square pipe in the center of the steel plate and weld it to it.

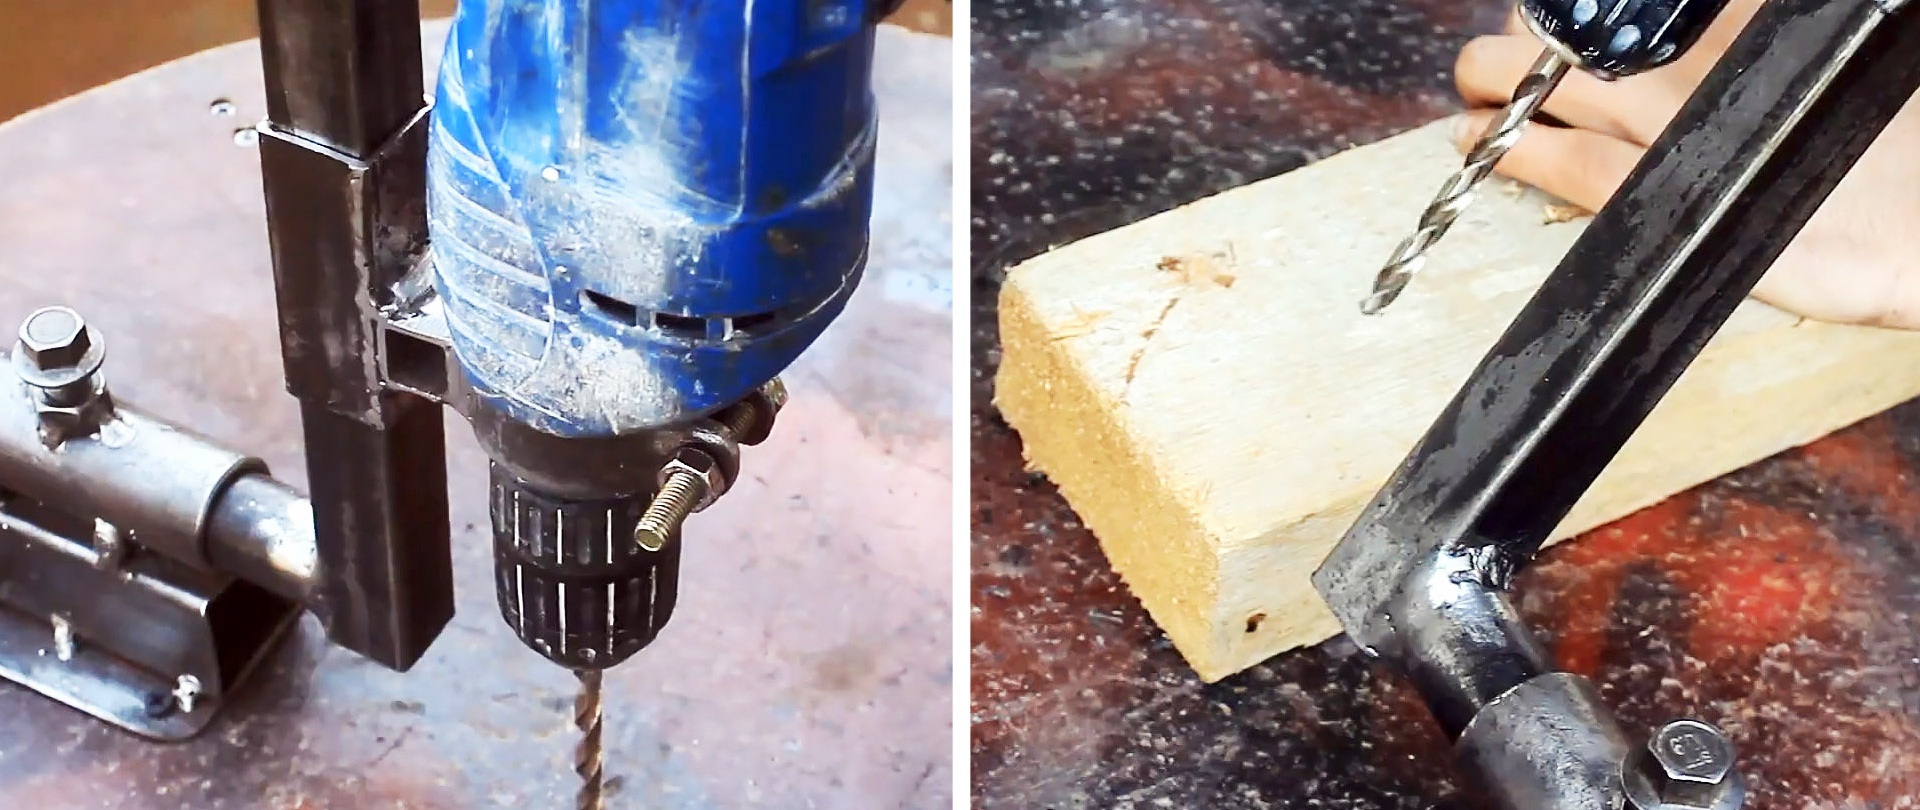
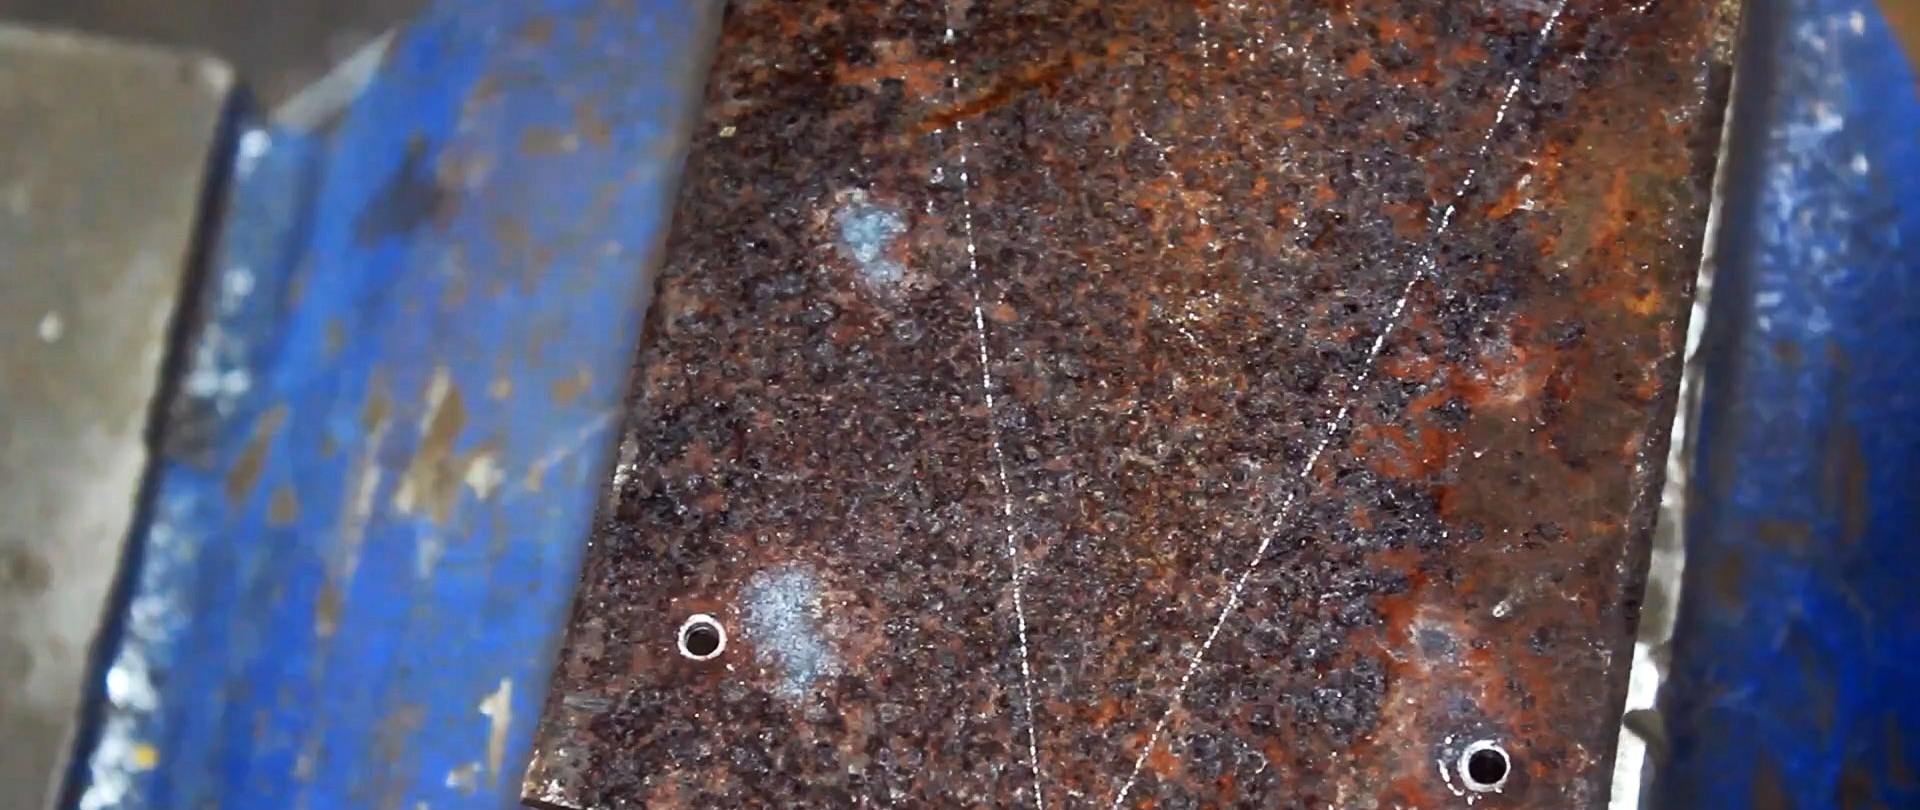
In the center of the upper generatrix of the round pipe and in the four corners of the plate, we drill holes in two passes.
Insert the end of the bolt rod with a screwed nut into the hole of the round pipe and weld it to the pipe.


We vertically weld a round pipe of approximately the same length to a long profile square pipe at one end.

We insert a long round pipe into a short one and check its longitudinal stroke.
On a section of a square pipe, transversely along the end, we lay a section of a square pipe with a smaller cross-section and a length equal to the side of the lower pipe. We place the clamp lengthwise and vertically on the upper tube with the ears facing up. In this position, we weld all three elements together.
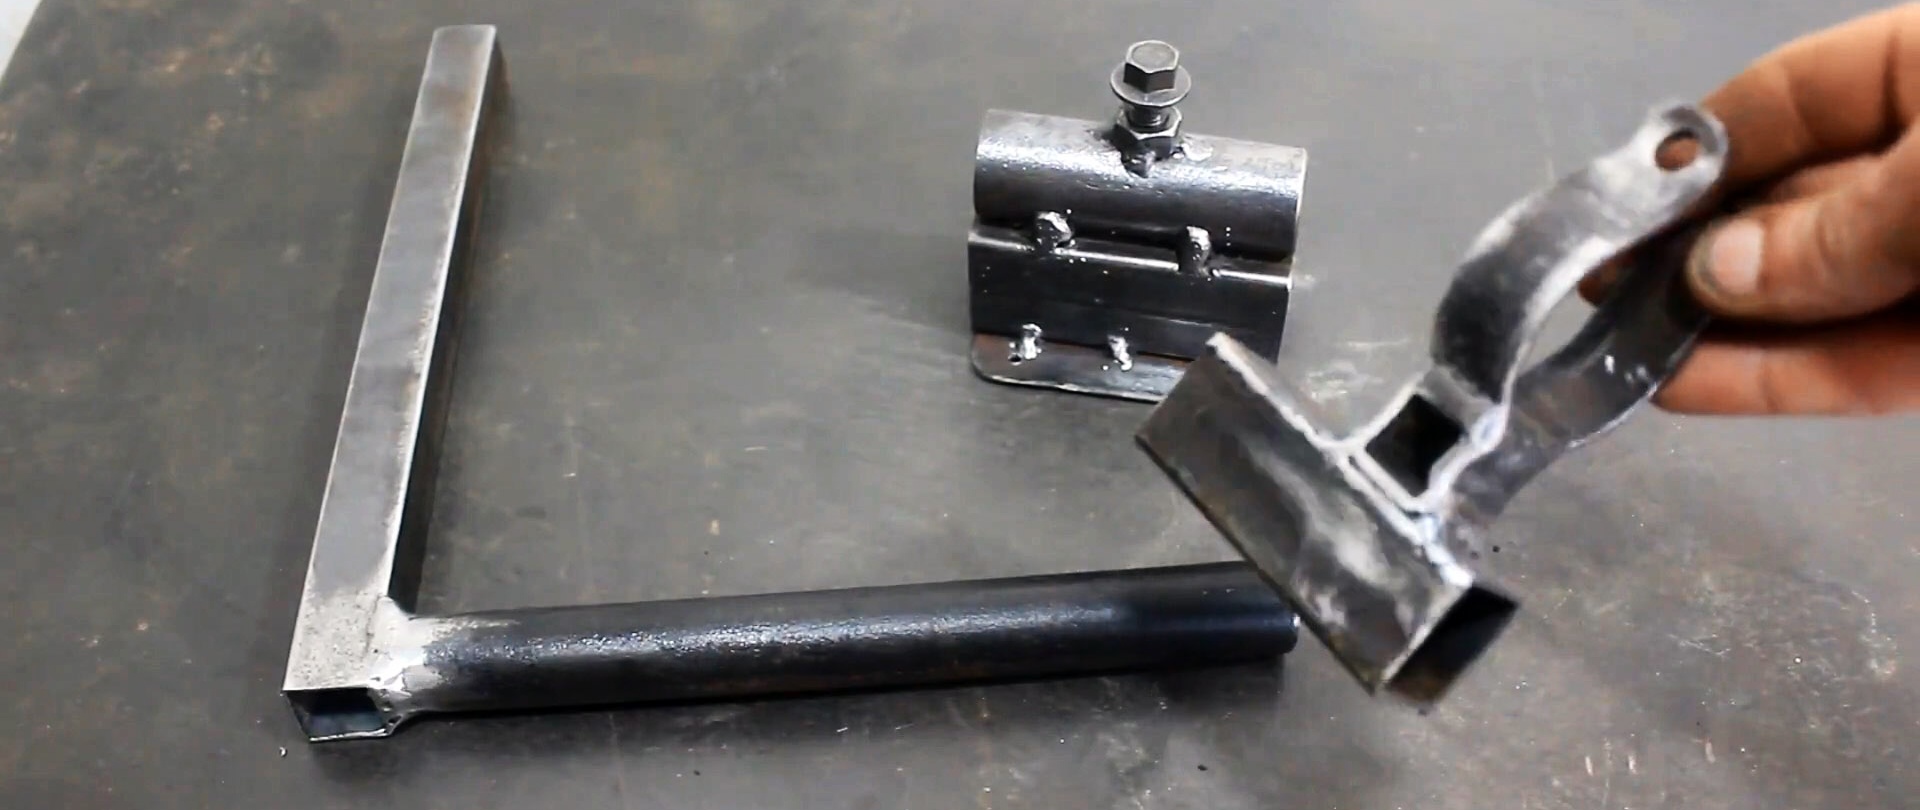
Insert the coupling bolt into the ears of the clamp and tighten the nut. We wrap a clamp around the power belt on the drill body and tighten it firmly using an open-end wrench.
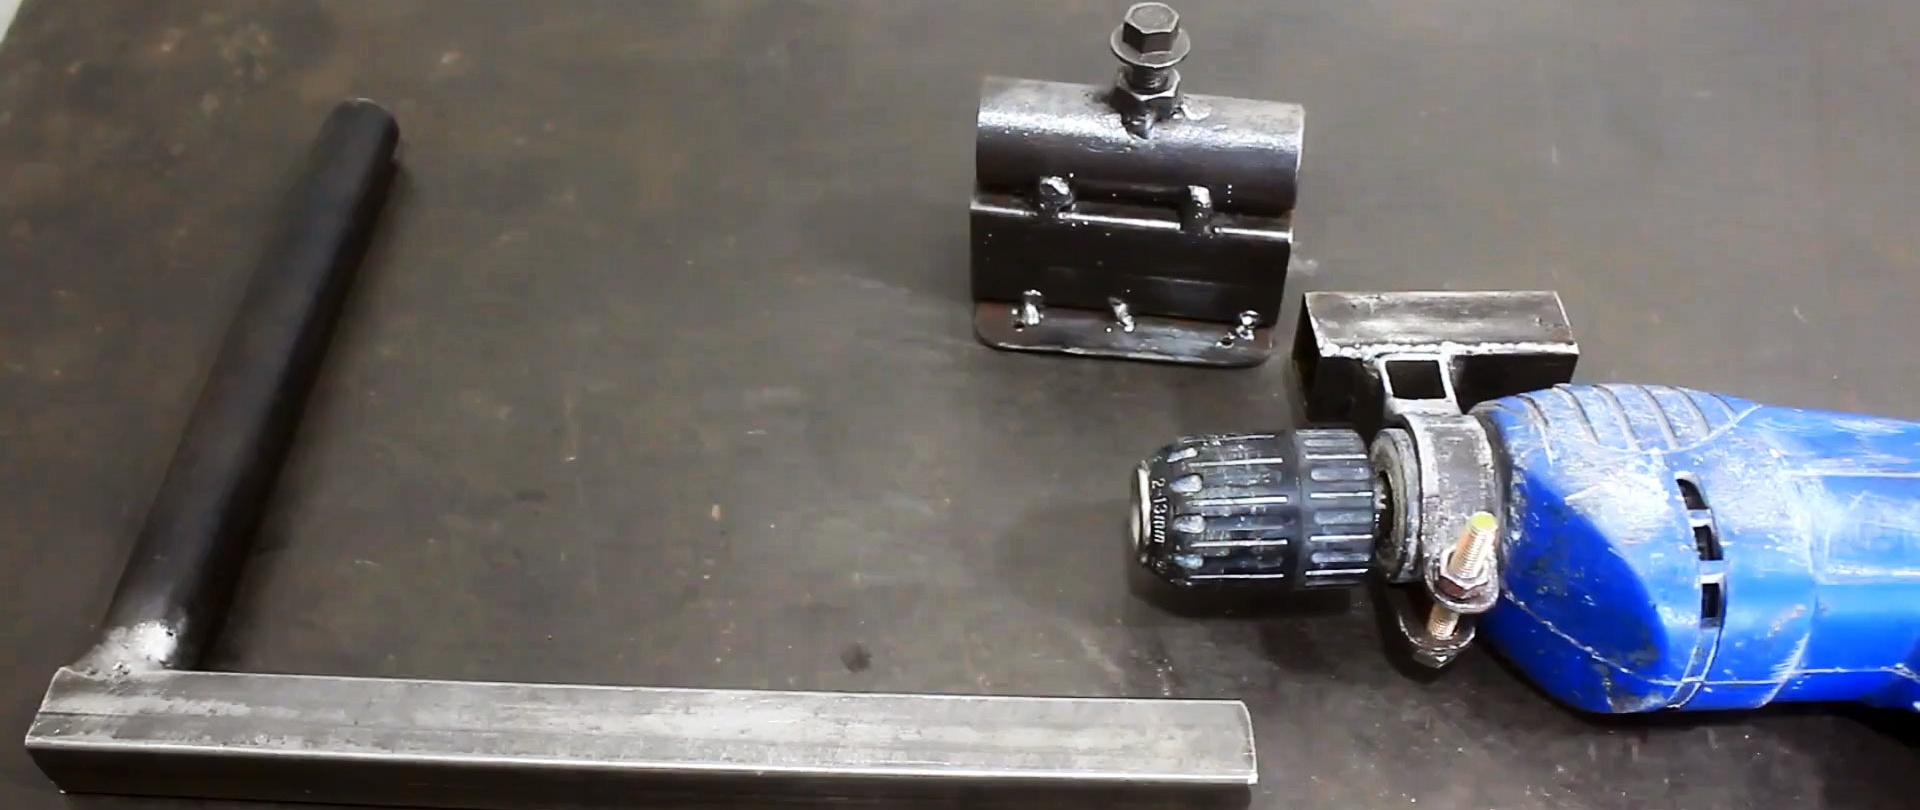
We try on the fastening and guide assembly with a drill on a square pipe and check the movement along the guide pipe.
We securely fasten the plate with four holes to the massive base with screws.

We insert a long round pipe into a horizontally located round guide and check the circumferential and longitudinal movement.
We fix the round pipe in the guide by tightening the bolt so that the square pipe takes a vertical position.
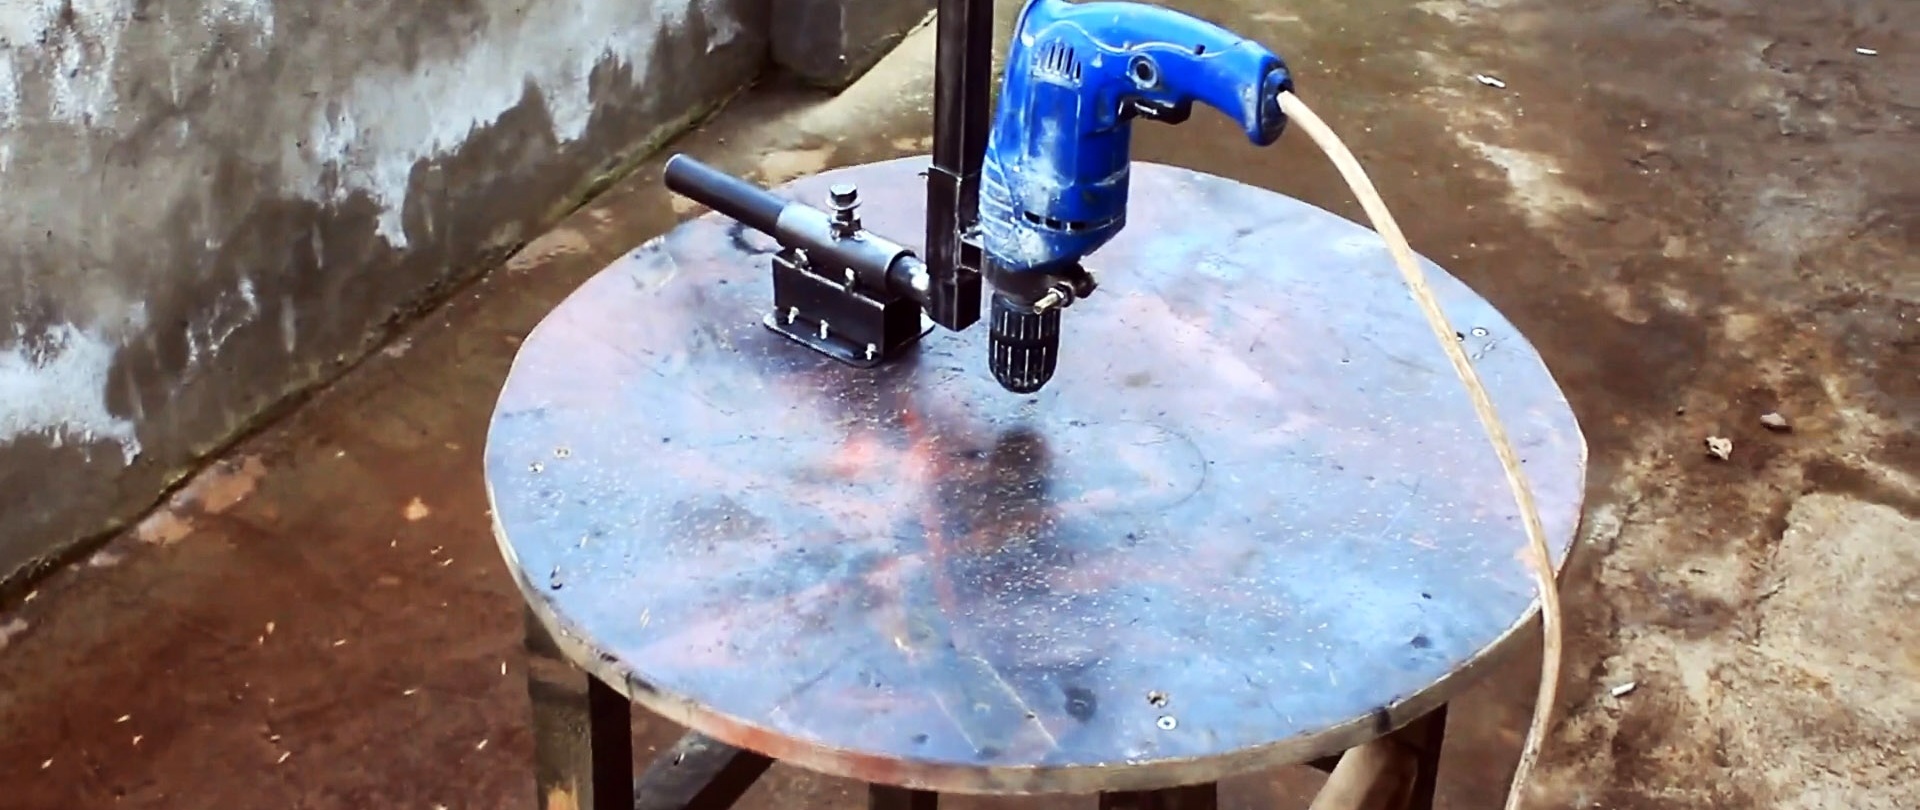
We put the fastening and guide unit with a drill on a vertically located profile pipe. The machine is ready for use.
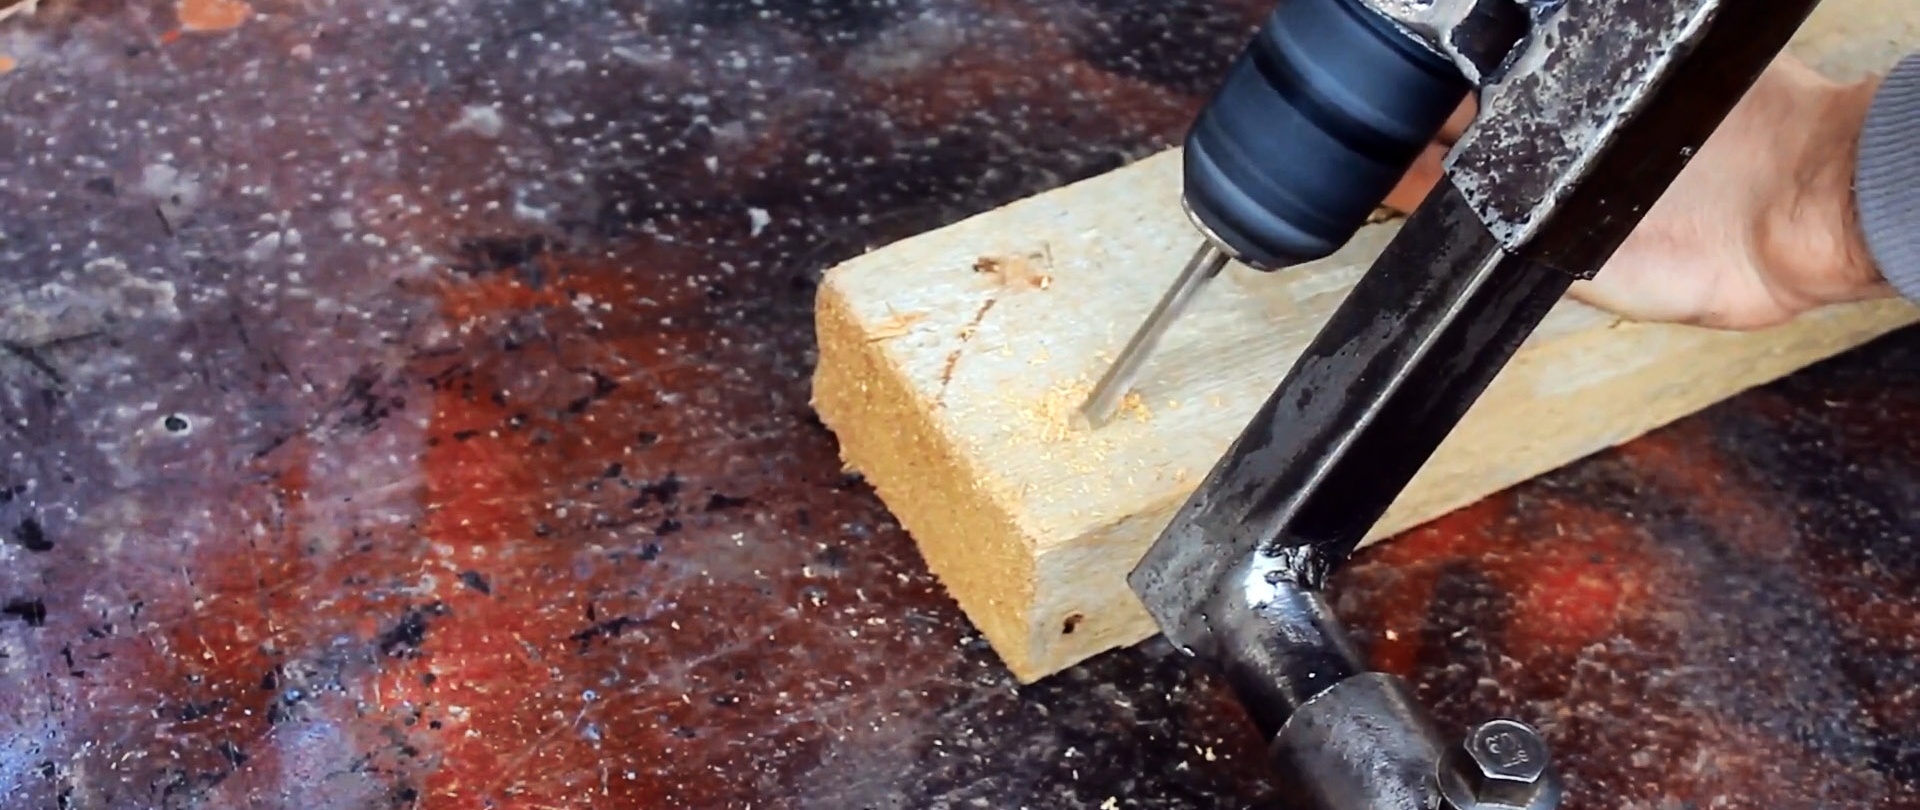
To do this, set the desired position of the tool horizontally and vertically and fix them with a bolt in the horizontal guide. We turn on the drill and drill the required holes, vertical and obliquely located at any angle.