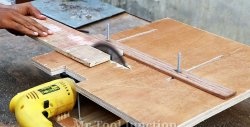
Using a household drill to accurately make a hole in place and direction requires a steady hand and a lot of practice. But if you make the equipment from two racks and a movable carriage, even a novice master can cope with drilling of any accuracy.
Will need
- Drill;
- round rod;
- plywood remains;
- scraps of wood blocks;
- screws;
- anti-slip plates;
- extension spring.
Tooling manufacturing process
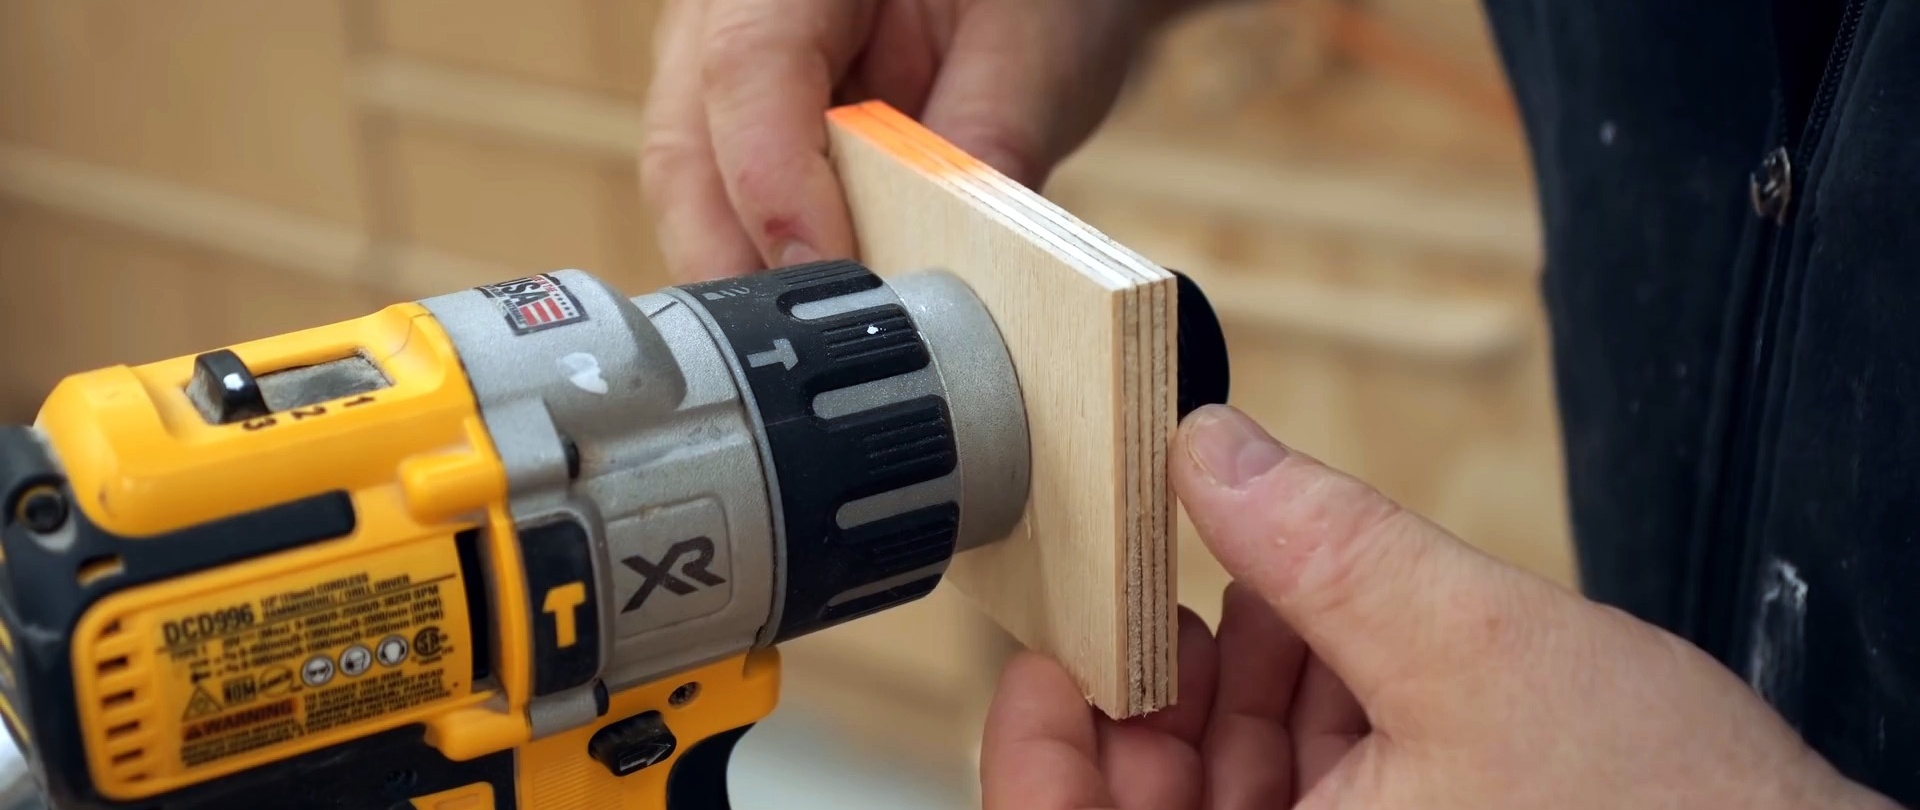
The idea is to securely “pack” the drill into a movable carriage that slides in racks resting on a base plate. For precision assembly of the equipment, we place a point on the back of the drill body - the projection of the center of the drill clamped in the chuck. We measure the diameter of the power belt in front of the drill body. We cut out a rectangle from thick plywood of the given dimensions.
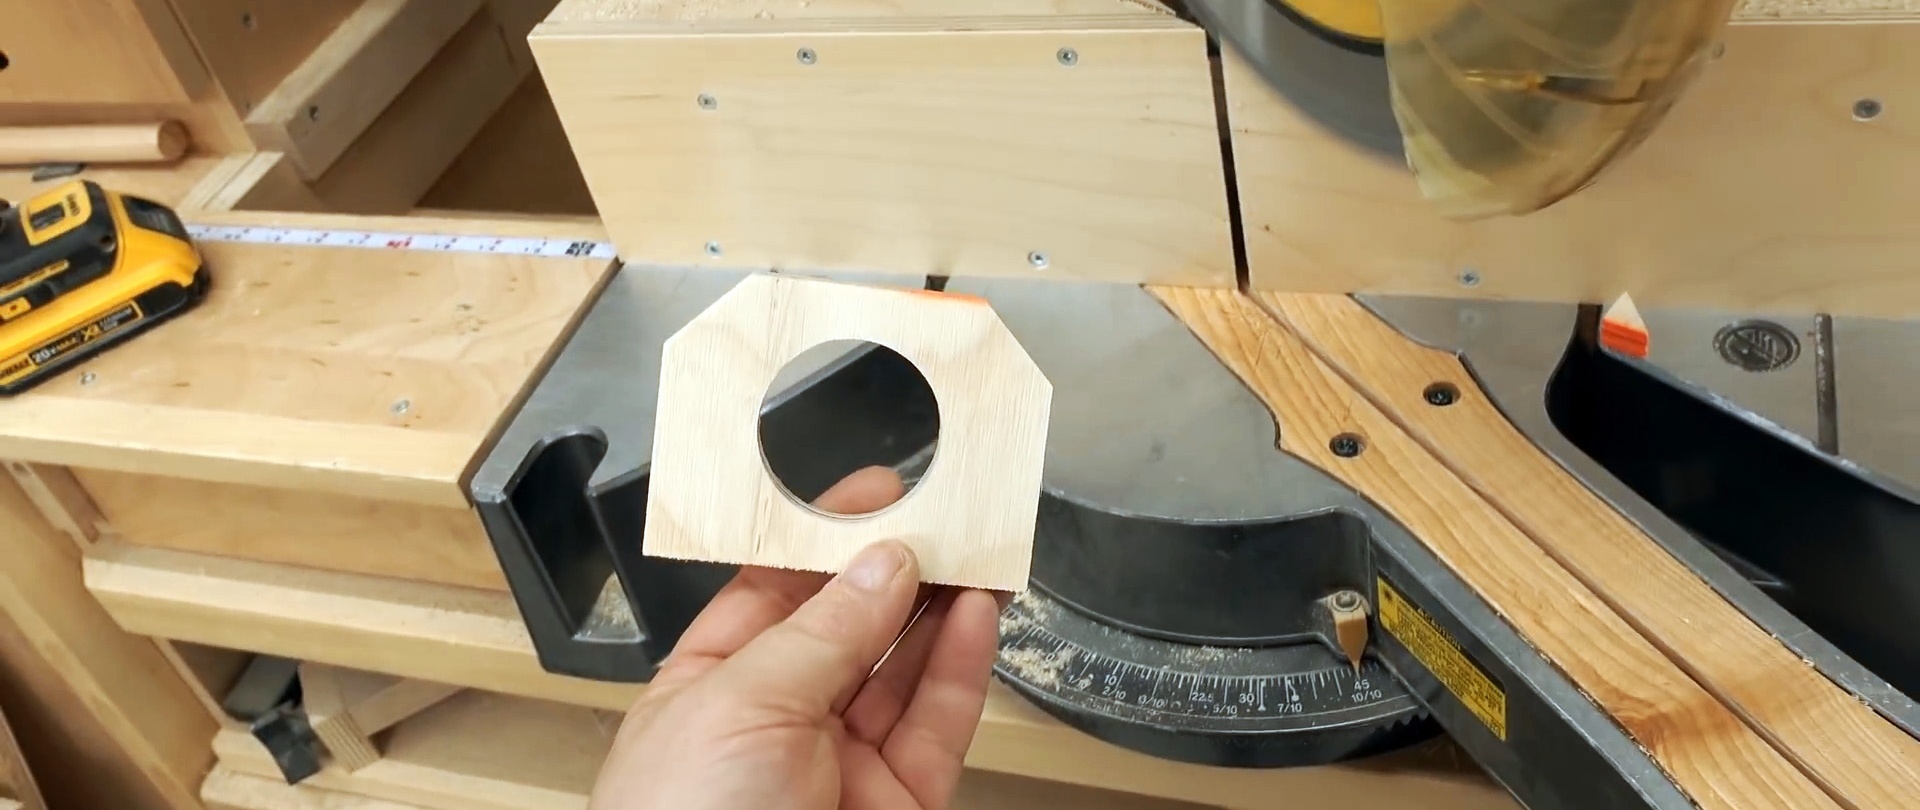
And in the center we make a hole of approximately the required diameter.
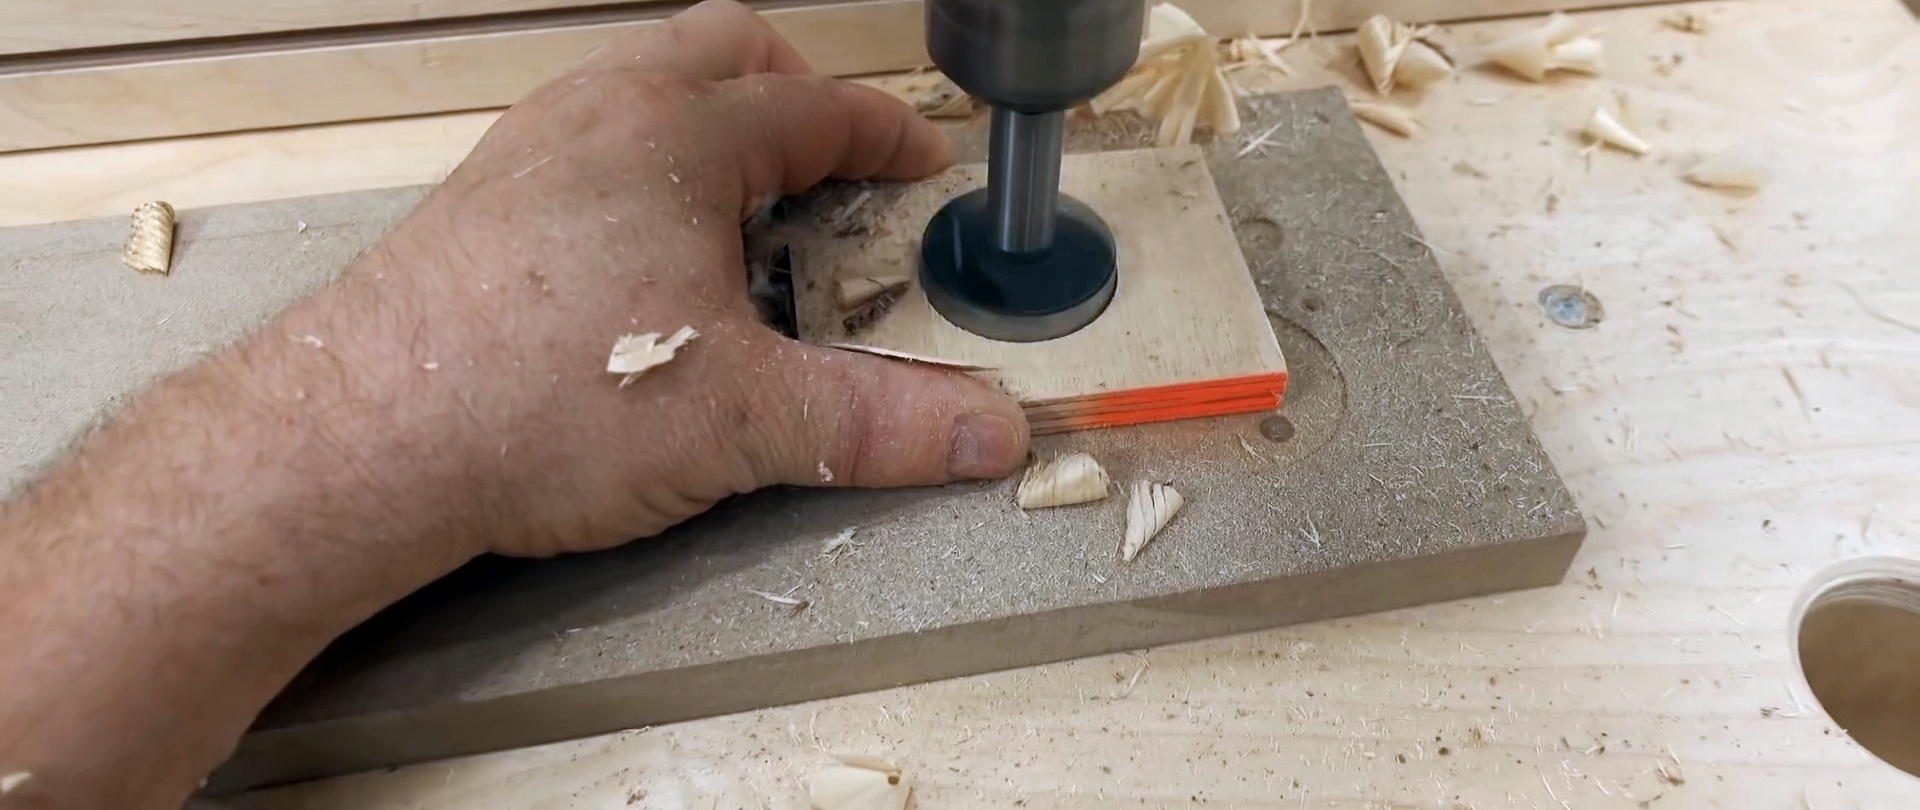
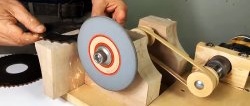
To finish the hole, we process it on a spindle grinding machine.From 6 mm plywood we make a rectangular blank with a width slightly larger than the width of the assembly with the hole and fasten them together.

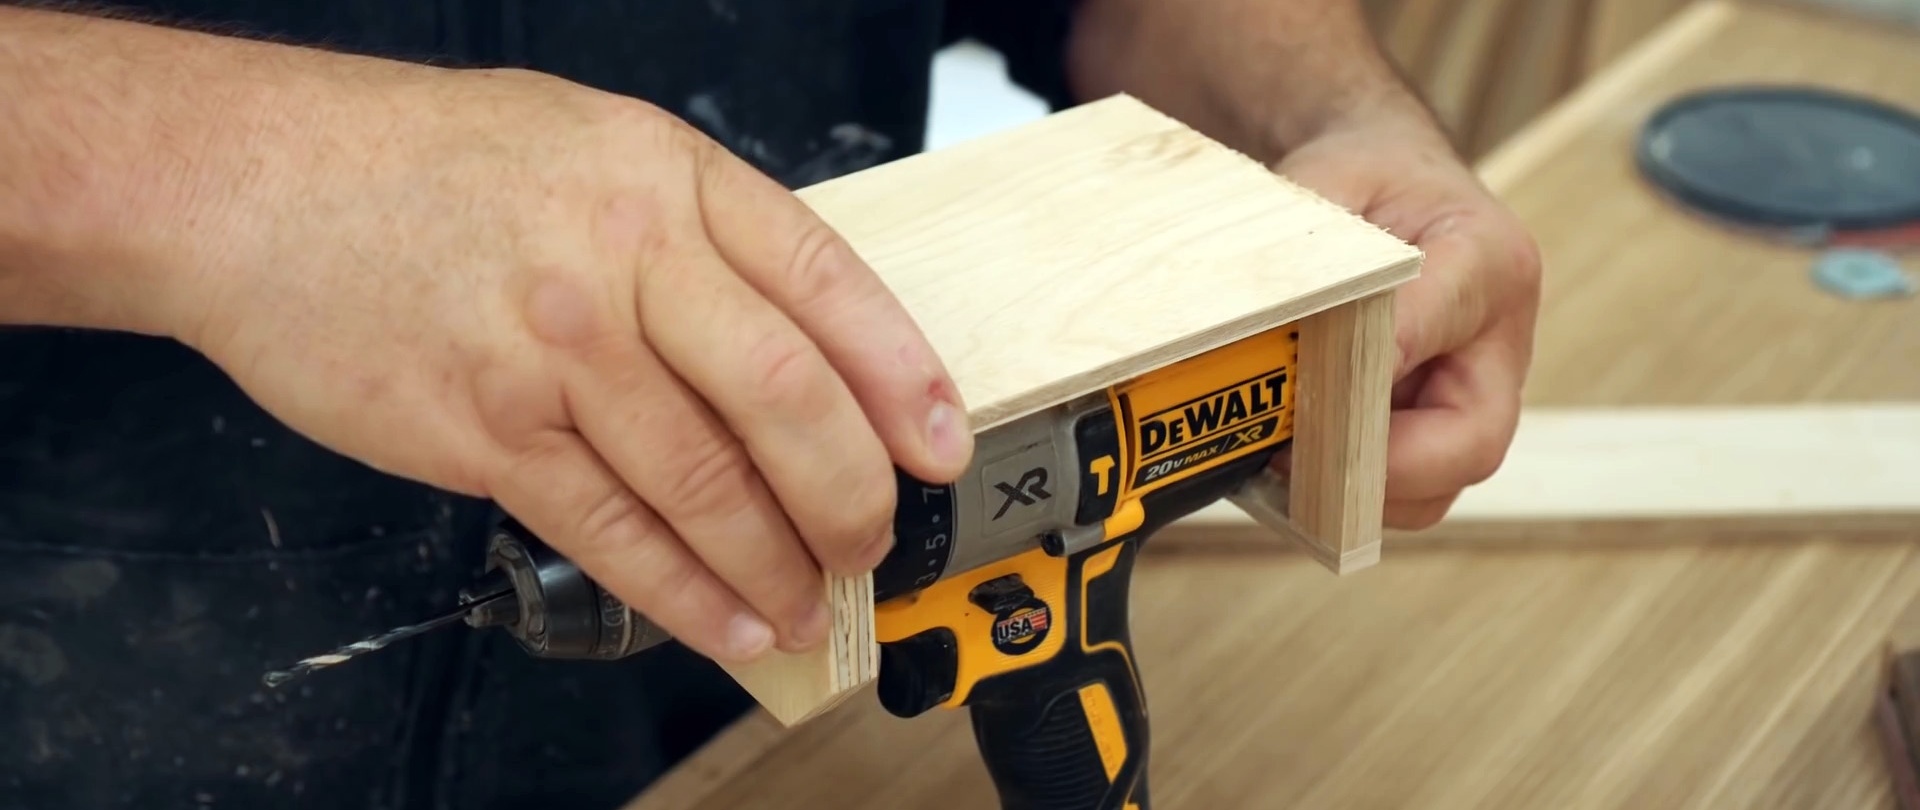
Under the plywood above the rear end of the drill body we place a plywood cross member with a selected notch for a tight fit to the drill body.
From a block of wood we cut two equal sections of the required length and cross-section.

We press them vertically on the sides to the back of the drill body and rest them on top against a strip of plywood with a recess.
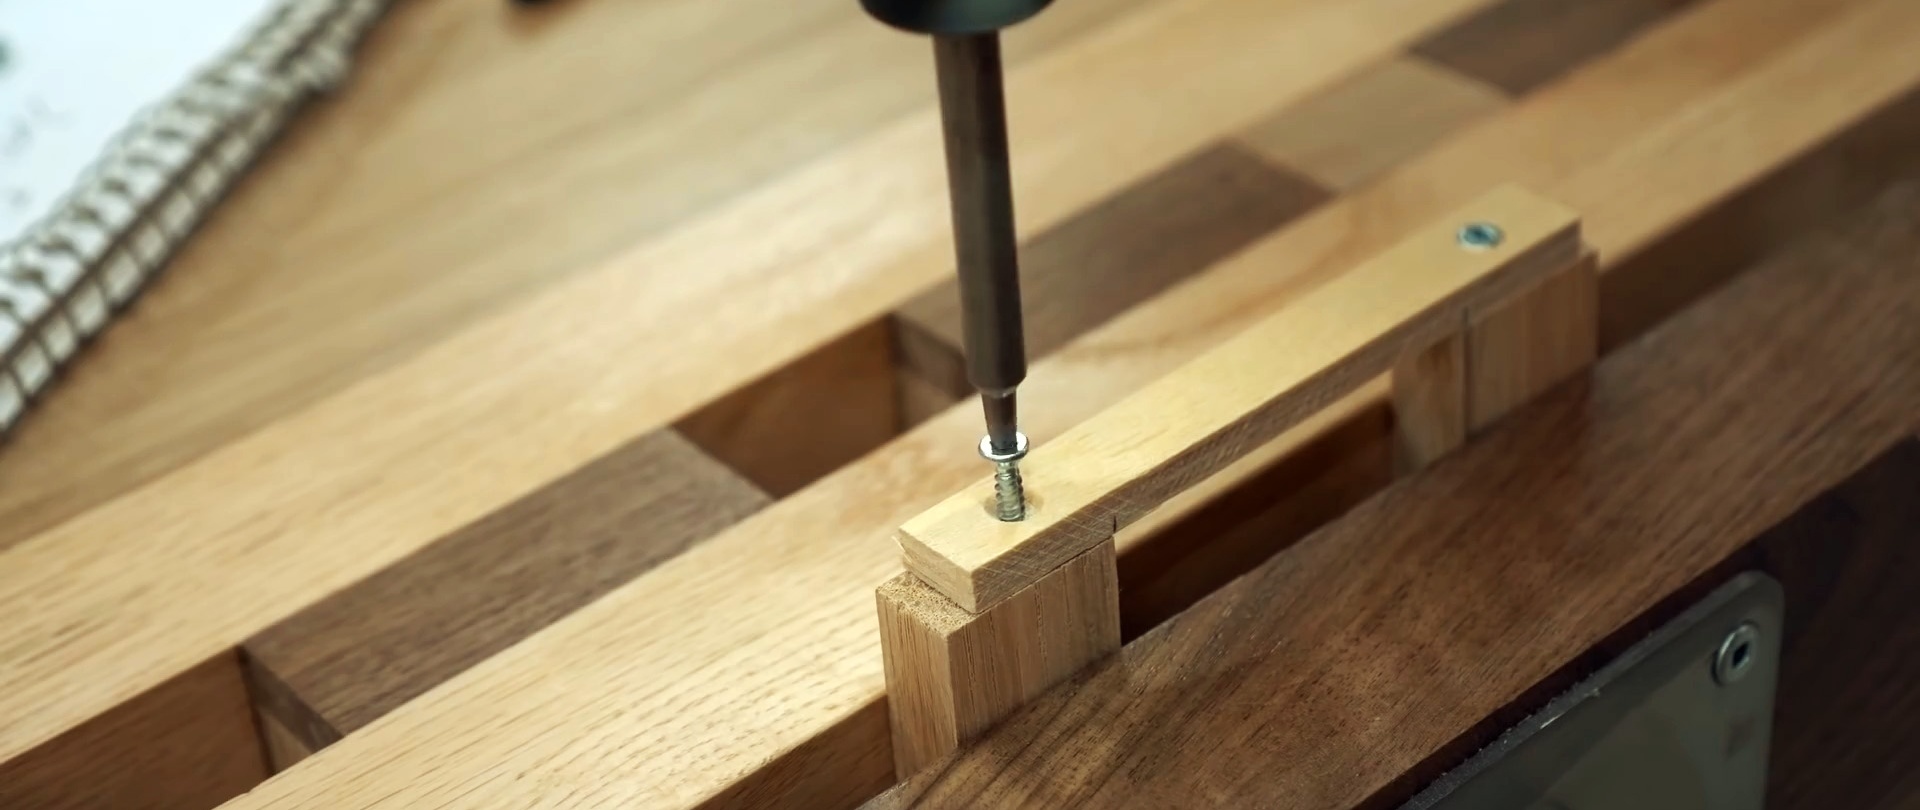
Without changing the position of the elements, we screw the bar with the recess to the vertical posts.
We also screw a bar with a small recess to the bottom of the stands to ensure a tight fit to the drill body.
The parts of the racks protruding beyond the limits of the transverse strips are removed using a circular saw.

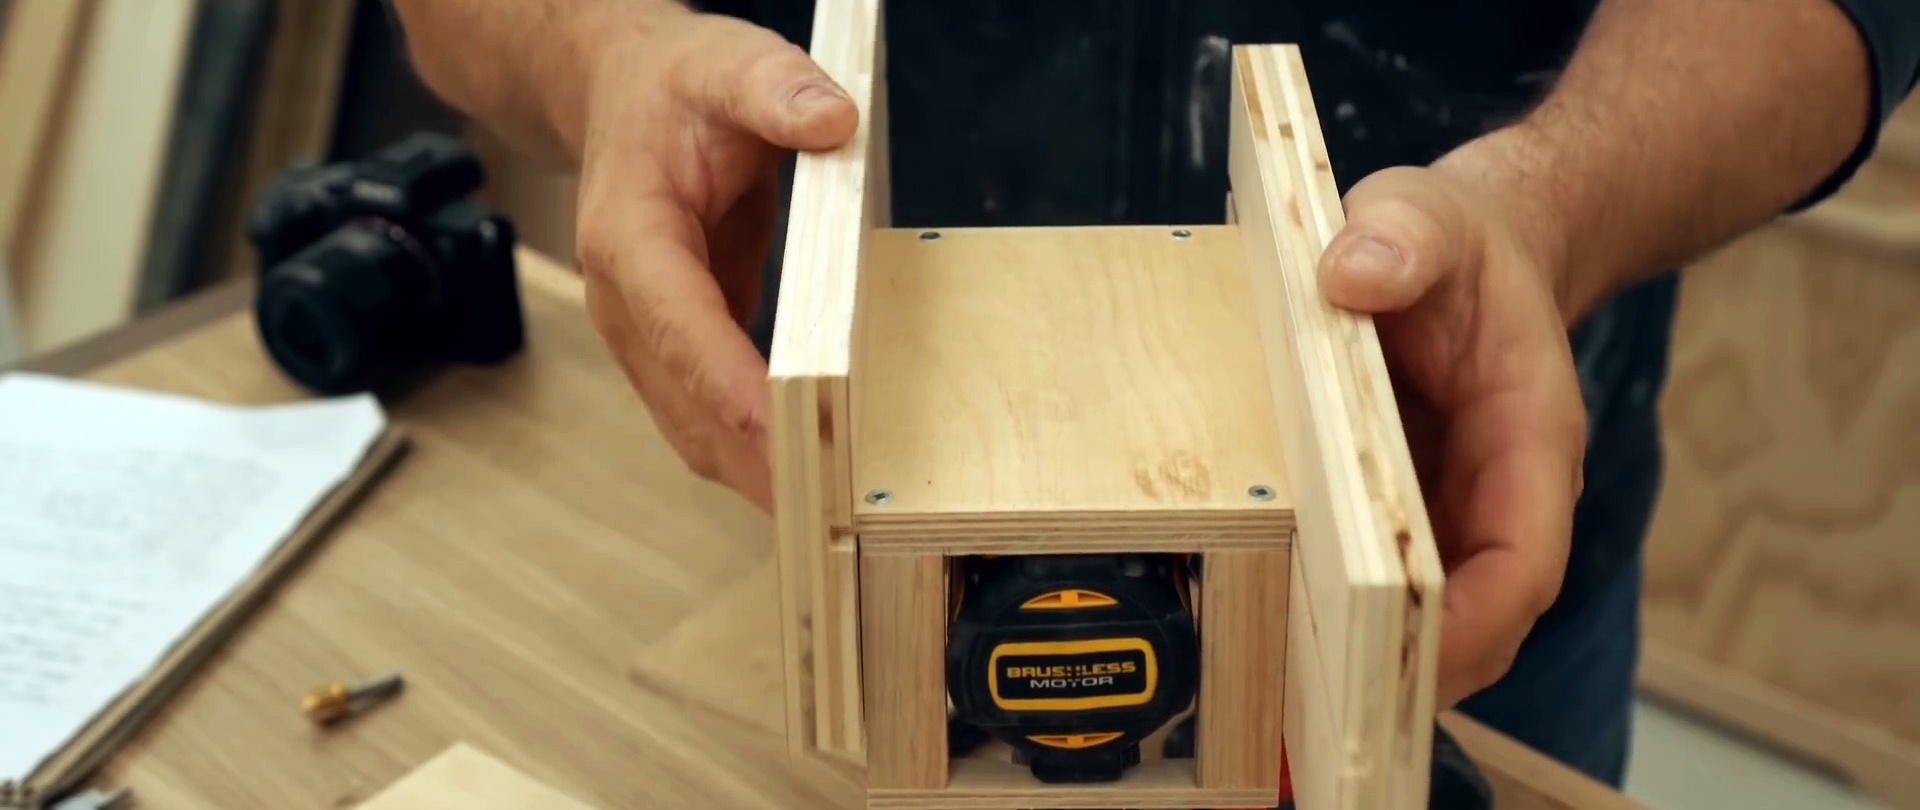
We put on the power belt of the drill and the lower transverse unit of the carriage with a rectangle of plywood screwed to it, the other end of which exactly lies on the upper unit of the carriage.
In this position, screw the “roof” to the racks. We return the drill, then the rear cross member into place and tighten the screw. Using improvised means, we check the accuracy of the location of the drill in the carriage.
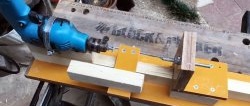
From thick plywood we cut out two identical racks, in which we make 6 × 6 mm grooves in the center longitudinally on a circular saw.
We connect the racks with grooves inwards parallel and symmetrically to each other with a square of 6 mm plywood. We make sure that they are assembled correctly.

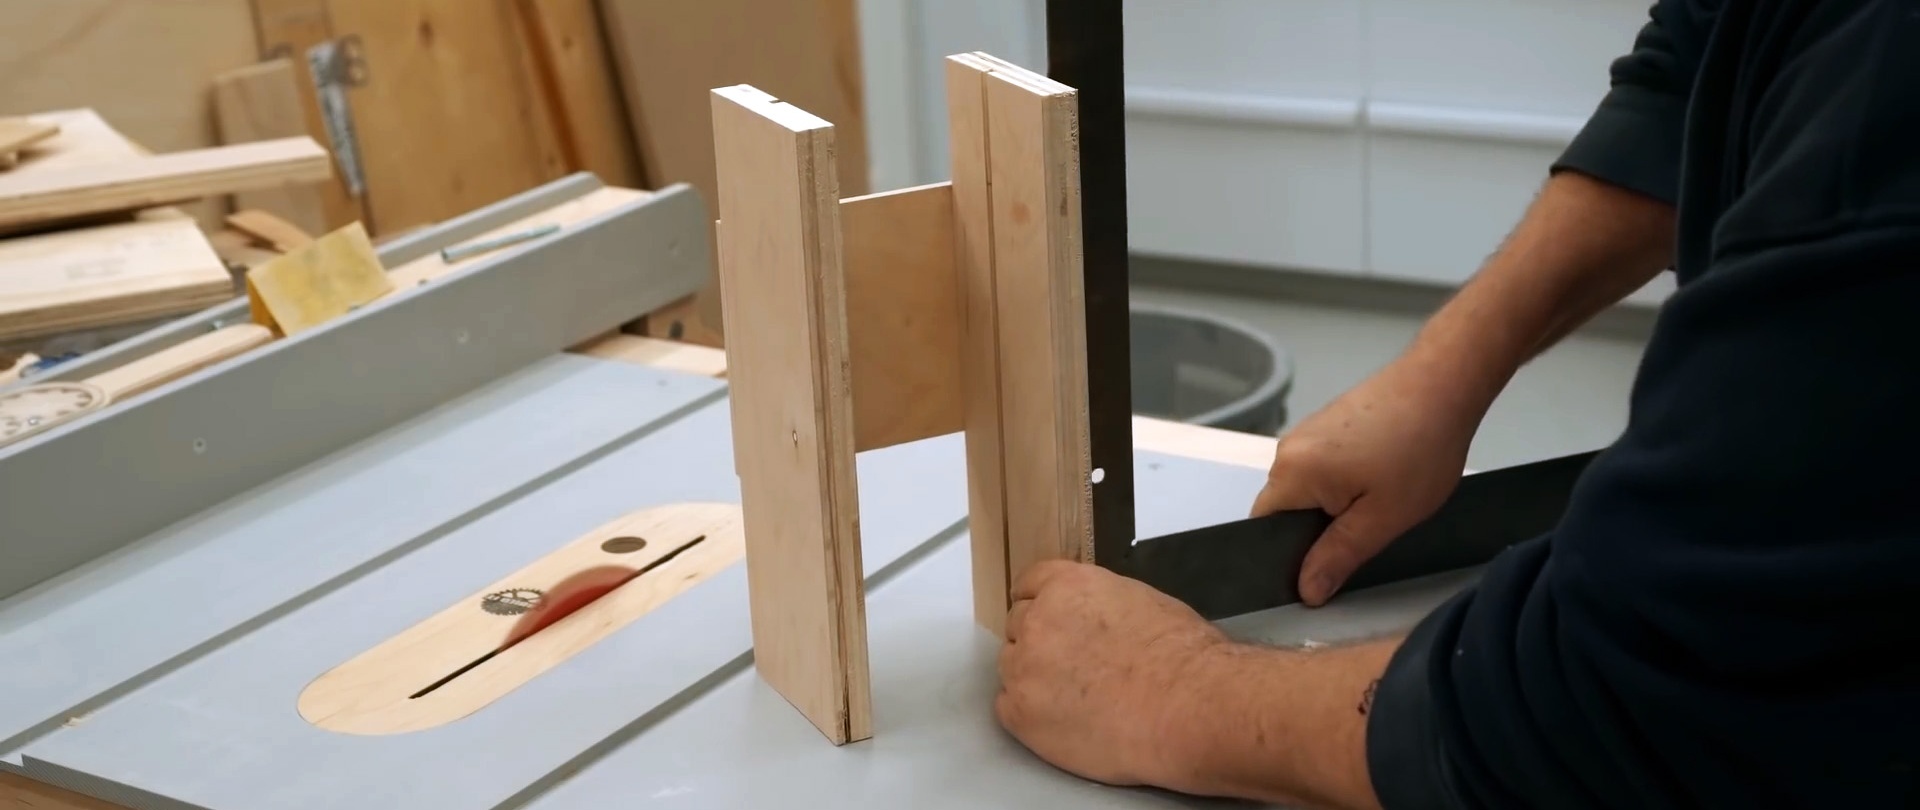
In the racks from above we insert the edges of the carriage cover into the grooves.
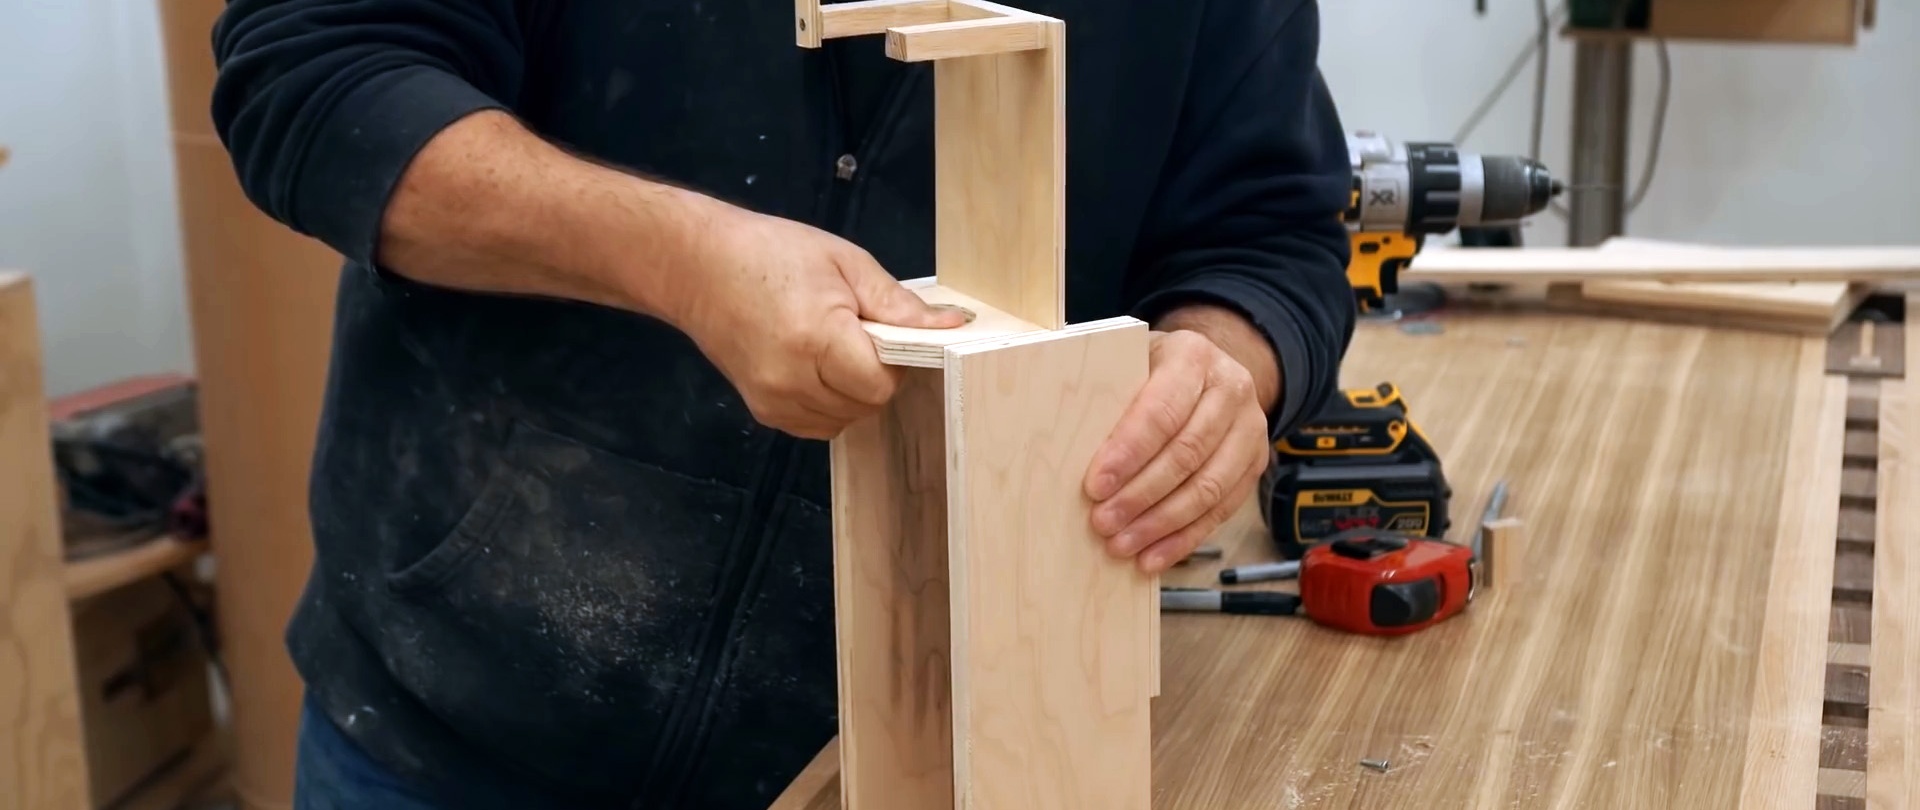
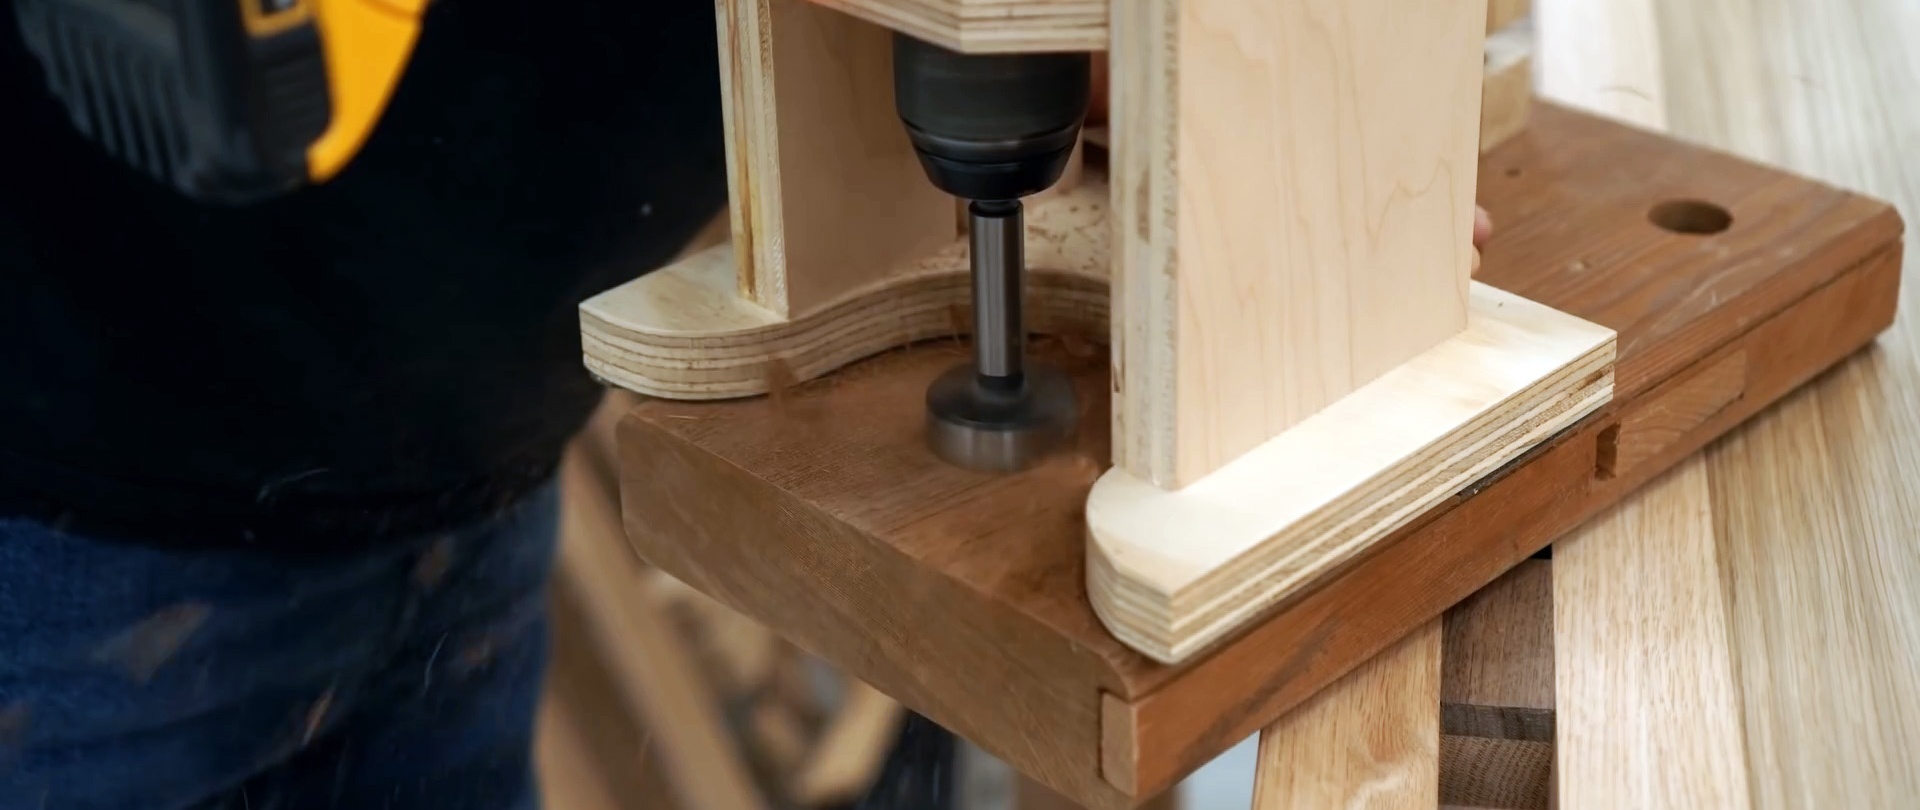
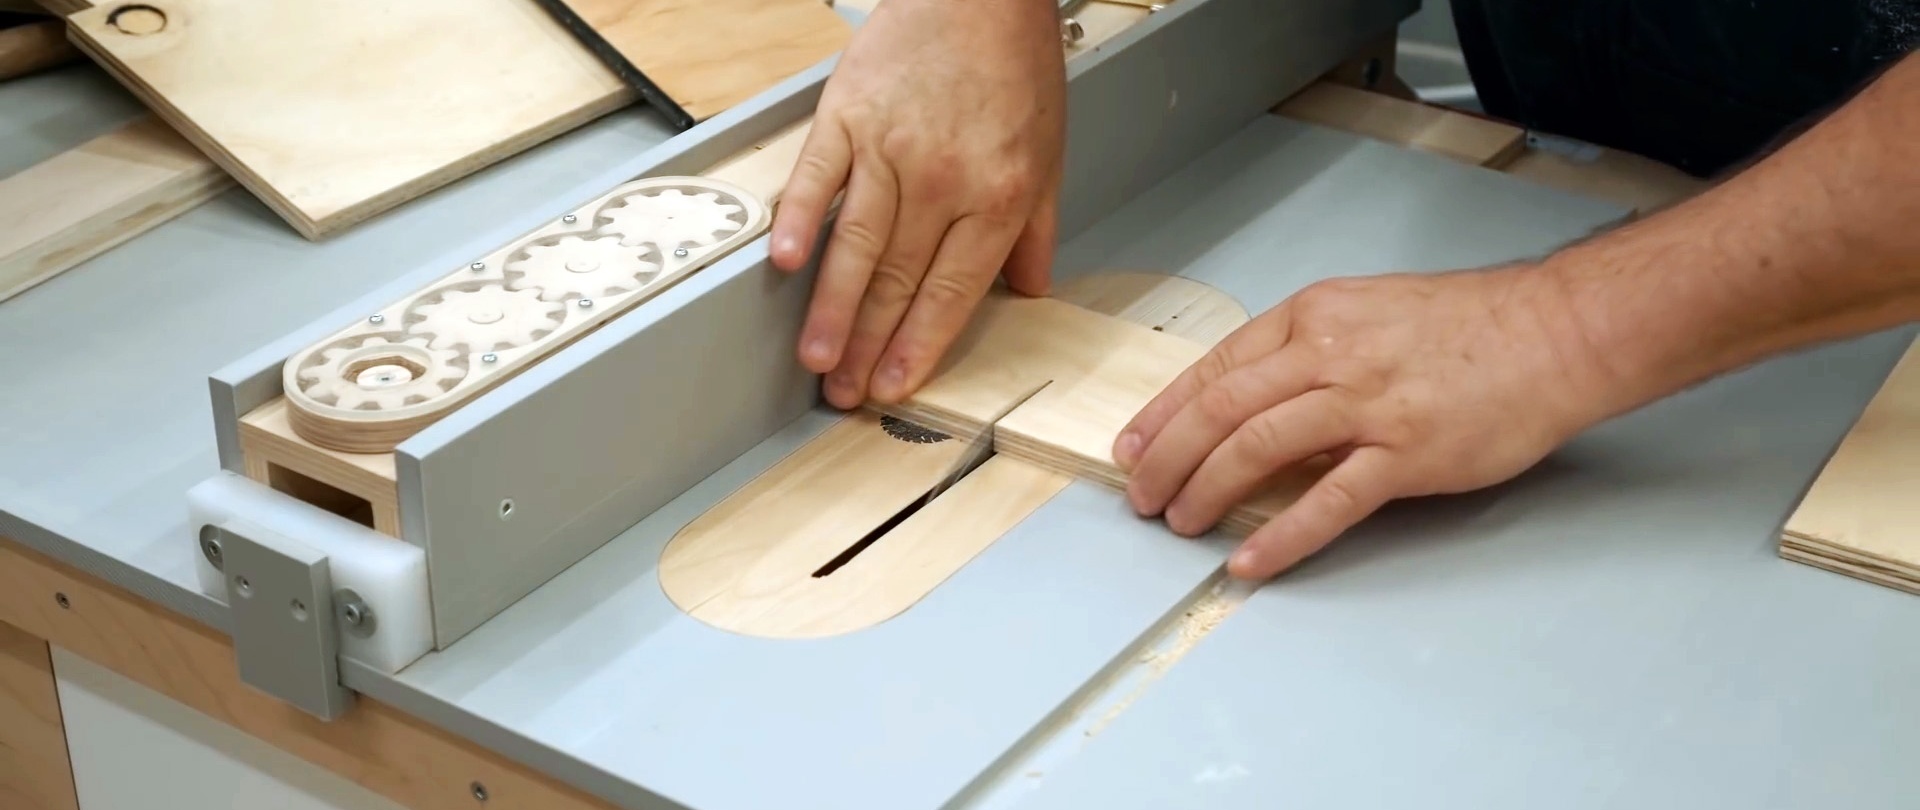
We make a sole from 20 mm plywood, cutting out a semicircular sample with rounded edges in it.

We screw the base to the ends of the posts from the side of the lower transverse unit of the movable carriage.

We glue 4 rubber anti-slip plates to the sole on the contact side.

We connect one stand and the carriage with a compression spring to return the drill up upon completion of drilling.
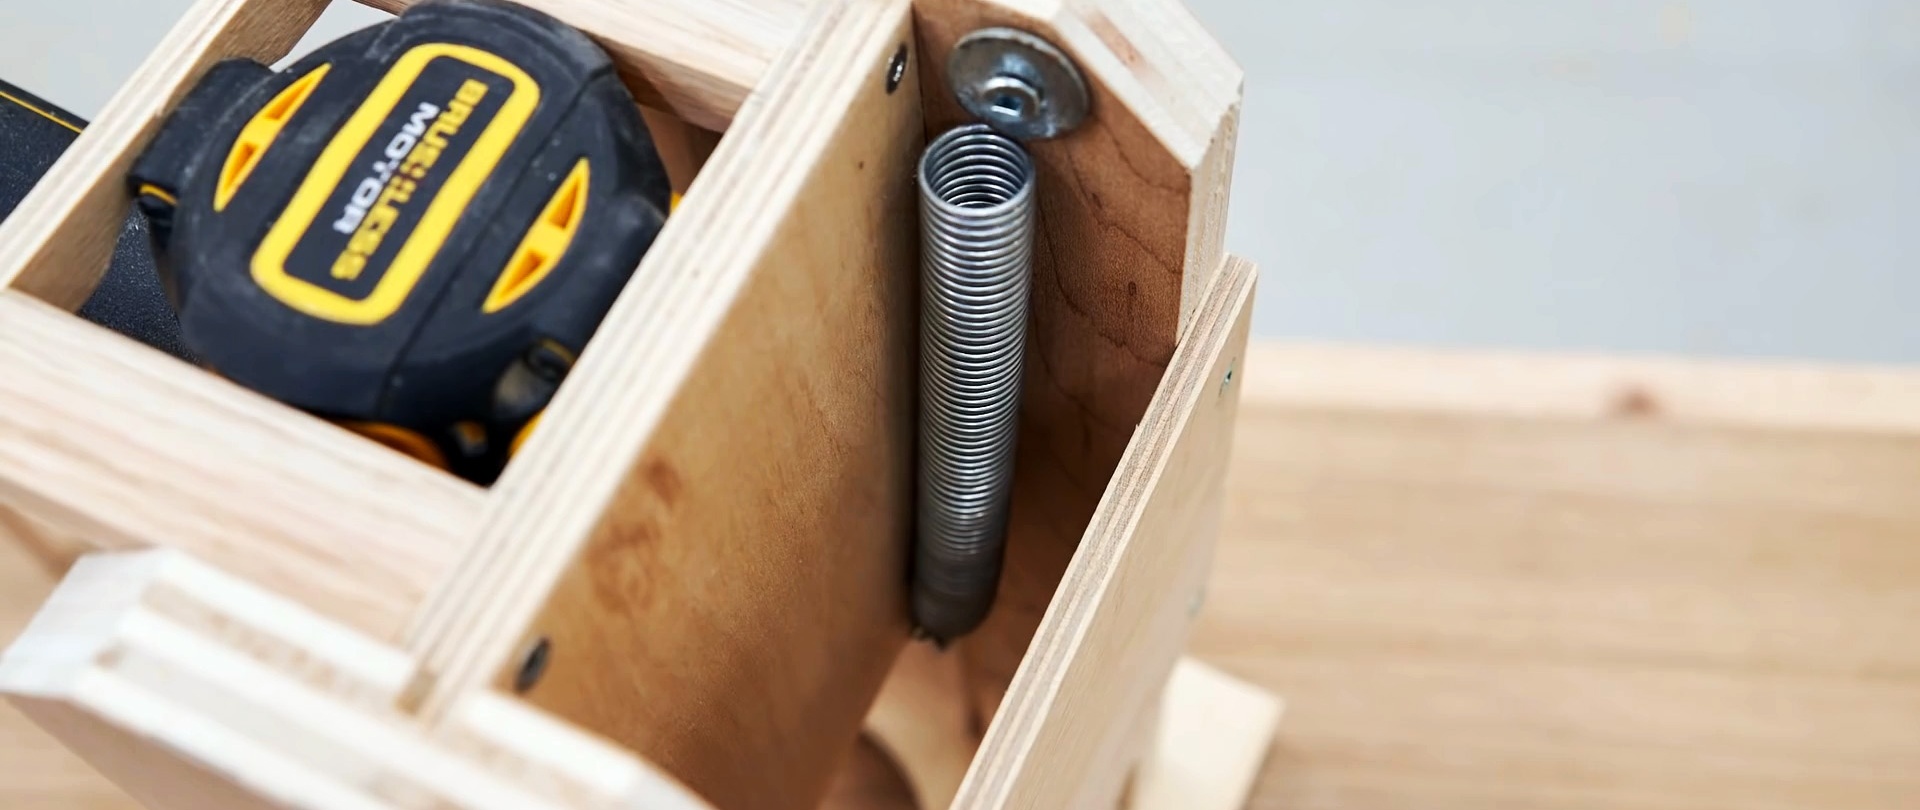
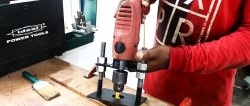
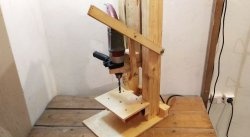
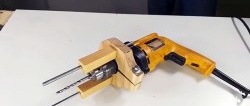
The drill with accessories is completely ready for work.