Many tools have a universal Svenson square among their tools. There is a scale on all its sides, and complex shaped grooves are made in the body. Each of these elements has its own purpose. The design of the tool is so well thought out that you can use it to perform dozens of manipulations, and not just draw 90 and 45 degree angles, as with a regular classic square. Let's look at some of its secrets.
1. Drawing any angles
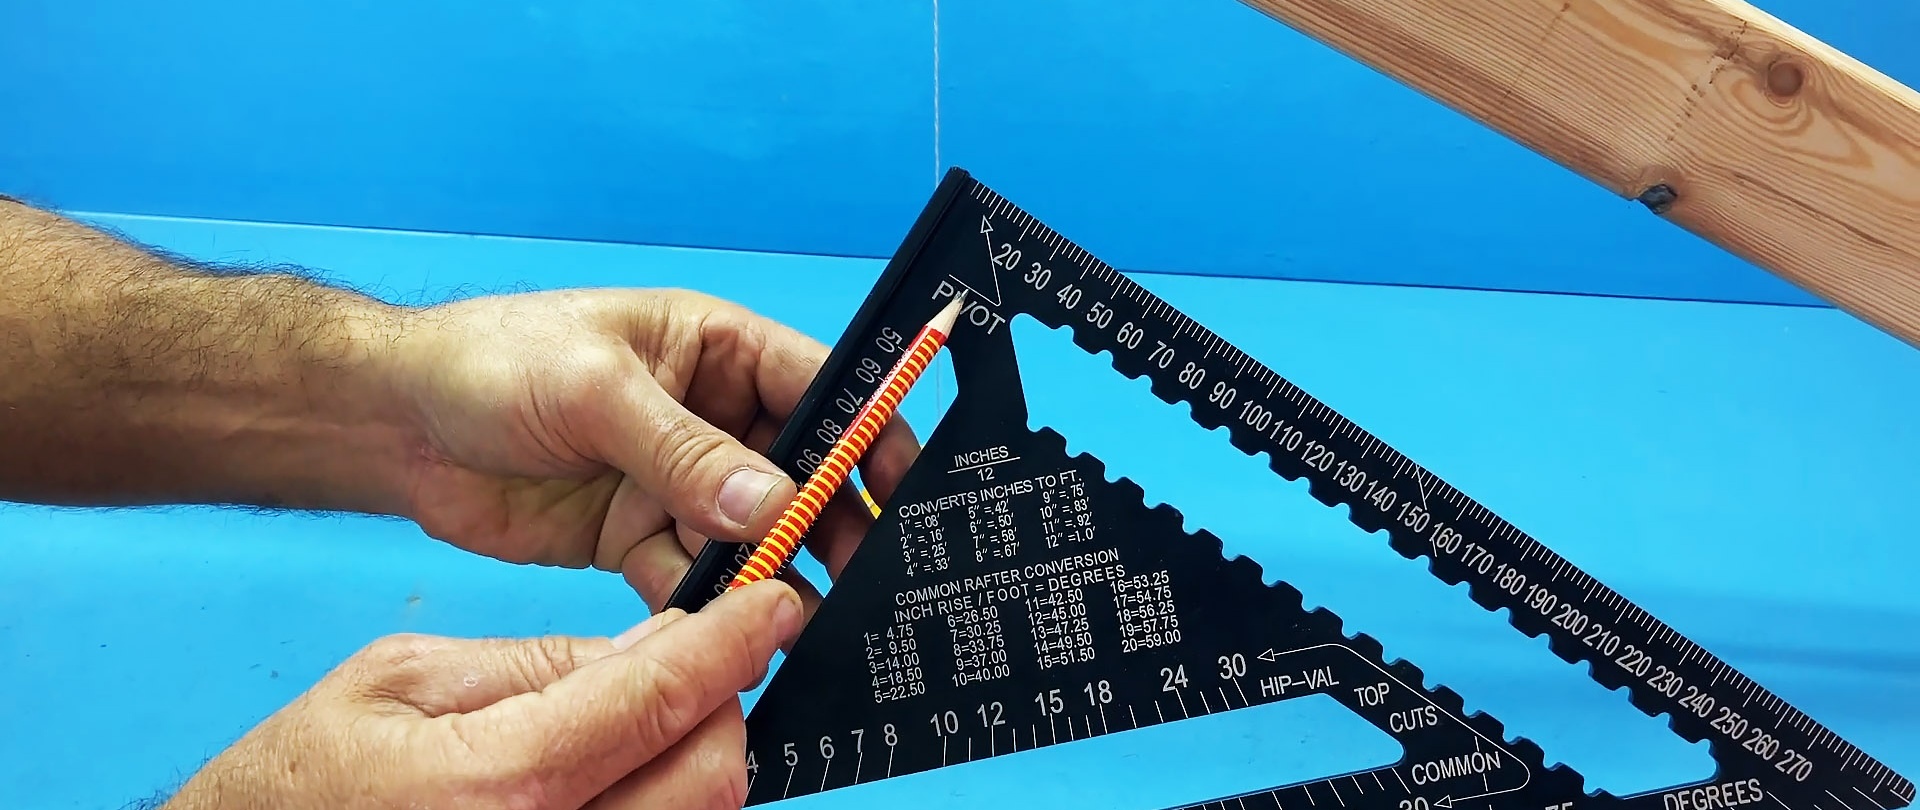
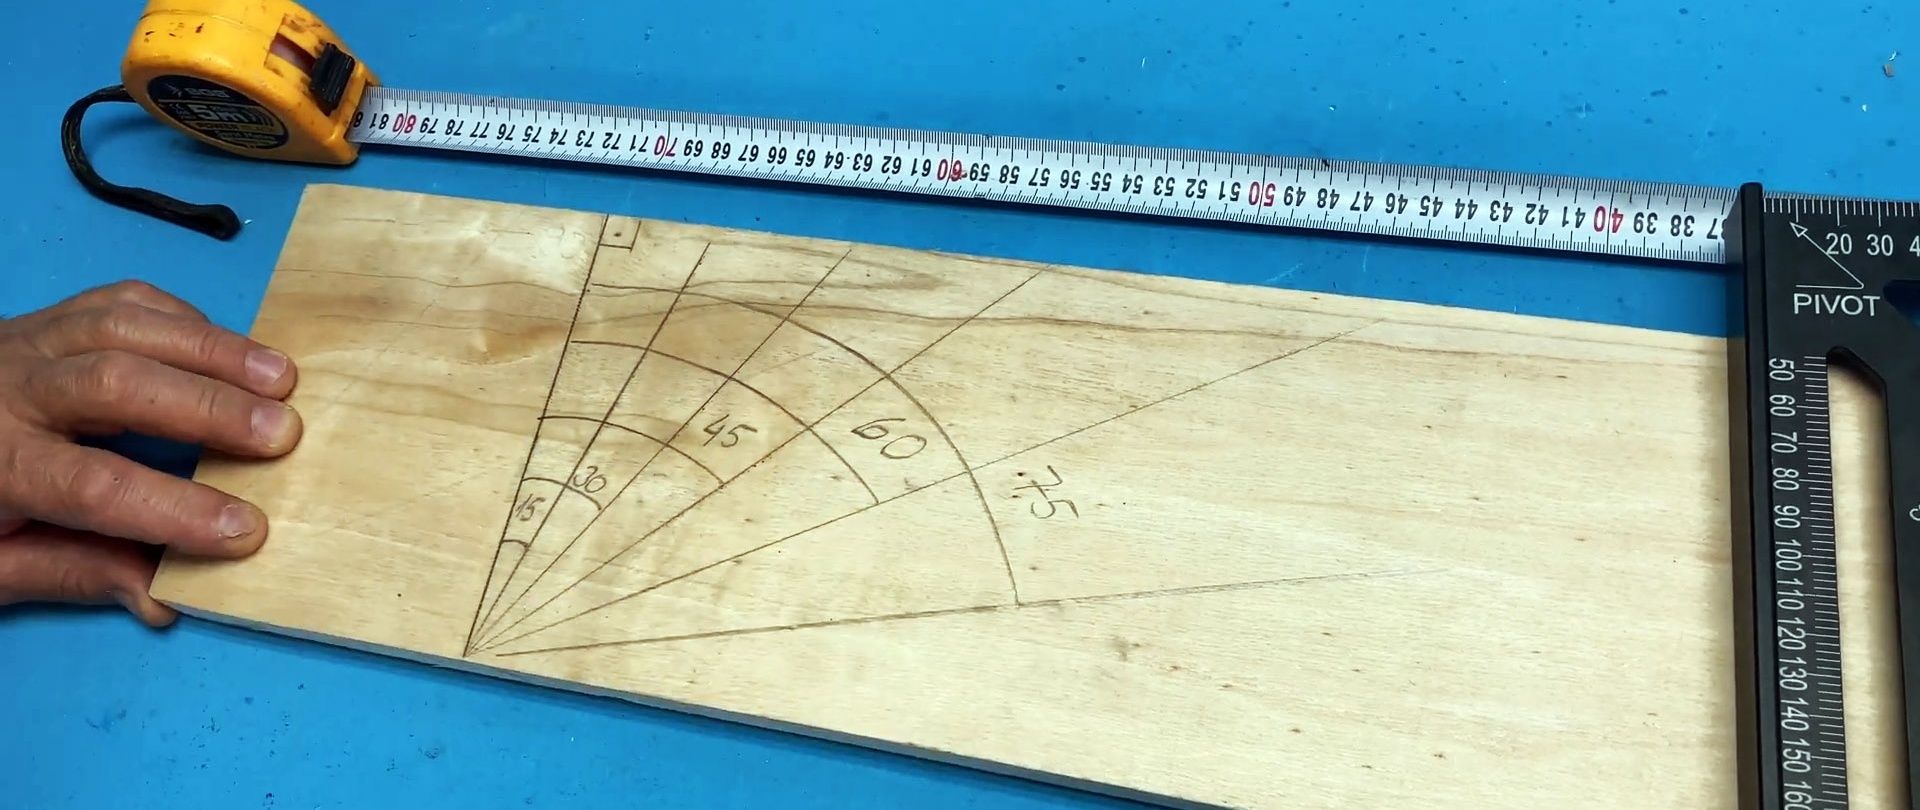
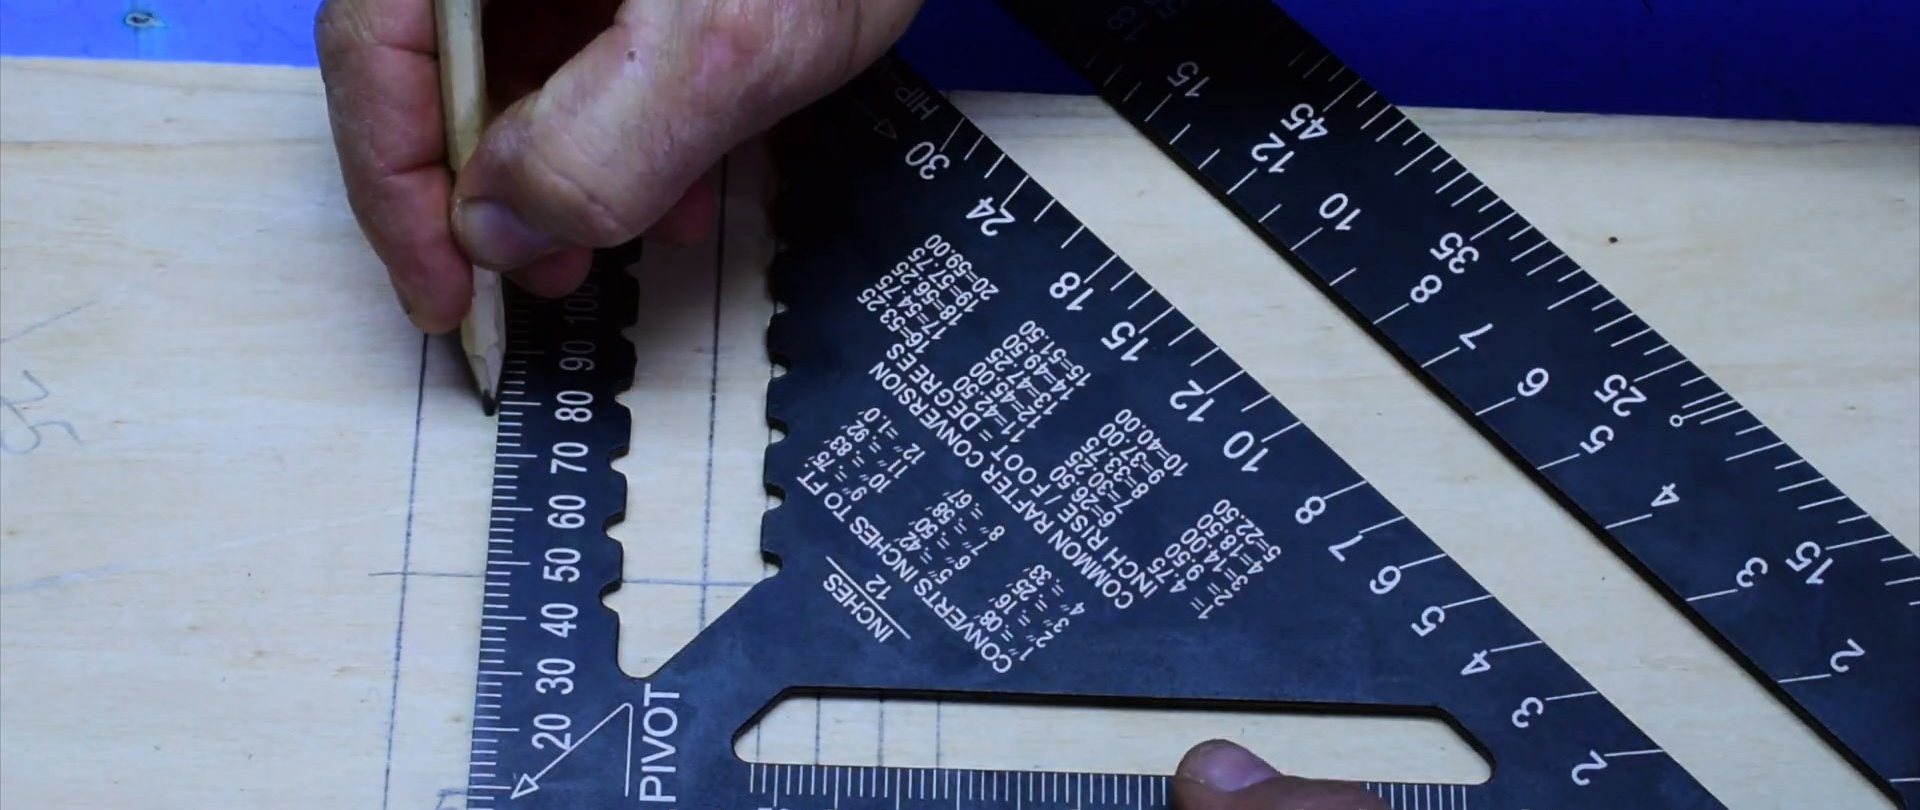
With this square you can mark any angles. To do this, it is first applied parallel to the part close to its edge in order to draw a transverse line.

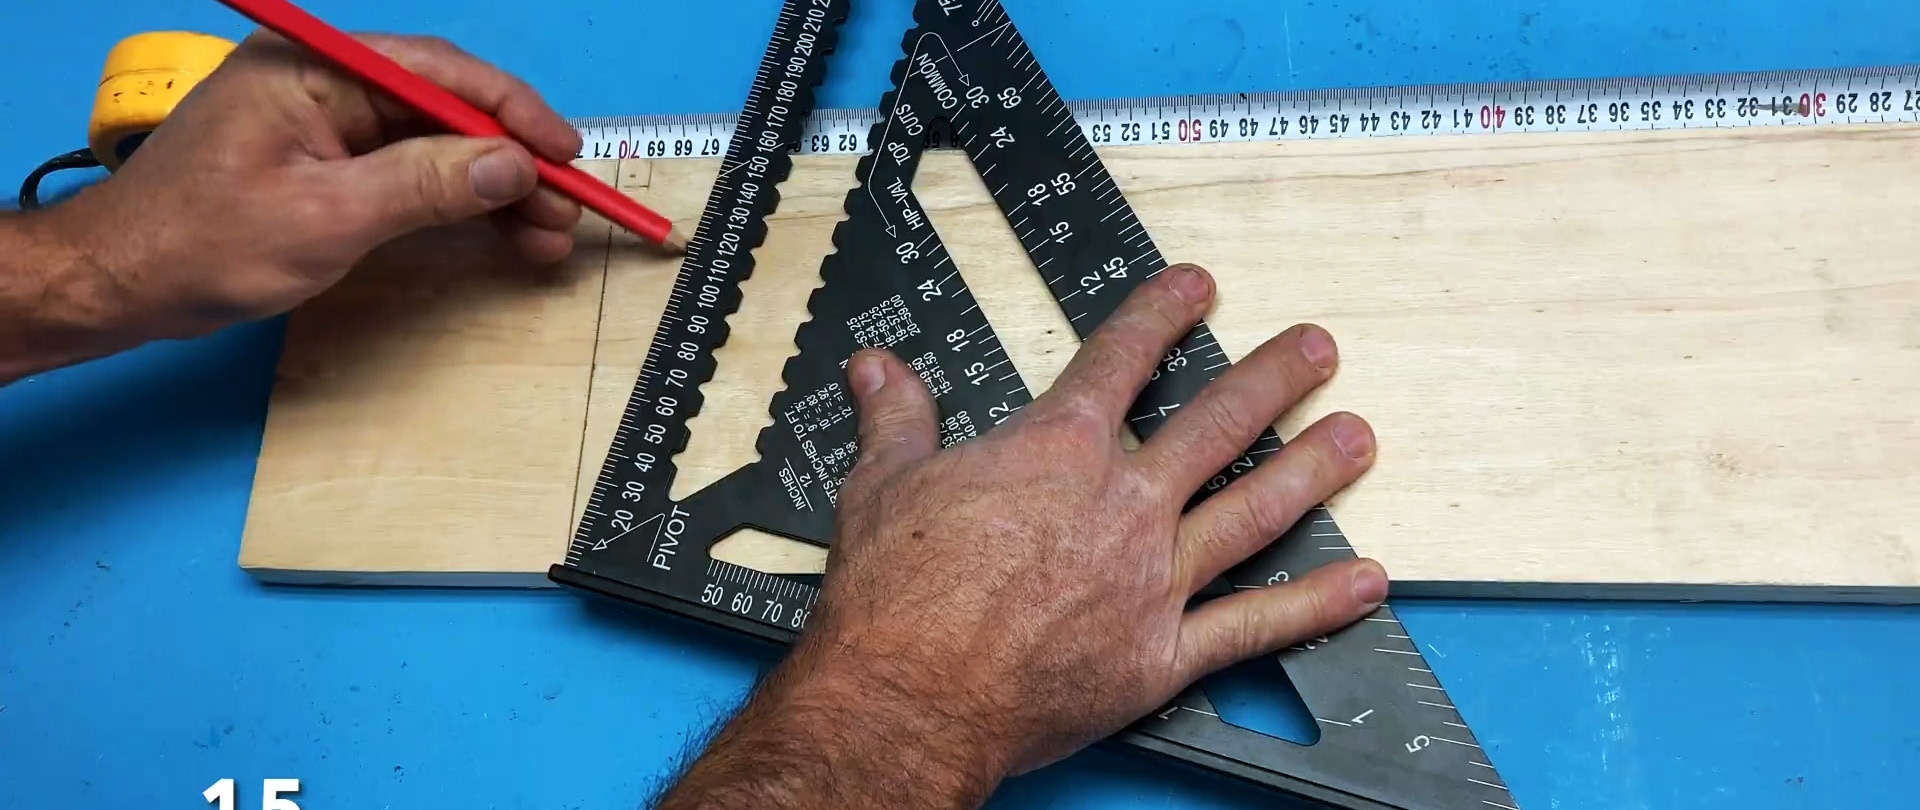
Then its edge must be pulled back towards you, without moving the angle from the beginning of the line. On the long side of the instrument there is a scale of 1-90 degrees. It is necessary to move the square so that the mark of the required angle value is at the beginning of the workpiece.
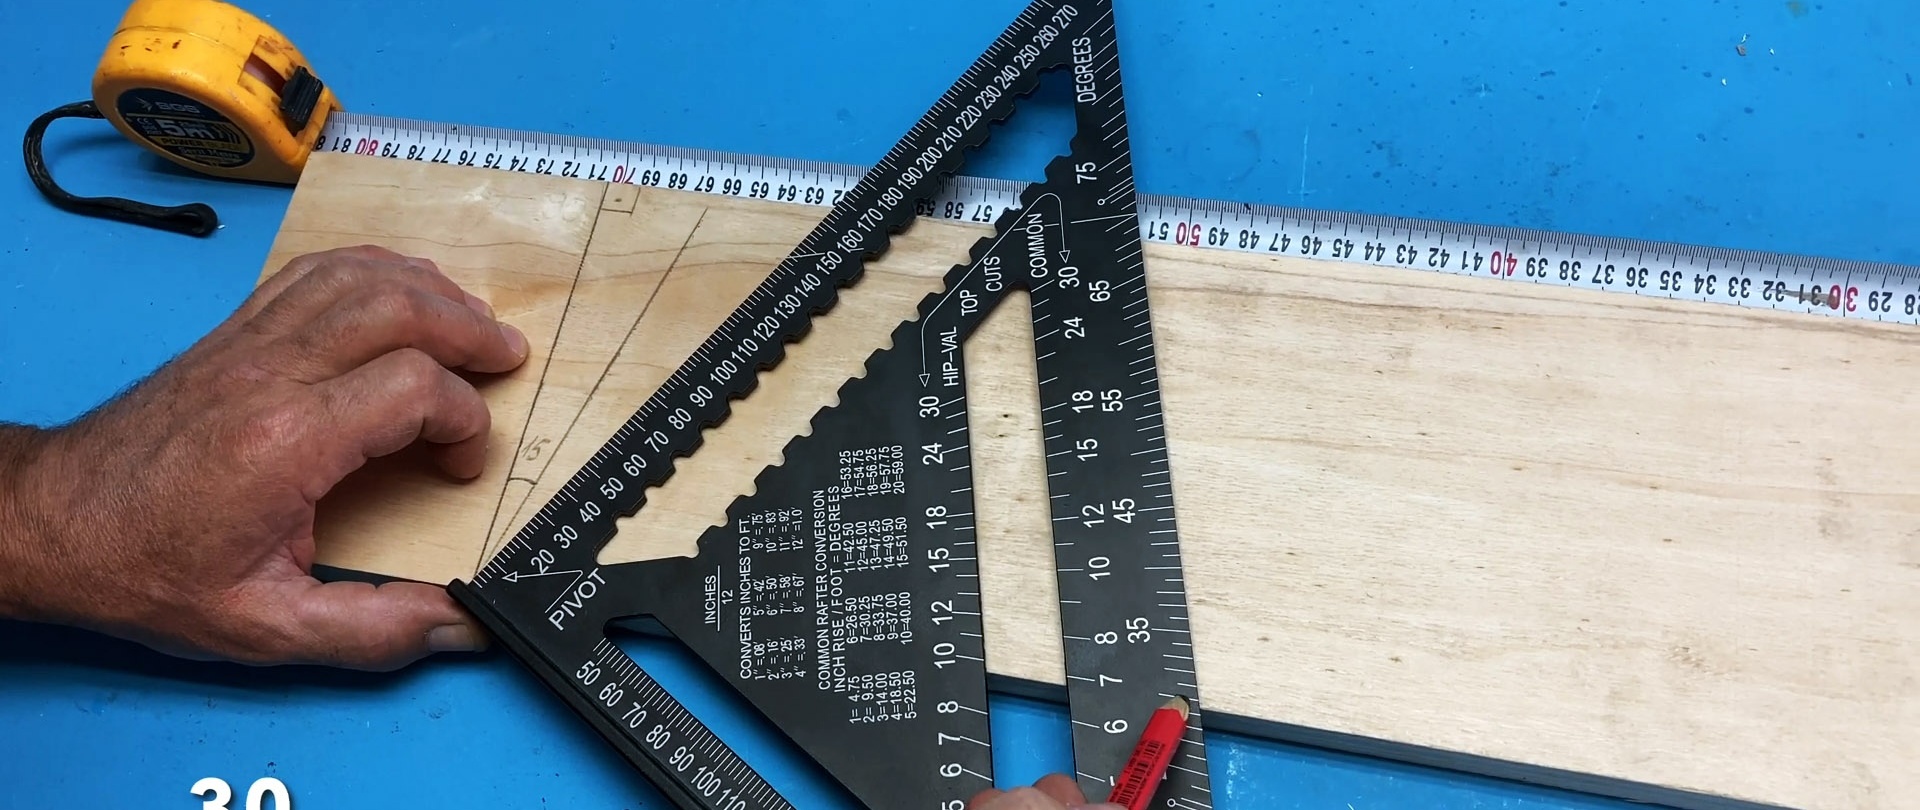
Thus, if we draw again with a pencil along the short side, we get this angle between the two lines. Everything is simple and fast.
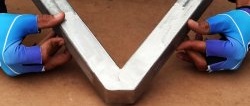
2. Trimming boards
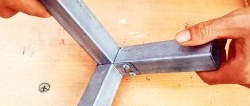
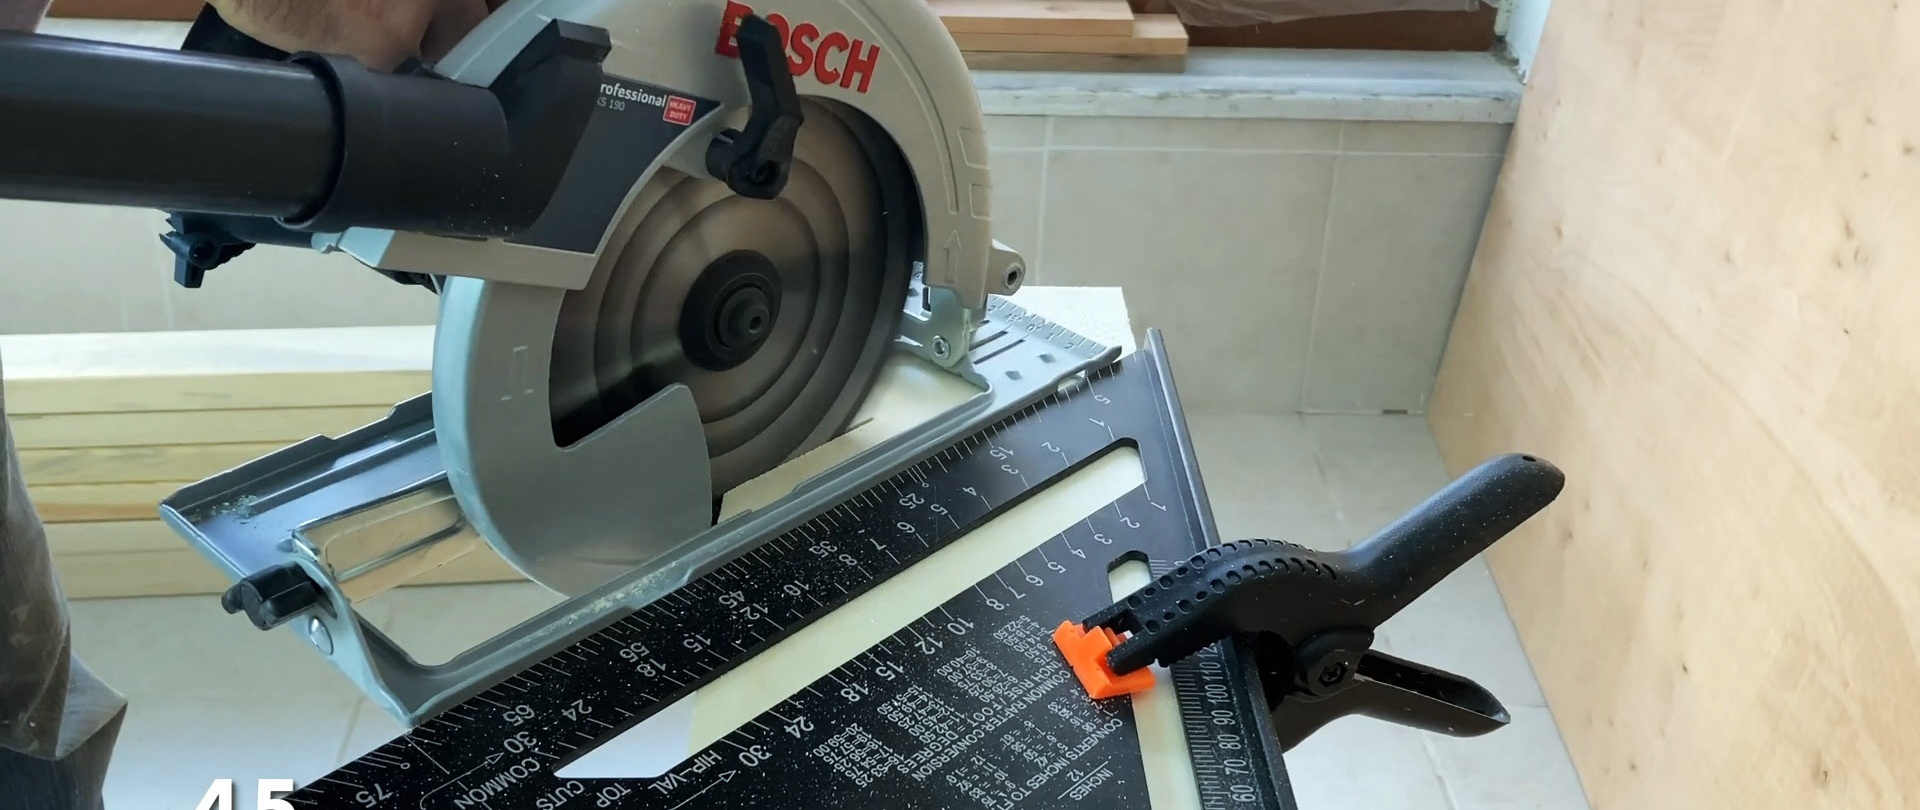
The square can be pressed to the board with clamps, and using its short side as a guide, you can trim it at a right angle.Since the tool is made of thick sheet steel, such a stop perfectly supports the sole of a hand-held circular saw or jigsaw.
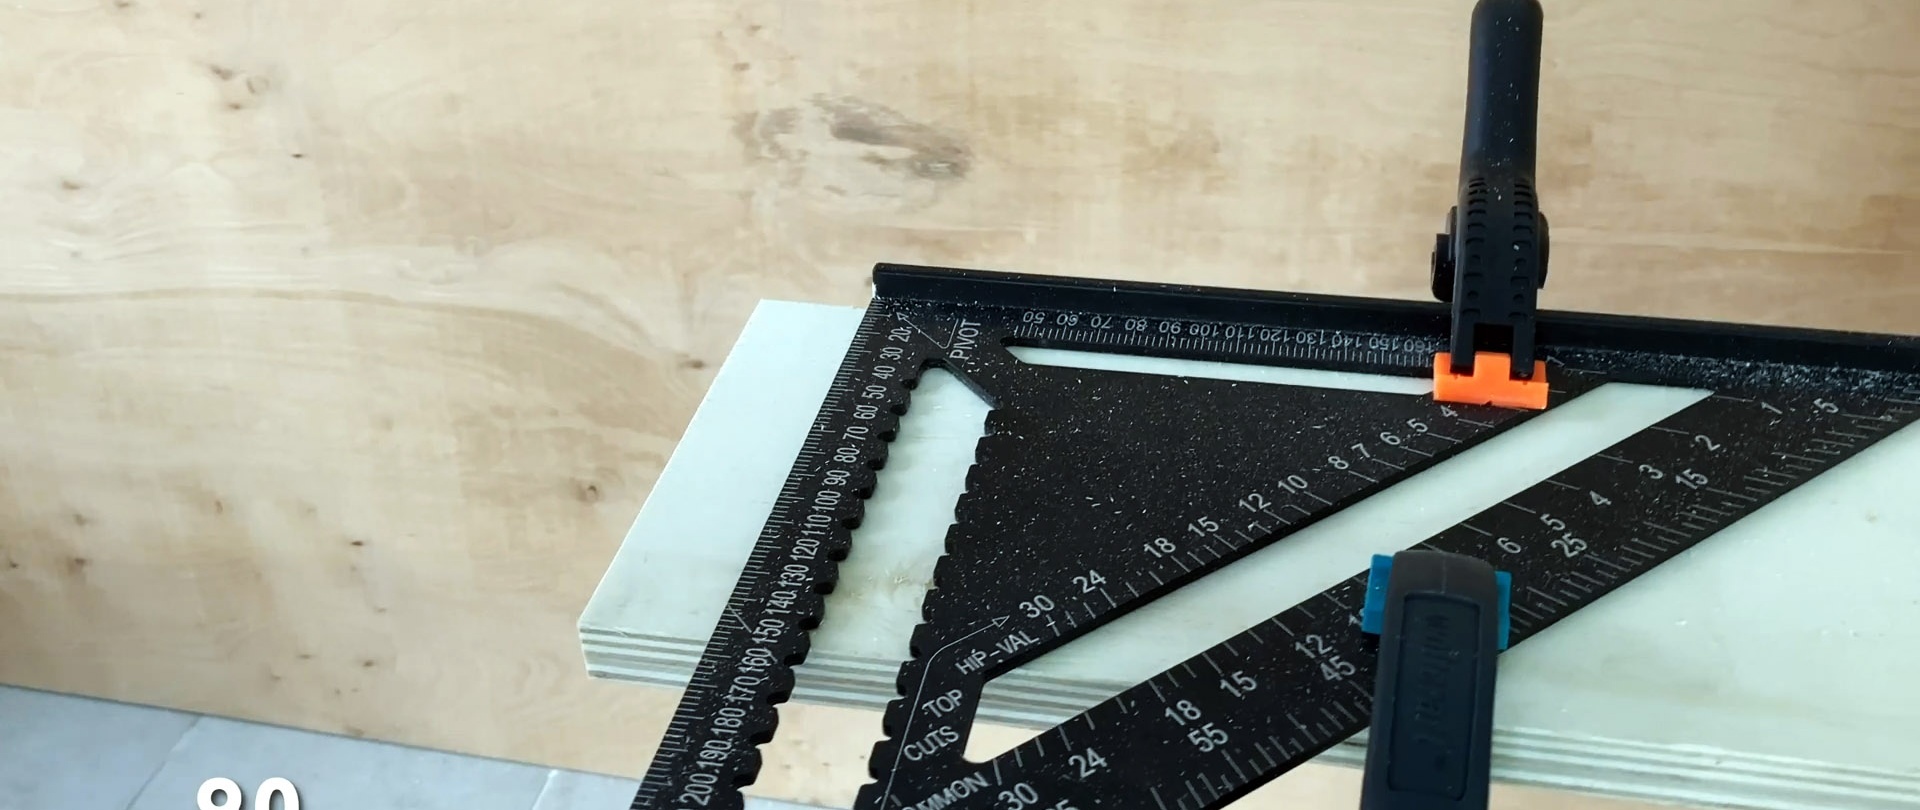
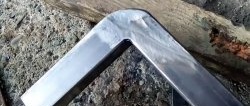
If you position the square in reverse and cut along the long side, you get an end at 45 degrees. The cut is very accurate; it is only important to secure the tool well with two clamps.


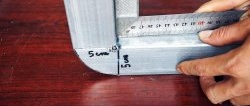
3. Drawing parallel lines
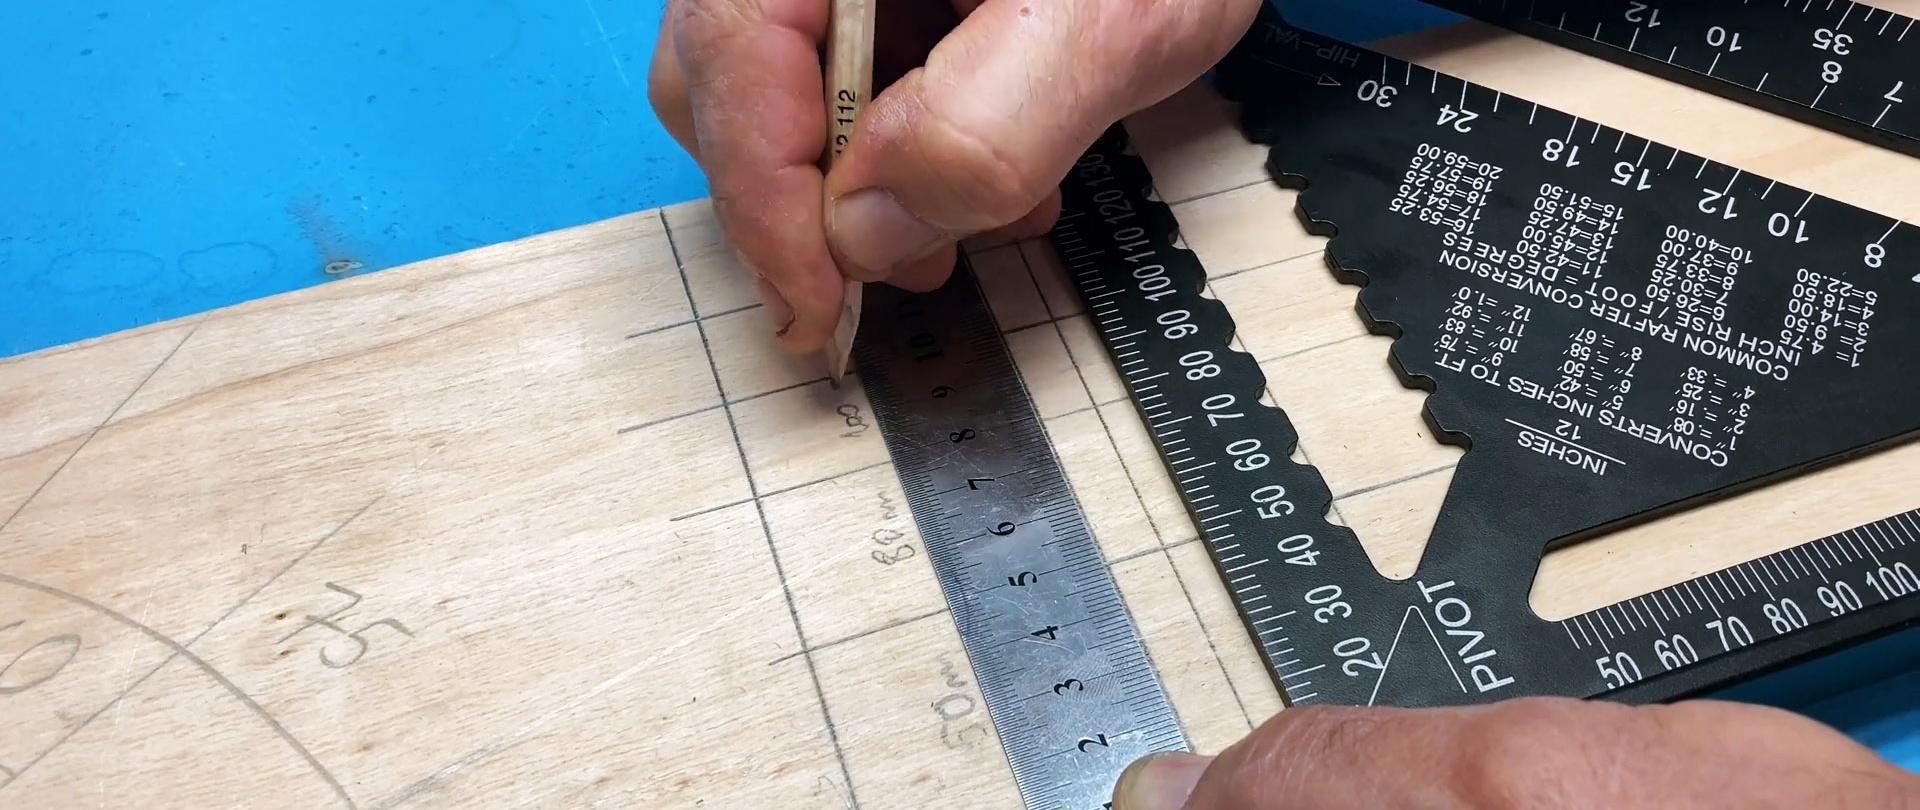
Along the short side of the square there is a straight groove with a school. It marks the distance from the right angle. If you draw a transverse line using a tool, you can use it as a guide to draw parallels at a fixed distance.


We shift the tool so that the starting line hits the desired mark on this scale. For example, let’s set it to 50 mm. Then we draw a line. Thus, it will be 50 mm away from the first. Using this method, you can draw lines, maintaining the exact distance from the first one. In the example, a tool with a scale of 50-150 mm is used, but there are also ones with a scale of 20-100 mm.
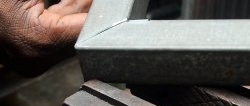
4. Use as a marking thicknesser
A Svenson square can be used instead of a marking thicknesser to draw parallel lines relative to the edge of the part. For this purpose, a groove with notches is made in its body. We rest the square against the edge of the part with its edge, and place the pencil in the notch opposite the scale with the desired distance mark. After this, we move the tool along. The result is a parallel line at a fixed distance.
5. Drawing perpendicular lines
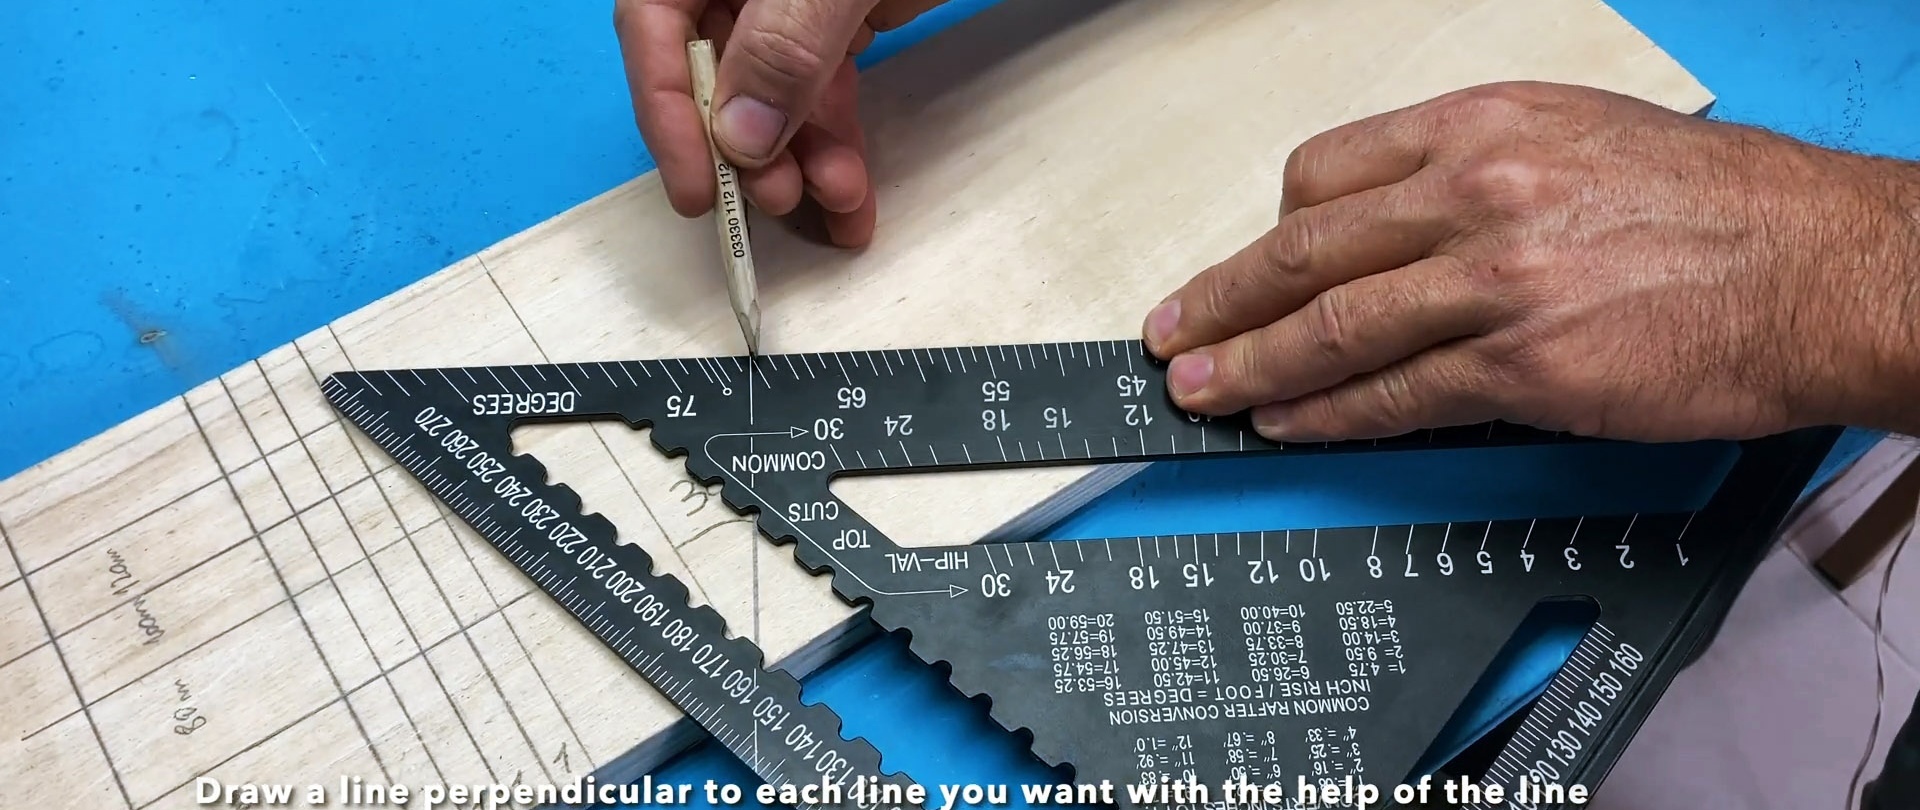
On the tool in the corner opposite the edge there is a long oblique mark, interrupted by a groove. It must be aligned on any line relative to which it is necessary to draw a perpendicular straight line. Then, by drawing along the long side of the square, we get a second line at a right angle to the first.


6. Use as a compass
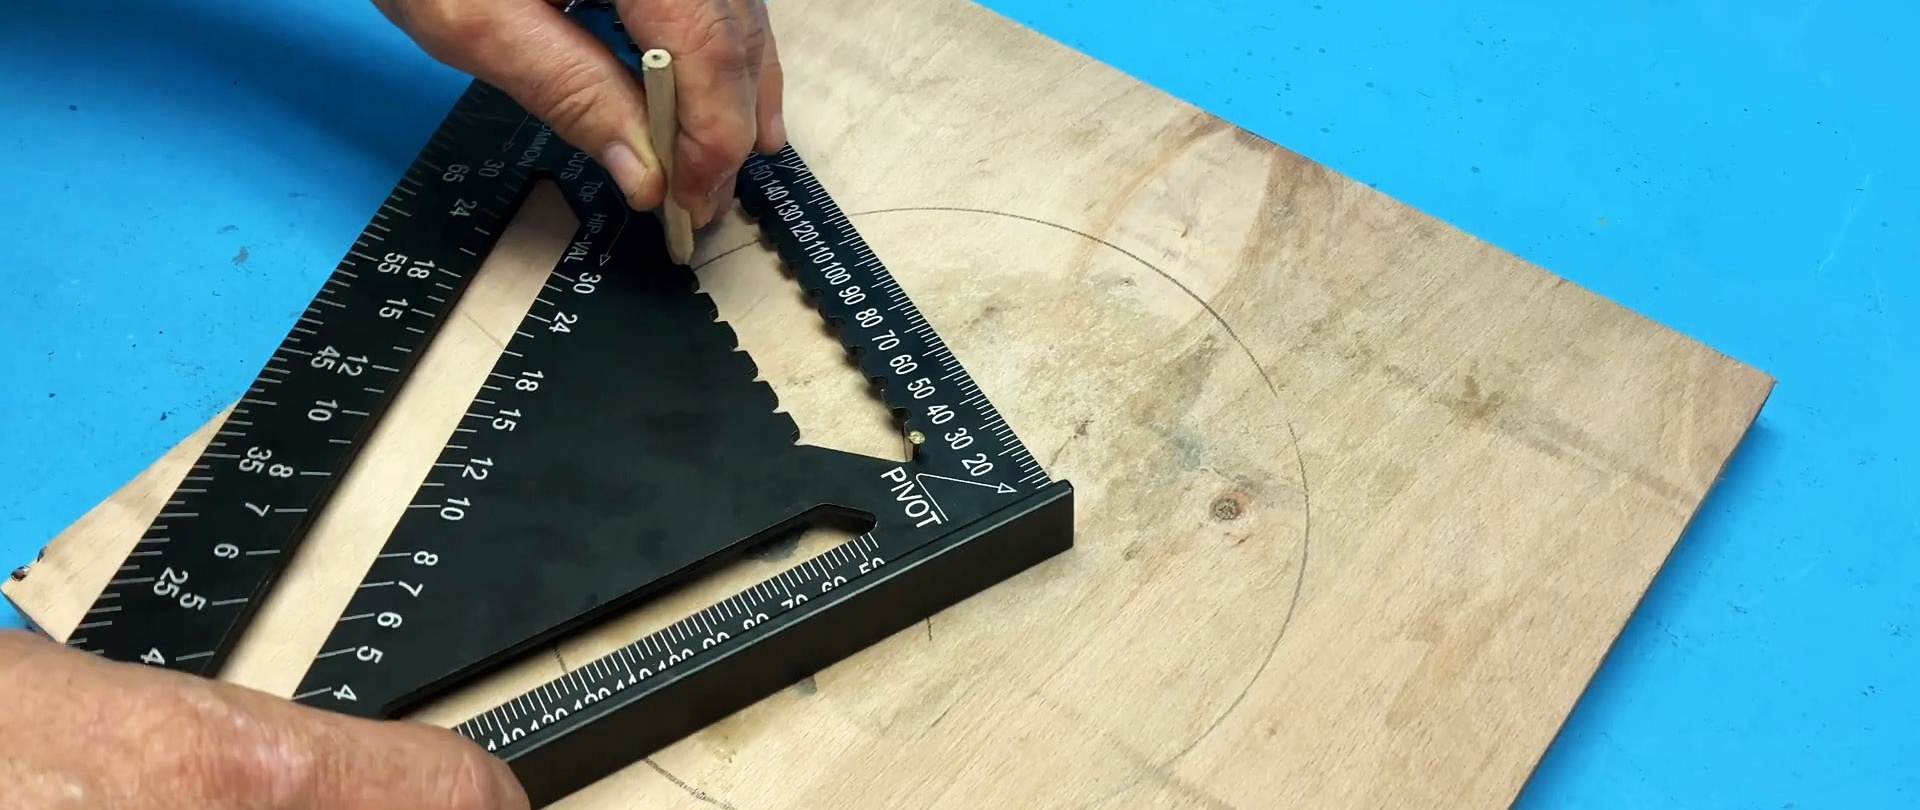
If you drive a nail into a part and catch it with the edge of a notched groove, then the square can be used as a compass. To do this, place a pencil on the desired mark and rotate the tool around the nail.
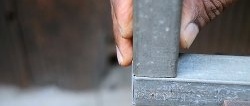
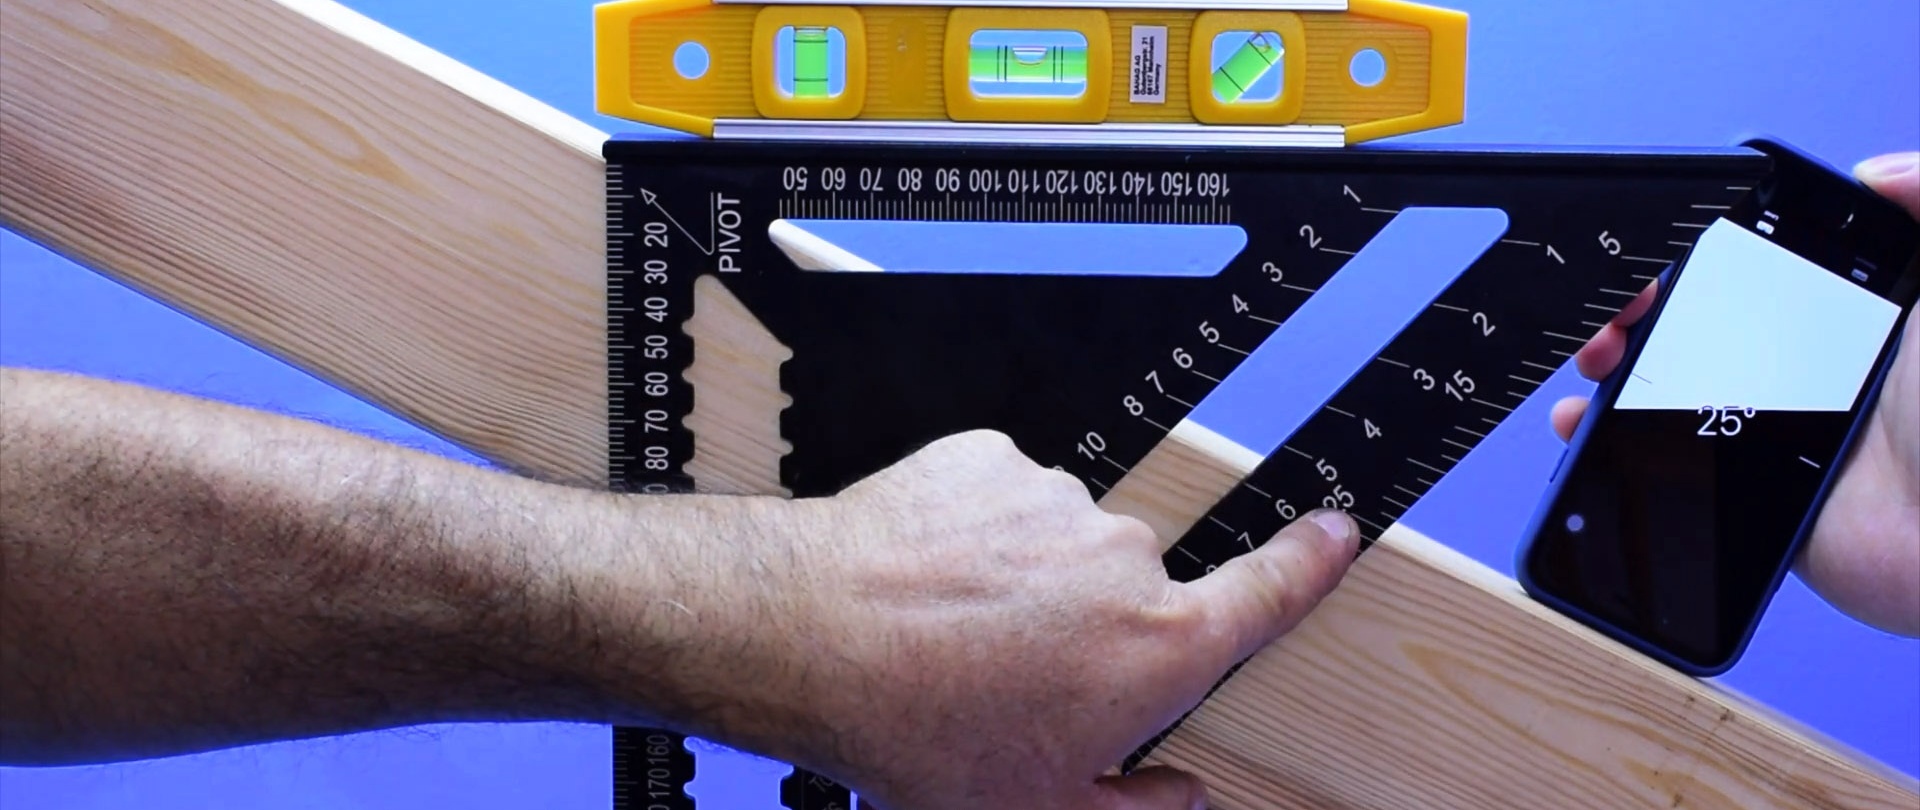
7. Determining the angle of the rafters
This tool is also indispensable when you need to determine the angle of the rafters for cutting. Place the square edge-on on top of the board and level it horizontally with a bubble level. Then we look at the markings of the corners along the long side. A mark along the edge of the board will show the angle at which the rafters are located.
You can also tie a hanger to the rafters. Then the tool is applied from below to the board with its edge. It needs to be moved at an angle opposite the cord. Now the suspension will point to the scale mark with the angle at which the rafters are laid.

Watch the video
8 useful tips when working with wood - https://enn.washerhouse.com/4749-8-poleznyh-sovetov-pri-rabote-s-derevom.html