When manufacturing welded structures from profile pipes, open ends remain, which it is advisable to plug. Firstly, they don’t look very good, and secondly, without them, moisture and debris get into the pipes, so they rust. You can close the tubes in the absence of purchased plastic plugs in different ways; we suggest considering 4 of them.
Method 1. Bending the plug from the wall
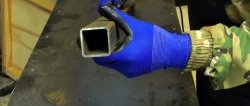
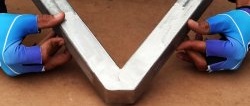
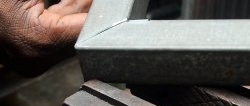
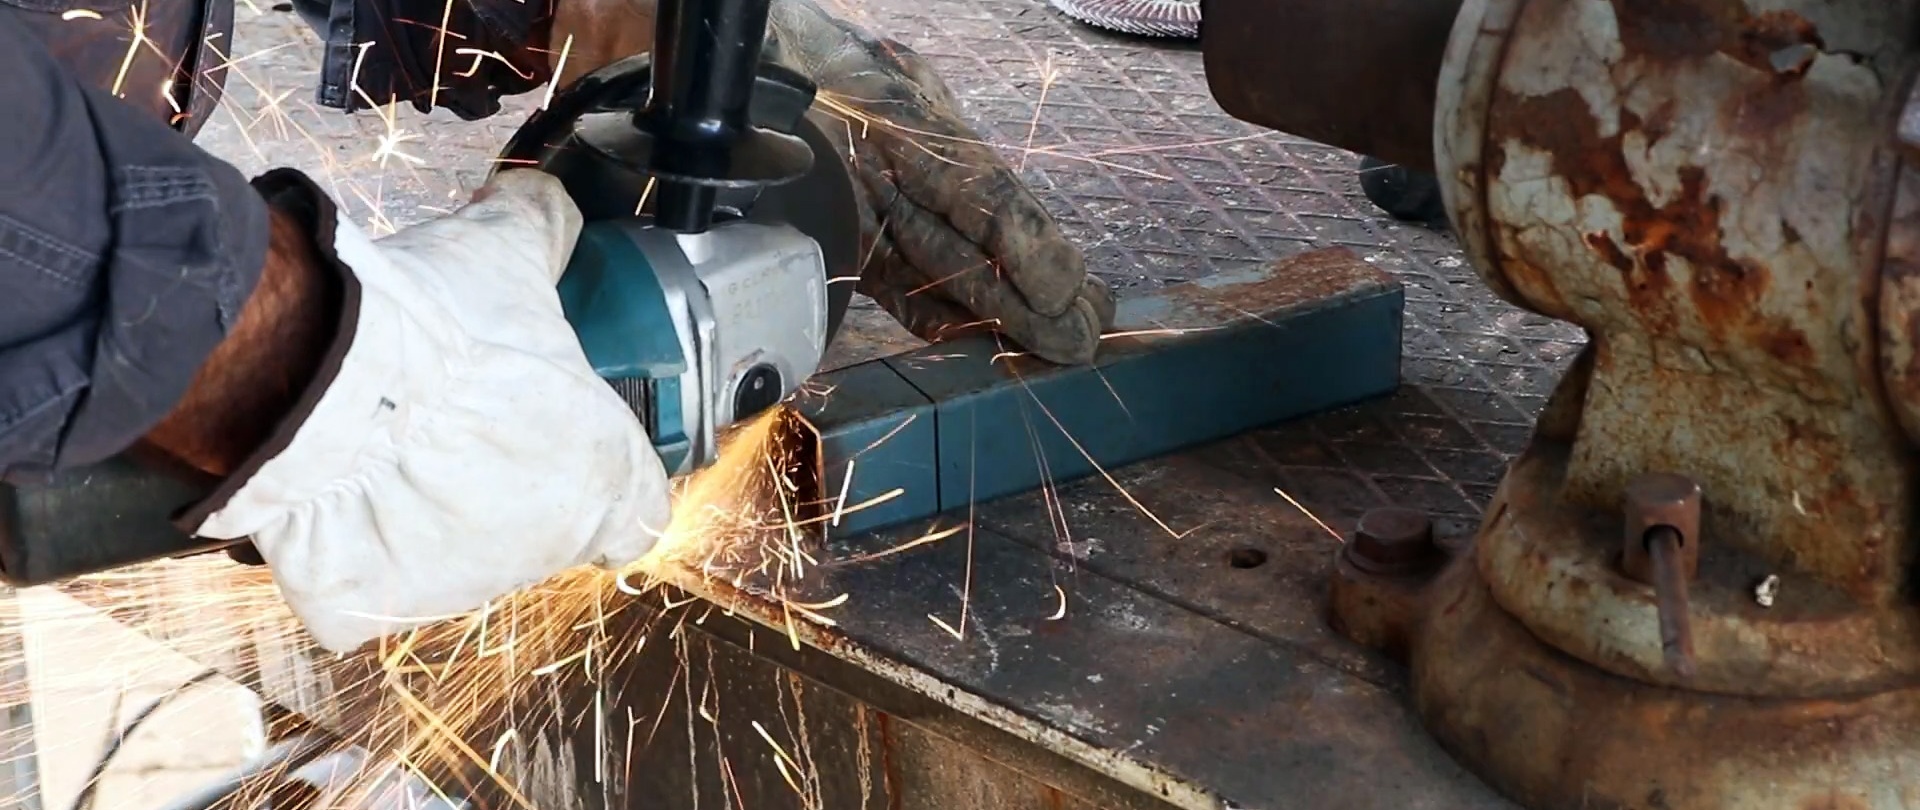
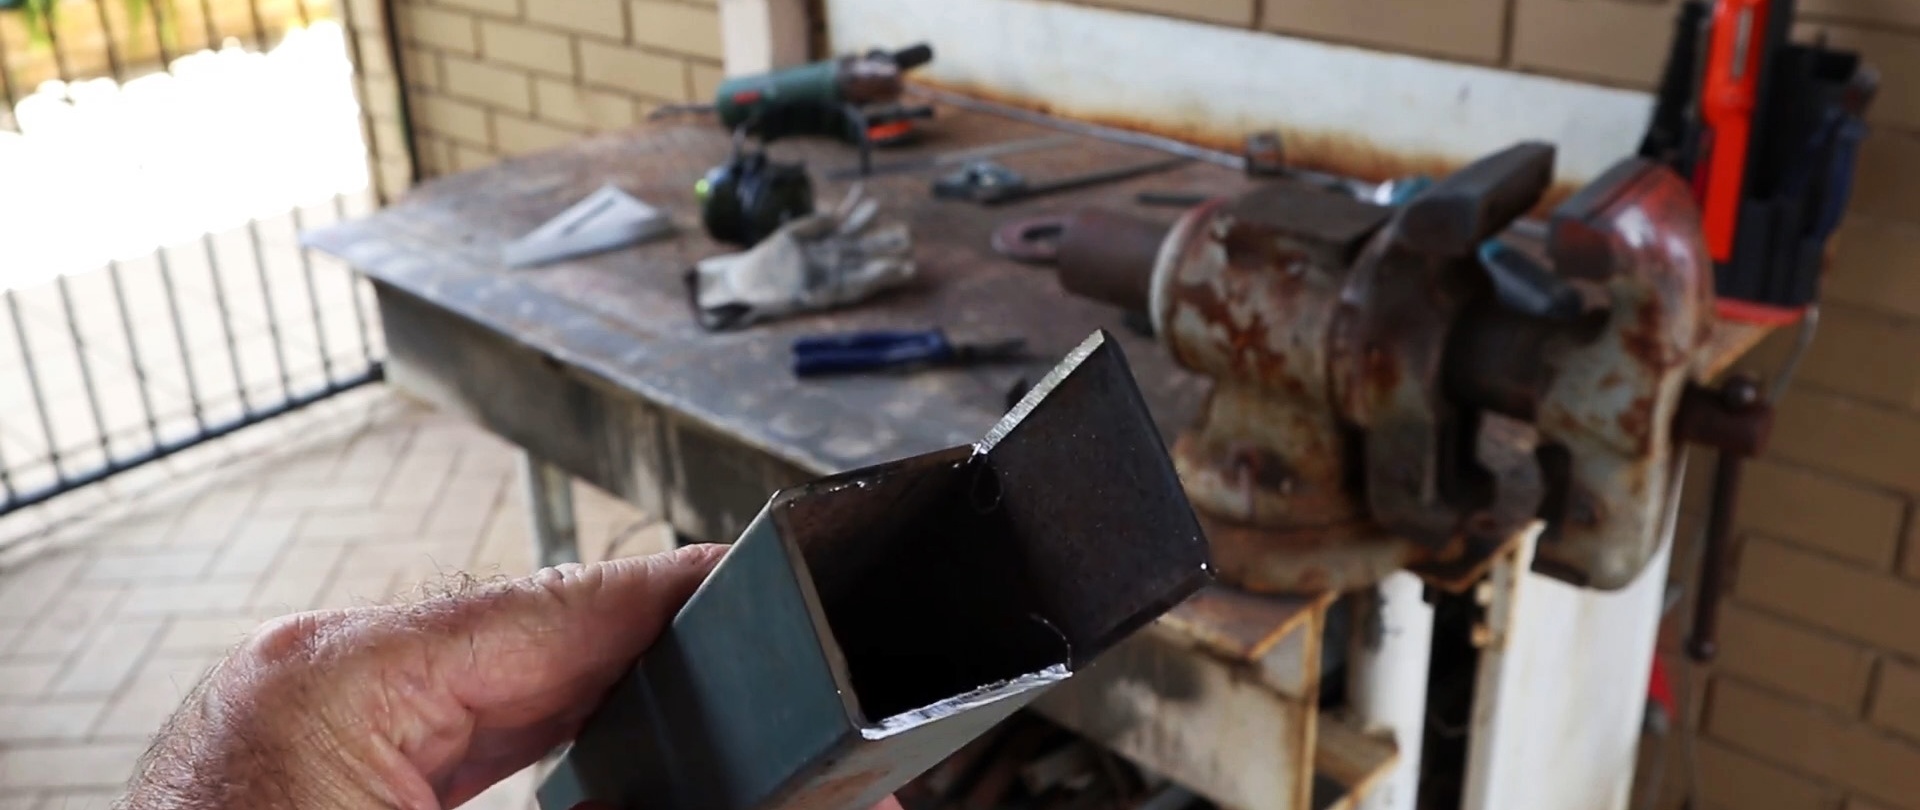
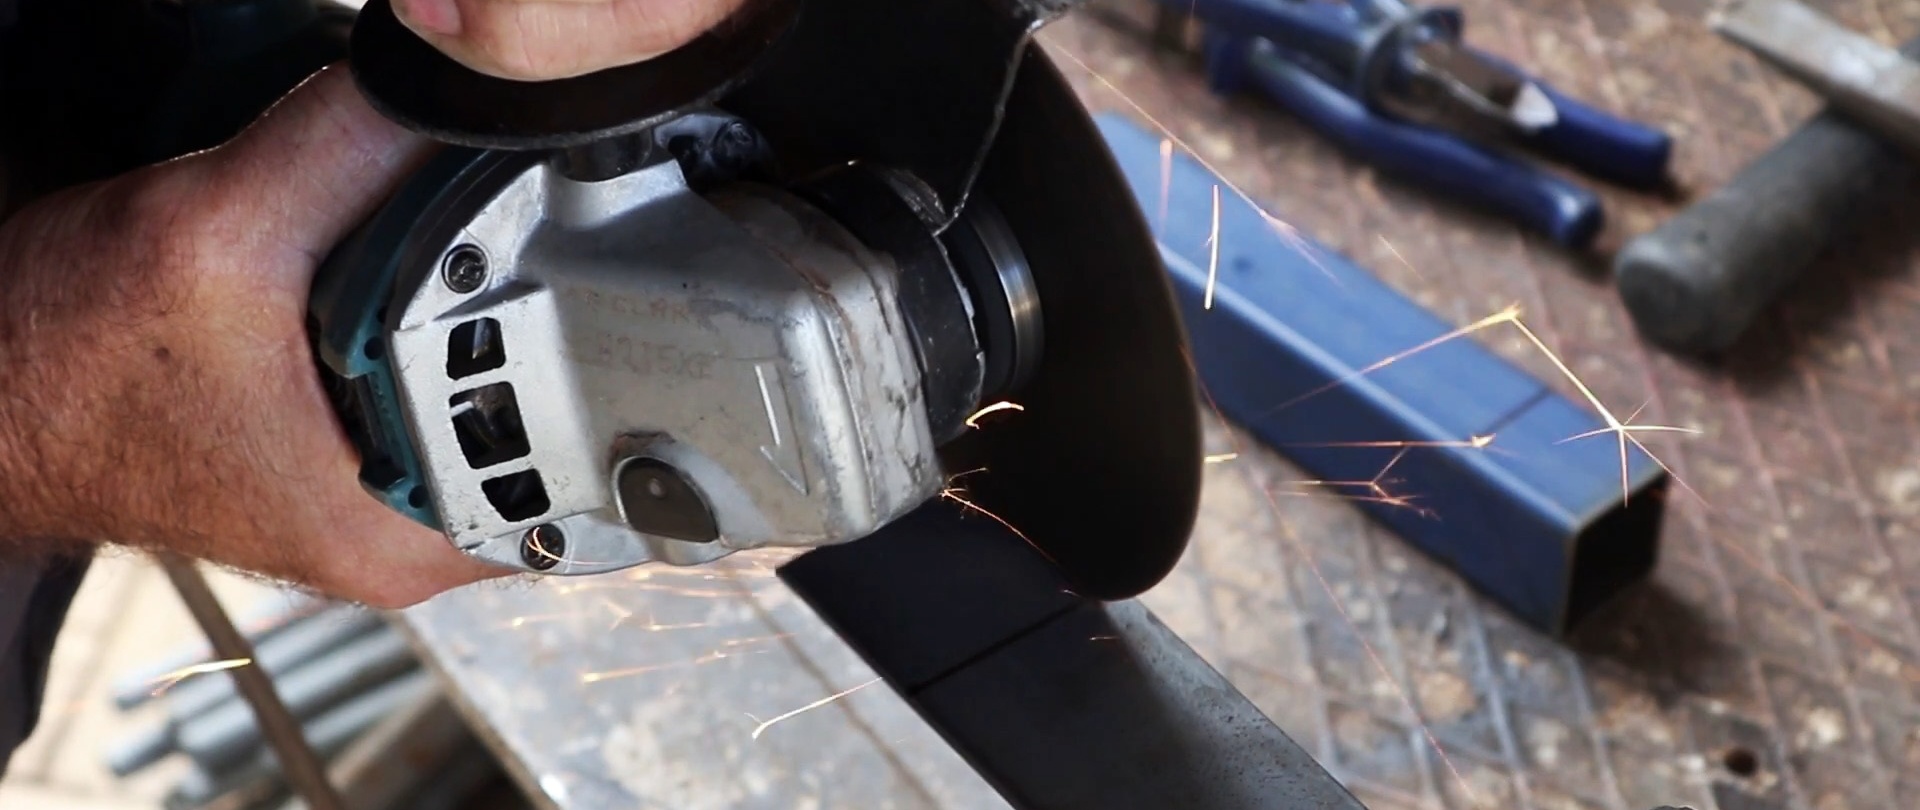
At the edge of the pipe, it is necessary to mark a transverse line in a circle, indented from the edge by the width of the profile. That is, if it is a 30x30 mm pipe, then the line is drawn 30 mm from the edge. Then you need to remove 3 walls on the marked part, leaving only one.
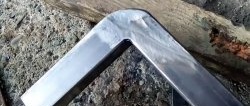
On the inside of the remaining wall, it is necessary to make a light cut flush with the three cut ones. This allows you to bend it inward, forming a plug.


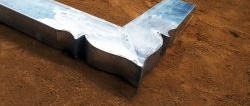
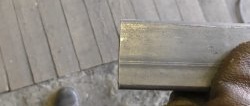
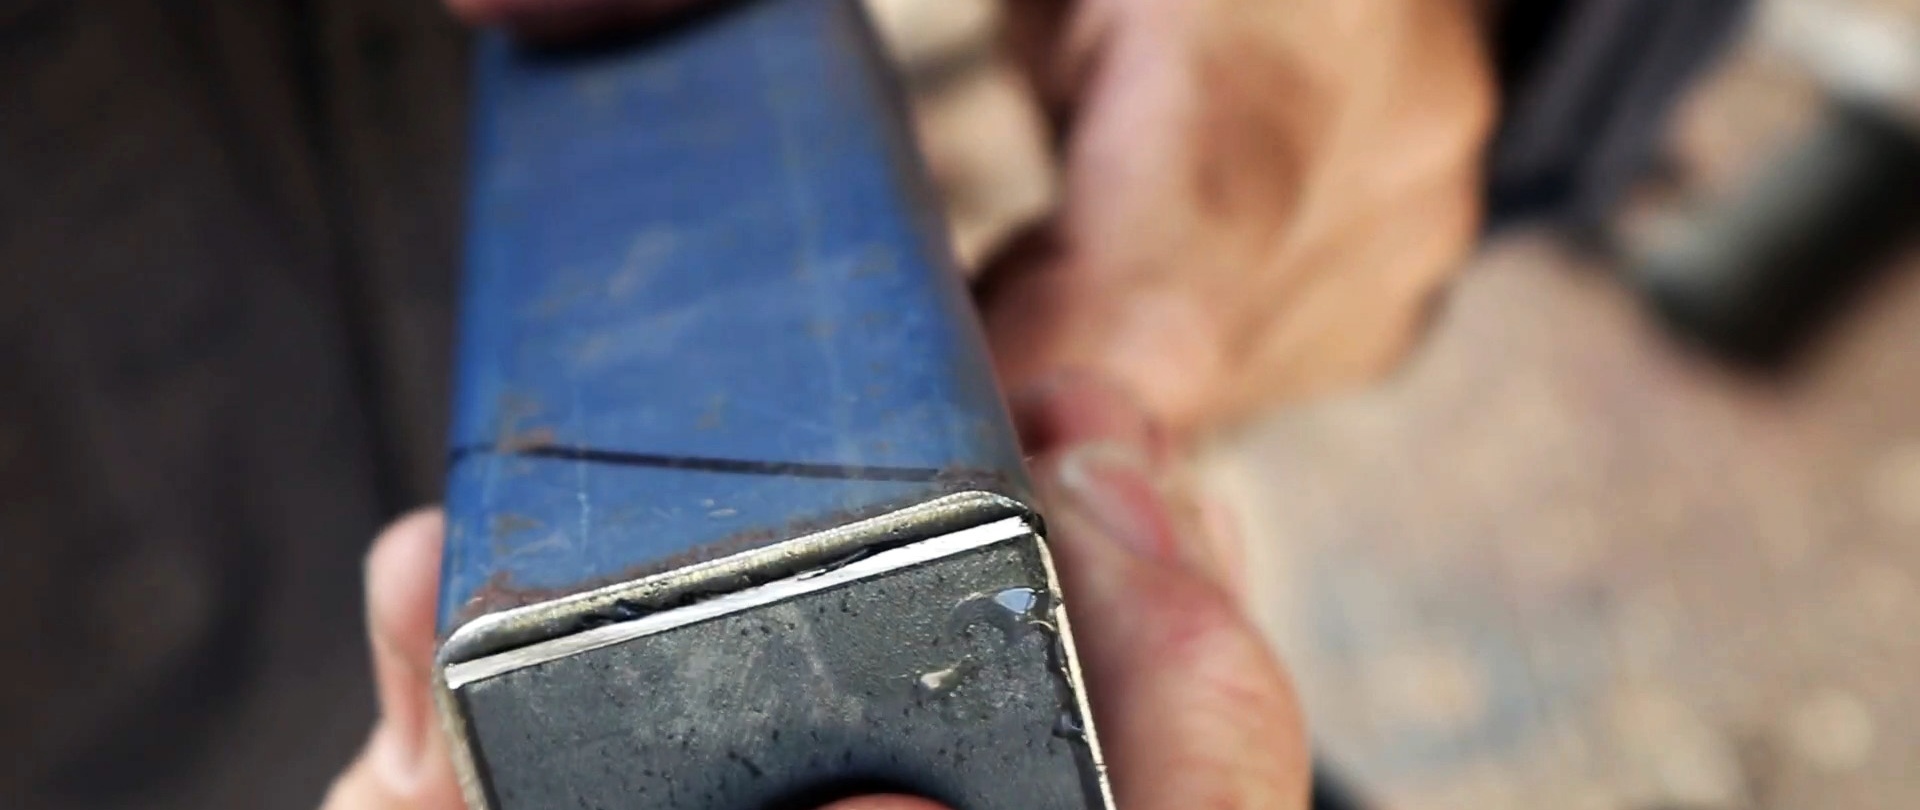
After this, the plug is welded on three sides with a continuous seam. If you clean it, you won’t be able to see where the joint is welded and where the bend is.

Method 2. Overhead plug
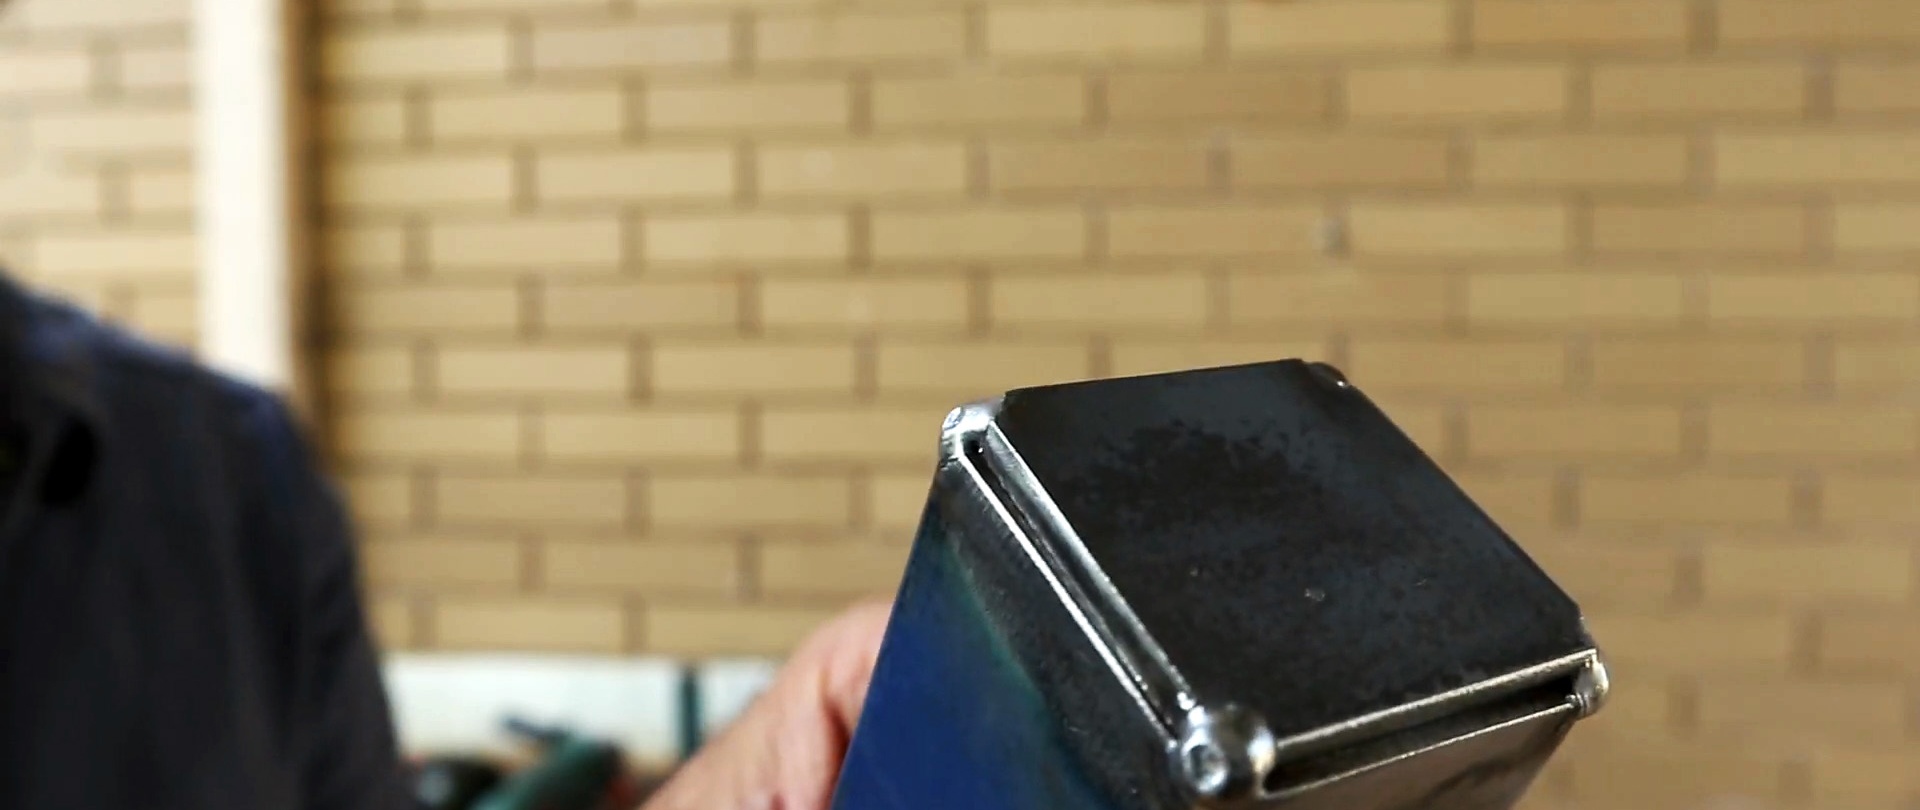
For this method, you need to cut a plug equal to the cross-section of the pipe from sheet steel or strip. Then it is applied on top and welded. It is enough to make a potholder in each corner.If desired, a continuous suture is applied.

This plug is easy to make, but it lengthens the pipe. If the latter is already part of a welded metal structure, then this may interfere.
Method 3. Internal plug
In this option, you need to cut a plug from sheet metal to place inside the pipe. It's a little more complicated than making an overlay.

When welding, such a plug is positioned flush with the help of a welding magnet. You can cook in spots or in a continuous seam.

In this design, the plug does not protrude beyond the original edge at all.

Method 4. Wooden plug
This method is suitable if welding is not available. You can simply plan a wooden block, saw it into 40-60 mm pieces and hammer it inside the tubes.
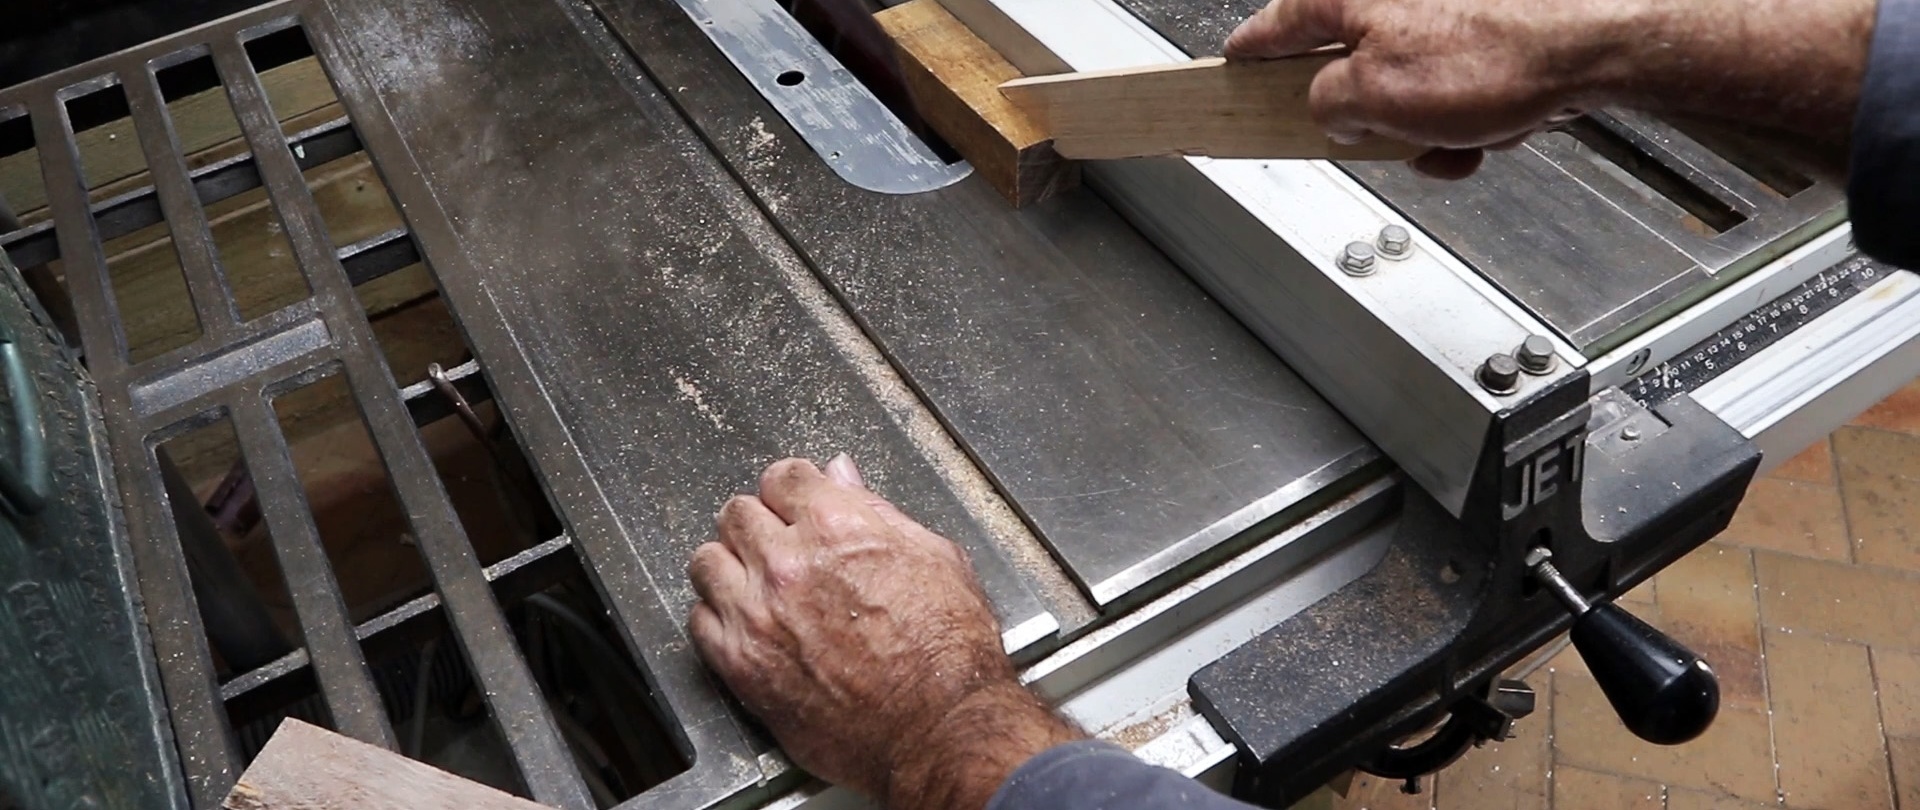
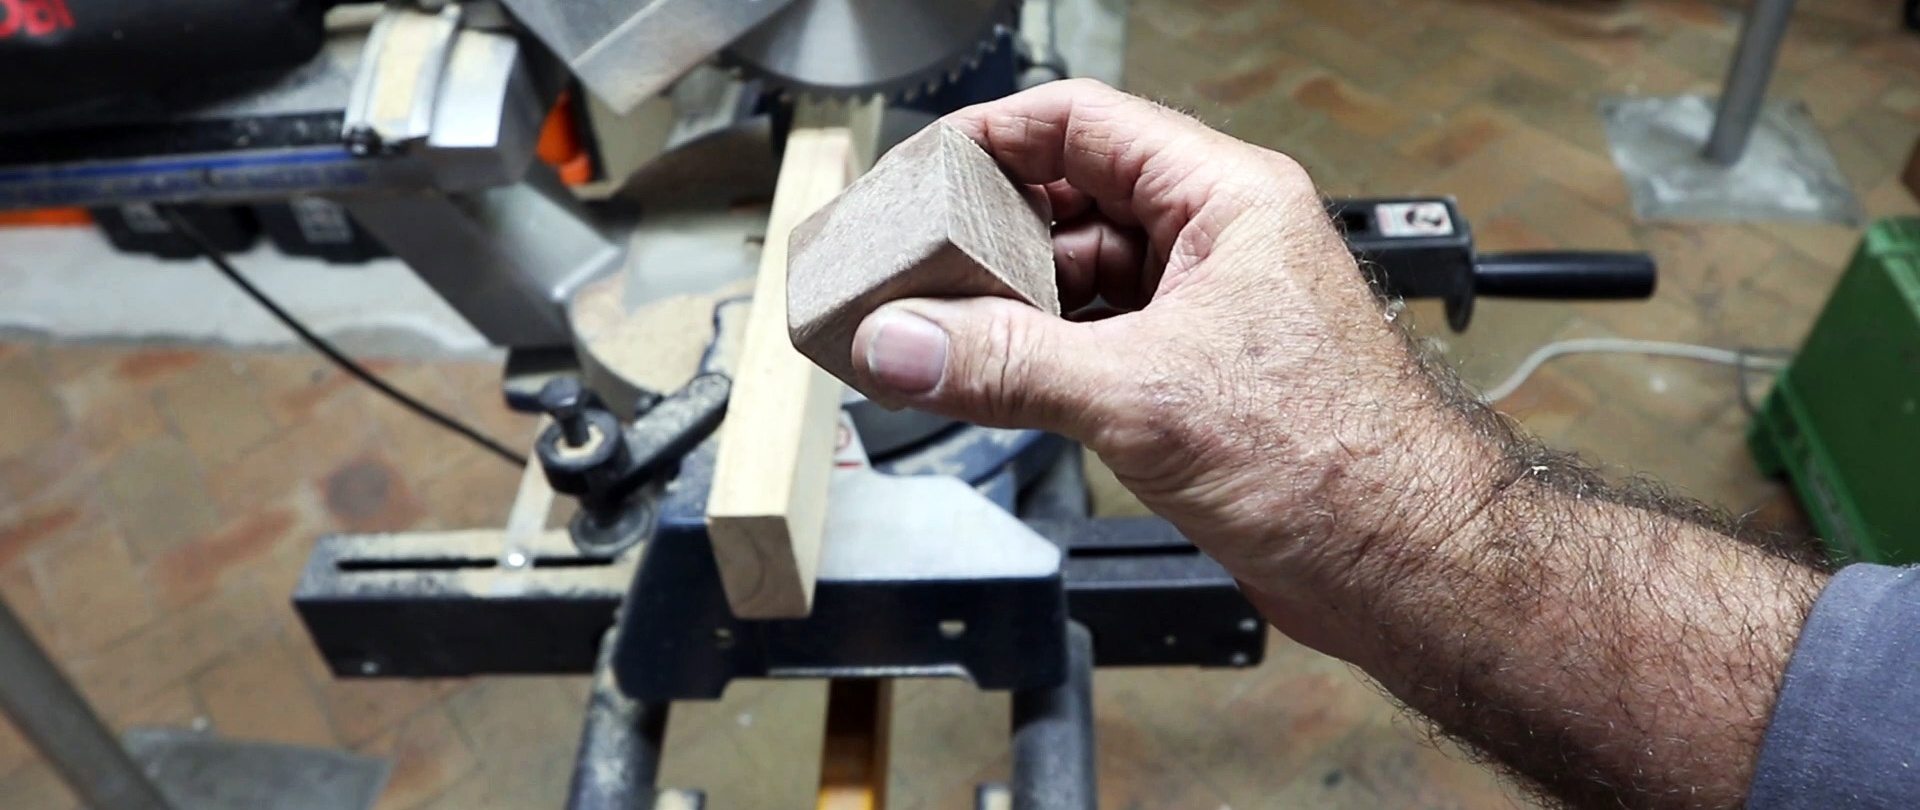
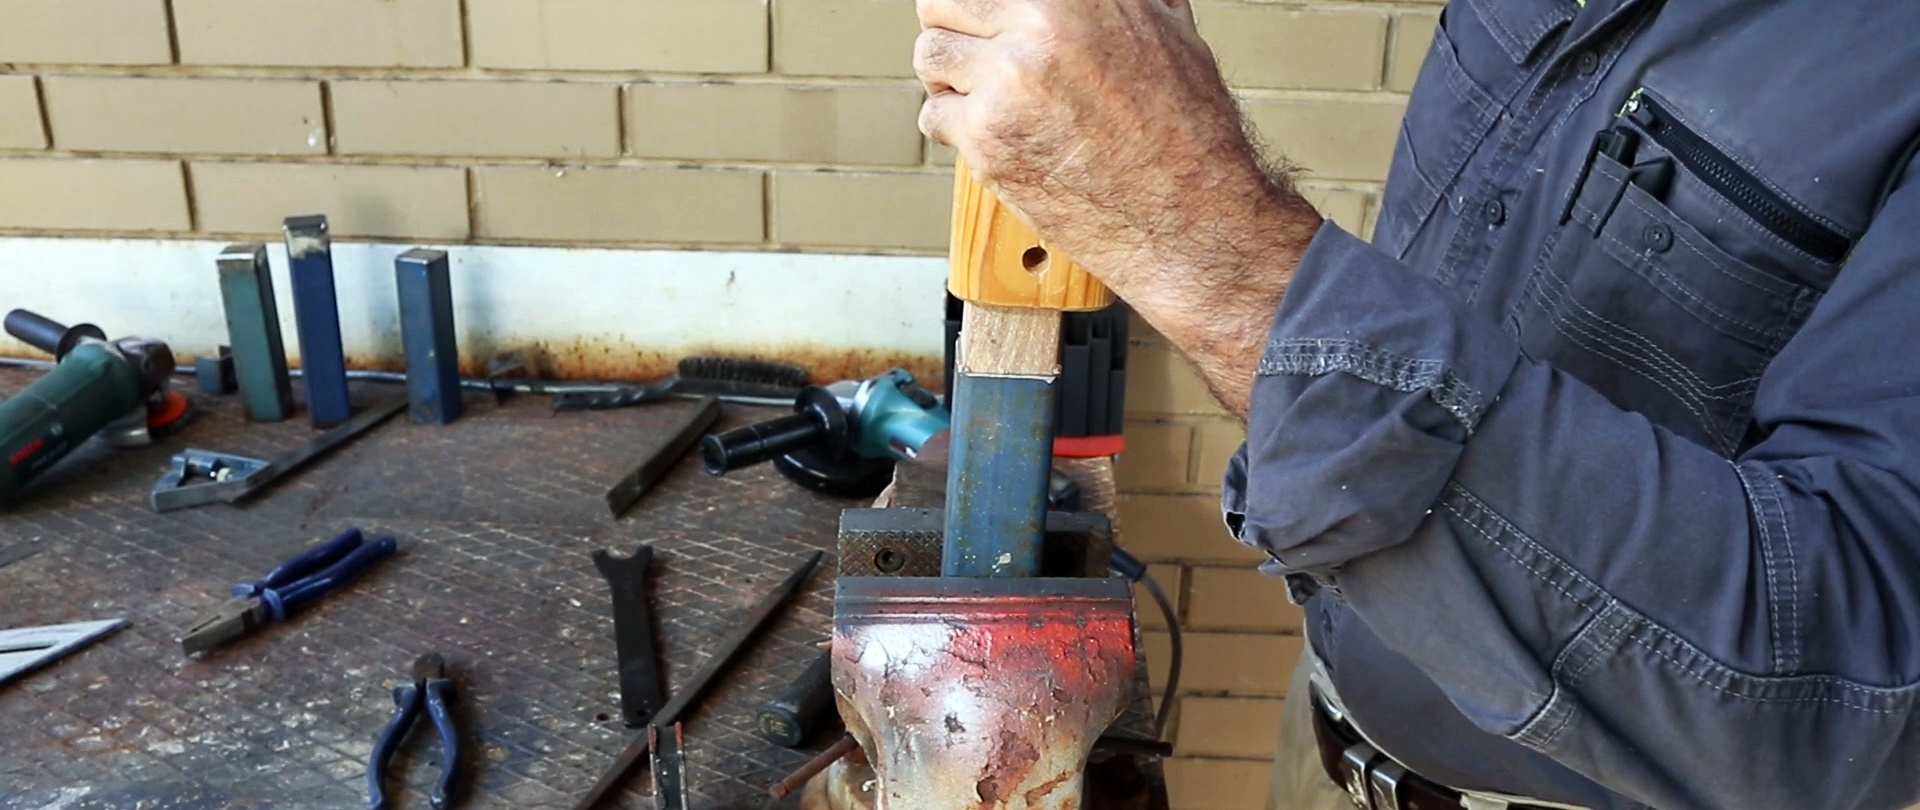
It also turns out very neat. It is better to use hard wood for this task, as they are more durable.