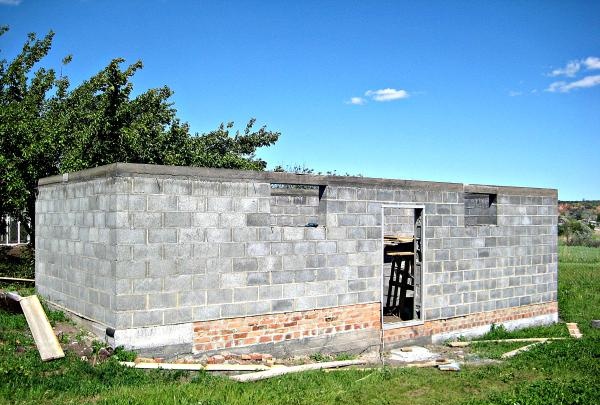
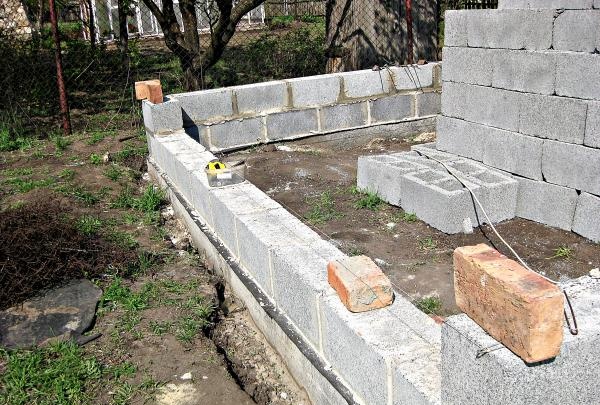
1. First of all, you need to clear the foundation of debris.
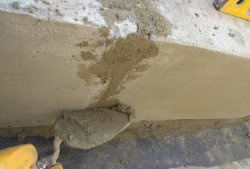
2. To level out unevenness on the foundation, it is necessary to prepare a thin solution. A solution is made from a mixture of sand and cement grade M 400.
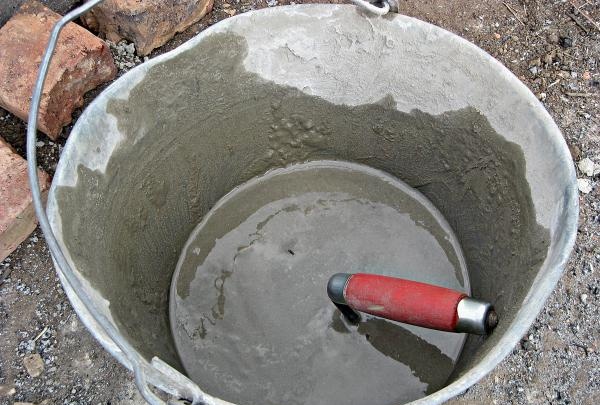
3. Then uneven areas should be leveled.
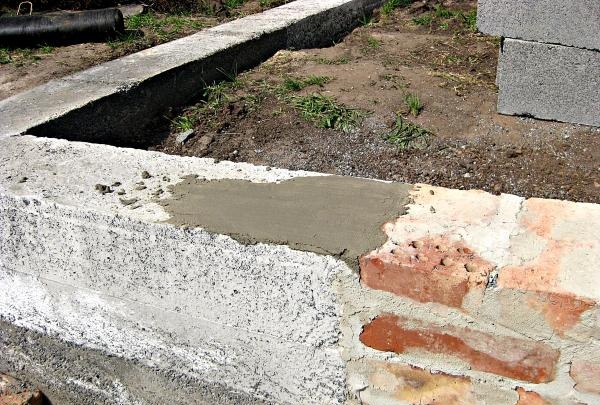
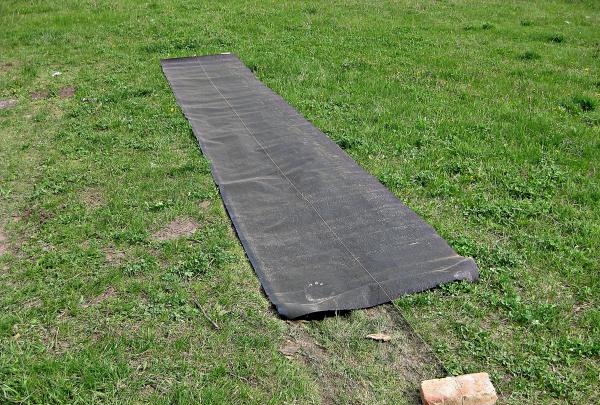
4. Before starting work on the construction of walls, it is necessary to install waterproofing. To do this, take roofing felt and cut it to the required size.
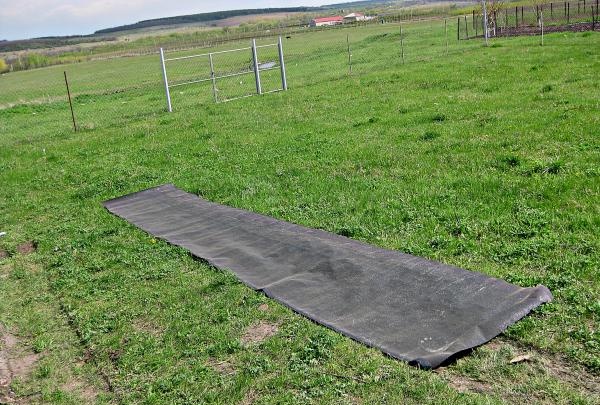
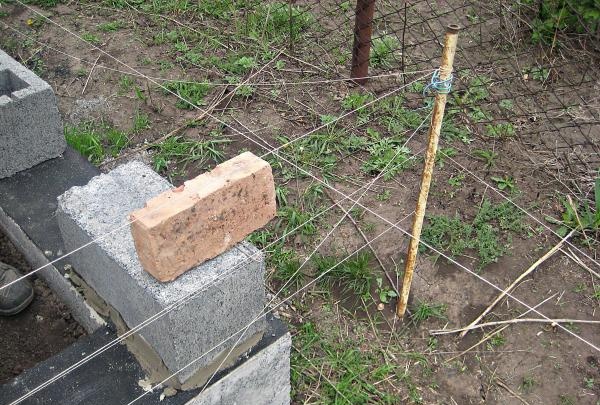
5. It is convenient to cut roofing felt by one person using nylon thread and brick.
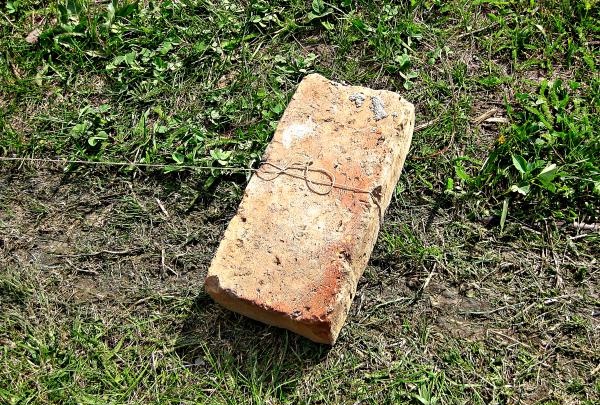
6. To do this, lay the roofing material on a flat surface, and on top of it a nylon thread tied to the brick.
7. The next step is to bend the roofing material to the desired size, in our case in half.
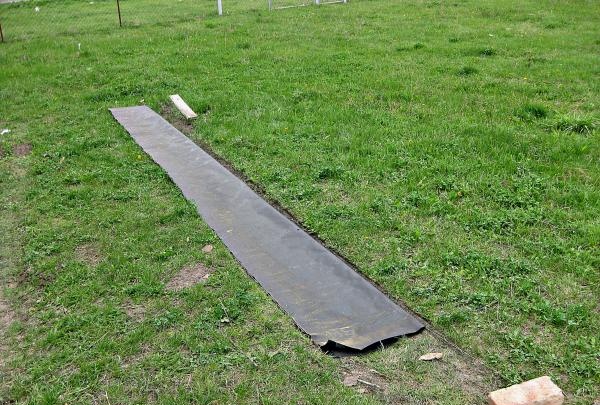
8. Take the free end of the thread in your hand.
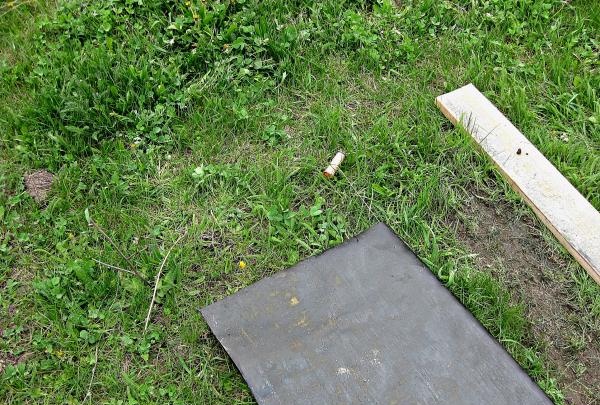
9. We step on the roofing felt and try to pull the thread through the folded edge of the roofing felt, thereby cutting it.
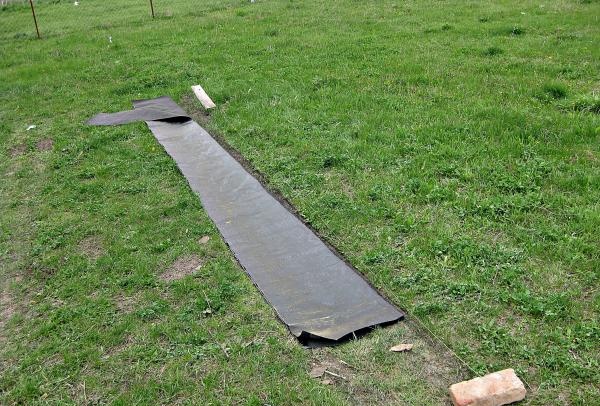
10. After we have cut the required amount of waterproofing, we lay it on the foundation.
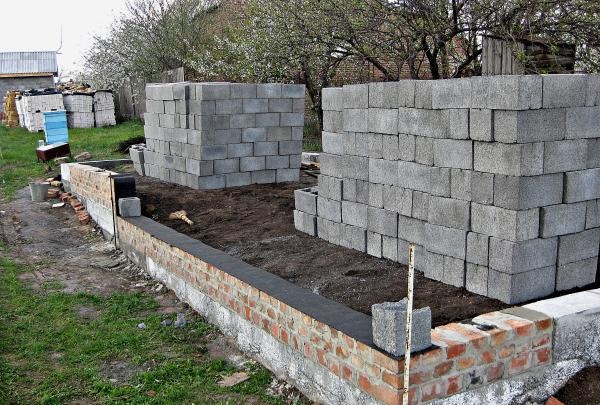
11. To prevent the waterproofing from being blown away by the wind, it is pressed down with cinder blocks.

12. We begin laying the walls by placing the corners.
13. After the corners are set and the diagonals are checked, we begin laying the wall.
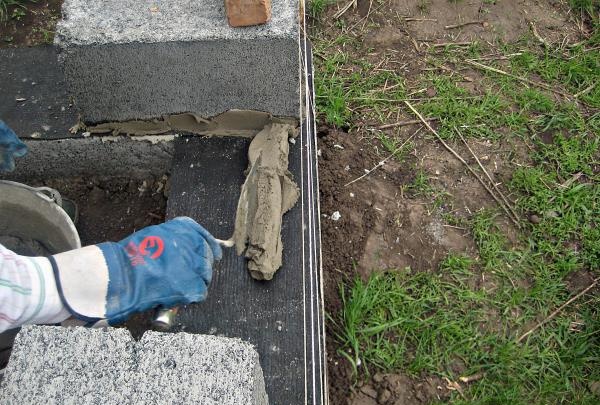
14. Lay the mortar under the block.
15. To fasten the blocks together, you need to apply the solution to the end of the block.
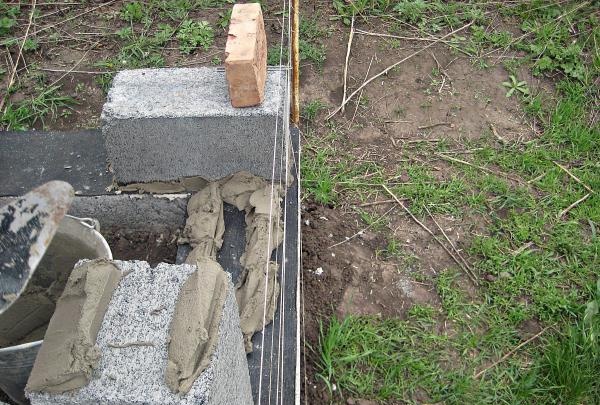
16. Place the block in its place, while pressing it against the adjacent block.
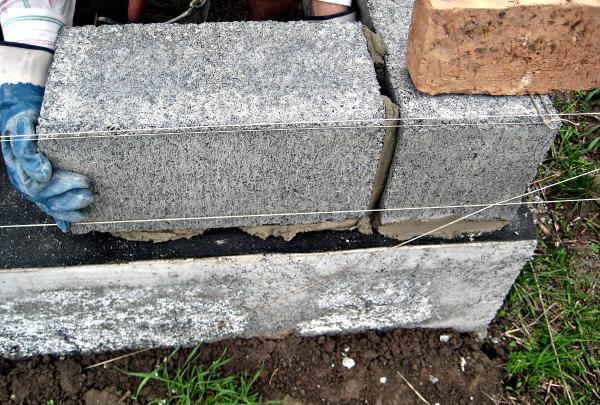
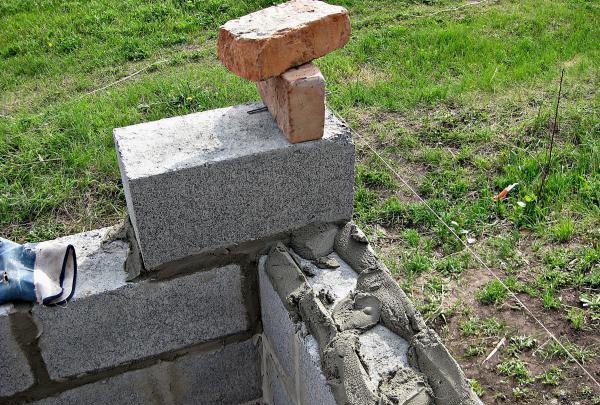
17. To ensure that the walls are even, we lay the masonry under a mooring cord, which is attached to a bracket made from electrode wire No. 3 by bending it in half.
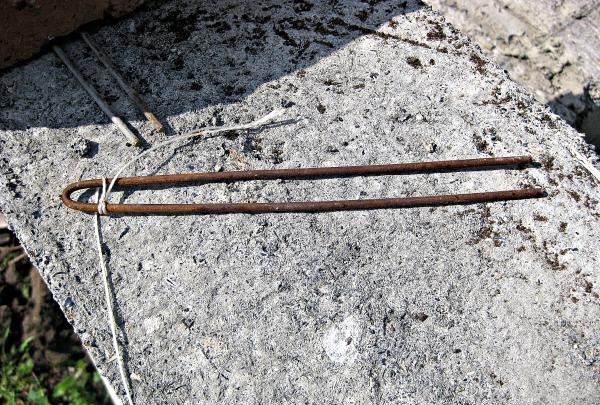
18. We stretch the mooring cord over the entire length of the wall, securing the brackets with bricks on the corner blocks.
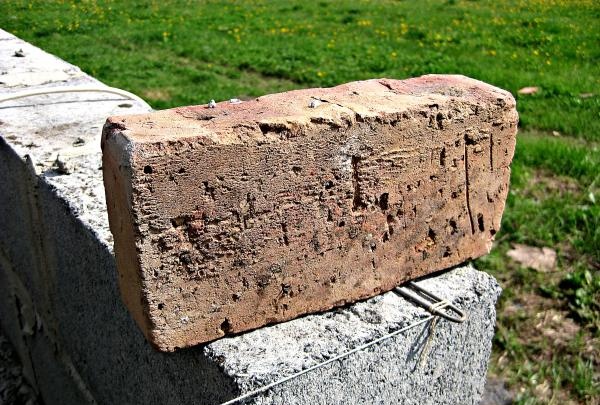
19. In this case, the thread of the mooring cord should be tightly stretched. We apply tension to such an extent that the bracket is at the limit of being pulled out from under the brick.
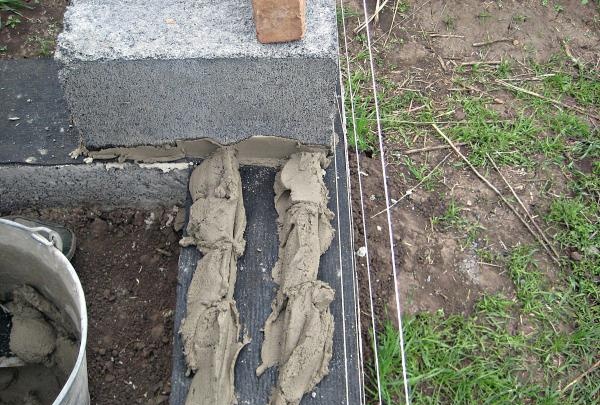
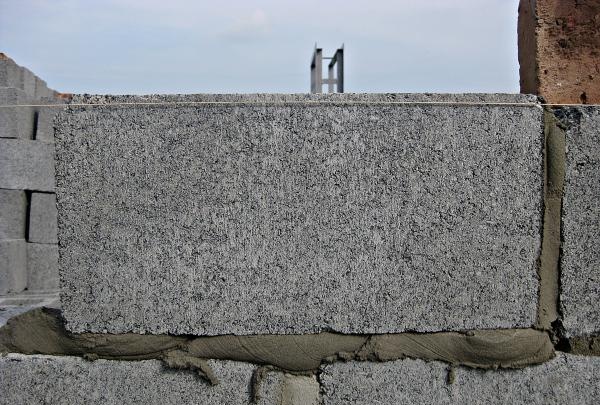
20. The consistency of the mortar for laying blocks should not be liquid. To save mortar, we lay the bed only along the area of contact between the block and the working surface.
21. When laying the block, the mortar will fill only the necessary parts of the contact.

22. We install the next block in its place. Since the solution is not liquid, the block will be above the level of the mooring cord.
23. Then the block must be seated using a pick to the level of the mooring cord. When the block shrinks, excess cement-sand mortar is squeezed out of the seam.
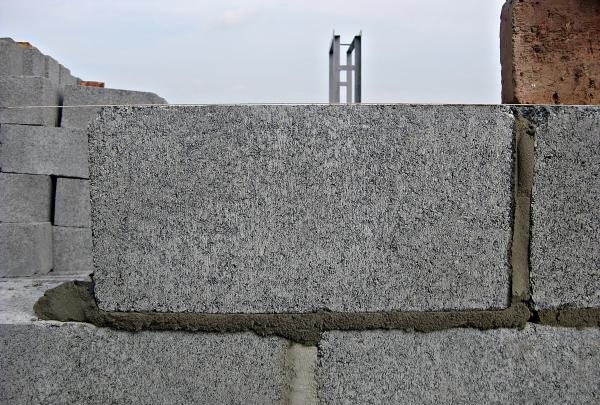
24. Remove excess mortar using a trowel.
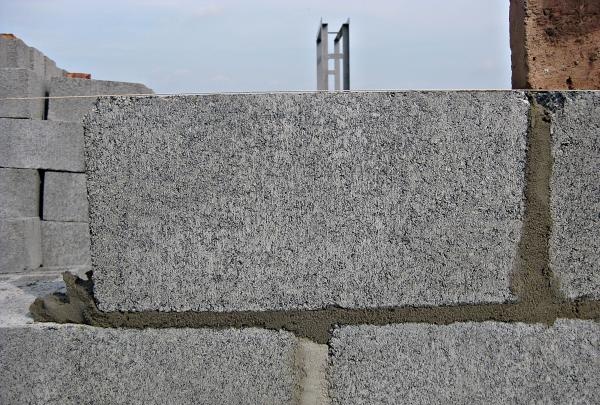
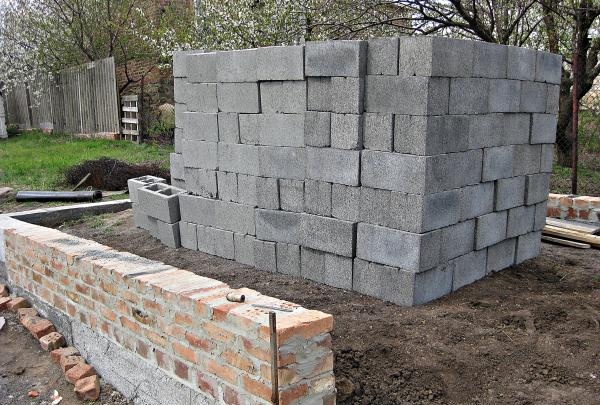
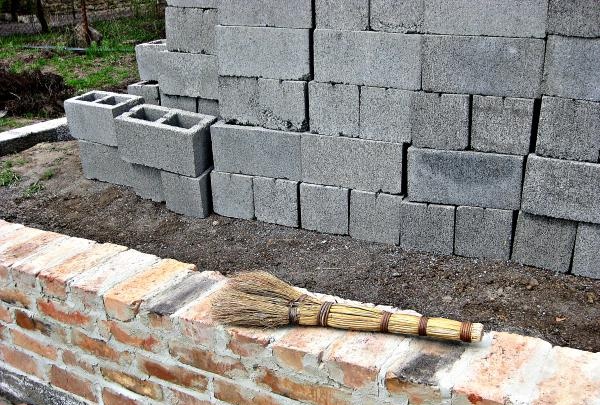
25. In this way we carry out masonry block by block until the required structure is erected.
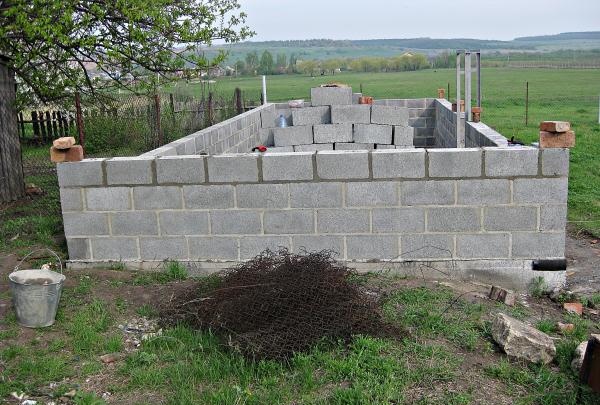
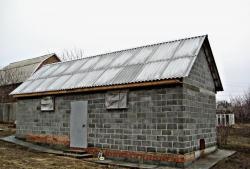
As a result, we get a reliable structure that can later be used as a shed.