Typically, turning brake discs is done on a lathe. When such an opportunity is not available, or you don’t want to pay a turner, you can carry out such an operation yourself directly on the machine, using its capabilities. This does not require any special knowledge or skills, and it will require virtually no costs.

Will need
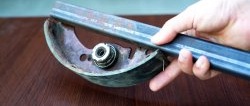
- Brake disc for grooving;
- sandpaper 32-N (P40) and 20-N (P80, P120);
- brake pads;
- pencil or marker;
- metal scissors;
- tube of superglue.
The process of turning a brake disc
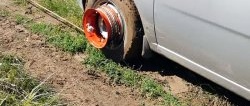
We lift the wheel whose disc needs to be grooved. We put the car on the handbrake, placing stops (shoes) under the other three wheels. We dismantle the wheel and screw the nuts onto the bolts to secure the disk in its normal place. Remove the brake pads.

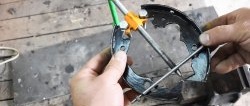
On the back side of 32-N (P40) sandpaper we apply the outline of the friction lining of the brake pad, which interacts with the disc to be machined.
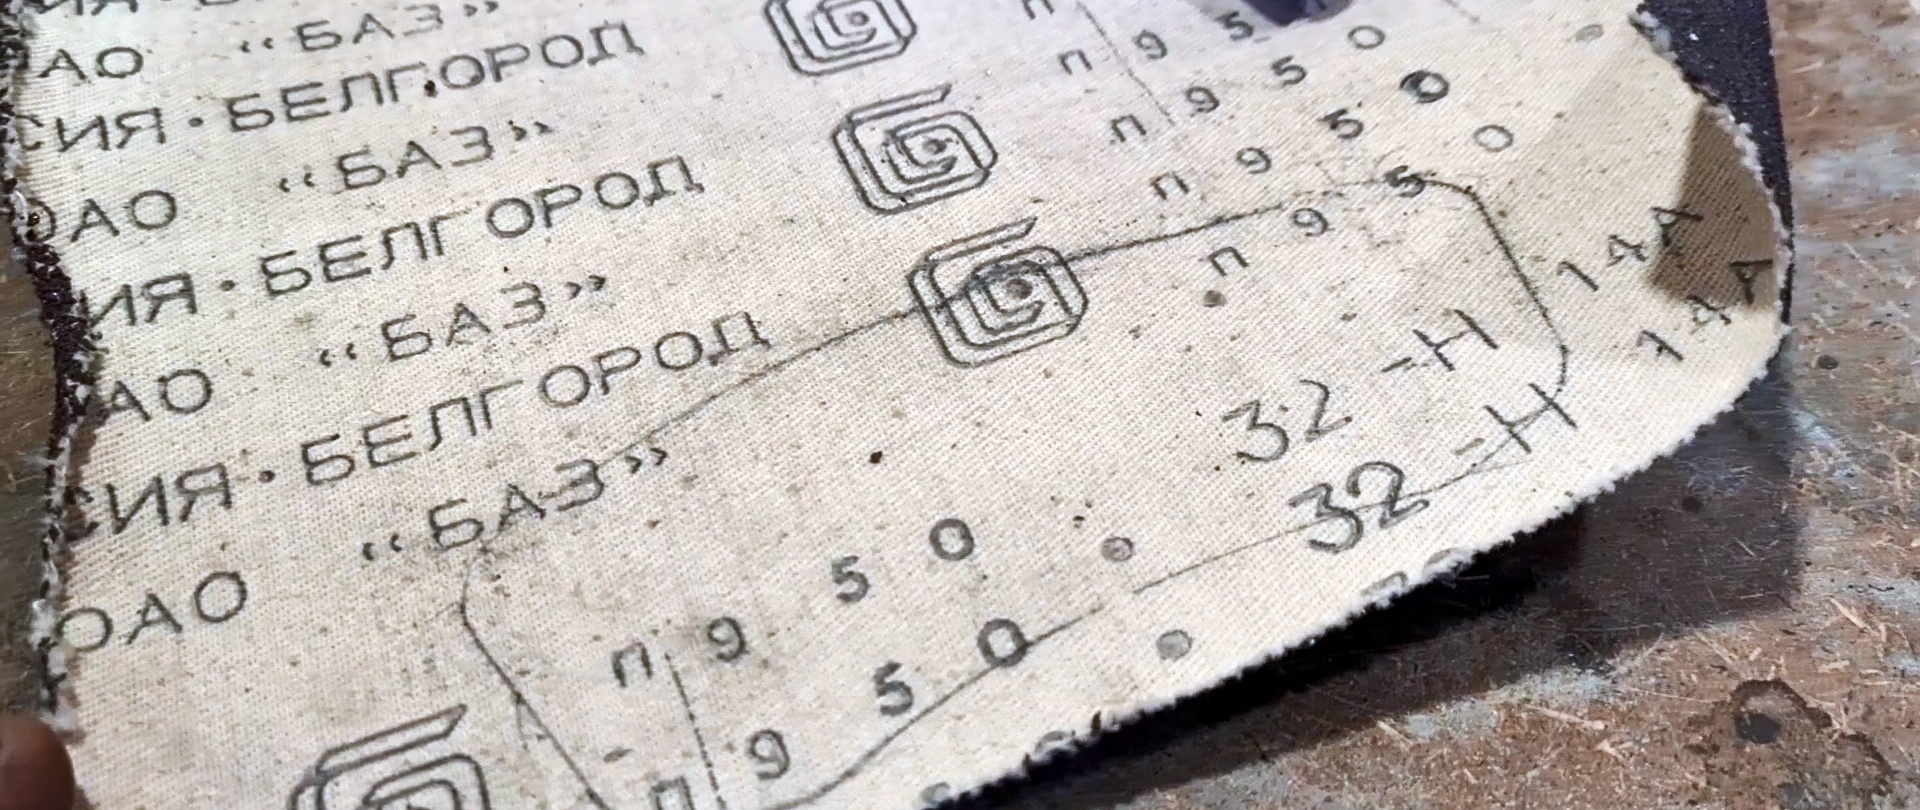
Using metal scissors, we cut out two identical fragments in a sheet of sandpaper along the resulting contour.

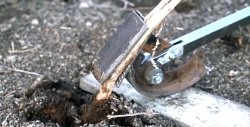
We glue the cut out fragments with the reverse side to the friction linings of the new brake pads using superglue, ensuring that the contours of the cut-outs from the sandpaper coincide with the contours of the linings.


We install the brake pads with sandpaper glued on in their original place, i.e., in the calipers and tighten the wheel nuts for proper installation of the brake disc.
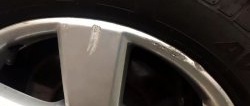
We engage third gear and start the engine. You can tell by the sound that the pads are pressed unevenly against the disc. This is a sign that the disk is deformed due to overheating.

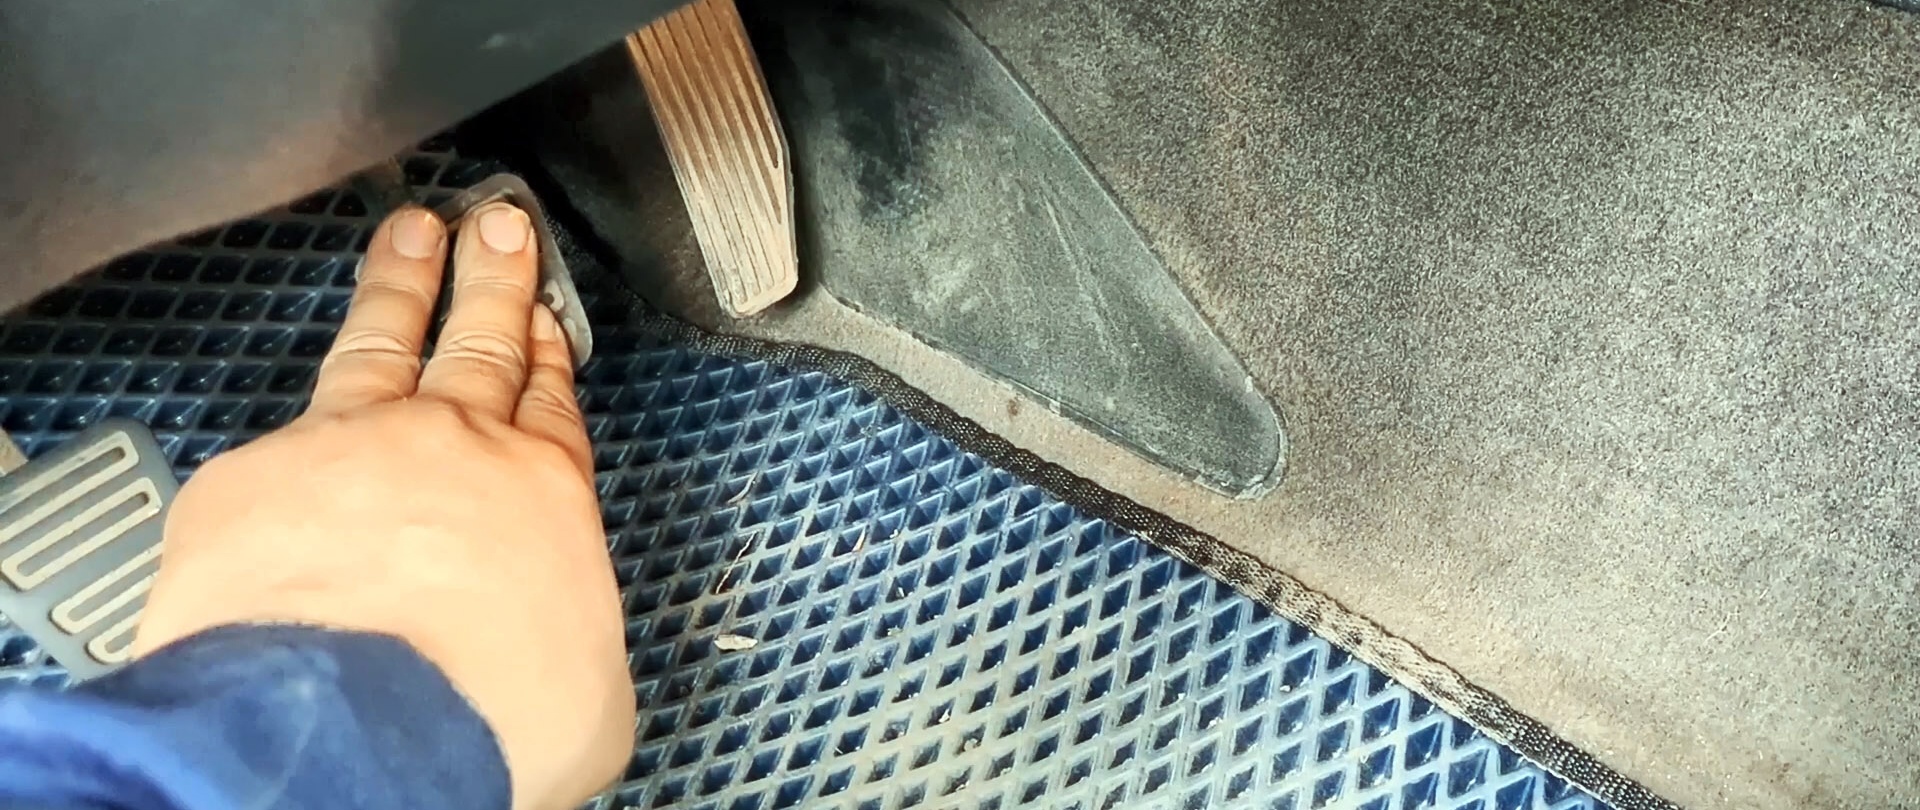
We switch to fourth gear and periodically press the brake pedal lightly with your hand. We continue to do this until the sound of the interaction of the pads with the glued sandpaper and the disc becomes more or less uniform.
We move the gear shift lever to neutral and inspect the disc. We find small scuffs on the disc, so we replace the coarse sandpaper on the pads with a softer one, for example, 20-N (P80 or P120) and repeat the process.
As a result, the braking surface of the disc acquires a flat shape and the contact area of the pads becomes maximum. Braking efficiency returns to the required standards.

Upon completion of the disc grooving, we can easily tear the sandpaper off the pads, and traces of glue on them will quickly be erased when interacting with the disc and will not affect the quality of braking.