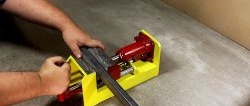
Even if you have a stationary vice, it wouldn’t hurt to have another one - a portable one that can be used with a drilling machine, outside the workshop, etc. They can be assembled without welding, using bolts, nuts and screws. Any adult can handle this job.
Will need
Materials:
- channel 100×50 mm;
- steel corner;
- hex bolts;
- steel strip;
- lead screw with nut;
- bolt with nut.
Tools: vice, grinder, file, drilling machine, taps, circular saw, sharpening machine, lathe, wrenches, etc.
High-quality and durable drills on AliExpress at a discount - http://alii.pub/5zwmxz
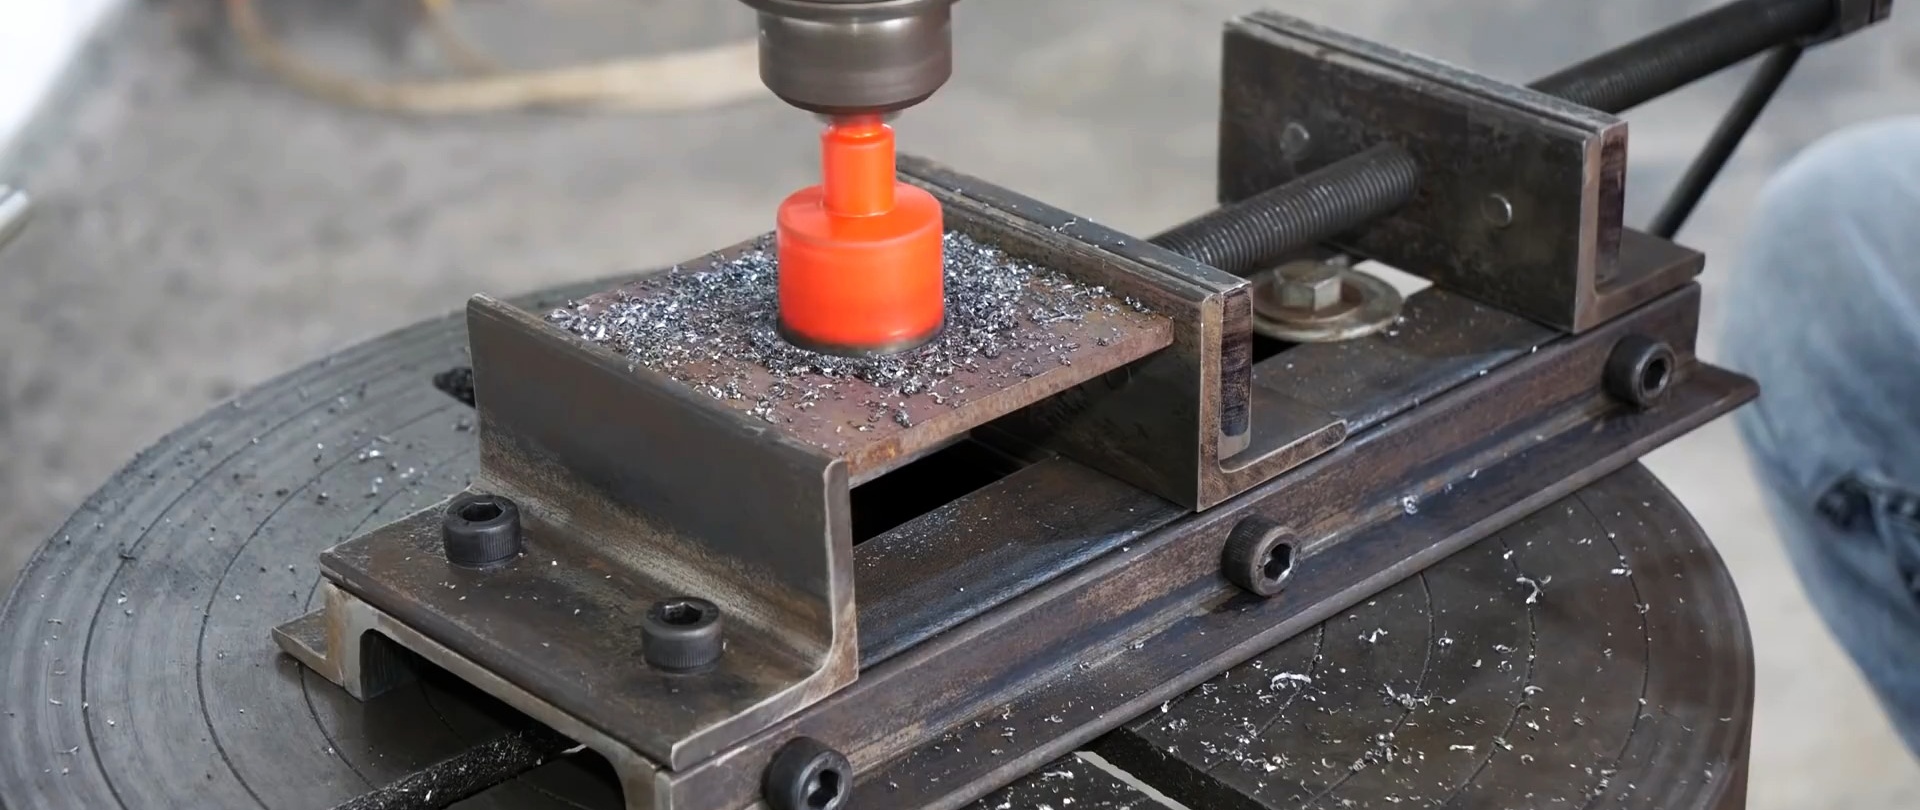
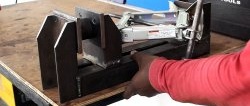
The process of making a vice without the use of welding equipment
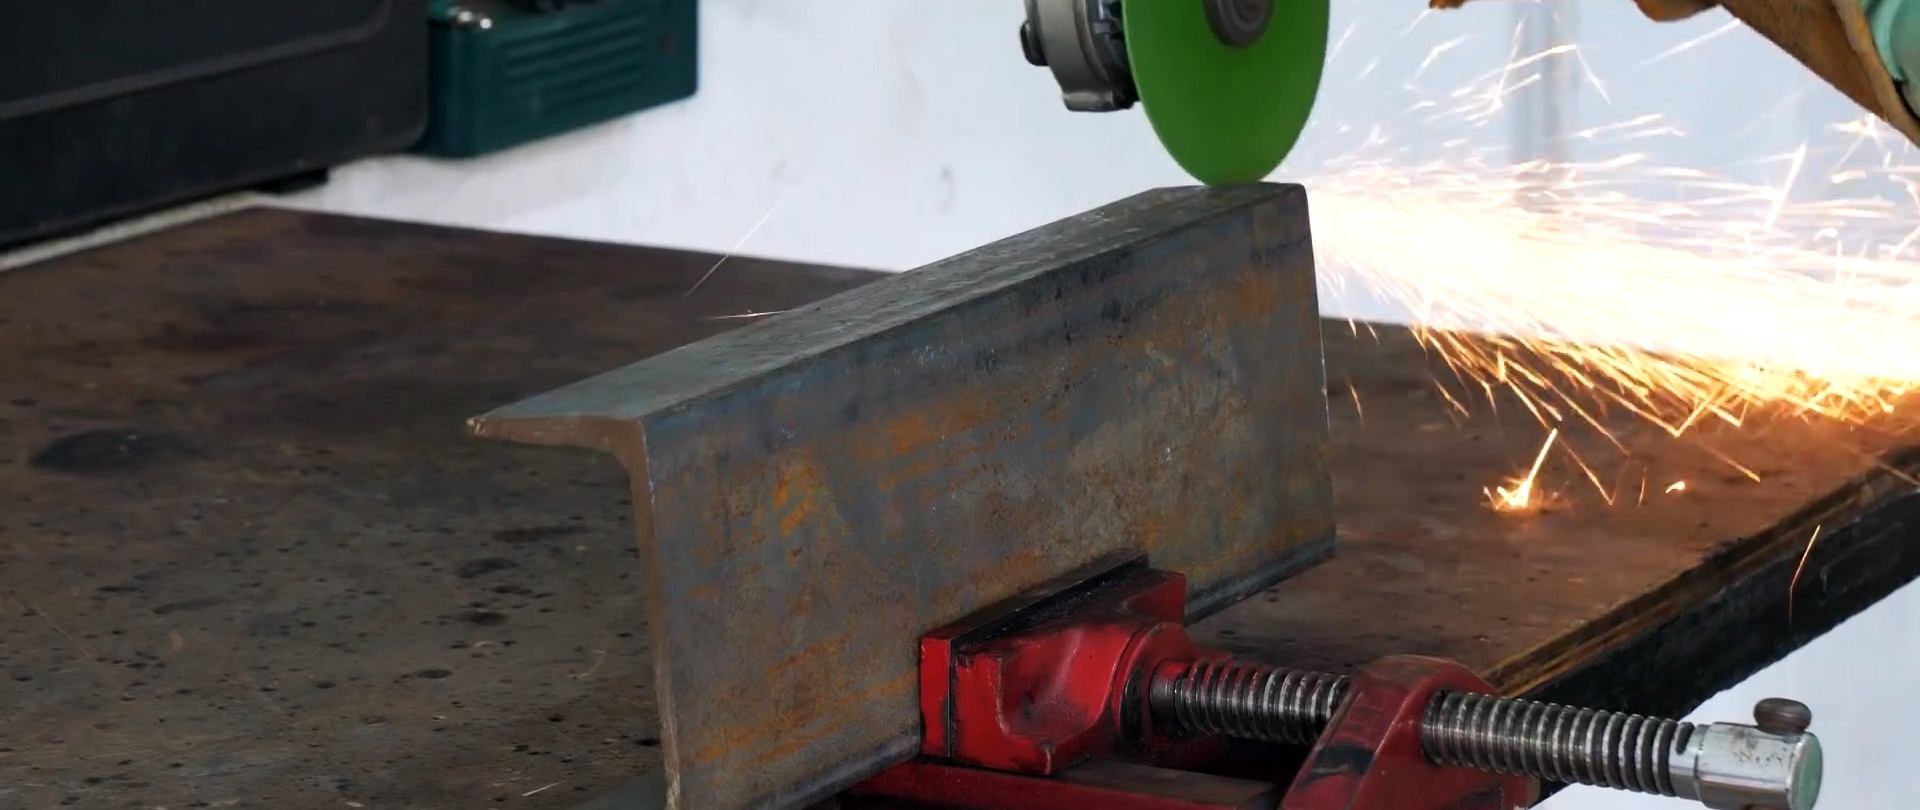
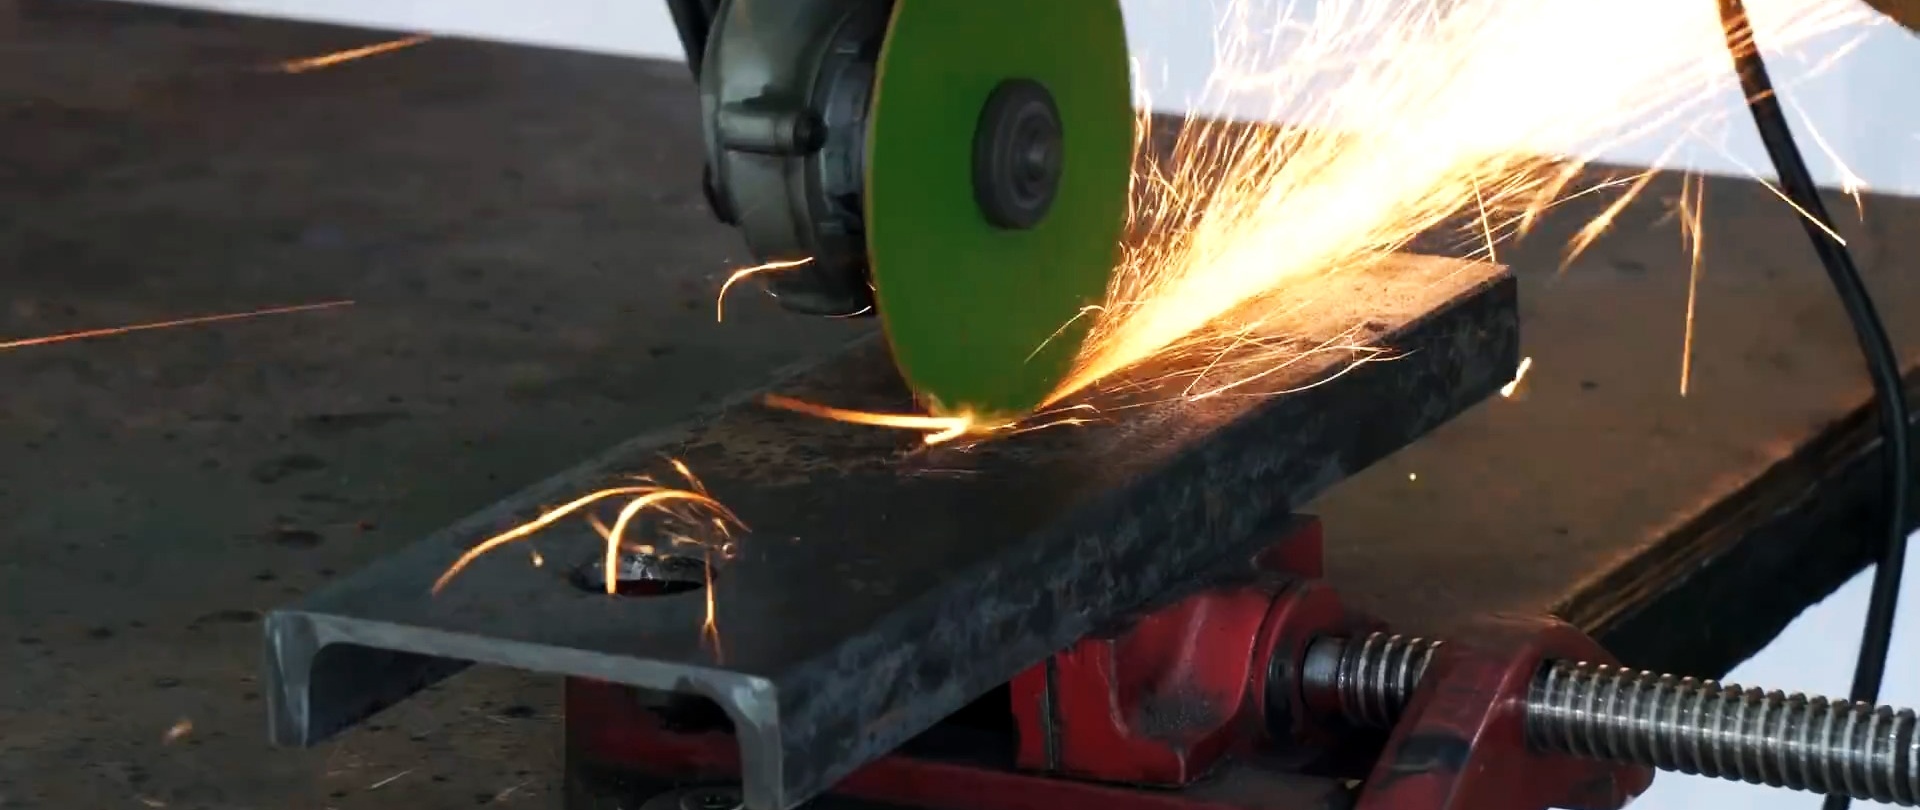
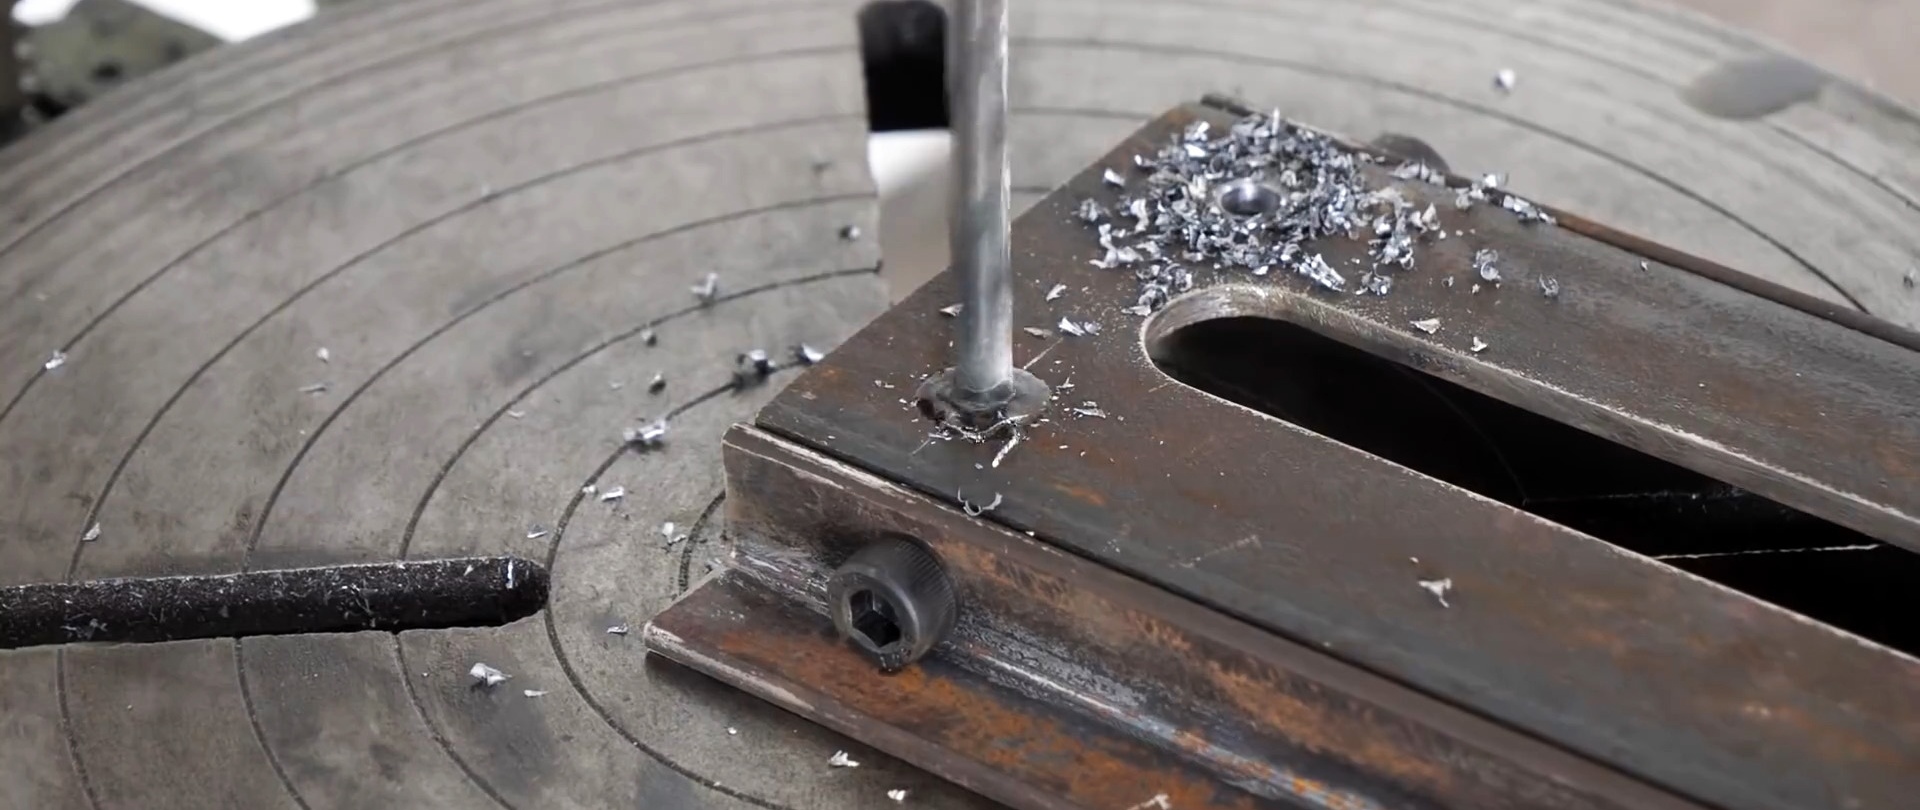
We shorten both flanges of the 100×50 mm channel by half, and process the edges formed after cutting with a hand file.
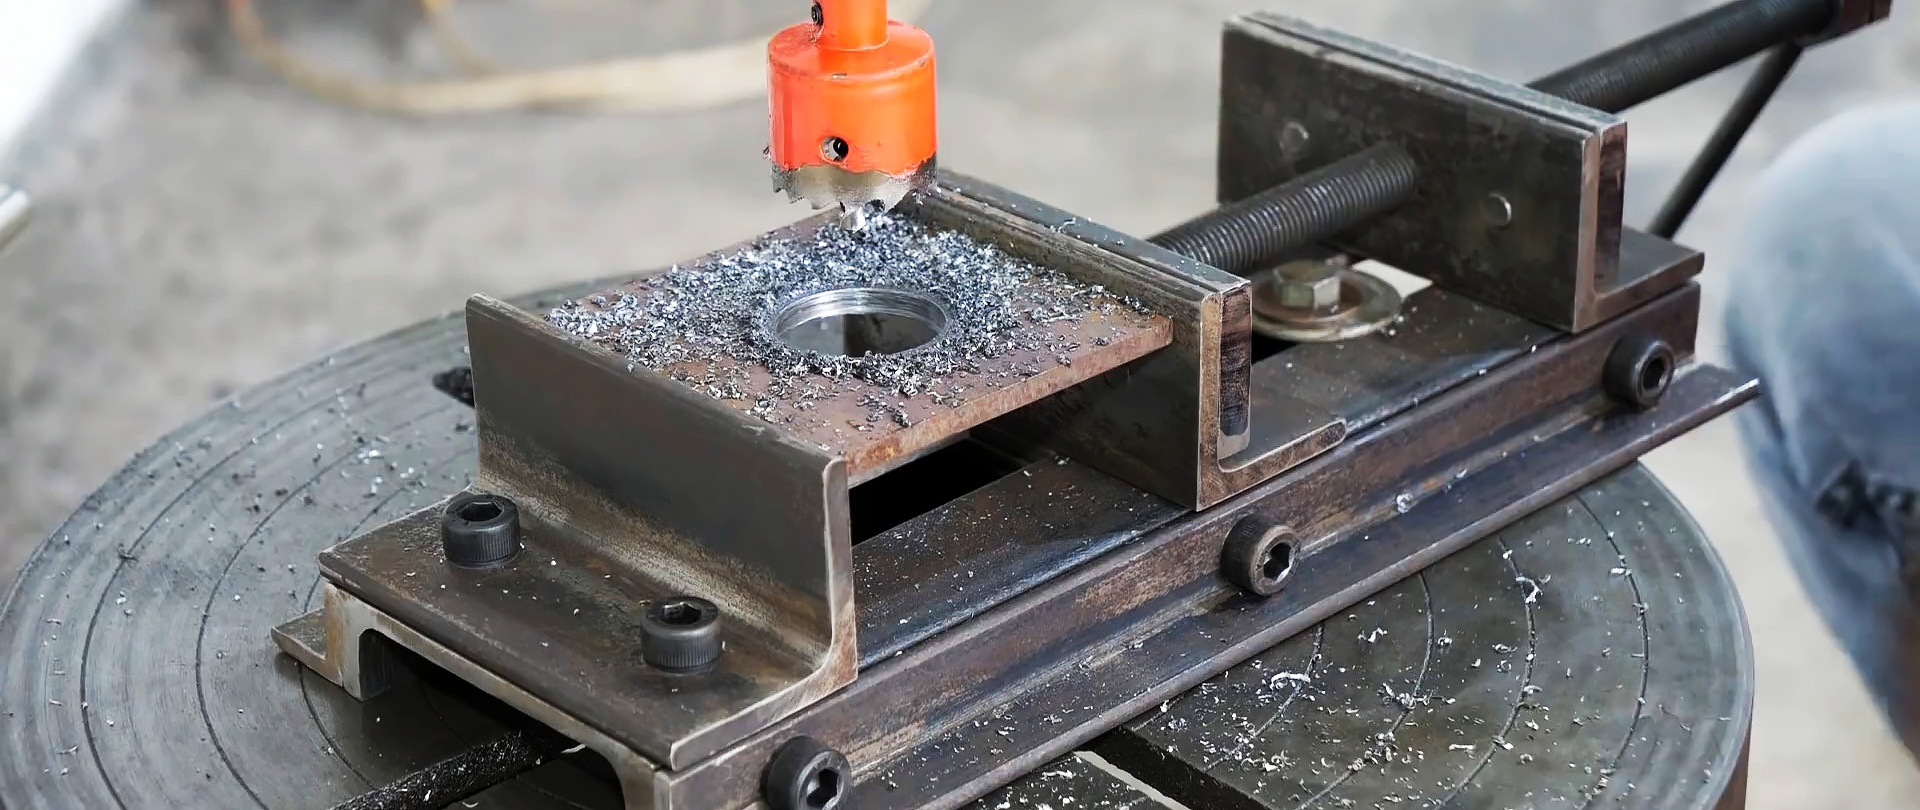
In the center of the channel wall we mark and drill two holes at an equal distance from the edges of the profile.
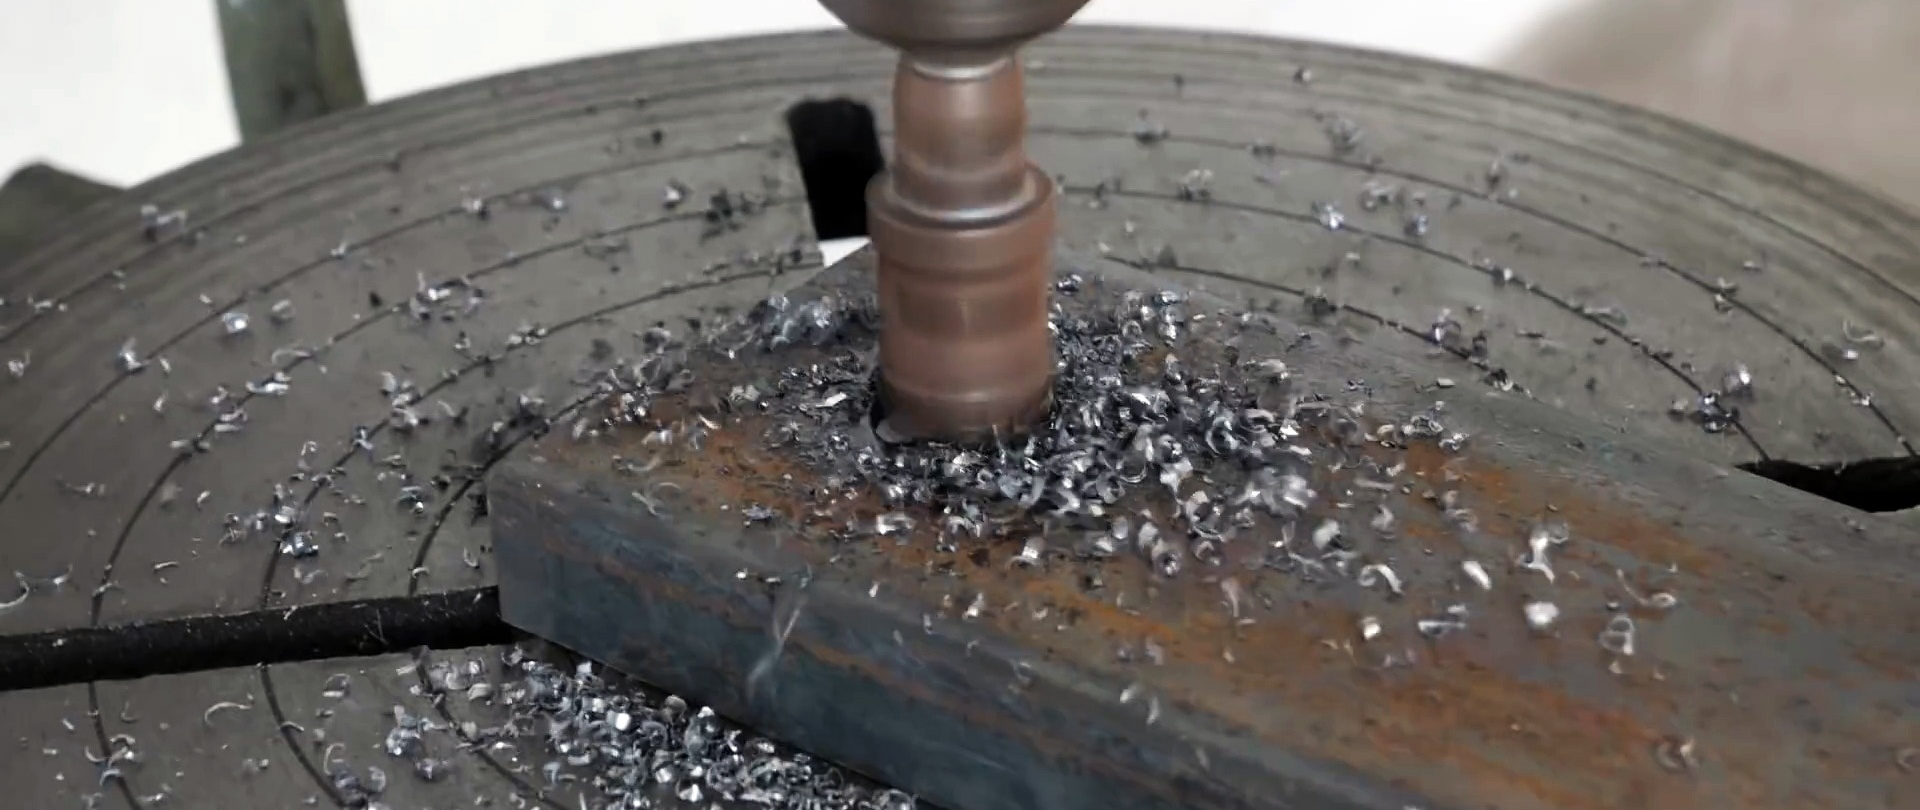
We cut a strip of metal between the holes with a width equal to their diameter.
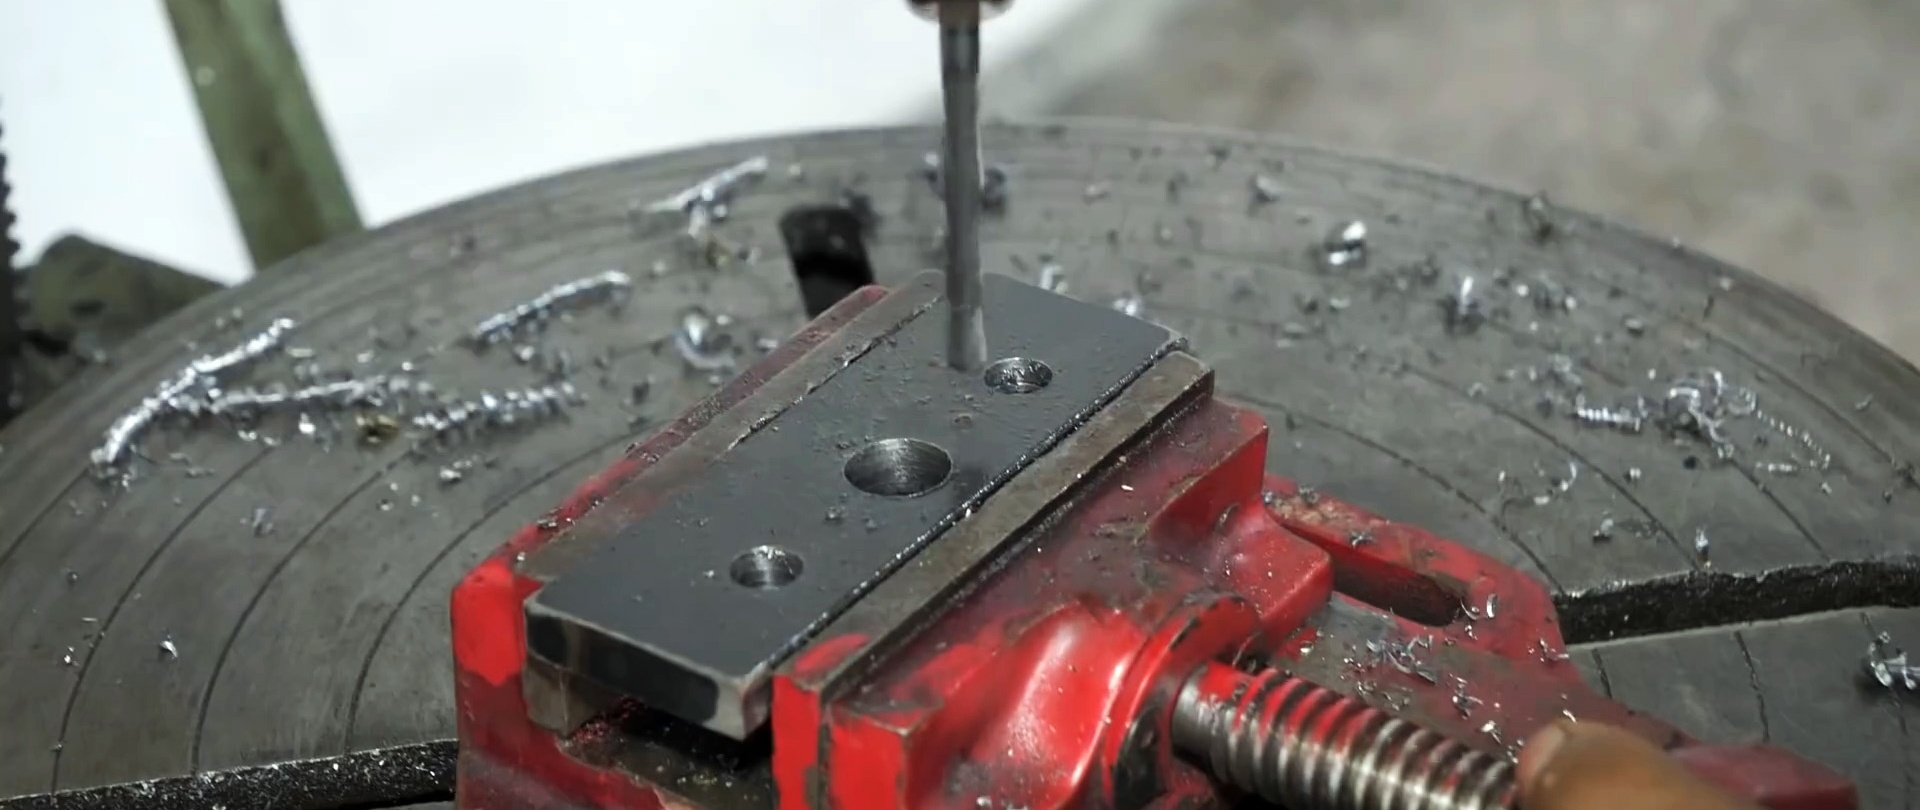
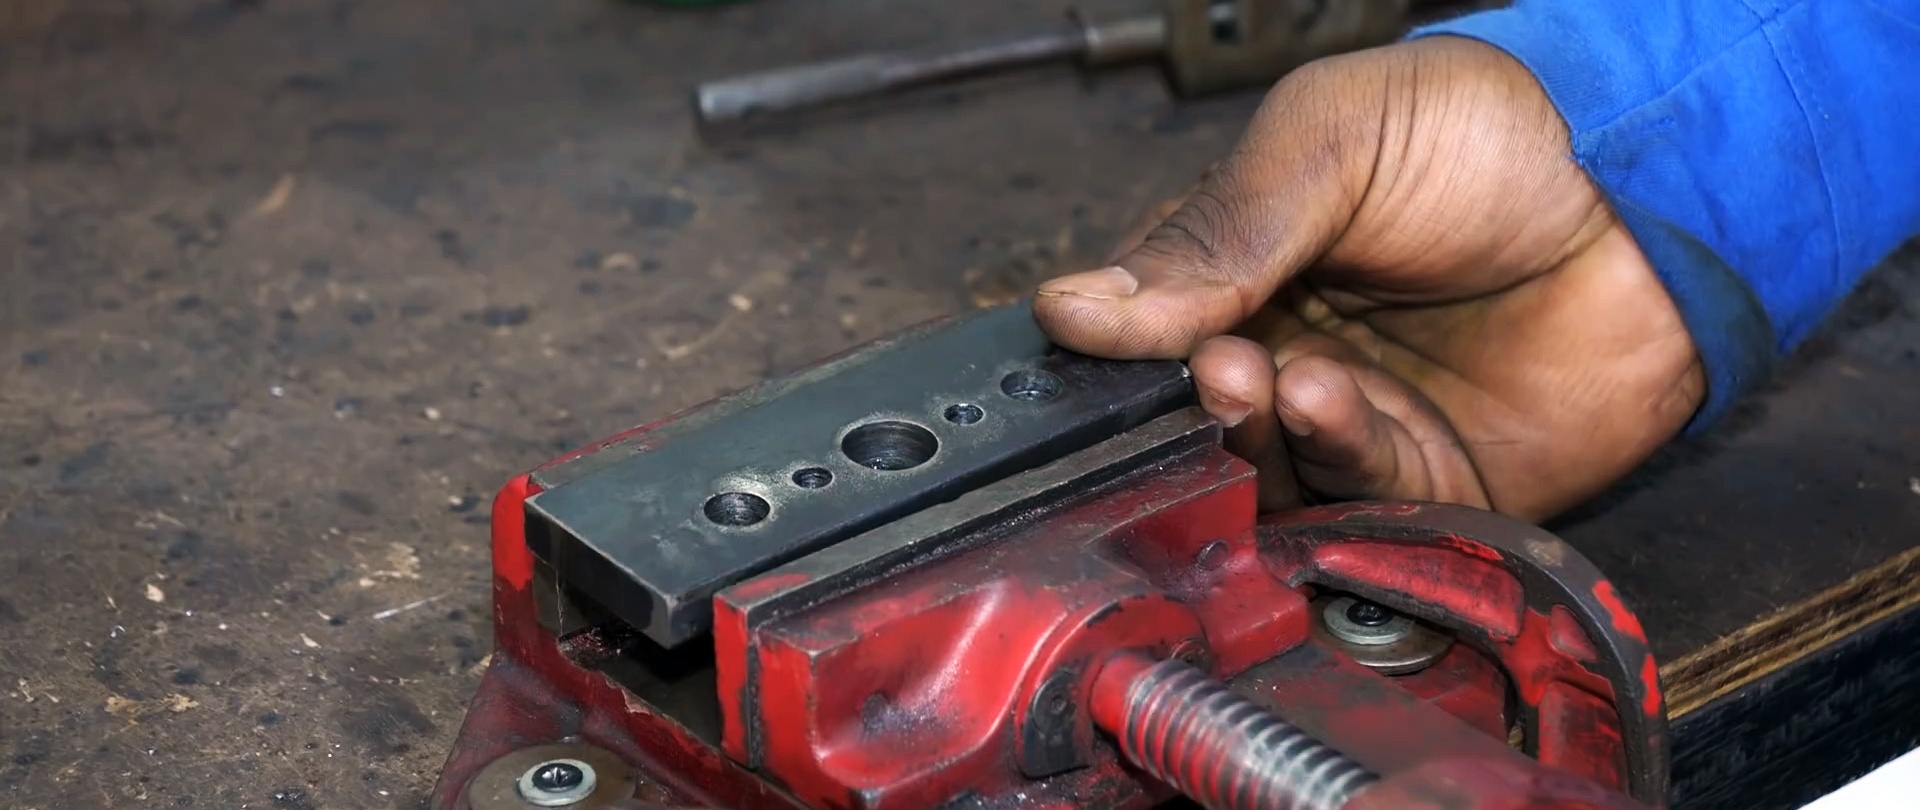
In the shortened shelves of the channel, we drill three holes at equal distances from each other and cut threads into them.
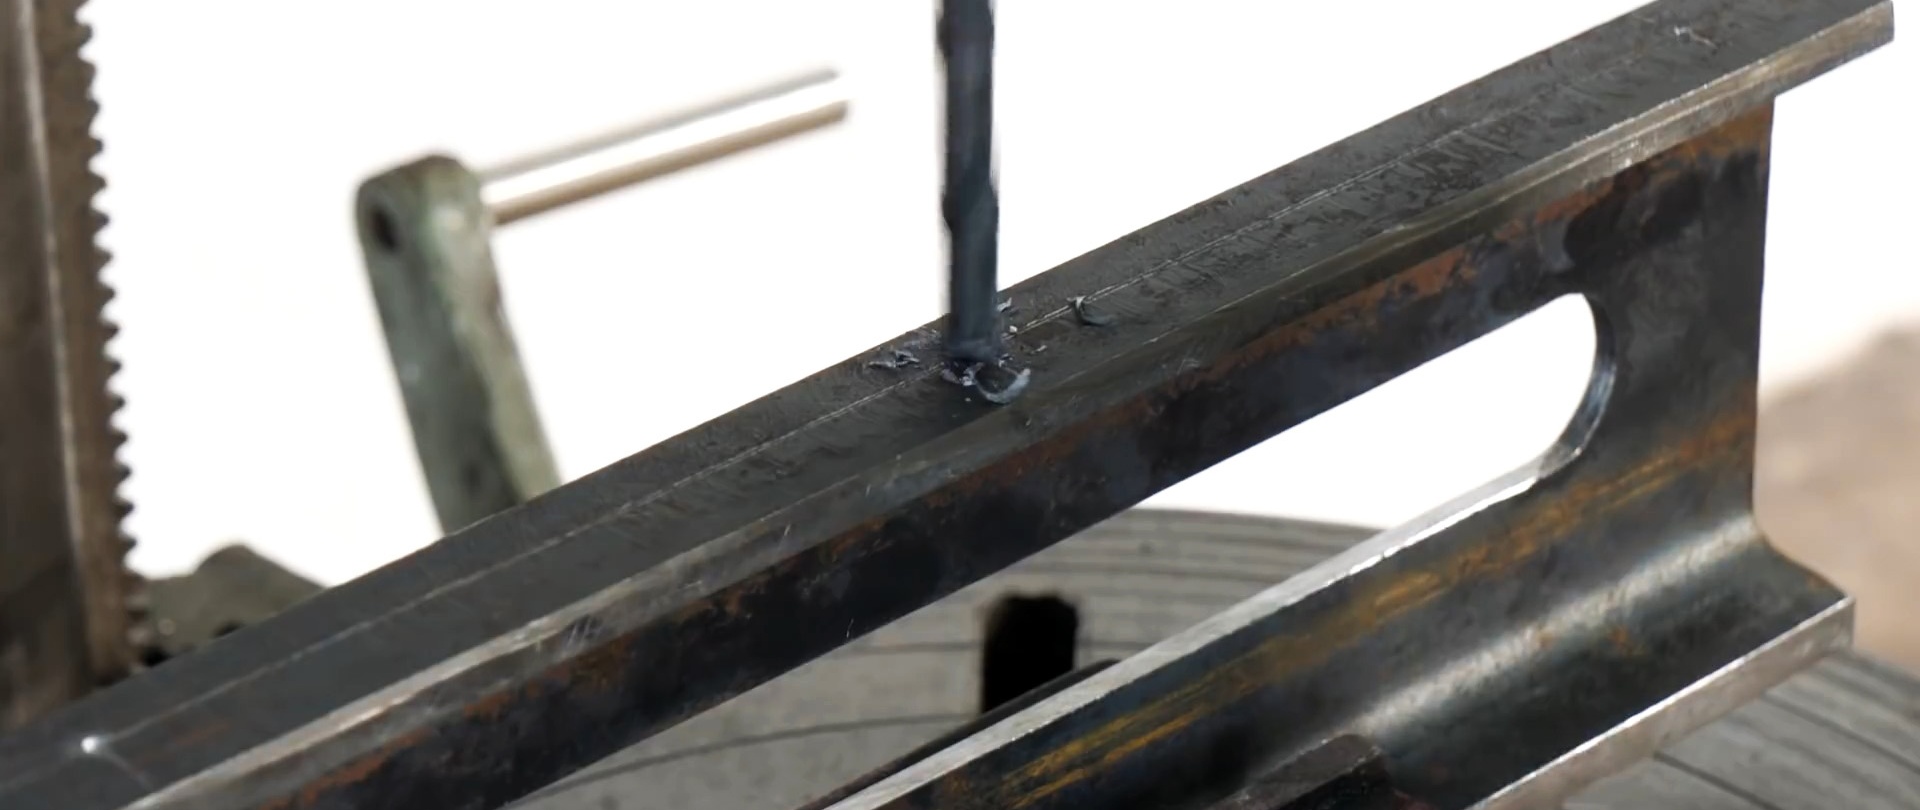
In two corner pieces equal to the length of the channel, we drill three holes in one of the shelves, as in the channel shelves.

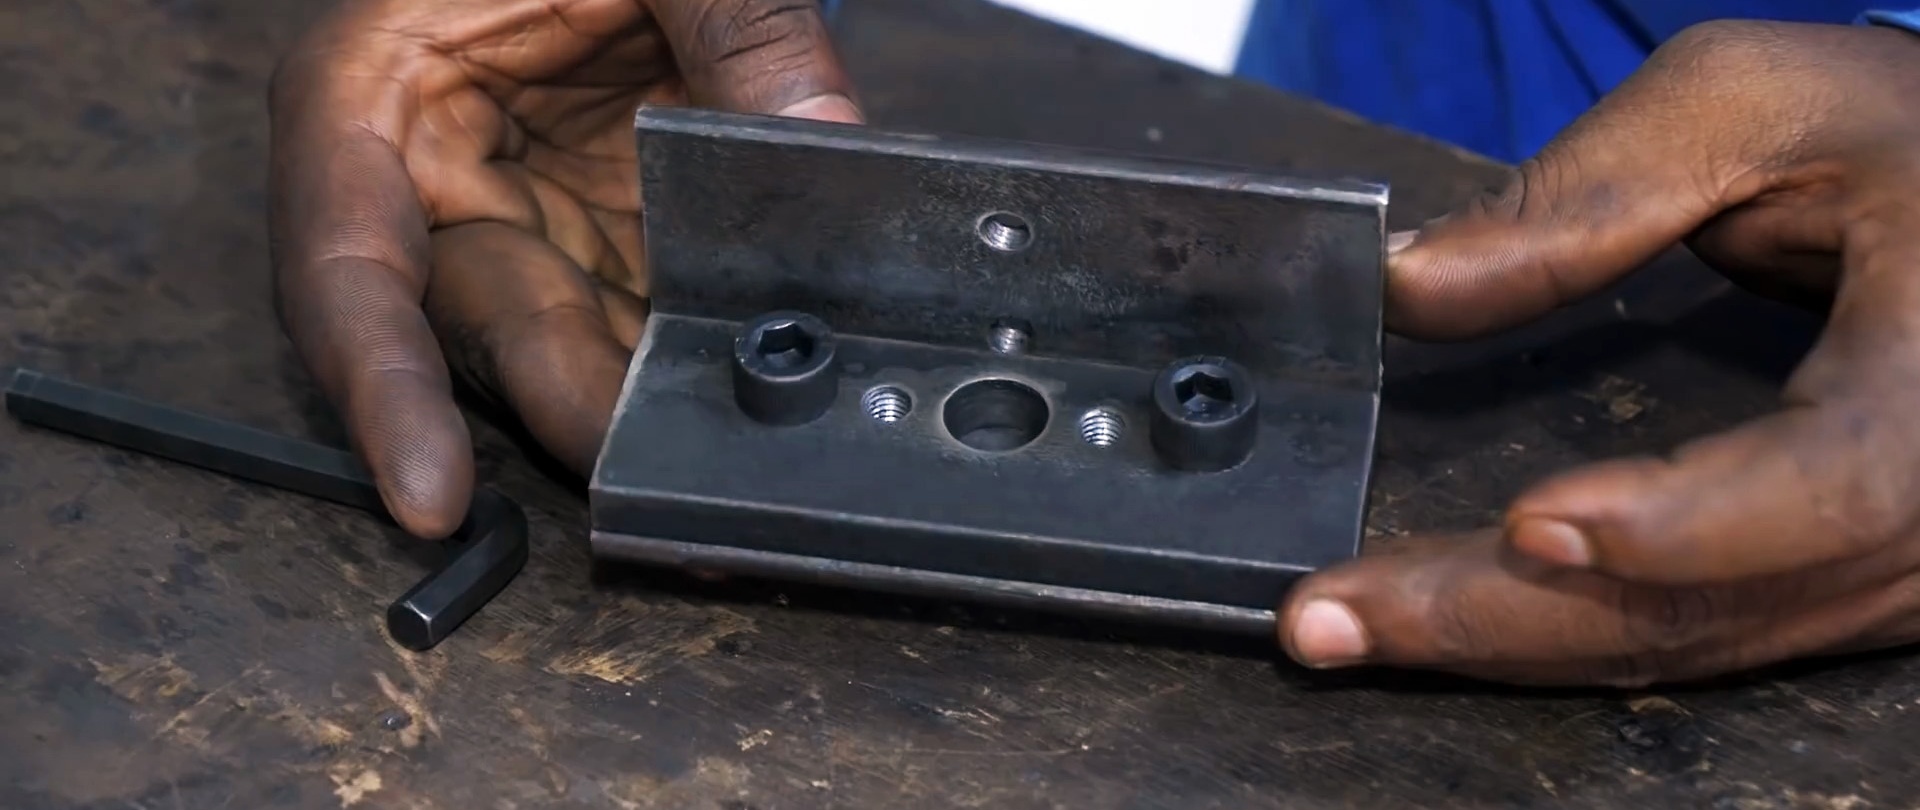
We fasten the corners to the channel on both sides with hex bolts so that the second flanges of the corners are at the level of the lower edges of the channel flanges and “look” outward.
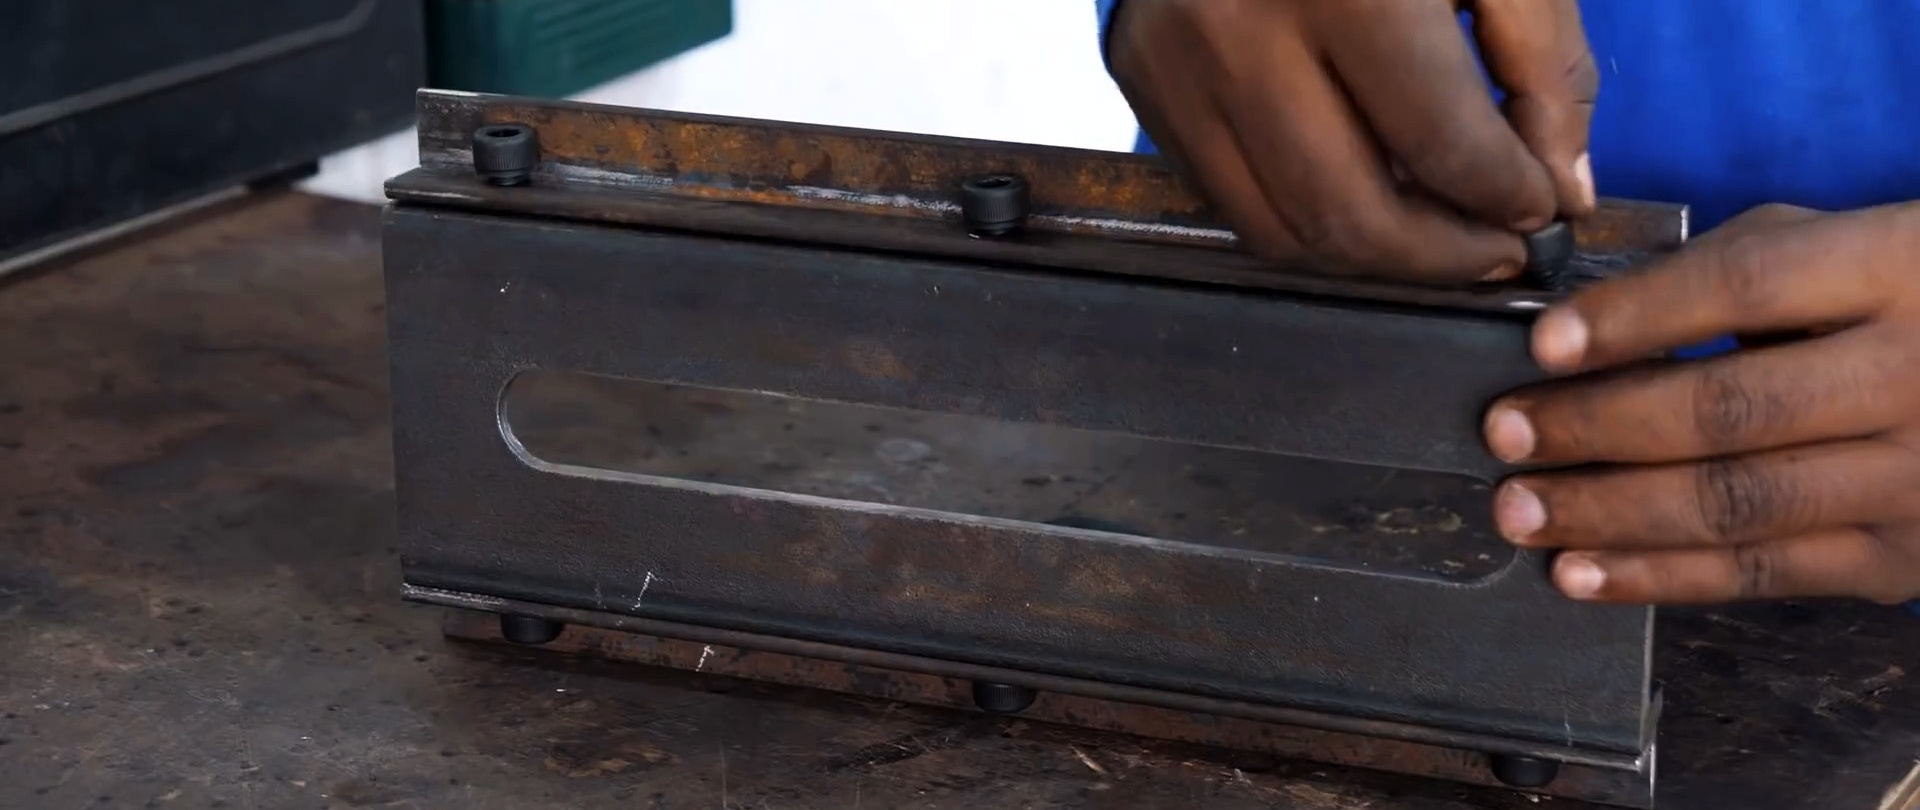
We drill four holes in the channel wall in the corners and cut the threads.
Long-lasting discs for angle grinders on AliExpress at a discount - http://alii.pub/61bjly
We cut two pieces from the corner slightly longer than the width of the channel. In the first shelf, we drill two holes in the center along the edges and screw it with hexagon bolts transversely to the back of the channel so that the other shelf is inside. In the other shelves we drill two holes and cut threads in two on one shelf.


We screw a strip equal in length to the corners, with drilled holes similar to the holes in the corners, with hex bolts to the second corner. We grind the ends of the bolts with a grinder.


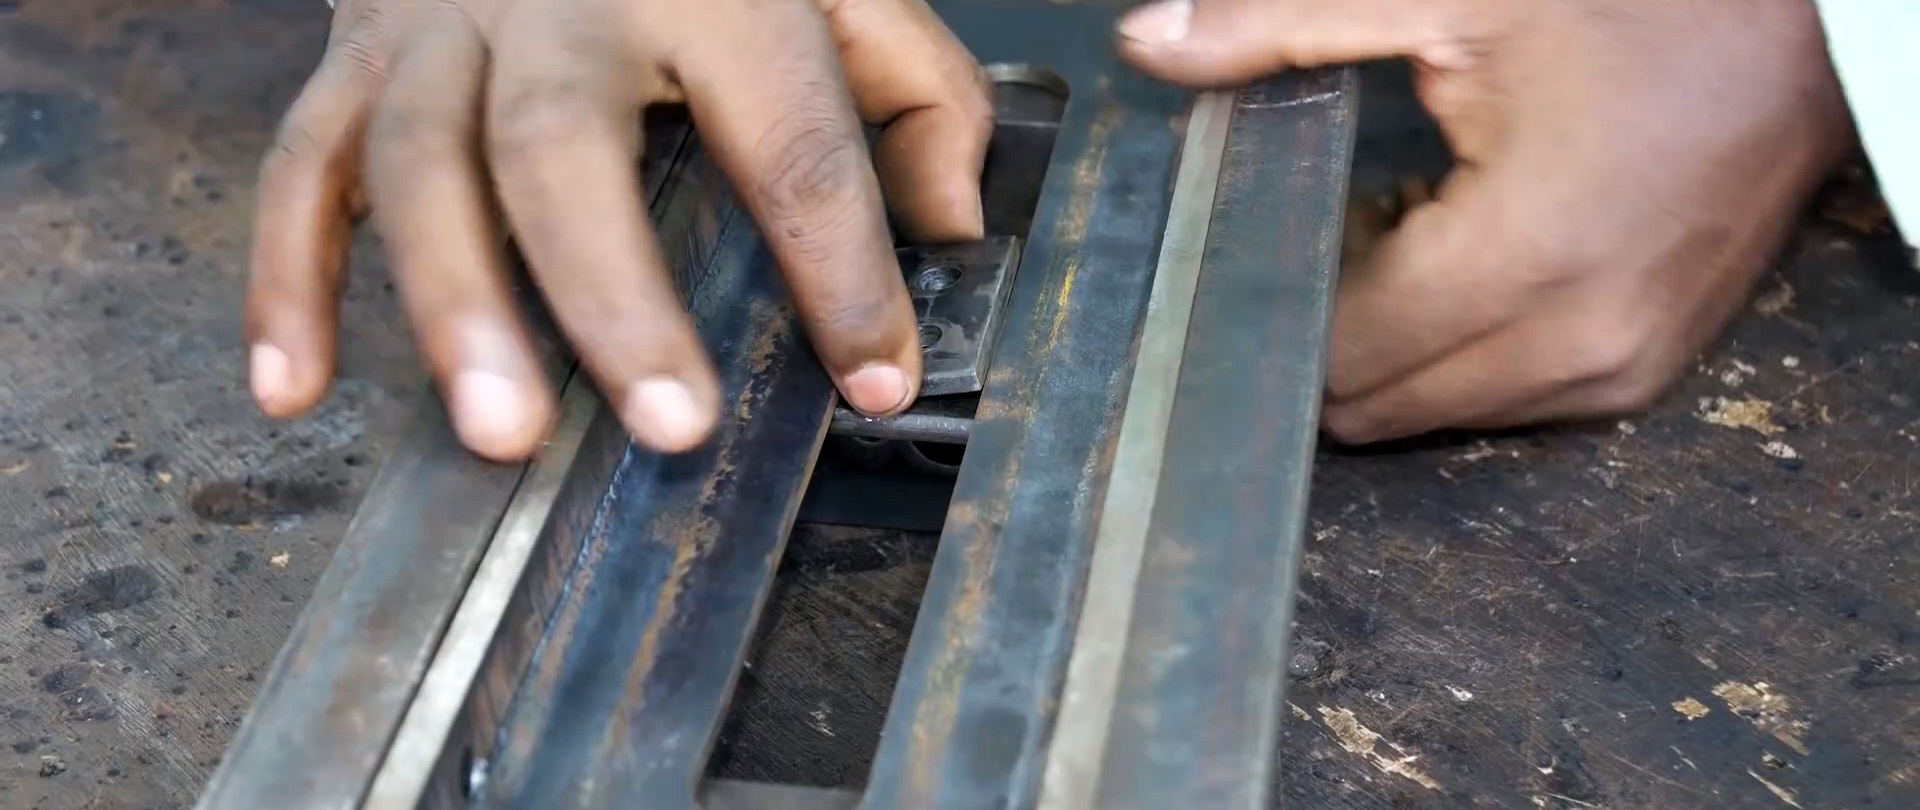
In the shelf of a corner with a screwed strip in the center, drill a larger through hole, cut a thread, unscrew the bolts, temporarily remove the strip and screw the corner to the threaded holes in the wall of the channel, orienting the other shelf inward. We return the strip to its place.

In the third corner of the same size, we drill two holes in the shelves: on one - across the center, on the other - longitudinally along the edges and cut the threads.
In the strip, along the markings in the longitudinal direction, we drill five holes: in the center - a large one, along the edges - medium ones and two small ones, in which we cut threads. We fasten the plate to the corner with hexagon bolts and remove the ends of the bolts protruding from the shelf.


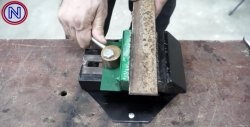
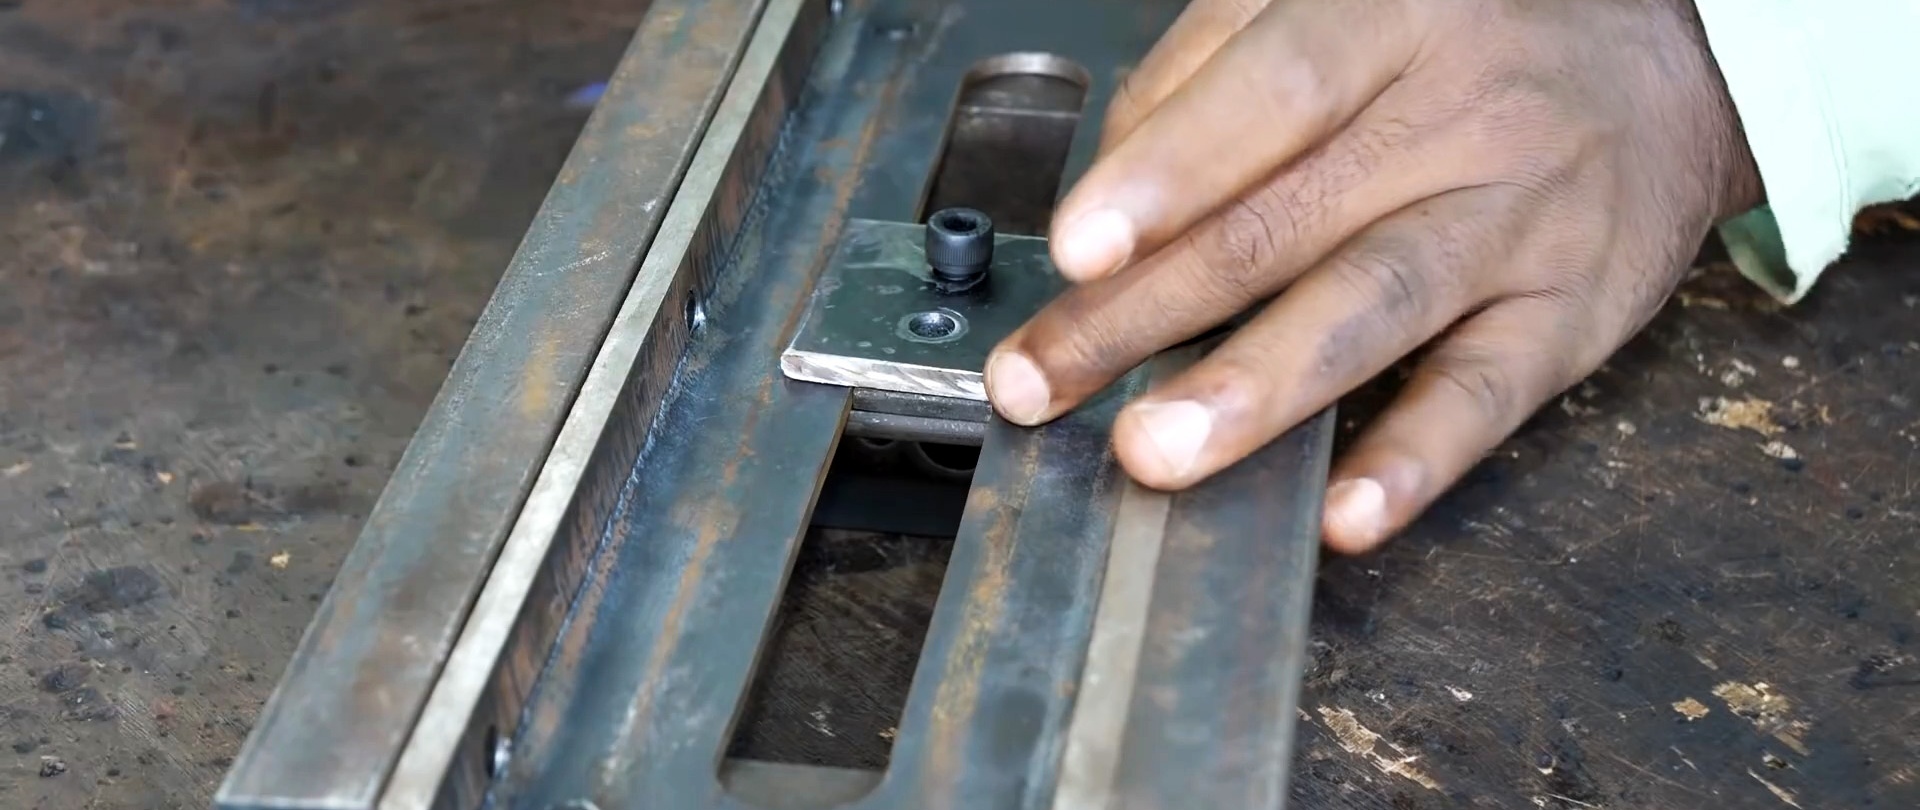
We drill two identical holes in the rectangular and square strips of metal. We install the angle with the plate transversely on the wall of the channel. We turn it over, place a rectangular plate in the slot, a square plate on top of the slot and secure everything with two hex bolts.

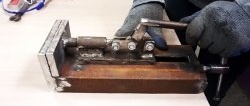
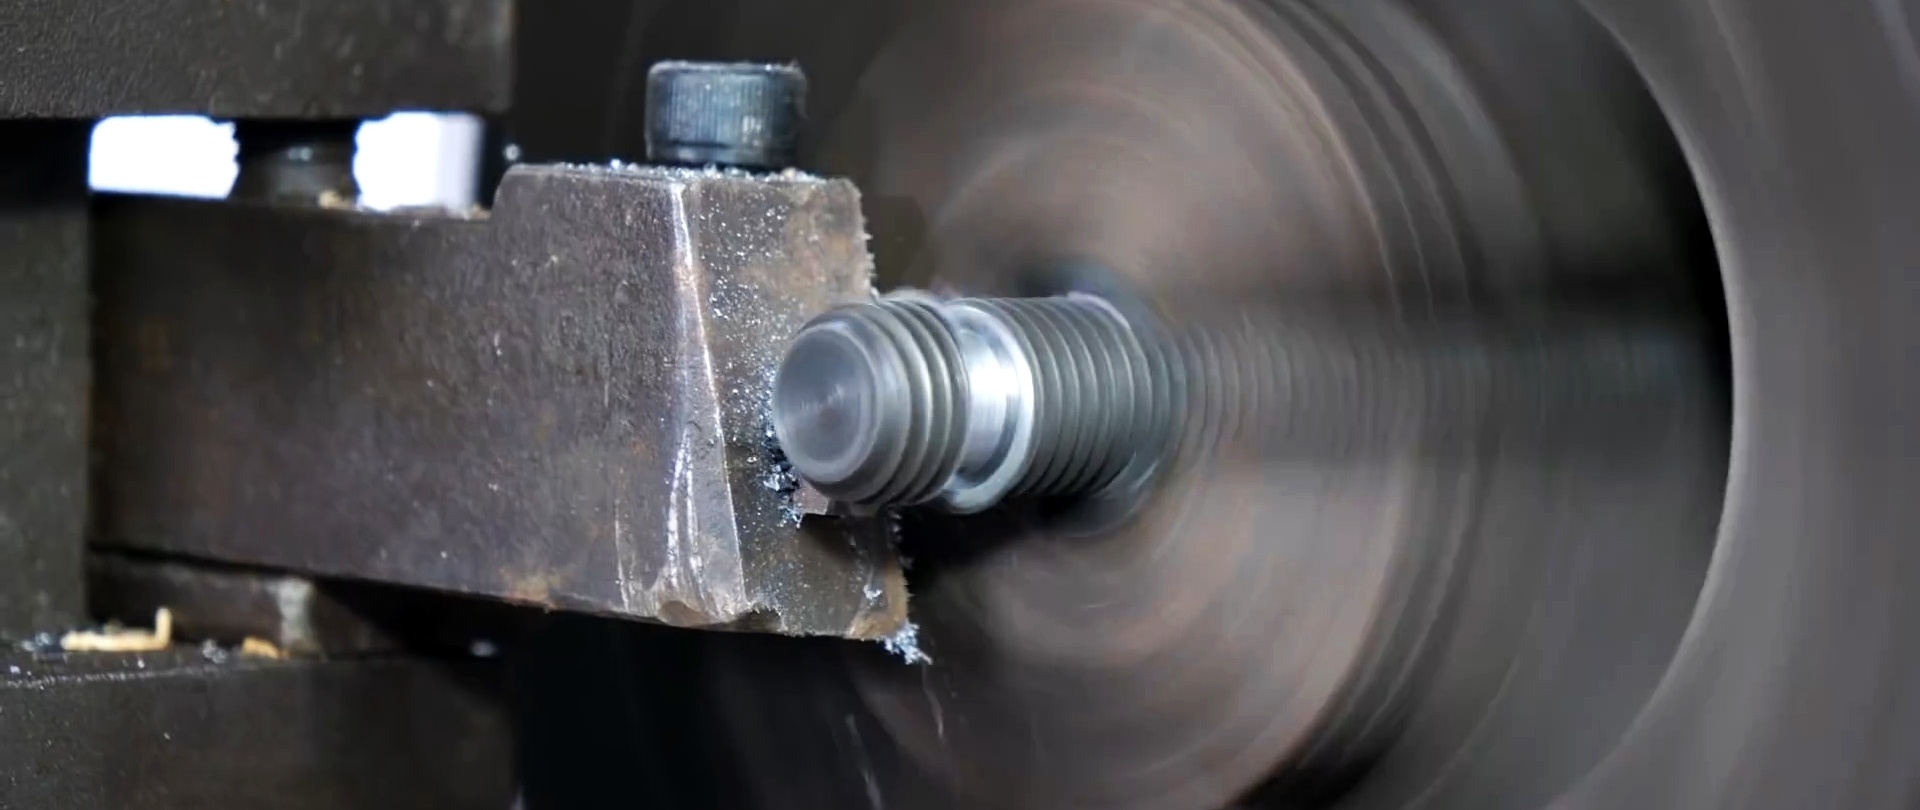
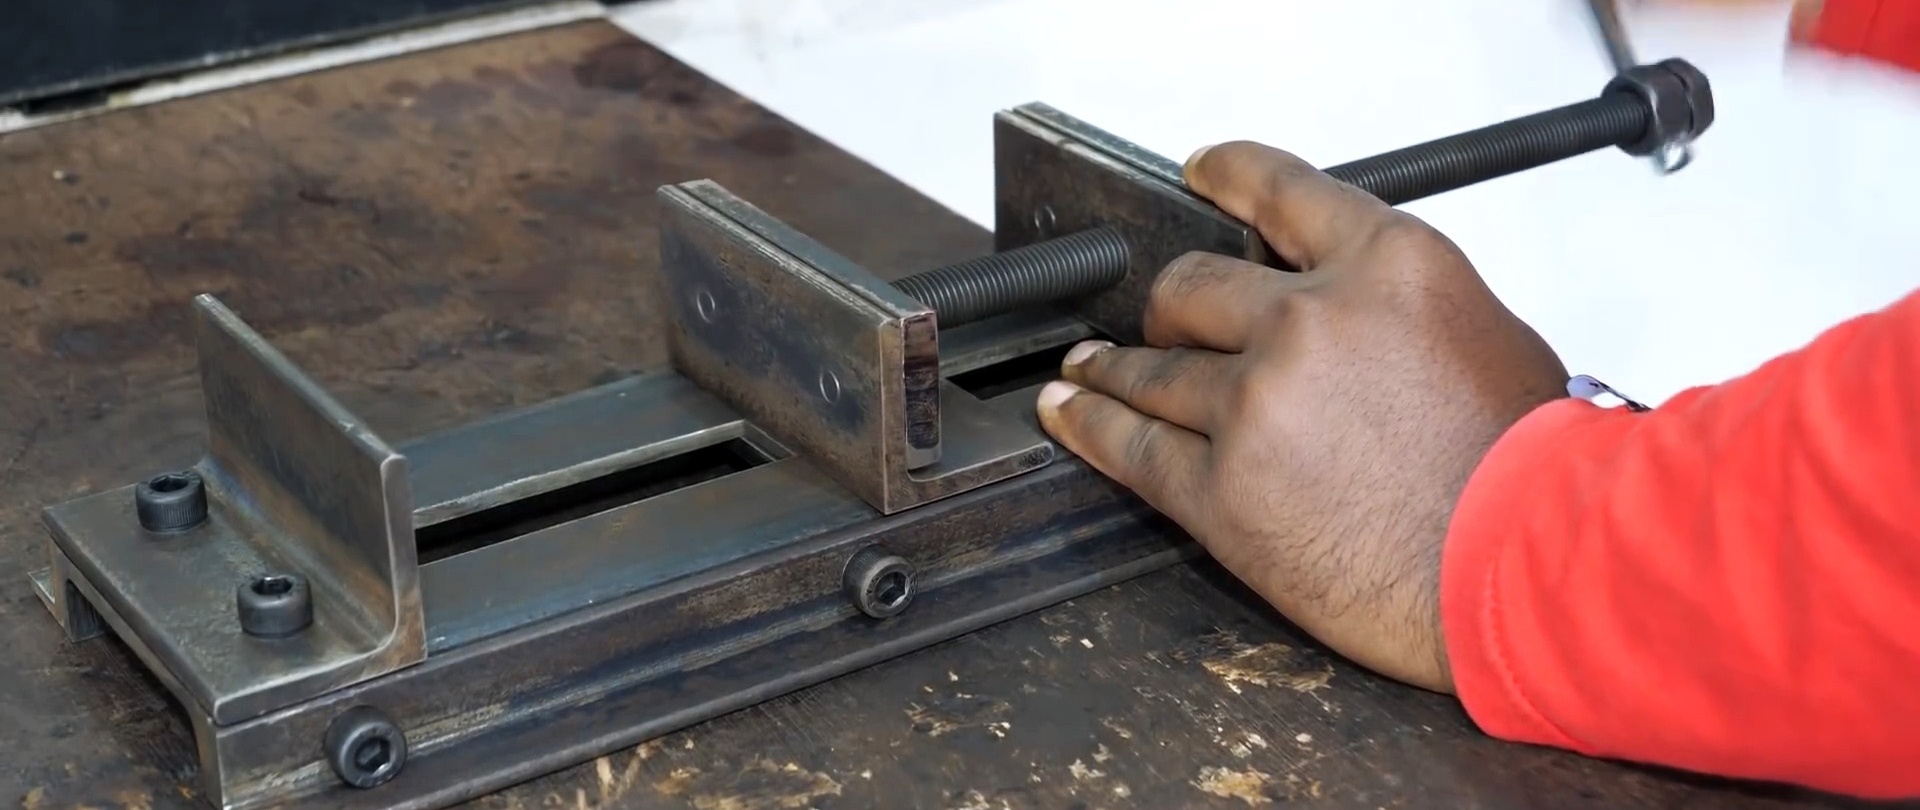
Having stepped back a little from the end of the lead screw, we make an annular groove and screw the nut onto it until it stops in the head.
We drill a through radial hole in the nut and screw.

We drill three symmetrically located holes in a narrow strip of metal and make a transverse slot to the central hole to enter the groove on the lead screw.


We screw the lead screw from the outside into the threaded hole in the plate and the angle until the end enters the hole of the intermediate angle with the plate. We insert a plate with a slot into the screw groove from above and secure it with hexagon bolts to the plate with an angle.

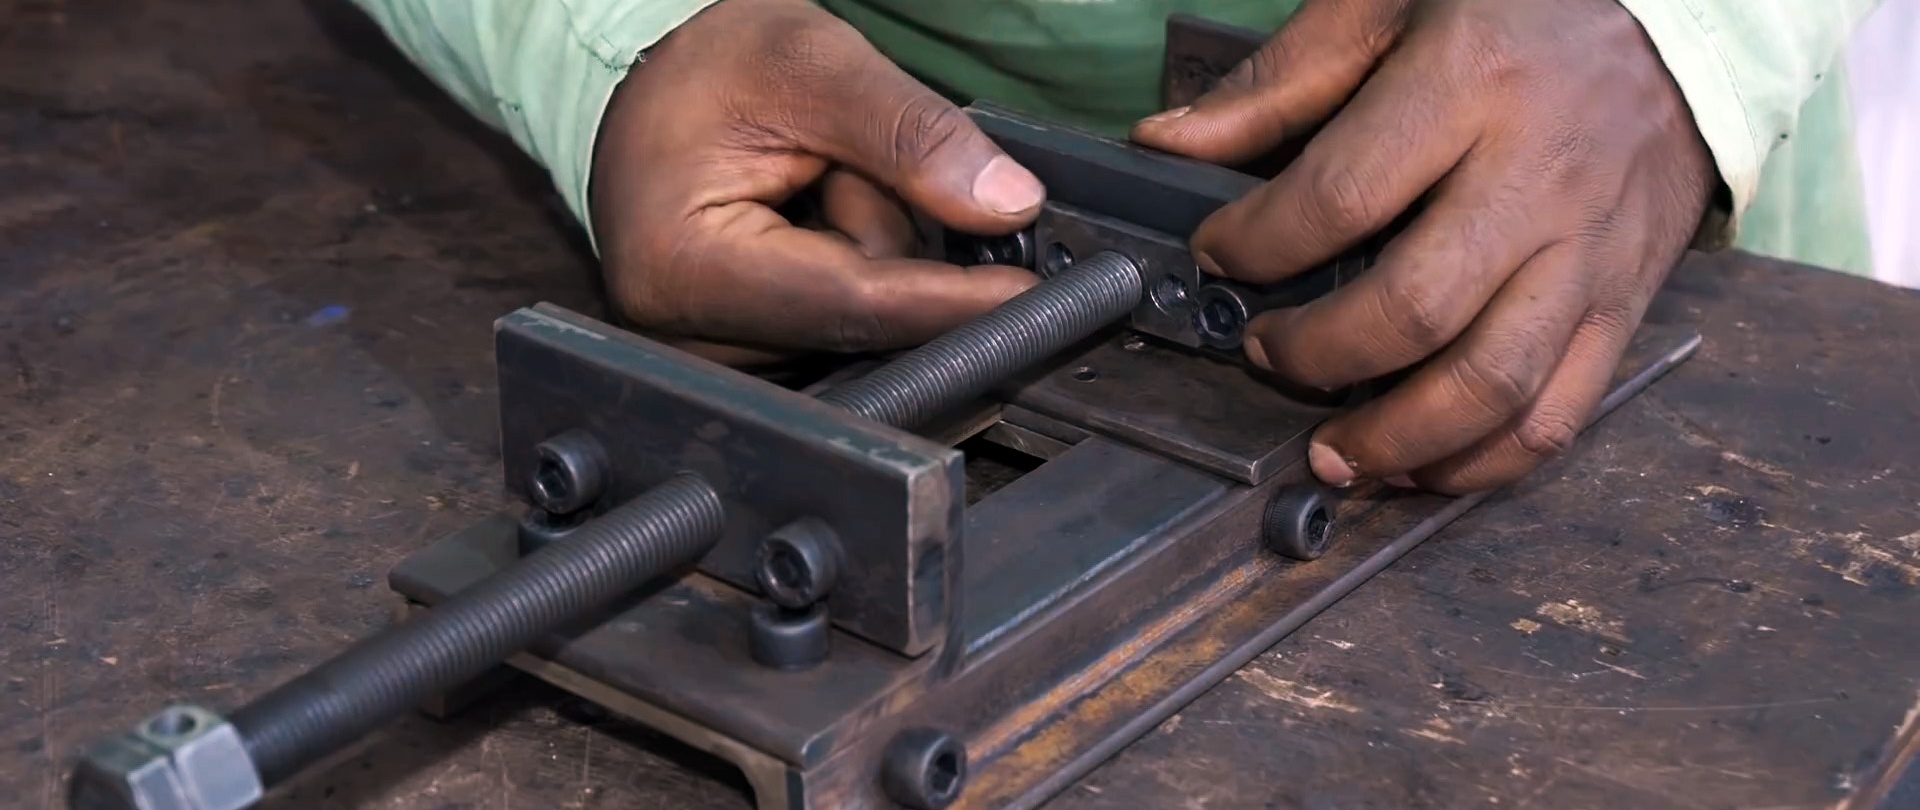
Insert a long bolt into the hole of the nut and lead screw and screw a self-locking nut onto its end.

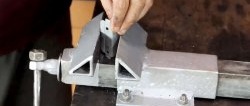
By rotating the lead screw to the right or left, we move the movable stop between the fixed ones, which allows you to clamp the parts for processing and release them after the operation is completed.

Welding electrodes for general purposes on AliExpress at a discount - http://alii.pub/606j2h