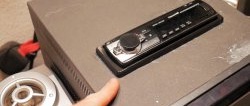
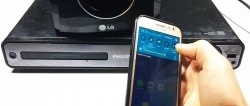
CDs or cassette car radios can last for a very long time, despite the fact that music media are already outdated. To breathe life into an old radio, just install a Bluetooth module in it. And give the device a new function for transmitting sound from any modern device: smartphone, tablet computer, etc.
What you will need for this:

- Bluetooth audio module;
- voltage converter from 12 Volt to 5 Volt;
- wires;
- hot-melt gun with hot glue.
Easy installation of a Bluetooth module in a car radio
Let’s jump ahead a little and say that it didn’t work out the first time. And not even from the second. We had to move away from the preliminary plan and modify the connection diagram as we went along. But first things first.
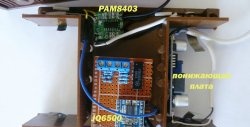
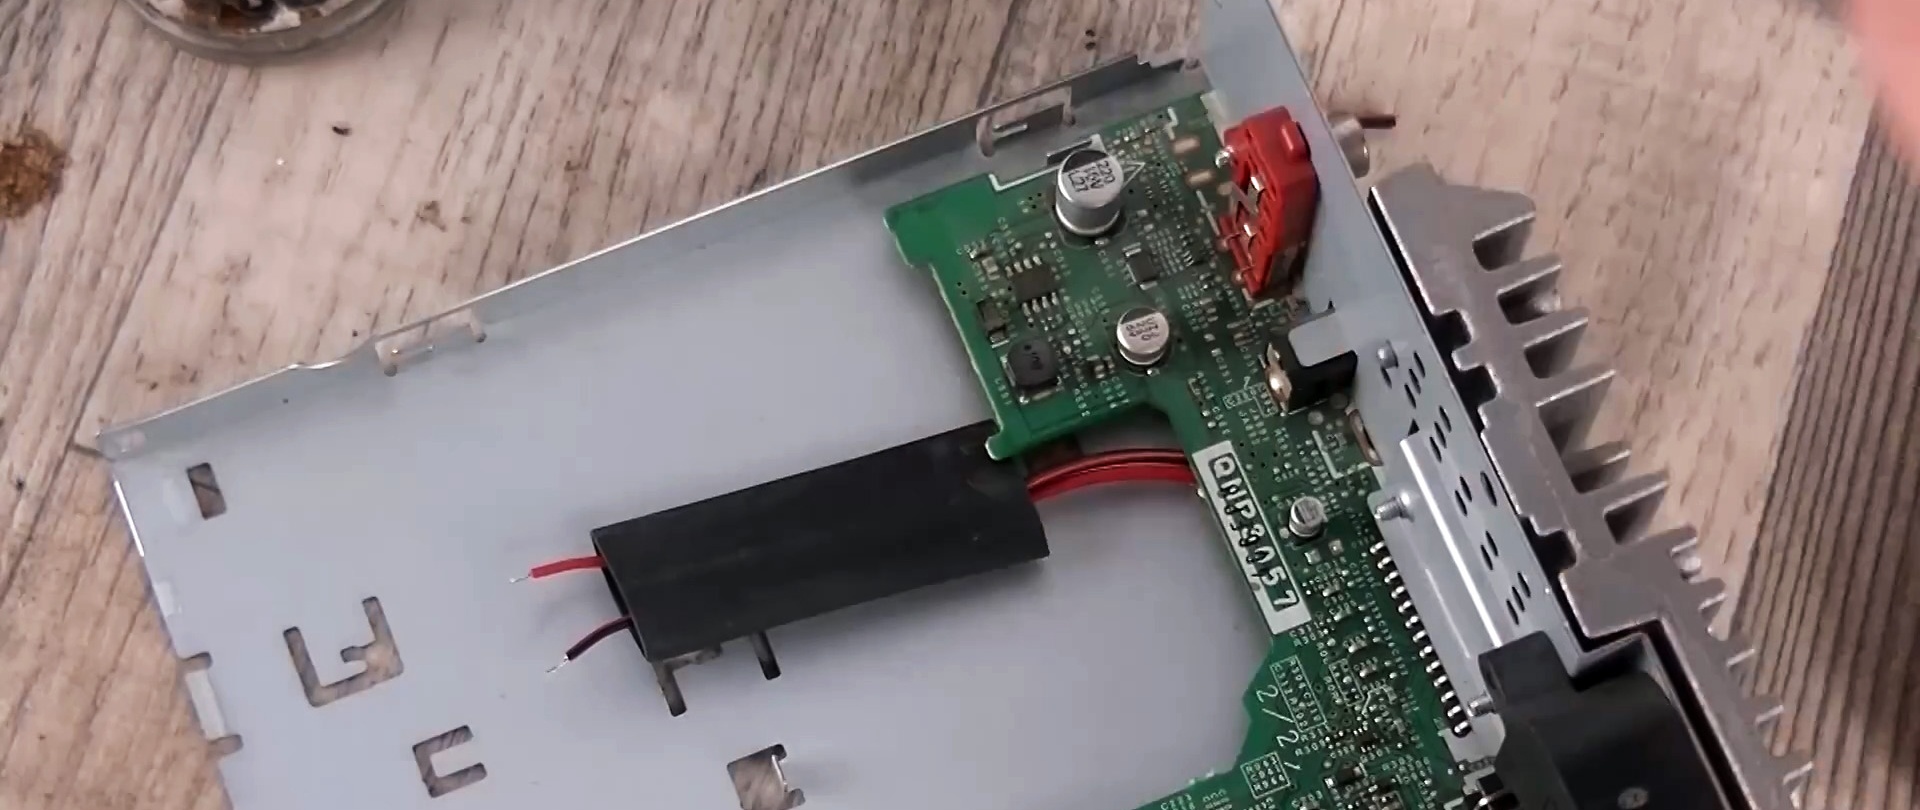
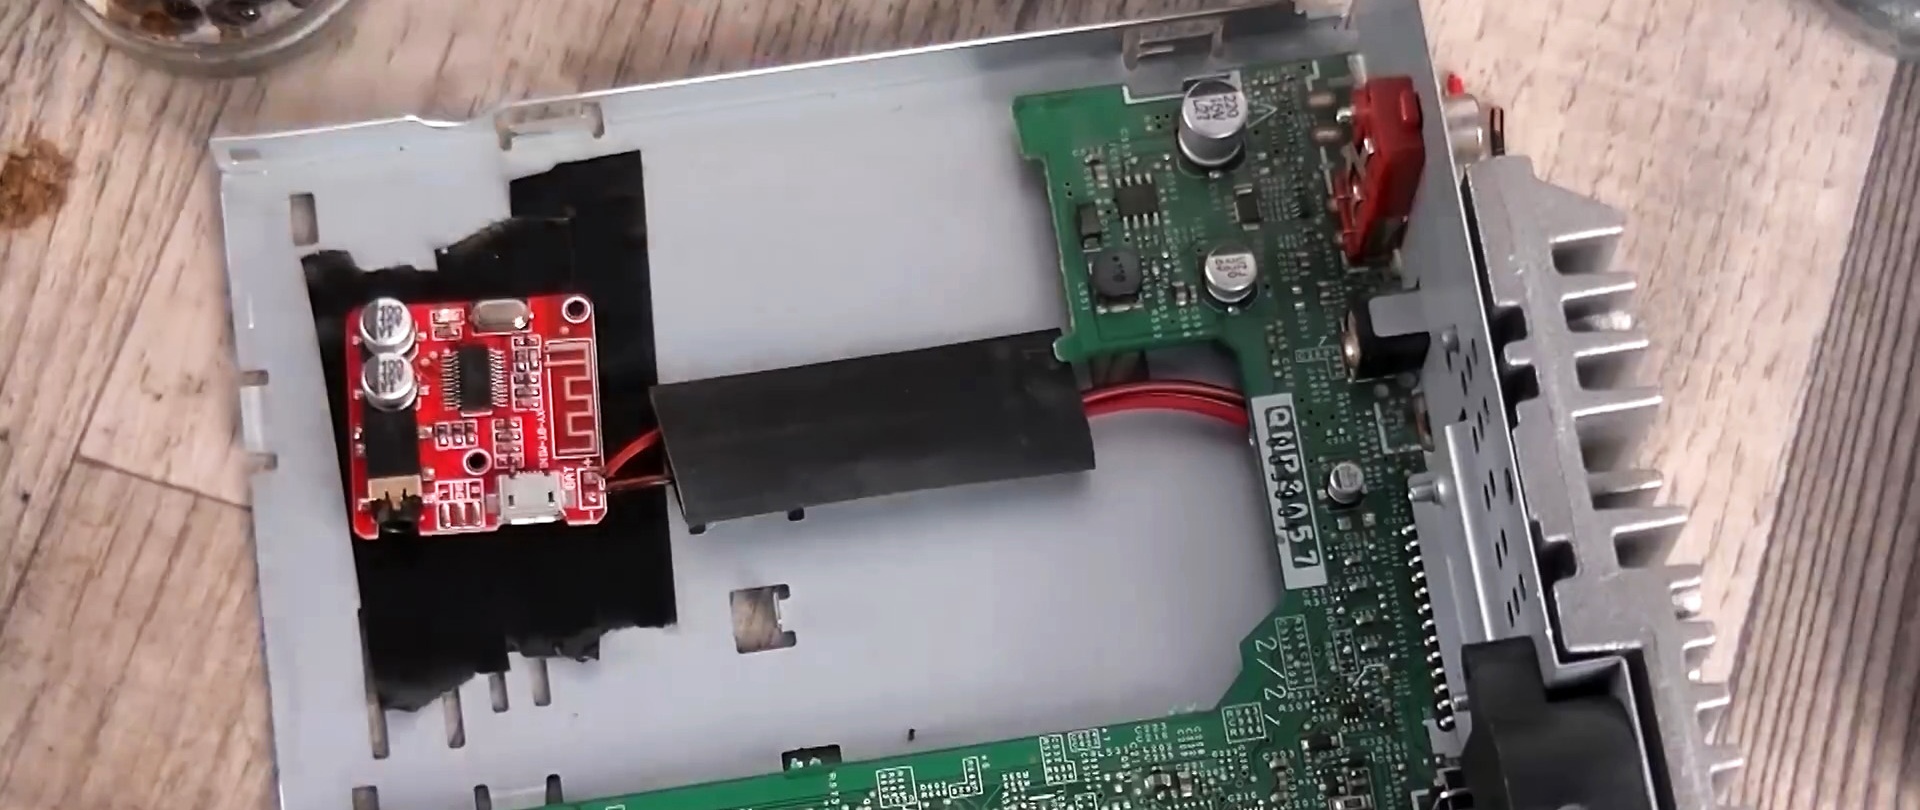
The voltage in the car's on-board network is 12 Volts. A Bluetooth adapter Powered by 3.7 - 5 Volts. Therefore, to reduce power we will use buck converter. We don’t invent anything or use chemicals; we bought a ready-made converter. We connect 12 Volts to the input and remove 5 Volts at the output.There was a USB connector on the board, you can use it, but we unsoldered it and soldered it to the wiring chamber tracks.

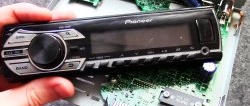
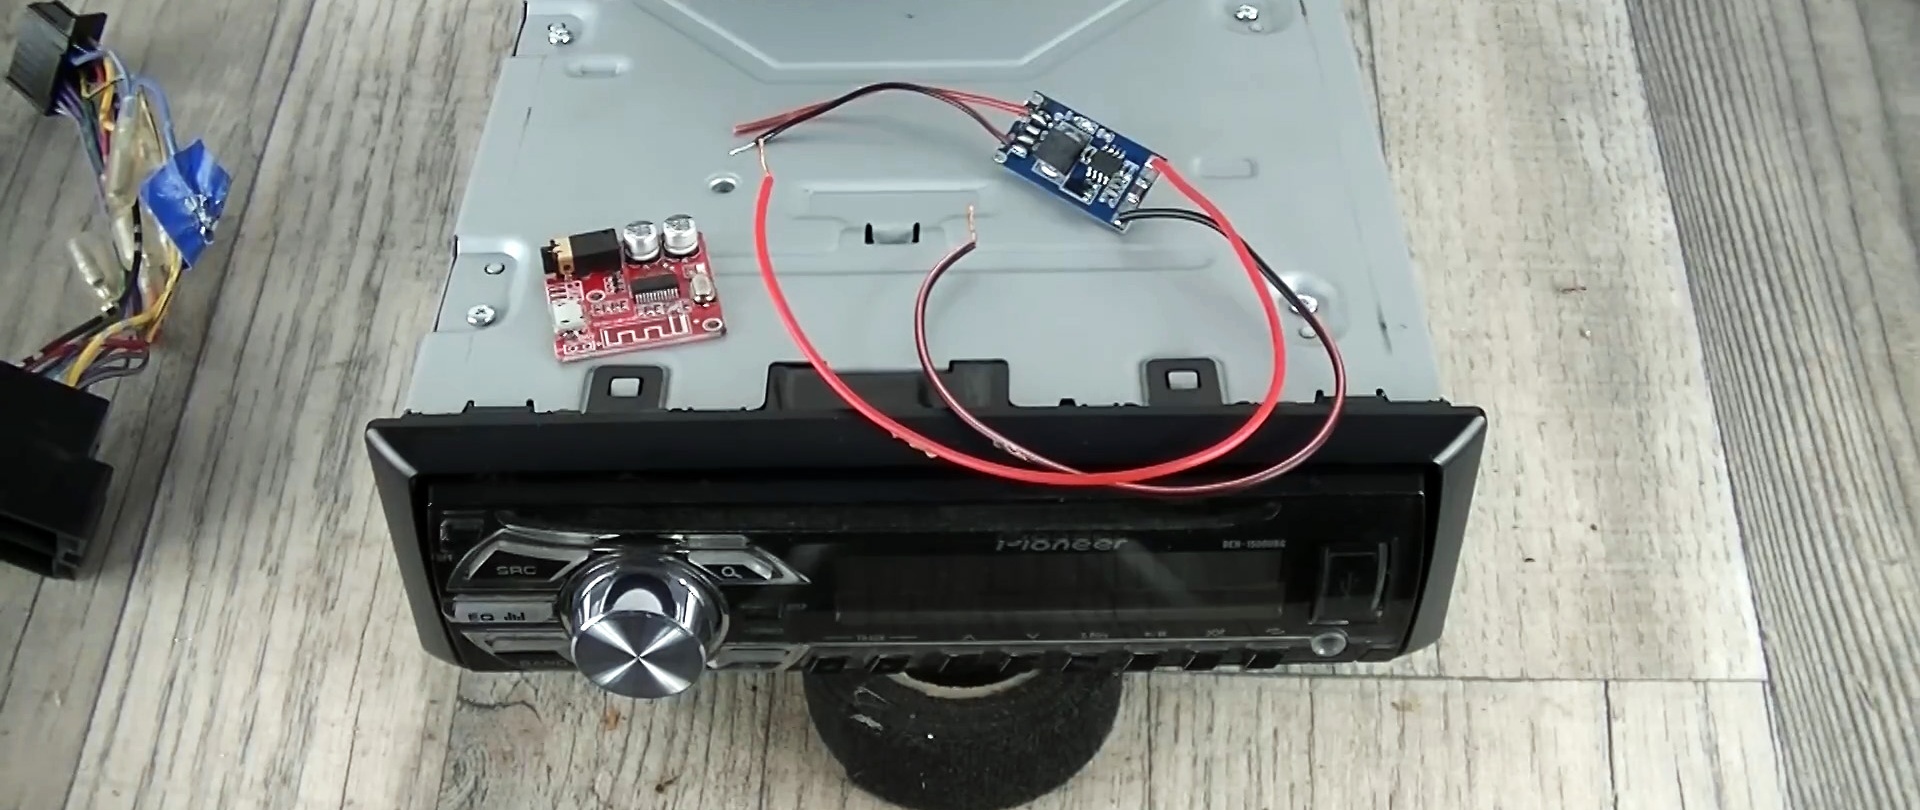
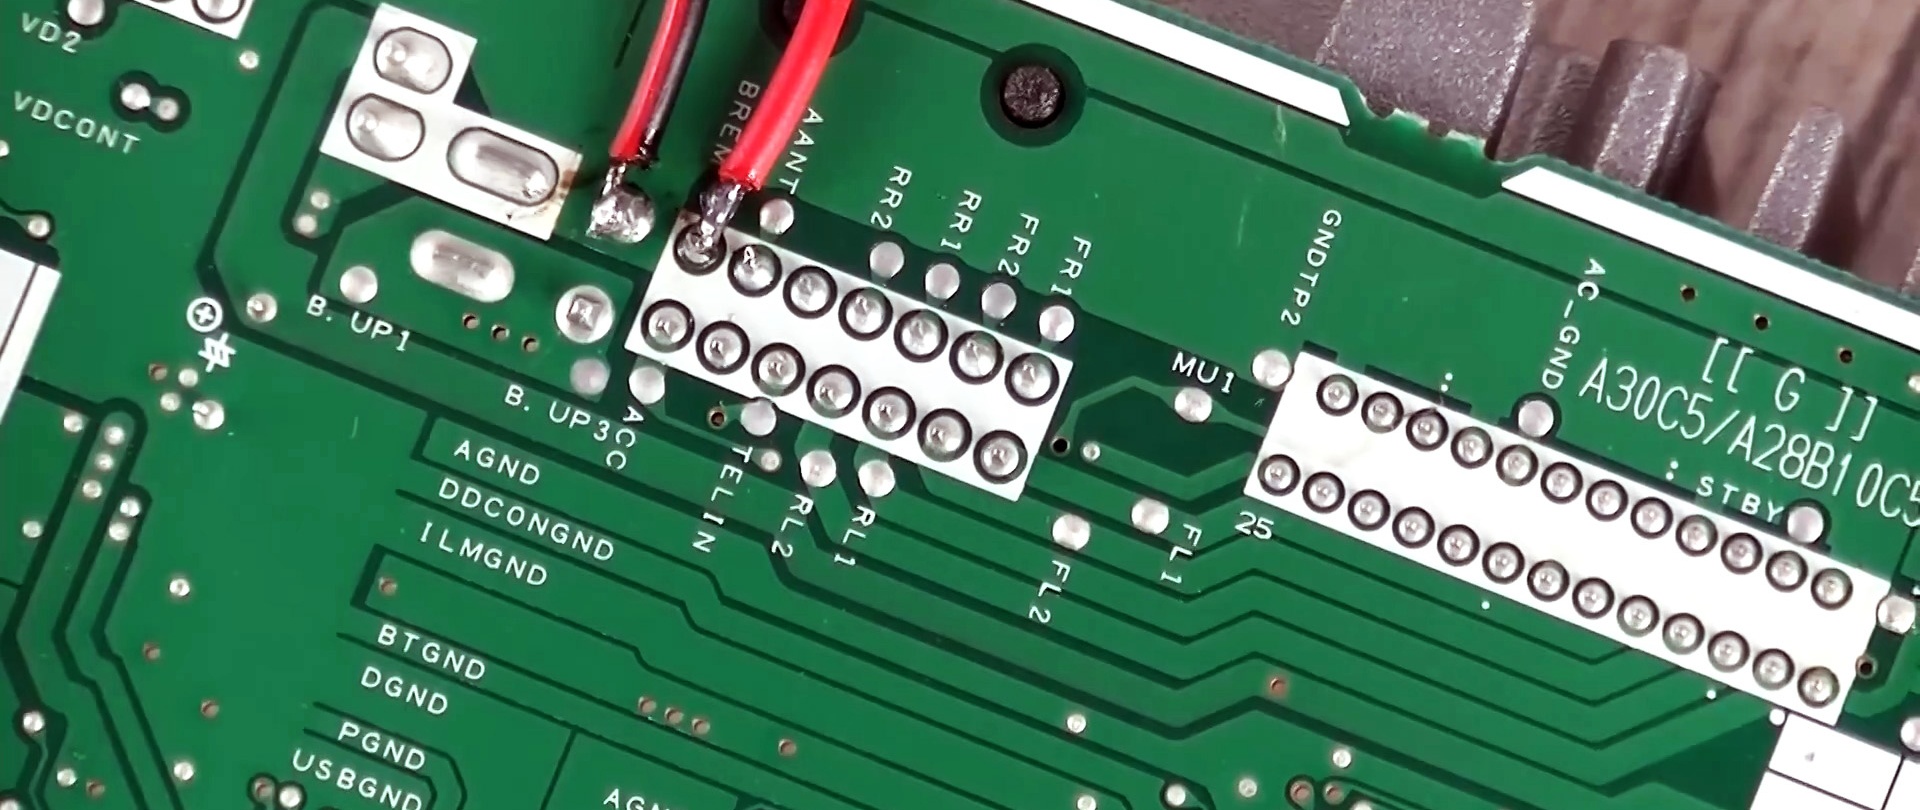
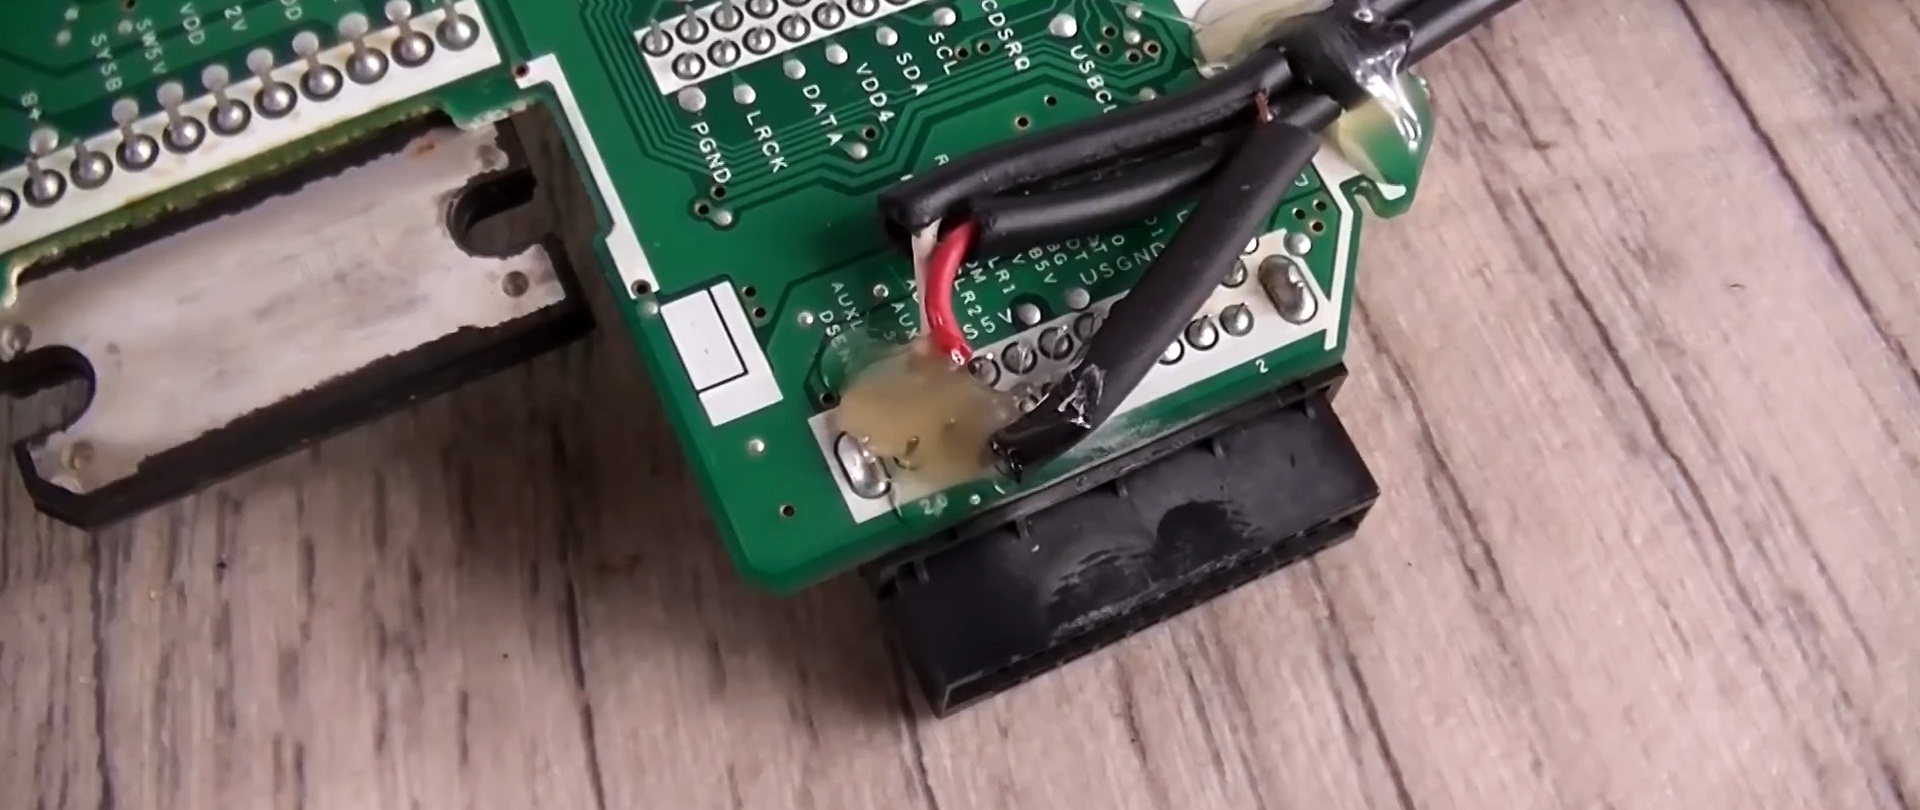
Next step: disassemble the radio and start connecting. First of all, let's deal with the electrical part. Here is the connector for connecting to the car. All contacts are signed on it - this is very convenient. But even if the connector is not marked on your radio, it’s okay. Everything is clear and without inscriptions. We immediately find the negative wire or housing - the black wire. Then we pay attention to the fuse installed on the board. 10 Ampere – yellow wire +12 Volt on-board network. This is a constant +12 Volt, so that the radio settings are saved when the engine is turned off. The next wire is red - “ACC” (signal). Power is supplied to this pin when the car ignition is turned on. But this option is for connecting Bluetooth module we do not like. Why? Because in this case, power is supplied to the adapter when the ignition is turned on, and not the radio. Let's pay attention to the “BREM” contact. +12 Volt appears on this pin only after turning on the car radio. Therefore, we will solder here. Accordingly, when we turn off the radio, our Bluetooth will also turn off. This blue wire is called "System Remote Control".
We solder the electrical circuit. We fix the wires with hot glue.

We must connect the audio output of the bluetooth module to the “AUX” input. This is how the usual linear input of a car radio is marked. Those. We turn on “AUX”, and we start receiving a signal from the Bluetooth audio module. Everything in our radio is signed. And we easily found where to solder. The board says “AUX” left, “AUX” right, “AUX” ground.


However, if it were not signed, then you can find the necessary connection points very simply: take the audio jack plug, insert it into “AUX”, connect the panel and, using a dialer, begin to figure out which contact is which. This way we find all the pins necessary for connection. We connect the device circuit.
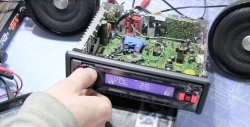
We assemble the radio and test the assembled device.

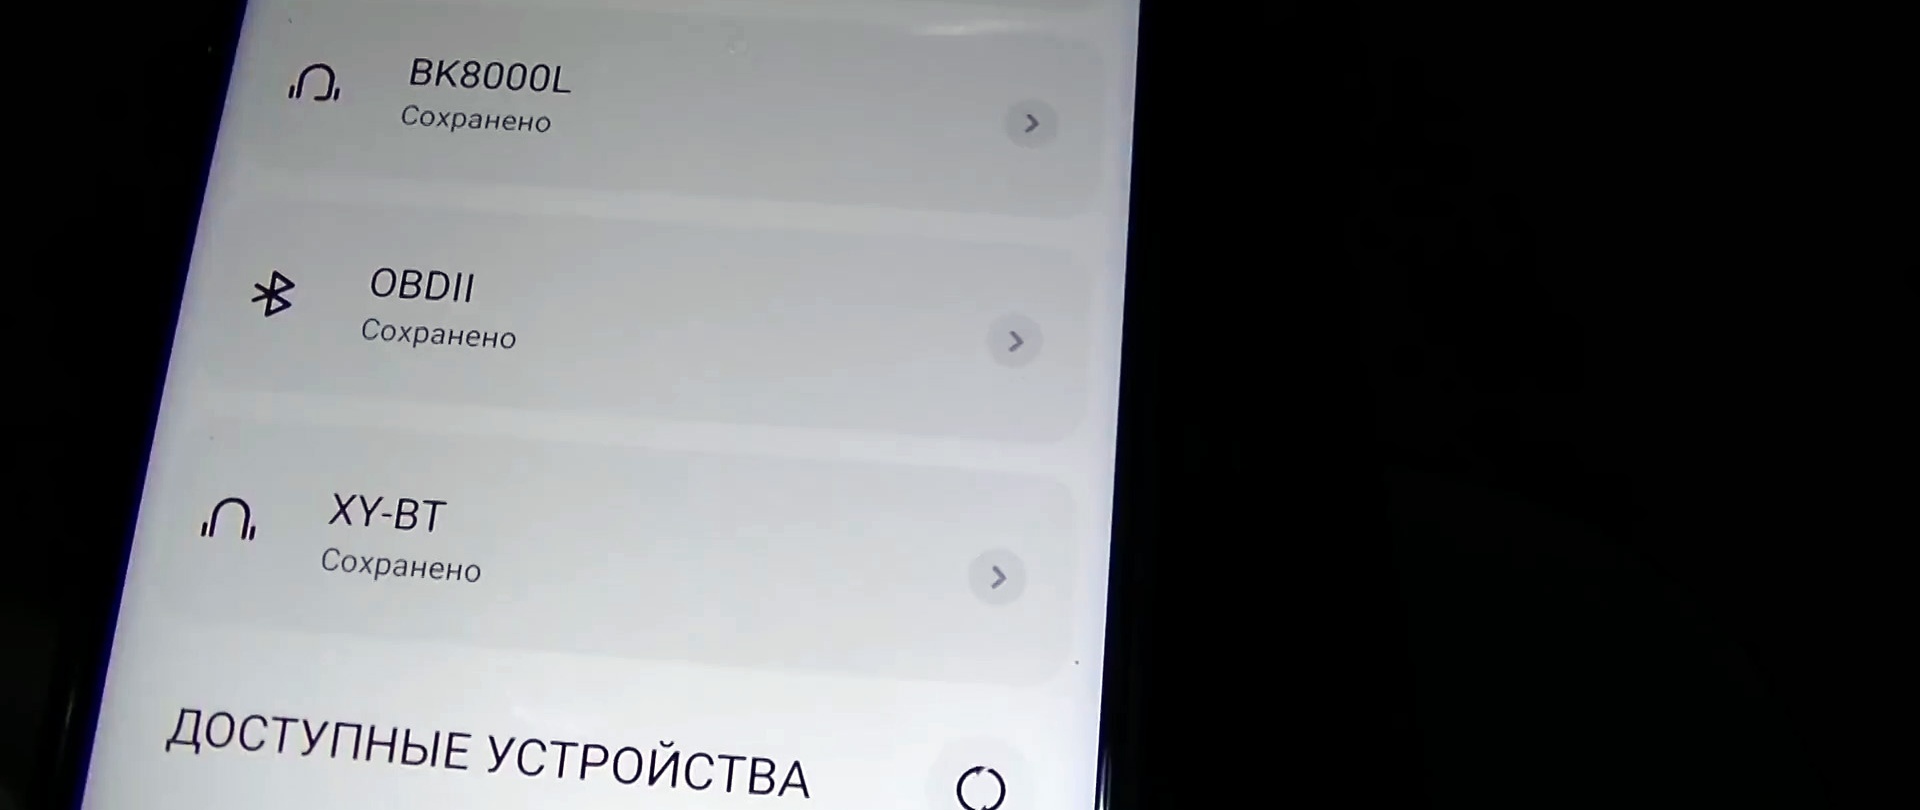
We check the functionality. When turned on, you can even see a blinking blue light at the edge of the front panel Light-emitting diode working Bluetooth module. All that remains is to “connect” it with the smartphone. We find the module in the phone menu, allow the connection and enjoy the music. Everything worked out.
Watch the video
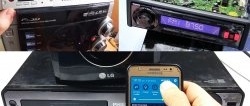
Be sure to read: 5 life hacks on how to modernize old stereos, radios, DVD cinemas